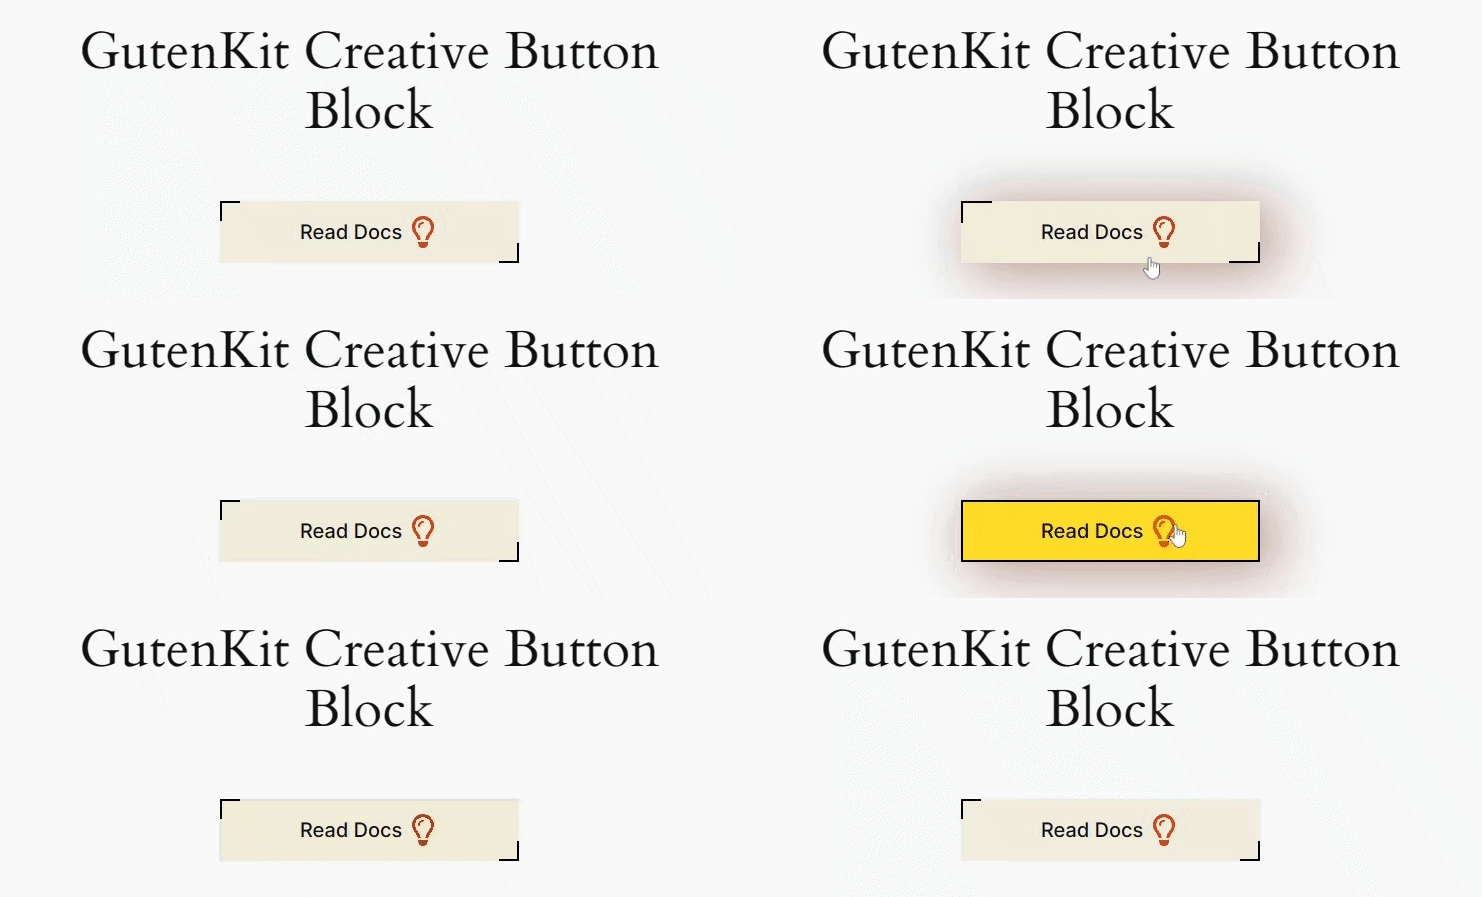
GutenKit Creative Button allows you to show an interactive and attractive button on your Gutenberg website. You can easily apply fun hover styles, insert custom icons, and use other tons of features to customize an appealing button to guide your visitors.
Let’s go through this guide to learn how to use the GutenKit Creative Button block on your Gutenberg website.

How to Use GutenKit Creative Button Block? #
Make sure you have the GutenKit free & pro versions installed on your Gutenberg website. Then, follow the below steps:
Step 1: Add GutenKit Creative Button Block #
Start with editing a page or post in your block editor of the WordPress website. Click the “+” icon in the editor screen and search for the GutenKit Creative Button block. Once you see it, drag & drop it to the editor dashboard.
Step 2: Add Button Content & Effects #
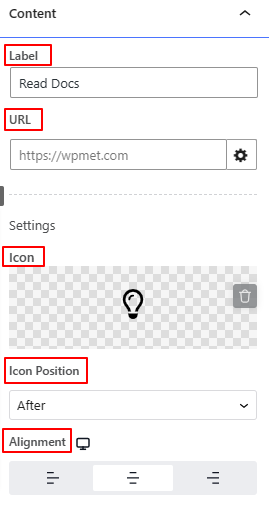
Upon inserting the Creative button block, go to the Content Tab and configure the button text, position, and hover animation.

Content,
- Label: Enter the text for your button.
- URL: Insert the page link you want to redirect your visitors.
- Icon Settings: Choose an icon from the icon library or upload your own. And, set it to before or after the text.
- Alignment: Set the horizontal position of the button.

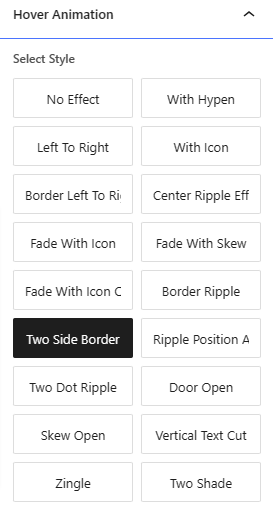
Hover Animation: Choose a hover animation effect from 19+ options. Scroll your mouse cursor on them to see how they act.
Step 3: Style Creative Button #
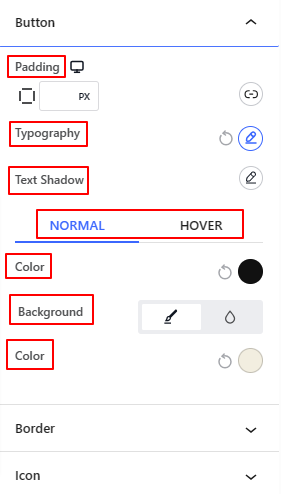
Now, we’ll be covering the styling options of the creative button block. Go to the Style Tab and adjust the following options.

Button: Get all the styling controls of the creative button like typography, text shadow effects, text color, background color, and padding.
Border: Adjust the border roundness and shadow effects. Also, set the color & thickness.
Icon: From here, you can customize the look of the icon by changing its color, size, hover color, and padding.
That’s all! This is how you can use the GutenKit Creative Button block.


