Badges Module highlights the sale price in percentage. Along with the highlighted discount percentage, you can also add a custom image badge.
You can add multiple badges and also customize the position and alignment of the badges. Moreover, you can assign image badges to products via categories and single products.
How to use the ShopEngine Badge Module #
Learn how to add a sales badge with the image on the Elementor website using the ShopEngine badge module.
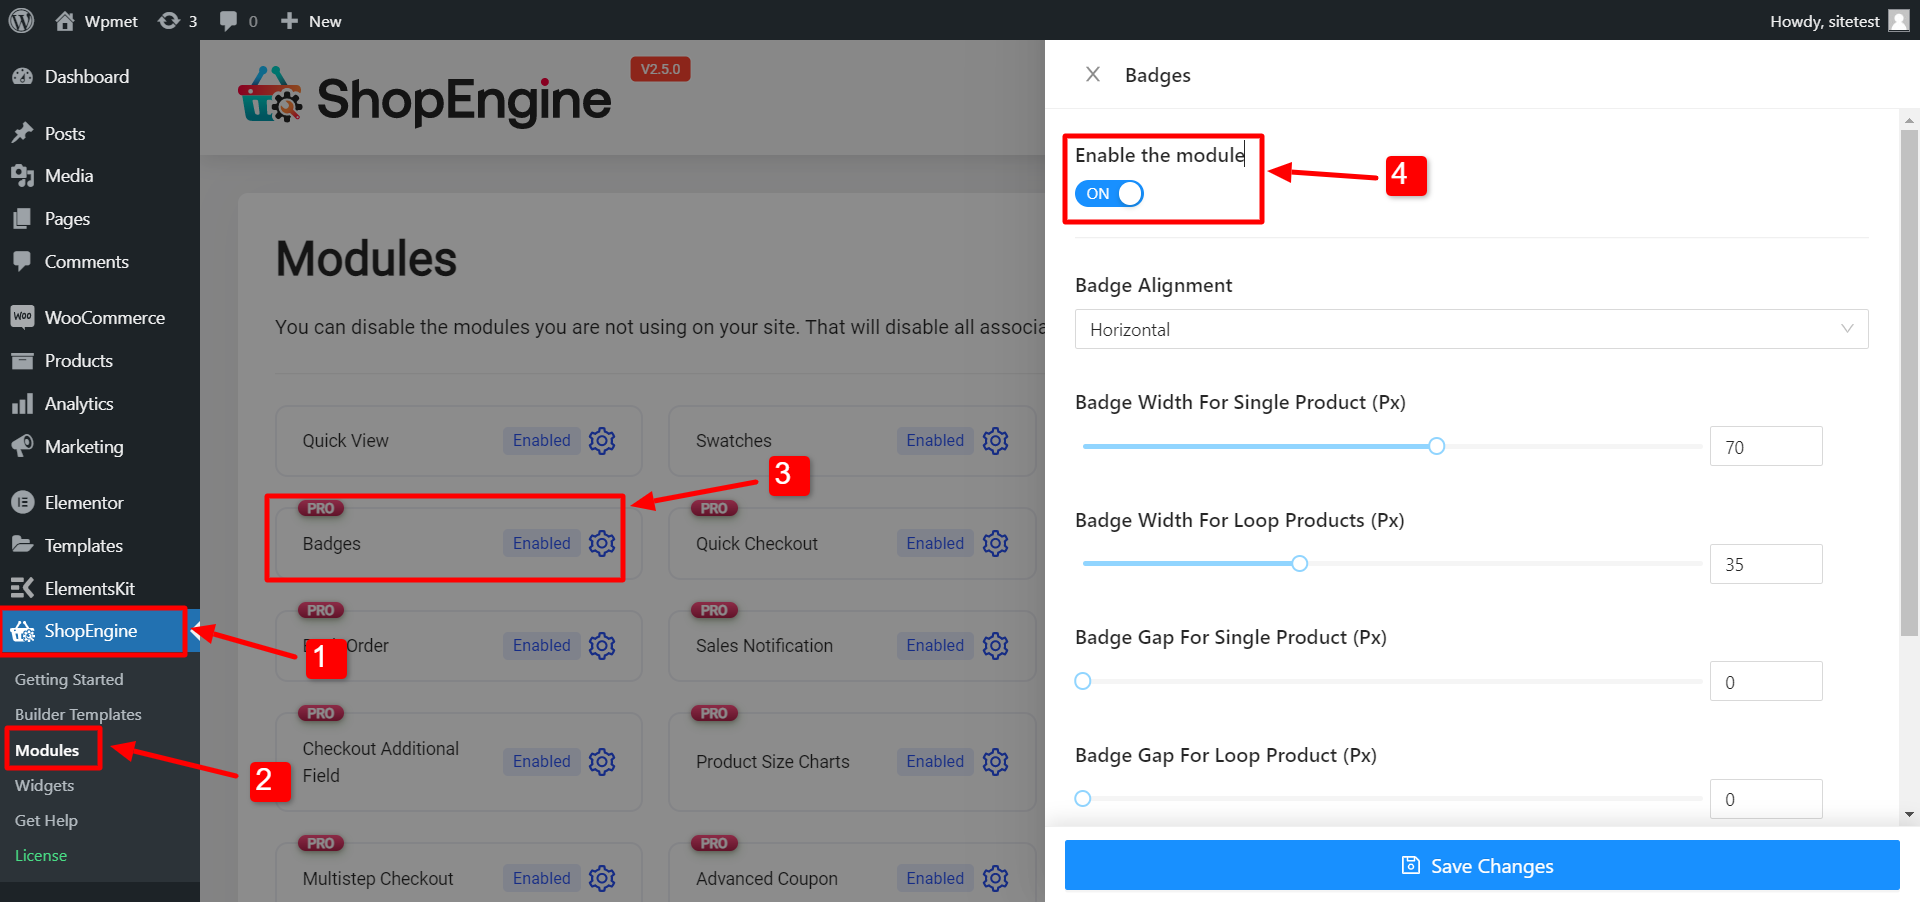
Step 1: Enable the module #
You need to enable the module for it to activate. To enable the module
- Go to: ShopEngine ⇒ Modules ⇒ Badges Module
- Click on the Settings Icon
- Turn on the Enable the module option.
Note: You can also enable all the modules at the same time. Check out how you can turn on all the modules at once.
Step 2: Create a new badge #
Click on the + Create New Badge icon, then add the following:
- Title: Enter a title.
- Badge Type: Select the Badge Type between Attachment & Text. For Attachment select a badge logo. For Text, enter the Badge Text, then choose the Badge Text Color, Text Background Color, Text Font Size (Px), Text Border Radius (Px), and padding.
- Position: Choose a position from the dropdown. The options are Top Right, Top Left, Bottom Right, and Bottom Left.
- Assign By: Here you can choose whether you want to assign the badges by categories or products.
- Applicable Categories/products: Here you can type the initial of the category/product and choose from the suggestions.
Once you provide all the information, click on Save changes to save the product badge.
Note: You can at any point edit and update any value of the badge. In case you want to delete it, click on the X icon. And click on Save changes to update.
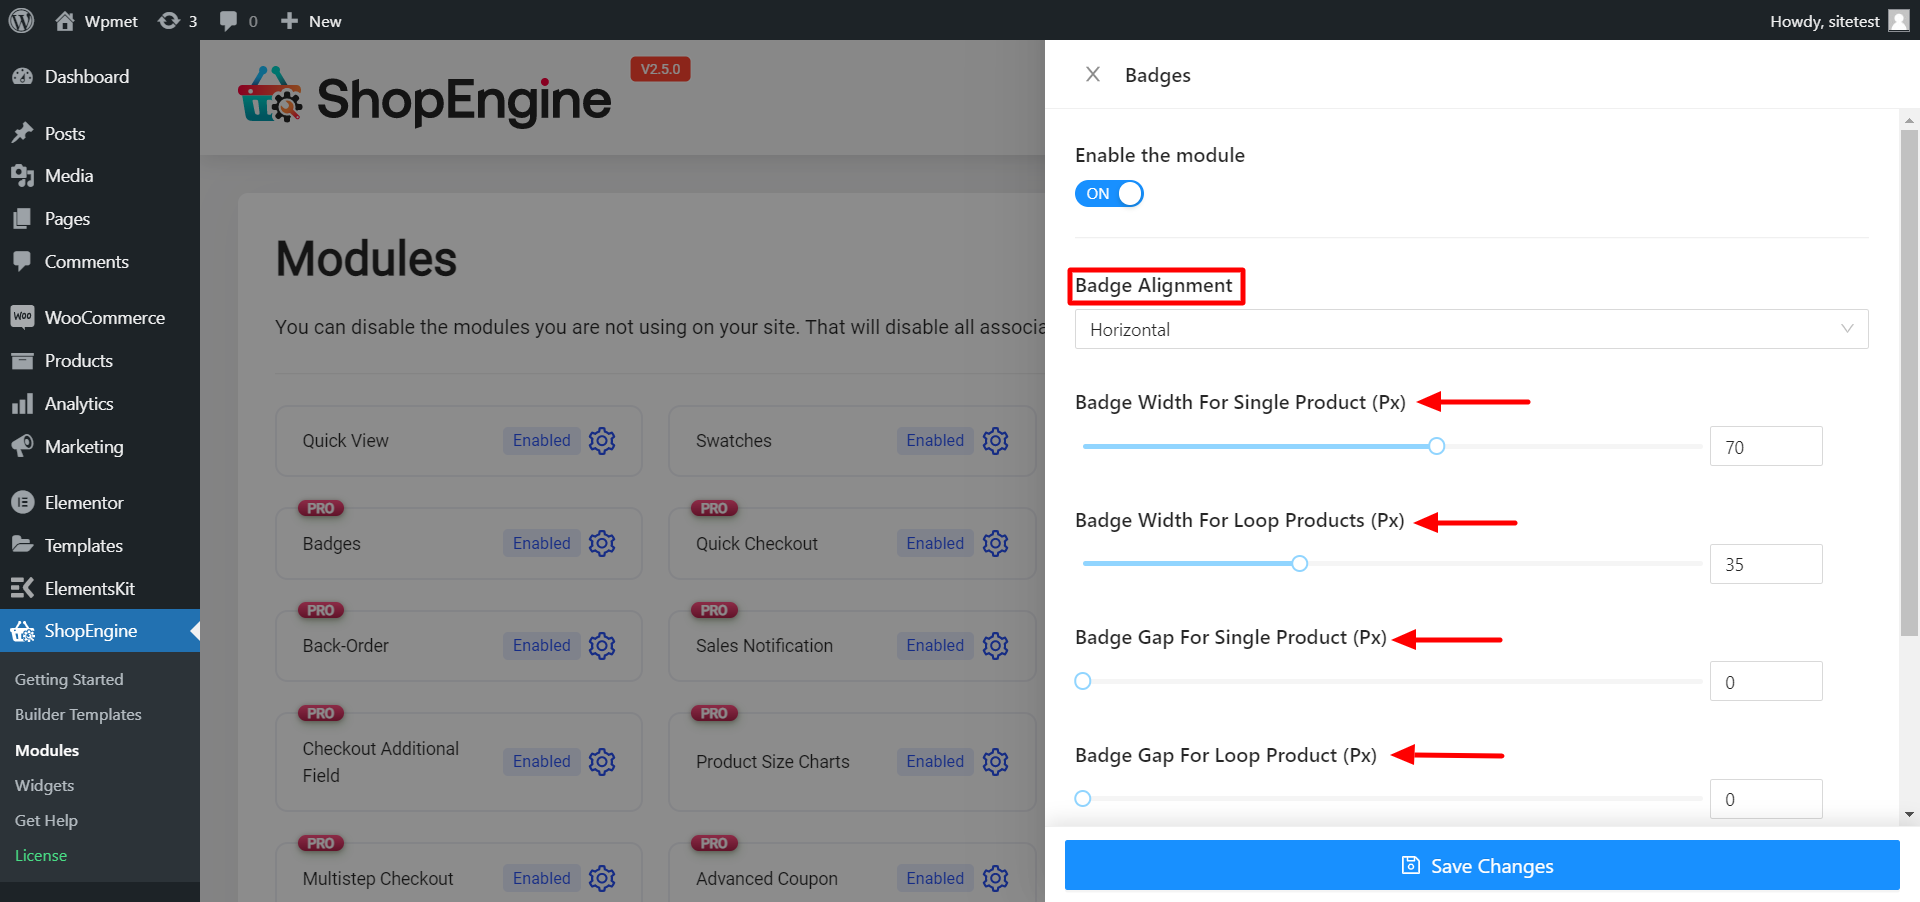
Step 3: Customize Badge Settings #
You can follow step 2 to make multiple badges. And once you add the widgets, you can set the Badge Alignment as Horizontal or vertical. Then adjust Badge Width For Single Product, Badge Width For Loop Products, Badge Gap For Single Product, and Badge Gap For Loop Product.
That’s it. Now badges should be visible on the front end of your WooCommerce website.
How to Customize the Style of ShopEngine Badges Module? #
The badges module does not have a direct styling option but you can change how badges look and their style on the style settings of all product-related widgets such as the Archive Product List, Product Images, etc.
The position of your badge may overlap with the LightBox Zoom Icon on the product page. To fix it, edit your Product Images widget on the Single Product template.
Go to Style Tab, Expand the lightbox Zoom Icon option. then change the Position value so it doesn’t overlap with your badges.
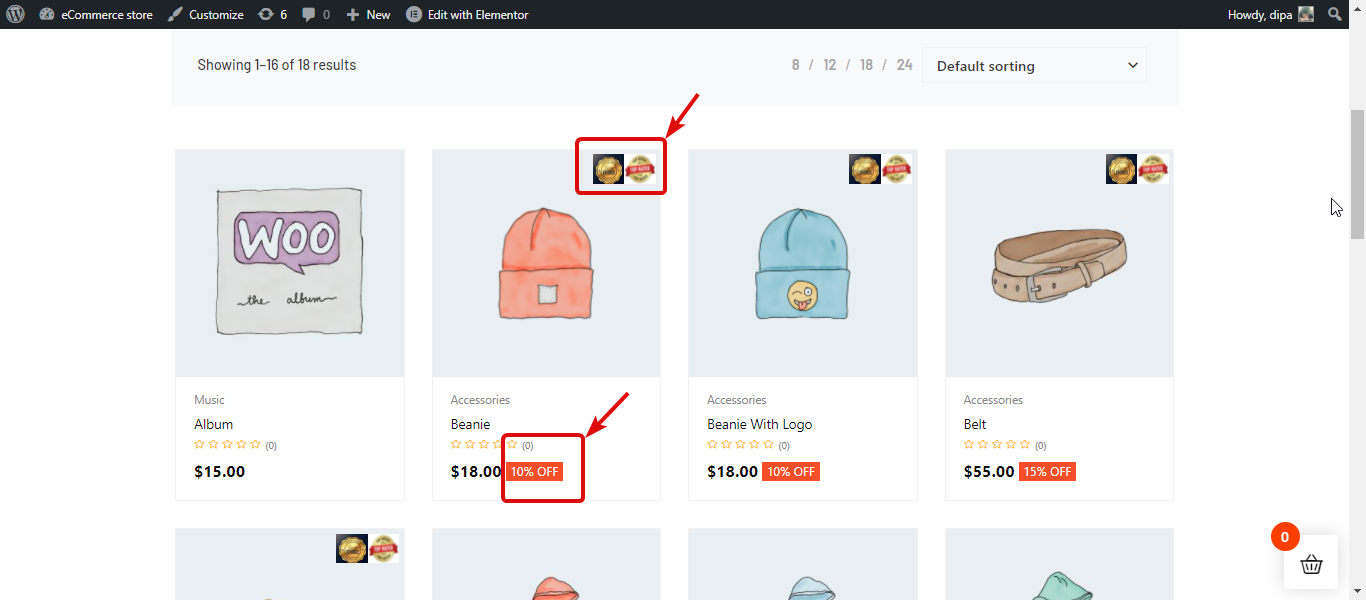
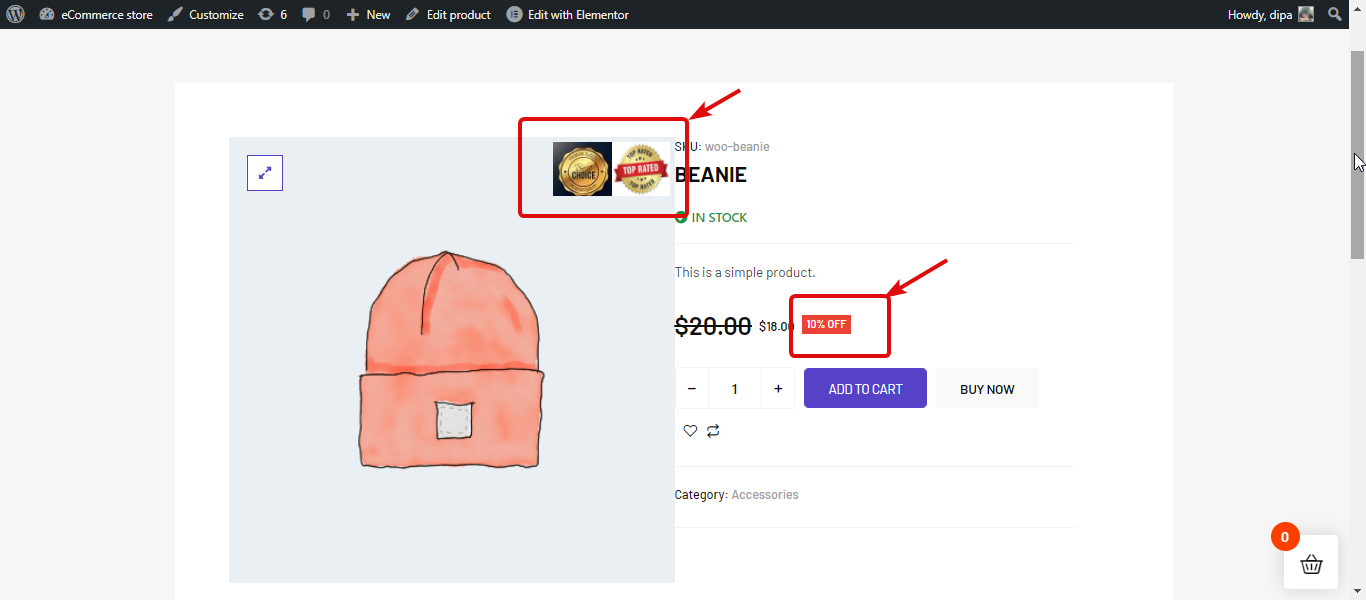
Here is a preview of how ShopEngine Badge module looks like on the Single Product page:
Here is a preview of how the ShopEngine Badge module looks like on the Shop page: