Morphing means to change or morphs one image or shape into another. It is a special effect in motion pictures and animations to give them a flawless transition. To add some special effect to your website image ElementsKit is presenting you an fully customizable widget name Image Morphing.
In this documentation you will learn how to utilize ElementsKit Image Morphing widget and make your website images more appealing.
Image Morphing Customization #
You will need ElementsKit pro to use the widget. And start with turning ON the widget from the dashboard.
Enabling Widget #
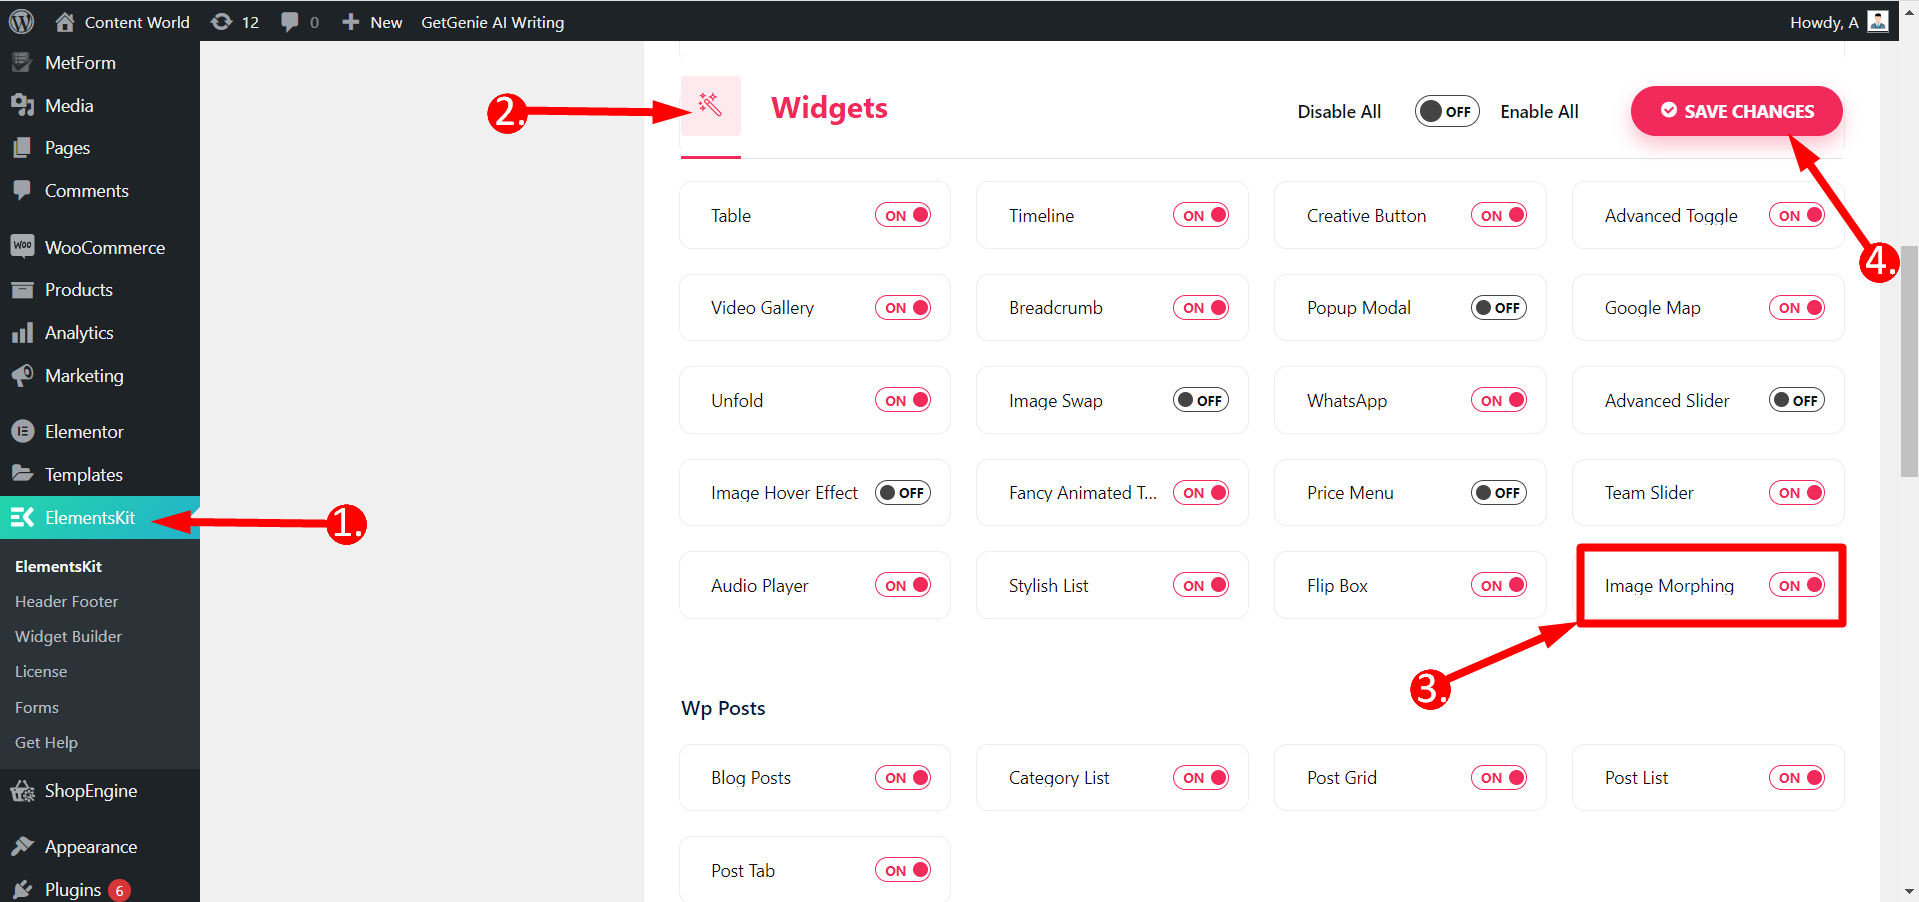
Go to your WordPress Dashboard ⇒ 1. Find ElementsKit ⇒ 2. Click Widgets ⇒ 3. Turn ON Image Morphing widget ⇒ 4. Save the changes
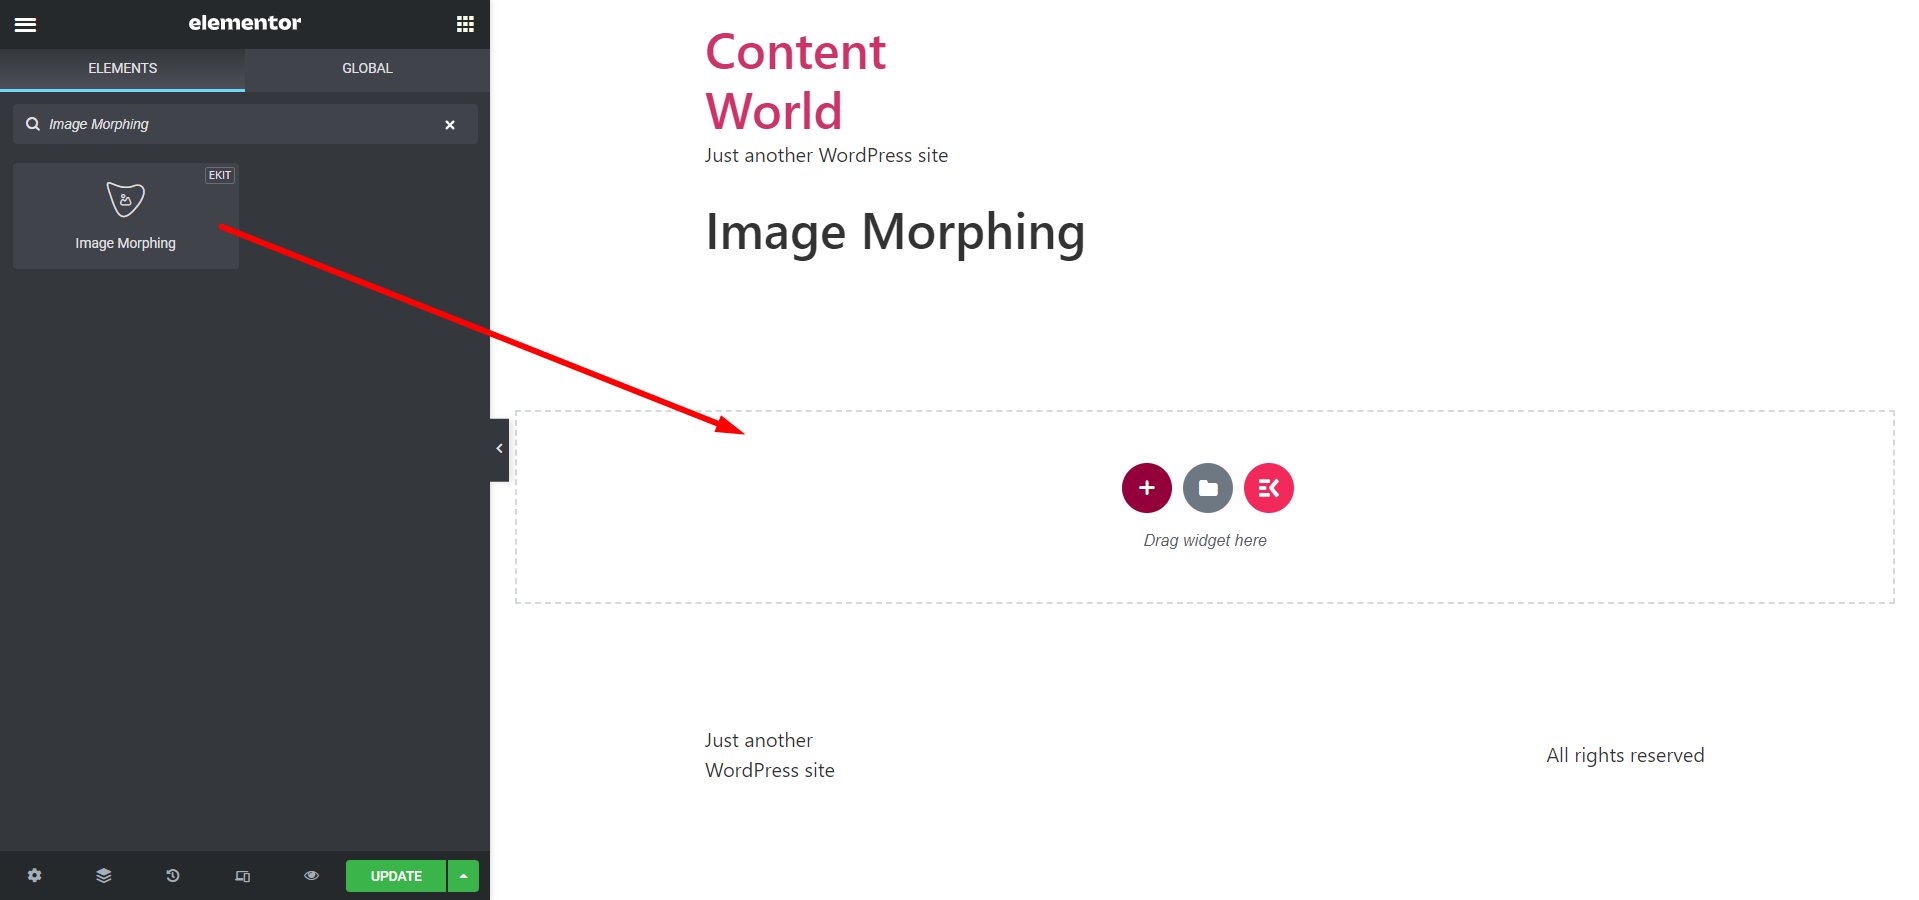
From your Dashboard ⇒ Create a page or Edit an old page ⇒ Edit with ElementsKit ⇒ Search Image Morphing widget ⇒ Drag and Drop it simply
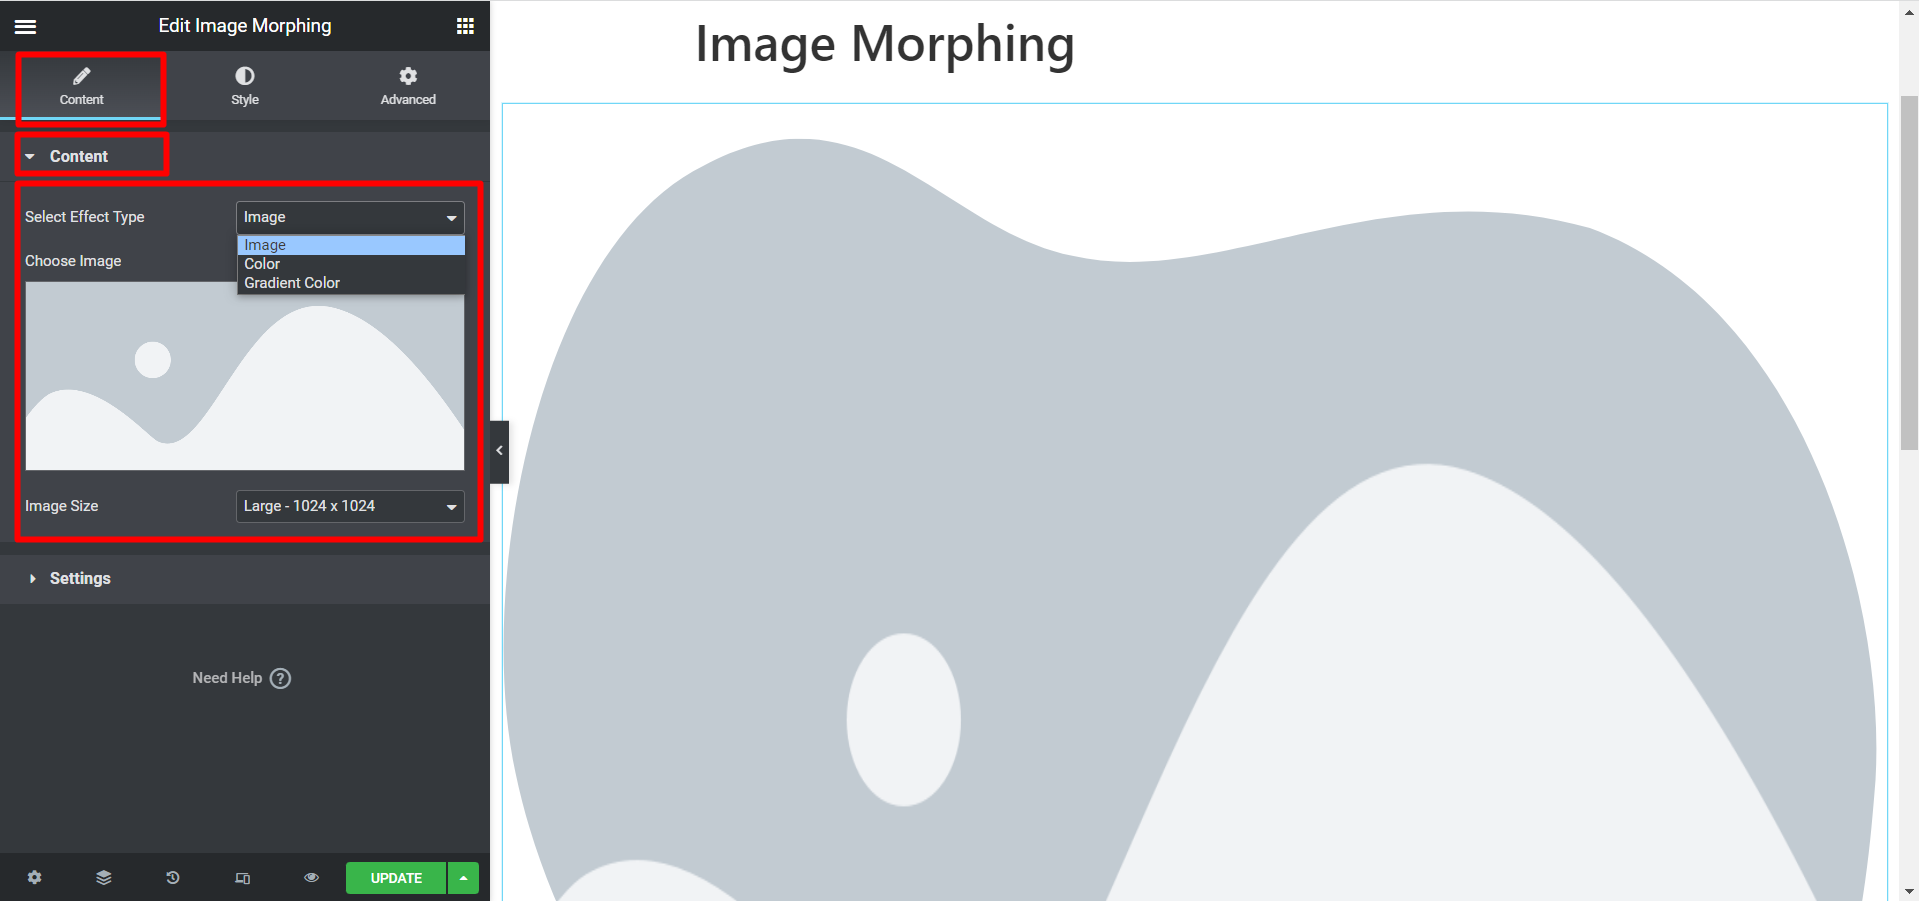
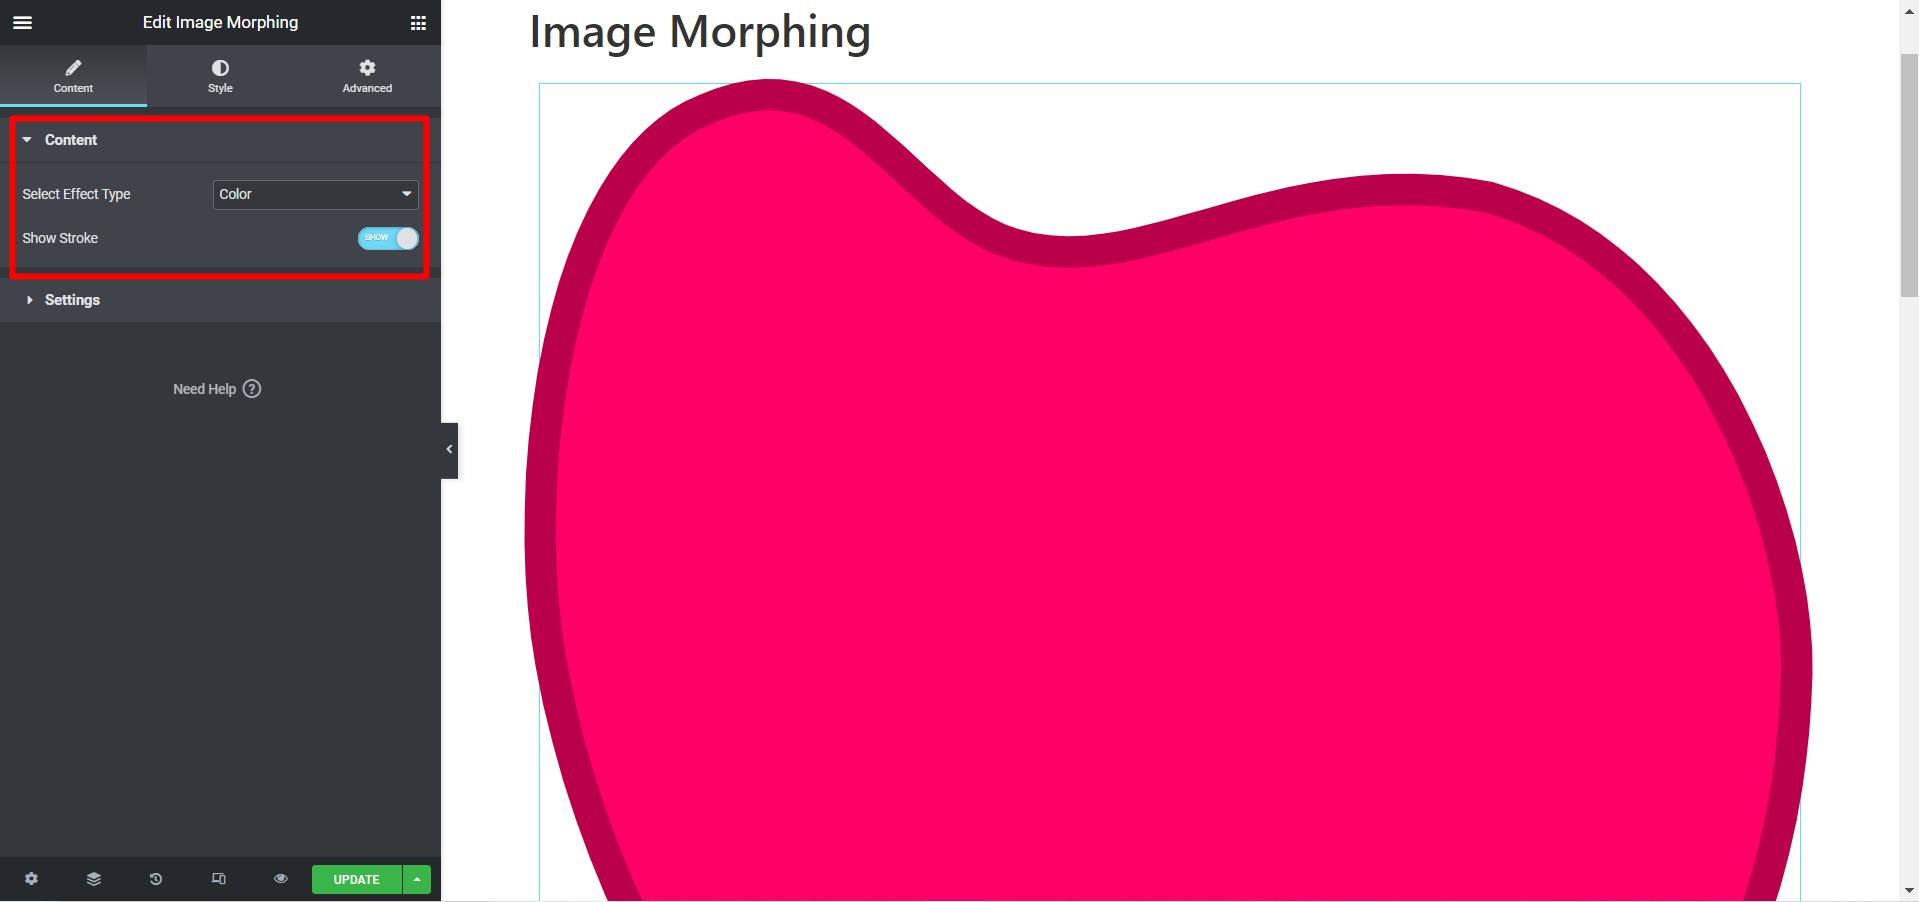
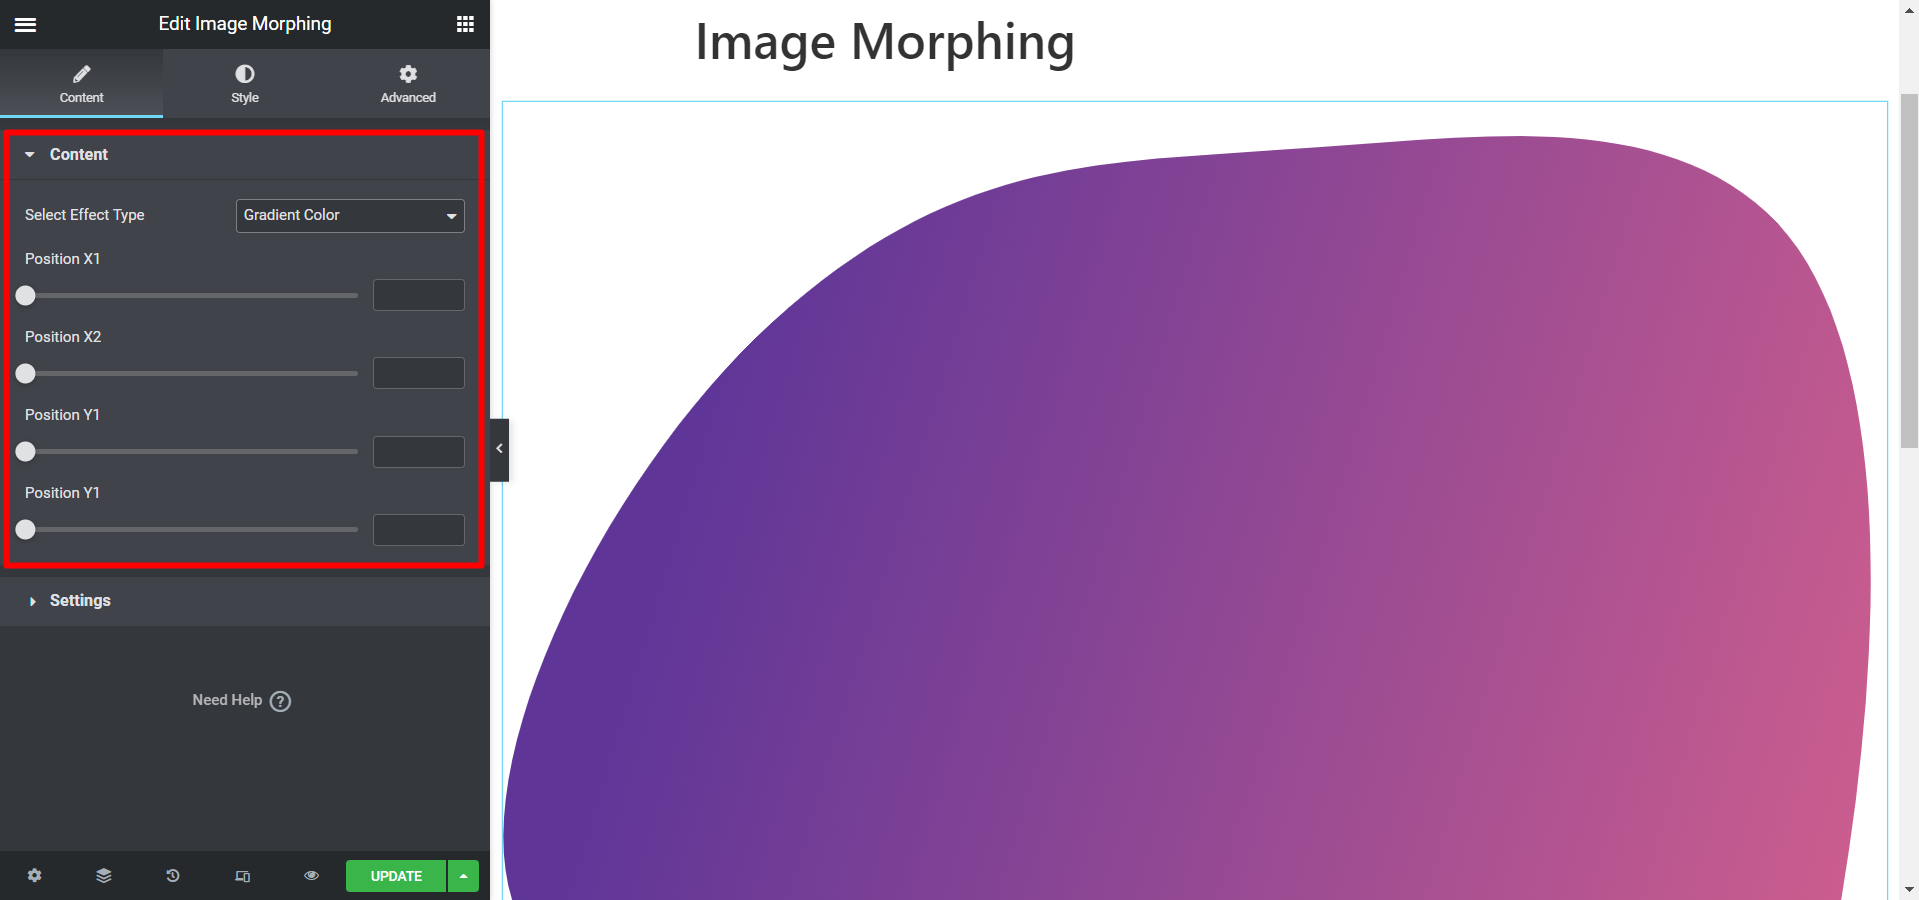
Content #
- Select Effect Type- Choose the effect from Image, Color, and Gradient Color options.
- Image Size- If you choose image then this field will allow you to adjust the image size.
- Show Stroke- If you choose color then this field will allow you to Show or Hide stroke.
- If you choose gradient color as effect type then you will have the position adjusting options- Position X1, Position X2, Position Y1, and Position Y2.
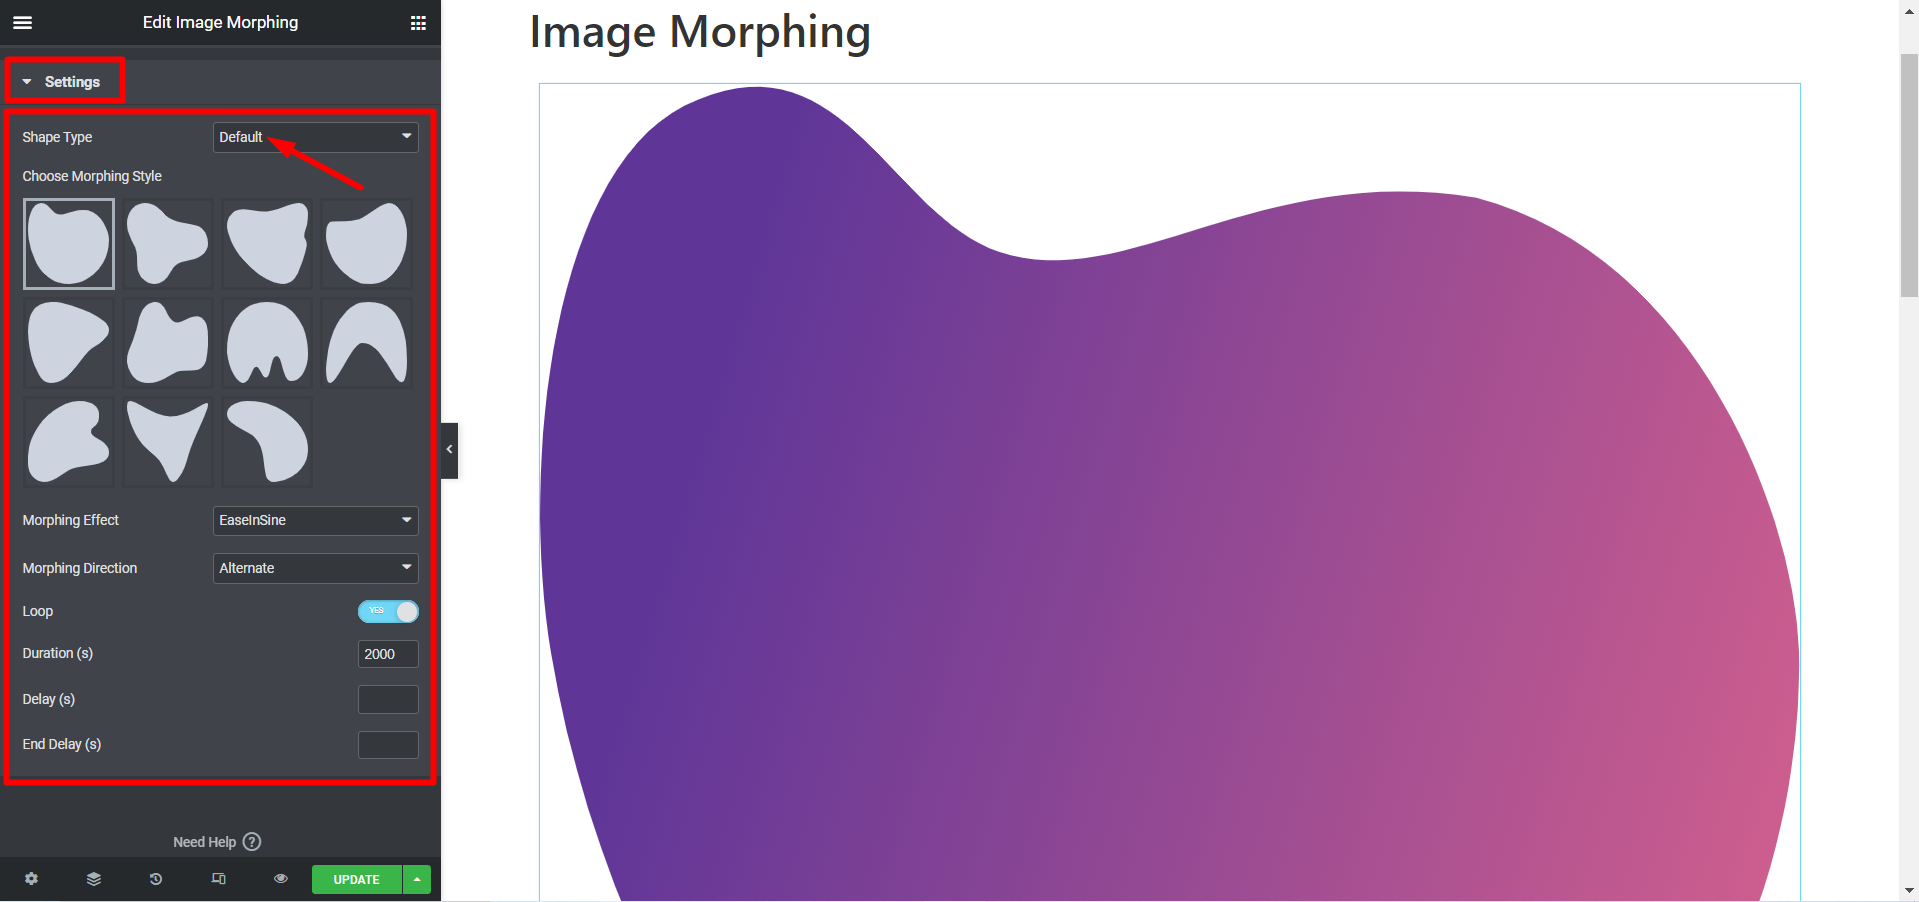
Settings #
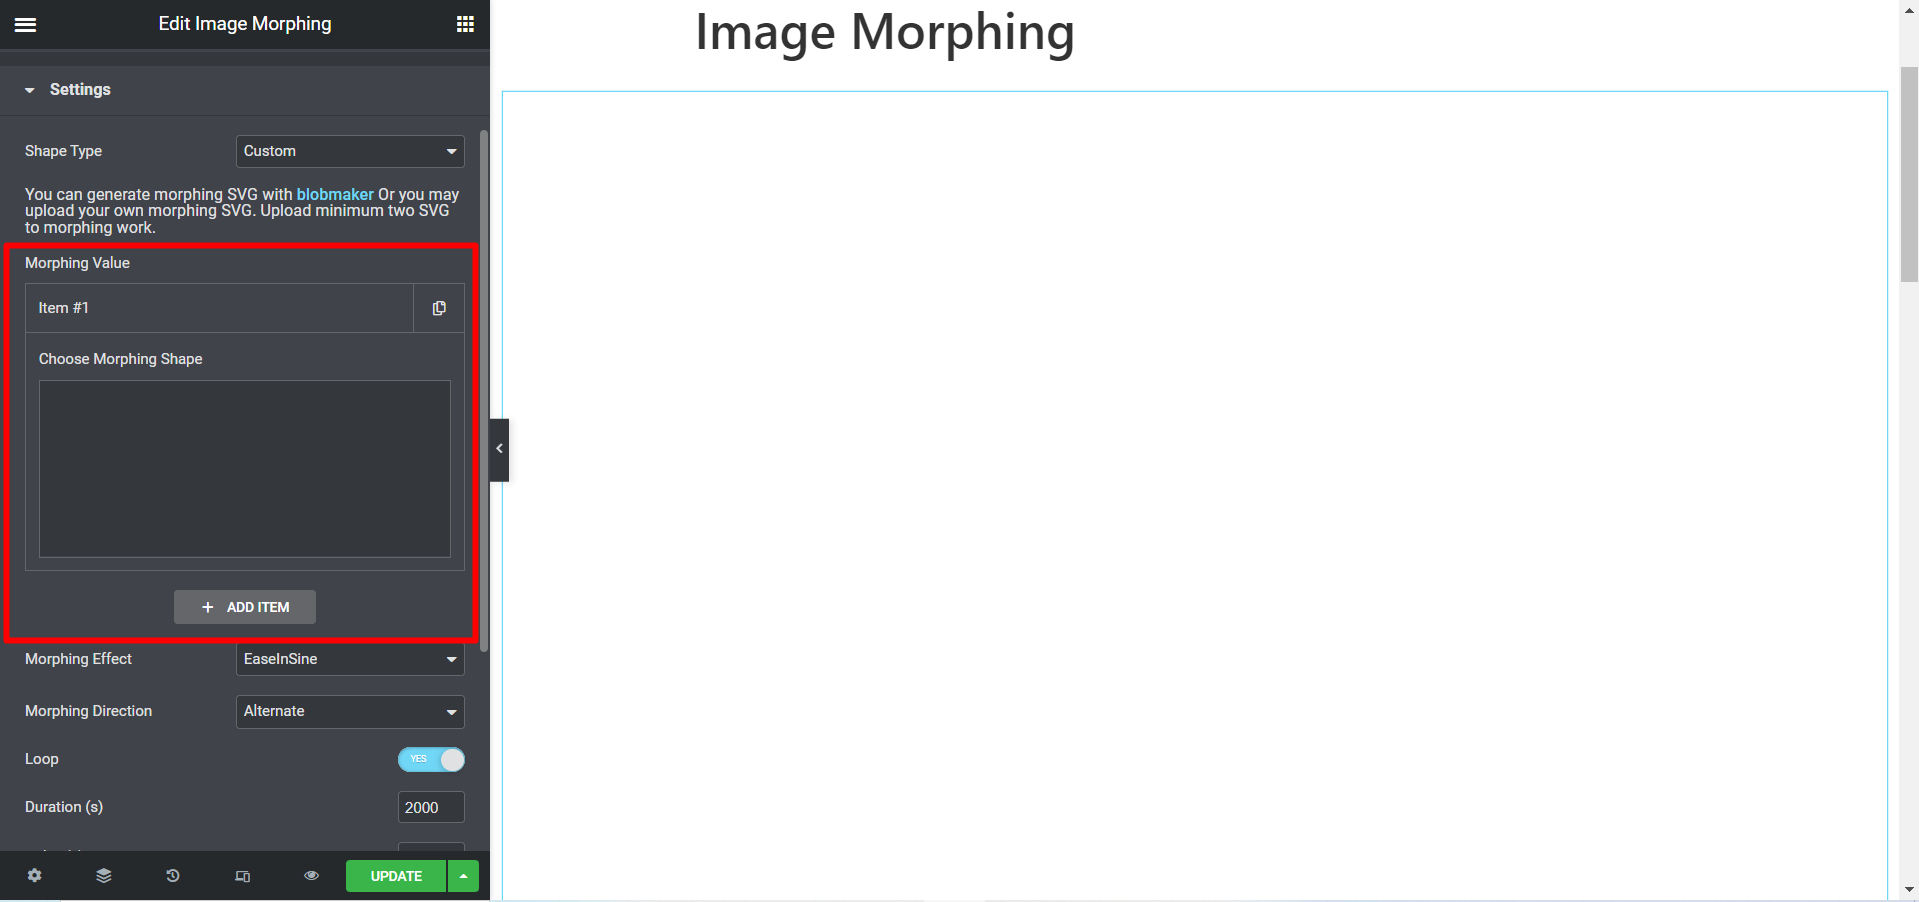
Shape Type- Select Default then you will see the below customization options:
- Choose Morphing Style- There are lots of different styles to choose.
- Morphing Effect- There different effect options for your image.
- Morphing Direction- The animation direction can be Normal, Reverse, or Alternative.
- Loop- If you want to show the morphing in loop then toggle the Loop button to YES otherwise NO.
- Duration (s)- Set the duration of the animation here.
- Delay (s)- Adjust the delay time of the image animation in this field.
- End Delay (s)- Write the animation ending time here.
However, if you choose custom style then you can generate morphing SVG with blobmaker.
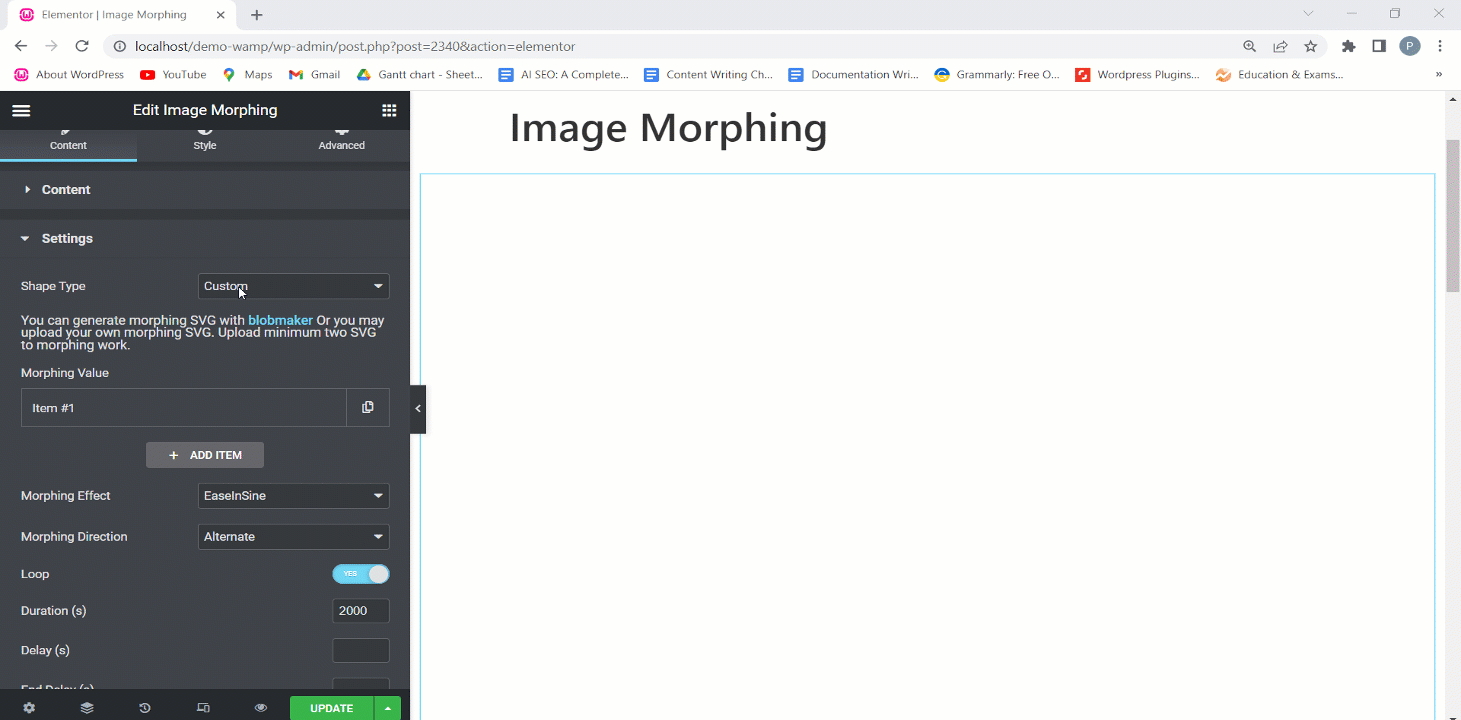
Also, you can upload your own morphing SVG. Note that, you have to upload minimum two SVG to morphing work.
Style #
The styling options are available for Image, Color, and Gradient effects.
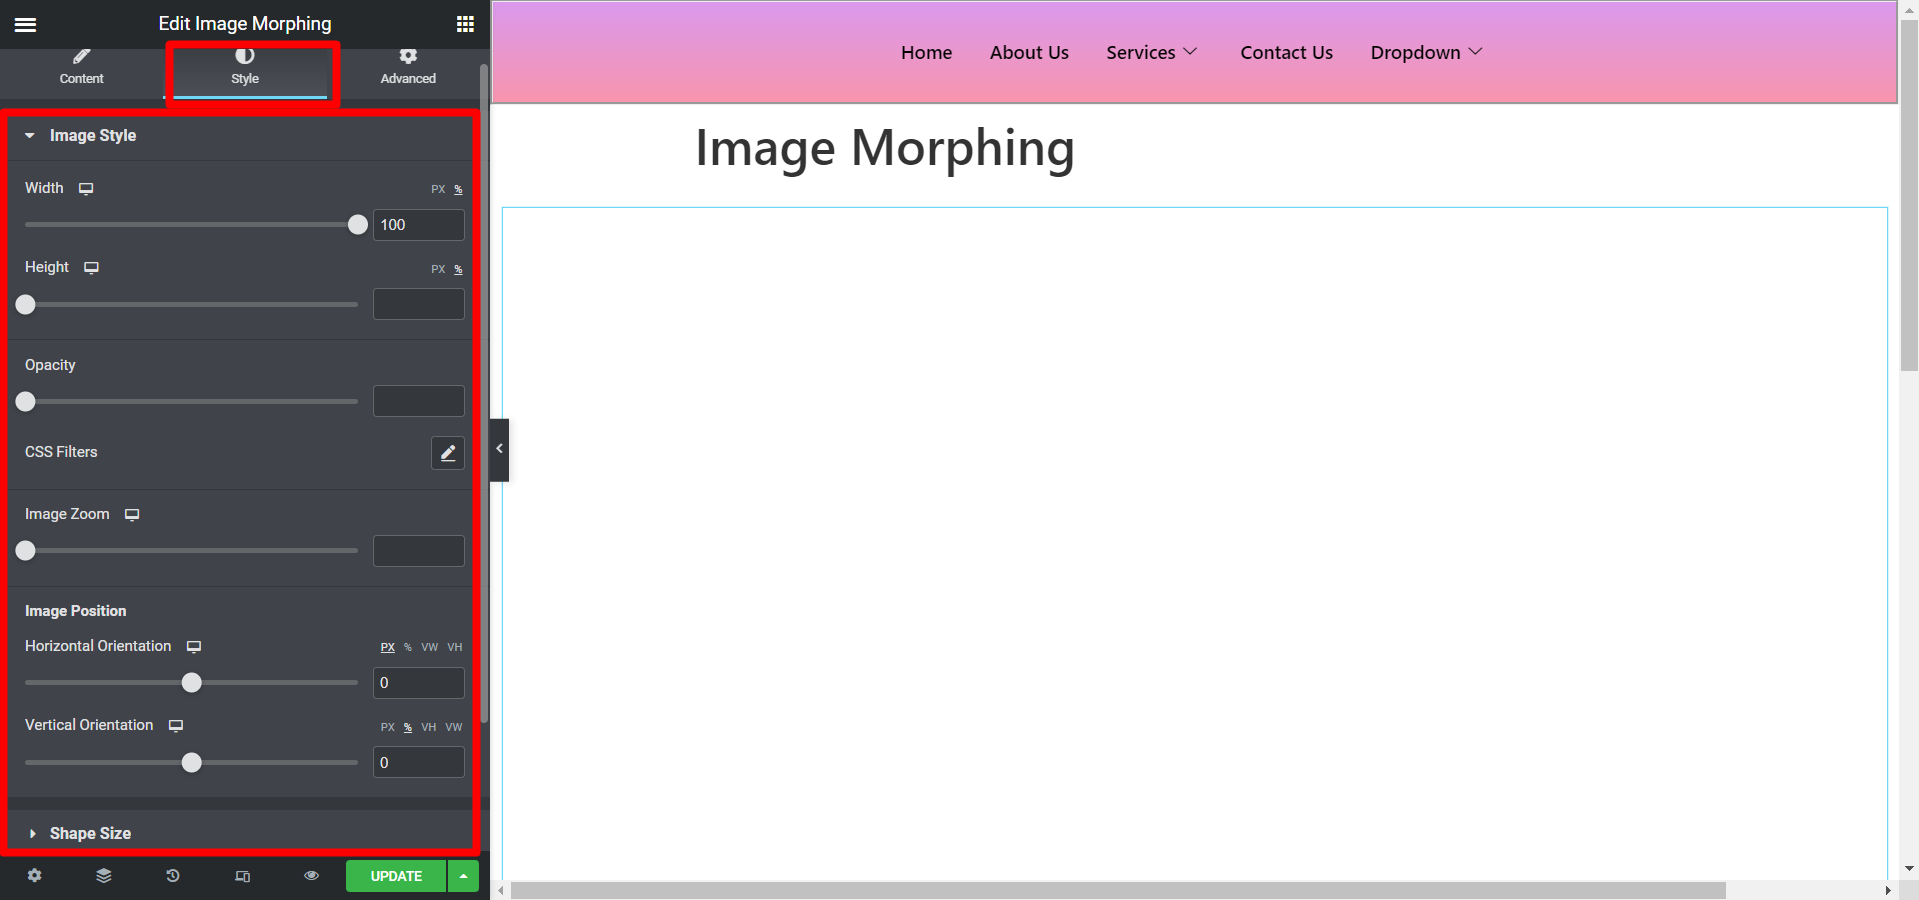
Image Style #
In this section, you can adjust the image Width, Height, Opacity, CSS filters, Image zoom, image position in Horizontal orientation wise and vertical orientation wise.
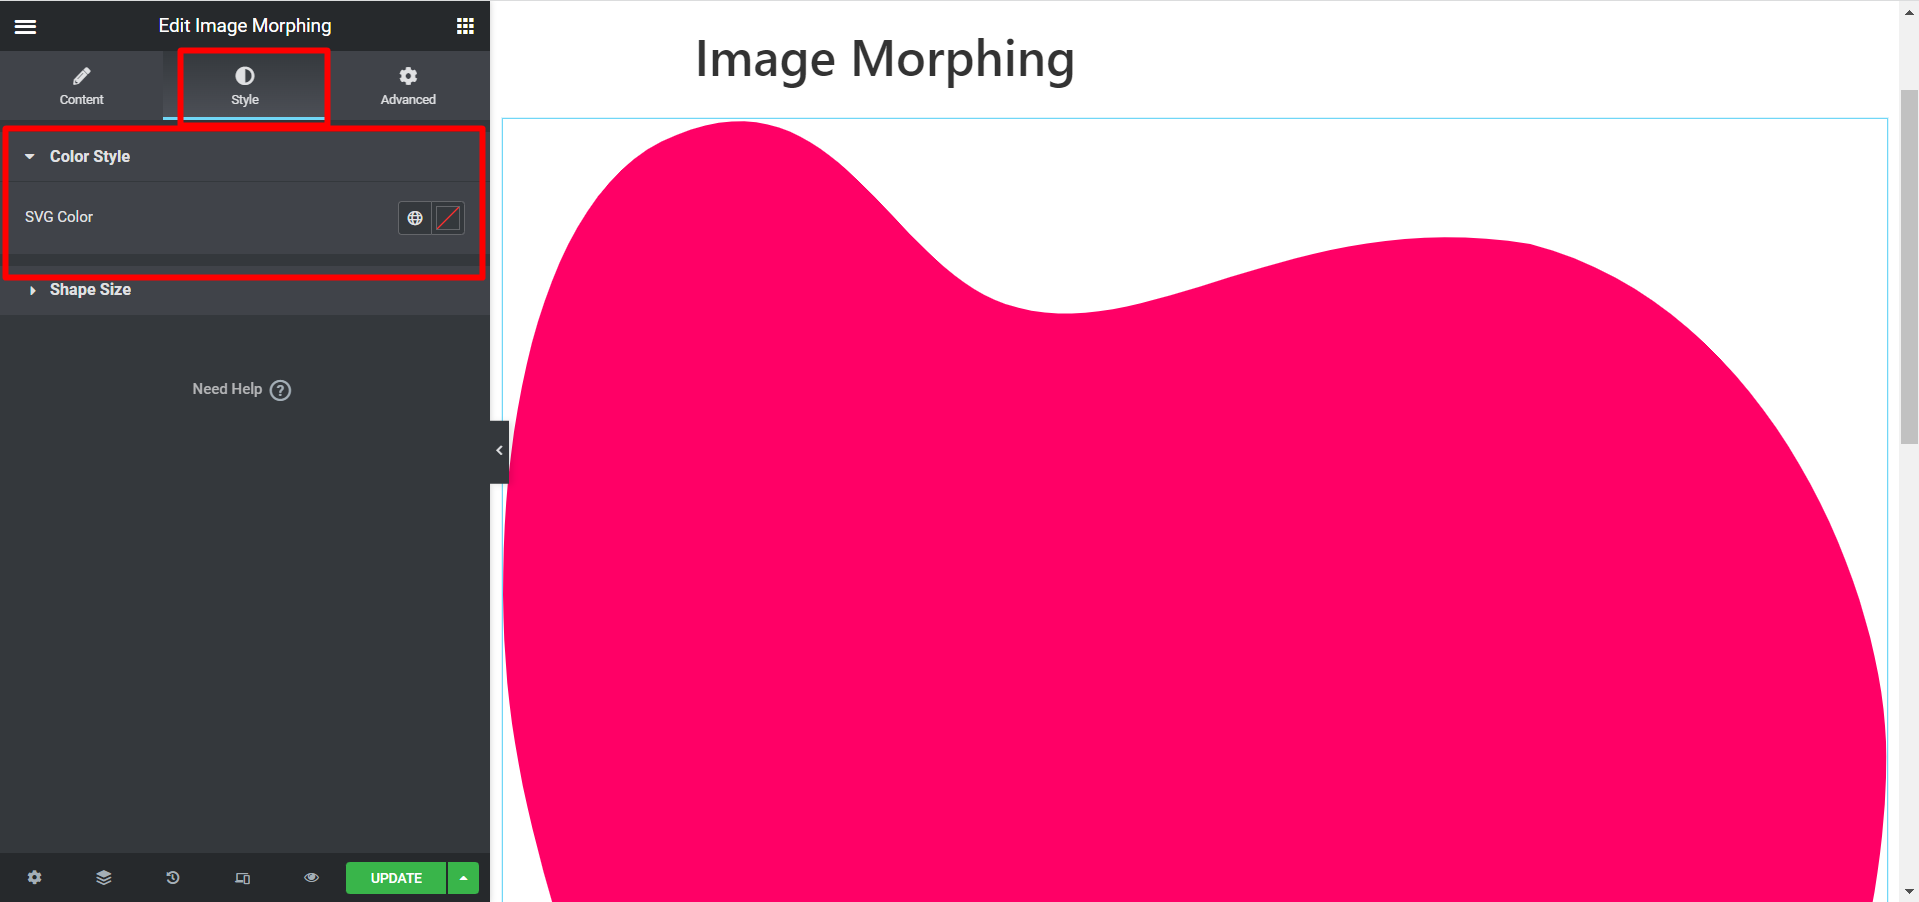
Color Style #
For Color effect type, you will have options to customize SVG color.
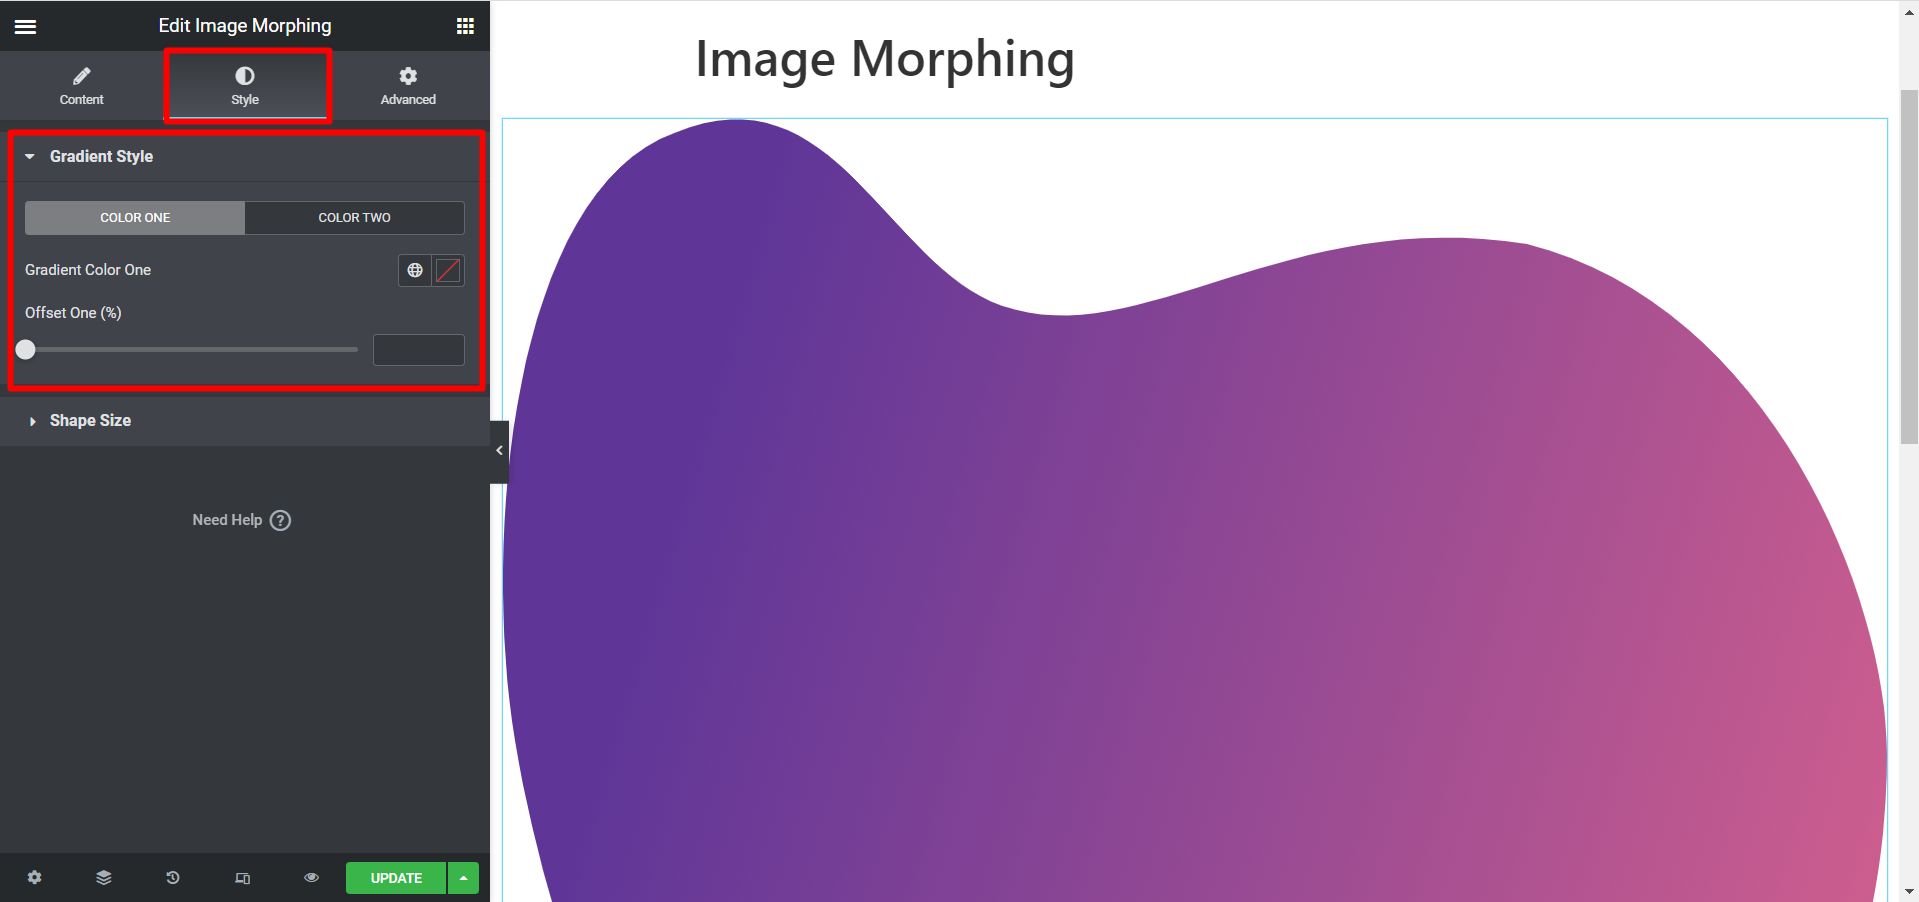
Gradient Style #
There are two color options, you have to choose accordingly and adjust Offset also.
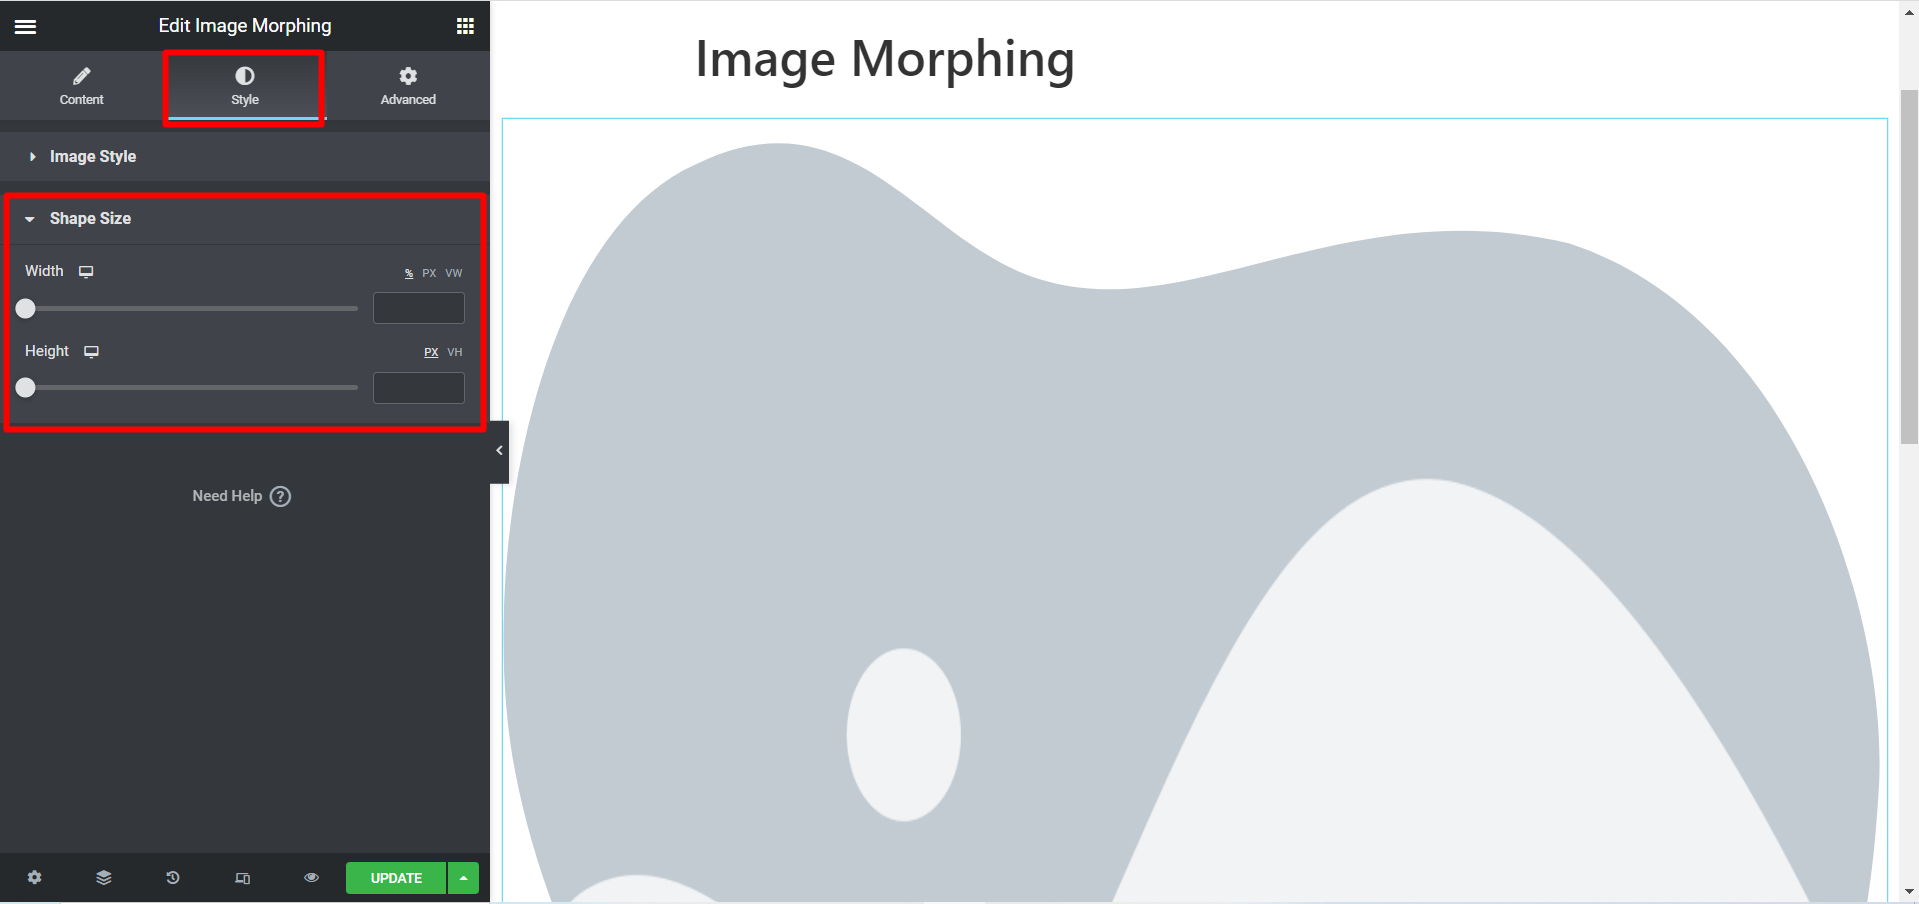
Sape Size #
This option is common for all the effect type. You can adjust the width and the height of the images based on your needs.
This is an example of image morphing we have customized for you-

To showcase different images in attractive way through animation and uncommon effects, ElementsKit Image Morphing widget is your best choice.


