

Want to get rid of the boring style of showcasing images on your WordPress website? Try the image box template of ElementsKit.
ElementsKit (a complete Elemetor add-on) offers 19 different image box templates to display images with various effects and animation. Also, you can include text, headings, buttons, URLs, icons, and many more.
All of these elements are fully customizable. Plus, you can remove or include any elements of Elementor with the ElementsKit image box templates.
✨✨ Required Plugins:
👉👉 Elementor: Download Elementor Plugin
👉👉 ElementsKit: Download ElementsKit Plugin
Create an Image Box Using ElementsKit #
- Create a new post/page or open an exciting one with Elementor
- Click on the ElementsKit icon
- Choose the “Image box” from the category

- You can see 19 different templates (11 free, 8 premium) for the image box
- Click on the plus sign (+) to see the preview
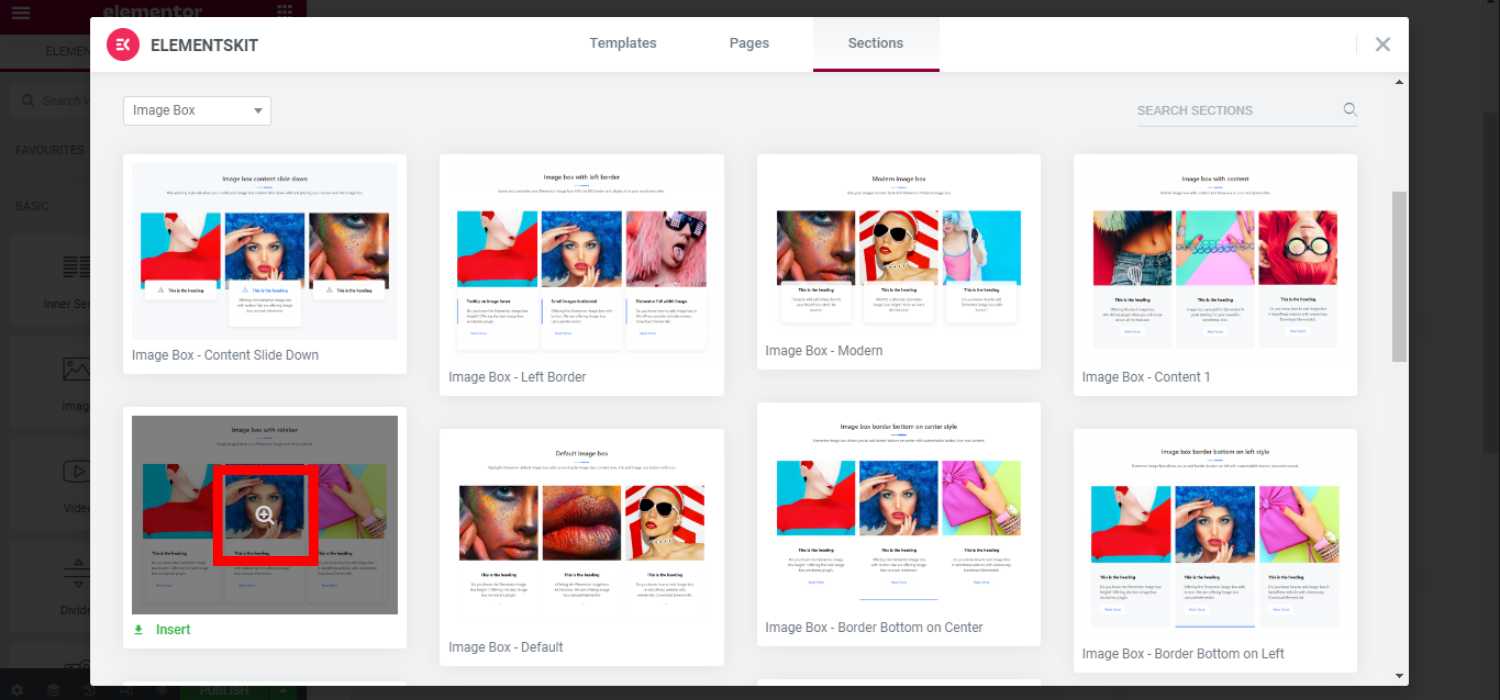
- Click on “Insert”
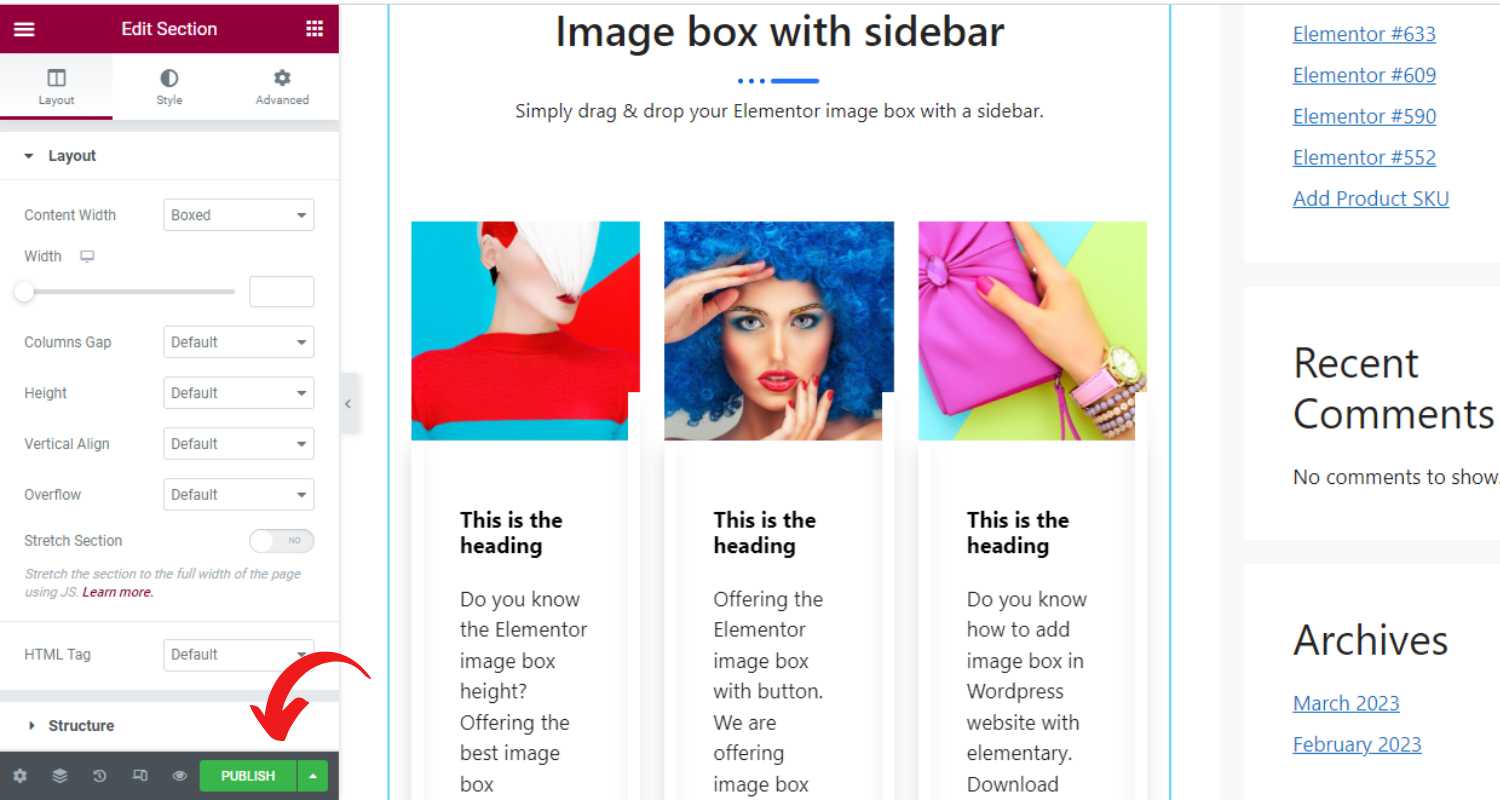
- It will appear on your page/post
- Now you can edit the styles and other properties of the image box template
- After customization, click on “Publish”
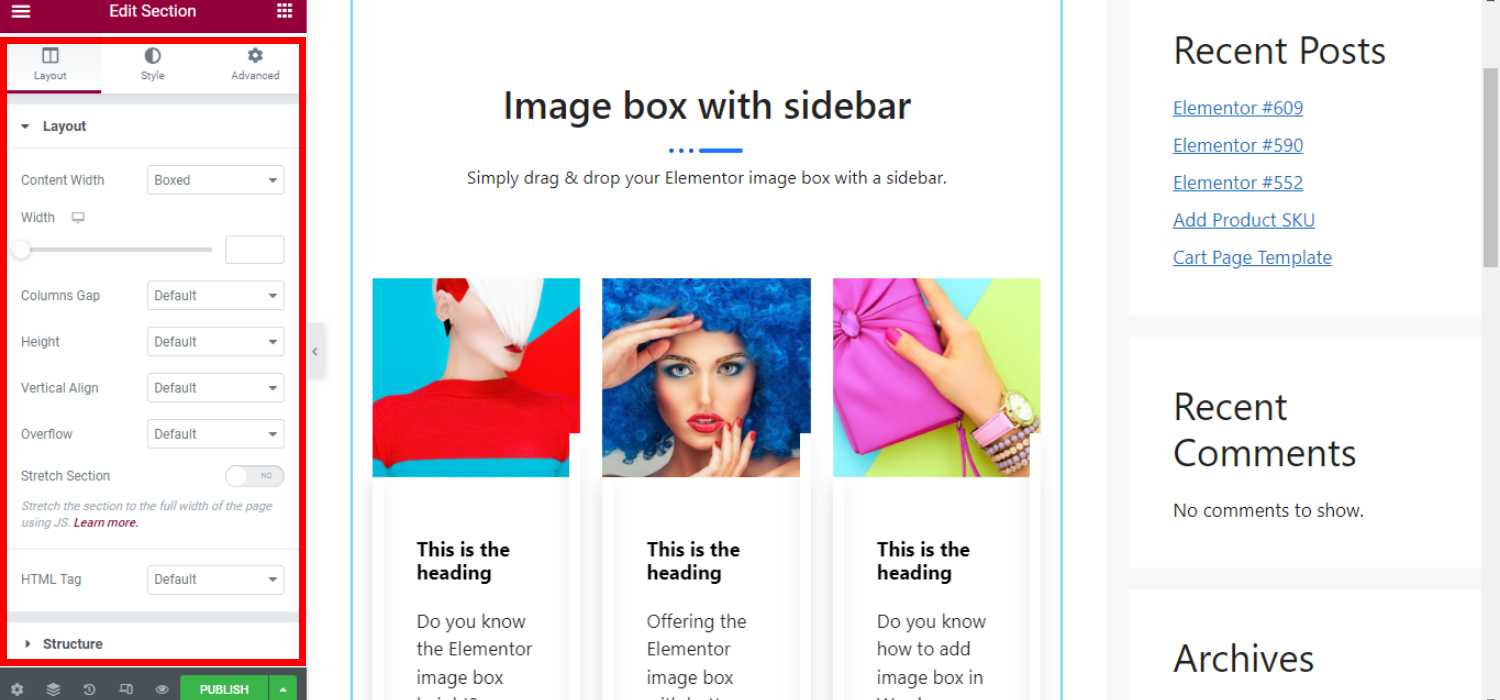
Customize the ElementsKit Image Box Template #
From the left sidebar, you can customize the image box layout, content as well as styles of each element. Besides, you can do advanced customization for a single element or the entire layout from the Advanced settings.
Layout Customization #
- Select the content width (boxed or full width)
- Set custom width
- Customize column gap, height, vertical alignment, overflow
- Turn on/off the stretch section
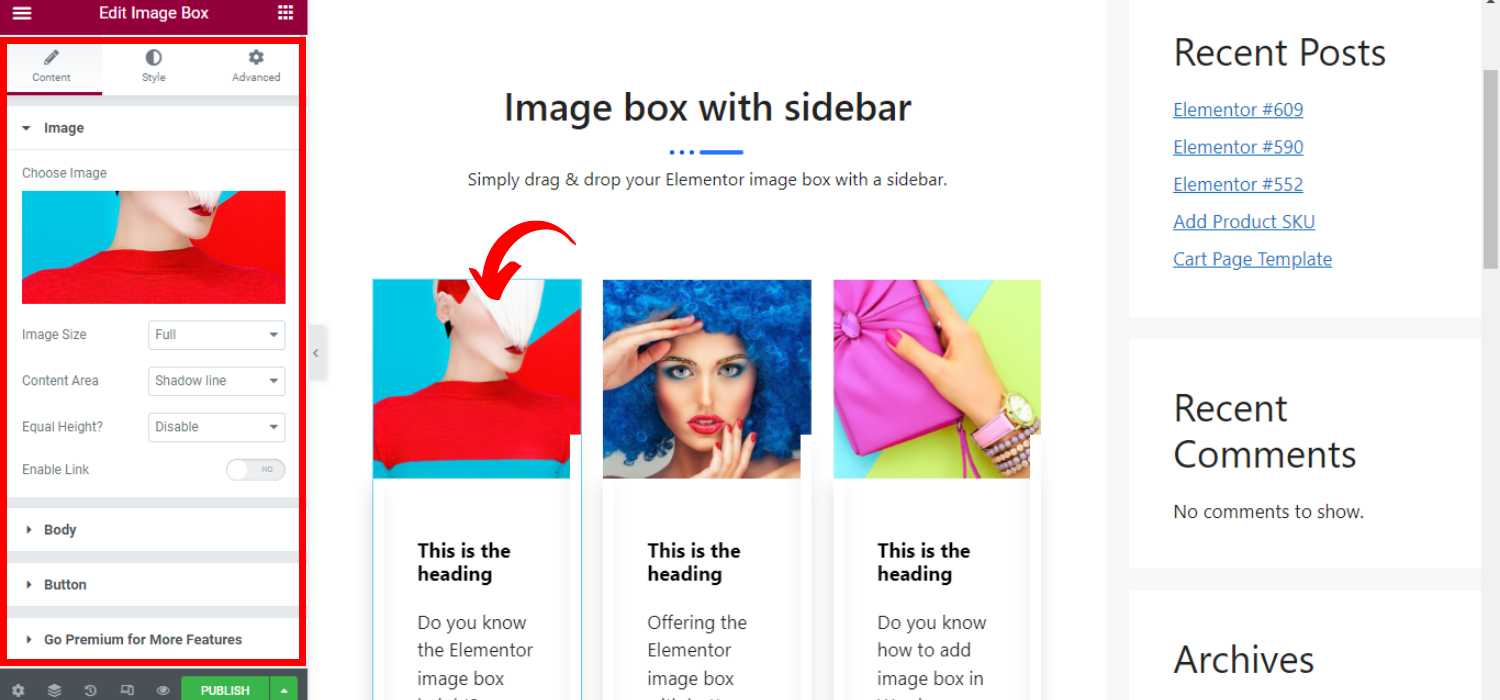
Content Customization #
👉 Image
- Change the image
- Customize the image size
- Set the content area
- Enable or disable equal height
- Enable or disable URL
👉 Body
- Change the title text
- Customize the title HTML tag
- Set the title alignment
👉 Button
- Enable or disable the button
- Customize the button label text
- Add URL
- Add/remove icon
- Set icon position
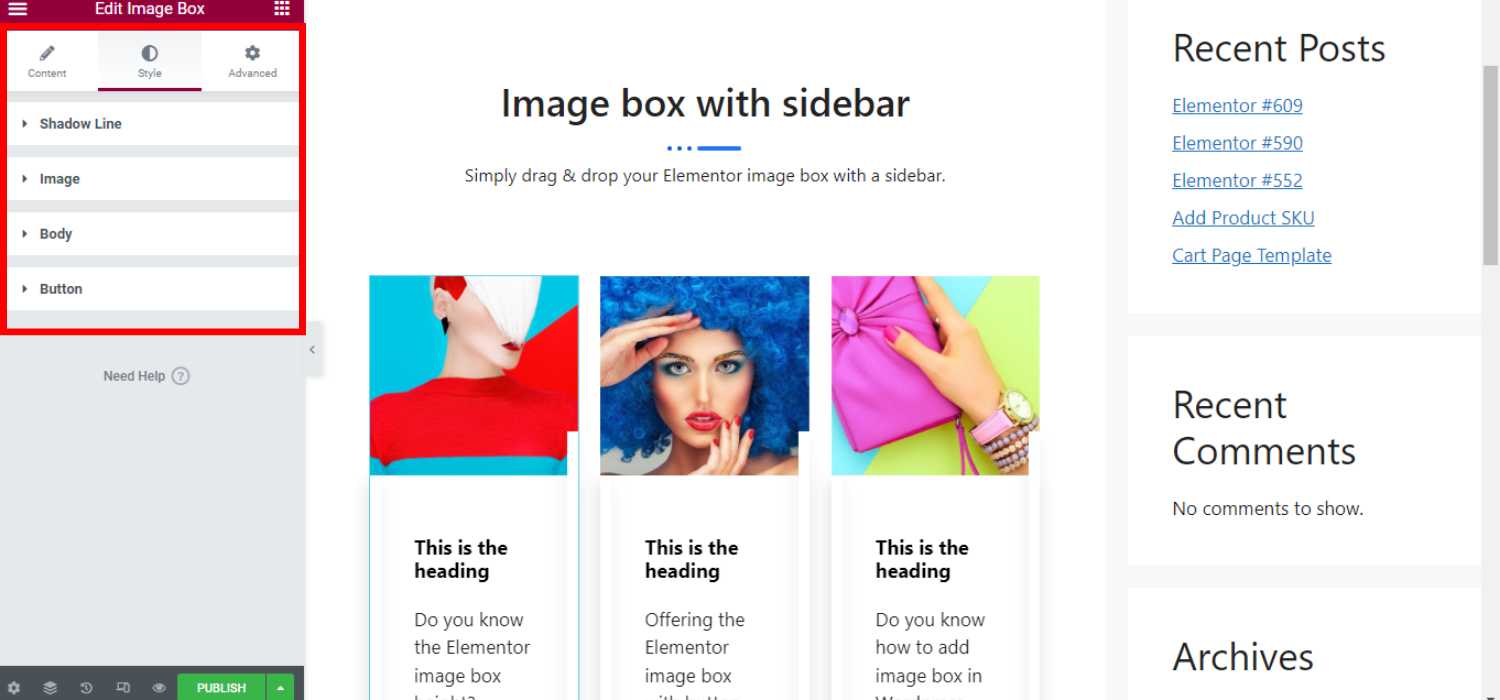
Style Customization #
👉 Shadow Line
- Select the left or right shadow line
- Set custom width
- Customize the box-shadow
- Customize background type, color
- Set background image
👉 Image
- Set custom border radius, padding
- Customize the image opacity for normal or hover style
👉 Body
- Set border type, border-radius
- Customize background image, type, and color
- Set custom padding, box shadow color
- Set title spacing, typography, color
👉 Button
- Customize padding value, icon font size
- Change the button text and background color
- Set normal or hover properties
- Set border type, border radius, box-shadow
Advanced Customization #
- Customize the layout’s margin, padding, width, position, and z-index
- Set motion effects for elements (e.g. fade in, zoom in up, bounce in, slide in left, etc.)
- Customize the responsiveness and attributes
- Insert custom CSS for additional modification
Hopefully, now you can showcase your website images in more interesting ways using the ElementsKit image box templates. And, don’t hesitate to ask any queries or share your suggestions with us.


