The product image widget will help you to customize product images. You can customize various things like icons, flash sale badges, images, etc. This additional customization can convert your boring site into an engaging site. Now, building an engaging site will be easier with the product image widget of ShopEngine.
Why use the Product image widget? #
ShopEngine’s product image widget is very helpful for making more interaction with your customers. Here are the ultimate reasons for using this widget:
- It will help you to increase the conversion rate.
- You can boost your site’s engagement by adding flash sale badges.
- The site will be more appealing to your customers.
- Customization will be easier with this widget.
Steps of using the product image widget: #
Follow the below steps to use this widget:
Step 1: Create a new template. #
First, add a single-page template. Read the documentation of creating a single-page template to add it.
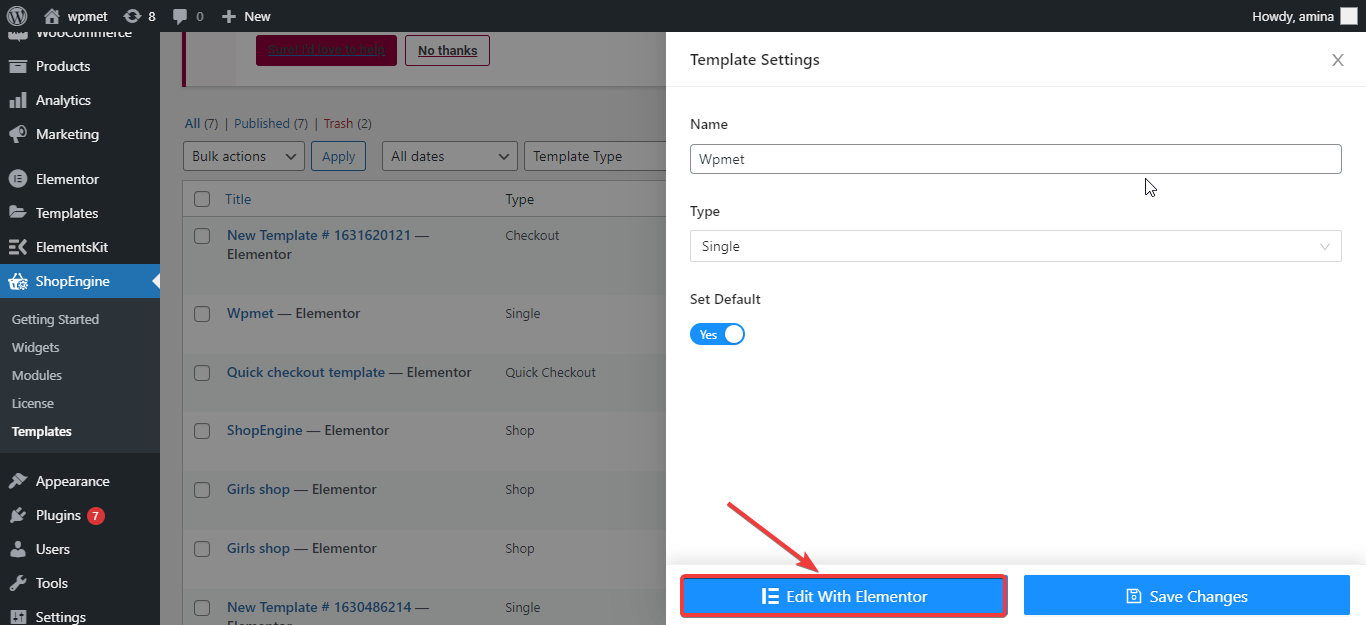
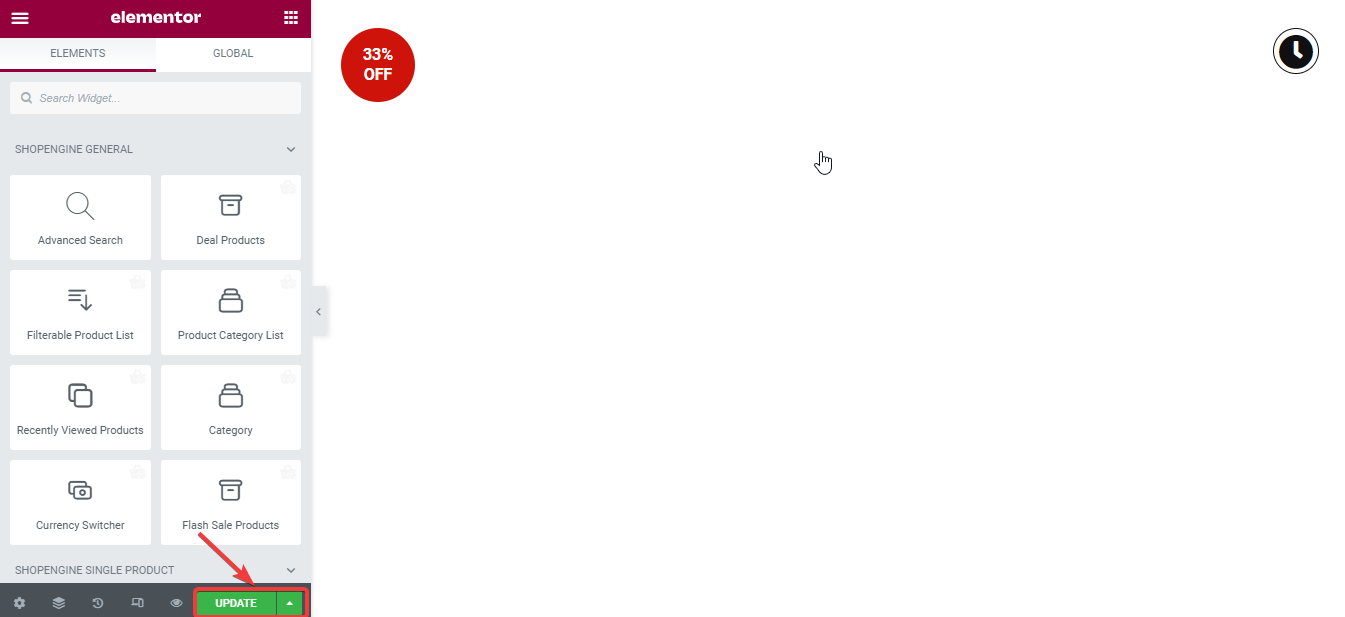
Step 2: Edit the template with Elementor. #
In this step, you need to click the edit with Elementor button.
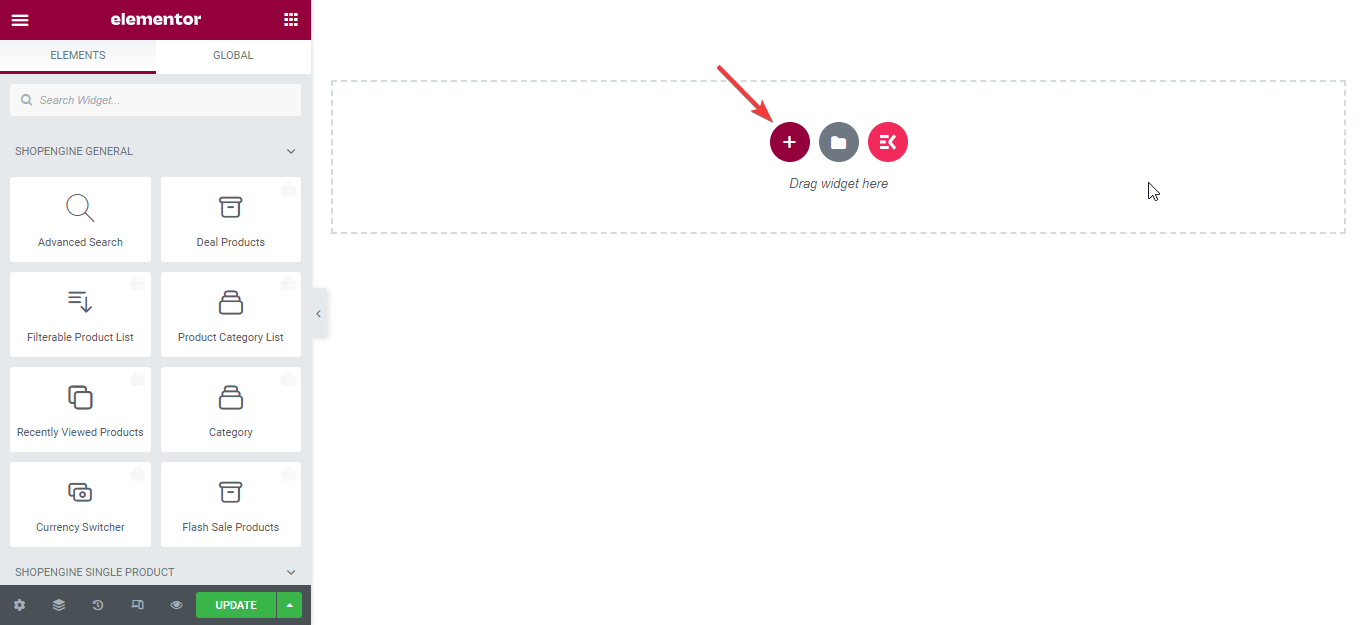
After that, add a new section from here.
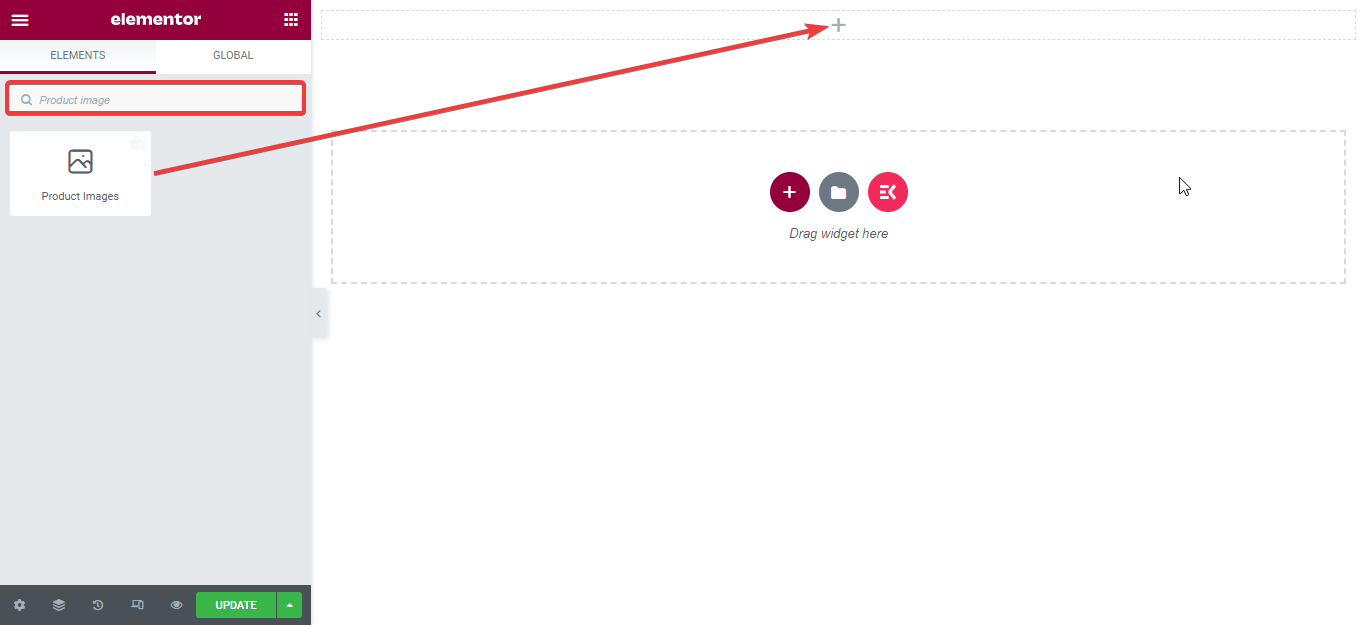
Now, search for the widget in the search widget field and drag and drop the widget in the section.
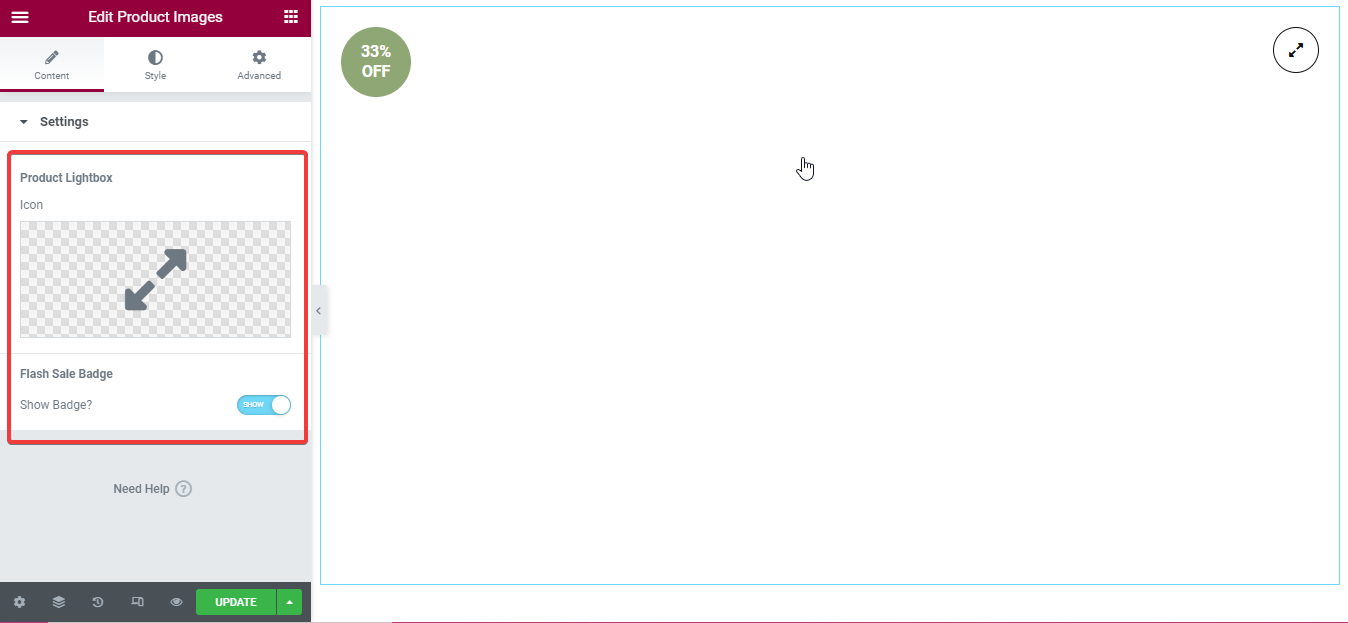
Step 3: Edit the content of the widget. #
Here insert icon for the product lightbox field. After that, hide or show the flash sale badge as per your need.
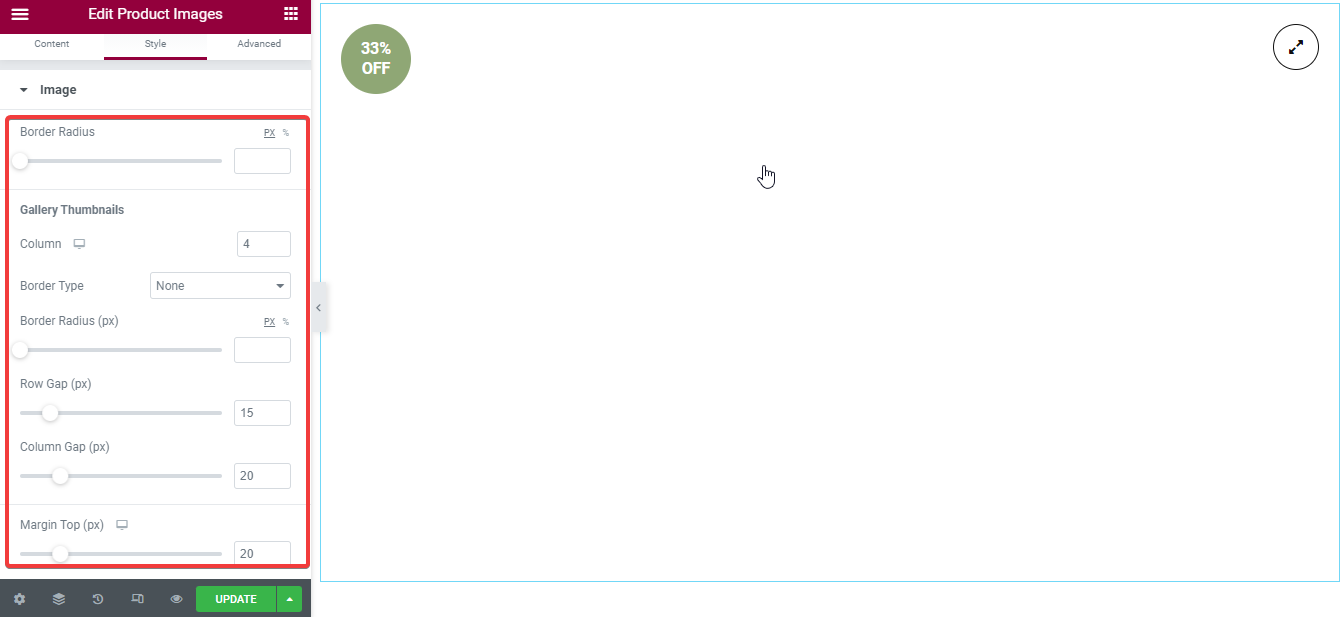
Step 4: Change the style of the widget. #
In this step, customize the following option:
- Border radius: select border-radius for your image.
- Gallery thumbnail:
- Column: insert the number of columns you want to show in the gallery.
- Border type: Choose the border type for your image.
- Width: select width here.
- Border color: Choose a color for your border.
- Border radius: Insert radius from here.
- Raw gap: You can customize the row gap from here.
- Column gap: Customize the column gap as per your needs.
- Margin top: You can increase or decrease the top margin from here.
- Lightbox zoom icon: You need to customize the following fields:
- Icon color: Select color for your icon.
- Icon border-color: Need to choose a color for the icon border.
- Icon background color: Choose an icon background color.
- Size: Customize the size of the lightbox zoom icon.
- Wrapper size: You can increase or decrease the wrapper size.
- Border radius: Insert the border radius here you need.
- Position: You can set the lightbox zoom icon on the left or right side.
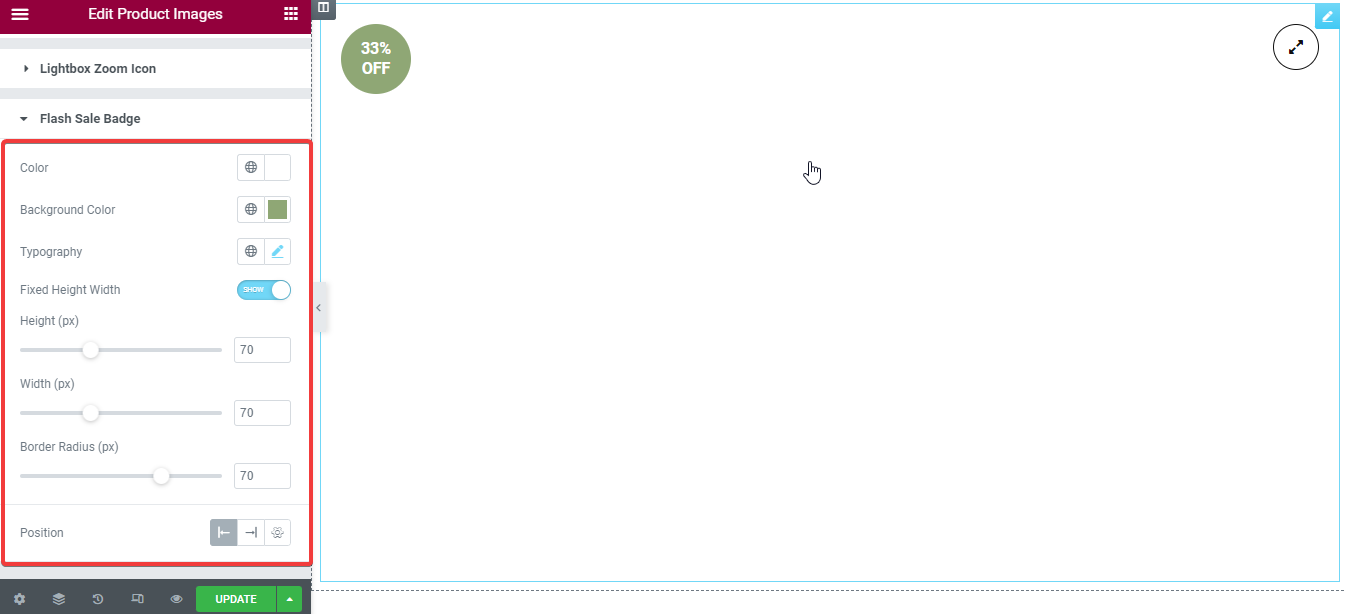
Flash sale badge: Edit this badge like you have edited the lightbox zoom icon. You need to customize these fields:
- Color.
- Background color.
- Typography.
- Fixed height width.
- Height.
- Width.
- Border radius.
- Position.
Note: You can also make advanced customization for every widget.
Finally, press the update or publish button.
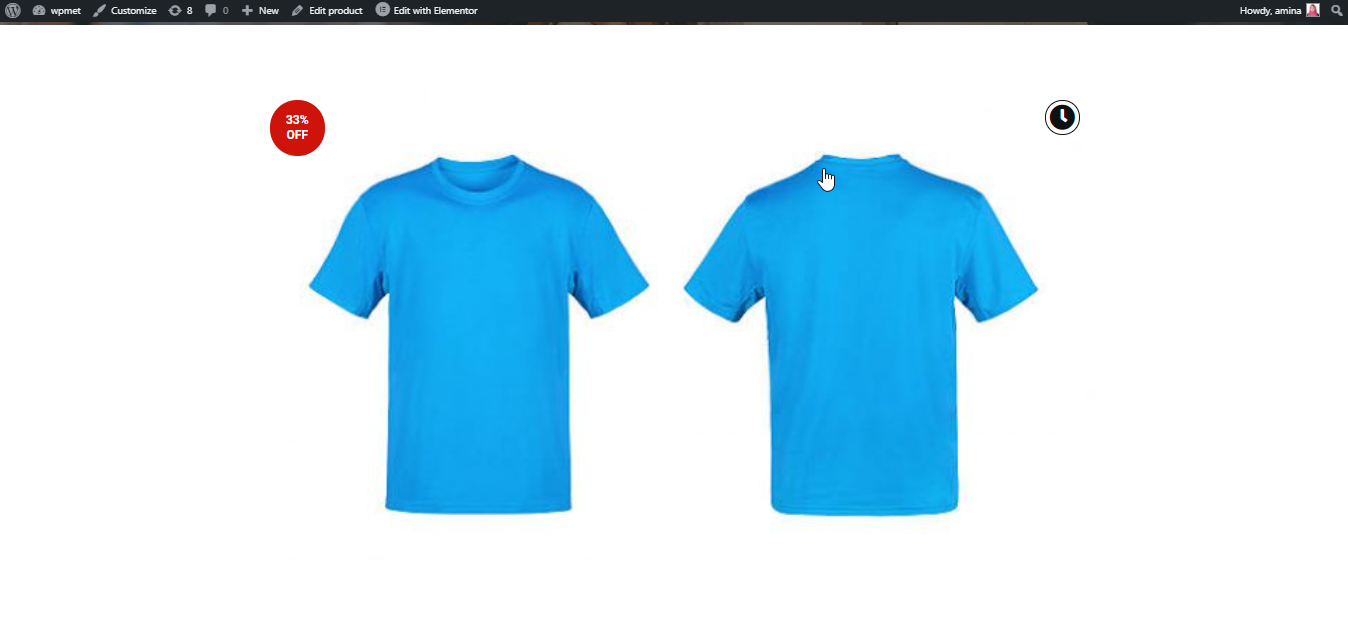
Now, after the customization, here is the outcome: