What is EmailKit? #
EmailKit is a plugin for building email templates for your WordPress website, allowing you to easily create and customize email templates for different purposes through a user-friendly drag-and-drop interface. You can start from scratch using powerful content elements like headers, text, images, column sections, social icons, etc.
Specifically, it includes WooCommerce features like shipping address, customer notes, and order items, to create an e-commerce email template effortlessly.
Plus, a versatile collection of pre-designed templates will help you create professional-looking email templates instantly. This plugin is loaded with various customizing features to change colors, typography, background, spacing, and other design aspects of email templates to match your brand identity.
Watch the video below to get started with EmailKit:
For written instructions, keep reading.
How to Install EmailKit #
Installing this WooCommerce email builder is as easy as you can think. You just need to install the email builder plugin and customize WooCommerce emails with ease.
Read this documentation to learn how to use EmailKit- WooCommerce Email Customizer.
Prerequisite #
Because EmailKit is an email customizer for WooCommerce, therefore you need to install and set up WooCommerce on your website.
Getting Started with EmailKit #
You can get the WooCommerce email customizer plugin from WordPress.org. or by searching in the plugins section from your dashboard.
Installing EmailKit from WordPress Dashboard #
From your WordPress dashboard, follow the below steps:
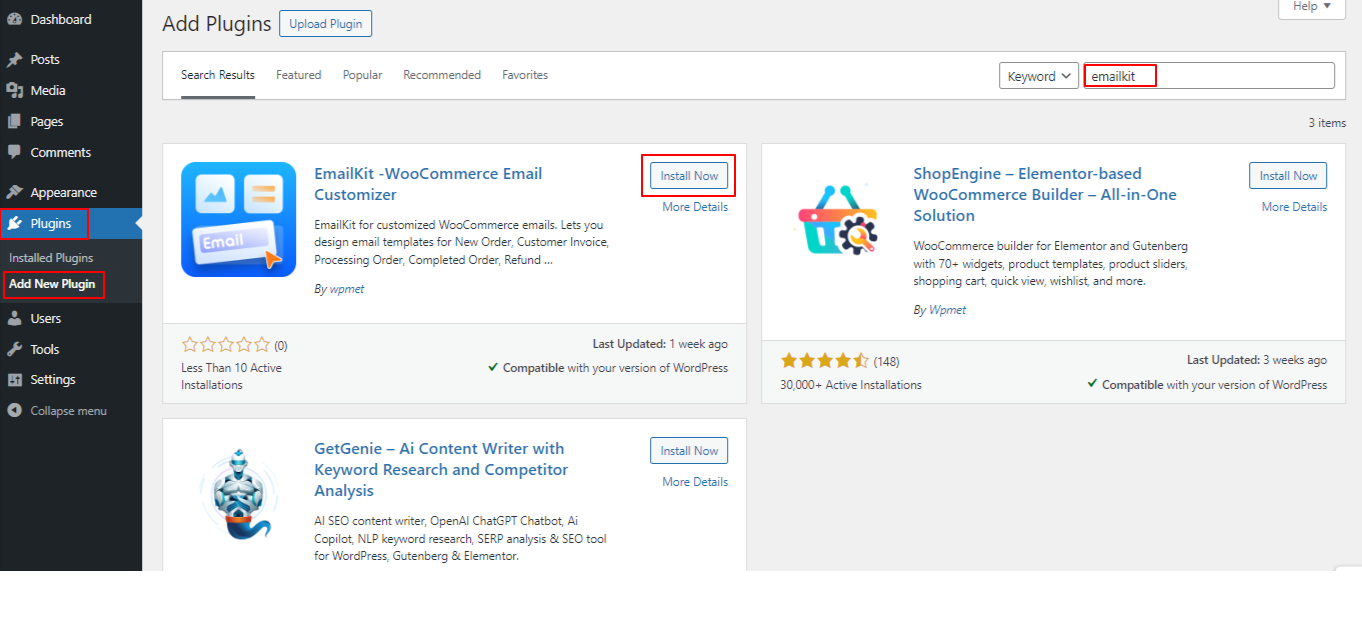
- Click Plugins > Add New
- Use the search box to find EmailKit.
- Once you see it, click Install Now and then Activate.
- That’s it! You will see the EmailKit in the right sidebar of your WordPress dashboard.
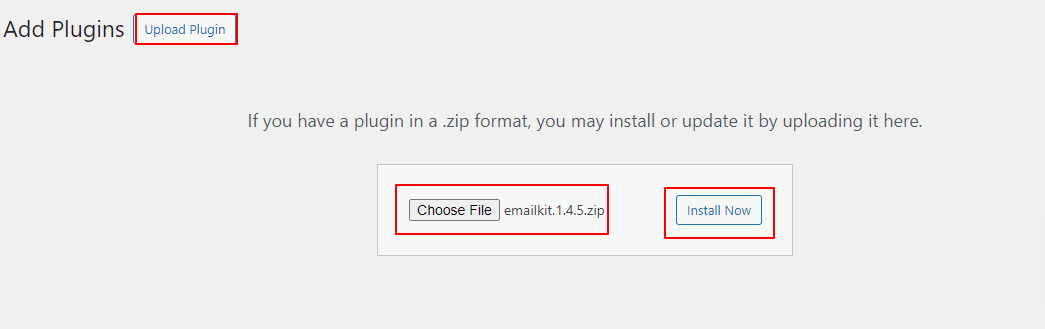
Installing EmailKit Manually #
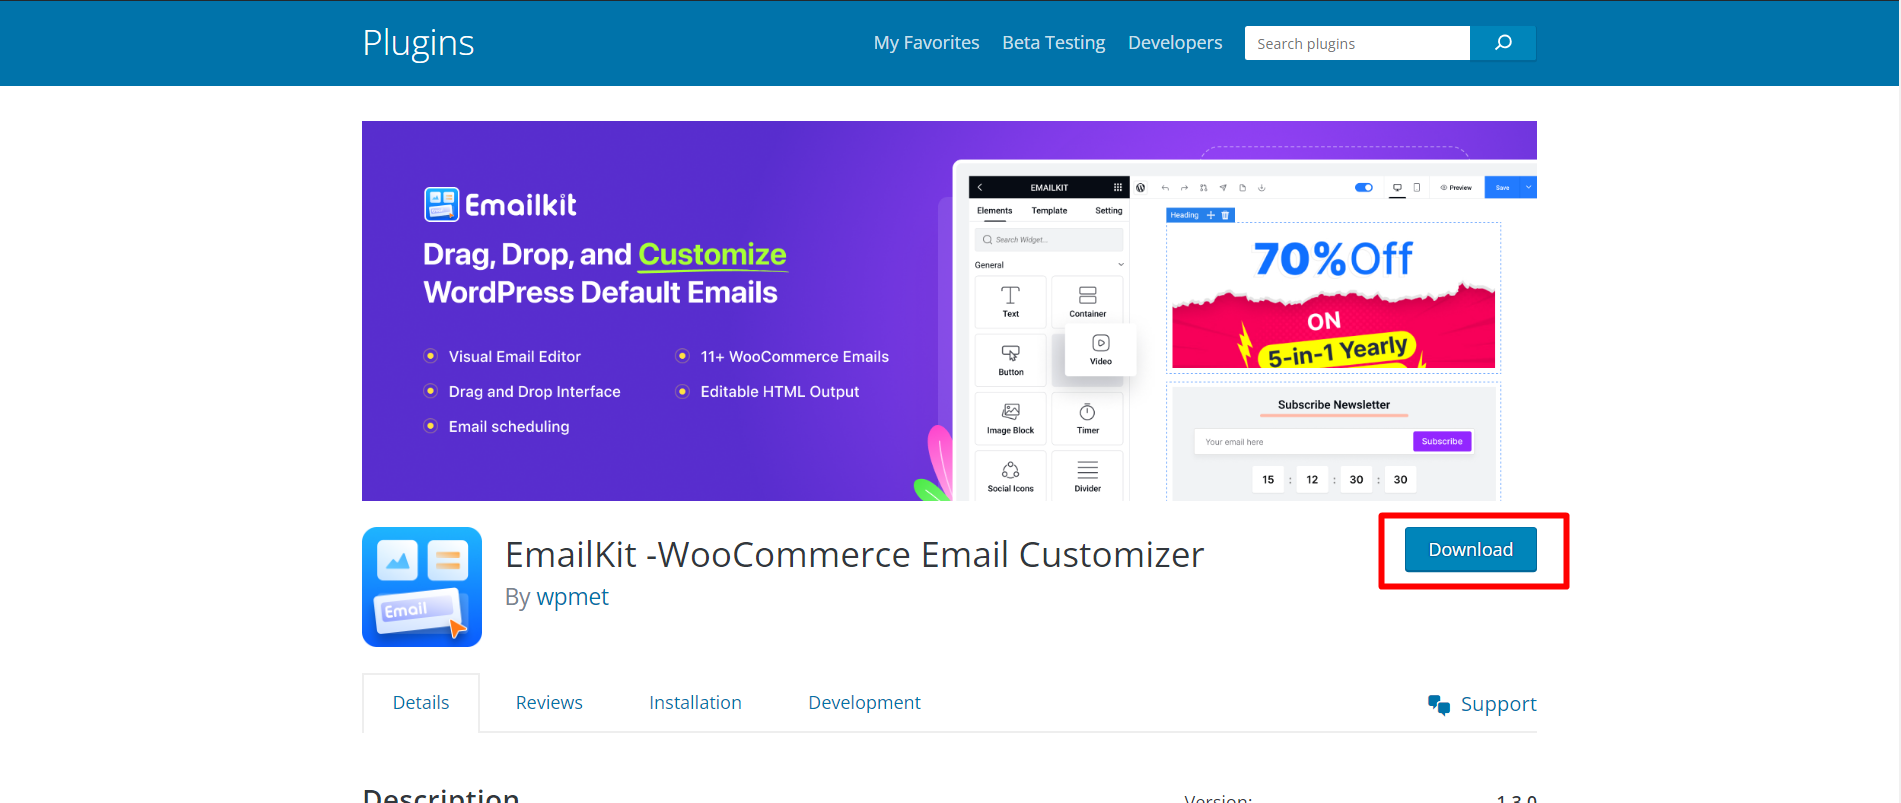
Another way to install the EmailKit plugin is by uploading the Zip file. For this:
- Visit this page and download the plugin
- Then, come to your WordPress dashboard.
- Click Plugins > Add New > Upload Plugin
- Now, drag or drop the file from your device or choose it.
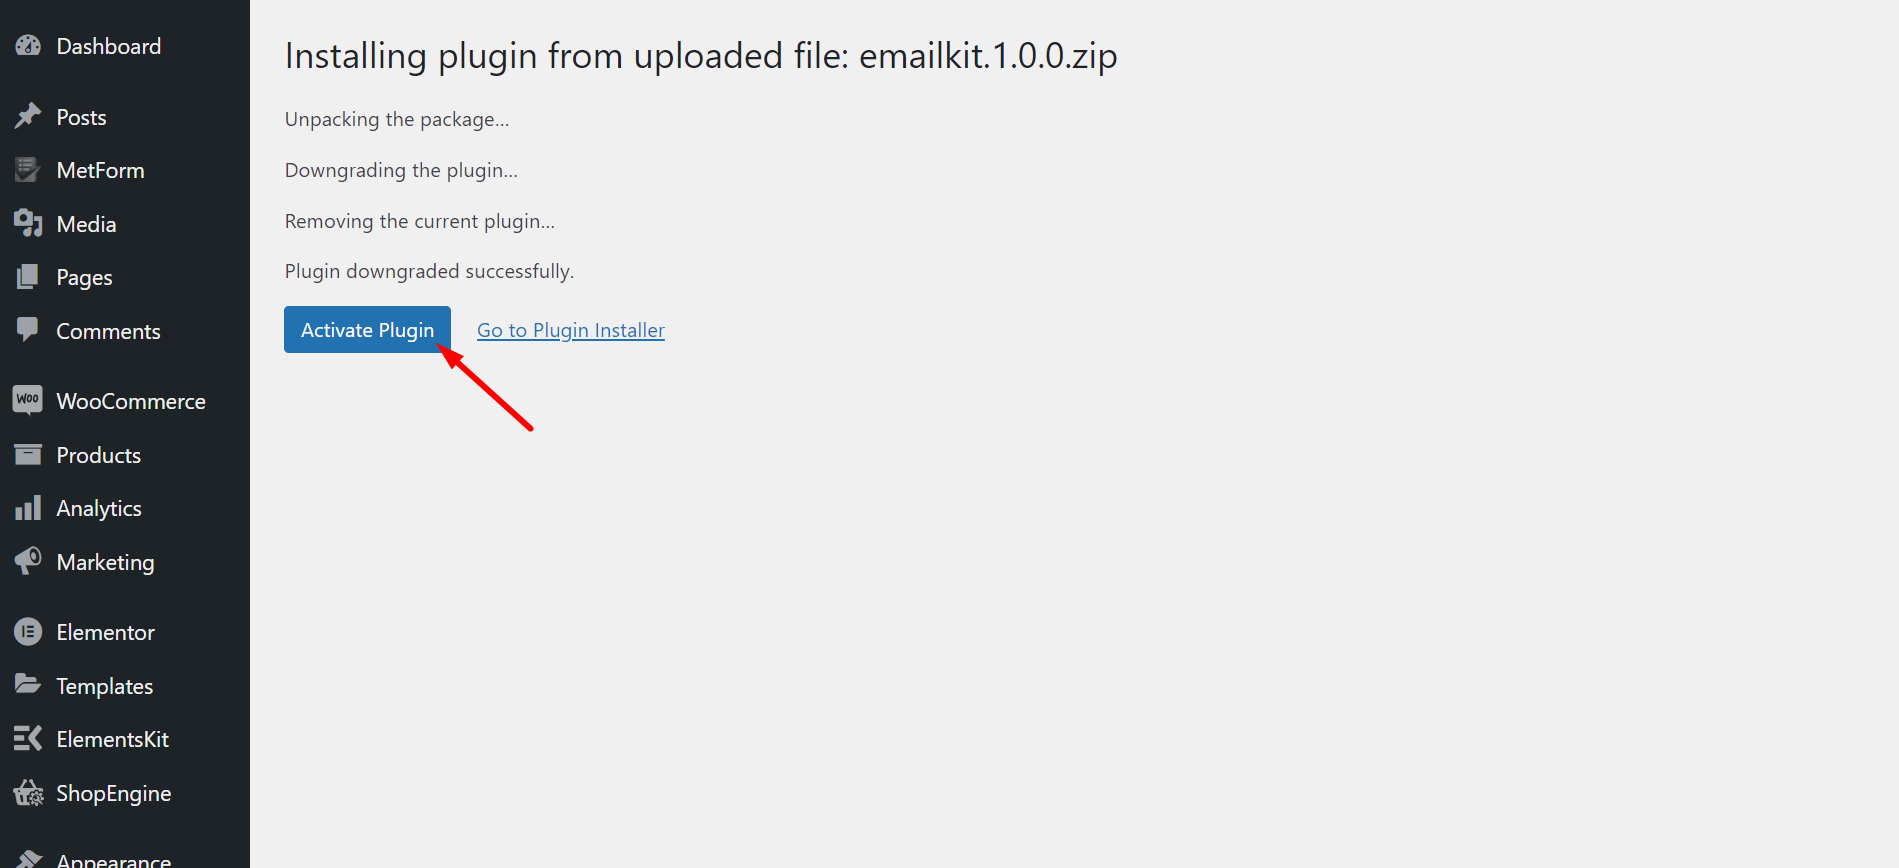
- Once it is uploaded, hit the “Install Now” button and activate it.
- The plugin is ready for use.
That’s it! The next step is to start using EmailKit.
If you need any help with that, we have a wide range of documentation available for you!


