An effective WordPress plugin table with filter allows you to display and customize user data. The elementor table widget for WordPress is useful to display data in a sorted way with various advanced styling options. You can design a table according to your chosen options and show information. And, there are two options also to upload any existing table of contents.
In this documentation, we will discuss the functions of this WordPress table widget.
WordPress Plugin Table with Filter #
Navigate to ElementsKit > ElementsKit > Widgets > Turn ON Table Widget > Save Changes
Table #
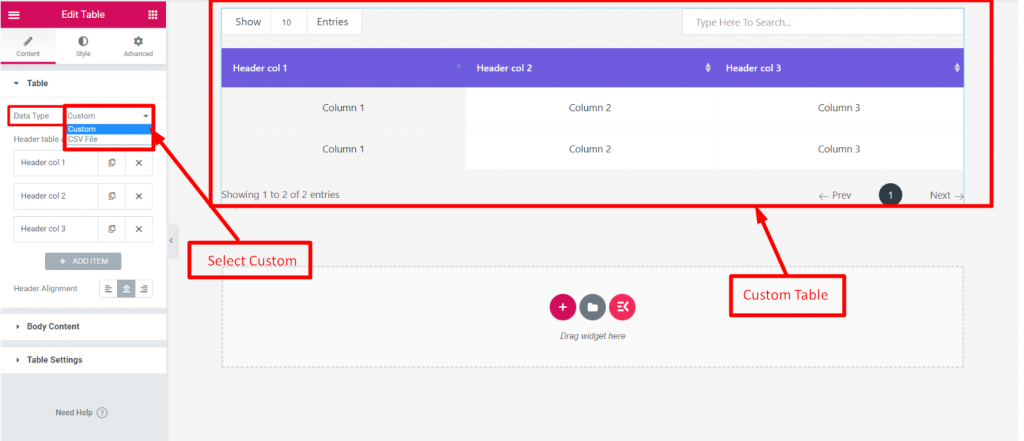
There are two data type options, Custom and CSV. You can custom your Data or you can also upload a CSV file. Let’s see how they work.
Data Type- CSV #
- Select Data Type: CSV File
- File Type: Upload File
- Upload a CSV file. And, if you already have a file uploaded in Insert Media then find the file and click on insert.
- Header Alignment: Set the table’s header alignment Left, Center, or Right.
Remote File URL– If you choose this file type you can show data using a CSV file that’s located on a different server. For that, after selecting the Remote File URL just enter the CSV File URL in the field.
Google Sheet Viewer URL– Again, to use a Google sheet data in your WordPress table, choose this file type and enter the Google Sheet URL in the field. You must remember that, the google sheet URL should have the access of Anyone on the internet with this link can view.
Data Type- Custom #
Select Custom from the option. Let’s see how you can customize a table and insert your data accordingly.
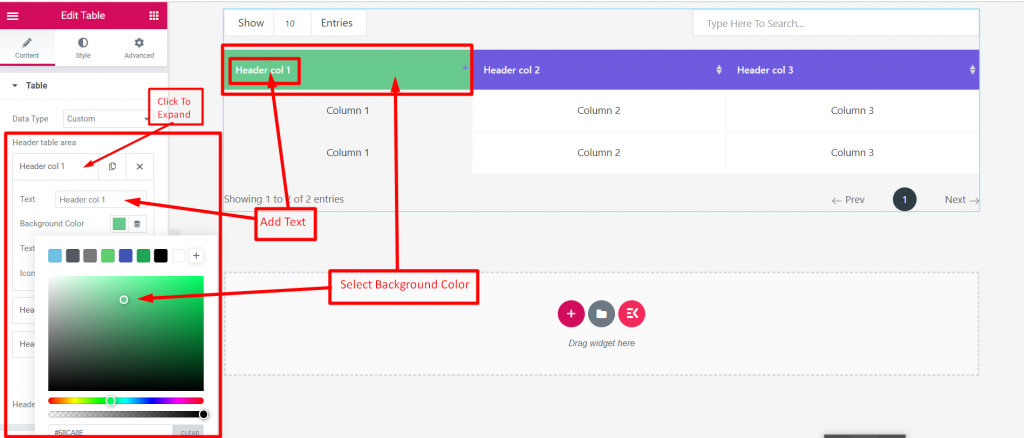
Header Table Area– Click the option
- It will be Expanded
- Add or Edit Text
- Set Header Background Color
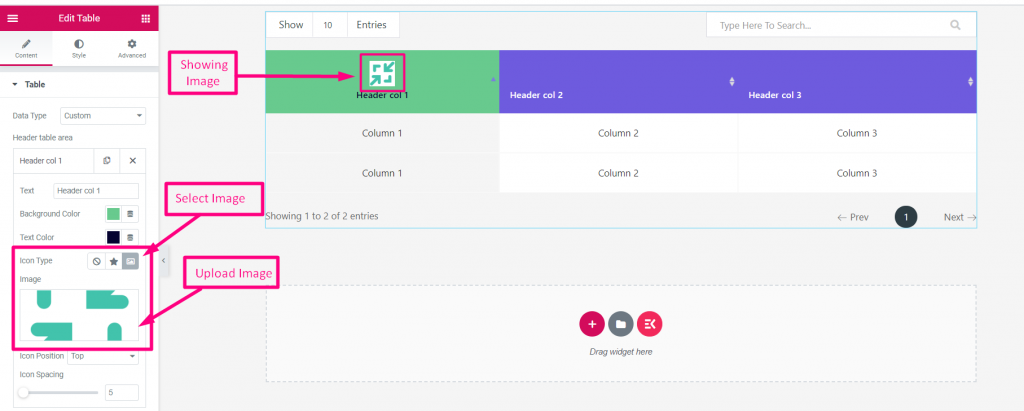
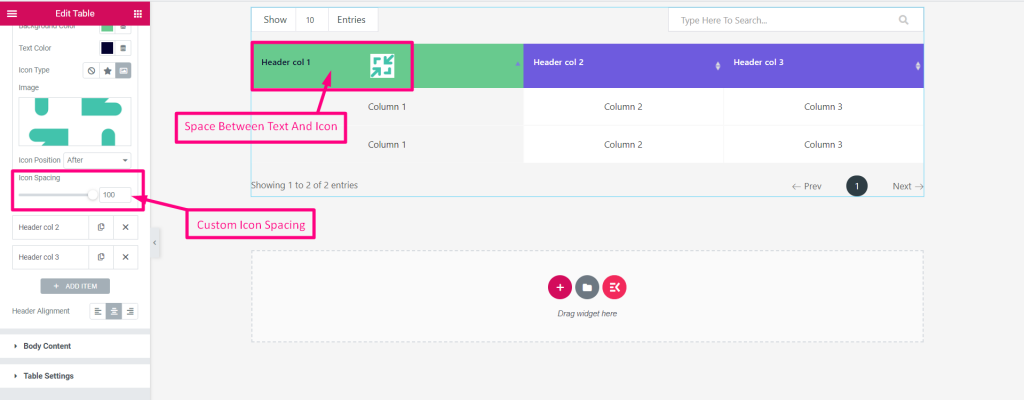
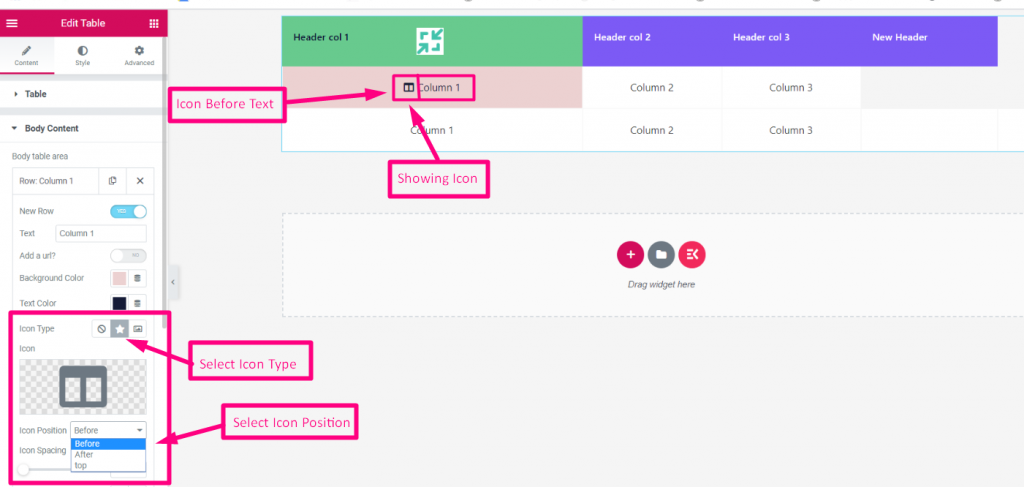
Icon Type: None, Icon, or Image then Upload Image in the next option.
Icon Position– Select Before, After or on the Top
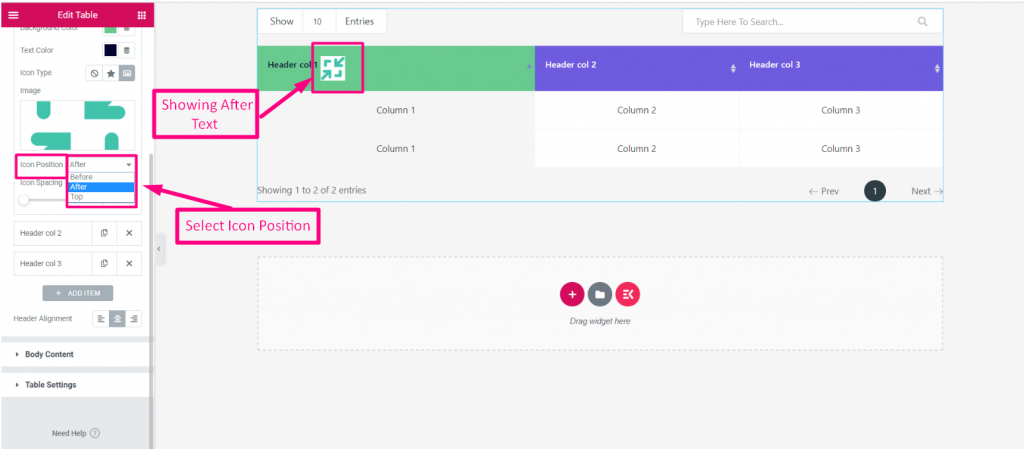
Icon Spacing– Custom Icon Spacing between text and icon
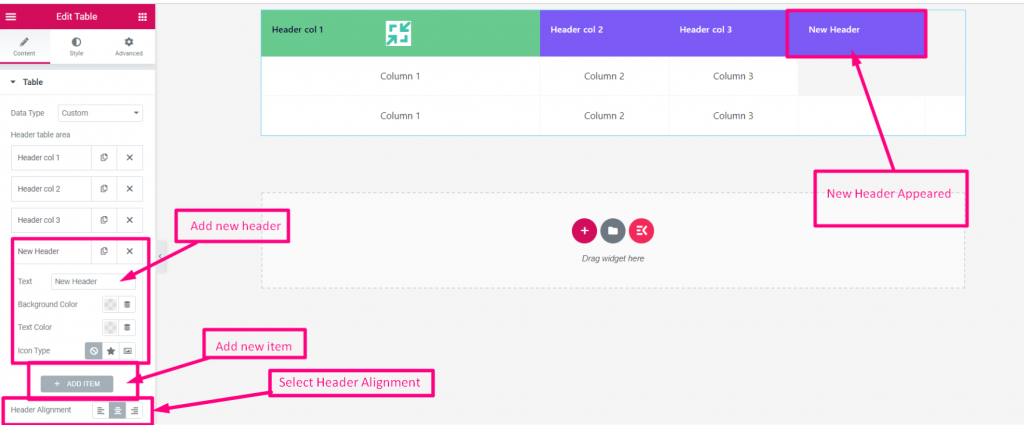
Add Item- See the options
- Add or edit header
- Add new header
- Select Header Alignment: Left, Center, or Right
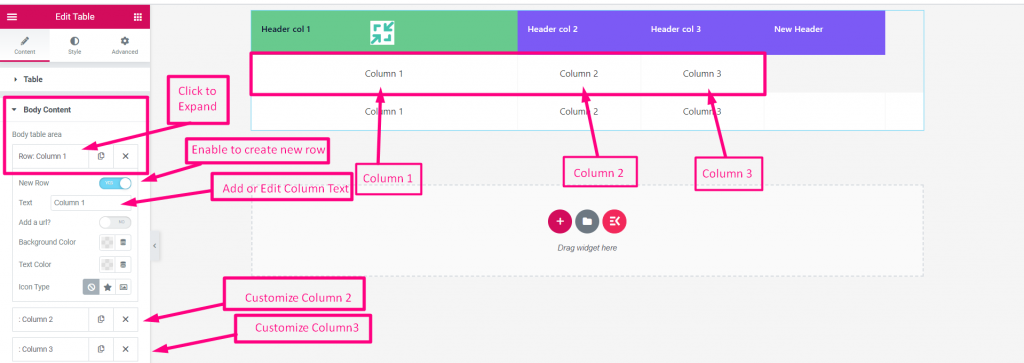
Body Content #
- Click to expand
- Enable new row
- Add or Edit Column Text
- Customize any column
Column Background Color– Select any Background Color from the palette.
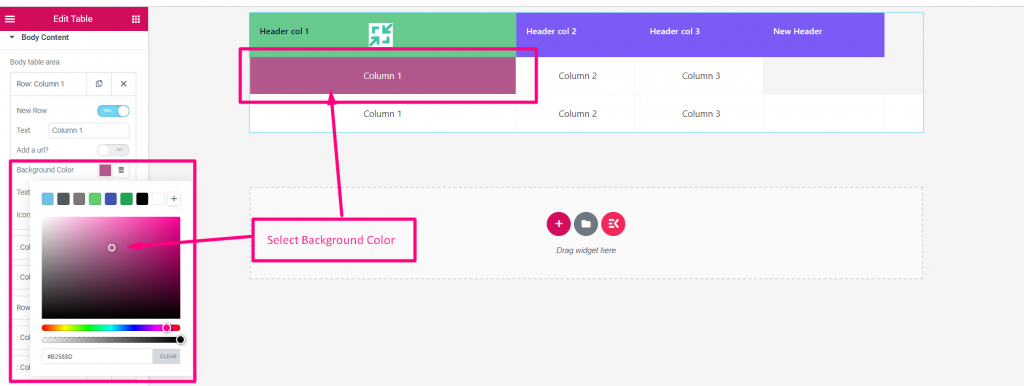
Column Text Color- Select any Column Text Color from the palette

- Icon Type- Select: None, Icon, or Image
- Icon- Upload Icon
- Icon position- Before, After or on the Top
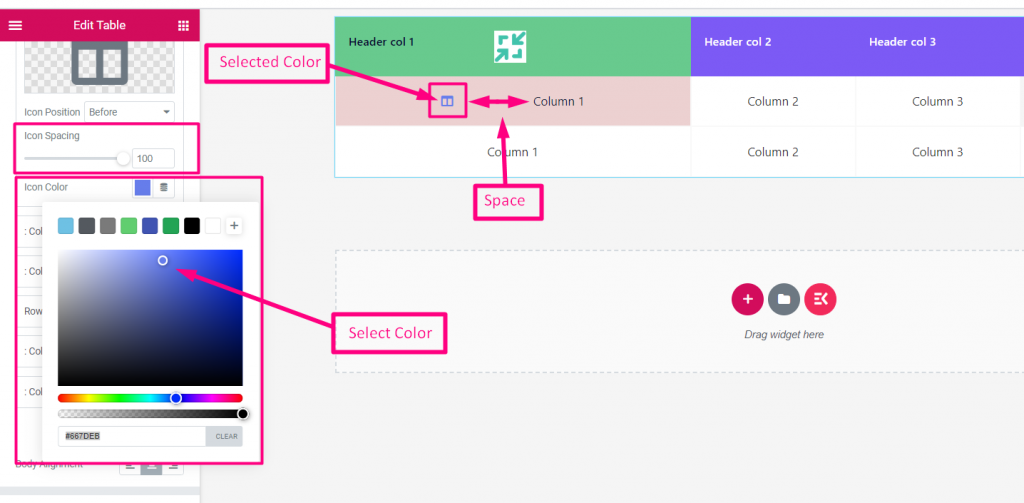
Column Icon Spacing- Set spacing between Text and Icon and choose icon background color.
Add New–
- You can Copy the existing column
- Enable to Add New Row
- Add URL
- Add New Item
- Select Alignment: Left, Center or Right
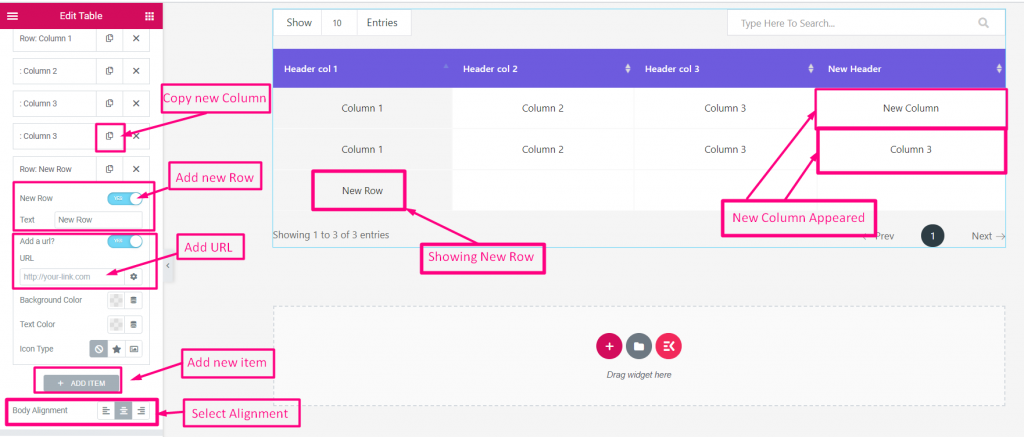
Table Setting #
- Display Serial Number- Enable to Display Serial Number.
- Serial Header Text- Add or Edit Serial Header.
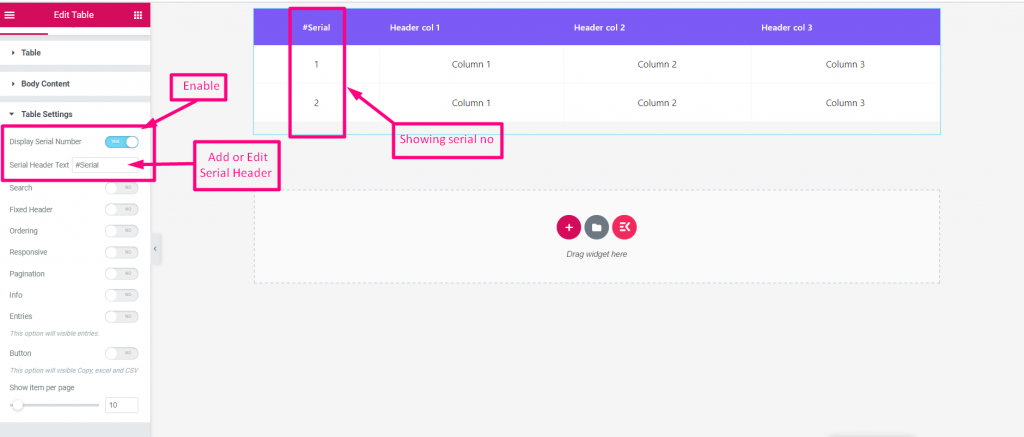
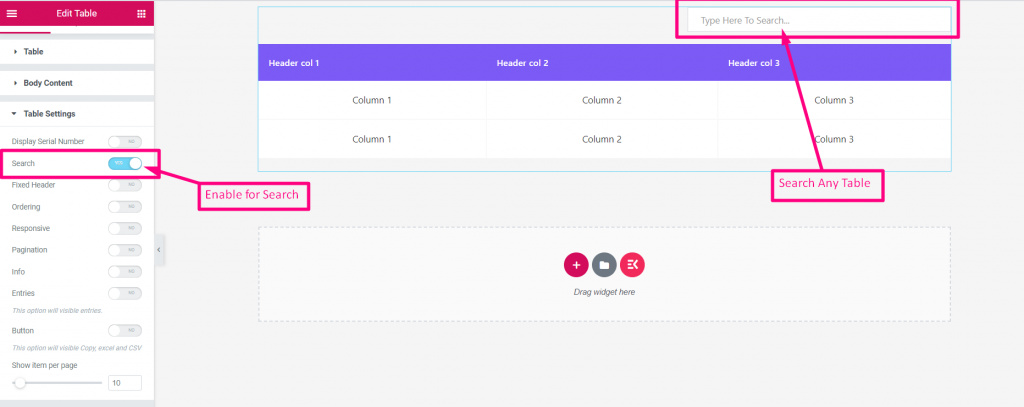
Search- Enable to Search any Item from the table
Fixed Header- Enable to make fix your header

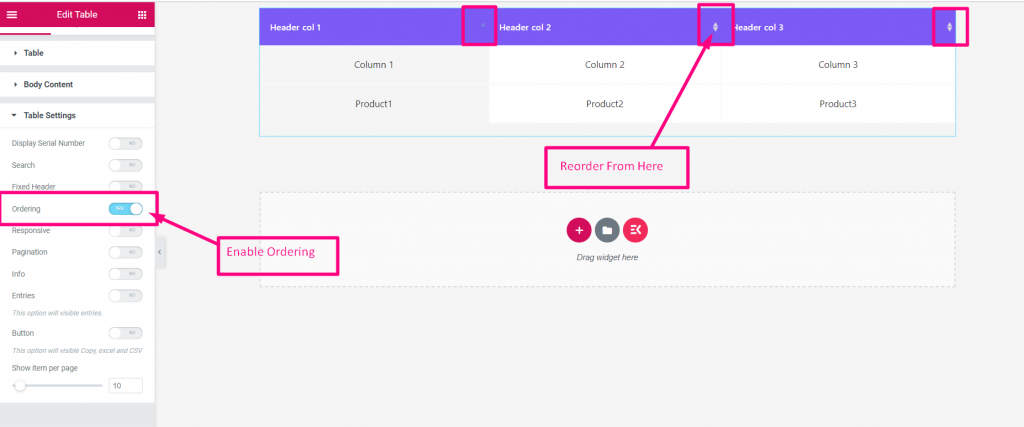
Ordering- Enable Ordering to reorder any item
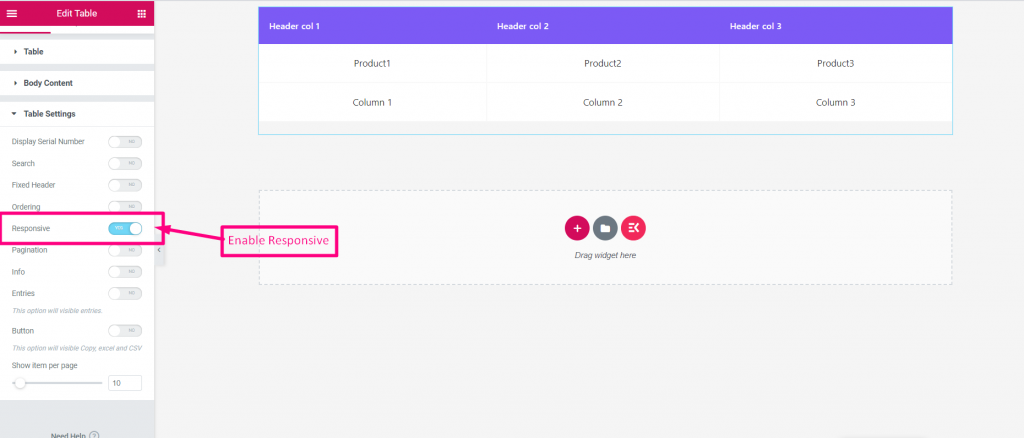
Enable Responsive- Just enable the option if you need
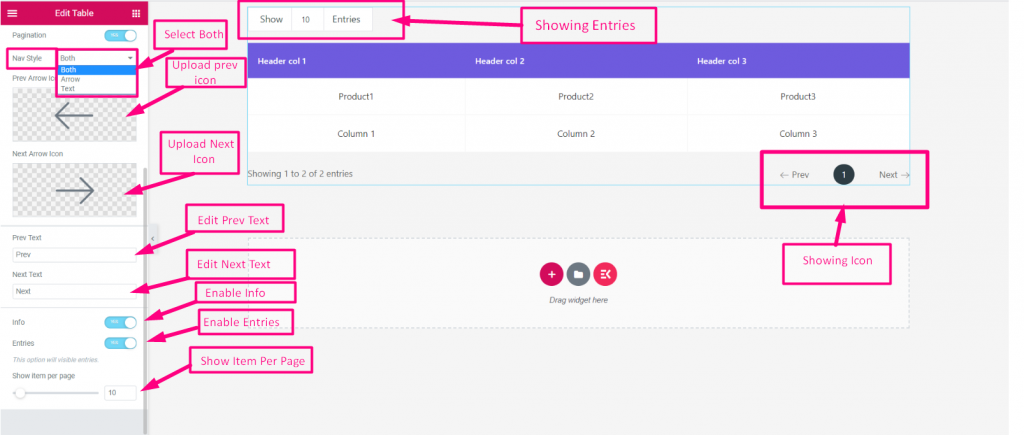
Pagination- There is a few steps here
- Enable Pagination
- You can show Icon only Arrow or only text. You can also select Both
- Upload Previous Arrow and Next arrow
- Add or Edit Previous Text and Next Text
- Enable Info
- Enable Entries
- Show Item Per Page
So, this table widget provides standard table display facilities for applications. Hope, you may find this easy-to-use and a time-saver tool.


