Overview #
WP Fluent Forms is the ultimate user-friendly, customizable drag-and-drop contact form builder for WordPress. With the ElementsKit Fluent Form, you can design Fluent Form from the Elementor page builder and customize it the way you want. Here’s a comprehensive article to explain every method in detail. Follow the step-by-step process to connect the Fluent Forms.
Step#1: Add Fluent Forms #
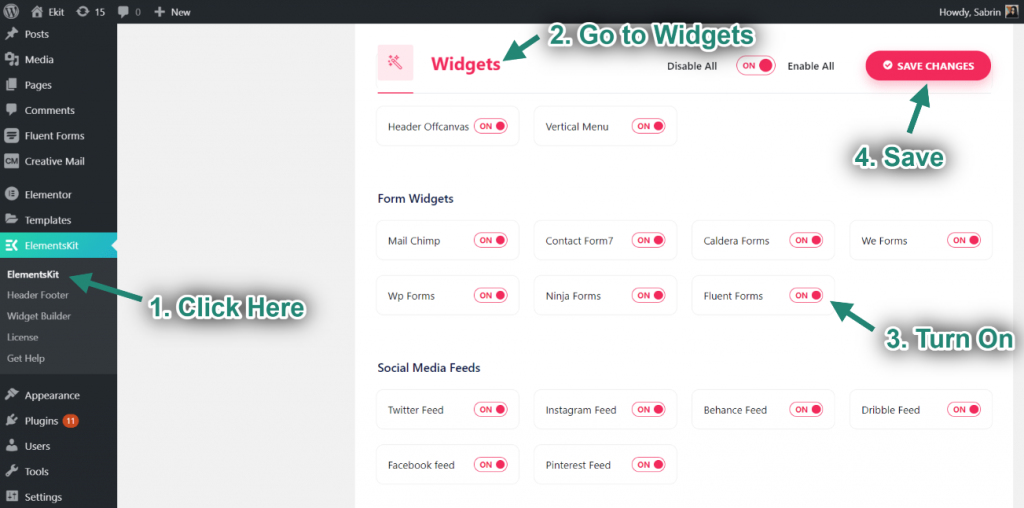
- Go to Elementskit-> Widgets-> Make sure that your Fluent Forms widget is active-> Save Changes.
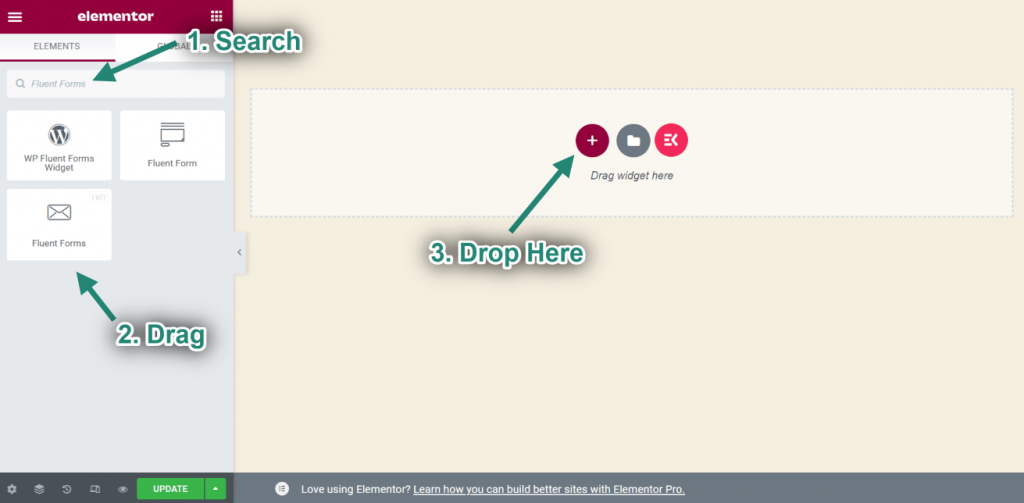
- Now search for Fluent Forms-> Drag the widget-> Drop on the selected area.
Step#2: Customize Fluent Forms #
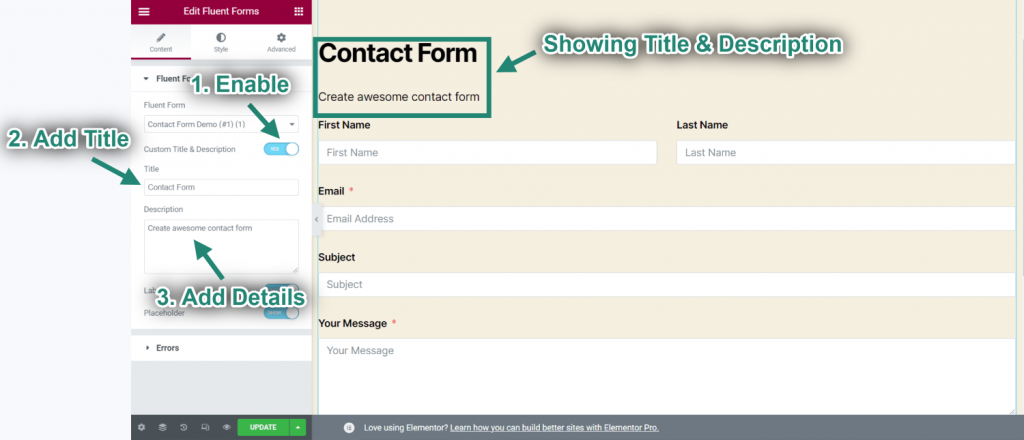
- Select your Contact Form from the Drop-Down.
- You can see your selected contact form showing.

- Now enable Title & Description.
- Add Title and Description.
- You can see your Form Title & Description showing.
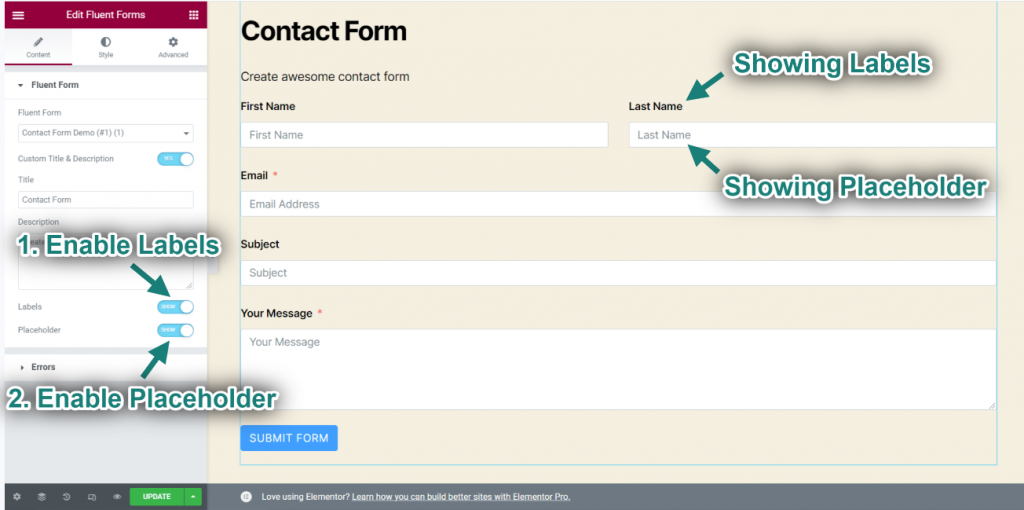
- Enable Labels.
- Enable Placeholder.
- You can see your label and placeholder showing.
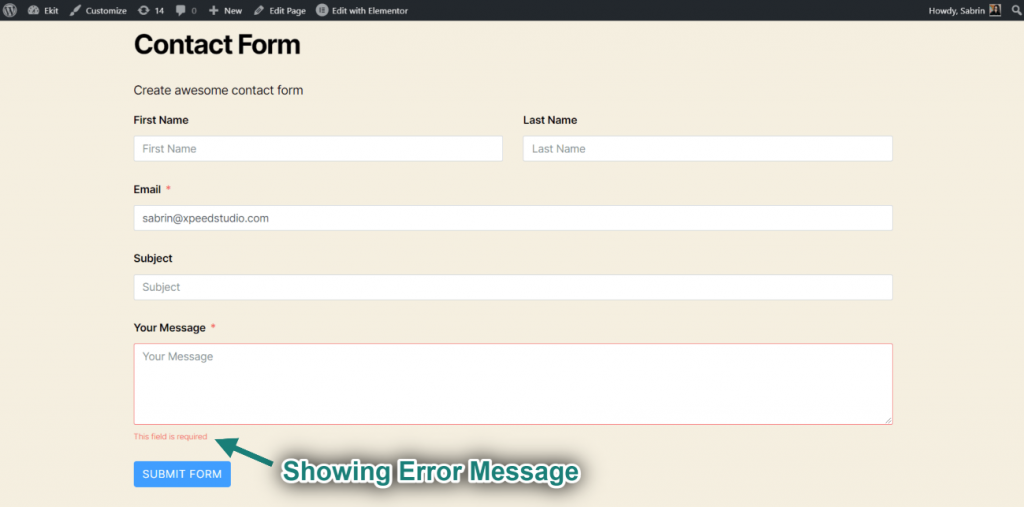
- Enable Error Messages.
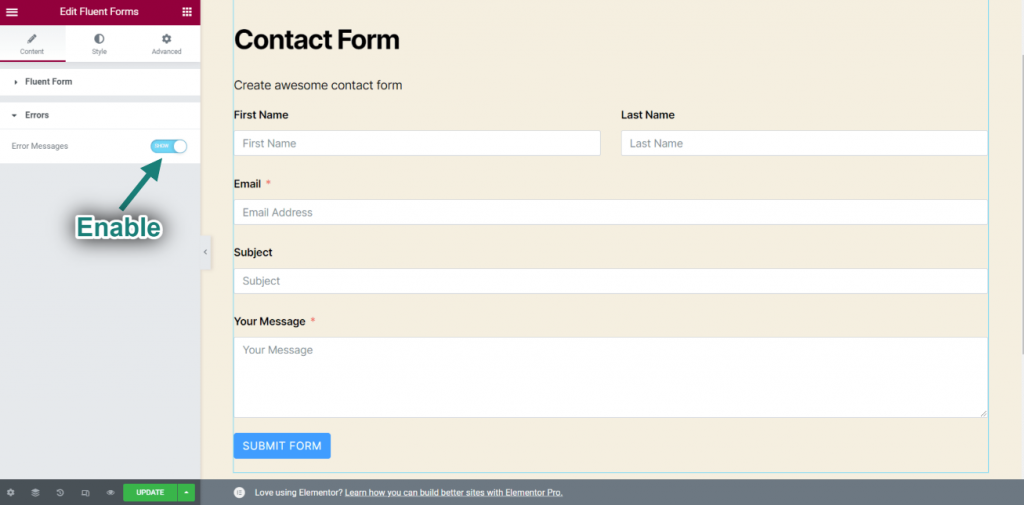
- Go to your Site-> Submit your form without filling the Required Field.
- Now you can see the error message showing “This Field is required”.