Checkout Form- Billing is a comprehensive checkout page widget of ShopEngine. With this widget, you can do bottomless customization of your billing checkout page.
You can alter and adjust the font, color, background, alignment, etc. of different elements existing in the form. The widget is so comprehensive that you can get your desired form appearance by trying different combinations.
How to Use Checkout Form- Billing? #
Creating a Checkout Billing form involves two major steps. 1. Create a template and 2. Design billing form on Elementor.
Create a template #
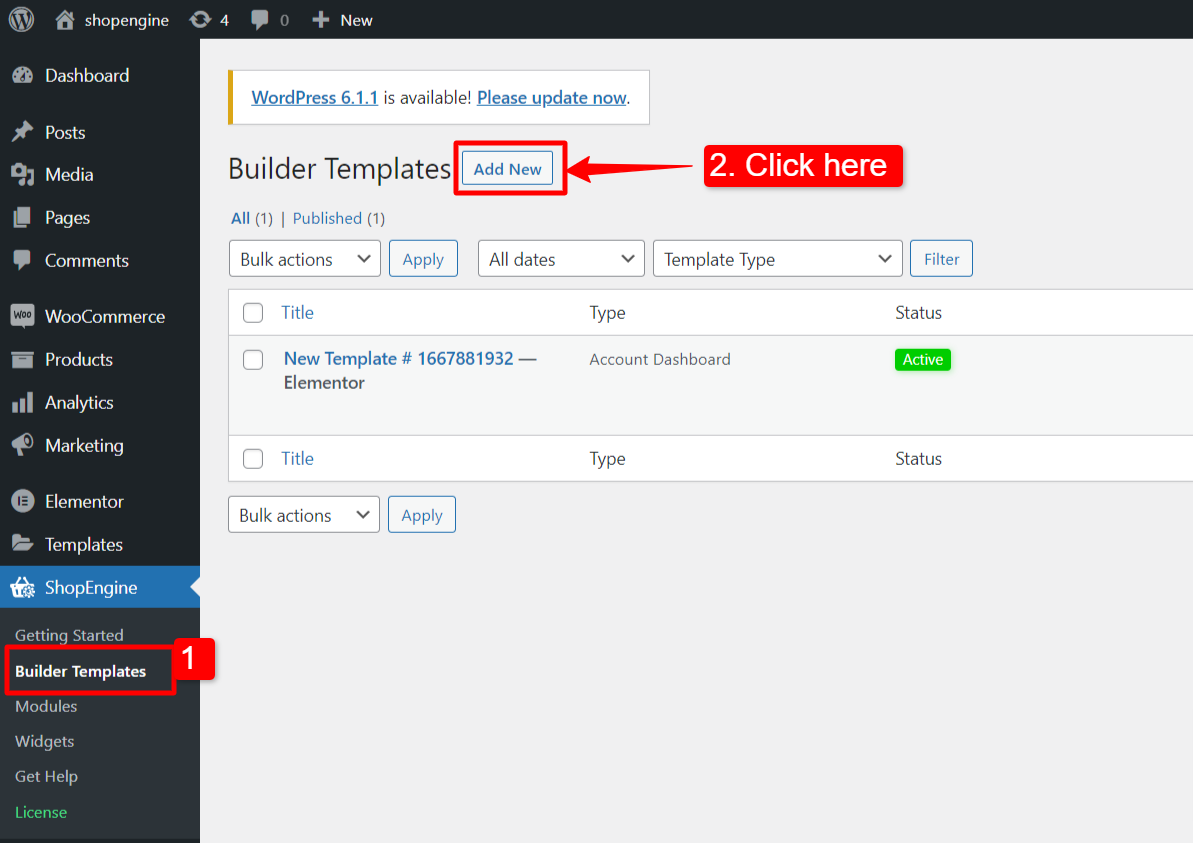
First of all, log in to your WordPress dashboard and navigate to ShopEngine > Builder Templates.
Then, click the “Add New” button on the top right corner.
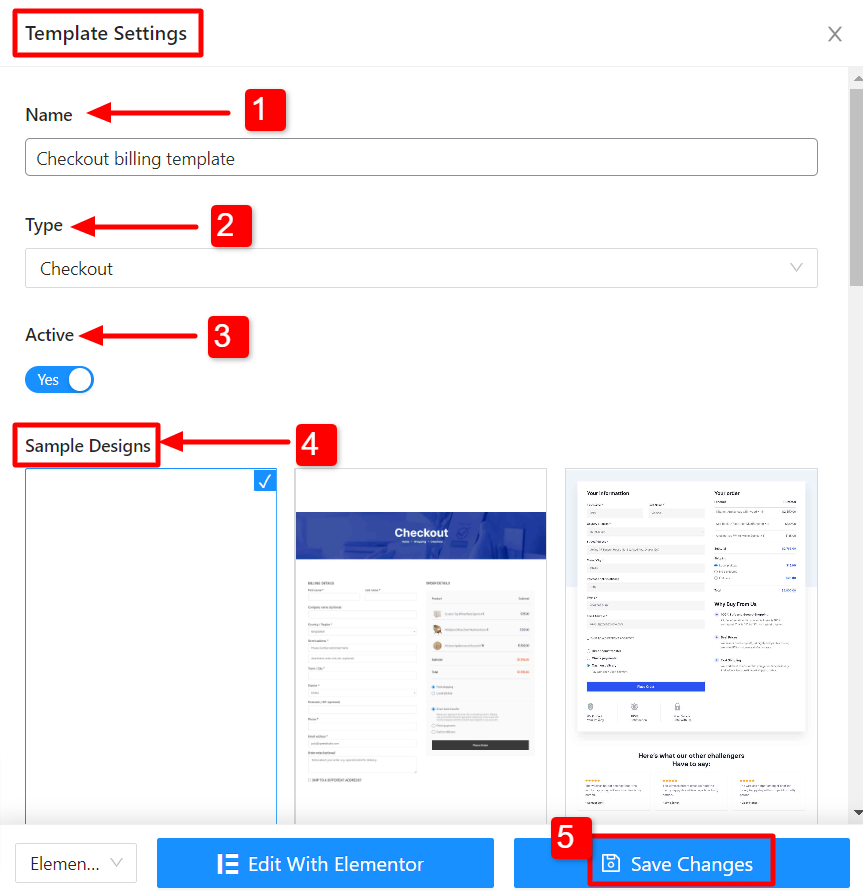
Immediately after that, a popup window will show up for template settings. In the Template Settings window:
- Enter a template Name.
- Select the template Type: Checkout.
- Activate the template.
- Choose a Sample Design or start designing from scratch.
- Finally, hit the “Save Changes” button.
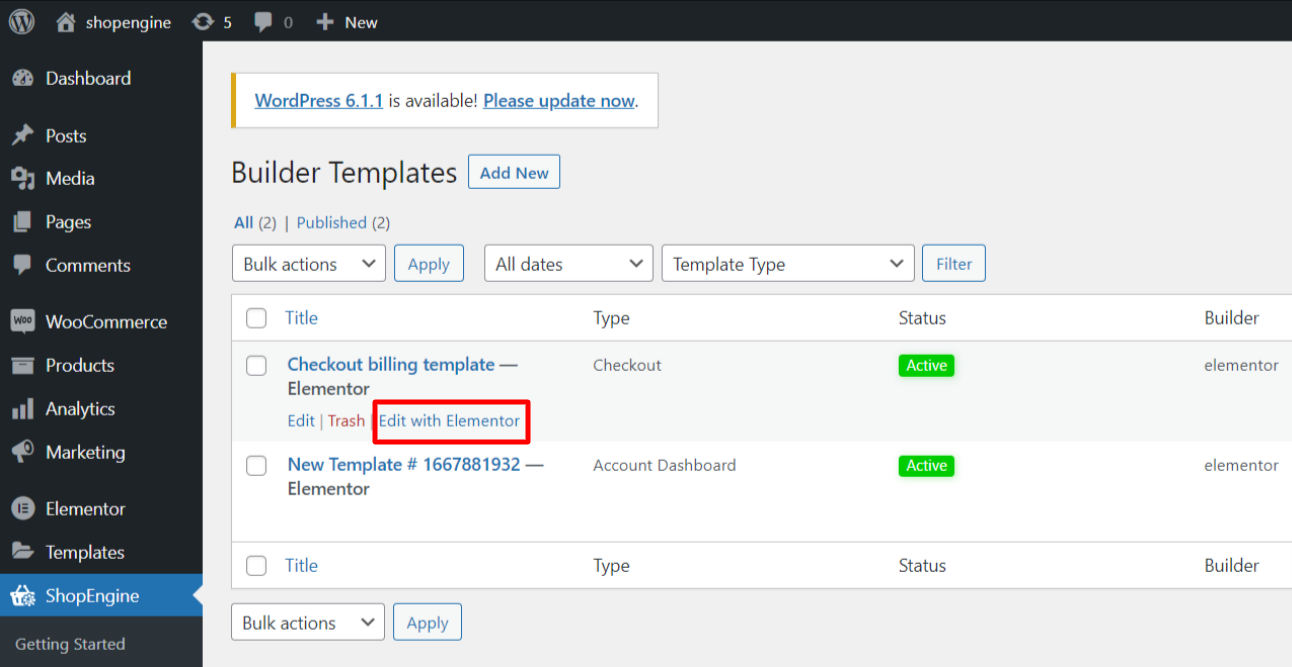
Your template is created and you can see it on top of the list. Click “Edit with Elementor” to switch to the Elementor window.
Design Billing form on Elementor #
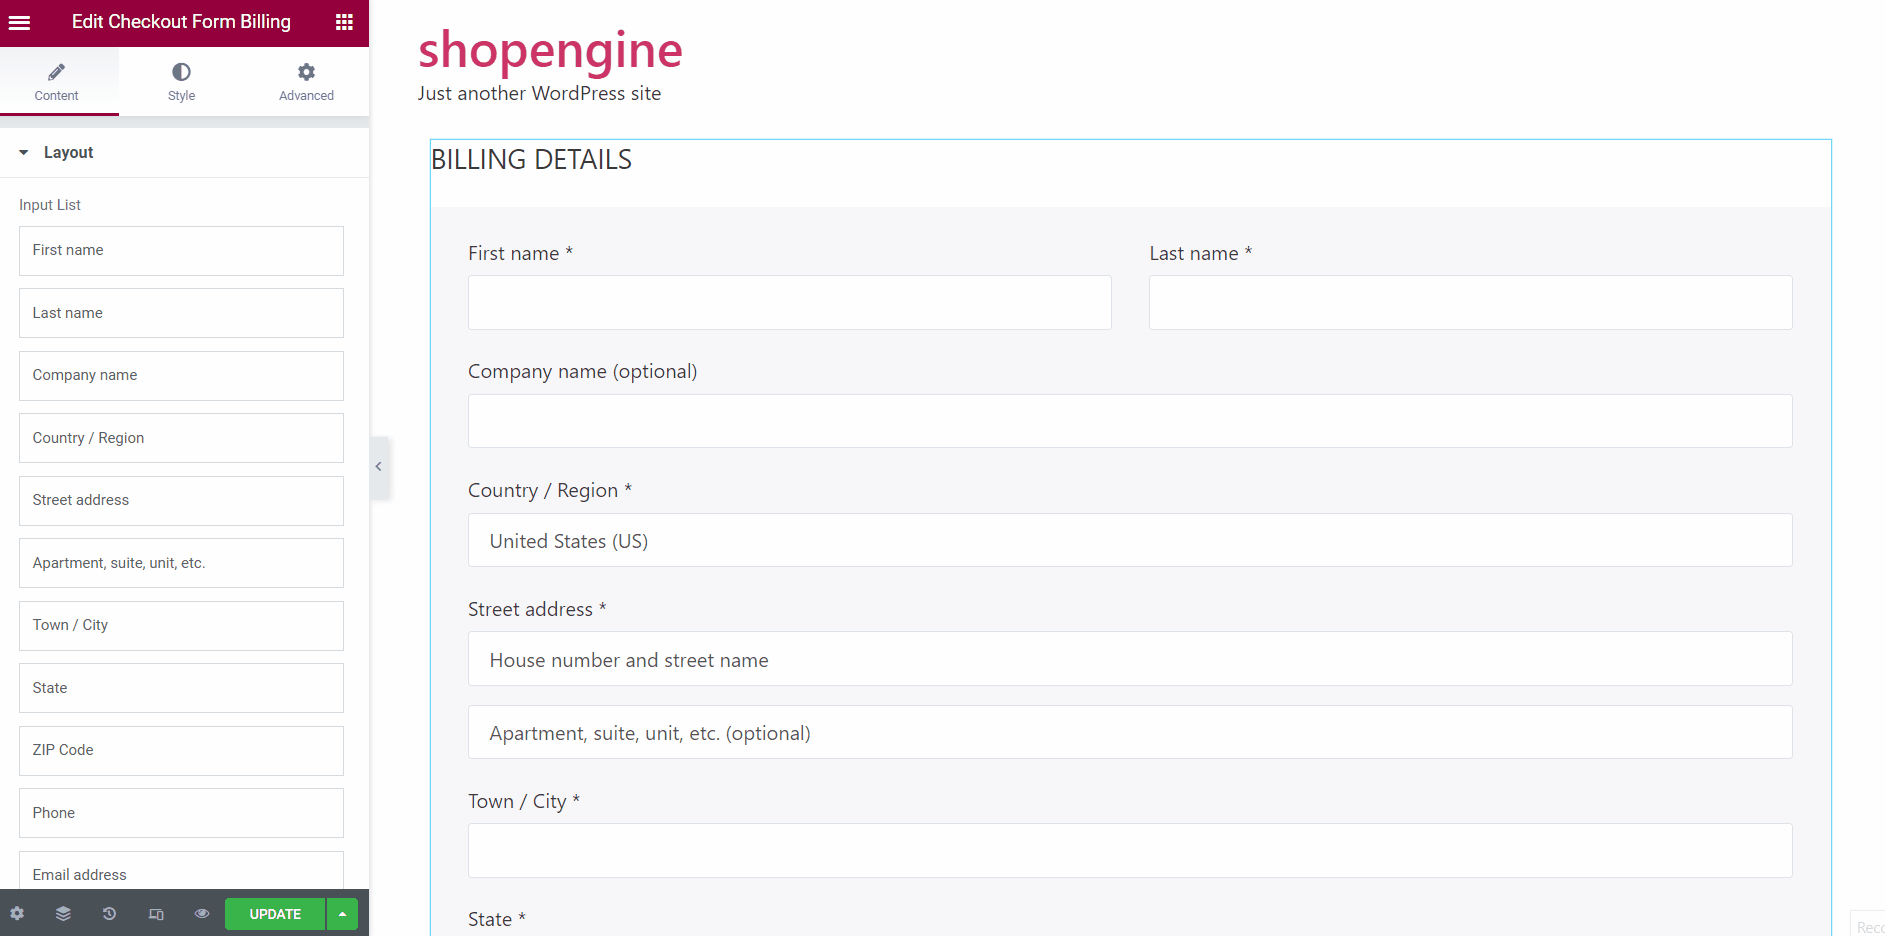
In this step, you will design a billing form for the checkout page. In the Elementor editor, drag & drop the widget into the design area.
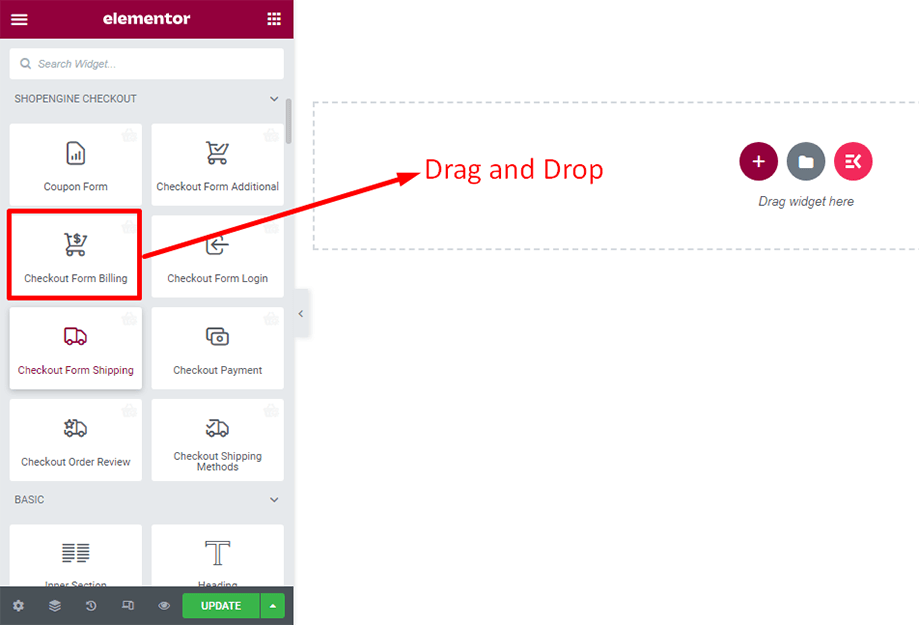
The billing checkout form will show up instantly after that.
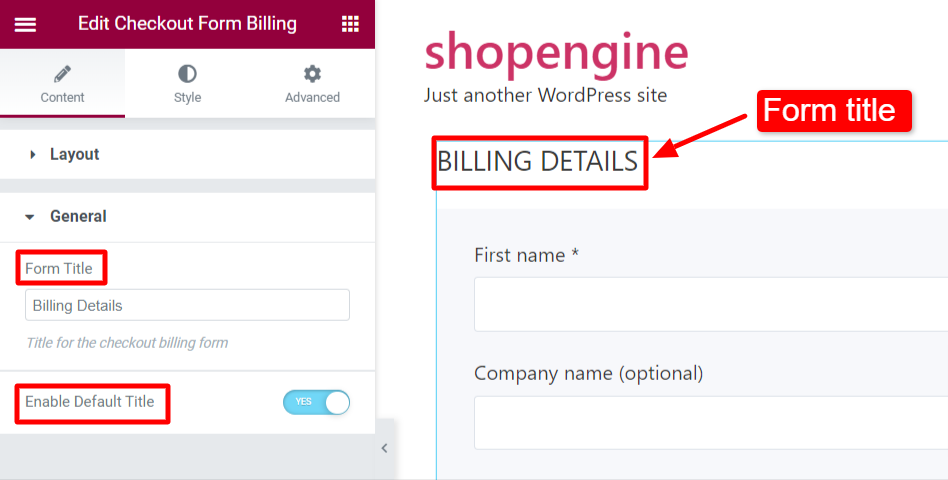
Under the Content tab
You can change the layout and title of the checkout billing form.
In the Layout section, you can sort the input field and manually change the sequence of the fields.
In the General section, add a Form Title. You can also enable Enable Default Title for the form.
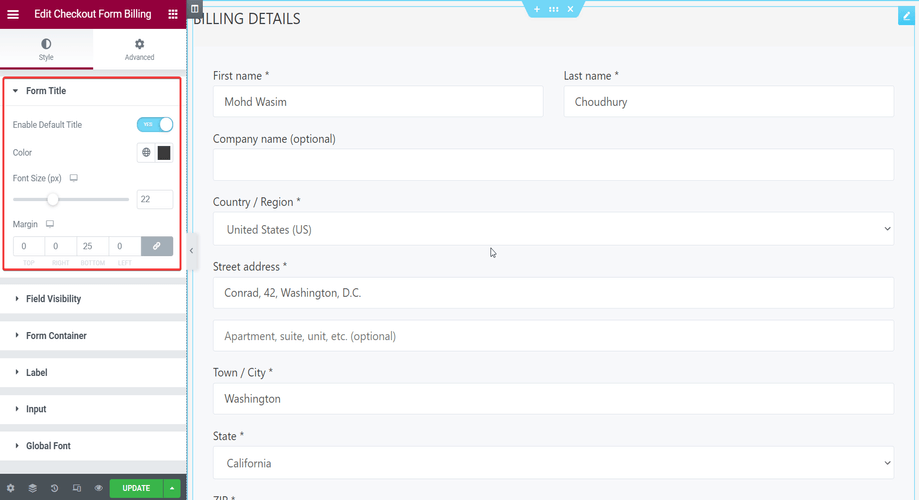
Under the Style tab
You can customize the Form Title using the parameters like margin, color, font size, etc.
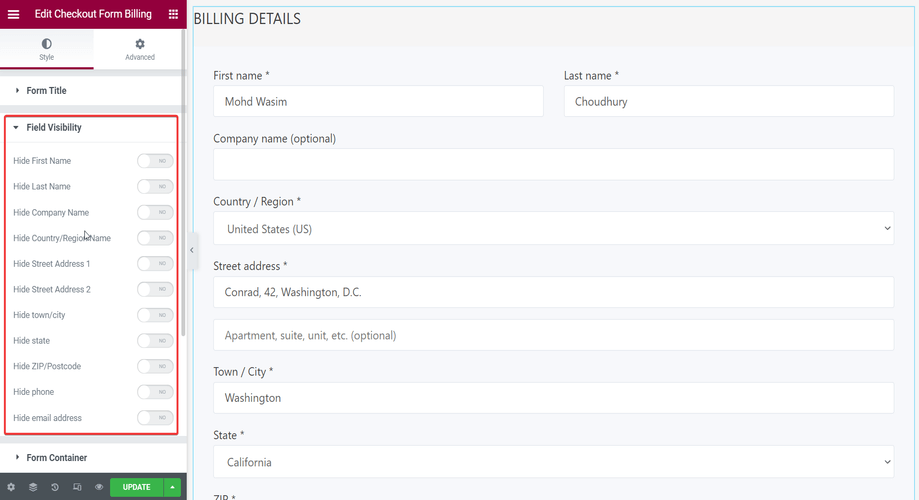
You can also show or hide different elements in the form like the first name, last name, company name, street address, etc. by turning on toggles in the Field Visibility section.
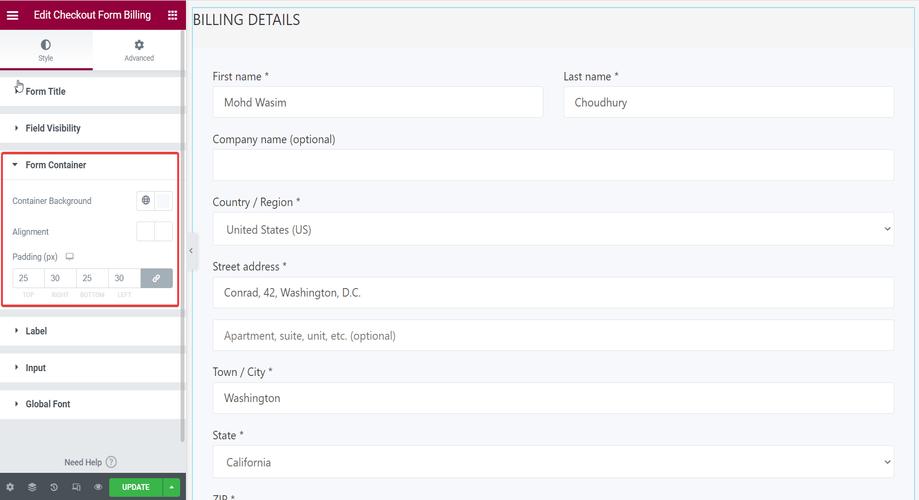
In the Form Container section, you can tweak the background, alignment, and padding of the form containers.
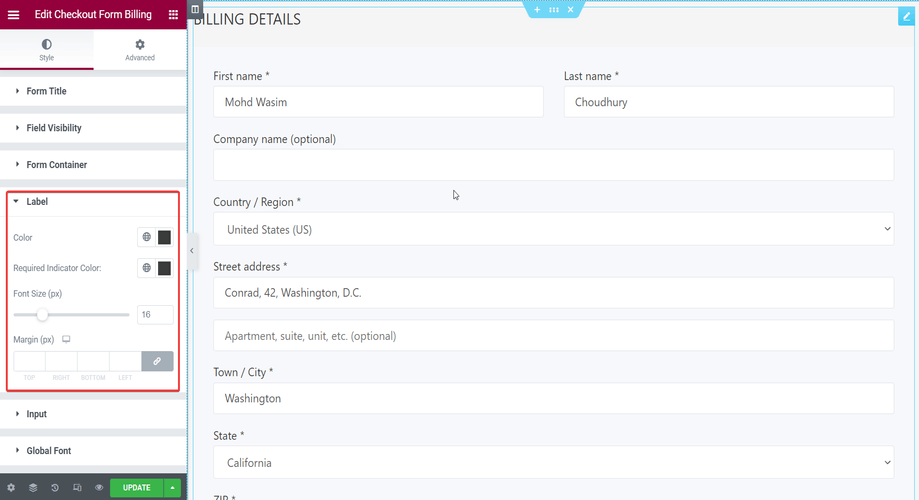
You can customize the Label of the billing form using the parameters like color, font size, and margin in the Label section.
You can tweak the field inputs as well from the Input section using parameters like input color, background, font size, etc.

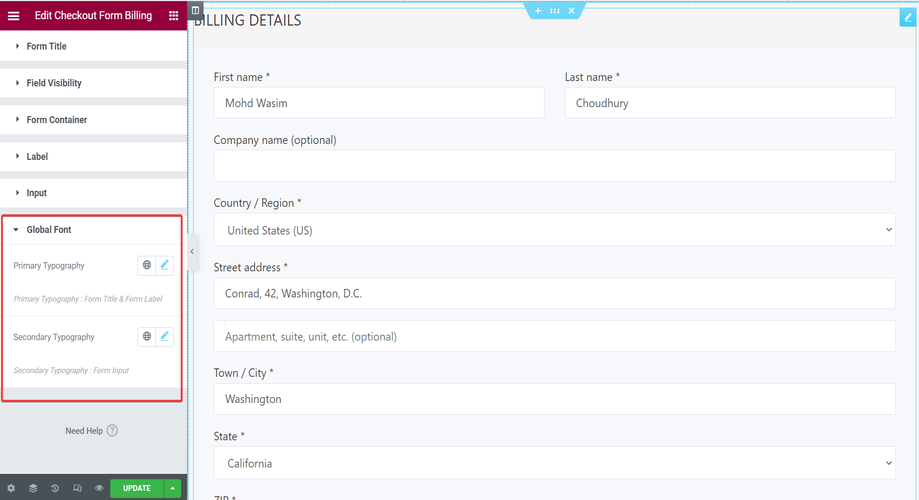
With the Global Font section, you can adjust the text typography from Primary and Secondary Typography parameters.
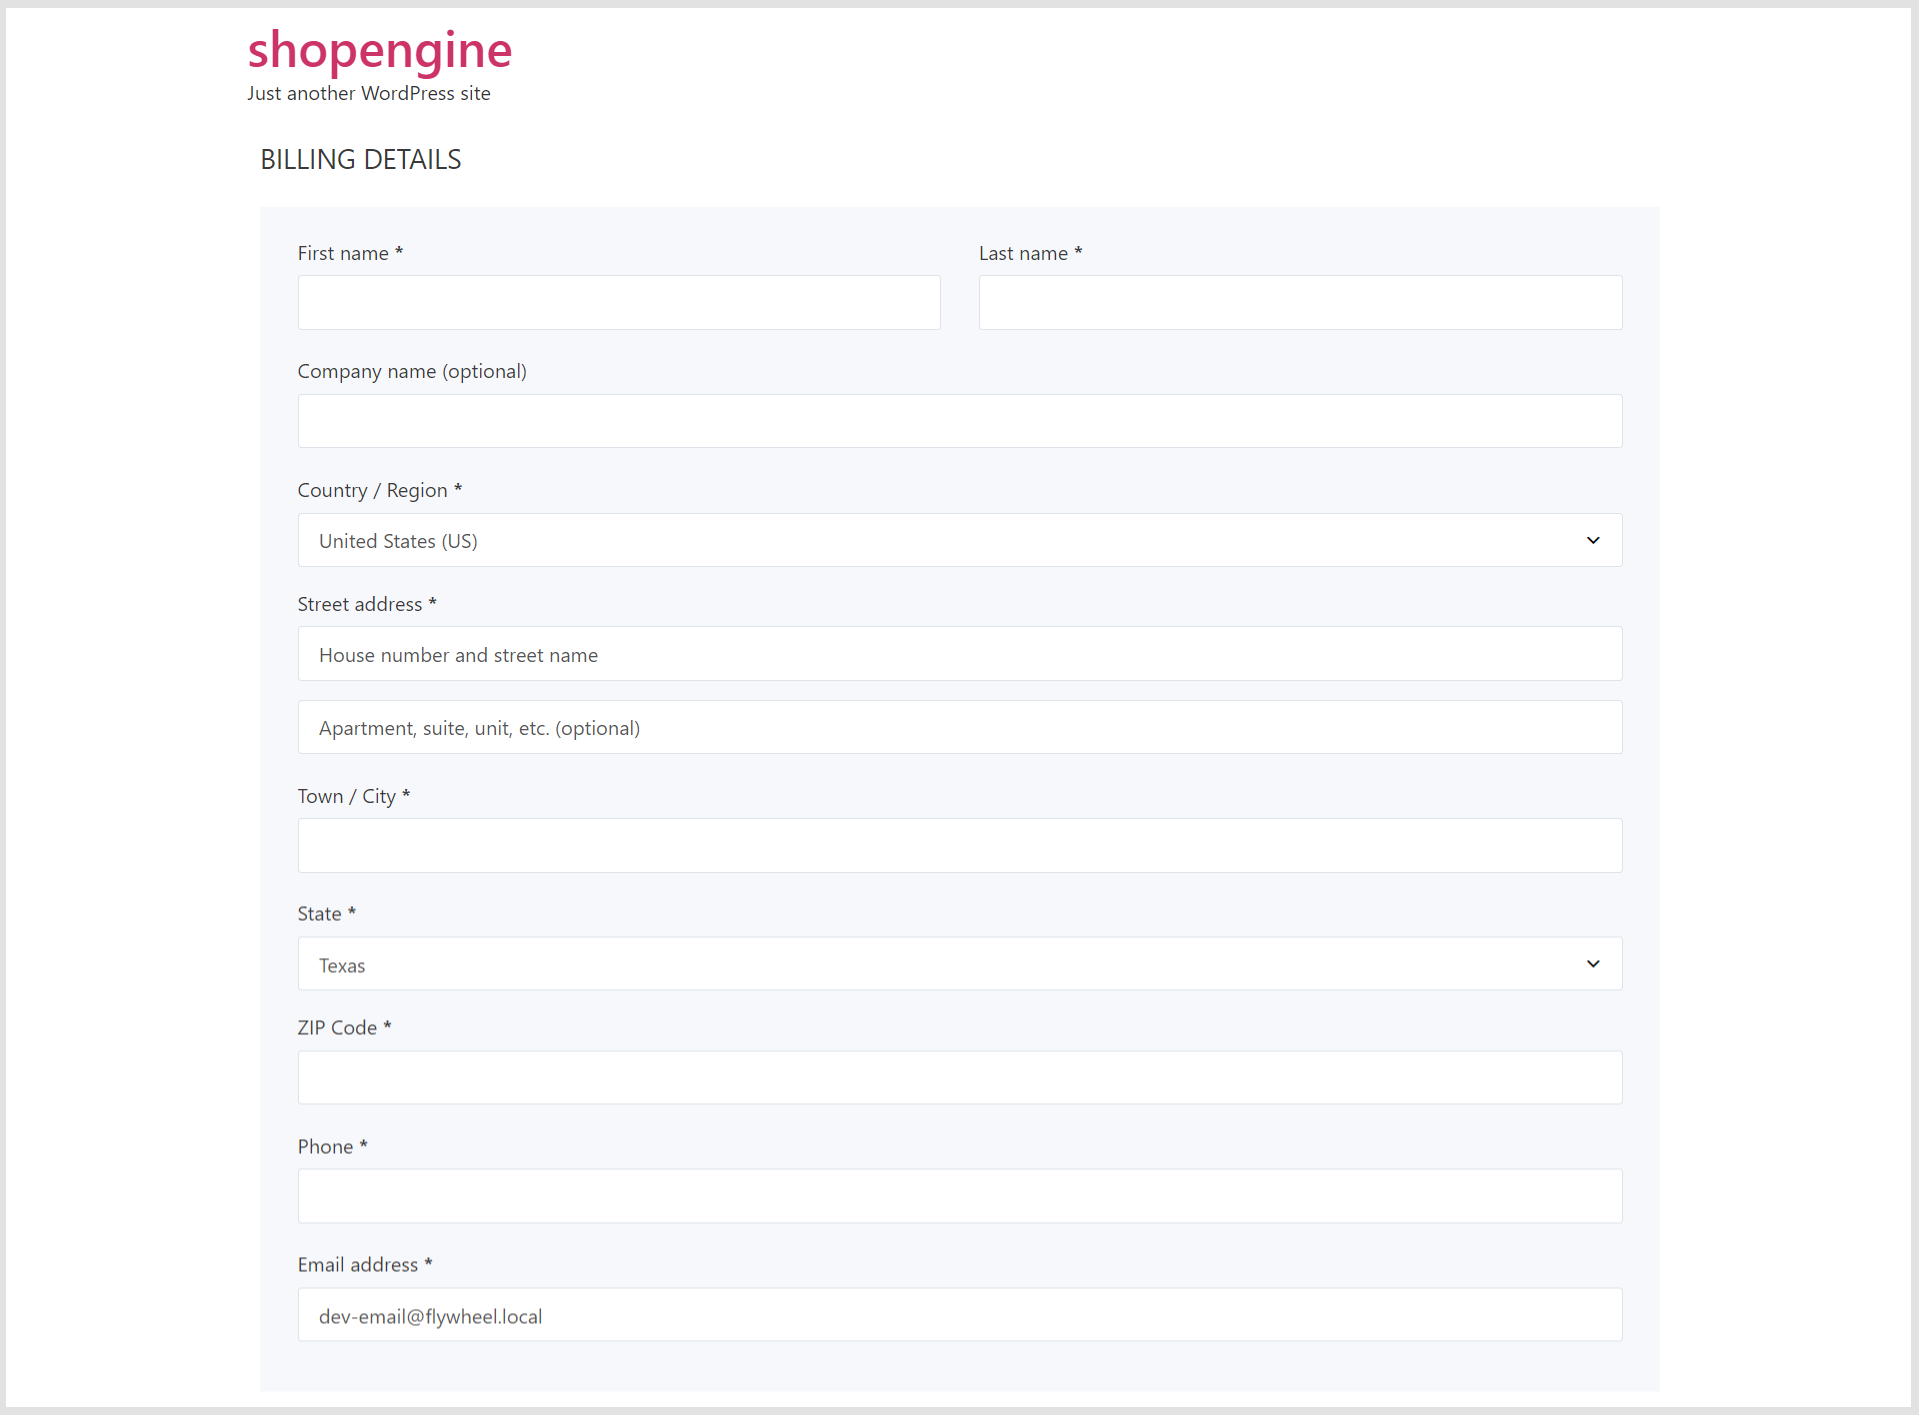
Finally, you can view the checkout form-billing on the checkout page as displayed below.
In this way, you can easily make use of the Checkout Form- Billing widget and improve your buyers’ experience.
To get access to additional fields of checkout, enable the Checkout Additional Fields Module and take a look at the checkout additional fields. Then, make your necessary changes in the additional fields.


