

Back-Order module allows customers to order out-of-stock products. You can also set the maximum back order limit for products and the estimated arrival date. More ever, you can see the orders that are on backorder from the admin panel.
Let’s check out the steps to use this module:
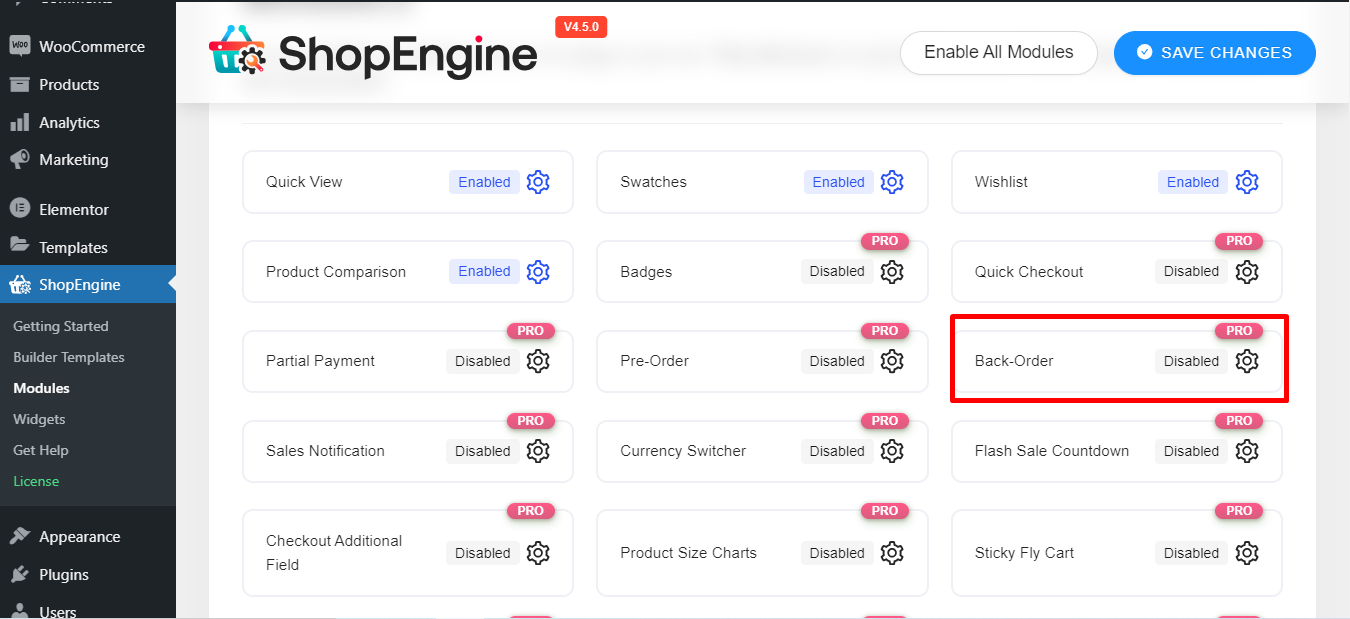
Step 1. Enable Back-Order module #
You need to enable the module before you can access the settings. To enable the module
- Go to : ShopEngine > Modules > Back-Order
- Click on the Settings Icon
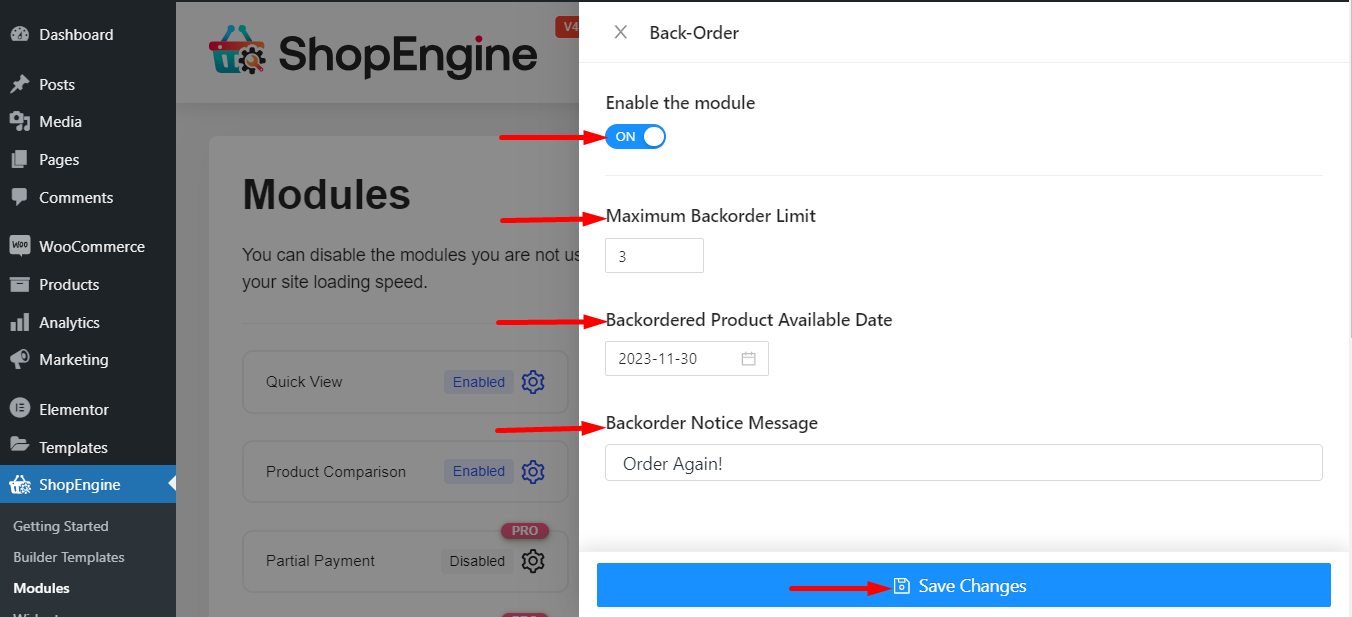
You can now see a window with some options –
- Enable the module
- Set a number for Maximum Backorder Limit
- Set the date to show the Backorder Product Available Date
- Write a message as a Backorder Notice Message
- Finally, Save Changes
Note: You can also enable all the modules at the same time. Check out how you can turn on all the modules at once.
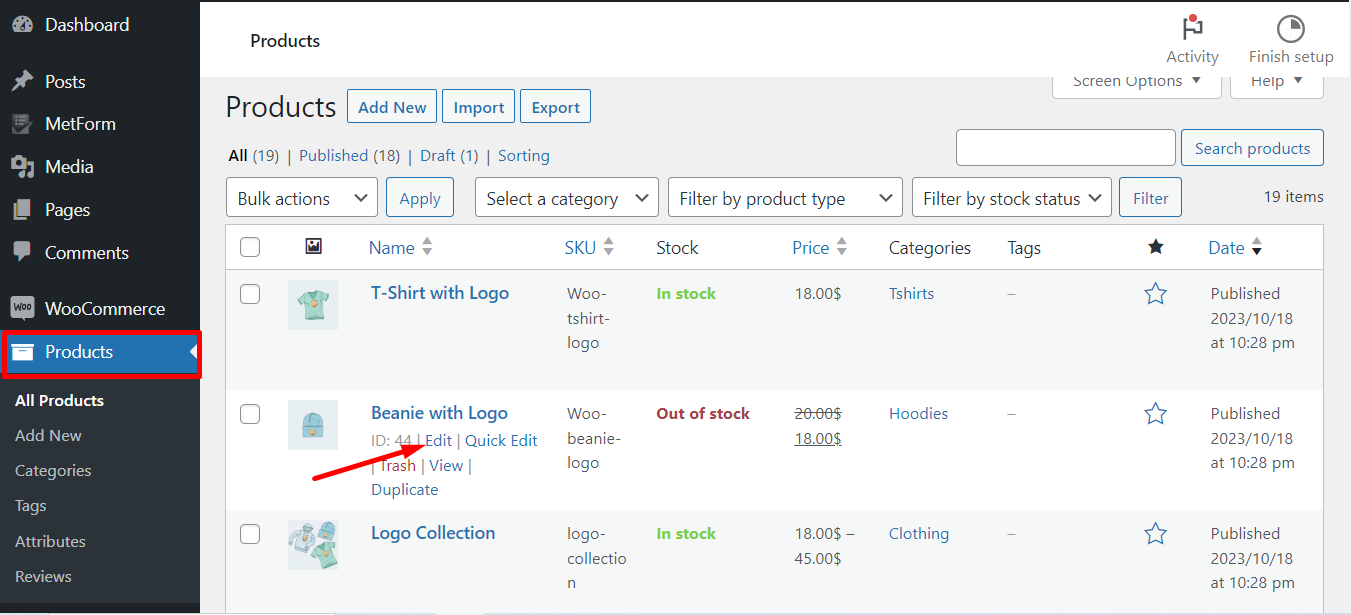
Step 2: Go to WooCommerce #
Choose the product that you want to show for backorder and start editing that product data.
Note: Settings under the Product Data will have higher priority over the global settings.
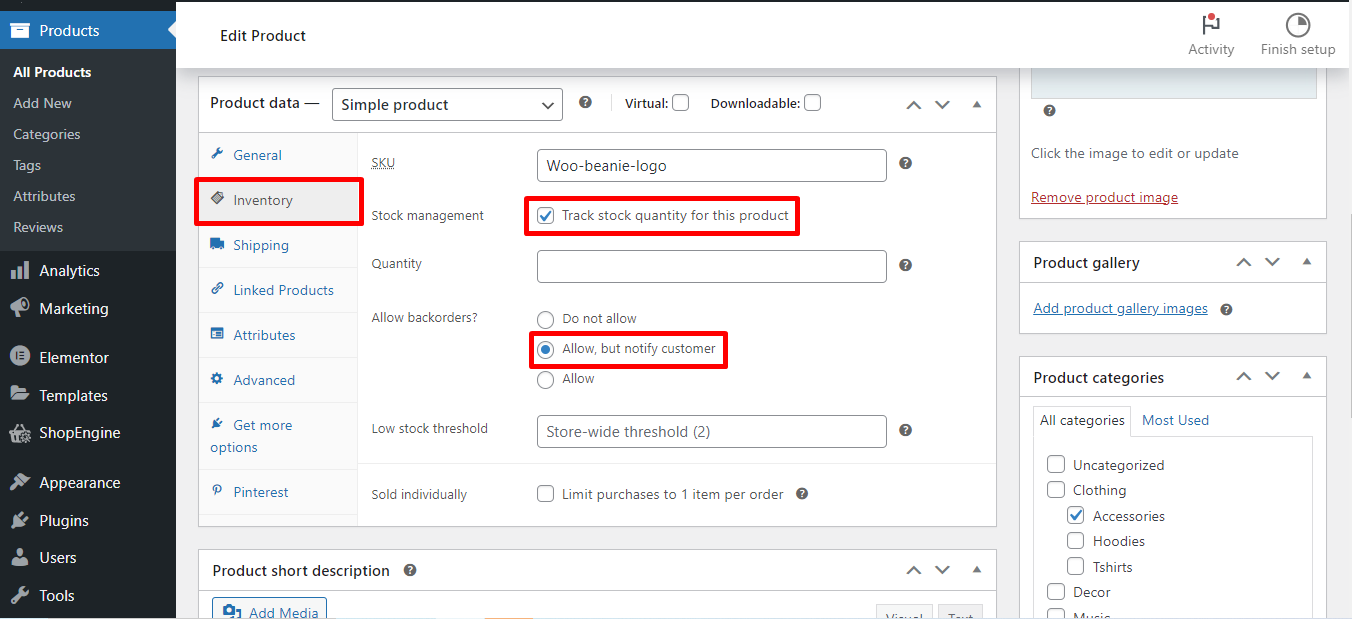
Follow the steps –
- Click Inventory
- Check mark the Stock Management option
- Find Allow Backorders? and select Allow, but notify customer
Step 3. How to Check the Backorders #
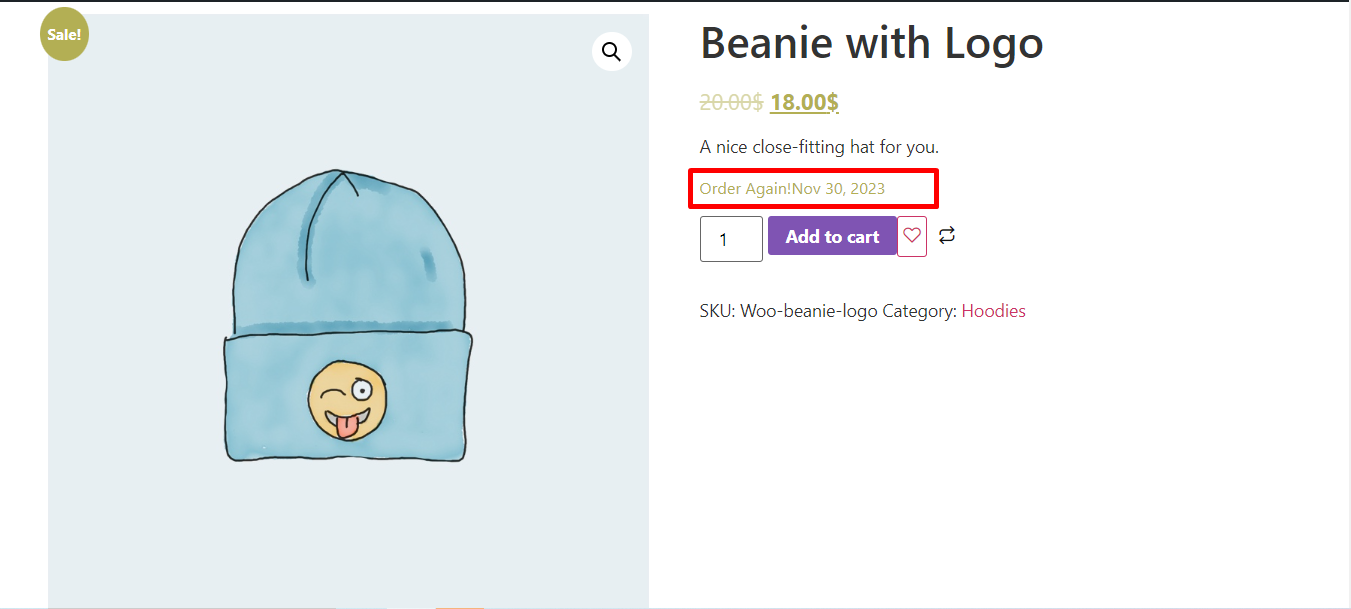
Finally, here is the front-end view of how the Back Order Module works. You can check and place an order by clicking Add to Cart.
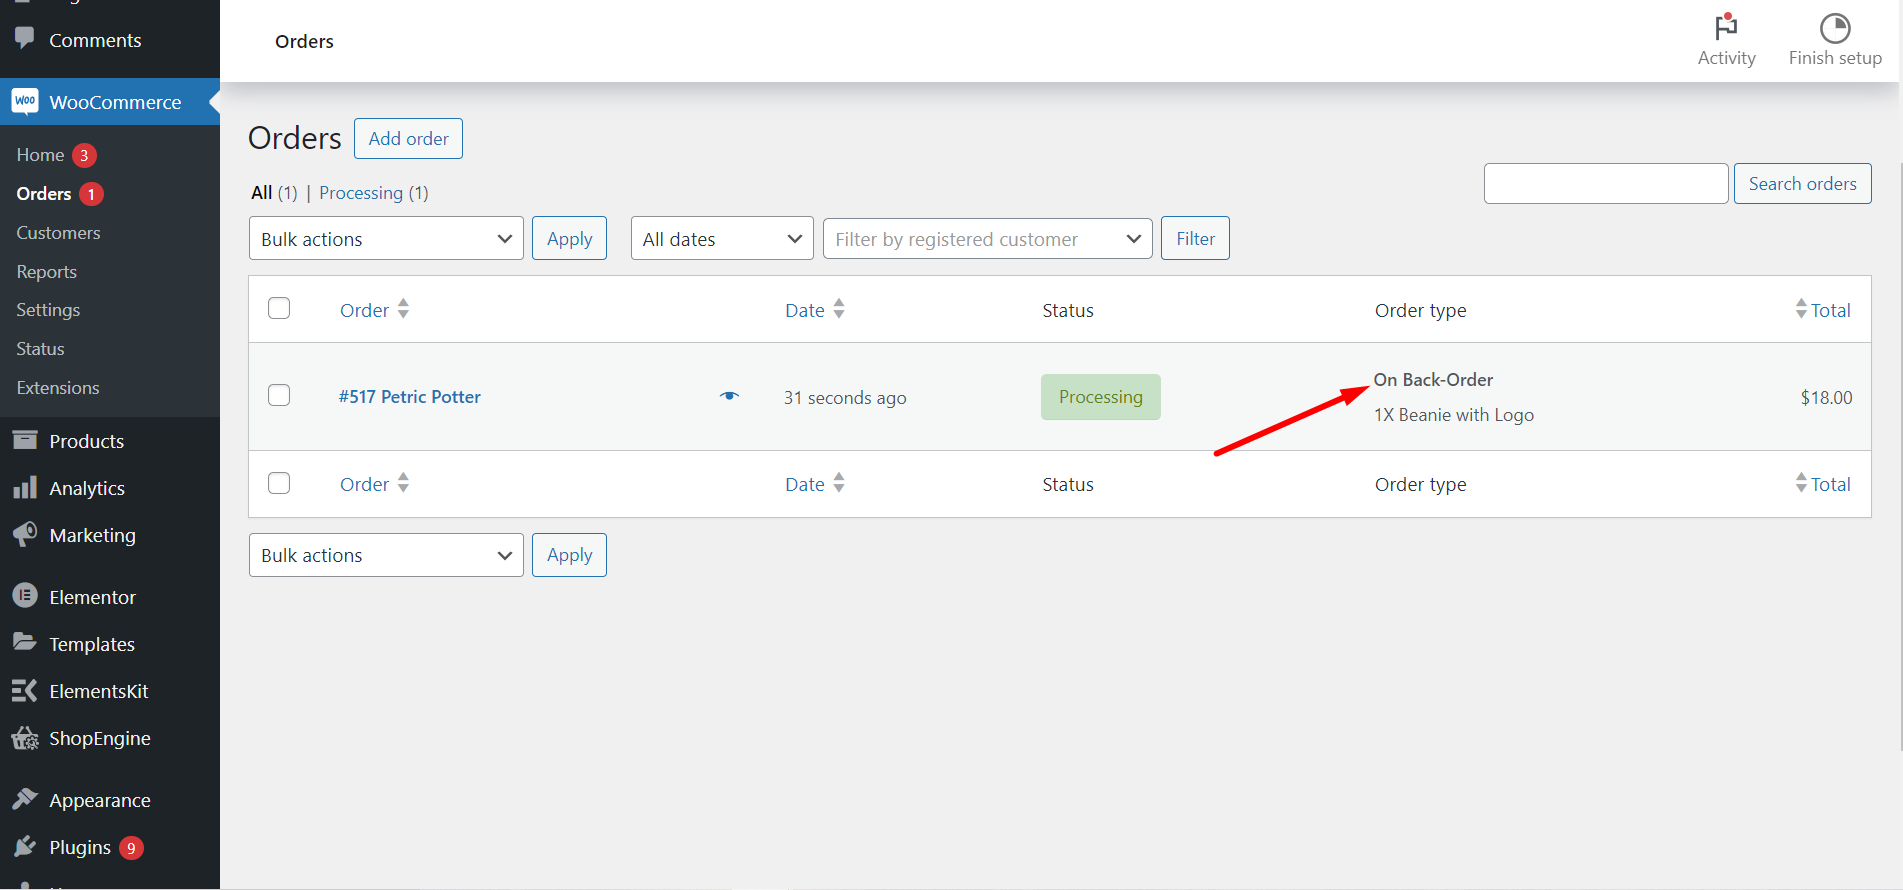
Now, you can check the Order page from the back end
This is it! Now it’s your turn to customize your settings and set any temporarily out-of-stock product for getting back-order.


