

Getting bored with the static cart page? What if you can create a unique cart page template for your WooCommerce website?
ShopEngine, a WooCommerce builder compatible with Elementor and Gutenberg, comes with multiple widgets including Cart Table, Cart Total, Cross Sell, and Return to Shop to create customized cart page templates.
So that, you can create cart templates for multiple languages (WordPress supported) for both left-to-right (e.g. English) and right-to-left scripts (e.g. Arabic). These will help to make the cart page more dynamic and user-friendly.
✨✨Required Plugins:
👉👉ShopEngine: Download ShopEngine
👉👉Elementor: Download Elementor
👉👉WooCommerce: Download WooCommerce
ShopEngine Widgets for Cart Page Template: Quick Overview #
| Widget | Purpose |
| Cart Table | Image, name, quantity(can be increased), subtotal total |
| Cart Total | Show subtotal, shipping charge, total charge, checkout |
| Cross-sell | To display products |
| Return to Shop Button | Continue shopping |
| Empty Cart Message | Display the “Your cart is currently empty” message |
| Update cart | Update newly selected items |
| Clear cart | Remove all items |
| Coupon button | To enter coupon code |
How to Create a Cart Page Template with ShopEngine – 2 Styles #
It’s time to go through the steps to create the cart page template. You can use Border Cart Style as well as RTL(right to left) style to design your own template. And you don’t need to switch between the editor and the preview mode to see your design.
Style 1 – Border Cart Style #
Step 1: Create A New Cart Template #
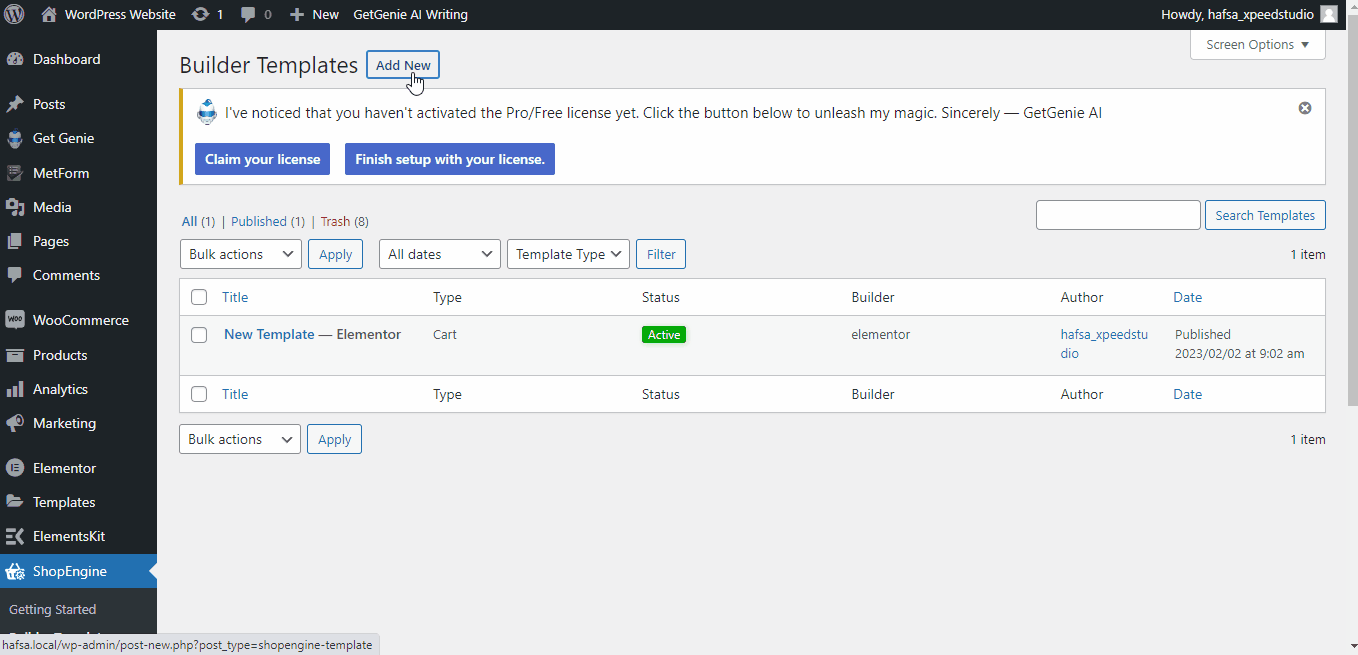
- After logging in to your WordPress dashboard, go to “ShopEngine” -> “Builder Templates”
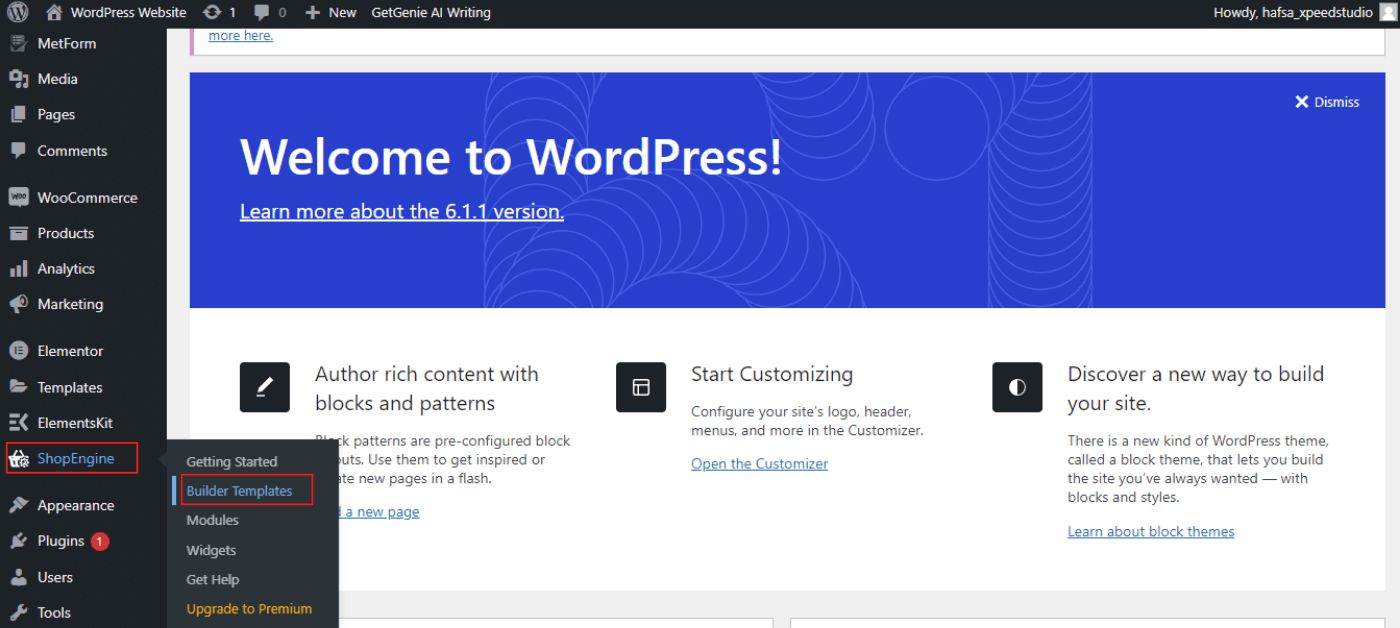
- Click on “Add New”. A template setting tab will pop up
- Set the “Template Name”. Next, Select Page Type -> Cart
- You can turn on the “Active” button or keep it turned off. It can be changed after completing the template design also.
- Select the “Empty Sample Design” to develop your own design using cart page widgets
- Now click on “Edit with Elementor”
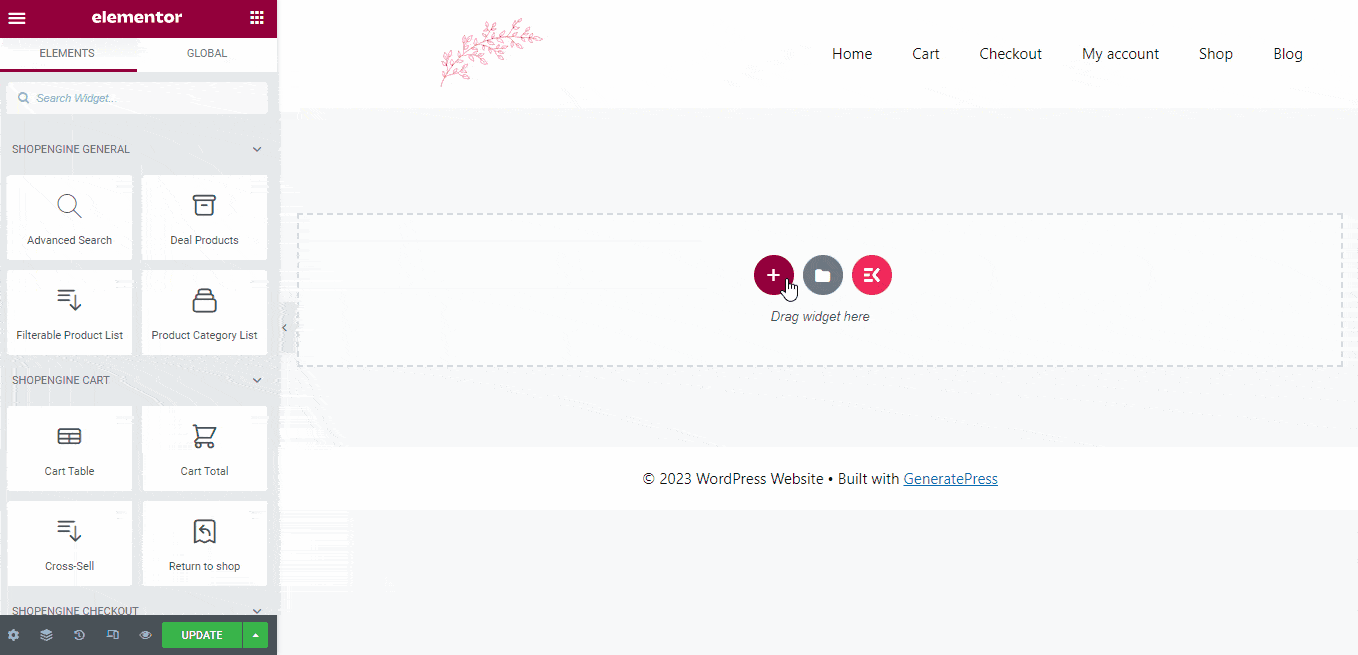
Step 2: Choose the Block Structure #
Next, you can see all the widgets on the left side. On the right side, you need to select the block structure. You can drag and drop the widgets to create the design.
Step 3: Beautify Your Cart Page Template with Cart Widgets #
Go to a ShopEngine Cart Block and you can design your own. Here you will get some specified ShopEngine Cart Widgets including Cart Table, Cart Total, Cross-sells, Empty Cart message, Return to Shop, etc. You just need to drag the following widgets and drop them on the selected area.
Besides, you can use the widgets of Elementor such as the headers, text editor, buttons, image widgets, etc.
Let’s see how to customize them:
Step 4: Publish Your Cart Page Template #
- After you’ve finished designing, click “Update”.
- Now go to the Cart Page -> You can see your desired cart page is showing accordingly.
Style 2 – RTL style #
The procedure for creating the RTL-style cart page template is the same as the border cart style. You just need to start them in your right-hand direction.
This style is mostly helpful for the right to left languages such as Arabic, Urdu, Persian, etc.
Note: Make sure, you have changed the site language setting to your preferred language. Go to Settings ⇒ General ⇒ select “Site Language”.
👉👉Learn more – How to use RTL layout In ShopEngine templates
How to Insert Pre-build ShopEngine Cart Page Template #
Don’t have time to design from scratch? Don’t worry!
ShopEngine has 2 pre-build shopping cart templates such as Border Cart Style and RTL.
- Navigate ShopEngine like step 1 of Border Cart Style
- Choose the Border Cart Style or RTL template instead of choosing an empty sample design
- Click on “Edit with Elementor”
You can also customize them as per your preferences using other widgets or rearranging or modifying the existing widgets.
- Click on “Update”

So, why are you waiting? Design your cart page more dynamically with ShopEngine Cart Page templates.


