People make comparison tables to easily compare and contrast different products, services, or options. It’s possible without coding, you can pick an effective plugin and make your desired comparison table for a WordPress site.
ElementsKit is such a super efficient plugin that provides you with a Comparison Table Widget. Let’s see how you can use the ElementsKit comparison table widget to create a quick comparison table.
Using the Comparison Table Widget of ElementsKit #
Install the ElementsKit pro plugin and start arranging any comparison table according to your preference.
👉👉👉 Install now!
Begin from the WordPress dashboard you have to open any old page or post to display the comparison table. You can also create a new page or post.
Start editing the desired page/post with Elementor -> Search for Comparison Table widget -> Drag and drop it
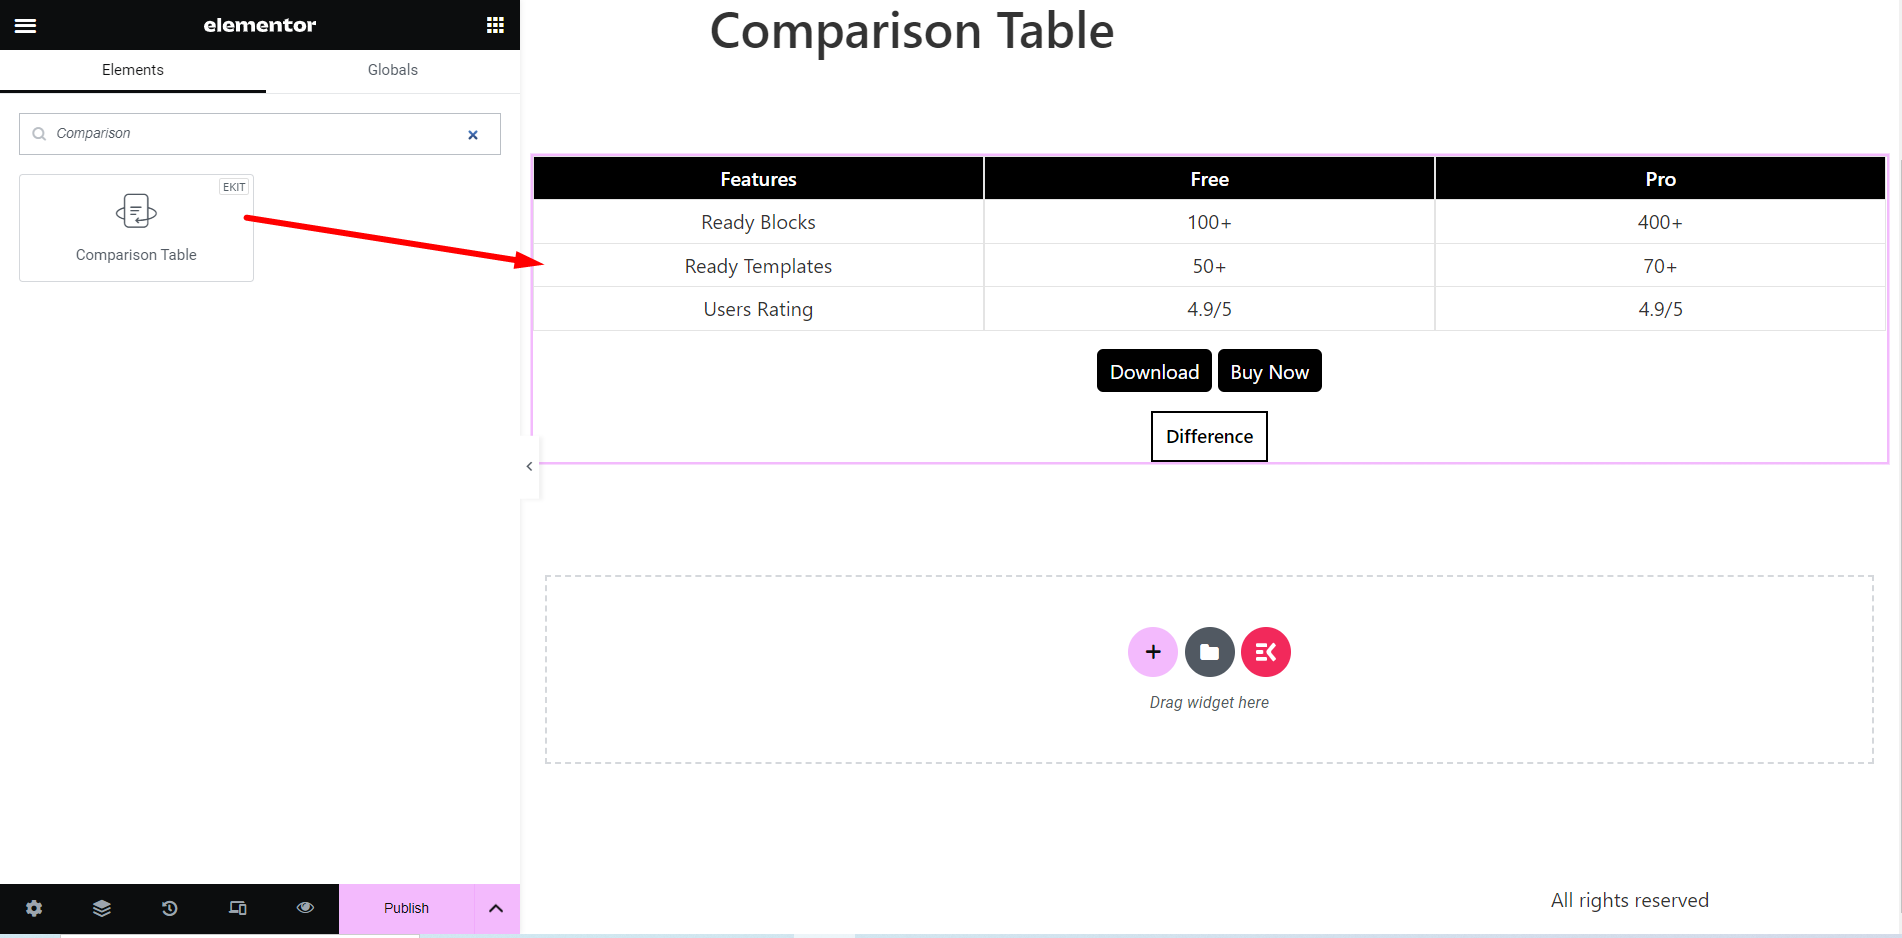
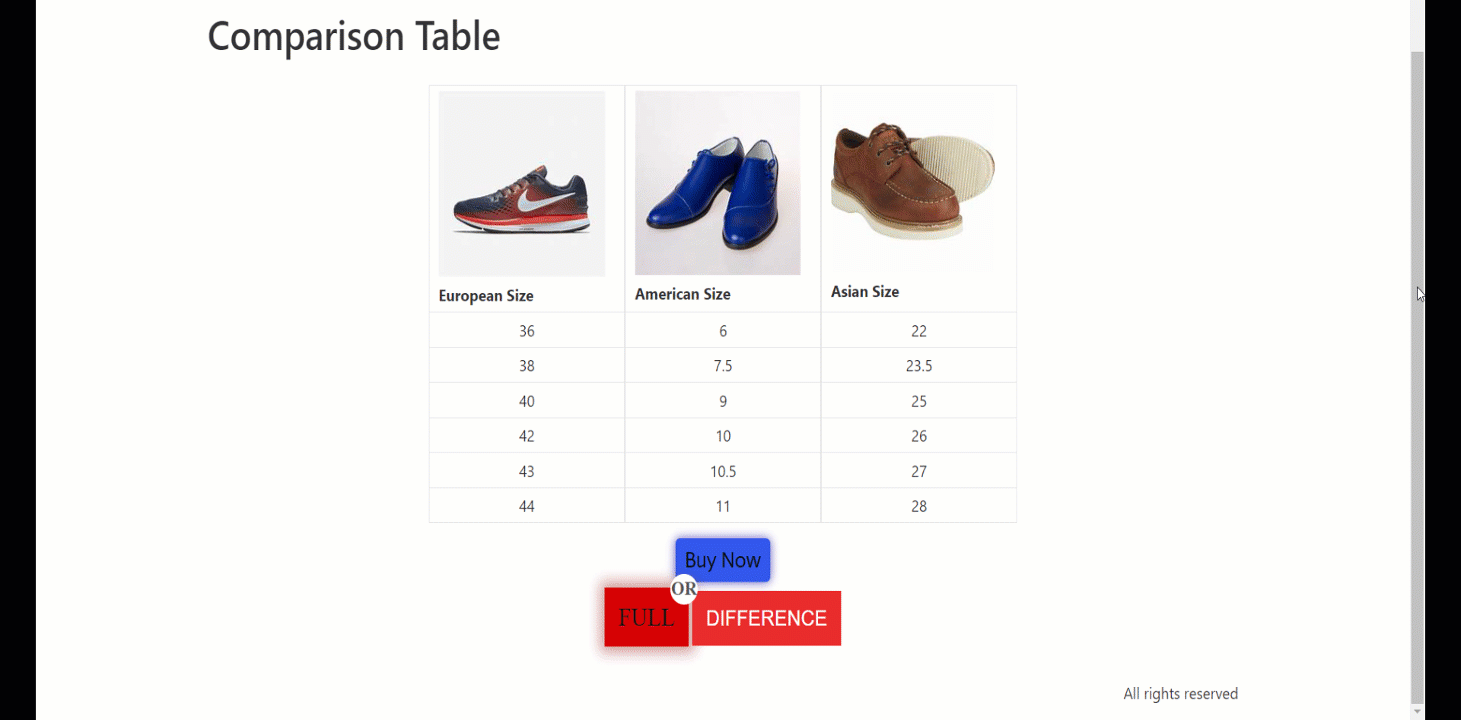
Table Heading #
In the content section, there is a Table Heading setting option.
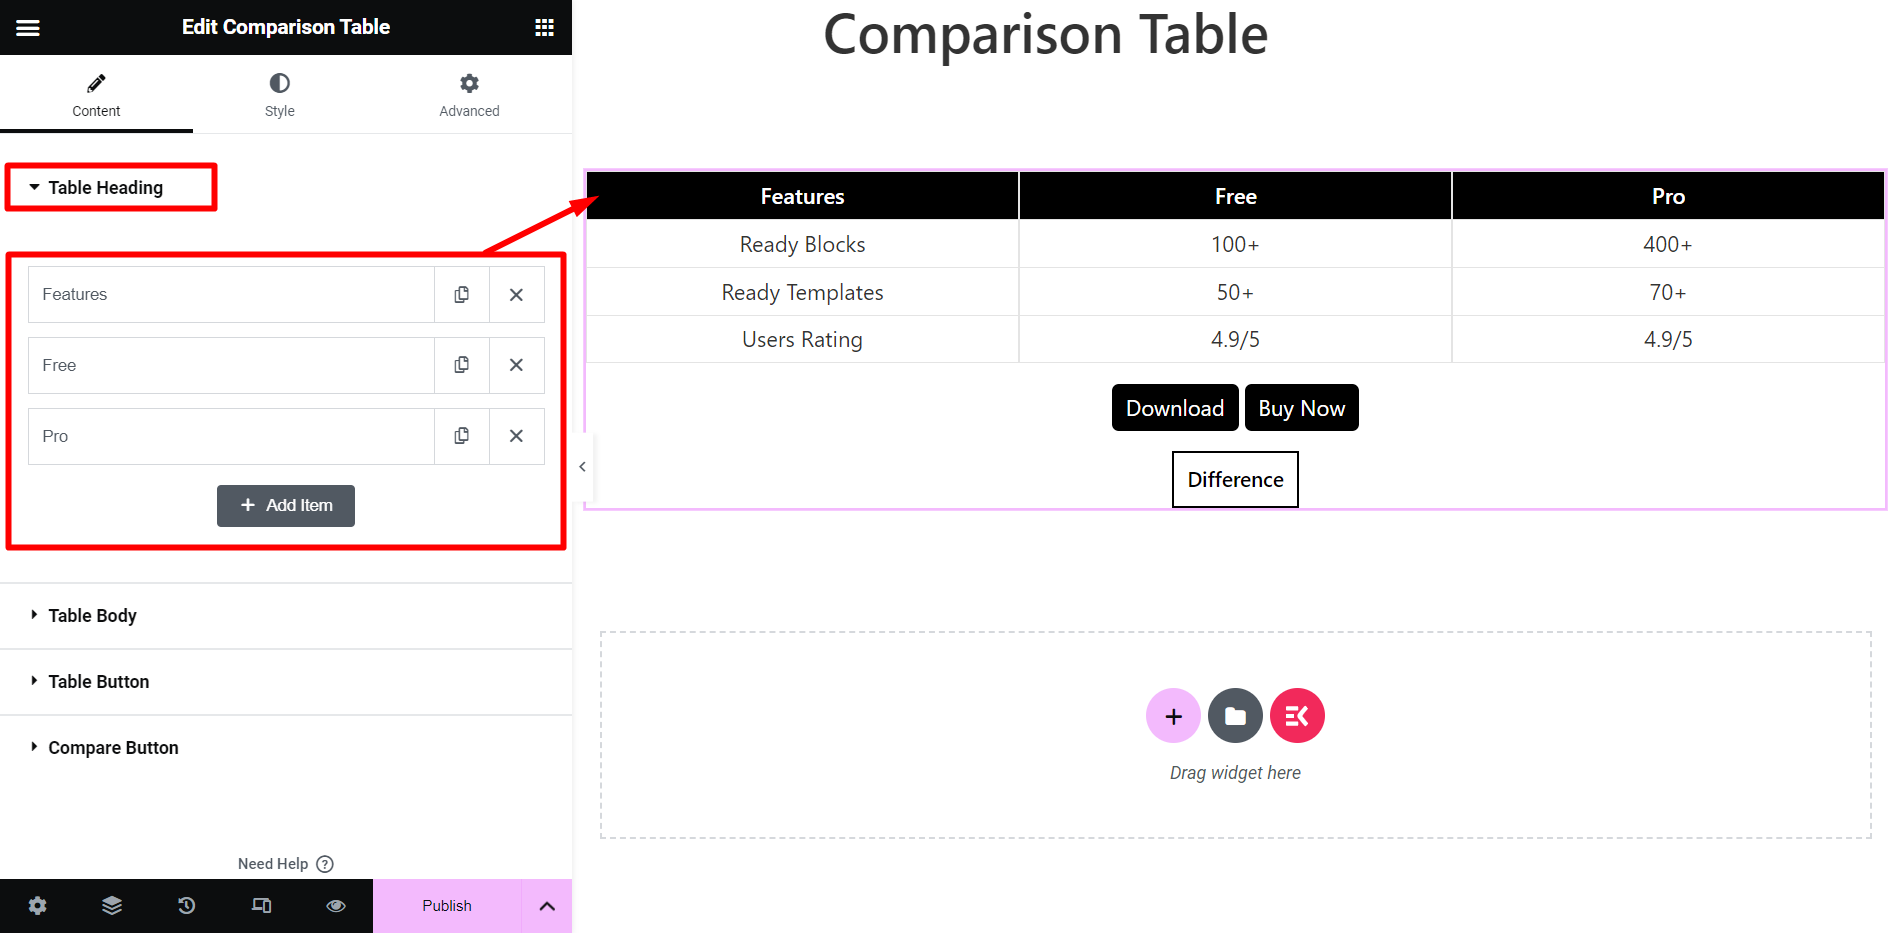
If you expand a heading name you will get these adjusting options:
- Cell Width – Cells’ width adjusting option.
- Cell Name – Here, you can give a name to the cell, style the text, add an image, etc.
- Add a URL? – If needs you can attach a URL to the heading
- Type – This can be an icon, image, or nothing.
- Position – Position setting option of icon/image. The options are – Before, After, Top, and Bottom.
- Button – Add a button to the heading if you wish.
- Alignment – This is the heading text alignment system.
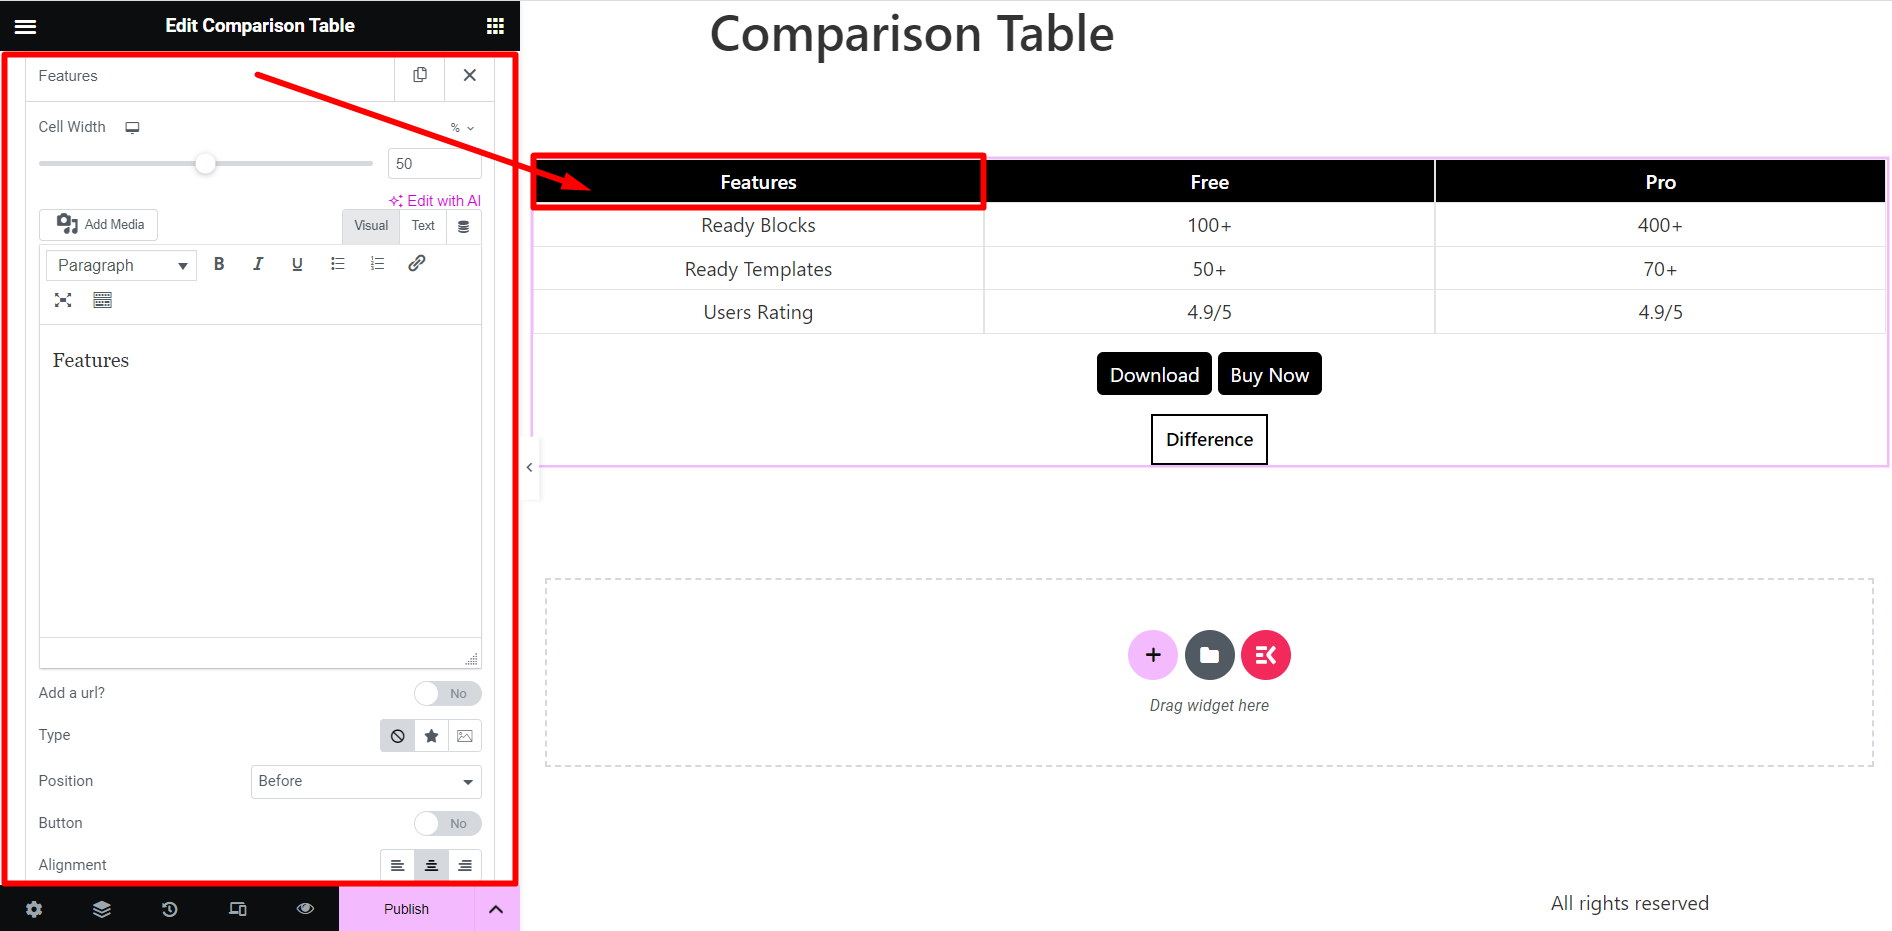
Table Body #
This is the table’s body part.
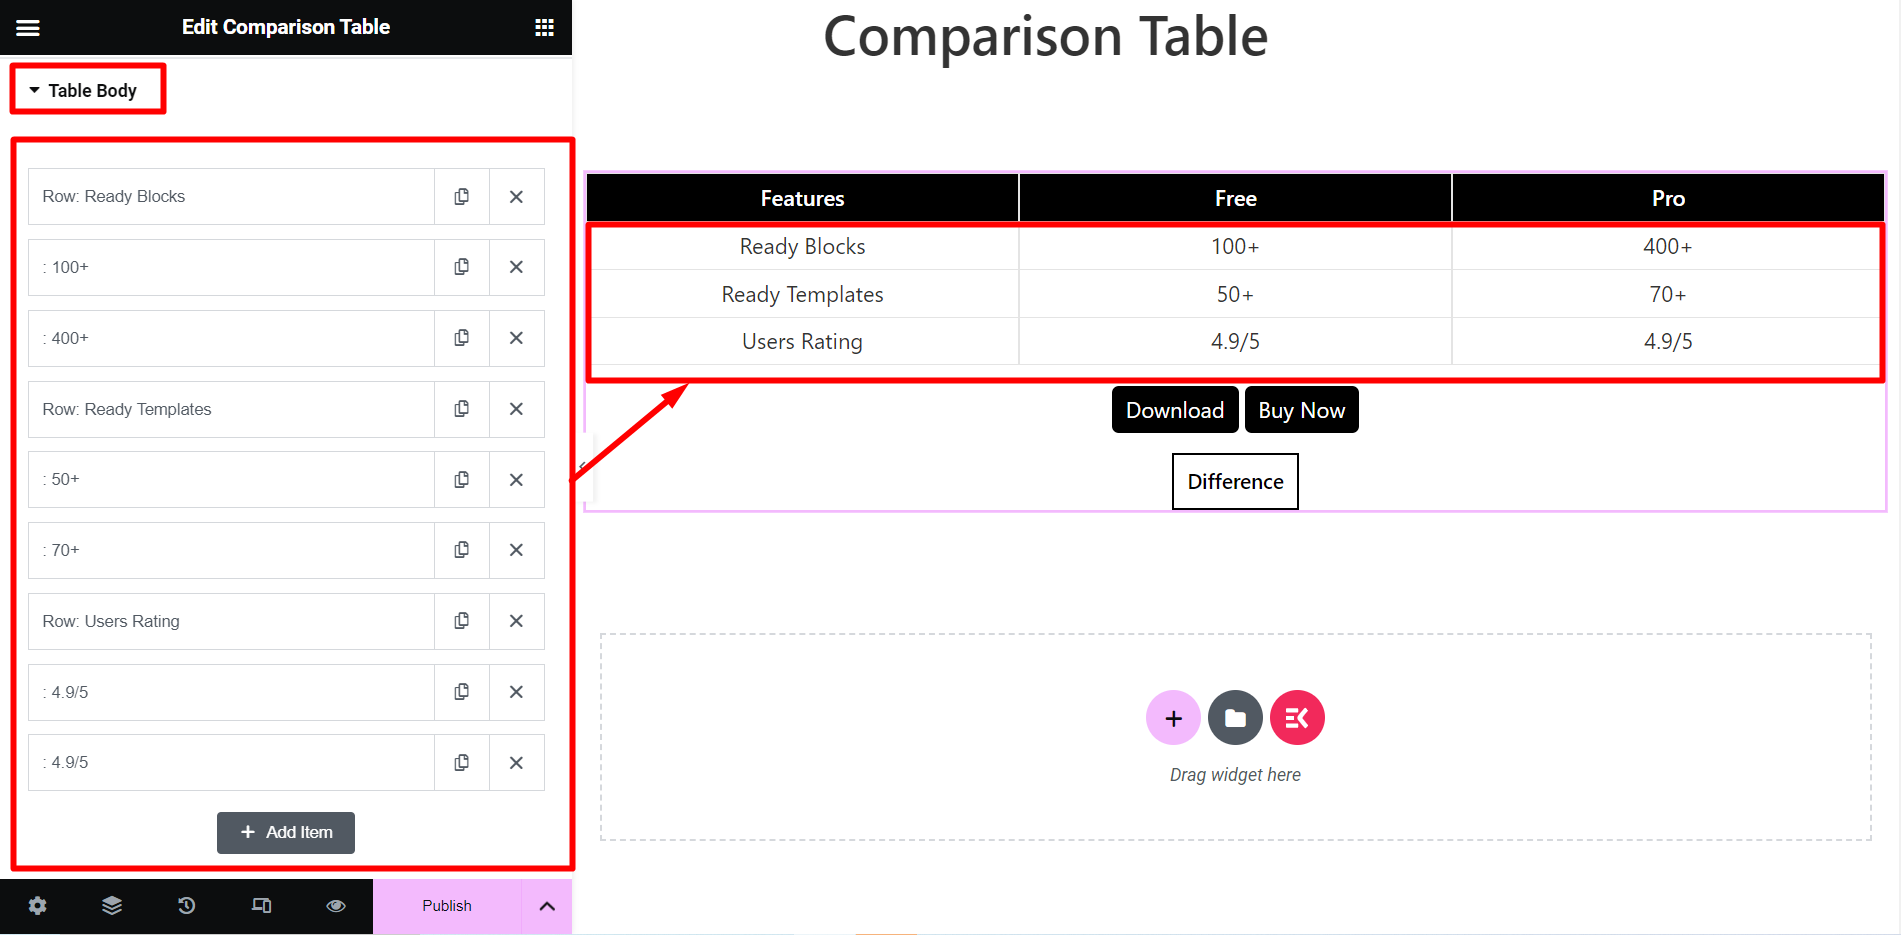
If you expand each body name you will see the same options as the heading section. However, you will get an additional option here, named New Row. By utilizing this option you can convert the rows to column.
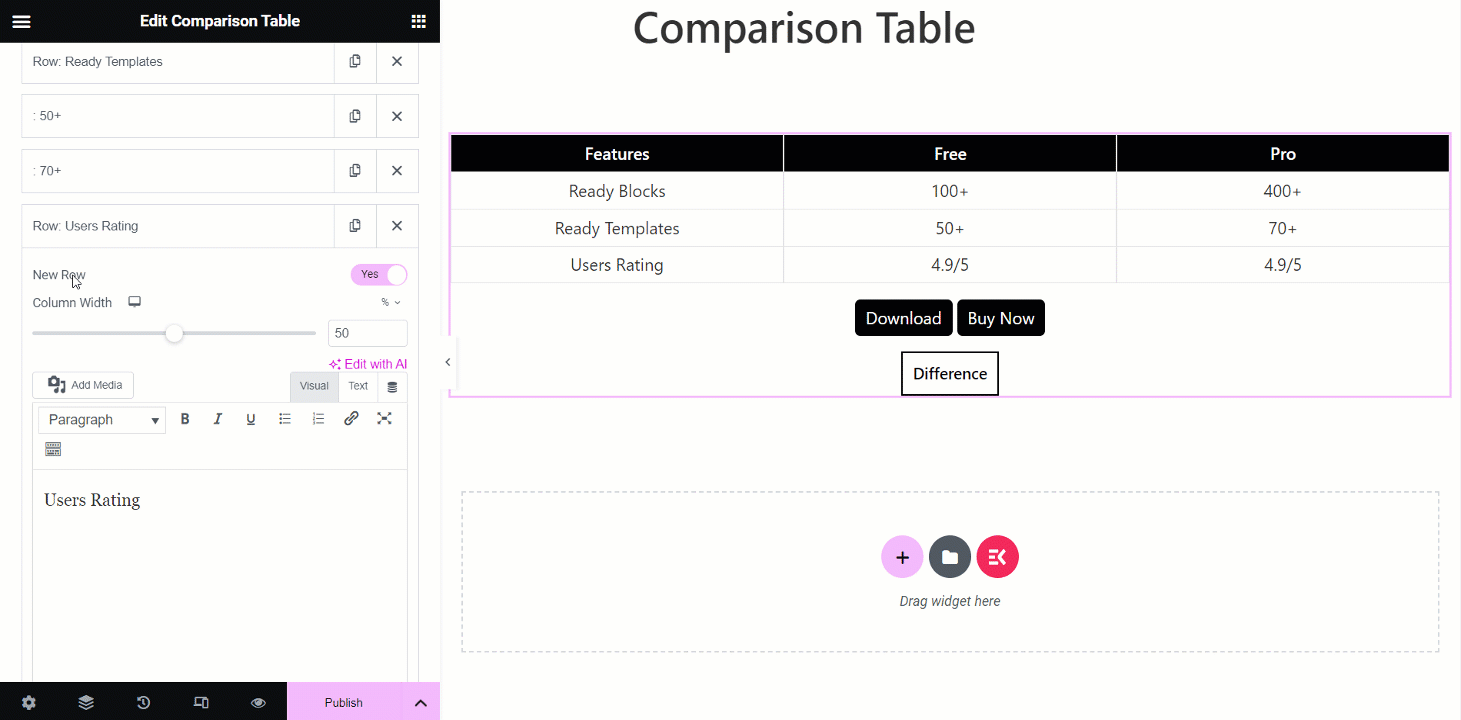
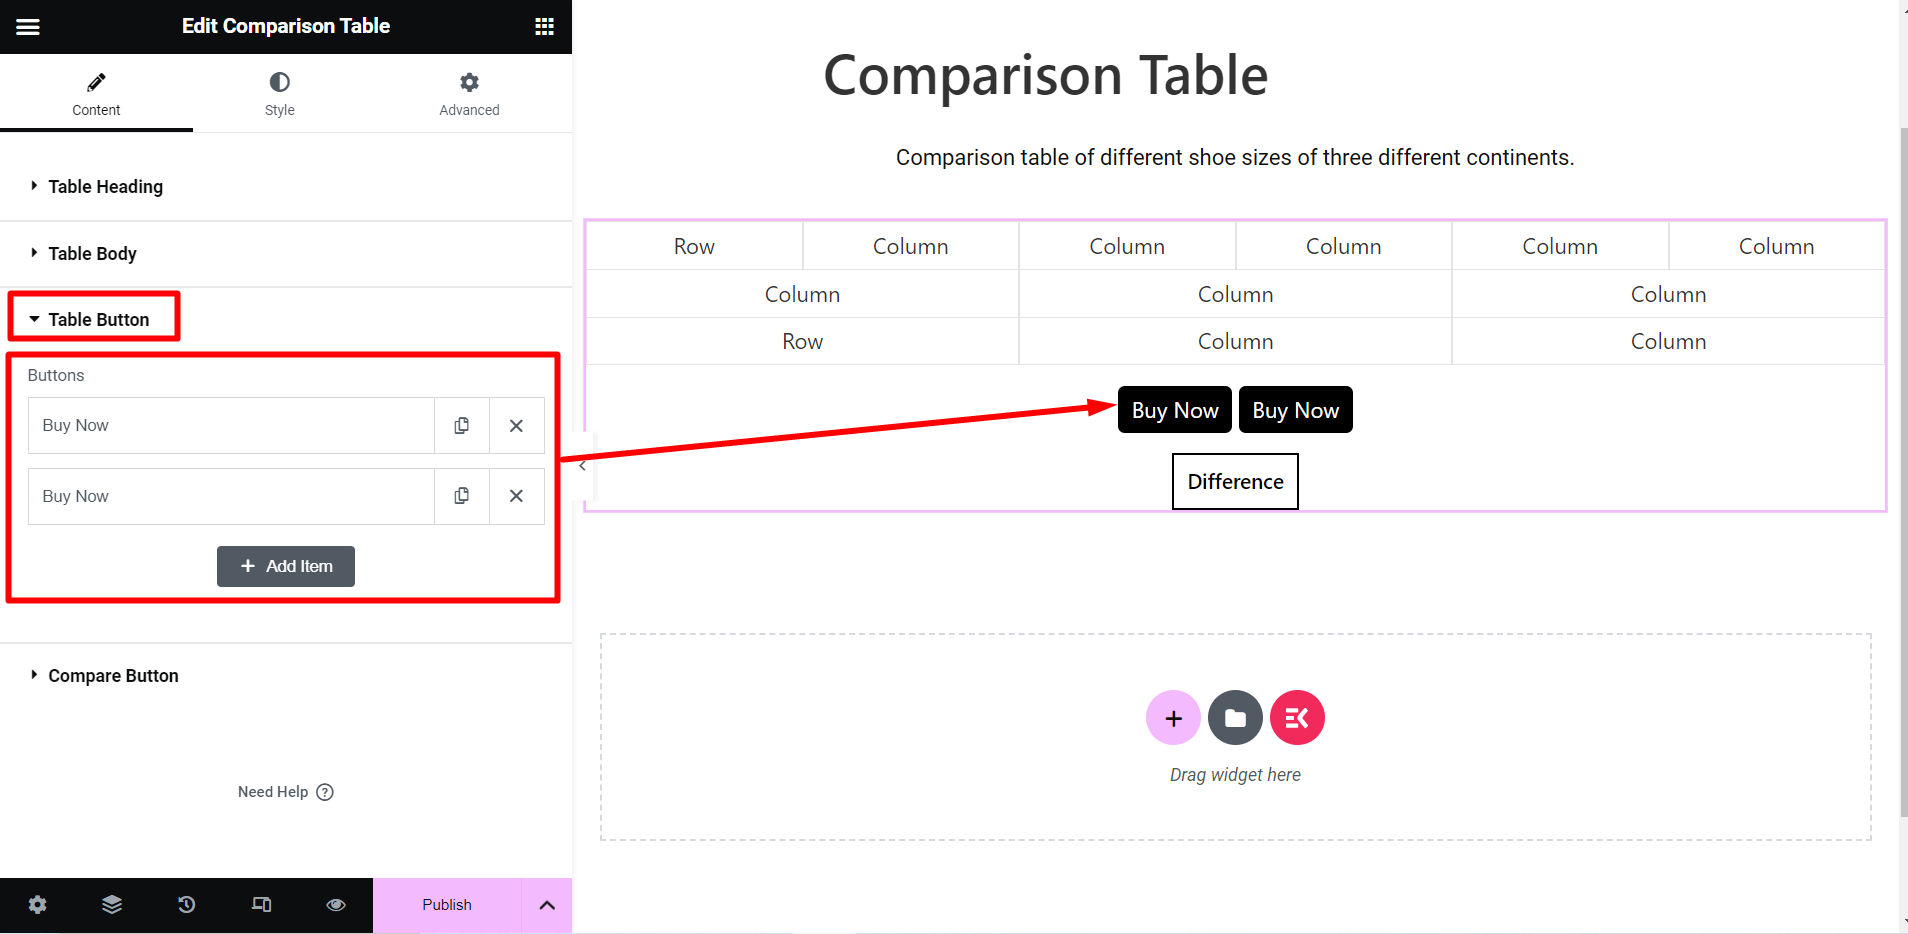
Table Button #
Sometimes adding buttons to a comparison table such as an engaging CTA button makes the table more useful.
Utilize this option to add as many buttons as you need. Expanding a button will give you options called Title and Link.
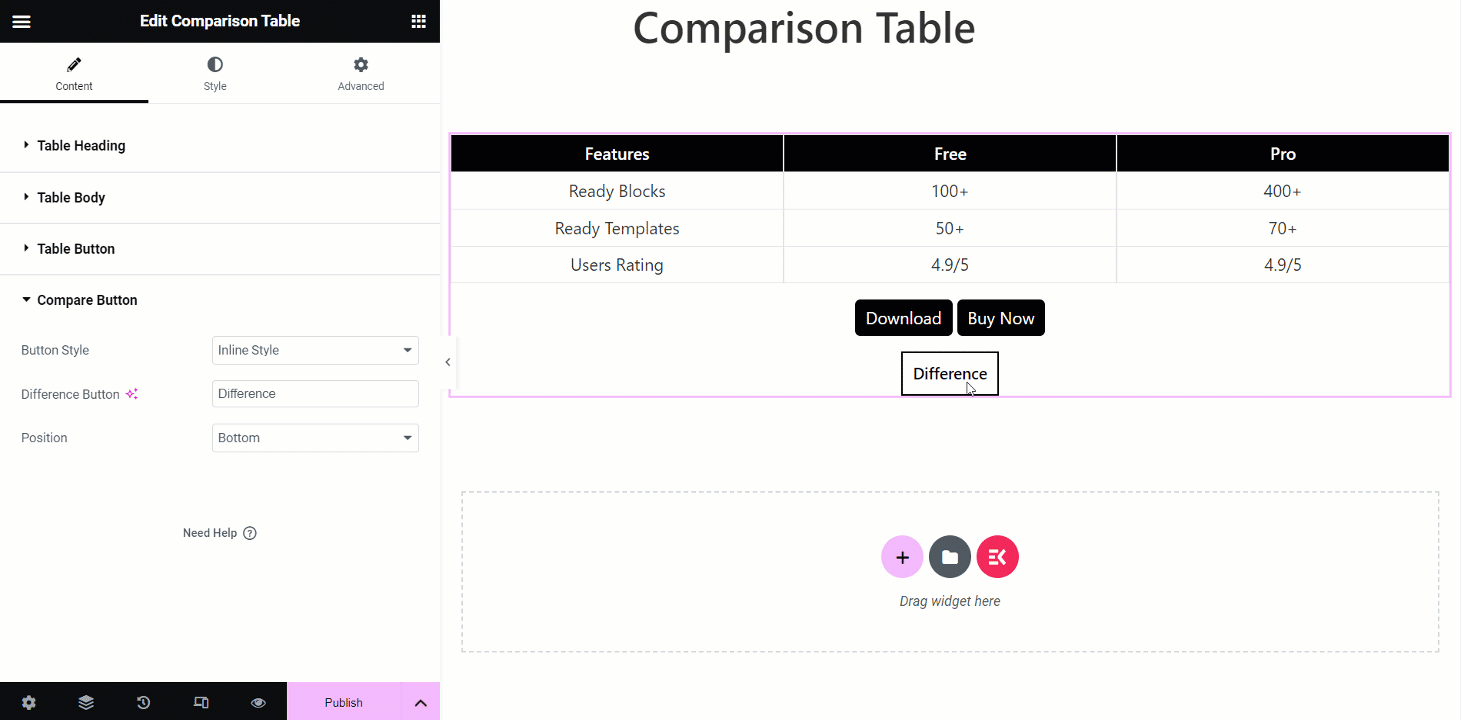
Compare Button #
In this section, you have the option to add a compare button to the table.
- Button Style – There are two style options, Tab style and Inline style.
- Difference Button – You can change the button text here.
- Position – You can change the button position here.
See the customization facilities below –
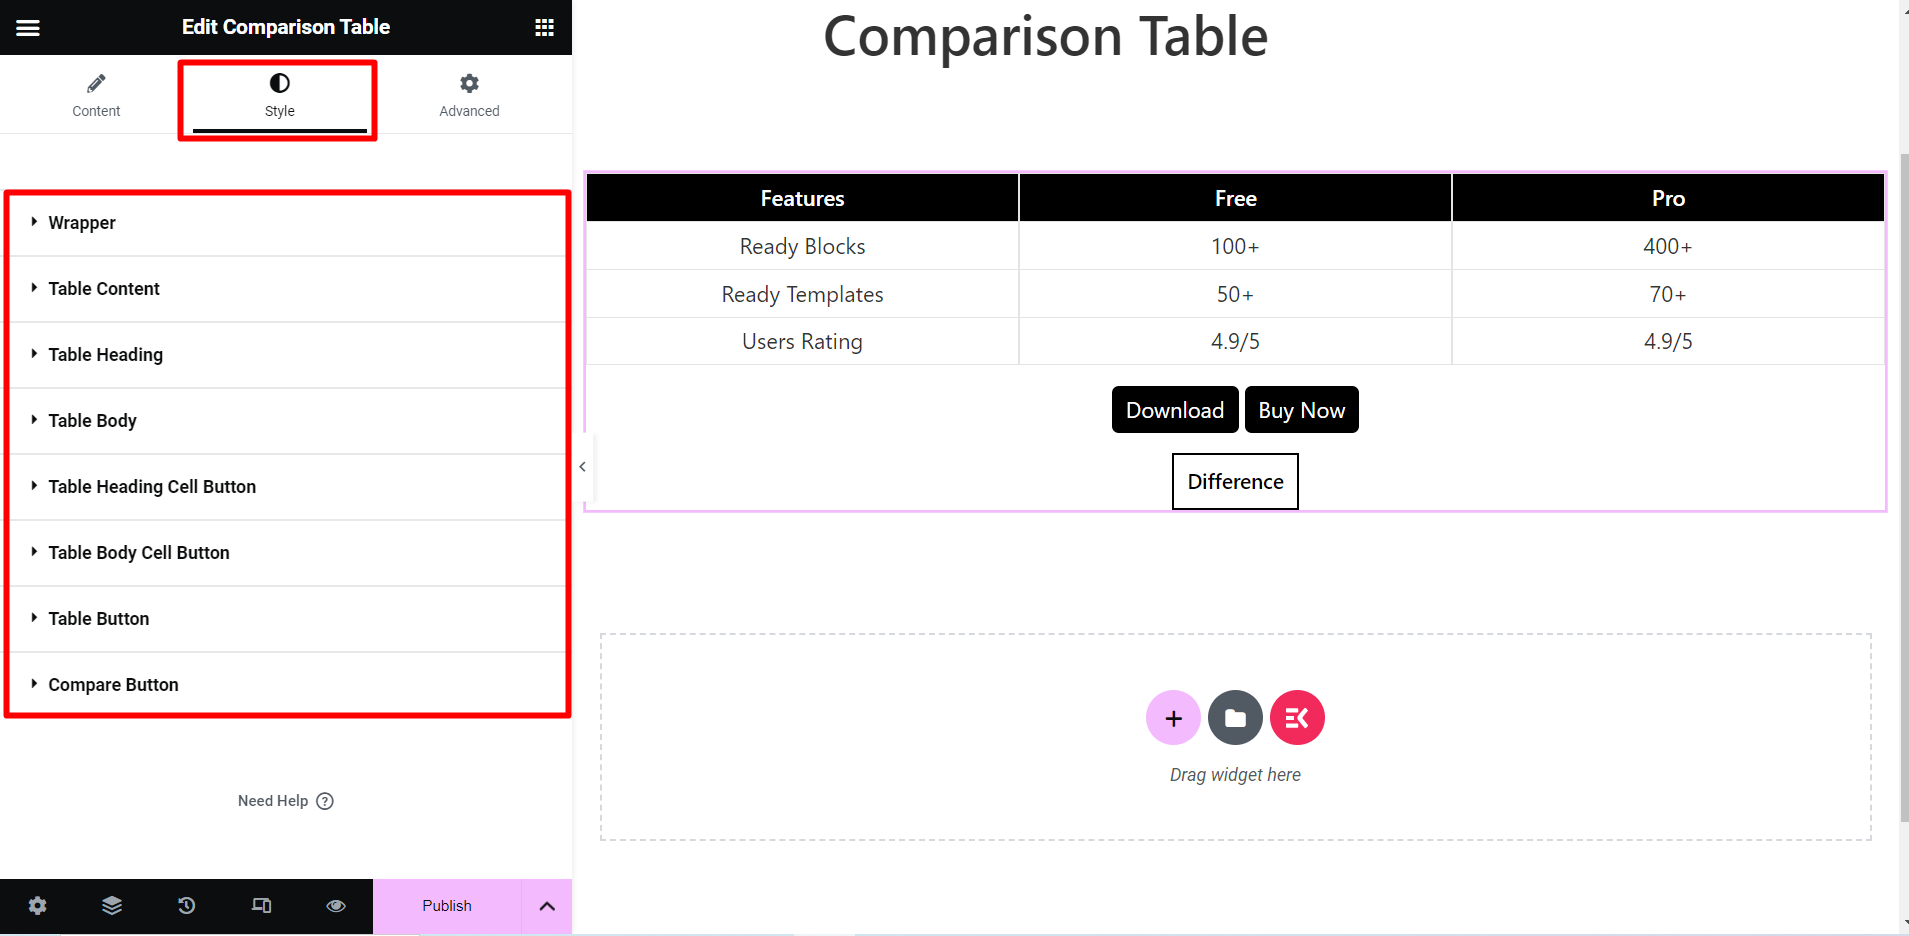
Style #
- Wrapper – Using this styling option you can change the cells’ background type, border shadow, border radius, etc.
- Table Content – For the table content you will find design options like background type, border type, padding, margin, etc.
- Table Heading – You can customize icon font size, border radius, Table heading wrapper, etc. for the heading.
- Table Body – You can style the body by adjusting the icon font size, Odd row background, Table body row, and so on in this option.
- Table Heading Cell Button – This section will provide you with text color, box-shadow, padding, margin, etc. adjusting options.
- Table Body Cell Button – Design the body cell buttons by changing text color, box-shadow, alignment, and so on.
- Table Button – If you want to make the button attractive, then customize typography, text color, background color, etc.
- Compare Button – The styling options are the same as the table button here.
Check Your Comparison Table #
After creating a comparison table according to your needs, you have to update the page/post.
You are done!
Now, you can create your comparison table by presenting information in a clear and organized manner.


