

GutenKit Blog Posts is a special block when it comes to intuitively displaying your blog post on your WordPress website. It is available with all the styling options to let you customize the title, blog excerpts, meta-text, appearance of the featured image, button, etc.
In this documentation, we will go over how the GutenKit blog posts block works.
How to Use GutenKit Blog Posts Block #
We’ll start by installing the Gutenkit plugin on your WordPress website. Then, do the following steps:
Step 1: Add GutenKit Blog Posts Block #
Head to your WordPress dashboard and start from an existing page or add a new page. Enable the block editor and click the “+” icon at the top of the block editor screen.
Then, search for GutenKit Blog Post and when it appears, just click the icon or drag & drop it.
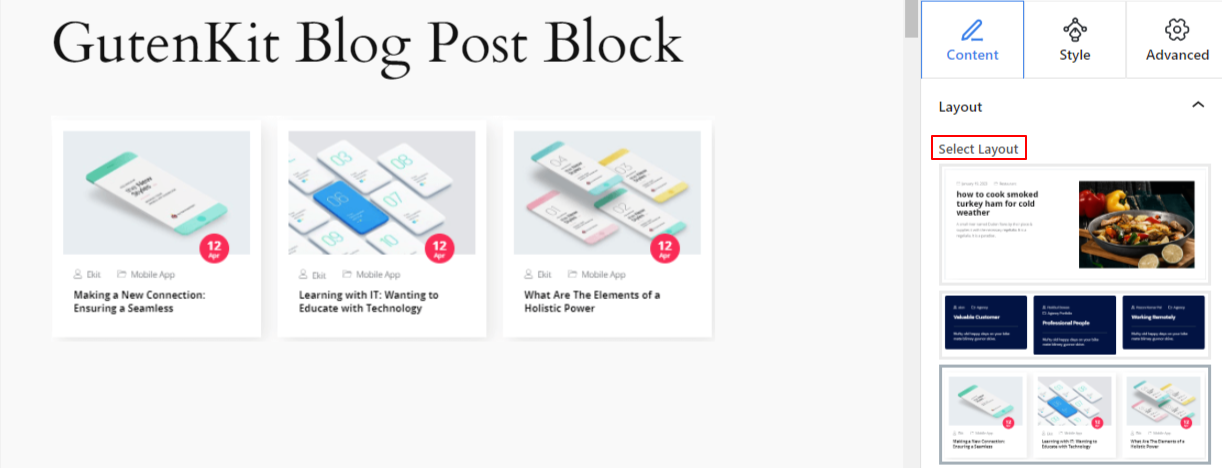
Step 2: Set A Blog Layout #
From the Advanced Settings tab, you can configure the Accordion block layout, background, border styles, and control its visibility.
Under the Content Tab, you will see the Layout option. From here, you’ll choose the preferred layout type and whether to show the title, text, image, etc.
Note that this setting option will look different depending on your chosen layout.
Let’s see:
1st Layout:
- Show Featured Image: Enable this toggle button to show the featured image with the blog post.
- Image Position: Show the featured image on the right and the content on the left or vice versa
2nd Layout:
- Select Columns: Define the column number of the grid post layout.
- Grid Gaps: Use the slider to determine the space in the grid layout.
- Show Read More Button: This toggle button to let you control of displaying the Read More button.
3rd Layout:
- Show Featured Image: Choose to show the featured image or not.
- Image Position: Show the image to the top or left.
All Layout:
- Select Image Size: Select the size of the image from the dropdown. (Thumbnail, Medium, Large, Full)
- Thumbnail & Content Spacing: Use this bar to define the gap between image and content.
- Show Title: Enable this toggle button to show the title of each blog.
- Crop Title By Words: Define the maximum number of words you want to show for your blog title.
- Show Content: Use this toggle button to show or hide a preview or short snippet of each post’s content, also known as the excerpt.
- Crop Content By Words: Customize the post excerpt length by adding a number in this box.
Step 3: Configure Query Parameters #
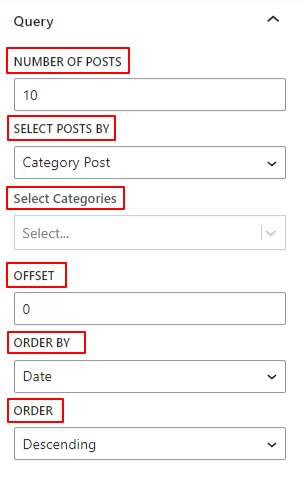
The following options will allow you to configure the blog posts displayed according to different queries.
- Number Of Posts: Choose the number of posts you want to show on par pages.
- Select Posts By: Show your most recent posts, a specific category of posts, or select posts one by one.
- Select Posts: Select preferred posts one by one to display.
- Select Categories: Choose a specific post category type.
- Offset: Use this setting to skip over posts (e.g. “2” to skip over 2 posts).
- Order By: Show blog post according to Date, Author, or Title.
- Order: Choose between ascending or descending order type.
Step 4: Add Blog Post Meta #
The next two settings are applicable if you choose the third layout only.
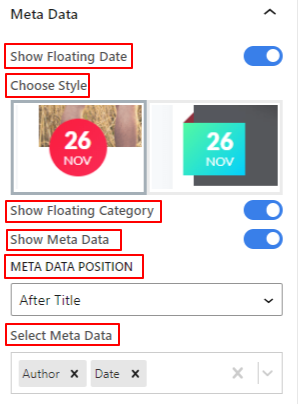
- Show Floating Date: Activating this option will display the blog’s published date floatingly. There are two distinct design options available.
- Show Floating Category: Display the category of the blog post with floating animation.
- Show Meta Data: Enabling this toggle button will show all meta text/data of your blog post like date, category, author, etc.
- Meta Data Position: Choose where to show all meta text/data of your blog post. You can place them before or after the title, or after the (excerpt) content.
- Select Meta Data: From the dropdown of this box, you will select the meta text/data you want to show. You can choose an avatar for the author and separately select icons for category, date, and comment.
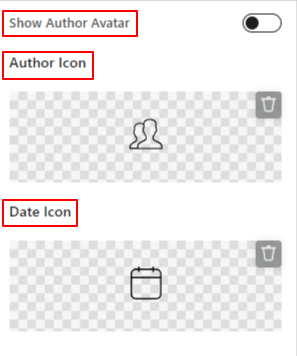
- Show Author Avatar: Enable this toggle button to show the author avatar instead of the author icon.
- Author Icon: Add author icons from the library or upload one from your SVG file.
- Date Icon: Like the previous option, choose an icon from the date.
Step 5: Add Read More Button #
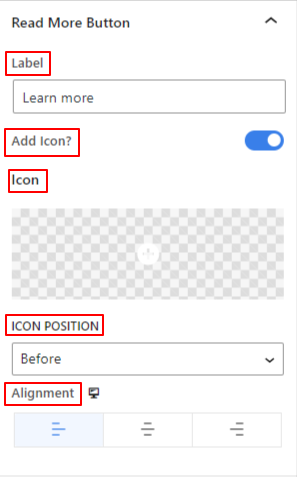
- Label: Enter your custom text for the Read More button.
- Add Icon: Click this toggle button to show the icon with the button.
- Icon: Choose an icon from the library or add one from your device.
- Icon Position: Define the icon position between before or after the button text.
- Alignment: Select the button’s horizontal position (Left, Center, Right).
Step 6: Style Blog Post Layout #
Now, we will look at all the customization options for displaying your blog posts. For this, go to the Style Tab.
Wrapper: #
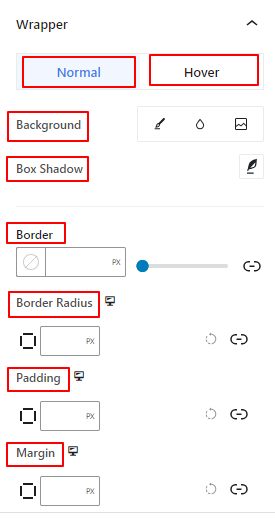
- Background: Add a background type between solid color, gradient, or image for the area within the wrapper area. (Image background doesn’t support in hover state)
- Box Shadow: Use these controls to apply a shadow effect around the wrapper.
- Border: From here, you can use the slider to define the border width, add a color from the color picker, and select a border style.
- Border Radius: Enter a custom value to adjust the roundness of the border.
- Padding: Include a value to define the space between the content and wrapper.
- Margin: Determine the space outer of the wrapper area with other elements.
Content:
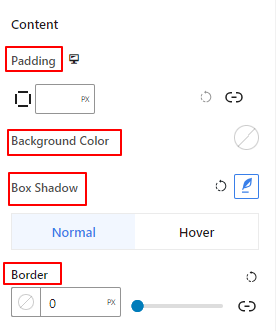
- Padding: Use this box to create a gap outside of content (titles, images, and text) areas.
- Background Color: Use this color picker to add color only to the content area.
- Box Shadow: Add a box shadow animation style around the content area on normal or hover effects.
- Border: This setting area facilitates the thickness of the border, and its color and style.
Featured Image: #
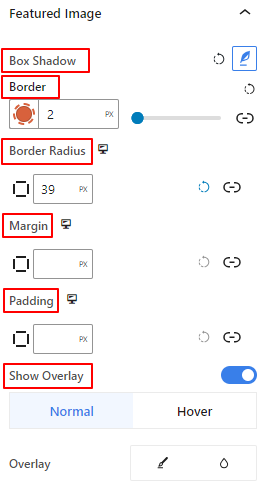
You will only see this setting area if you enable the Display Featured Image from the Content Tab.
From this setting area, you add and control border and box shadow effects around the featured image. Also, set the margin and padding of the featured image with other elements.
- Box Shadow: Adore the featured image frame with shadow animation effects.
- Border: Add a border around the featured image and control its thickness, color, and style.
- Border Radius: Define the roundness of the border of the featured image.
- Margin: Determine the space around the featured image within the blog post item.
- Padding: Add space around
- Show Overlay: Apply an overlay effect on both normal and hover options.
Step 7: Style Meta #

- Typography: Customize the typography of all the displayed meta text/data.
- Alignment: Place all the meta text/data to the left, center, or right.
- Container Margin: Add inner space between the blog post meta.
- Item Margin: Enter a value to determine the gap between all meta.
- Item Padding: Add spaces around the meta text/data.
- Item Spacing: Use the slider to define the gap between the meta icon and text.
The following settings are applied to both normal and hover options.
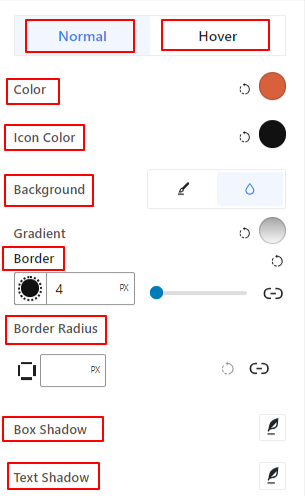
- Color: Use this color picker to select a color for the post meta text/data.
- Icon Color: Give meta text/data icon a separate color.
- Background: Choose a background type between solid color and gradient.
- Border: Get all the border settings for the meta text/data.
- Border Radius: Enter a value to set the roundness of the border.
- Box Shadow: Apply a shadow effect to the meta text/data.
- Text Shadow: Beautify the text with a shadow text.
Step 8: Style Text Content #
Title: #
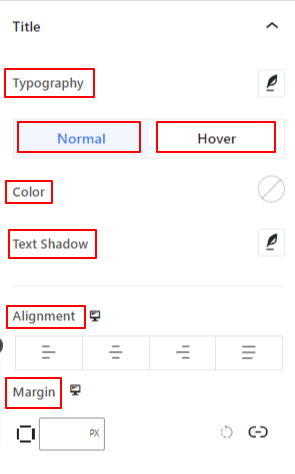
Use this setting area to customize the title typography, color, text-shadow, and define the text alignment, and set the margin for both normal and hover options.
Content: #
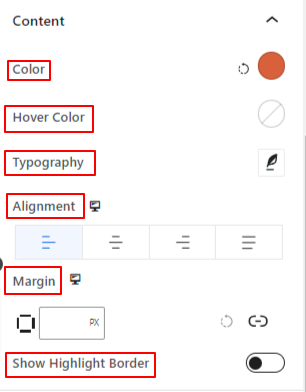
From this setting area, give color to the excerpt text on normal and hover effects, style its typography, set the horizontal alignment, and show the highlight border.
Step 9: Style Author Image #
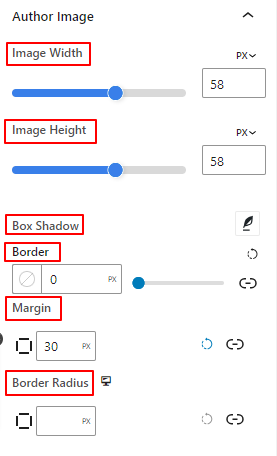
From this setting area, define the author avatar height & width, add border & box shadow effects, and space around it.
Step 10: Style Button #
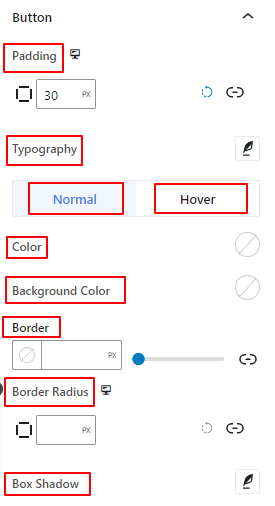
From here, add inner space to the button and customize its typography & box shadow. Also, set the color for the button and its background.
We hope this tutorial helped you learn how to add a stunning blog posts to the block editor on your WordPress website


