

To organize an event smoothly and successfully, an event form is crucial to gather the necessary information from the attendees. One powerful tool to create an Event registration form is the MetForm form builder.
MetForm offers a user-friendly Event form template for your WordPress website. You will able to create a completely functional form for any small or commercial events.
Besides, this form template is fully compatible with Elementor. Plus, there are 40+ style options for the input fields, buttons, and form layout. So, you can customize the form template as per the requirements.
✨✨Requirements
👉👉Elementor: Download Elementor Plugin
👉👉MetForm: Download MetForm Plugin
Default Elements for MetForm Event Form #
- First Name
- Last Name
- Email Address
- Company Name (Optional)
- Website URL (Optional)
- Have you attended before (Radio Button)
- Dietary Requirement (Multiple Options)
- Do you require any special assistance (Yes/No)
- Comments/ Message
- Submit button
How to Create an Event Form using MetForm ( 2 Ways) #
1. Create and Insert a New Event Form with Elementor #
To create a new Event form within seconds, create a new page/post first. Or you can open any existing page or post with Elementor.
- Search for the MetForm widget
- Drag and drop the widget inside the Elementor block
- Click on “Edit Form” at the left sidebar
- Select the “New” option from the pop-up window
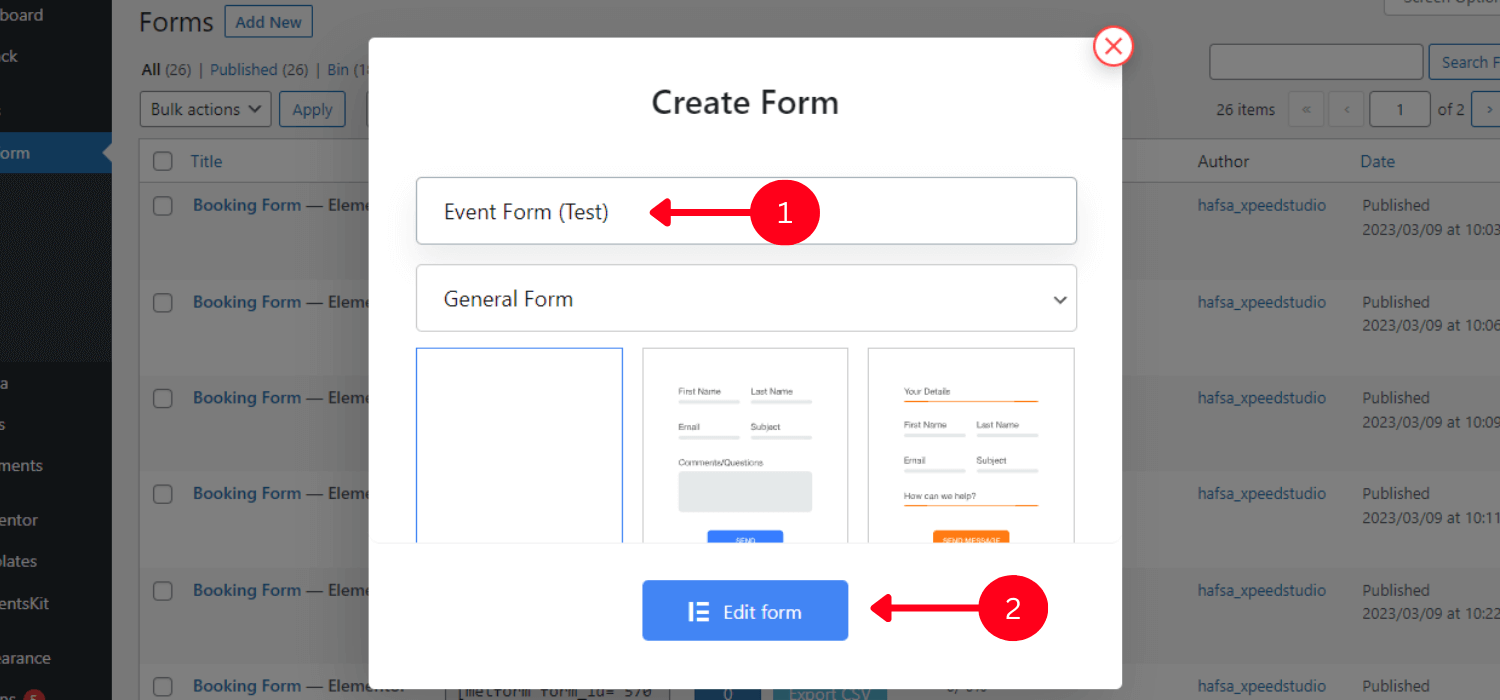
- Give the form name, and try to keep the name meaningful for further navigation
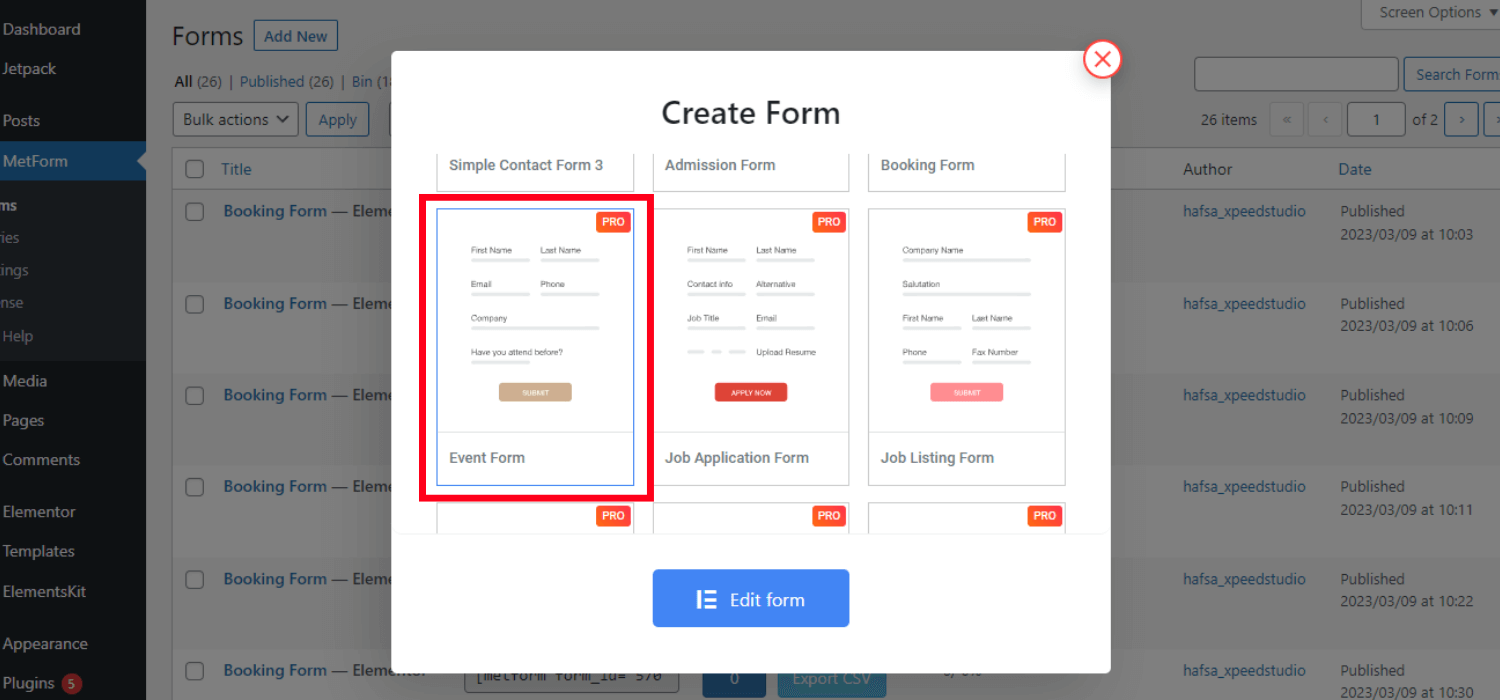
- Choose the Event Form among 30+ templates
- Click on the “Edit Form”
You can customize it as per your requirements or keep it as it is
- Click on “Update & Close”
- Click on “Publish”
Customize the MetForm Event Form Template #
All form templates of MetForm including Event form are fully customizable. You can customize the content and well as input field styles. Plus, you can customize the form layout, effects, and animation from the Advanced settings.
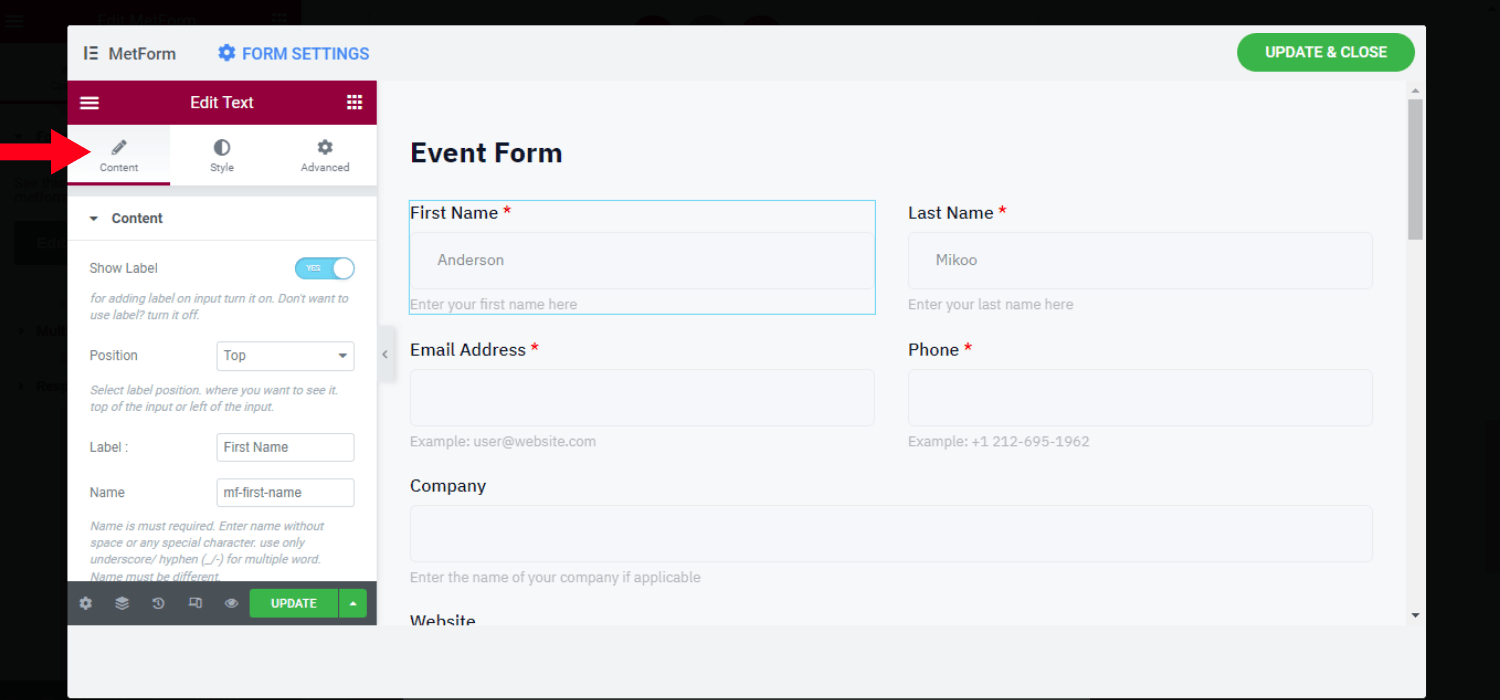
Content Customization #
- Show/hide the input field label
- Set position for left or top
- Change the label text
- Customize the name
- Set the placeholder
- Include help text
- Set validation type (e.g. by character length, word length)
- Set required or optional information field
- Option for getting value from URL
- Can apply conditional logic
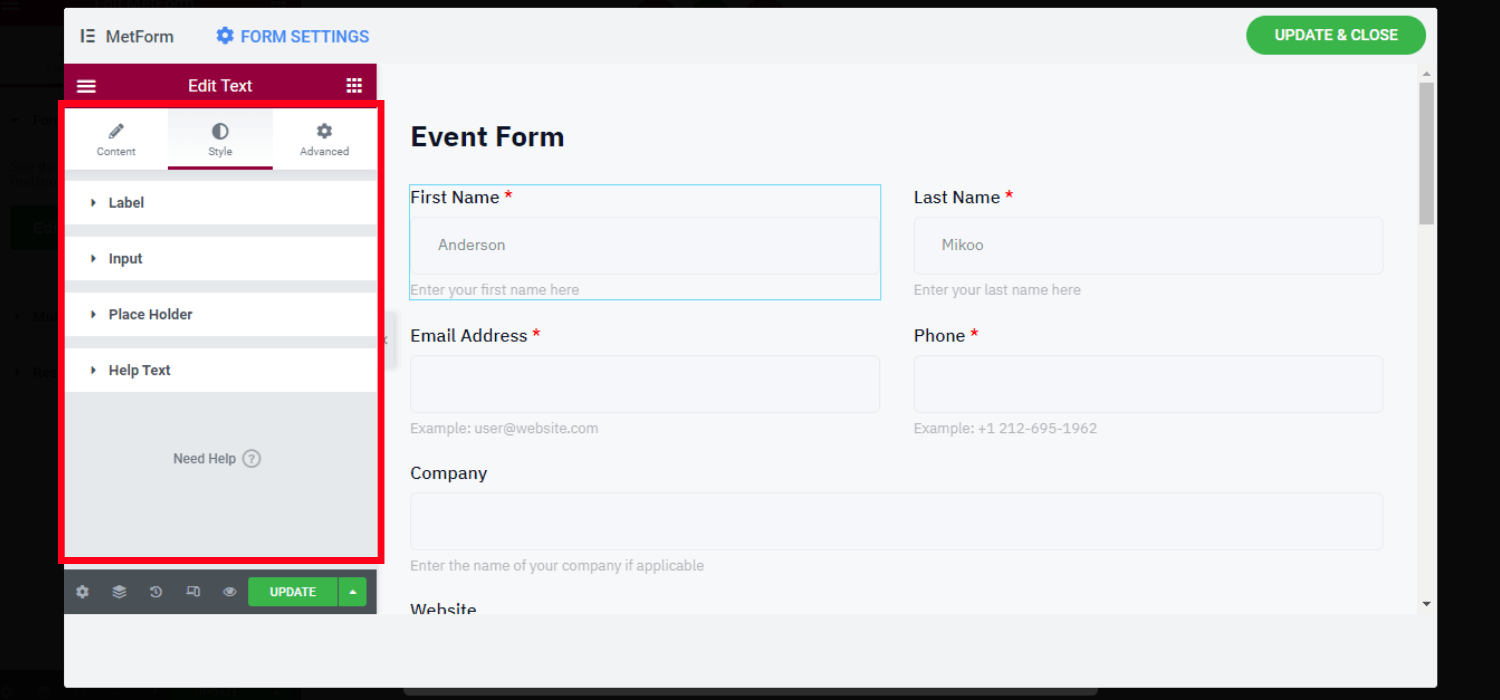
Style Customization #
You can customize the label, input filed styles from here. Also, you can change the style properties for the placeholder and help the text
👉Label
- Customize the color, typography, padding, and margin
👉Input
- Customize the padding and margin
- Set input color (normal, hover, focus)
- Change the background type and color
- Set background image
- Customize border style (e.g. none, solid, double)
- Set the border width, radius, box shadow, and color
👉Placeholder
- Customize the typography and color
👉Help Text
- Change the typography, color, and padding value
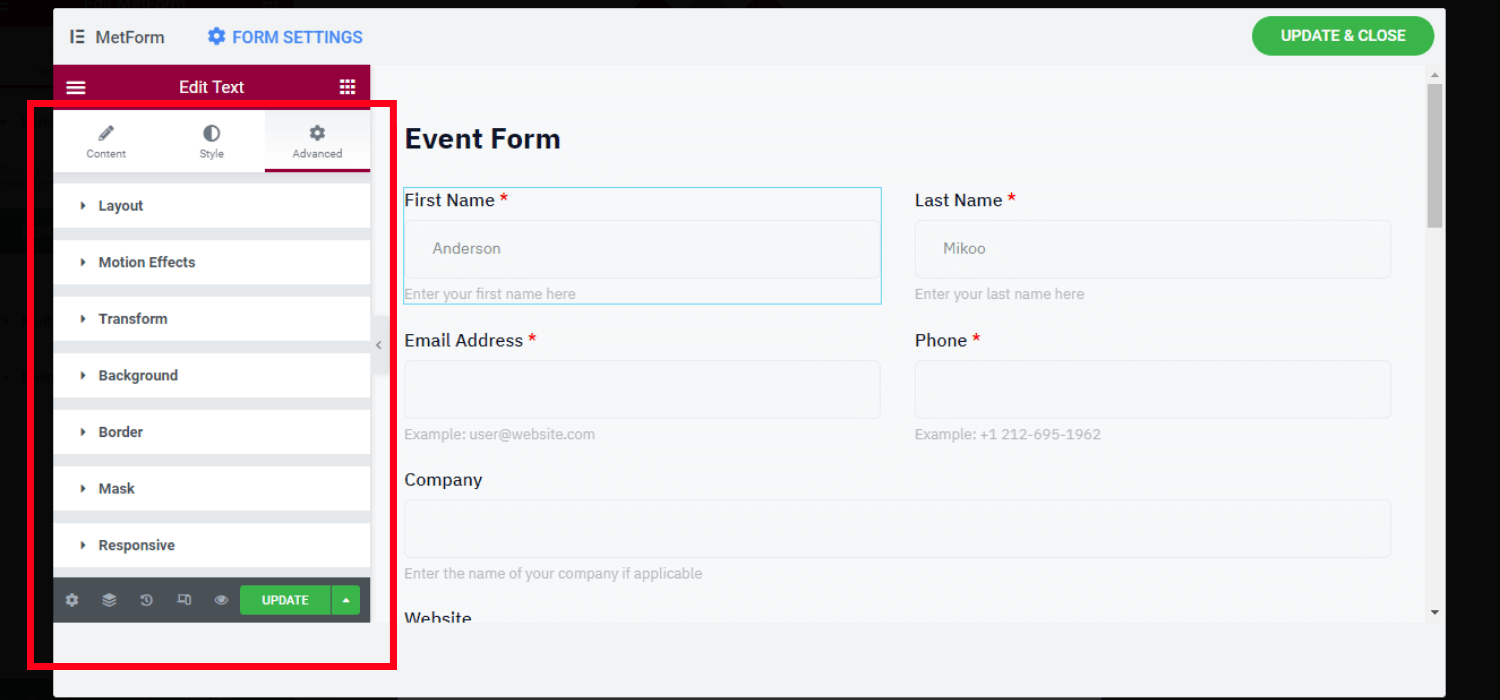
Advanced Customization Settings #
- Customize the entire layout’s width, margin, padding, position, z-index
- Include various motion effects for input fields
- Change the layout’s background type and color
- Customize the border, mask, and device responsiveness
- Set attributes and custom CSS
2. Choose the Event Form Template & Insert it into the Page/Post #
As MetForm offers a fully readymade Event form template, you can simply choose this one first, customize it, and insert it again for future purposes.
For this, you have to insert the form using the form name or the unique shortcode.
Step 1: Create a New Event Form #
- Login to your WordPress dashboard
- Hover over the MetForm
- Click on forms
- Click on “Add new”
- Choose the Event form
- Set the form name
- Click on “Edit Form”
Step 2: Insert the Event Form #
You can insert the MetForm Event form directly with Elementor or use the shortcode.
✅✅Insert the Event form using Elementor
To insert the event form, you can open a new or existing page or post with Elementor.
- Search for the MetForm widget
- Drag and drop it inside the page/post
- Click on the “Edit form” at the left sidebar
- Choose the form name
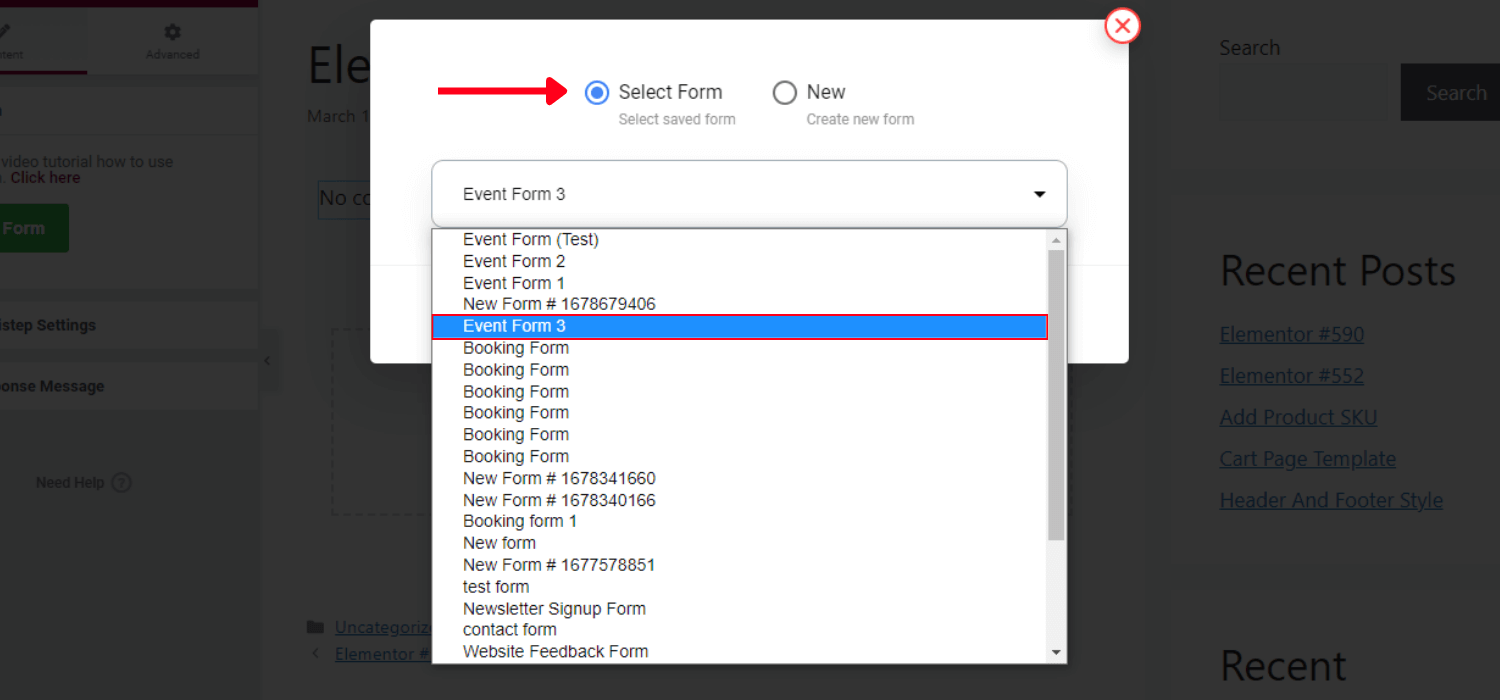
- Click on “Edit form”
- Click on Save & Close
- Click on update
✅✅Insert the Event form using Shortcode
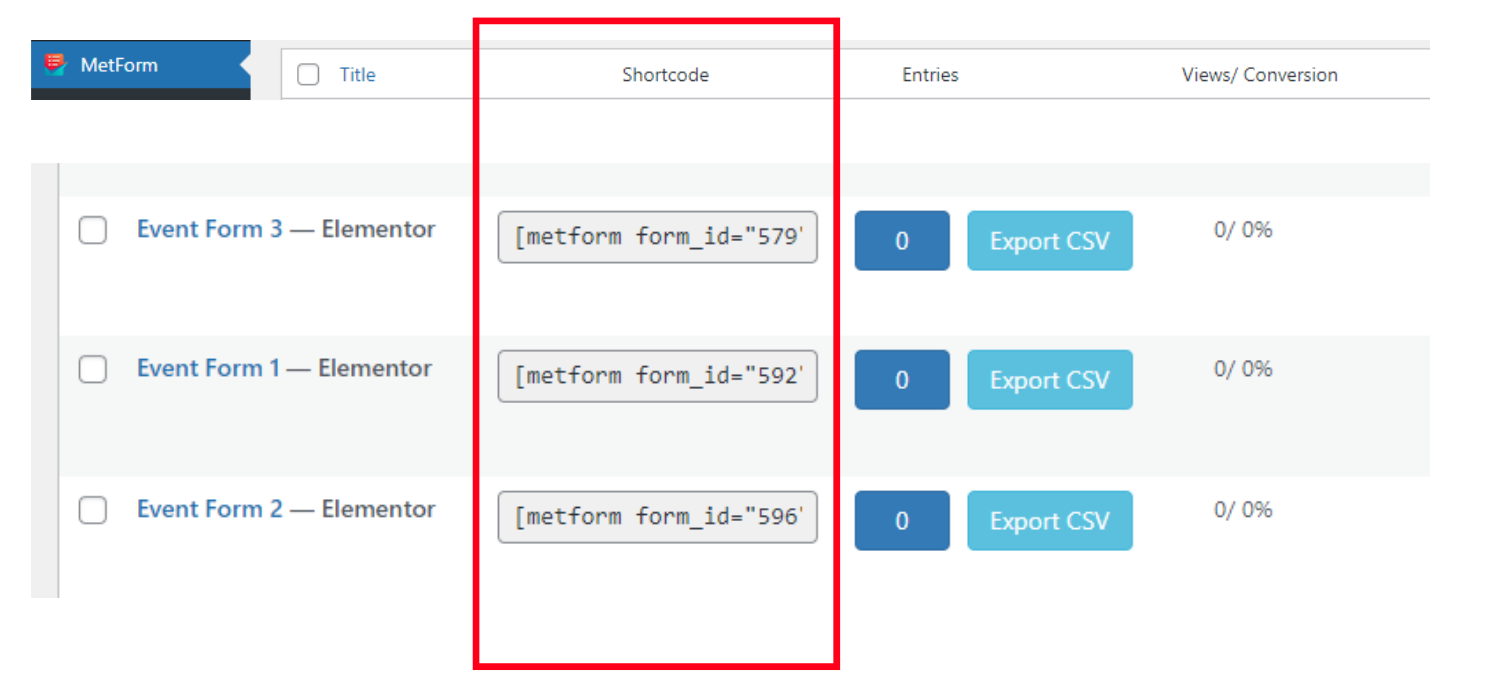
Go to the MetForm -> Forms. You will get all the created form templates here along with the unique shortcode. Copy the shortcode of your preferable Event form template.
👉👉Copy & Paste the Shortcode into the Text Block
- Copy the shortcode of the Event form
- Paste the shortcode in the page/post you want to add the form
- Click on “Publish”
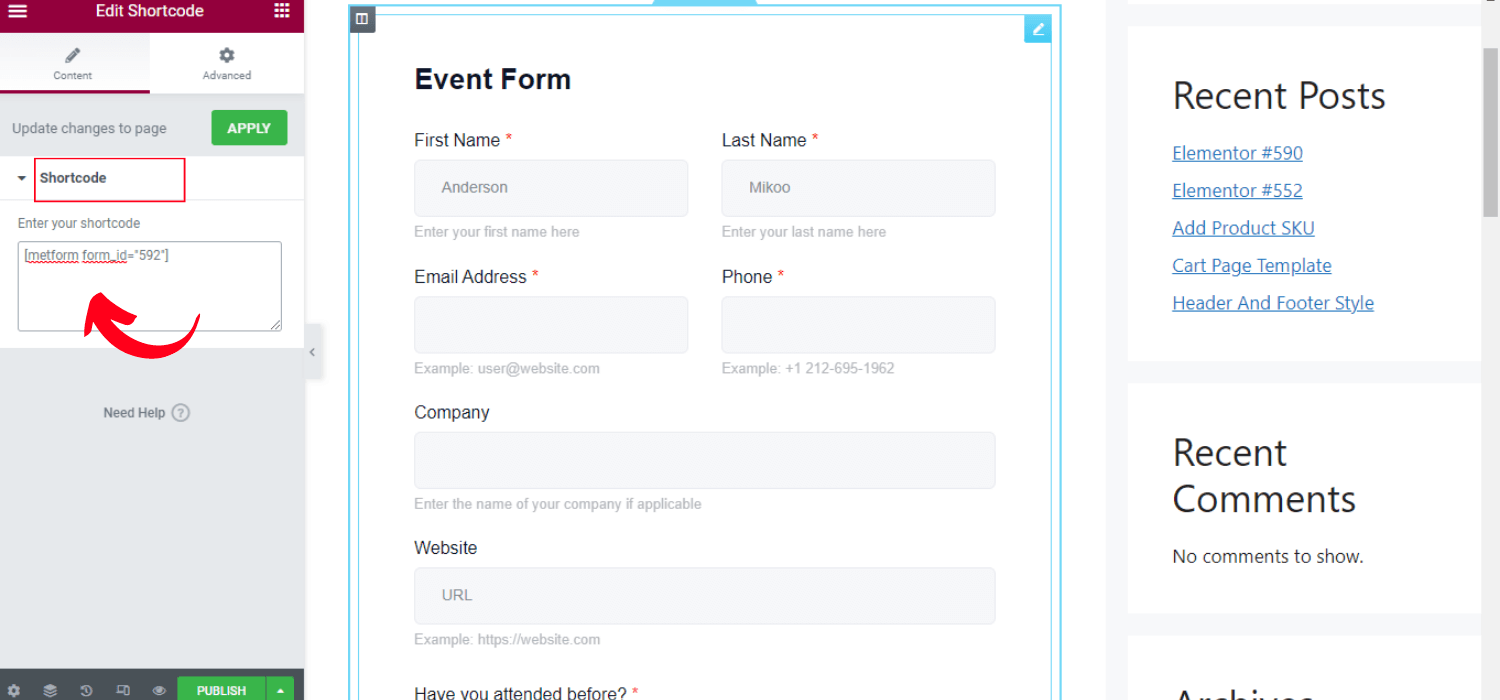
👉👉Use the Shortcode widget
- Open a page/post with elementor
- Search the Shortcode widget
- Drag and drop the widget
- Paste the form shortcode in the shortcode field
- Click on “Publish”
That’s all. Overall, creating and adding MetForm forms is a very simple and straightforward process.
Whether a small gathering or a large conference, hopefully now you can create an Event form and insert it into your WordPress website.


