

Customizing the response message is a pro feature of MetForm. This message is displayed after a user fills out a form.
It confirms to the users whether their message has been successfully submitted or not. Either way, creating such a response message is quite easy for the MetForm pro users.
Here we will show you the procedure of editing the response message.
Opening a Form #
Follow the procedure below to open a form where you’ll add the response message.
- Login to the WordPress admin panel and create a new page.
- Open the page with the Elementor editor.
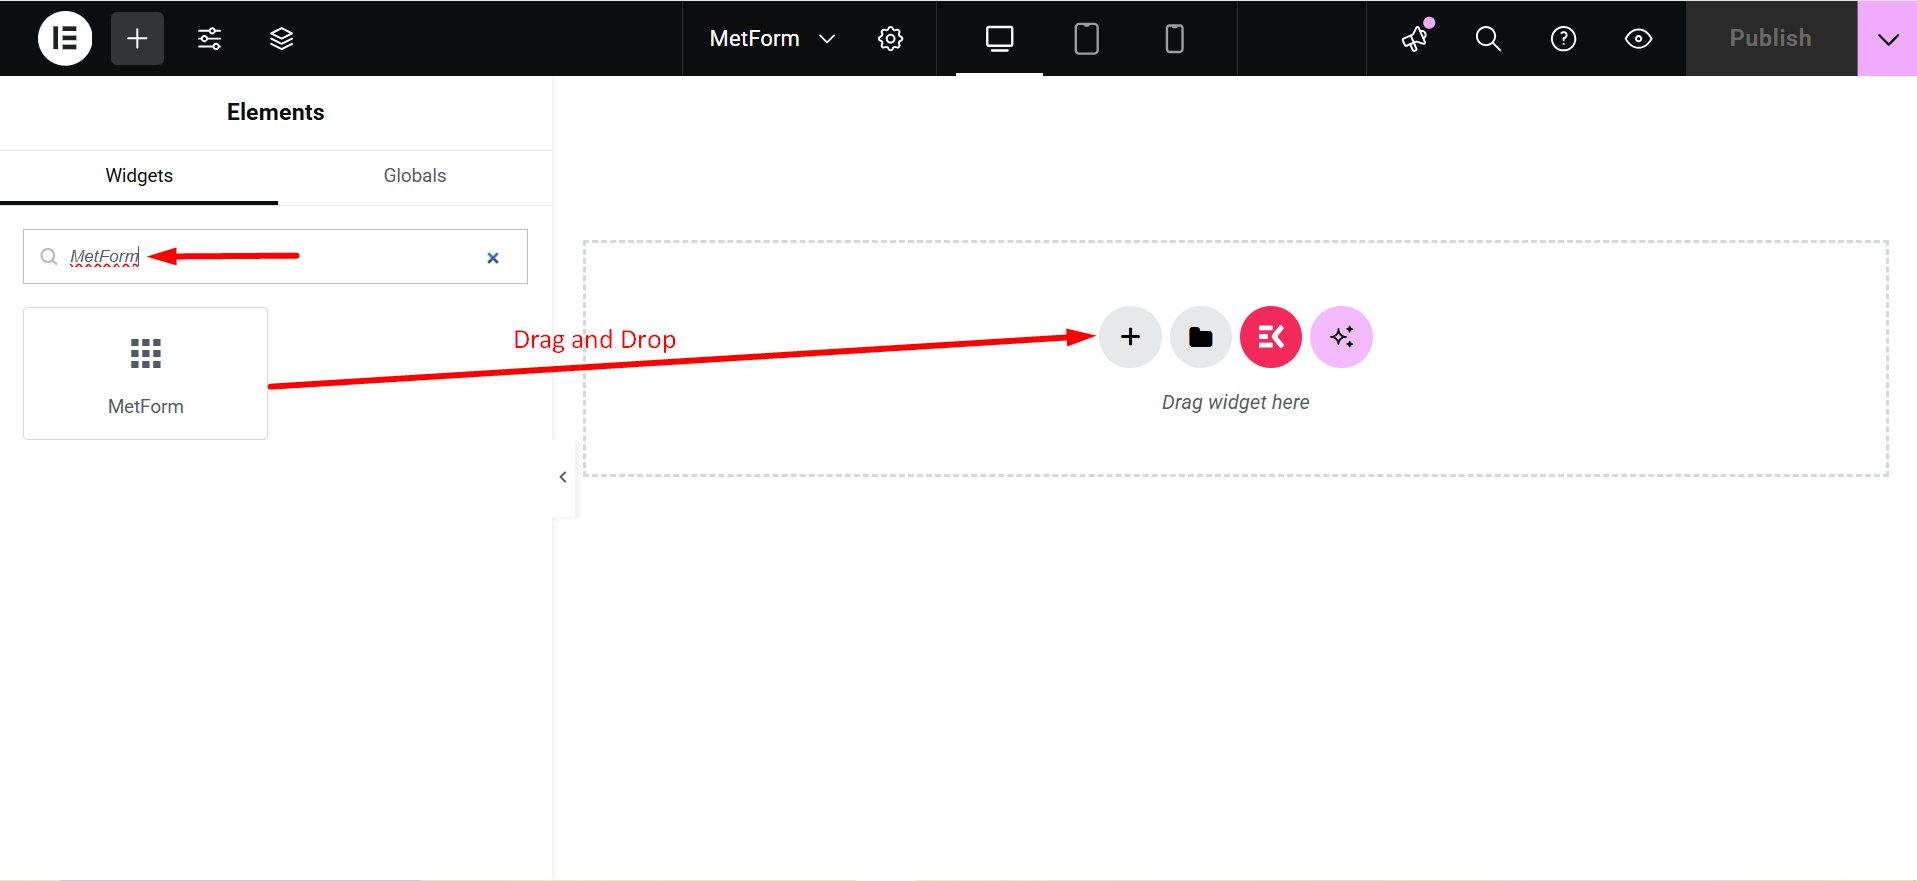
- Search for MetForm on the Elementor search panel and drag and drop the icon on the page.
- Click on the Edit Form button located on the left panel.
- Now, select an existing form or click the New button to create a new form.
- Add the required field and click on the UPDATE & CLOSE button.
To get a clear overview of creating a new form and adding the required field, follow the video guideline below –
Editing the Response Message #
The MetForm pro users can customize the response message text, appearance, and other stylings. Here’s the step-by-step procedure of editing the response message.
Editing the Response Message Text #
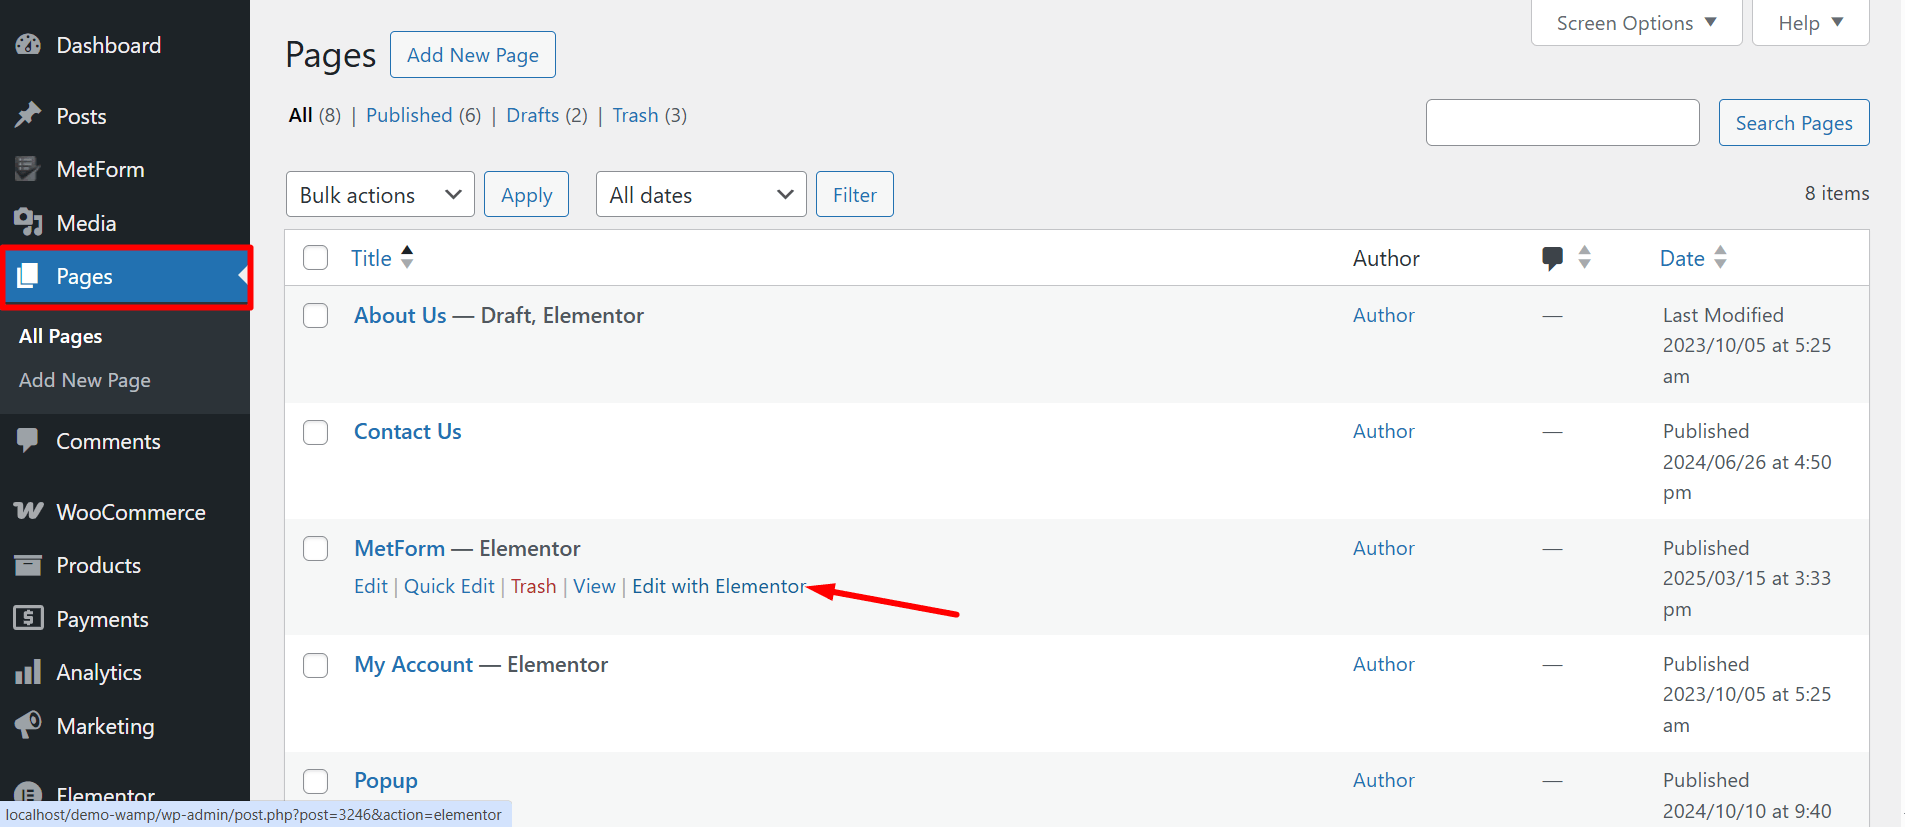
Start by accessing to your WordPress dashboard:
Navigate to pages/ posts > select the page or post where you want to add the form.
Search Metform on the search field > Drag and Drop
- Click on the Edit Form button and choose the form. Choose your form from the drop-down and click on the blue Edit Form button. However, you can also create a new form if you want.
- Now, you can just click on the FORM SETTINGS option in the upper left corner.
- Edit the Success Message input field and click on the Save Changes button.
- Lastly, click on the UPDATE & CLOSE button.
Now, look at the visual presentation of this entire procedure –
Additional Customization Settings of the Response Message #
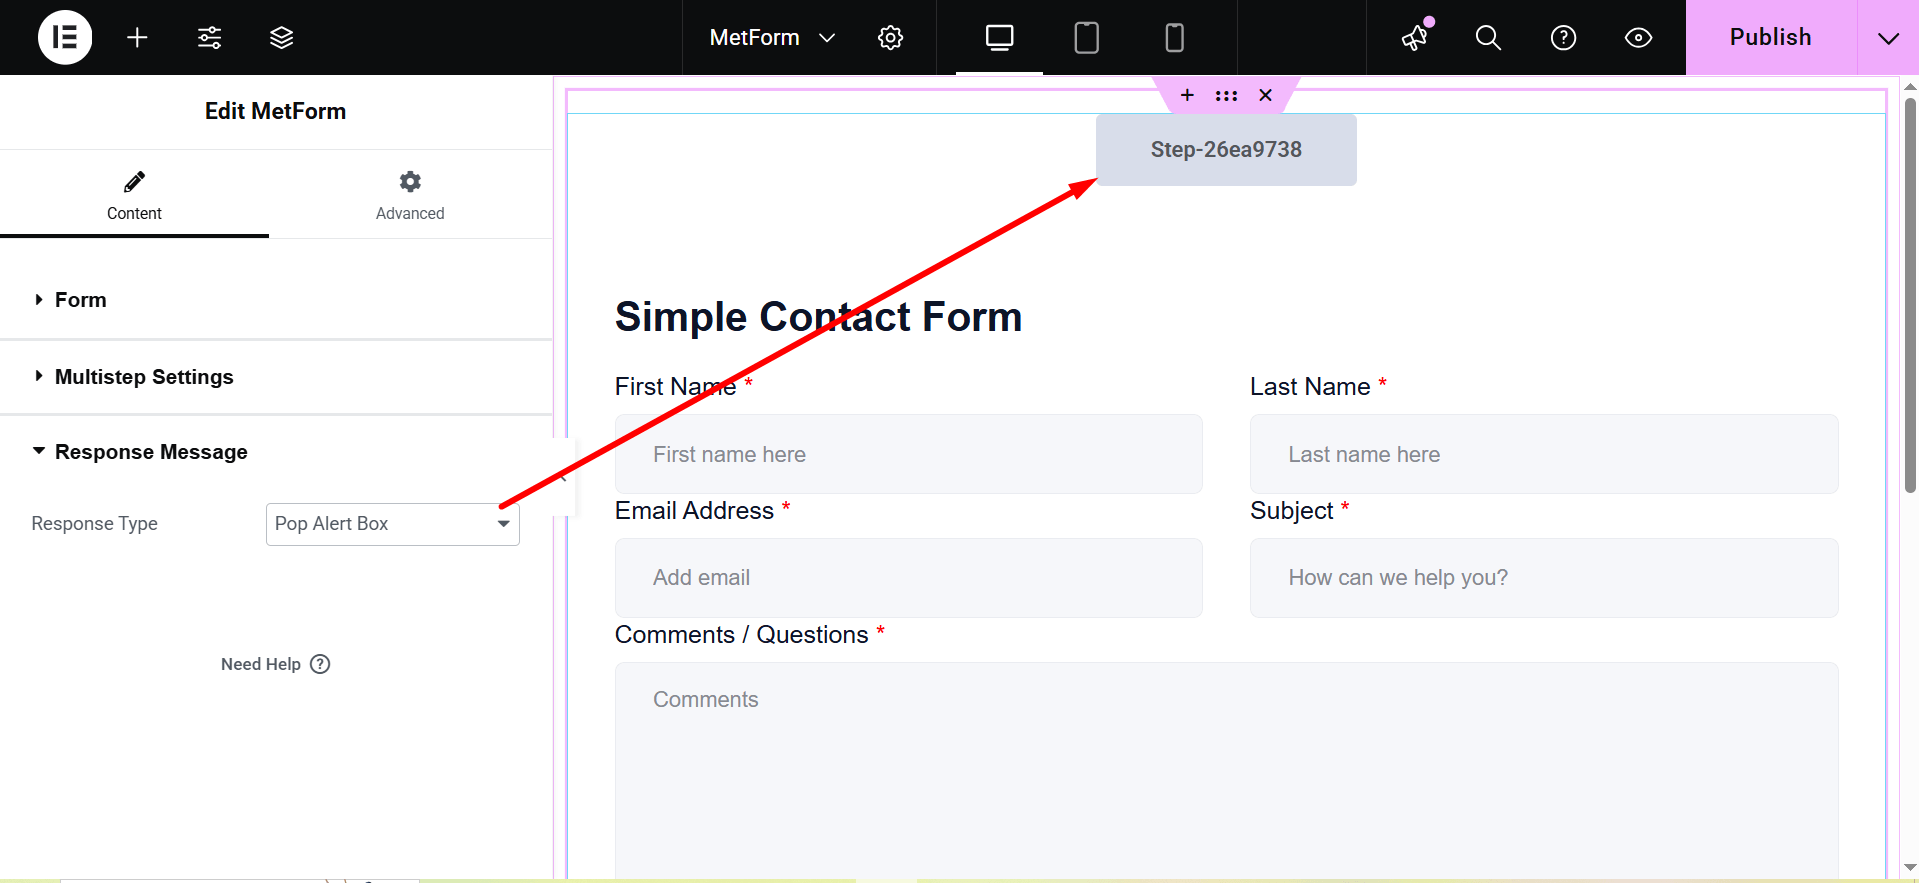
After toggling the Response Message button, it’ll show you the additional settings:
Response Type: Pop Alert Box and Alert.
- Pop Alert Box: It is a message displayed as a pop-up, often using JavaScript
alert(). It notifies users with important information or warnings.
- Alert: This is also a pop-up message box.
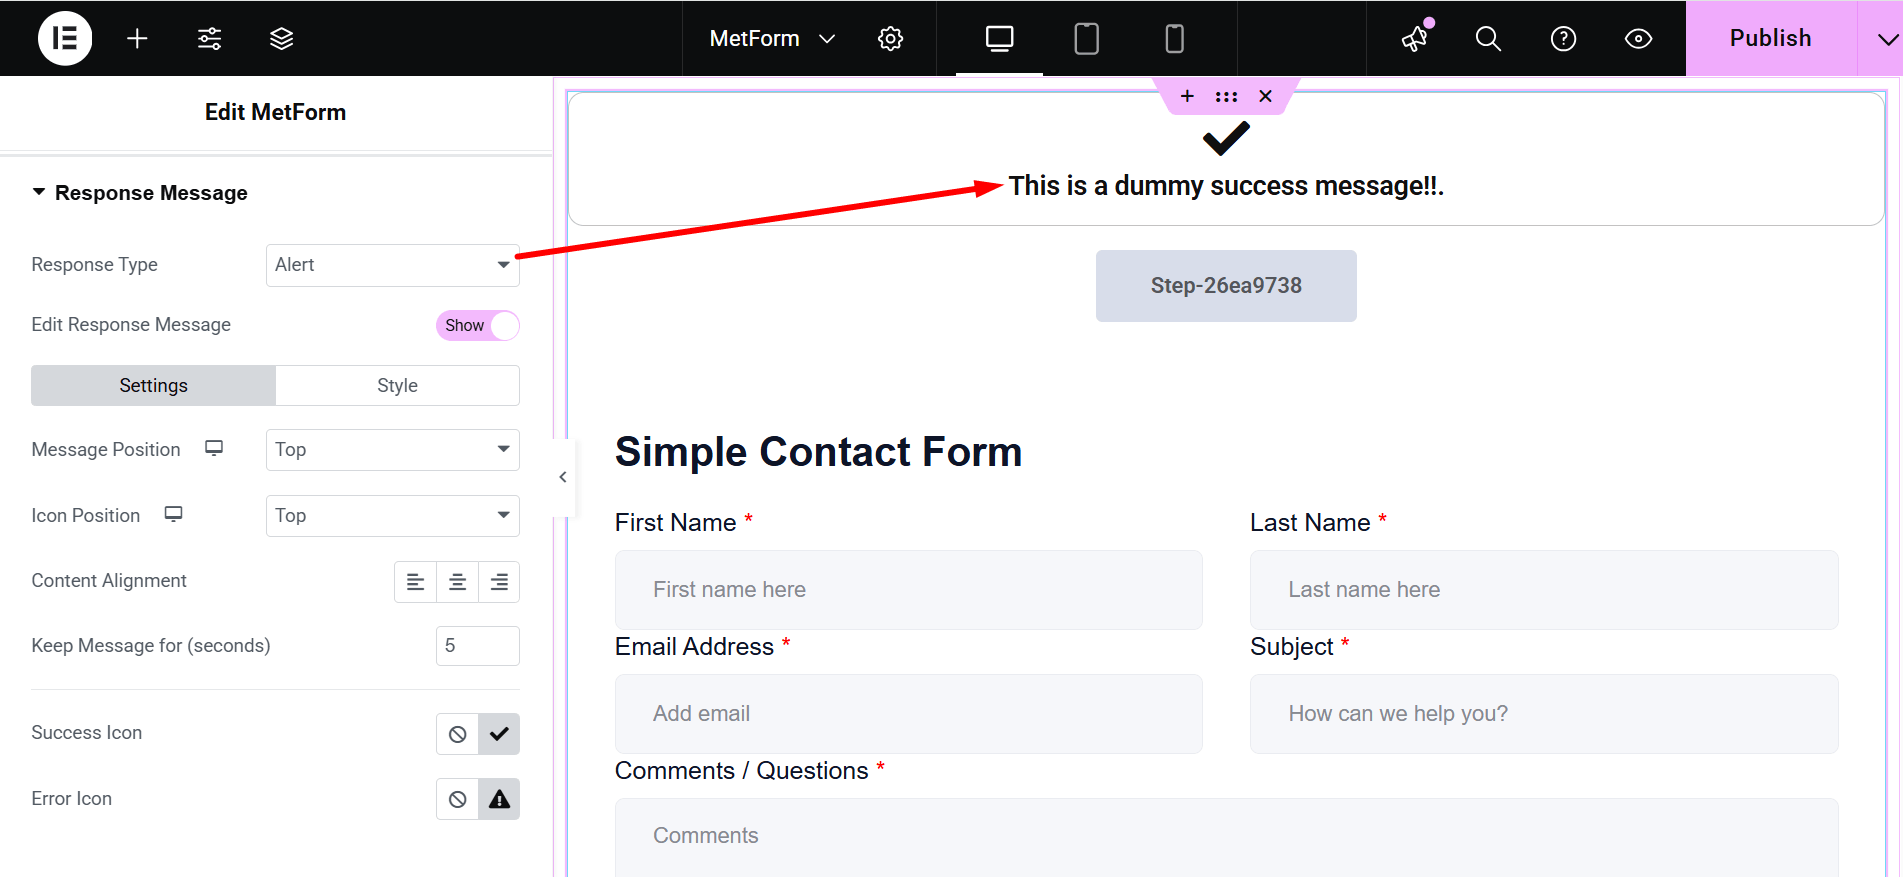
- Edit Response Message: Show/Hide. If you choose “Show”, there are two customization options: Settings and Style.
- Settings:`
- Message Position: You can show the message on the Top or at the Bottom.
- Icon Position: Choose the position Top or Side
- Content Alignment: It lets you adjust the alignment.
- Keep Message for (seconds): Defines how long the message remains visible.
- Success Icon: Represents a visual indicator for successful actions.
- Error Icon: Displays a symbol to indicate an error or failure.
- Style: Here you can change the colors of Typography, Success Message Color, Error Message Color, Success Icon Color, Error Icon Color, Success Message Background and Error Message Background.
- Icon Size: This bar lets you adjust the dimensions of the displayed icon.
- Container Width: Sets the overall width of the message container.
- Border Type: The available border types are solid, double, dotted, dashed, and groove.
- Border Radius: Controls the roundness of the container’s corners.
- Container Padding: Sets the spacing inside the message container.
- Icon Margin: Defines the space around the icon.
- Container Margin: Specifies the spacing outside the message container.
Point to be noted: This response message editing feature is available only for the pro license users and it doesn’t work while using a form via shortcode.
Additional Feature
Above the Response Message section, you might have already noticed another amazing feature called “Enable Multistep”. By enabling this feature you can create forms with multiple steps.
Here’s the video guideline about creating a multistep form using MetForm 👇


