The GutenKit Testimonial block allows you to display and style customer reviews with rich features for building trust and credibility. Now, you can also showcase real-life experiences and opinions from satisfied customers.
Read the documentation and learn to use GutenKit Testimonial block.
How can you use testimonial block? #
Access to your WordPress dashboard –
- Find Pages/Posts > Add New Page/Post or start editing an existing page with the block editor.
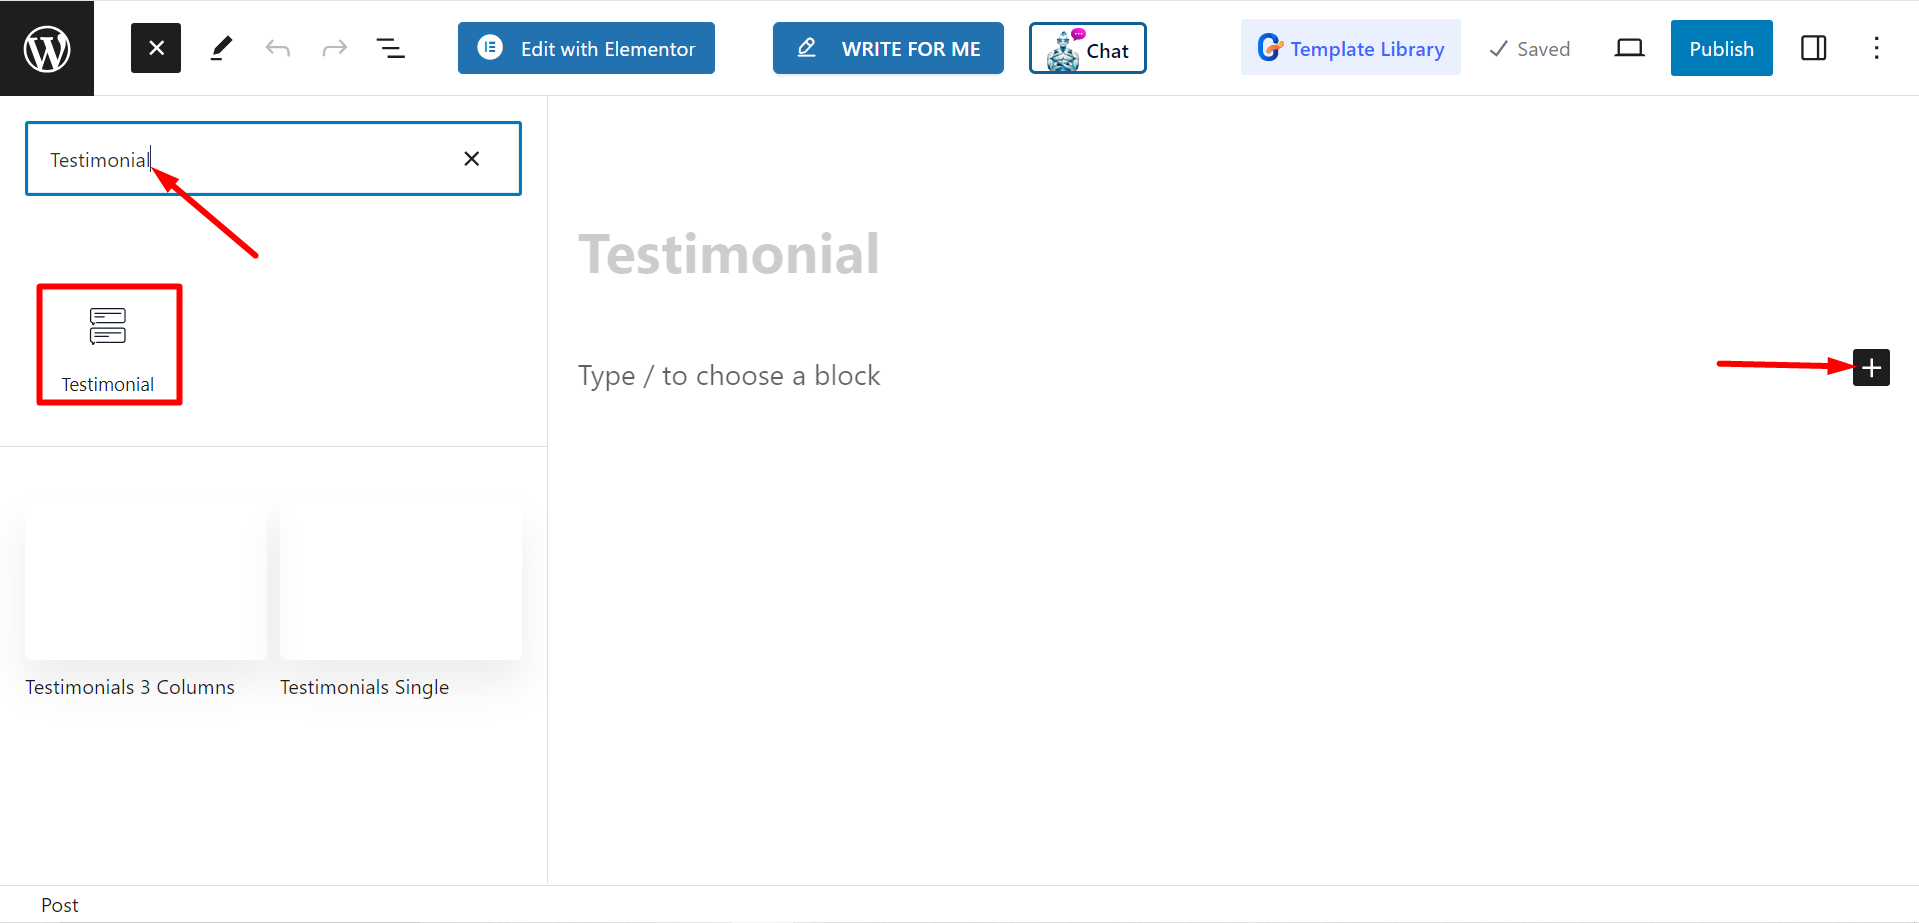
- Look for the “+” icon at the right side or top of the editor screen. Click it.
- A block menu will appear, search for “Testimonial”.
- When you see it, click it or drag & drop it on the block editor screen.
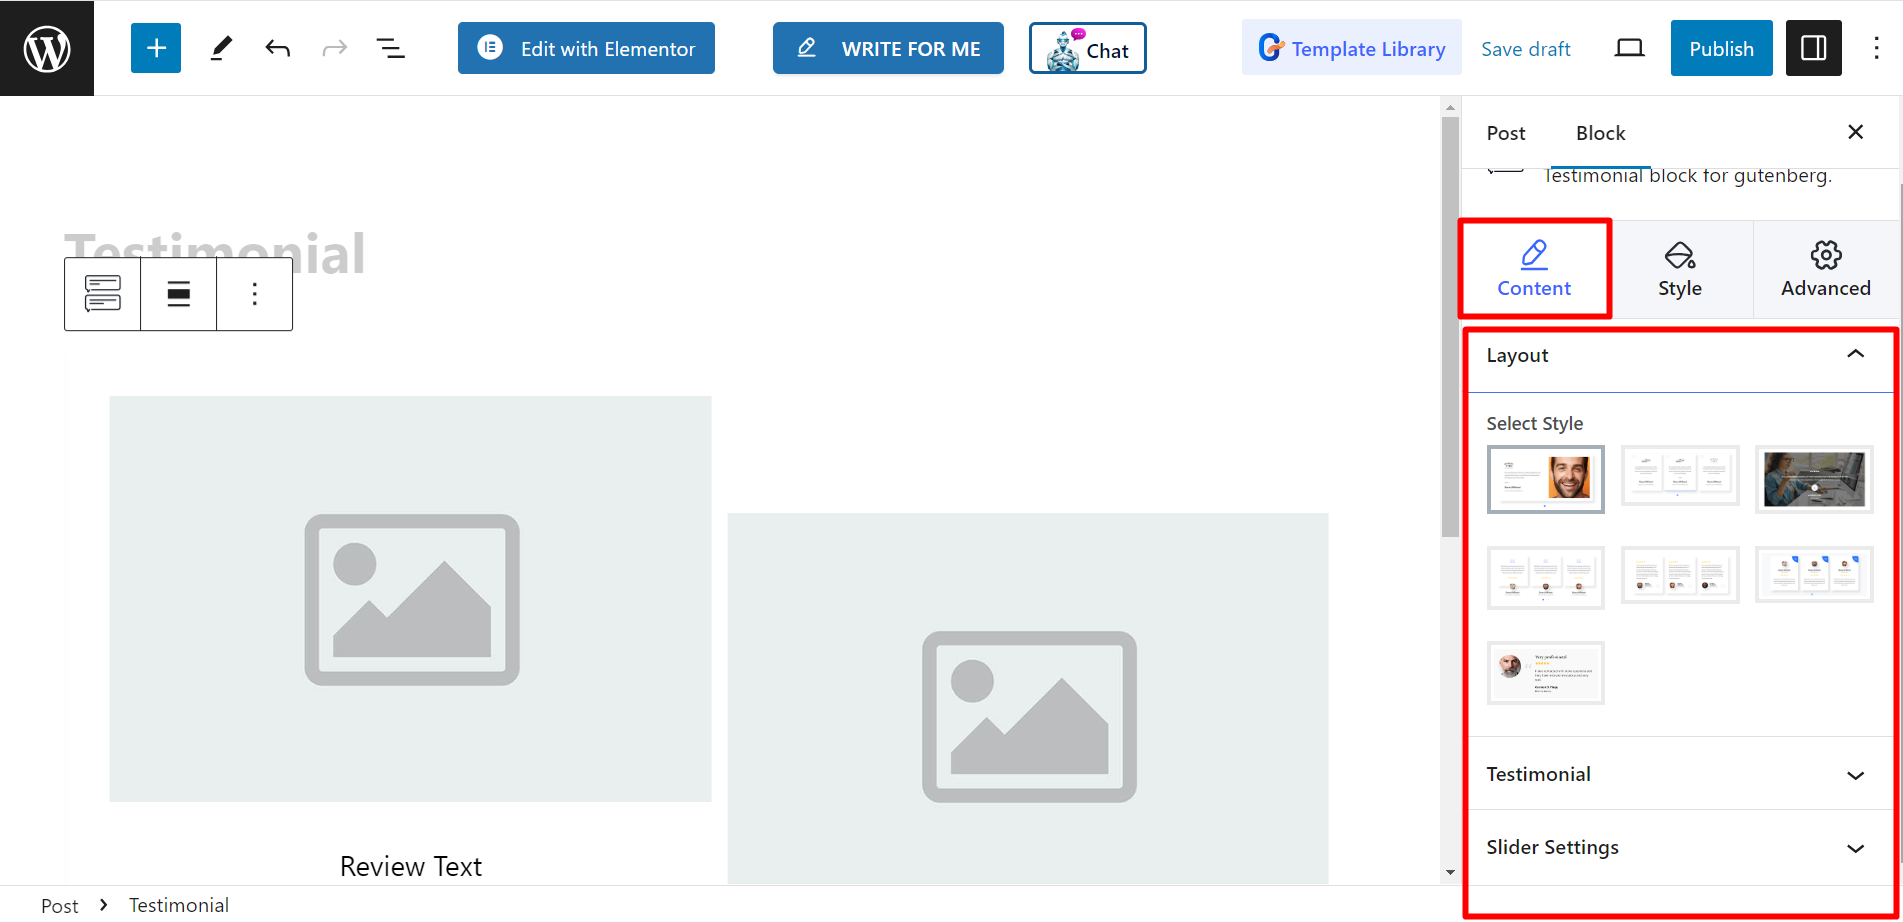
Editing content part #
- Layout – There are various testimonial styles here, you can choose any.
- Testimonial – Here, you can add items based on your needs. When you expand an item, you can see more options of adding client name, designation, logo, image, inserting link, etc.
- Slider Settings – This option allows you to adjust spacing, slide to show and scroll, speed, control Autoplay, loop, and so on.
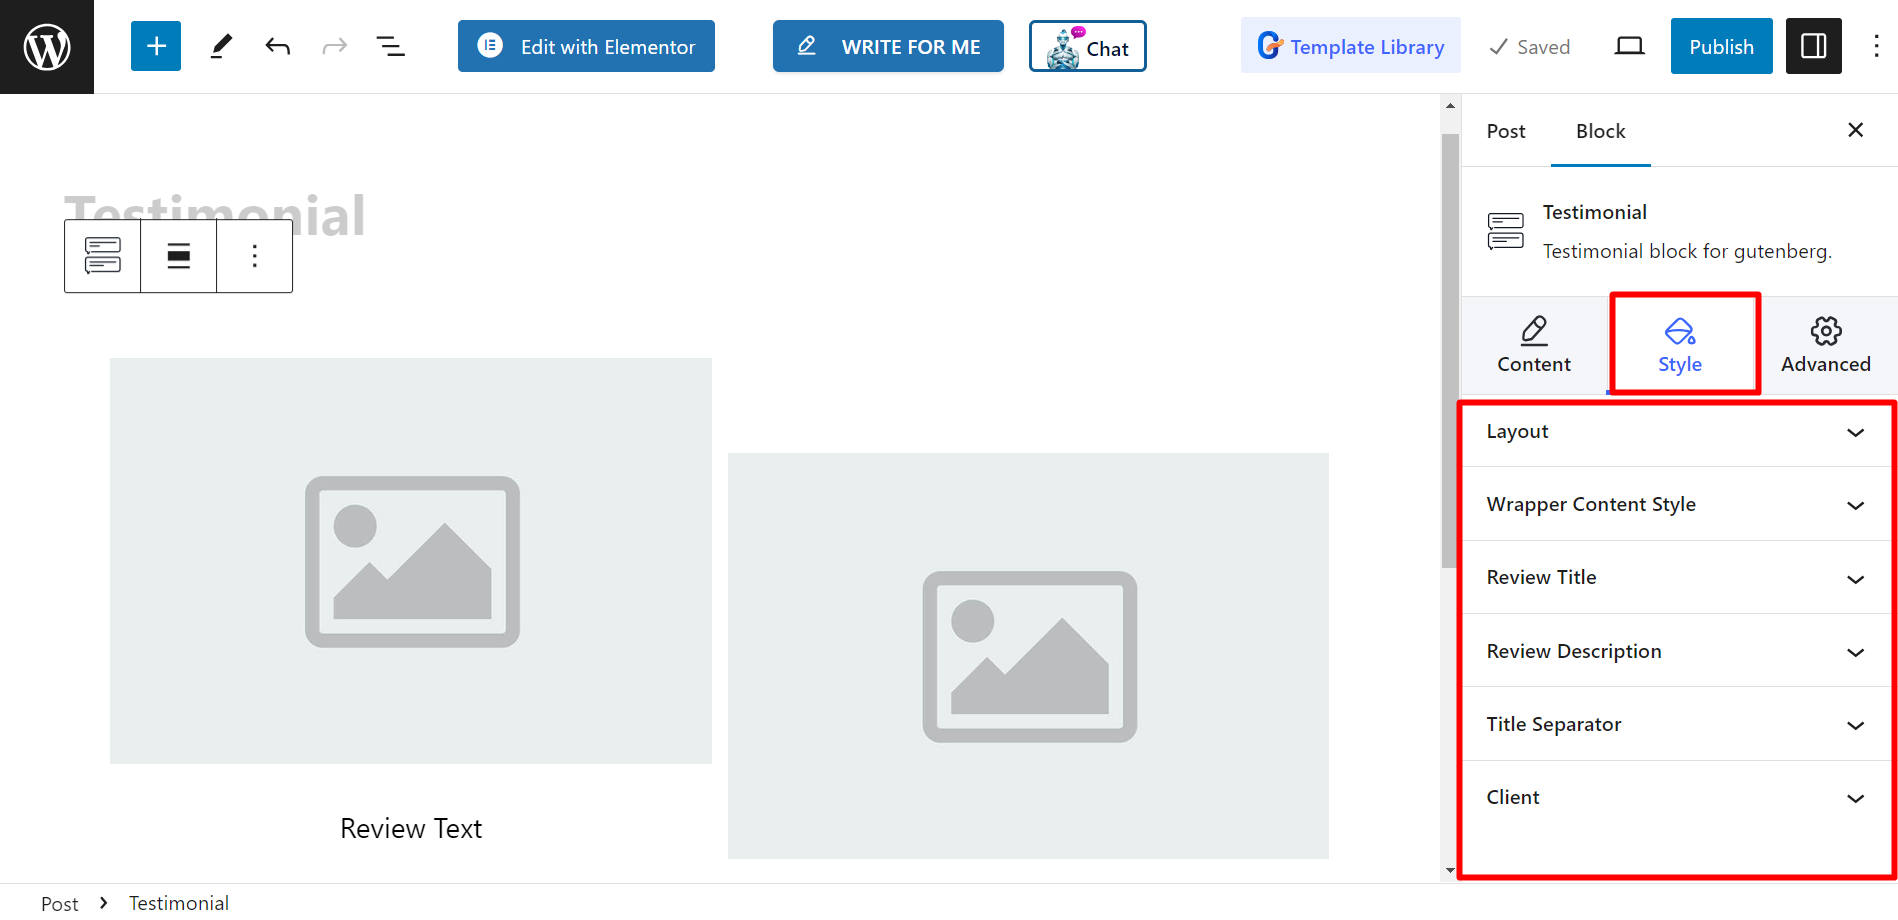
Style #
- Layout – You can decorate the testimonial layouts with column gap, border radius, wrapper padding, and padding.
- Wrapper Content Style – To style the content you can use vertical alignment, horizontal alignment, padding, and use fixed height.
- Review Title – The styling options are – Color, hover & active Color, typography, and margin.
- Review Description – You can change descriptions’ color, hover & active color, typography, and margin.
- Title Separator – It shows options for Normal and Hover. You can change, color, width, height, and margin.
- Client – Here, you will get all necessary options to style client name, designation, image, logo, etc.