Elementor WooCommerce mini cart will let you add a small add to cart button on your website that can skyrocket your eCommerce sales. Besides, you can add this flying add to cart button with ElementsKit without any coding. Here in this documentation, you will find out how to add a mini cart using ElementsKit’s woo mini cart widget.
Advantages of adding Elementor WooCommerce mini cart #
There are lots of other advantages of adding a WooCommerce mini cart in WordPress along with increasing sales. Here are some benefits of this added WooCommerce mini cart:
- It can provide a better shopping experience as customers don’t need to visit the cart page for viewing the added items.
- A mini cart can reduce cart abandonment.
- This lets customers shop in less time since they don’t have to waste time visiting the cart page to see add-to-cart products.
- It can convert a new customer into a regular customer by offering an excellent shopping experience.
How to Add Mini Cart Using ElementsKit’s Mini Cart Widget #
Follow the following three easy steps to add an Elementor WooCommerce mini cart to your eCommerce site using ElementsKit, the WooCommerce mini cart plugin:
Step one: Enable WooCommerce mini cart widget #
At first, you have to enable Woo mini cart by visiting the ElementsKit’s dashboard. To do that, you need to click ElementsKit after entering your admin dashboard. Then, go to ElementsKit>> Widgets. After that, enable Woo Mini Cart and save changes like the gif.
Step two: Drag and drop Woo mini cart widget #
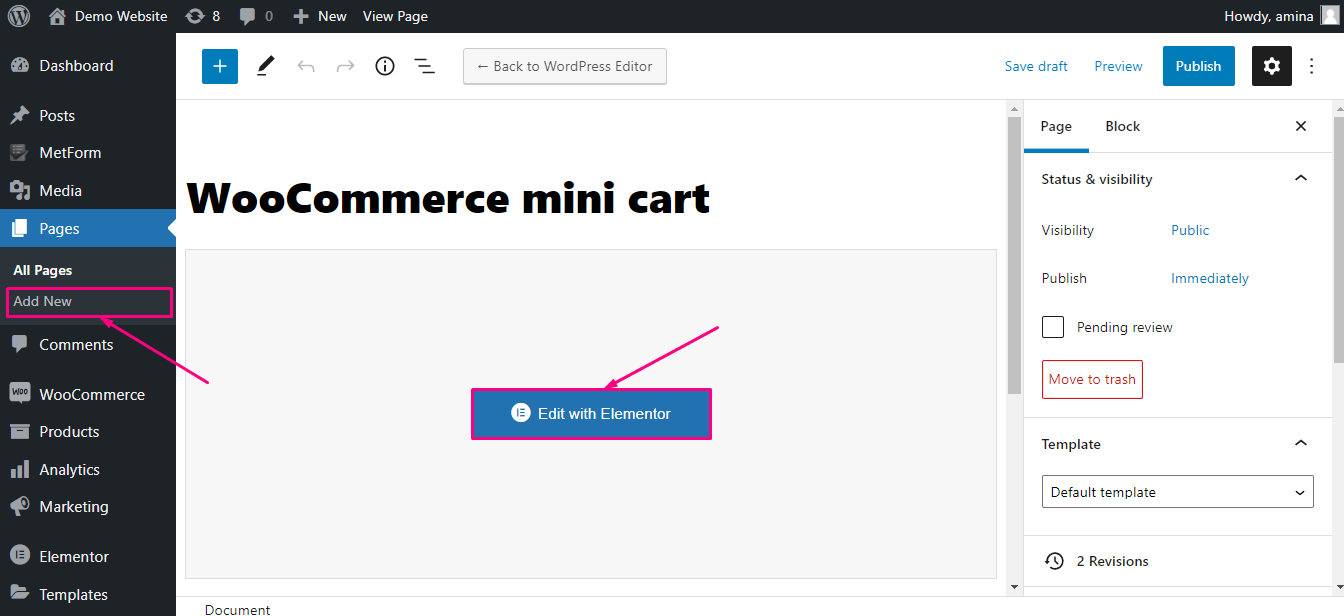
In the second step, create a new page by clicking the “Add New” option under Pages. Then, add a title for your page and press the “Edit with Elementor” button.
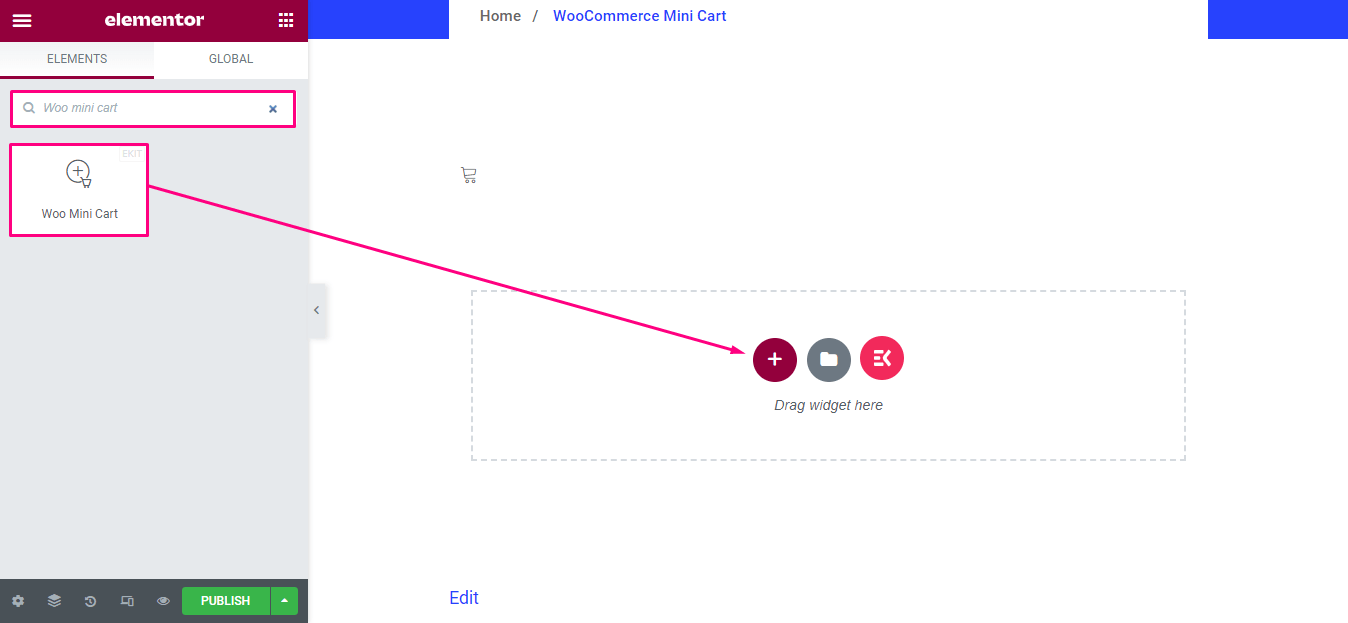
After that, search for Woo Mini Cart in the search box then drag and drop Elementor WooCommerce mini cart widget to the plus icon.
Step three: WooCommerce mini cart customization #
After adding the WooCommerce mini cart widget, it’s time for customization. Go to the content tab from where you can edit the following areas:
- Icon: Choose the icon for your mini cart.
- Cart Text: Write the text you want to show here.
- Alignment: Select alignment for your mini cart.
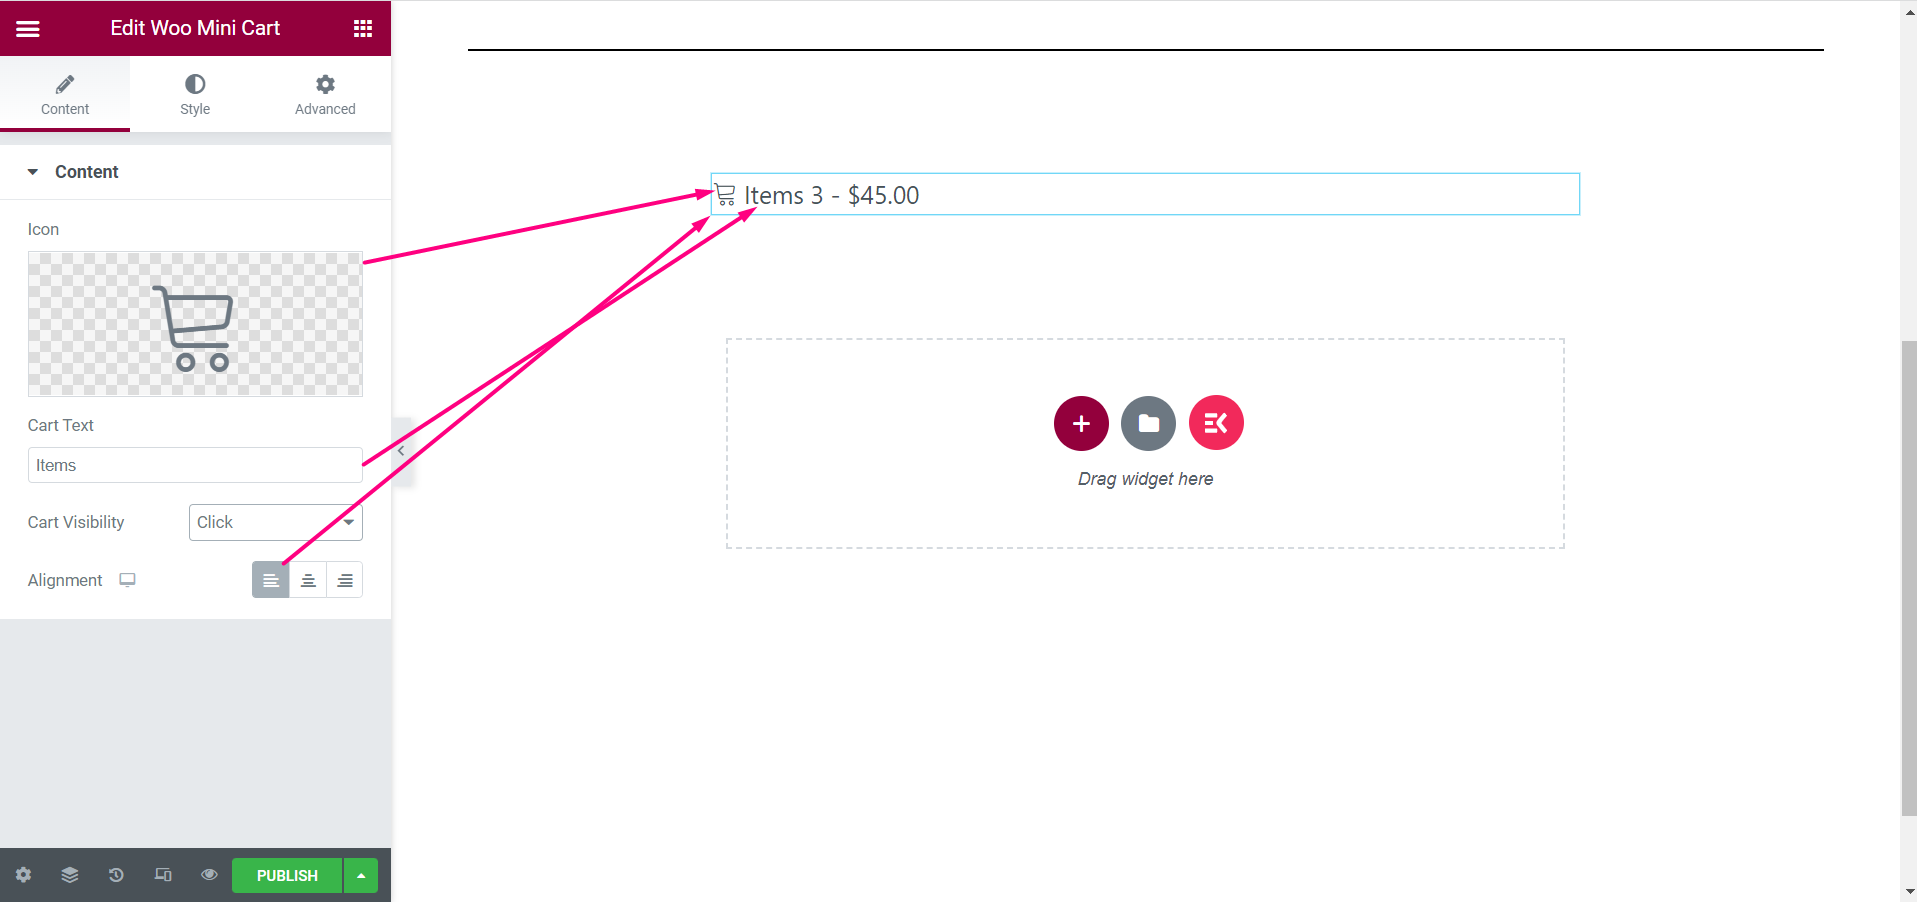
- Cart Visibility: You can make mini cart visible on click, hover, or Off-Canvas from here.
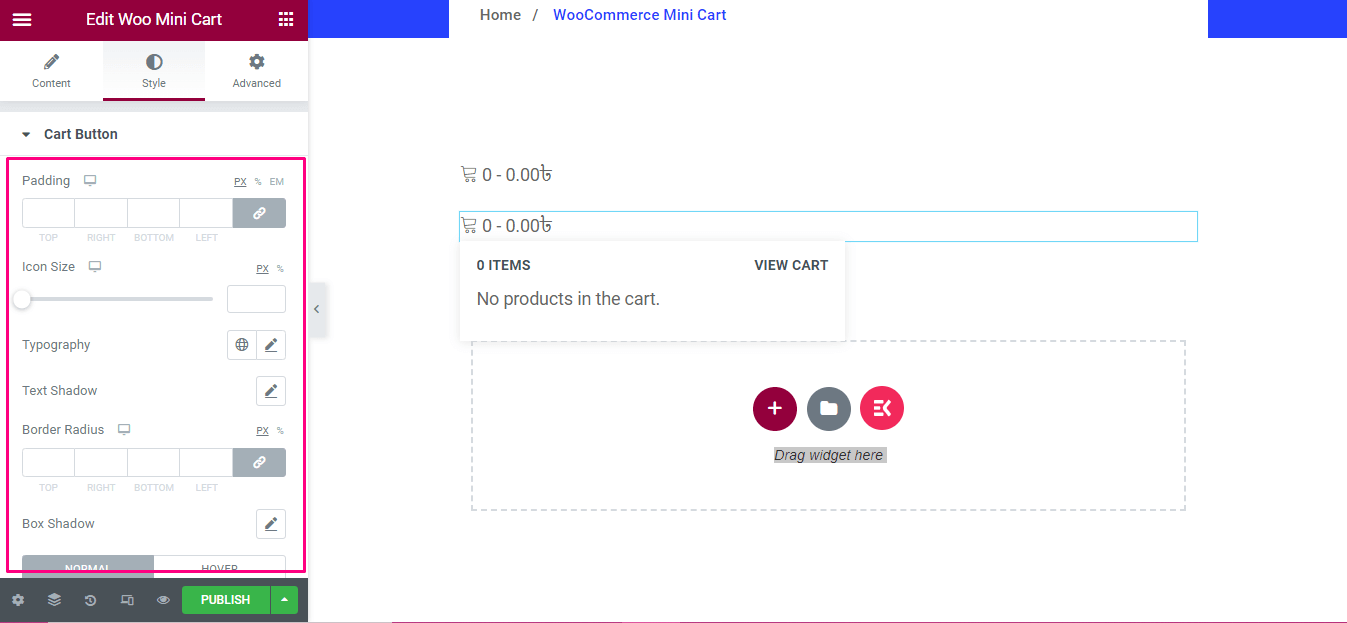
After content customization of your added WooCommerce mini cart, it’s time for style customization. For style customization, click the style tab then change the padding, icon size, typography, text shadow, border radius, box shadow, color, background type, and border type for the cart button.
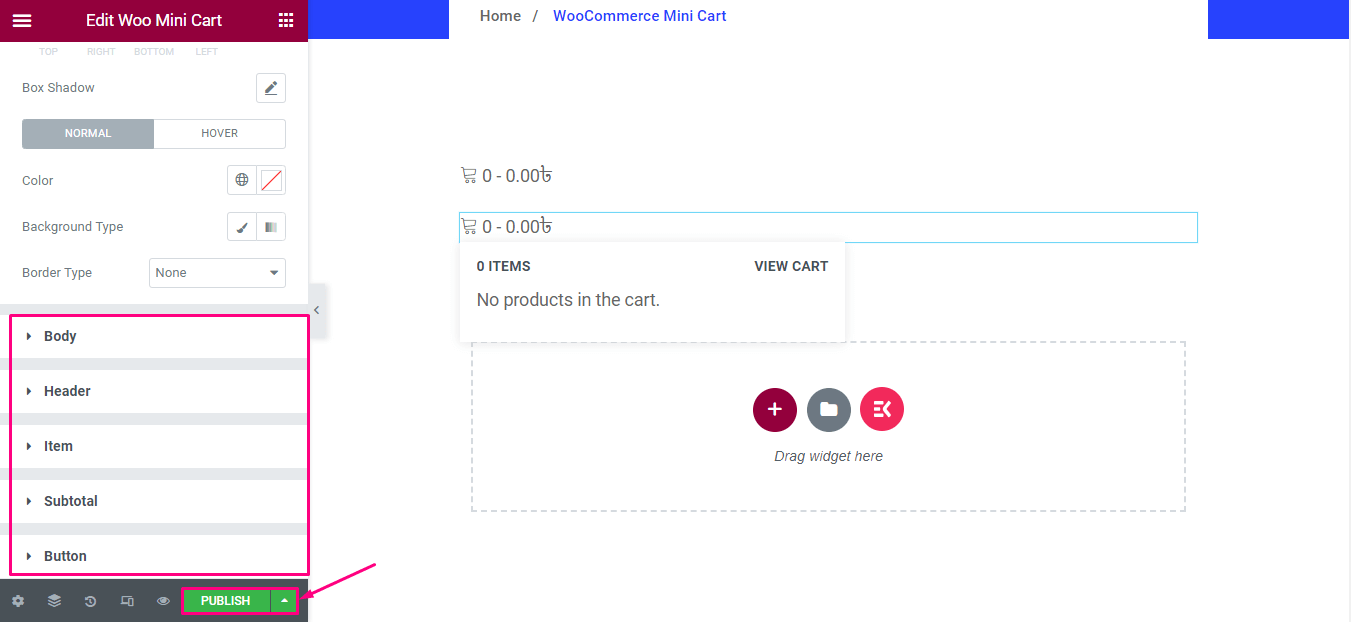
Like the cart button, you need to customize other elements such as body, header, item, subtotal, button of your mini cart.
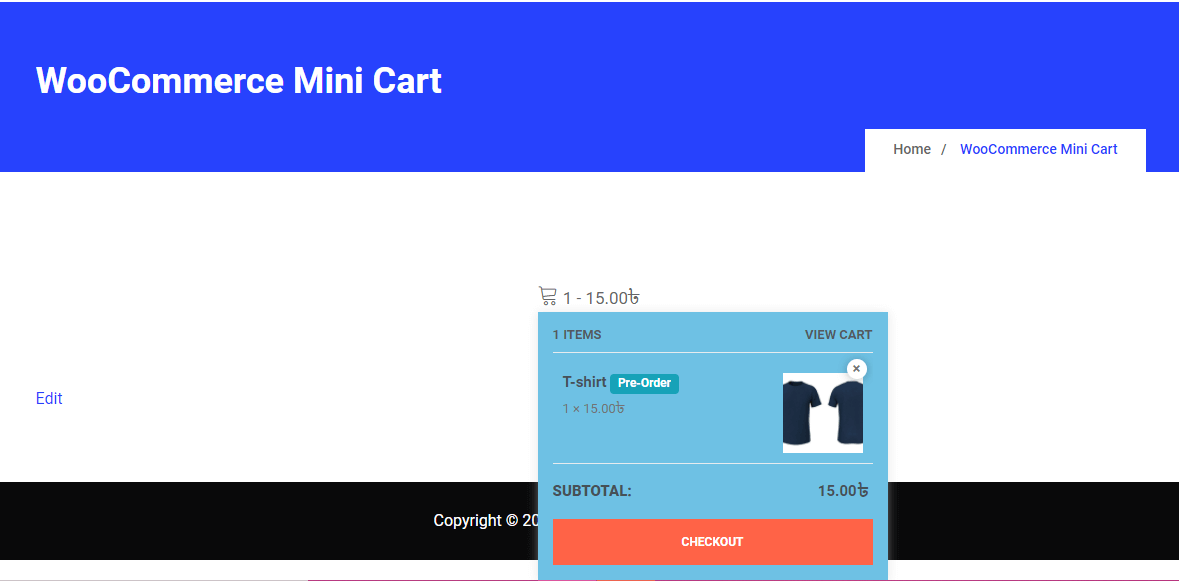
Here is the final output of your added mini cart:
We hope the steps in this documentation will be helpful in adding and editing the widget. Get WooCommerce mini cart today and give a positive shopping experience to your users.


