Overview #
Show your blog post-listing on your website. After you have dragged the Blog posts widget on your page, the widget automatically displays all published blog posts. The blog posts are displayed based on the category, publish date, top viewed post, and so on. Lots of amazing blog styles are included in the plugin. Here’s a comprehensive article to explain every method in detail. Follow the step-by-step process to customize the blog posts.
Step->1: Add Blog Posts #
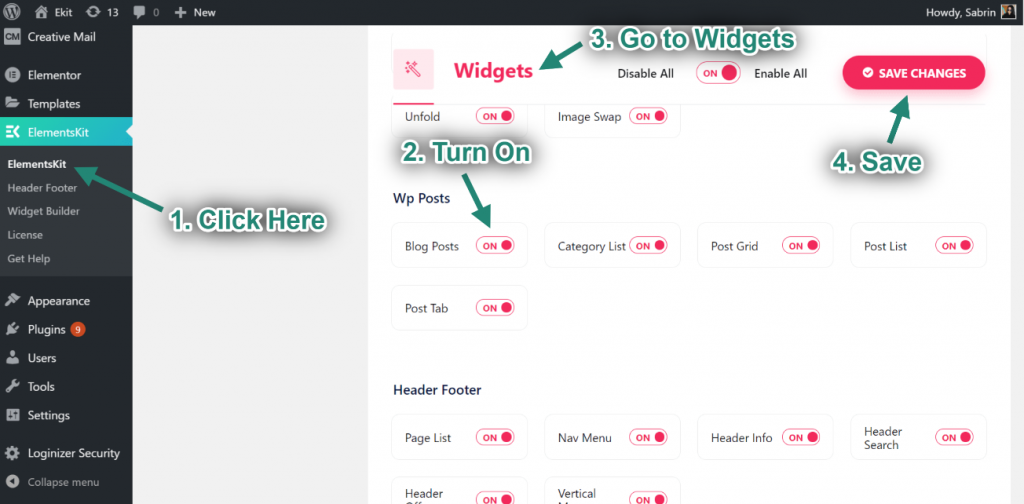
- Go to Elementskit-> Widgets-> Make sure that your Blog Posts is active-> Save Changes
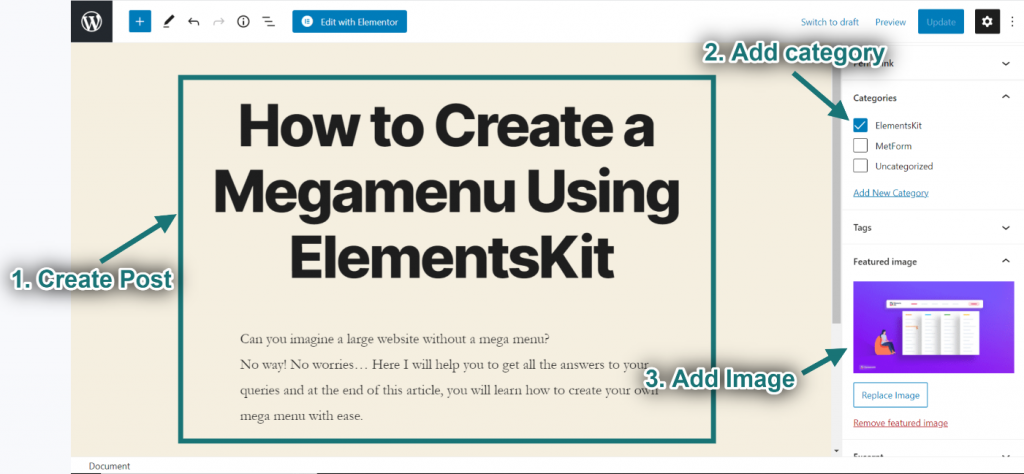
- Create a blog post from the dashboard.
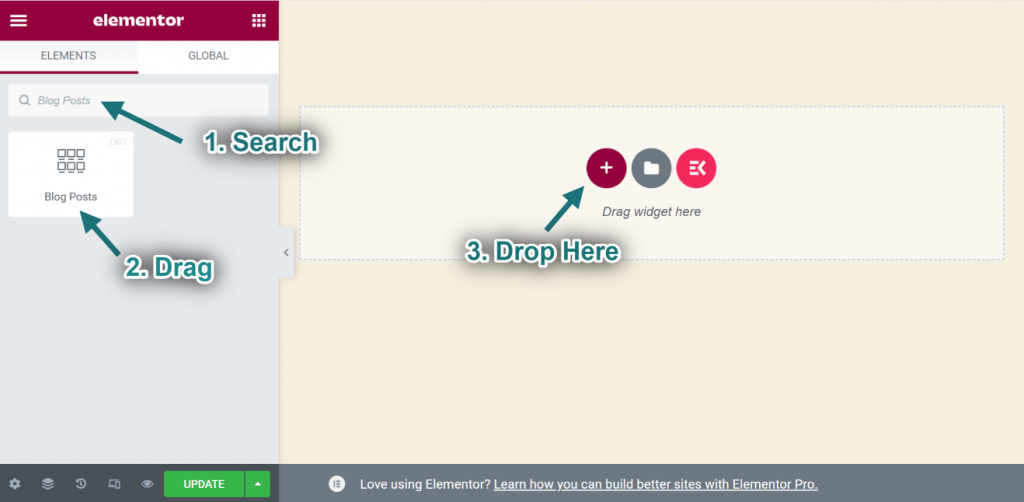
- Now search for Blog Posts-> Drag the widget-> Drop on the selected area.
Step->2: Customize Blog Posts #
Layout #
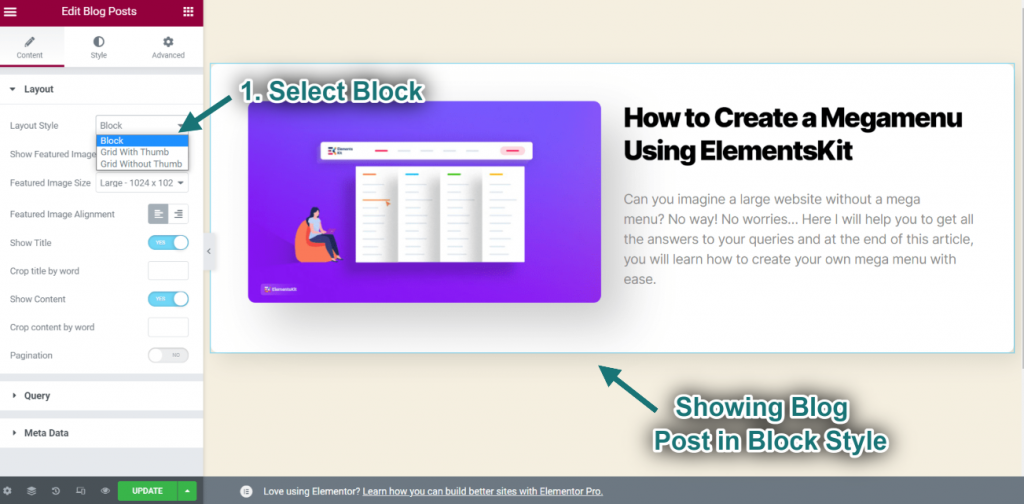
- Select layout style: Block. You can also select Grid with Thumb or Grid without Thumb style.
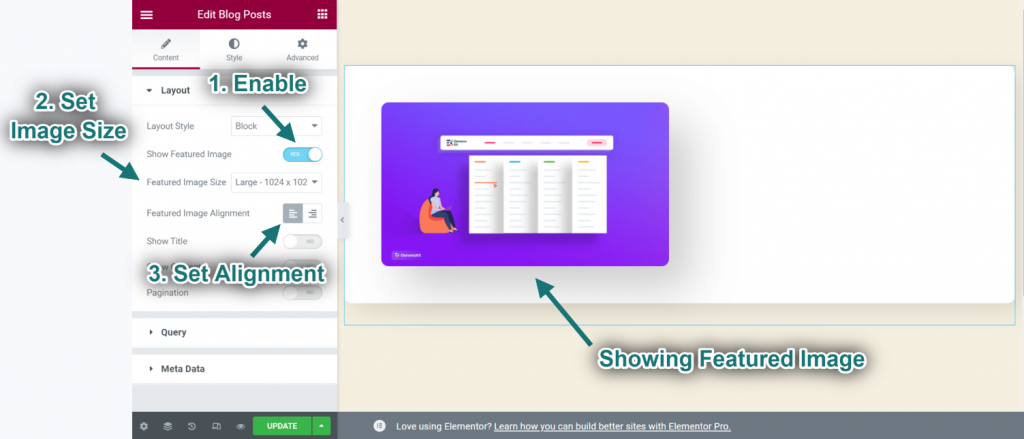
- Enable Featured Image.
- Set Image Size.
- Set Alignment: Left or Right.
- You can see your uploaded featured image showing.
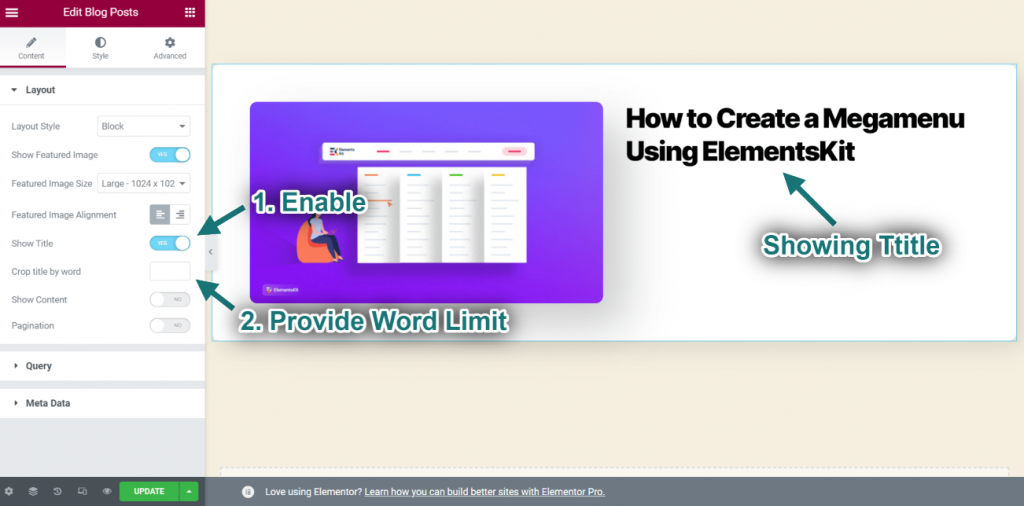
- Enable Title.
- Provide Word Limit: A word limit is the number of words allowed in the statement.
- You can see the title showing accordingly.
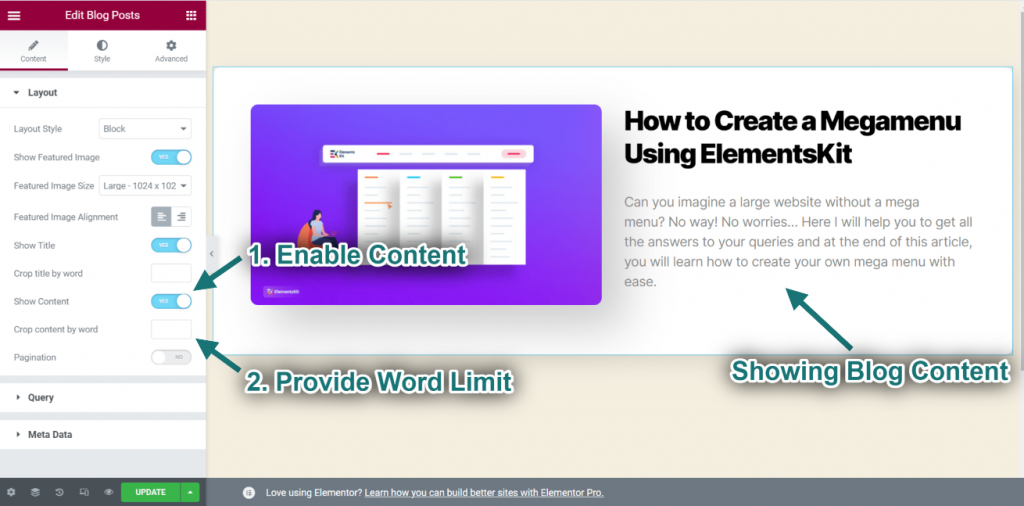
- Enable Content.
- Provide Word Limit: A word limit is the number of words allowed in the statement.
- You can see the content showing accordingly.
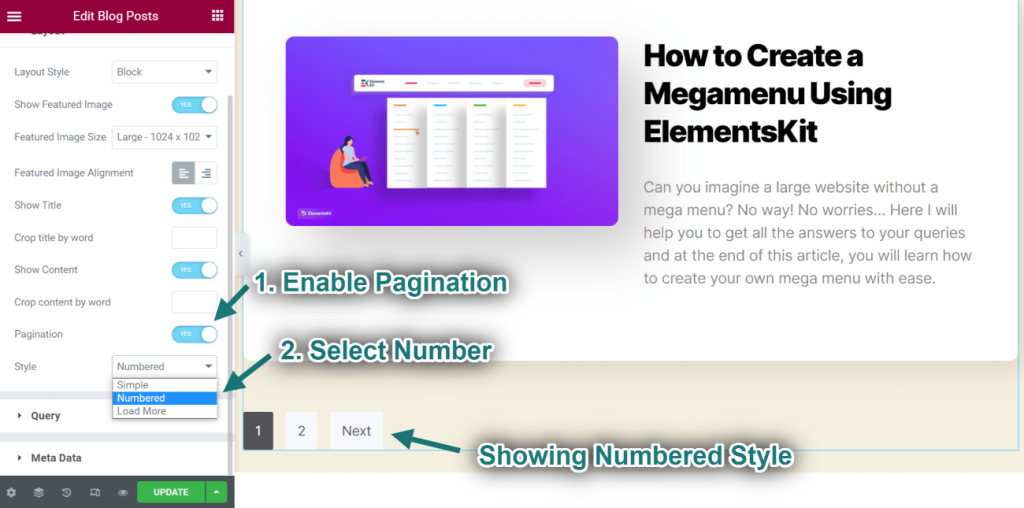
- Enable Pagination.
- Select Pagination Style: Numbered. You can also select Simple or Load More.
- You can see the numbered style showing accordingly.
Query #
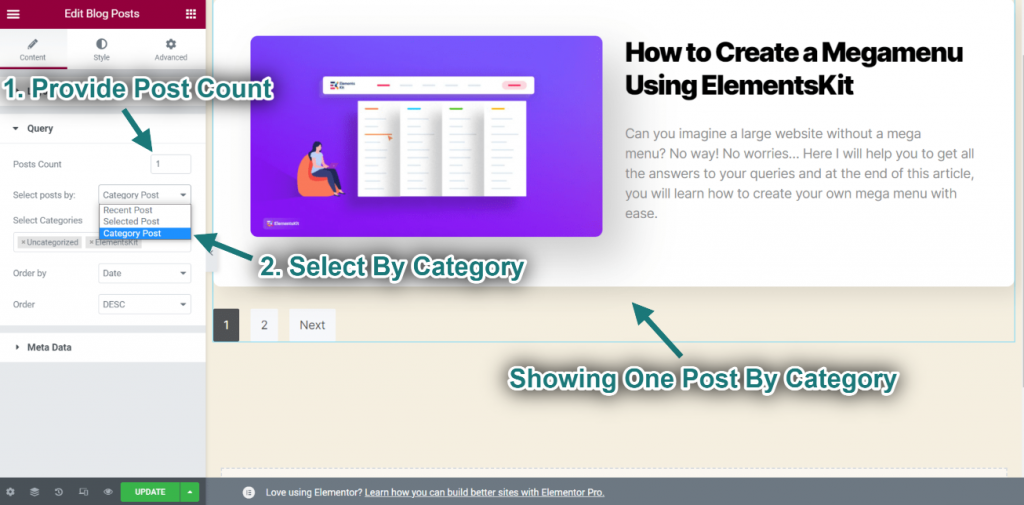
- Select Post Count: 1. You can select any count.
- Select posts by: Category. You can also select Recent Post or Category Post.
- You can see only one post is showing by category.
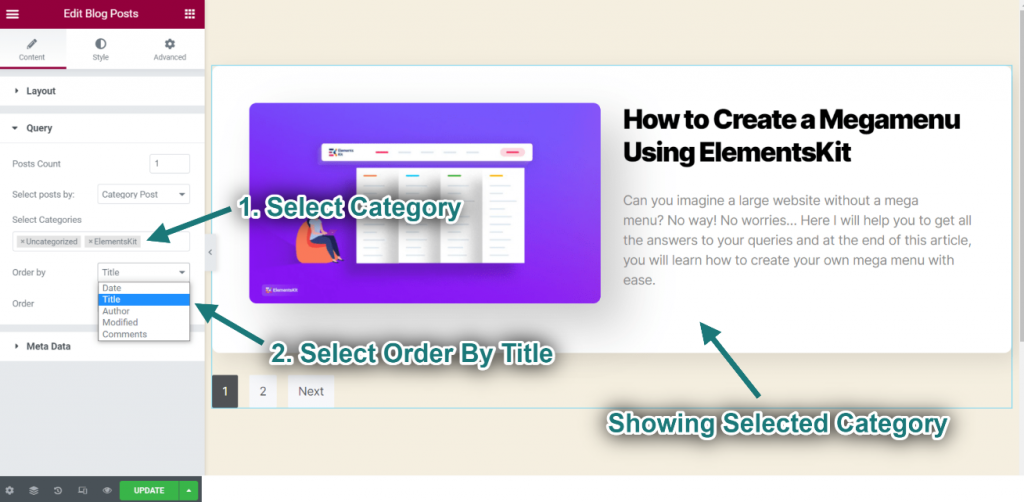
- Now select your desired Category and select order by Title
- You can see your selected category type showing.
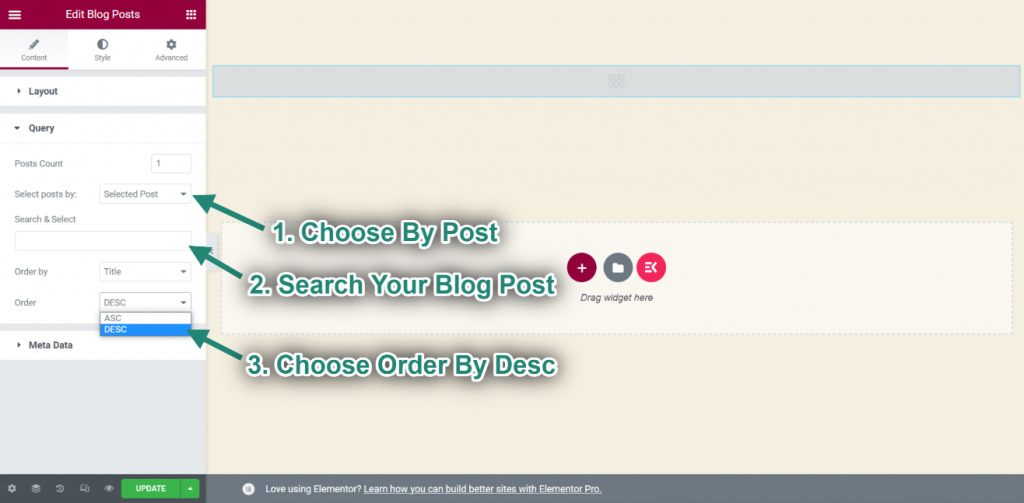
- Select posts by: Selected Post. You can also select Recent Post or Category Post.
- Now search and select your blog post.
You can choose that your blog post will display in ascending order or descending order.
Meta Data #
- Enable MetaData.
- Choose Metadata: Autor, Date, Category, Comment.
- Select Meta Position: Before Title, After Title, or After Content.
- You can see the changes showing accordingly.
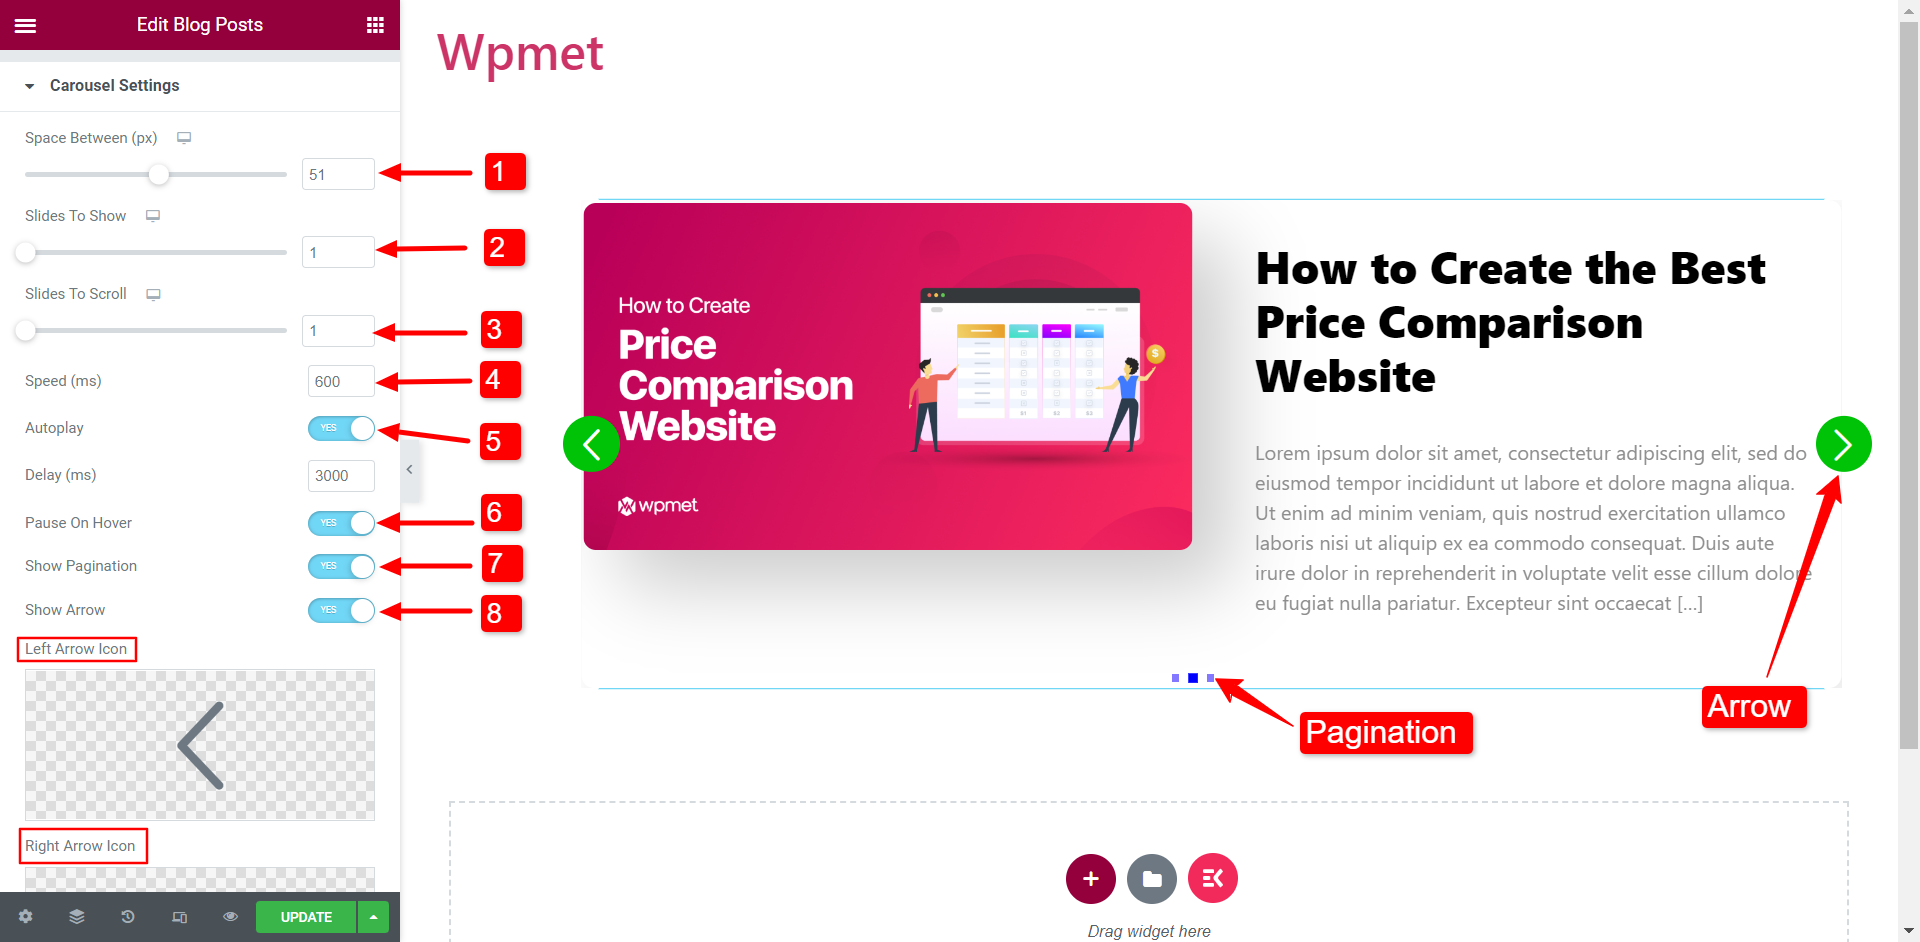
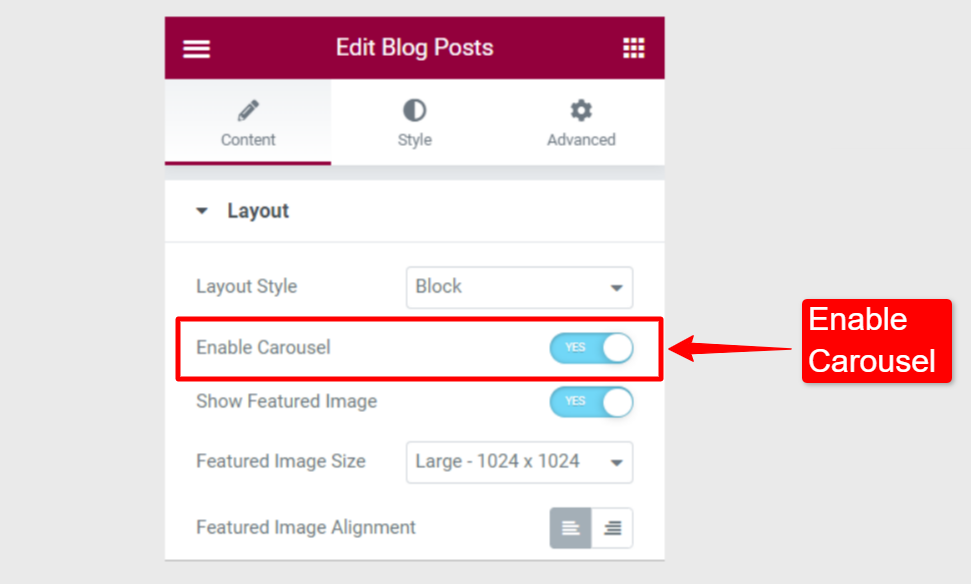
Carousel #
You can also showcase the blog posts in a carousel display. First, you need to Enable Carousel in the layout section.
Under the Carousel Settings,
- Adjust the Space Between content.
- Slides to Show: Choose the number of slides to show in one viewport.
- Slides to Scroll: Choose how many slides to roll in one scroll.
- Speed: Set the speed of the slides to scroll.
- Autoplay: You can enable the autoplay for the carousel. If enabled, set the Delay time in milliseconds (ms).
- Pause on Hover: The autoplay will be paused when users hover the mouse over the carousel. (This option will available when Autoplay is enabled)
- Show Pagination: You can enable pagination dots not navigate the slides.
- Show Arrow: You can also enable arrow navigation. In enabled, choose the Left Arrow Icon and the Right Arrow Icon.