WPMet Site Logo
  • Home
  • Plugins
    • ElementsKit
    • ShopEngine
    • GetGenie Ai
    • MetForm
    • WP Social
    • WP Fundraising
    • Wp Ultimate Review
  • About
  • Blog
  • Support
  • Contact
  • My Account
WPMet Site Logo
Popular Search headermenumegafootermetform

Getting Started With ElementsKit

  • How to Purchase, Install, and Activate ElementsKit Pro
  • Modules of ElementsKit

ElementsKit General Widgets

  • Heading Widget
  • Button Widget
  • Team
  • Accordion
  • Tab
  • Social Media Widget
  • Advanced Accordion
  • Advanced Tab
  • Timeline Widget
  • Advanced Chart
  • ElementsKit Table Widget
  • Creative Button
  • Motion Text
  • Hotspot
  • Gallery
  • Woocommerce Product Carousel
  • Client Logo
  • Image
  • FAQ
  • FunFact
  • Countdown Timer
  • How to Create Image Box Using ElementsKit
  • Create Image Accordion Using ElementsKit
  • Icon Box
  • Pie-Chart
  • Progress Bar
  • Pricing Table
  • Testimonial
  • Video
  • Image Comparison
  • Drop Caps
  • Dual Button
  • Business Hours
  • Social Share
  • Header Search
  • Tablepress
  • Unfold
  • Advanced Toggle
  • Google Map
  • Popup Modal
  • Breadcrumb
  • Image Swap
  • Lottie Animation
  • Back to Top
  • Image Hover Effect
  • ElementsKit Advanced Slider
  • WhatsApp Widget
  • Video Gallery Widget
  • Stylish List
  • Flip Box
  • Audio Player
  • Team Carousel Slider
  • Image Morphing
  • Content Ticker
  • Coupon Code Widget

ElementsKit Modules

  • Facebook Messenger
  • Sticky Content Module
  • One Page Scroll
  • Widget Builder
  • Parallax Effects
  • Header & Footer Builder
  • Mega Menu Builder
  • Cross-Domain Copy Paste Module
  • Advanced Tooltip Module
  • Conditional Content Module
  • ElementsKit Icon Pack
  • Google Sheets Module
  • Reset Button Module for Elementor Pro Form
  • Masking Module
  • Particles Module

WP Posts

  • Post Tab
  • Create Post Grid Using ElementsKit
  • Post List
  • Category List
  • Blog Posts

Header Footer Widgets

  • Header Info
  • Header Off-canvas
  • Nav Menu
  • Vertical Mega Menu
  • Page List

Form Widgets of ElementsKit

  • We Forms
  • Contact Form 7
  • Caldera Form
  • Mailchimp
  • Wp Forms
  • Ninja Forms
  • Fluent Forms

Social Media Feeds

  • Behance Feed
  • Dribble Feed
  • Facebook Feed API
  • Instagram Feed API
  • Twitter Feed API
  • Pinterest Feed

Meeting Widgets

  • Zoom Integration

Review Widgets

  • Yelp
  • Facebook Review

Woocommerce Widgets

  • Woocommerce Product List
  • Woocommerce Category List
  • Woocommerce Mini Cart
  • Woocommerce Product Carousel

ElementsKit Settings

  • How to use ElementsKit Widgets
  • Ajax Load Feature of Mega Menu

How to translate ElementsKit pages

  • How To Translate ElementsKit Pages With WPML
  • How to translate Elementskit Header Footer and Advanced Widgets with WPML
  • Translate ElementsKit Elements containing Sub-Elements
  • Home
  • Doc
  • ElementsKit
  • ElementsKit General Widgets
  • Pie-Chart

Pie-Chart

A pie chart is a graphical representation of a certain numerical ratio. It helps visualize boring data in an easily digestible way. The ElementsKit Pie Chart widget provides an easy interface to show pie charts easily on your Elementor websites. 

You can easily add text, icons, and images to the pie chart to show your data concisely. It also has versatile customizing features to give an eye-catching look to the pie chart. 

Let’s learn how to create pie charts in Elementor websites with the ElementsKit Pie Chart widget.

How to Create Pie Charts in Elementor? #

First, be sure to install and activate the ElementsKit plugin on your Elementor websites. Then, follow the steps below.

Step-1: Add ElementsKit Pie Chart Widget #

Start by inserting a new page or taking an existing one from your WordPress dashboard and follow Edit With Elementor Builder > Search ElementsKit Pie Chart Widget > Drag & Drop to the editor screen.

Step-2: Add Content for Pie Chart  #

Under the Content tab of widget settings, you can add content, icons, images, and set percentages for your pie chart. Let’s see all the feature settings and how they work.

Content

How-To-Create-Pie-Charts-In-Elementor
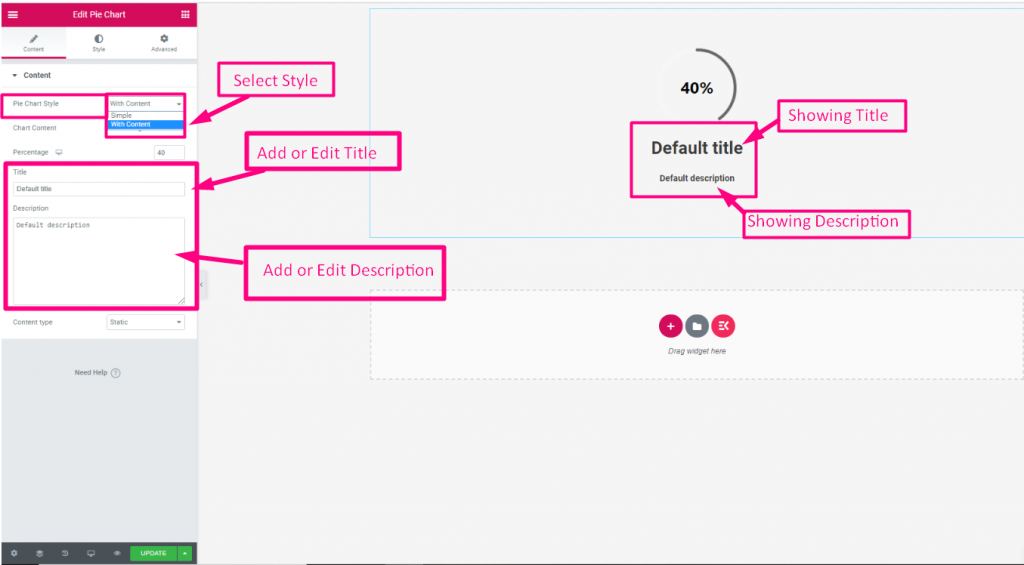
  • Pie Chart Style: It offers two choices.
    • Simple: Just show a simple pie chart only.
    • With Content: This option lets you show additional content with your pie chart, like title & description.
  • Chart Content: You can select between number & icon.
    • Percentage: Show the percentage in numbers.
    • Icon: Choosing the icon option will reveal the “Icon Type” feature.
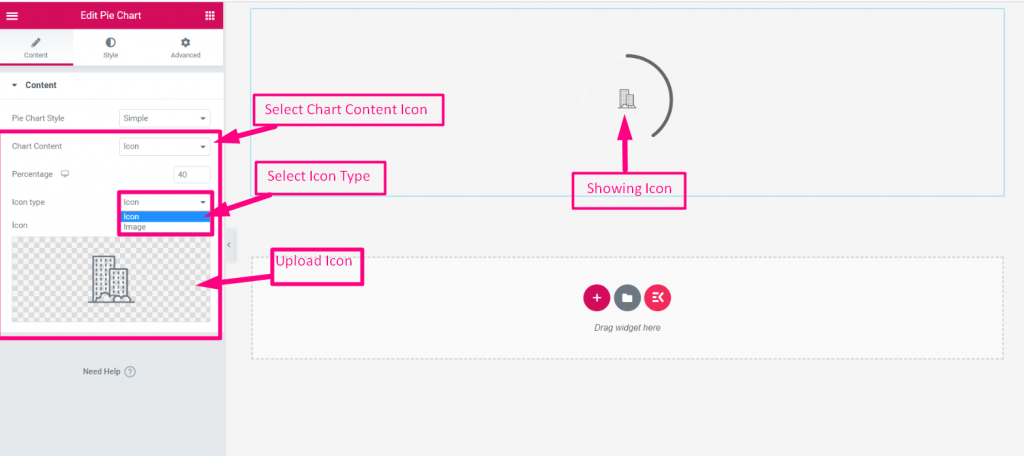
  • Icon Type: Decide what you want to show in the pie chart.
    • Icon: Select an icon from the icon library or upload your own.
    • Image: Upload an image to show in the pie chart.
    • Image Size: Specify the size of your image from the dropdown.
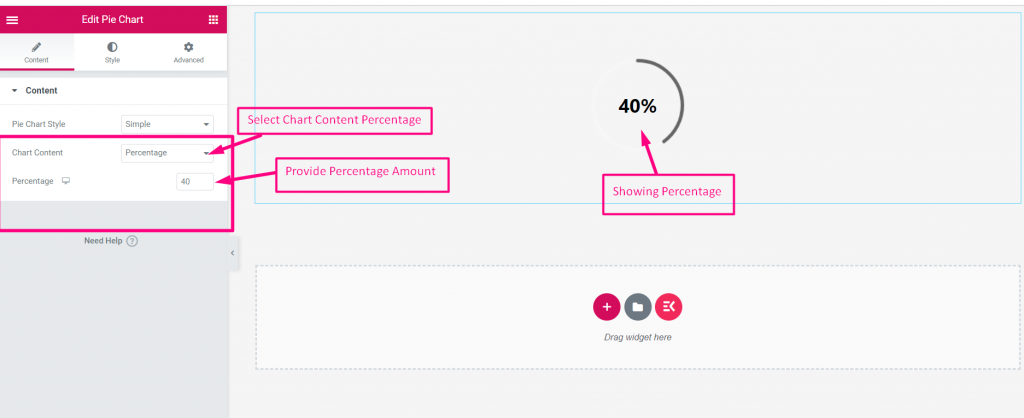
  • Percentage: Define the percentage of your pie chart.
  • Title: Enter the title text to show the pie chart.
  • Description: Add the description for the pie chart.
  • Content Type: When you show content with a pie chart you can set how content appears. Here are the available options:
    • Static: Text will appear statically.
    • Flip: This applies a flip animation over the pie chart text.

Step- 3: Customize the Pie Chart on the Elementor Website #

Navigate to the Pie chart WIdget settings > Style tab to unlock all the customizing settings of ElementsKit. You will see many features to play with. Down below we’ll be explaining all the design features.

Title-Customization-Of-ElementsKit-Pie-Chart-Widget

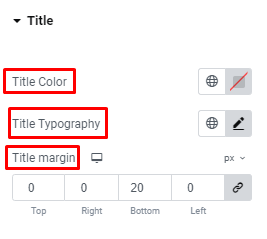
Title: Pick a color for your title, customize the typography, and add a margin around the title.

Content-Customization-Of-ElementsKit-Pie-Chart-Widget

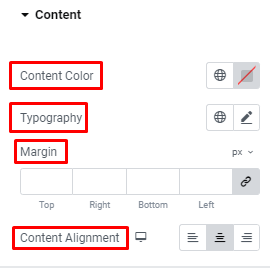
Content: Offer the same customization as the previous one for the content text and align set alignment for it.

Chart-Customization-Of-ElementsKit-Pie-Chart-Widget

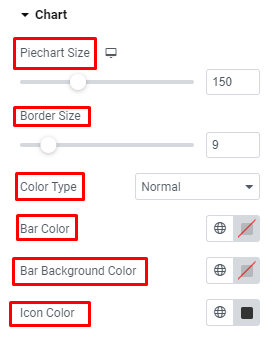
Chart: Define the size of your piechart and border and choose a color type between Normal or Gradient. Next, give color to the bar and its background and icon.

Background-Customization-Of-ElementsKit-Pie-Chart-Widget

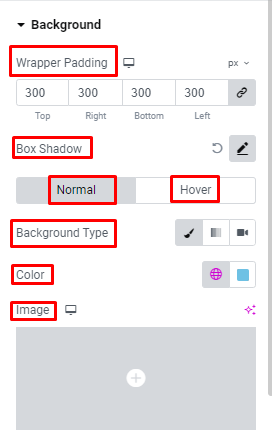
Background: You can adjust the wrapper padding for the background and apply the box shadow. Then select between color, gradient, image, and video for the background and hover background. Further, you can select from versatile animation effects for the background on hover.

Hopefully, now you are familiar with the ElementsKit Pie Chart widget feature and know how to create pie charts on Elementor websites.

What are your Feelings
Share This Article :
  • Facebook
  • Twitter
  • LinkedIn
  • Pinterest
Still stuck? How can we help?

How can we help?

Updated on September 26, 2023
Button Widget
Table of Contents
  • How to Create Pie Charts in Elementor?
    • Step-1: Add ElementsKit Pie Chart Widget
    • Step-2: Add Content for Pie Chart 
    • Step- 3: Customize the Pie Chart on the Elementor Website

Get Subscribed Today!

WPMet Site Logo
© 2023, Wpmet. All Rights Reserved. Built with ElementsKit.

Company

About us
Contact us
Support
Blog
Collaborate
Documentation

Resources

Affiliates
Affiliate Area
Privacy Policy
Terms & Conditions
Refund Policy
Login/Register

Our Products

Elements Kit
ShopEngine
GetGenie Ai
Metform
WP Social
Wp Ultimate Review
Wp Fundraising

Follow Us

Payment systems accepted by Wpmet

Wpmet is not affiliated with or endorsed by Open Source Matters or the WordPress Project. The CMS logo is used under a limited license granted by Open Source Matters the trademark holder in the United States and other countries.

We use cookies on our website to give you the most relevant experience by remembering your preferences and repeat visits. By clicking “Accept”, you consent to the use of ALL the cookies.
Opt out!.
Cookie SettingsAccept
Manage consent

Privacy Overview

This website uses cookies to improve your experience while you navigate through the website. Out of these, the cookies that are categorized as necessary are stored on your browser as they are essential for the working of basic functionalities of the website. We also use third-party cookies that help us analyze and understand how you use this website. These cookies will be stored in your browser only with your consent. You also have the option to opt-out of these cookies. But opting out of some of these cookies may affect your browsing experience.
Necessary
Always Enabled
Necessary cookies are absolutely essential for the website to function properly. These cookies ensure basic functionalities and security features of the website, anonymously.
CookieDurationDescription
cookielawinfo-checkbox-analytics11 monthsThis cookie is set by GDPR Cookie Consent plugin. The cookie is used to store the user consent for the cookies in the category "Analytics".
cookielawinfo-checkbox-functional11 monthsThe cookie is set by GDPR cookie consent to record the user consent for the cookies in the category "Functional".
cookielawinfo-checkbox-necessary11 monthsThis cookie is set by GDPR Cookie Consent plugin. The cookies is used to store the user consent for the cookies in the category "Necessary".
cookielawinfo-checkbox-others11 monthsThis cookie is set by GDPR Cookie Consent plugin. The cookie is used to store the user consent for the cookies in the category "Other.
cookielawinfo-checkbox-performance11 monthsThis cookie is set by GDPR Cookie Consent plugin. The cookie is used to store the user consent for the cookies in the category "Performance".
viewed_cookie_policy11 monthsThe cookie is set by the GDPR Cookie Consent plugin and is used to store whether or not user has consented to the use of cookies. It does not store any personal data.
Functional
Functional cookies help to perform certain functionalities like sharing the content of the website on social media platforms, collect feedbacks, and other third-party features.
Performance
Performance cookies are used to understand and analyze the key performance indexes of the website which helps in delivering a better user experience for the visitors.
Analytics
Analytical cookies are used to understand how visitors interact with the website. These cookies help provide information on metrics the number of visitors, bounce rate, traffic source, etc.
Advertisement
Advertisement cookies are used to provide visitors with relevant ads and marketing campaigns. These cookies track visitors across websites and collect information to provide customized ads.
Others
Other uncategorized cookies are those that are being analyzed and have not been classified into a category as yet.
Vendor/Partner
SAVE & ACCEPT