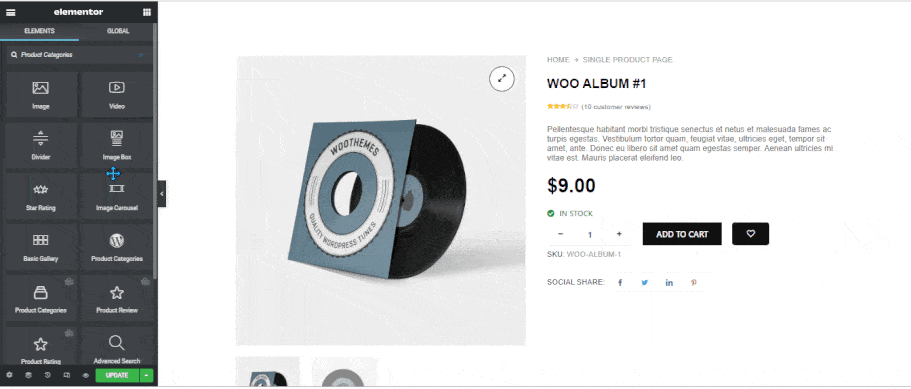
Product Categories is a single product template widget that displays the categories assigned to that product with links.
Let’s learn how you can use the Product Categories widget:
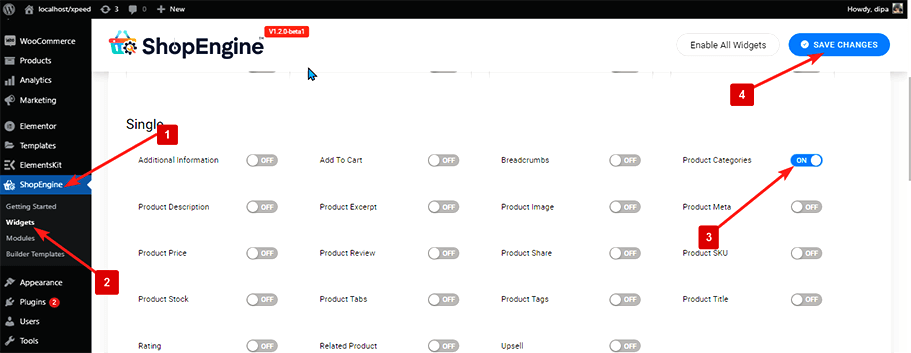
Step 1: Enable the Product Categories widget #
To enable the widget,
- Go to ShopEngine > Widgets > Product Categories
- Turn on
- Save changes
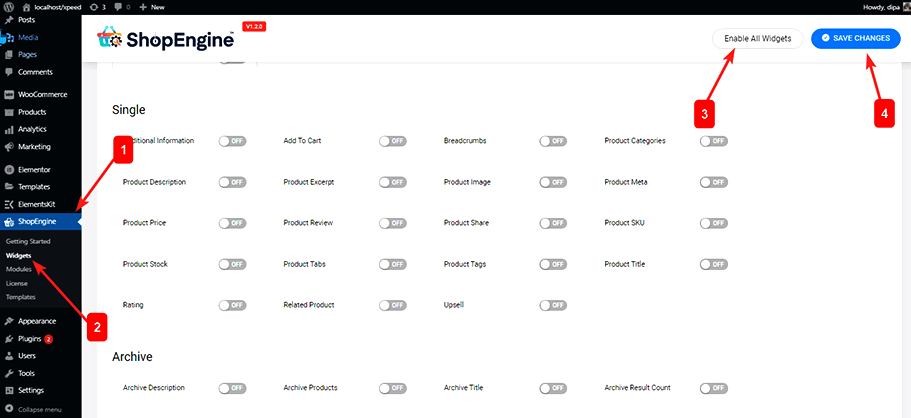
Note: You can also turn on Product Categories with a global setting that turns on all the widgets of ShopEngine. To turn on all the widgets
- Go to ShopEngine > Widgets
- Click on Enable All Widgets
- Save changes
To add Product Categories:
- Go to ShopEngine > Templates > Single Product Template
- Click on Edit with Elementor
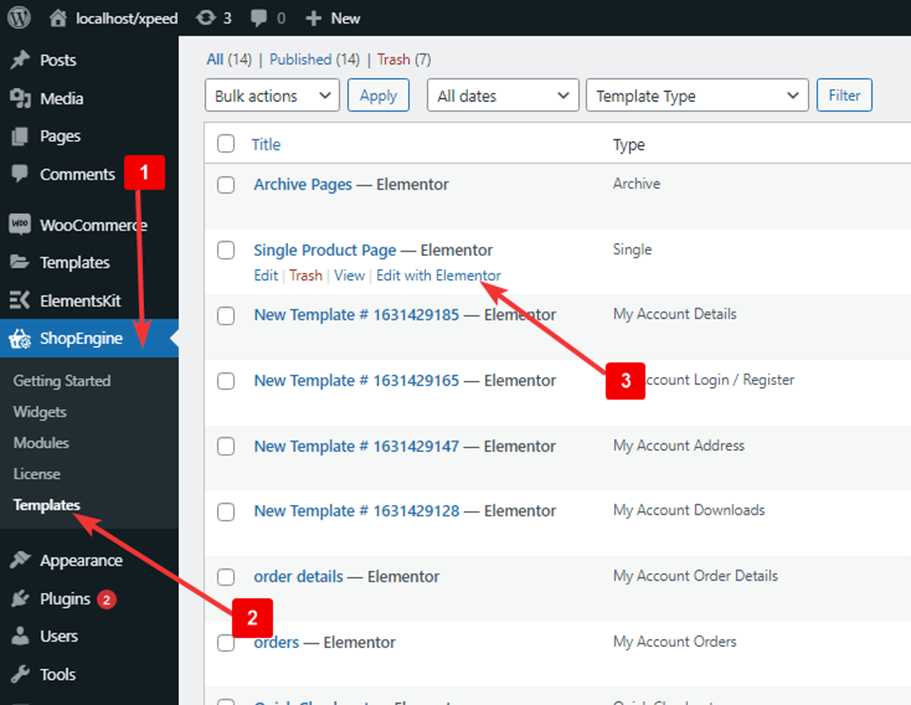
- Search for Product Categories on Elements Search option
- Drag and drop the widget
- Click on Update to save changes.
Step 3: Style Settings #
Go to Style > Categories to customize the following styles:
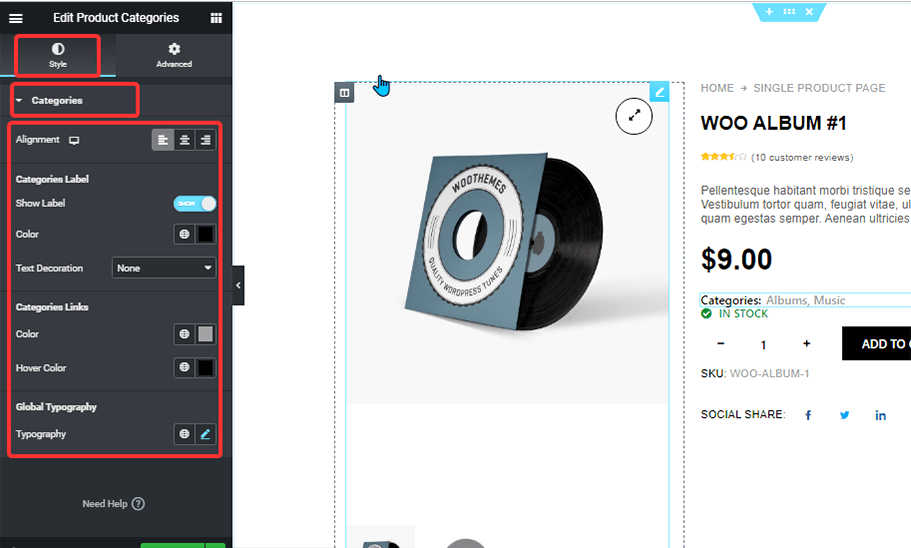
- Alignment: You can choose the alignment to be left, right, or center.
- Categories Label
- Show Label: Turn this option on to show the title Categories.
- Color: Pick a color for the label.
- Text Decoration: You can choose the text-decoration to be underline, overline,
- Categories Links
- Color: Pick a color for the categories.
- Hover Color: Change the hover color for the category links.
- Global Typography
- Typography: You can change the font family, font size, weight, line height, and text transform for the whole widget here.
After making all the changes, click on update to save.


