With Zoho CRM software, you can manage all your business processes from a single system. You can automate and speed up all the activities of sales, marketing, customer service, and so on because of this WordPress Zoho integration. With MetForm, you can do WordPress Zoho CRM integration in some simple steps.
Get Started with WordPress Zoho CRM integration: #
Submit user data apparently connecting popular CRM services like Hubspot. Here you will get step by step process of Zoho CRM integration with WordPress.
Get API Authentication Token for WooCommerce Zoho CRM integration #
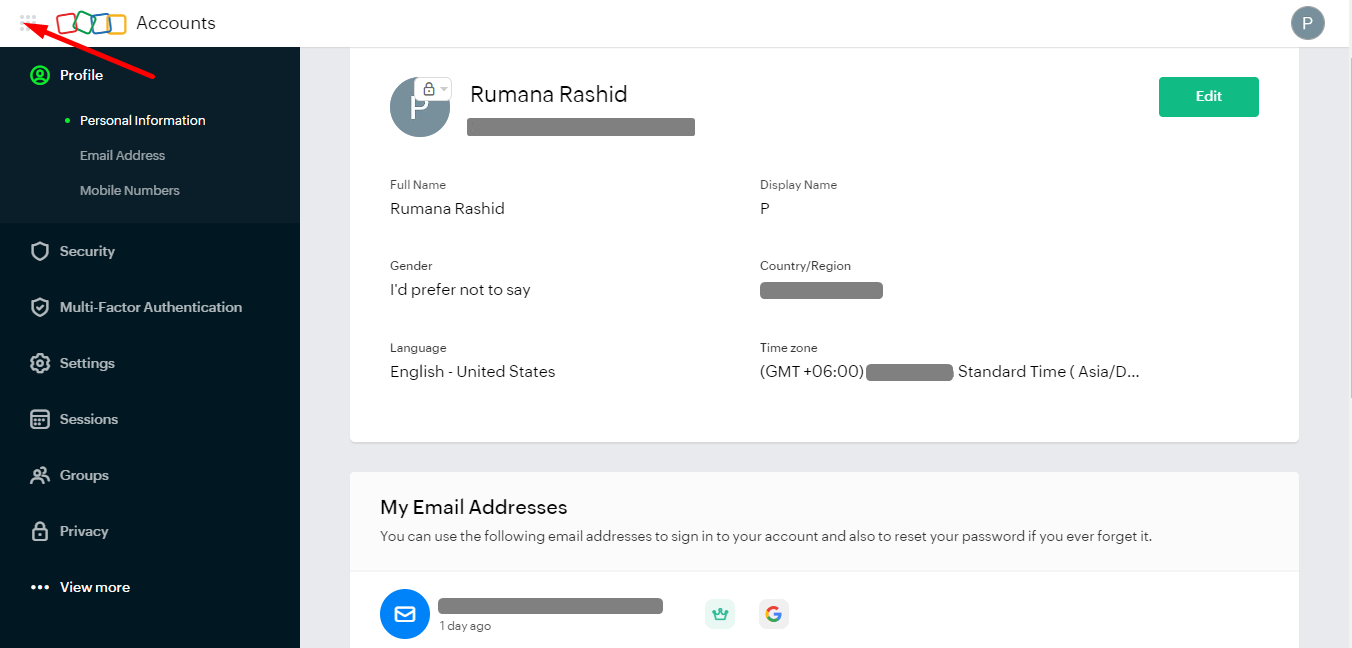
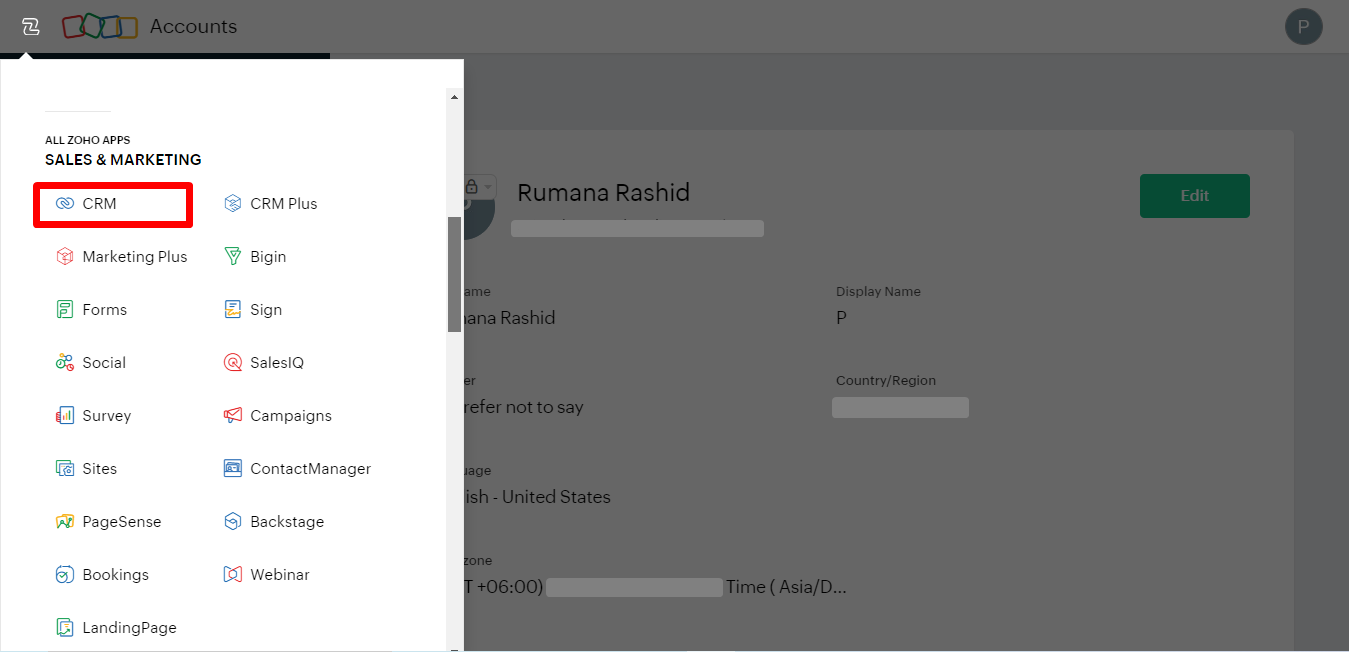
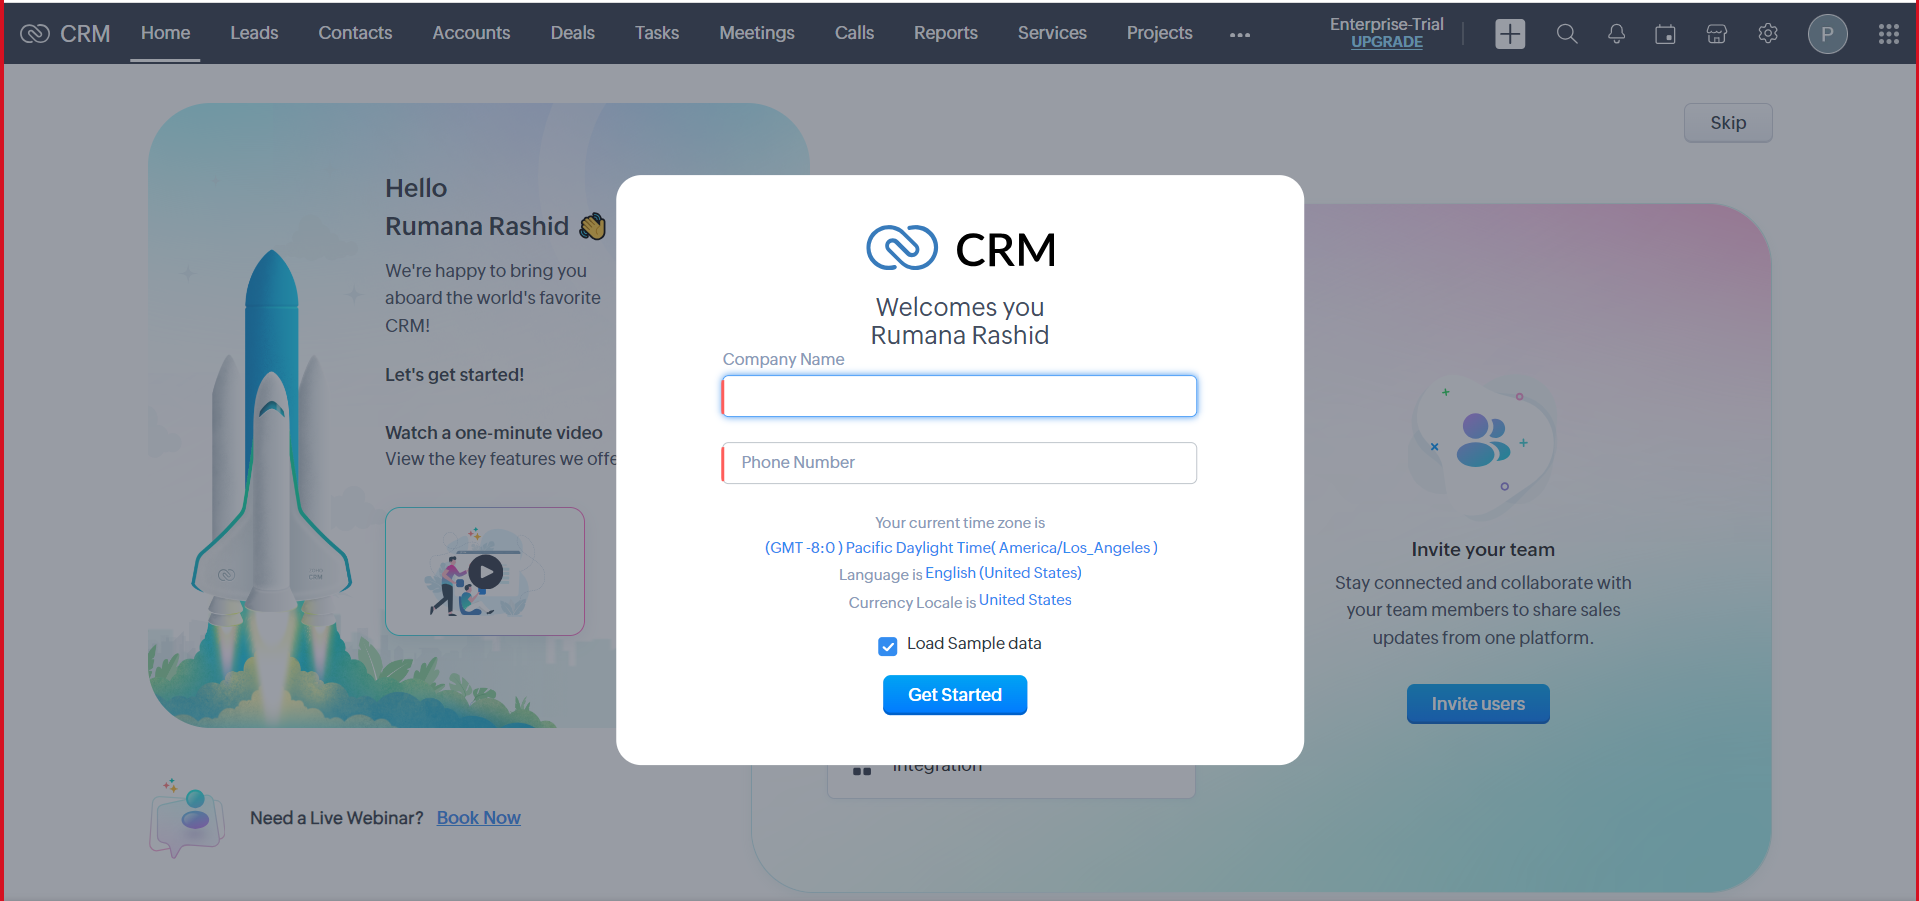
Create a Zoho Account and Log In with your Email and Password for WordPress Zoho CRM integration.

Step 1: Register your App #
For Server-Based Application #
Go to Zoho Developer Console=> Add Client=> Select your Client Type: Server-based-Applications

Enter the following details:
- Client Name: The name of your application you want to register with WordPress Zoho.
- Homepage URL: The URL of your web page.
- Authorized Redirect URL: A valid URL of your application to which Zoho Accounts redirects you with a grant token(code) after successful authentication.
- Click CREATE.

You will receive the following credentials:
- Client ID: The consumer key generated from the connected app.
- Client Secret: The consumer secret generated from the connected app.

Generate Grand Token
Now go to the browser and paste the link below. **Client Id and Redirect URL will be different from ours. See the description
Parameter | Description |
scope | ZohoCRM.modules.ALL |
client_id | Provide your Client ID(consumer key) that you got during client registration. |
response_type | code |
access_type | offline |
redirect_uri | Provide redirect URL that you have given during client registration |
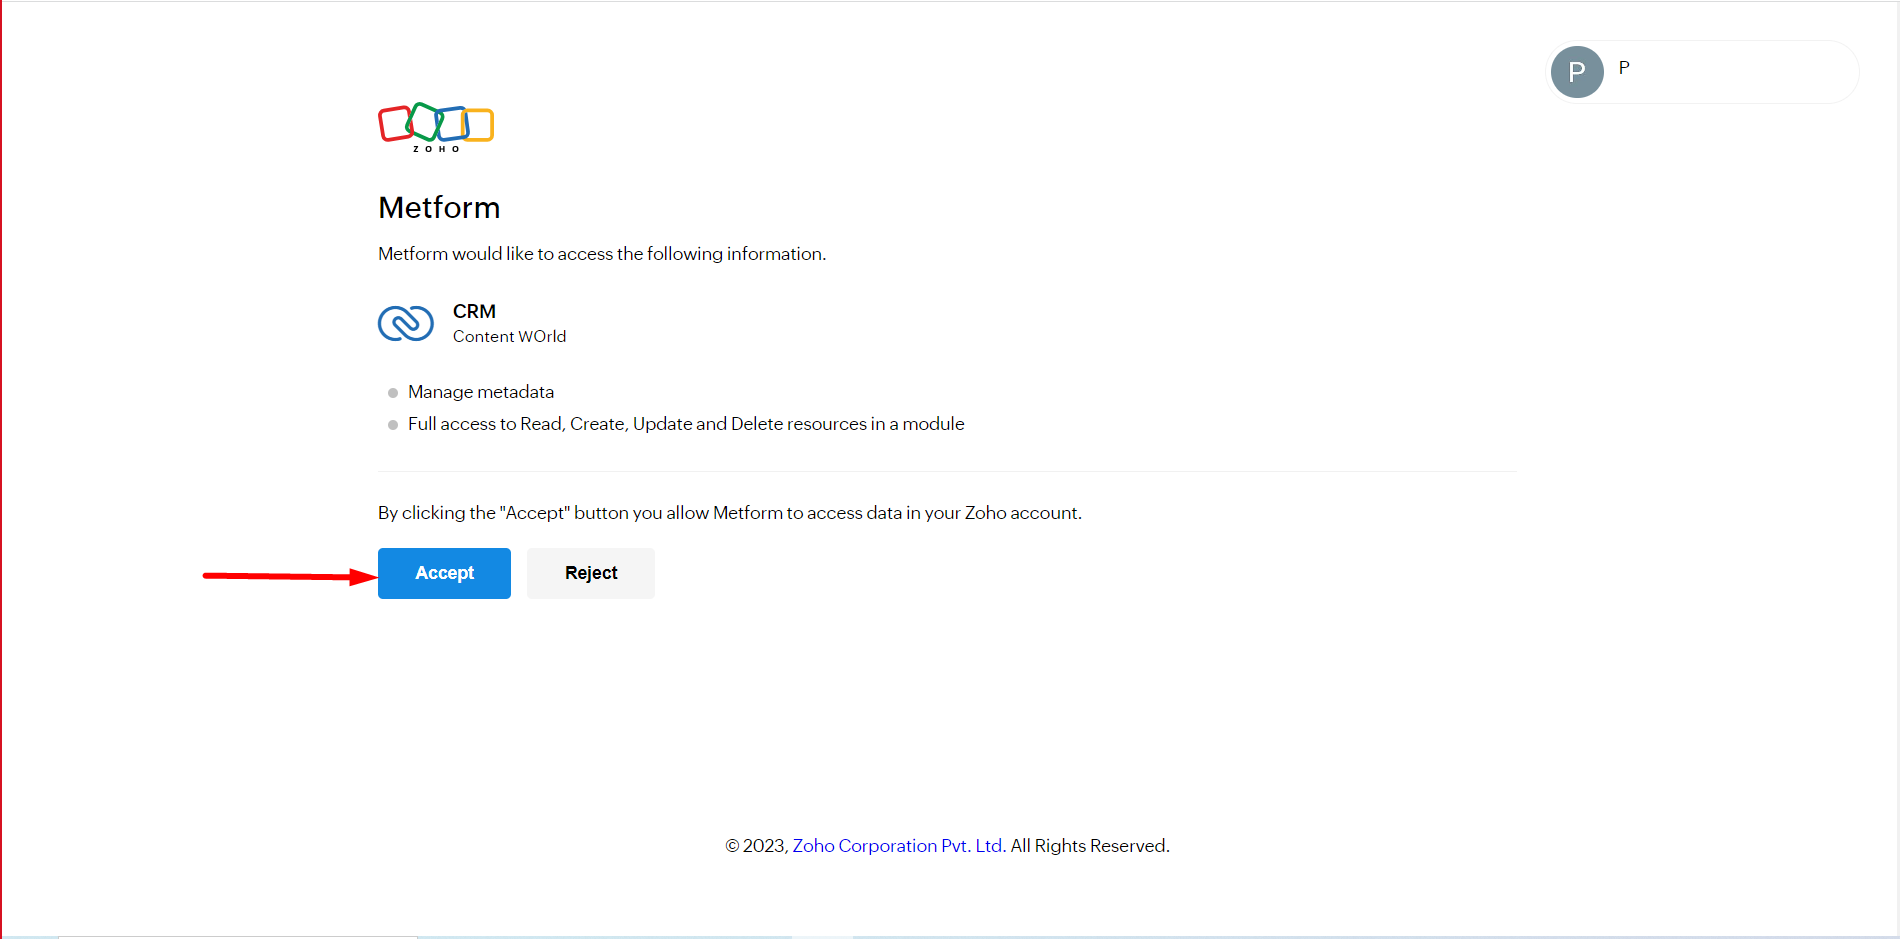
Now Provide Your link with all of your information and click on: Accept

When the user clicks Accept: The application gets authorized. The grant token sent as a parameter in the redirect_url=> Copy the Grand Token/code for Zoho CRM integration with WordPress.

Note: **The grant token is valid only for one minute.
For Self-Client #
- Go to Zoho Developer Console=> Add Client=> Select your Client Type : Self-Client=> click Create Now.

Now, your client ID and client secret are displayed under the Client Secret tab.

Now go to Generate Code Tab and take the following action for Zoho CRM and WordPress integration.
- Enter the required scope: ZohoCRM.modules.ALL
- Select the Time Duration for which the grant token is valid. Please note that after this time, the grant token expires.
- Enter a description and
- Click Create.

- Select Portal
- Select Production
- Click Create

- The generated code for the specified scope is displayed. Copy the grant token for Zoho CRM and WordPress integration.

Note: **The grant token is valid only for 10 minute.
Step 2: Generate Access token and Refresh Token #
Note: You must use your domain-specific Zoho Accounts URL to generate access and refresh tokens. The following are the various domains and their corresponding accounts URLs. For US: https://accounts.zoho.com For AU: https://accounts.zoho.com.au For EU: https://accounts.zoho.eu For IN: https://accounts.zoho.in For CN: https://accounts.zoho.com.cn |
To Generate the access token you have to make a Post Request. All you need to do is go to PostMan
- Select POST: Make a POST request with the following URL. with your domain-specific Zoho accounts URL when you make the request.
- Provide URL: https://accounts.zoho.com/oauth/v2/token

Go to Body Tab=> Provide Your Following Details=> Click Send
Key | Value |
grant_type | authorization_code |
redirect_uri | Provide a redirect URL that you have given during client registration |
client_id | Provide the Client ID that you got during client registration. |
client_secret | Provide your Client secret that you got during client registration. |
code | Enter the grant token generated from the previous step |

- Now Copy the Access Token
- Access tokens expire after an hour of generation. To regenerate a new access token, use the refresh token.

Step 3: Regenerate Access Token #
As the access token is valid for one hour, we need to regenerate a new access token with the refresh token for Zoho CRM integration with WordPress.
Go to PostMan=> Provide URL: https://accounts.zoho.com/oauth/v2/token
Go to Body Tab=> Provide Your Following Details=> Click Send
Key | Value |
refresh_token | Provide your refresh token |
client_id | Provide your Client ID that you got during client registration. |
client_secret | Provide your Client secret that you got during client registration. |
grant_type | refresh_token |

- Copy the Access Token for Zoho CRM WordPress integration.

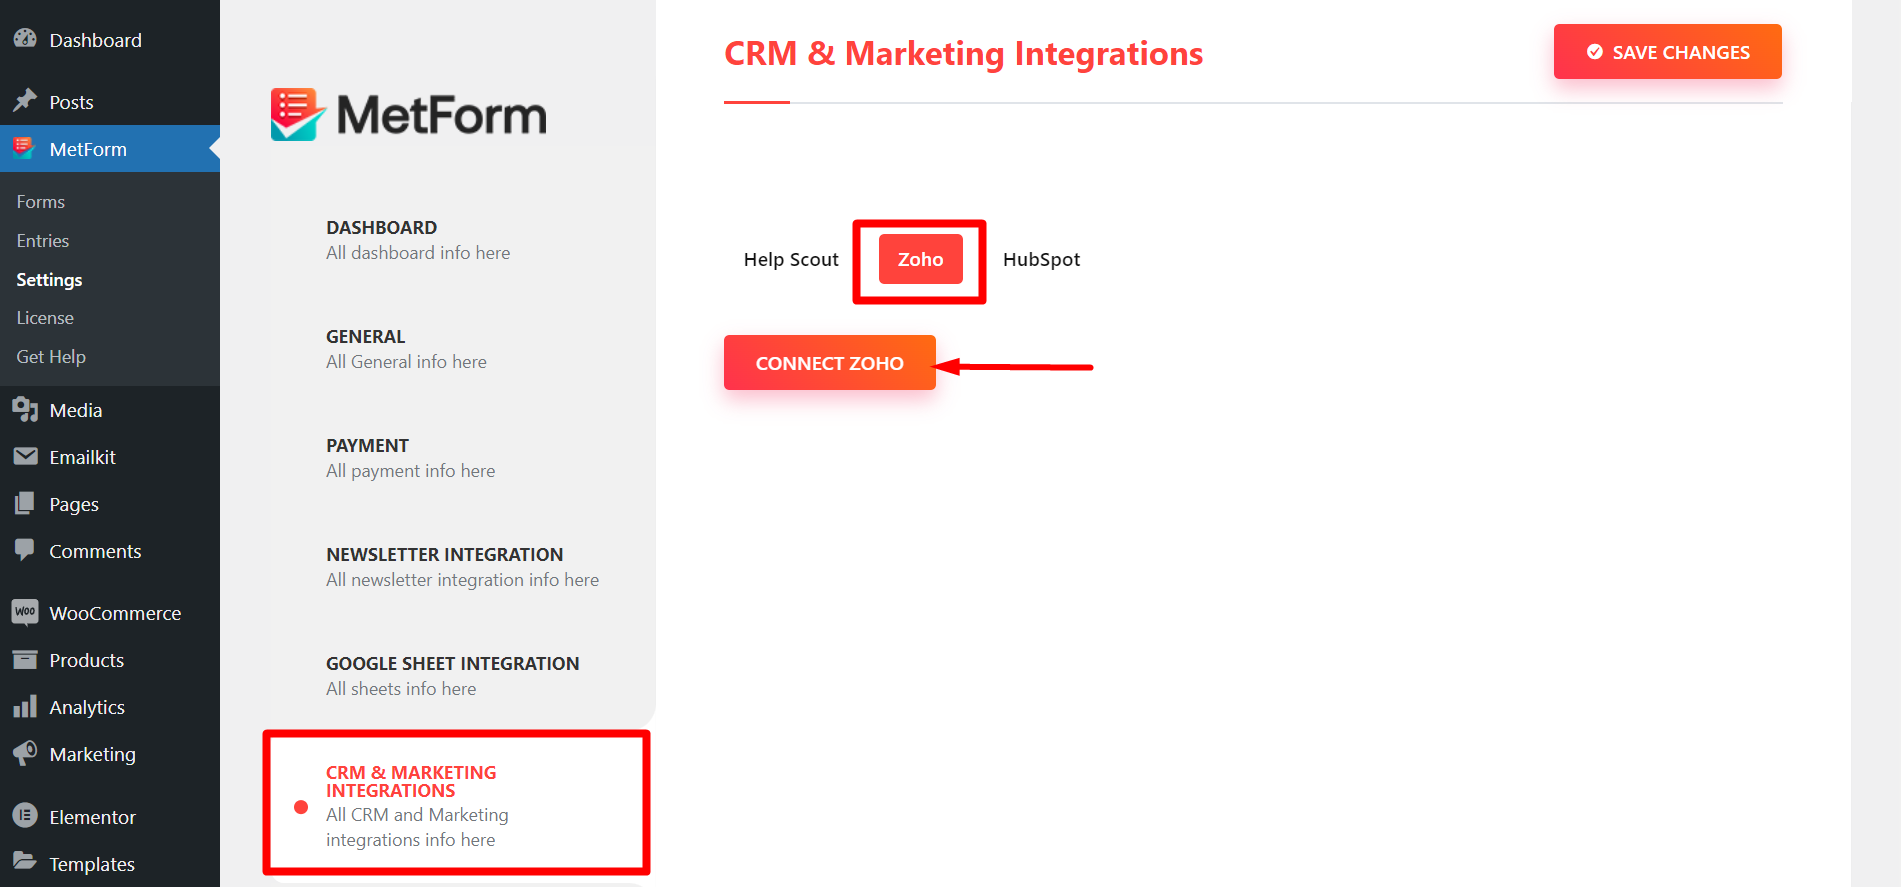
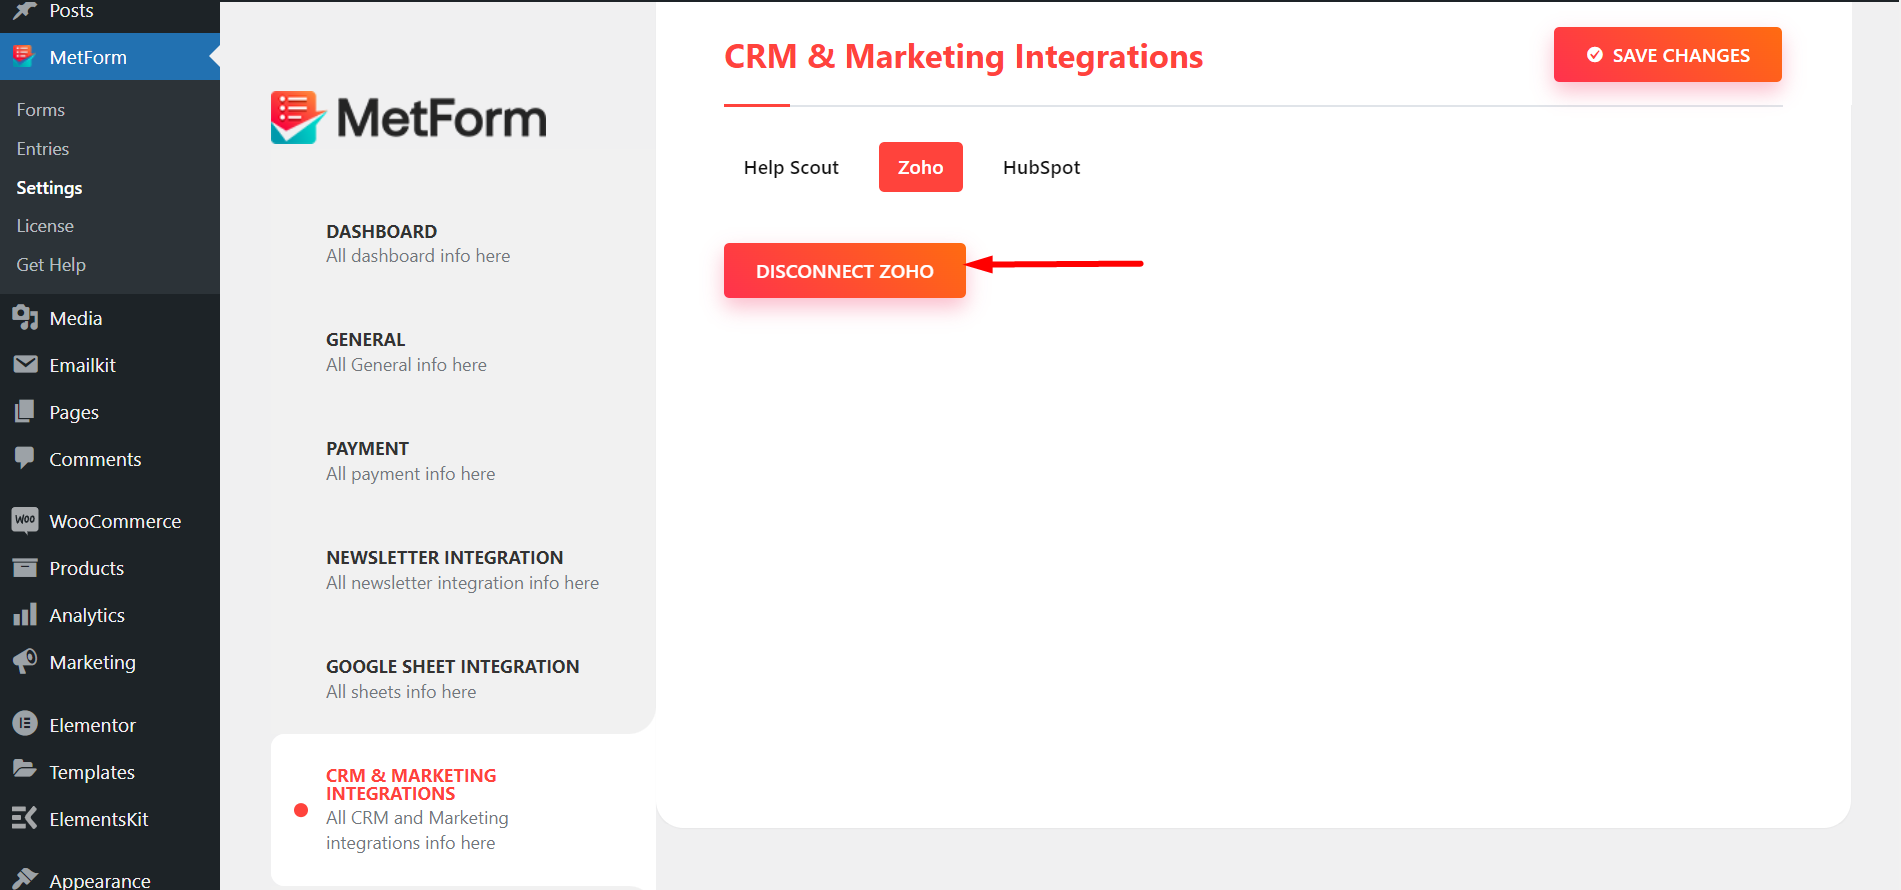
- Now go to Metform=> Settings=> CRM=> Zoho-> Paste the key Here=> Click Save

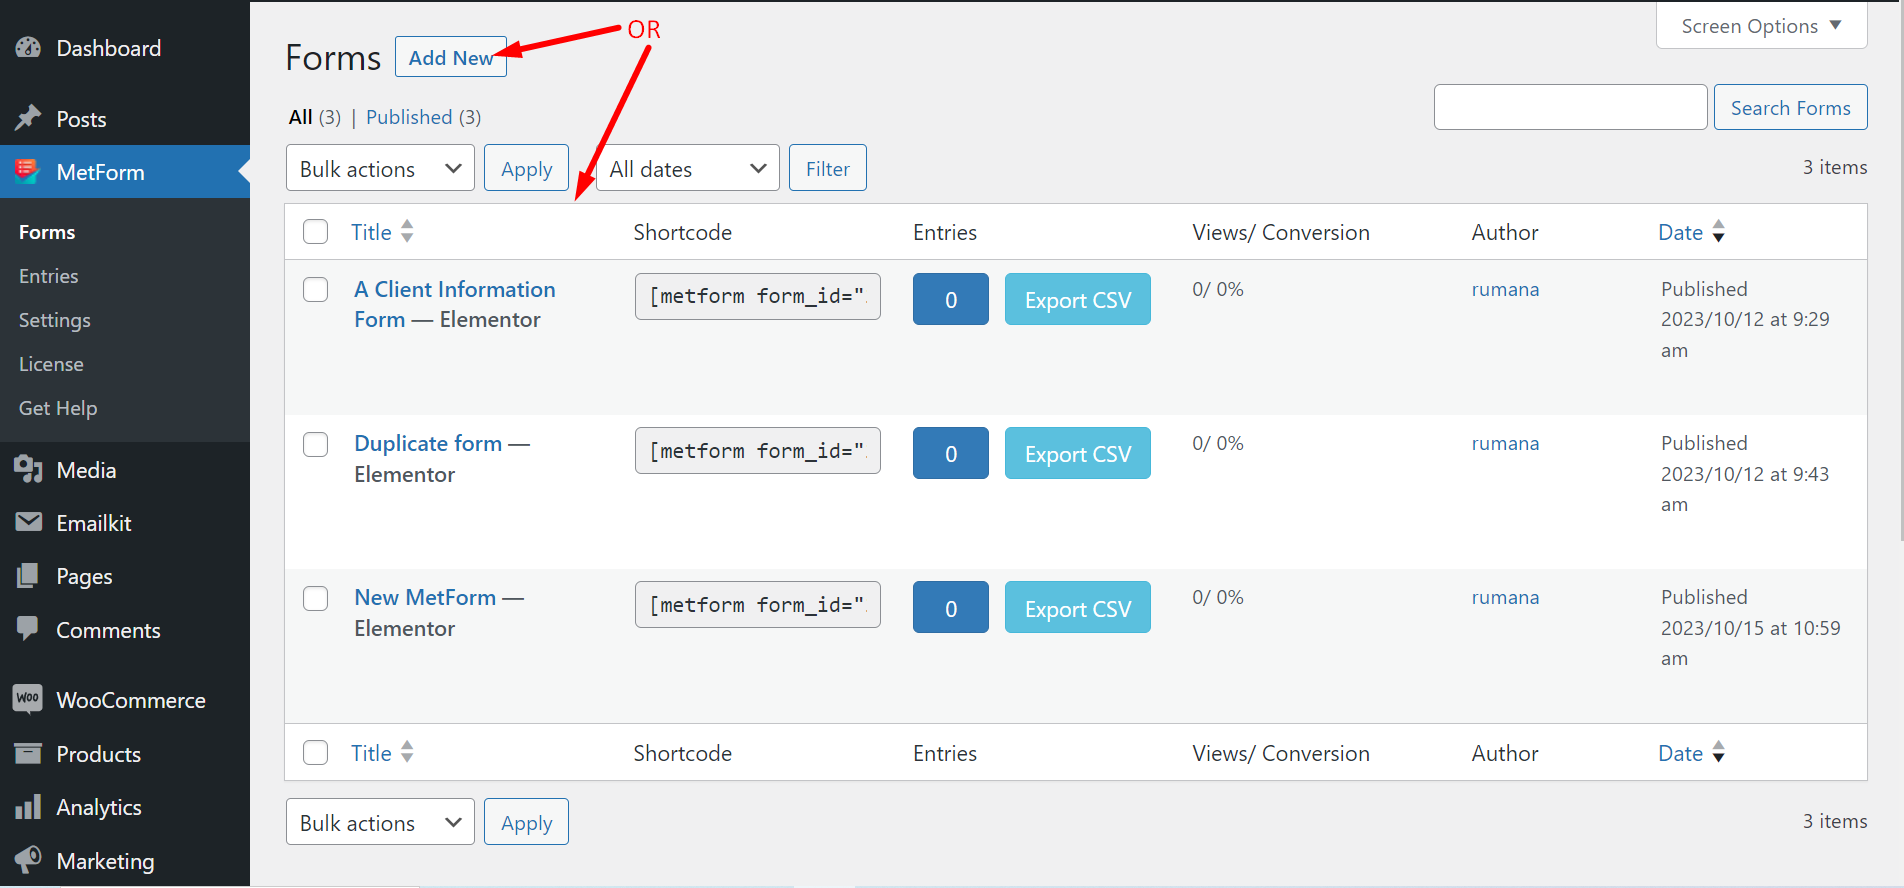
Create a New Form #
Step=>1: Go to Dashboard=> Pages=> Add new=>
- Add Page Title
- Select Template Elementor Canvas
- Click on Publish
- Edit with Elementor

- Step=>2: Search For Metform which is a Zoho WordPress integration plugin.

- Step=>3: Click on the Selected Icon

- Step=>4: Select New=> Enter your Form Name=> Click on Edit Form

- Just Drag and Drop three Field Named: Email , First Name, Last Name as same as Hubspot Created Form Field for Zoho CRM WooCommerce integration.
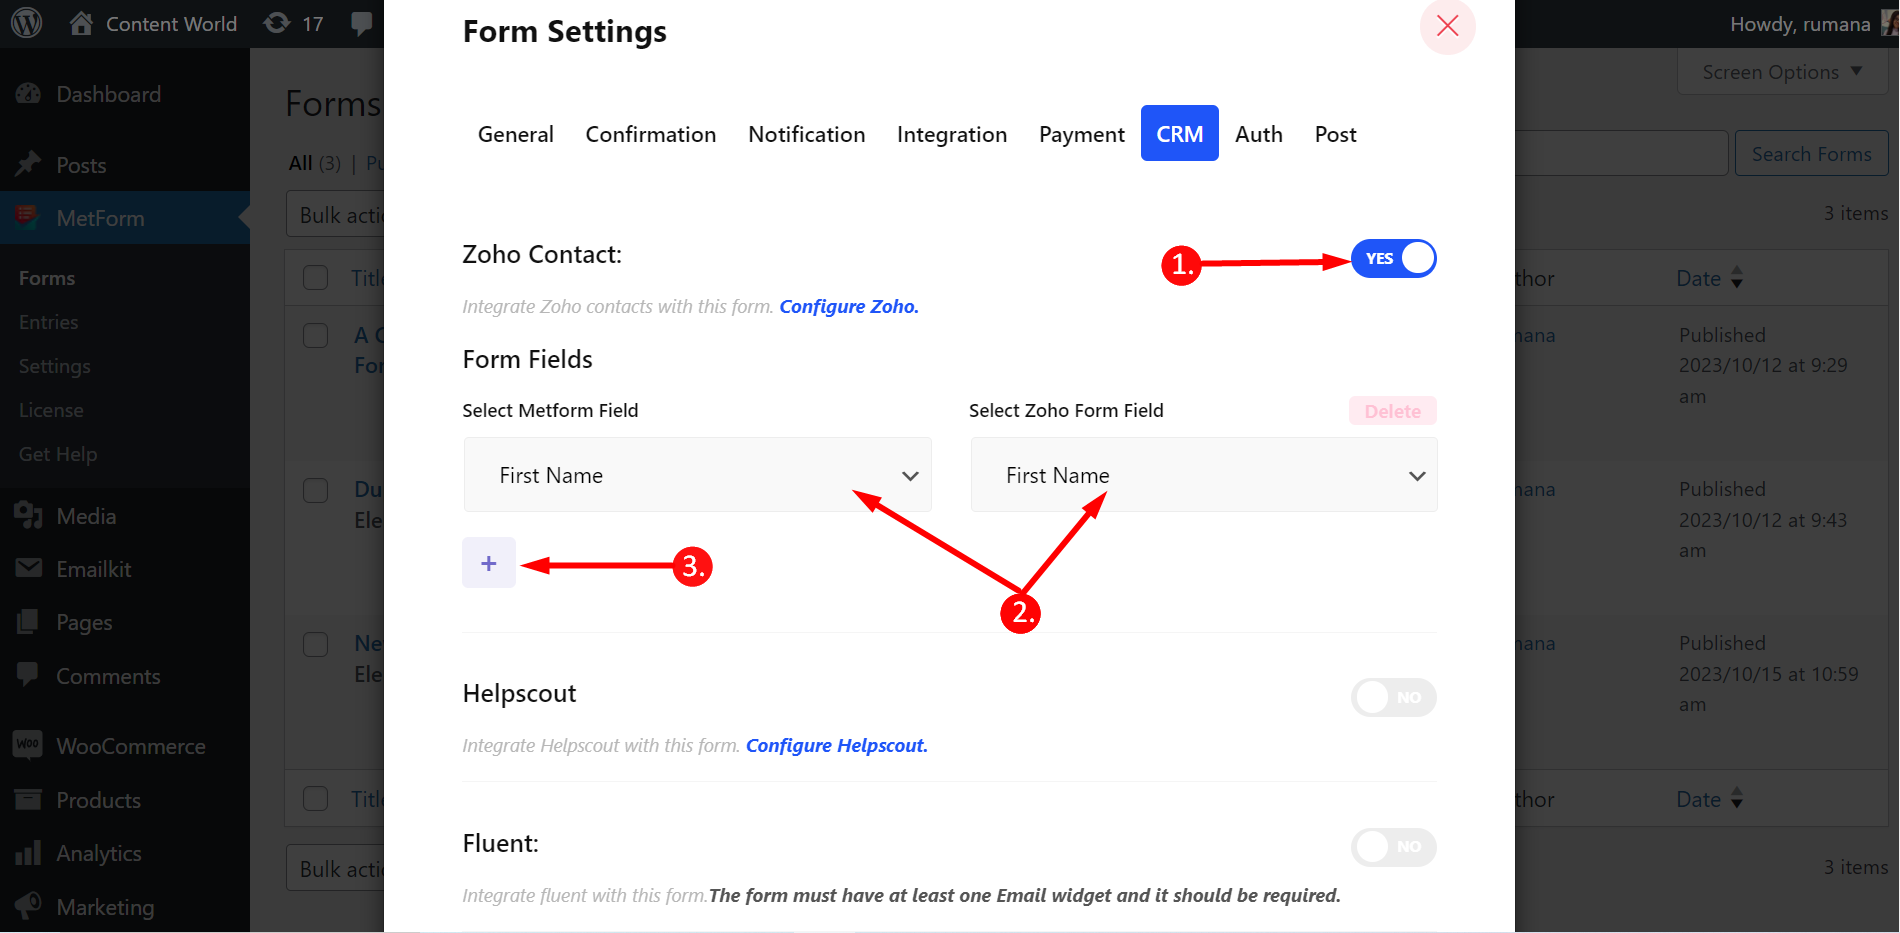
- Click on Form Setting

Zoho Contacts #
- The Modal will appear named Form Setting=> CRM=> Enable Zoho Contact=> Save Changes

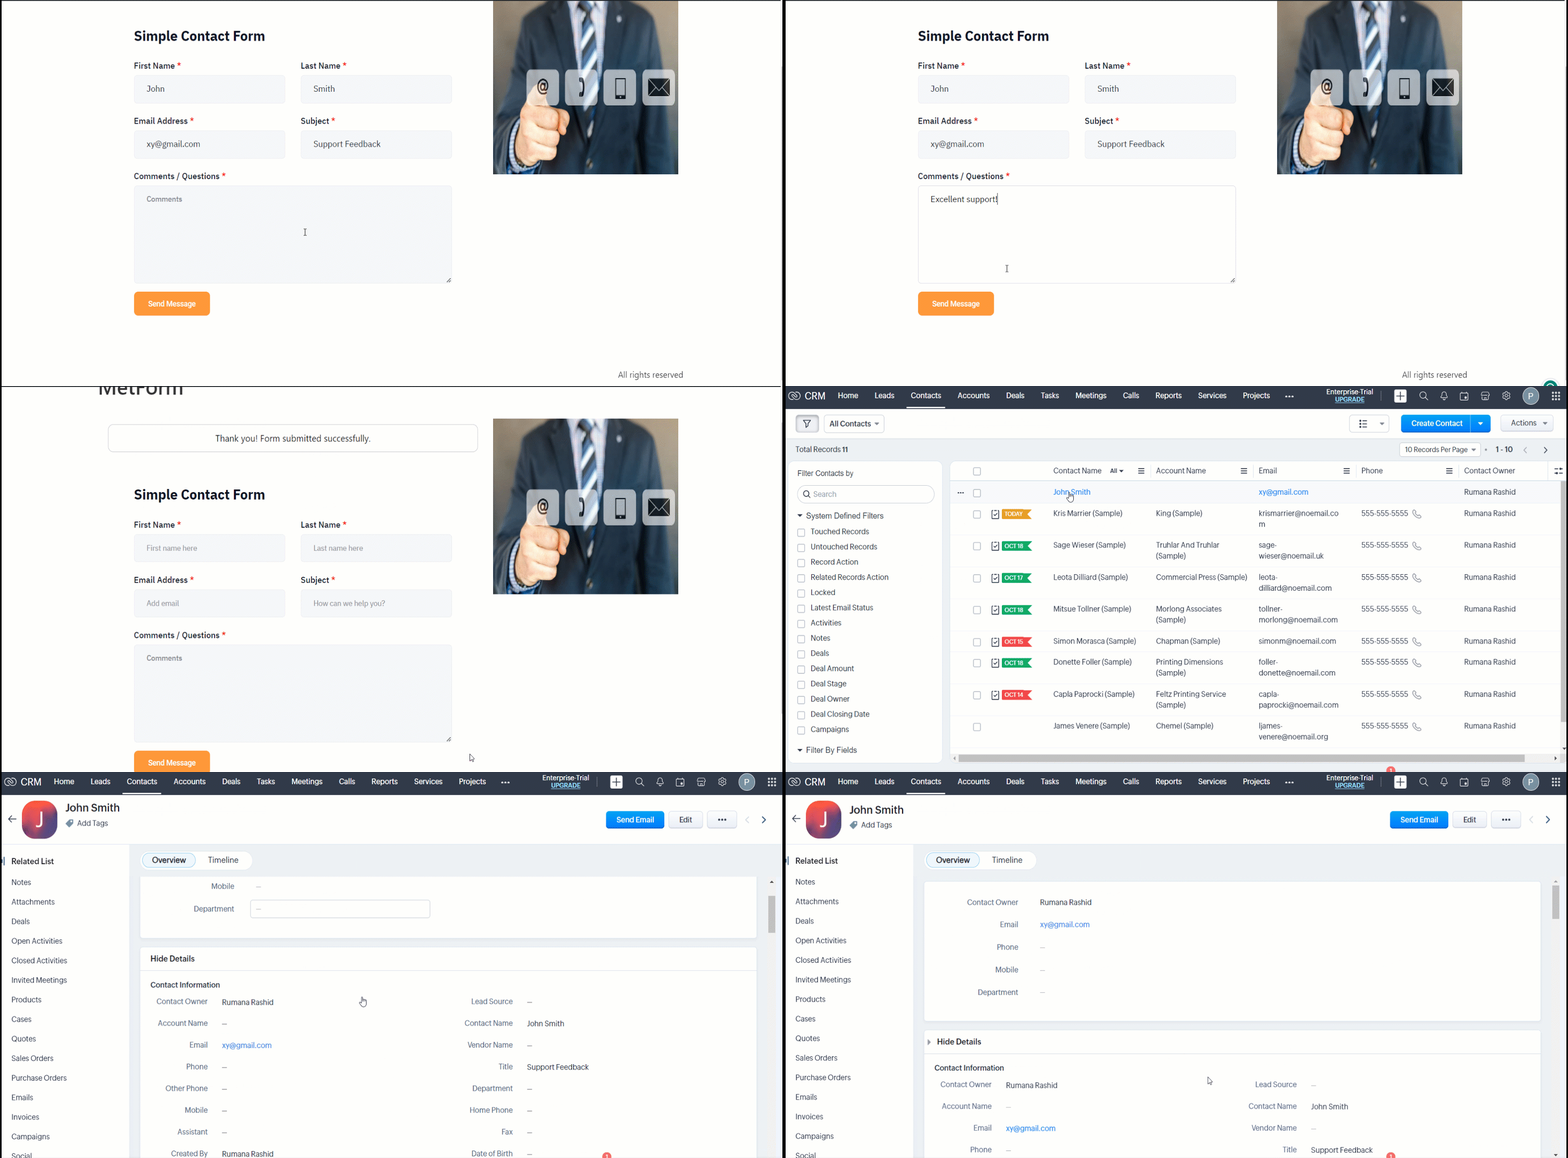
2. Go to the Site=> Fill out the form and Click on Submit Button for the Zoho CRM integration with WordPress.

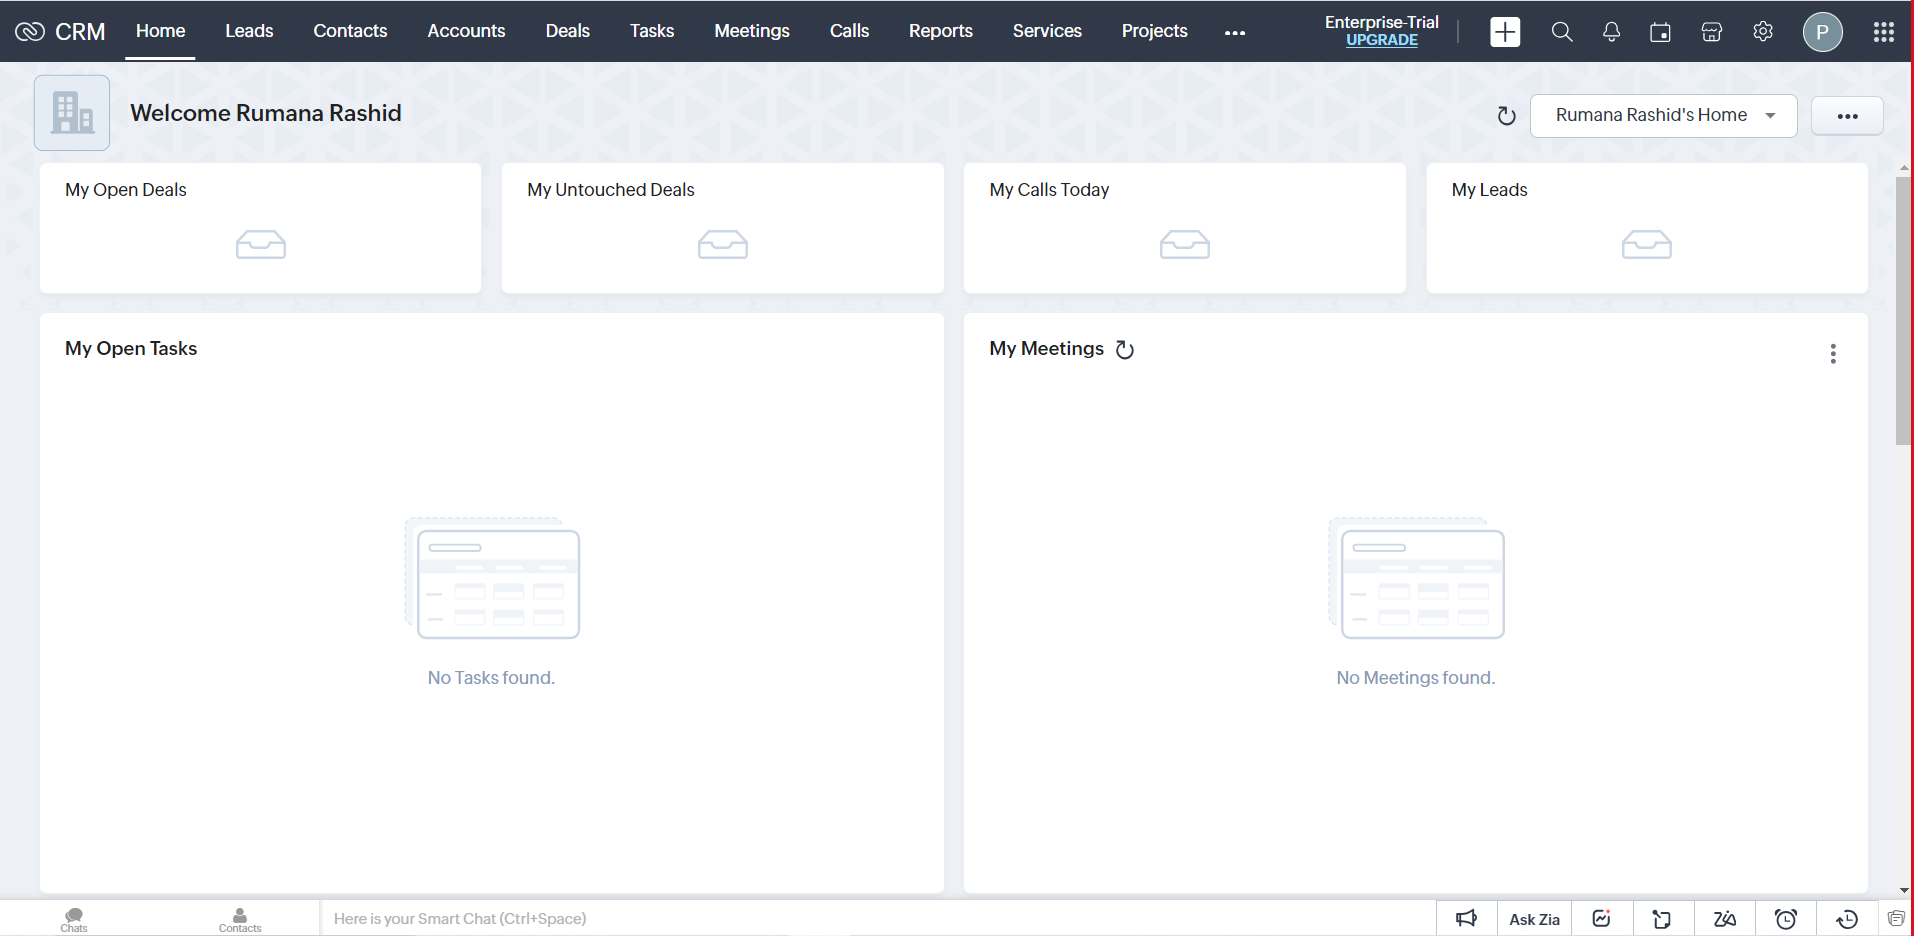
3. Go to https://crm.zoho.com/=> Click on Contacts=> Showing the Metform Submitted Data in the Zoho Contact List

This is how you can do WordPress Zoho CRM integration with MetForm without any hassle.