Watch our video guide:
Or, follow the step by step instructions:
Getting Started #
Step=>1: #
- Go to Elementskit=> Modules=> Make sure that your Facebook Messenger is Active=> Save

Step=>2: #
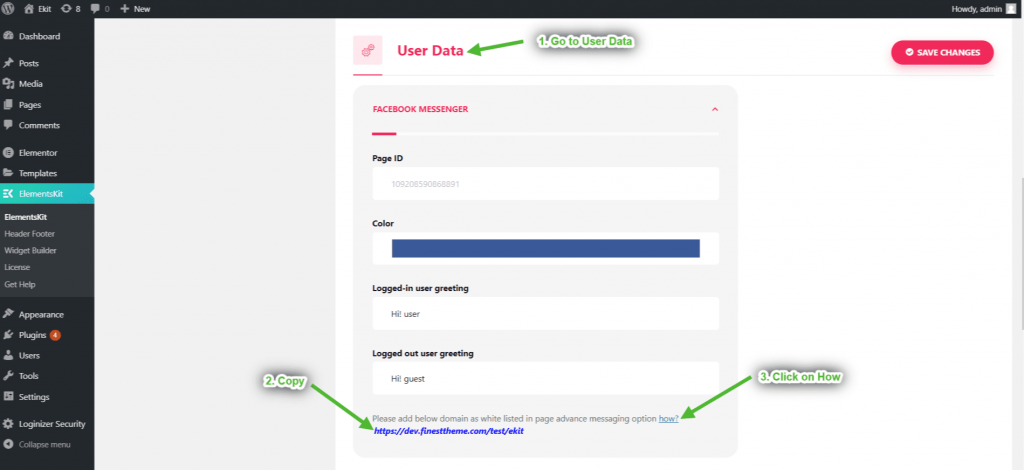
Make your domain whitelisted
- Go to User Data=> Copy the domain=> Click on how
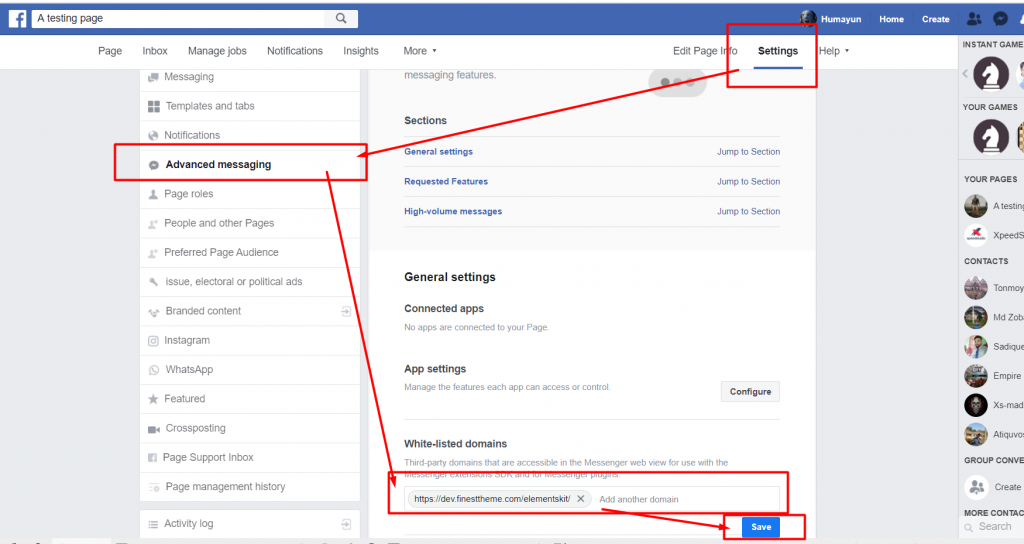
Step=>3: #
- Now go to your Facebook Page> Click on settings=> Advanced messaging=> Paste your domain=> Save
Step=>4: #
Get Page ID
- Copy the Facebook Page ID from the top

Step=>5: #
Now go to User Data=> Paste the Page ID=> Change the color of messenger if you want=> Edit Login Message=> Edit Logout Message=> Save

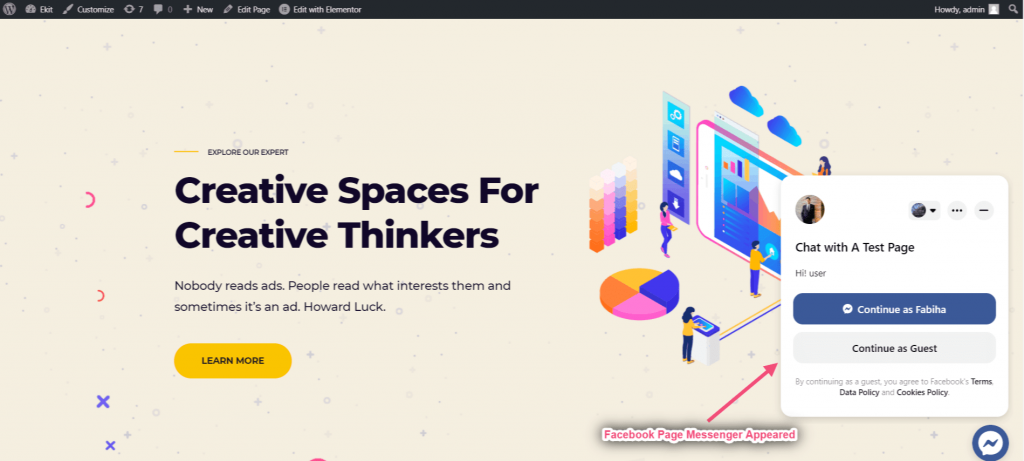
Site View #
- Now go to your page and you will see your Facebook Messenger is working perfectly