We have made the WP FundEngine plugin to enable organizations to create and manage online fundraising campaigns effortlessly. You can accept donations, and track progress towards fundraising goals using the plugin.
Let’s learn to install and activate the WP FundEngine plugin.
Installing and Activating WP FundEngine From Dashboard #
You can install the plugin from your WordPress dashboard, follow the steps –
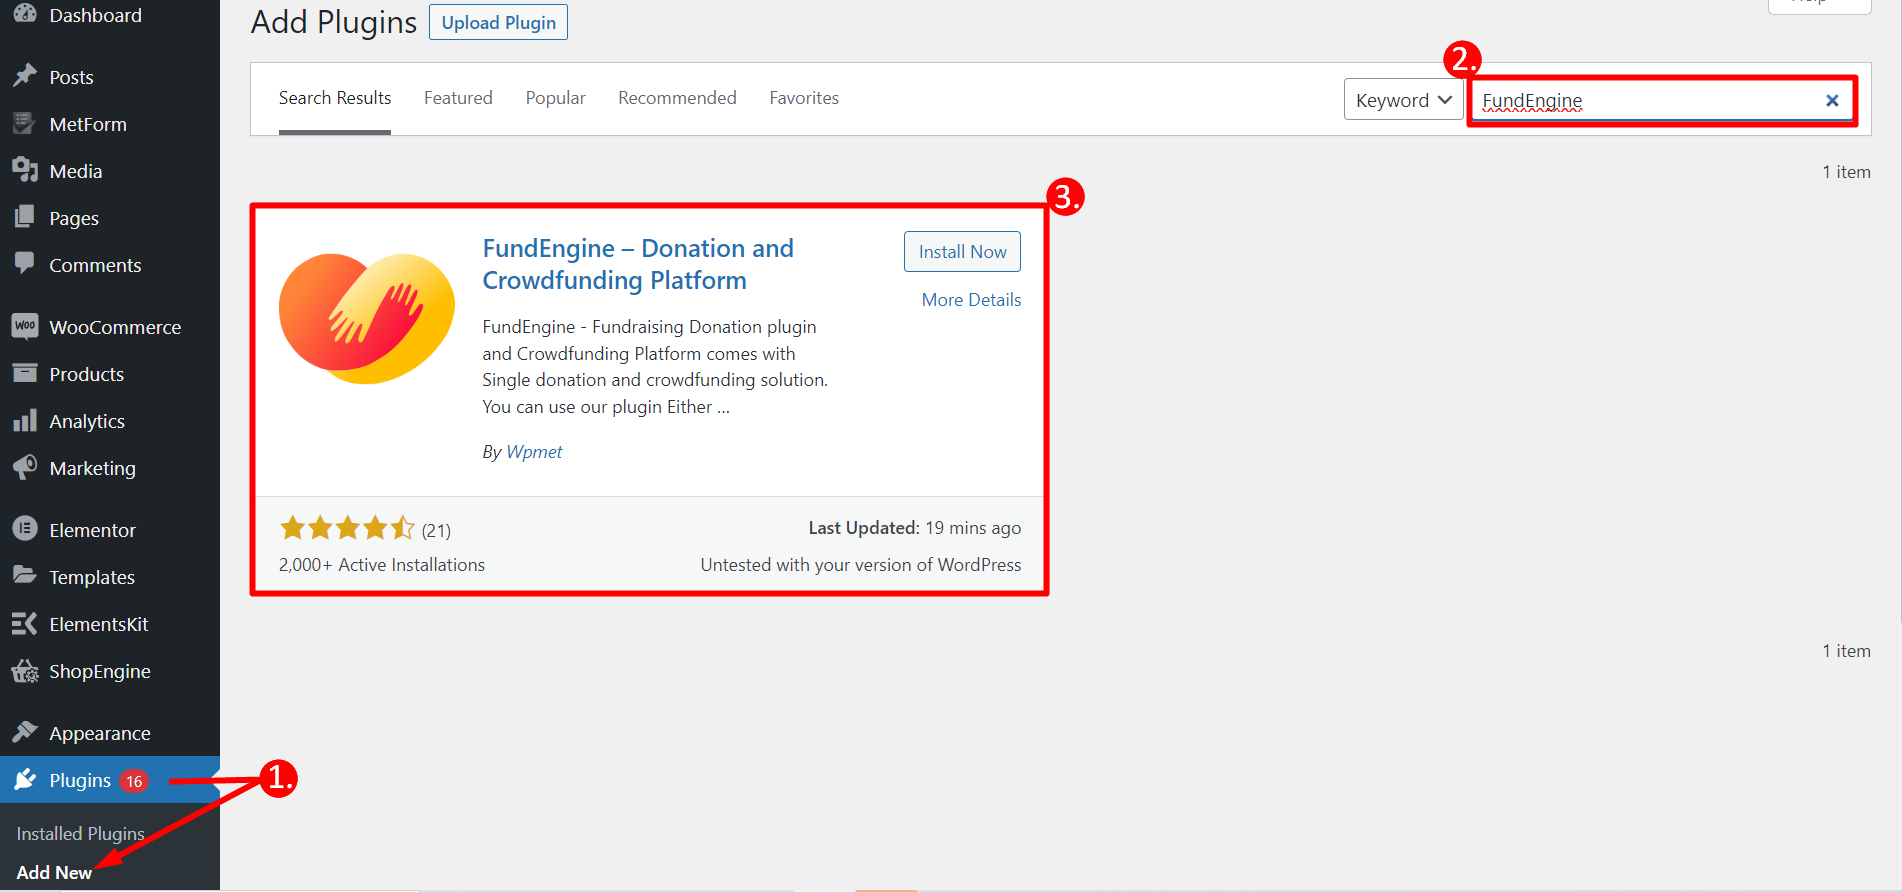
- From your Dashboard navigate to Plugins → Add New
- Then type WP FundEngine in the upper right search box
- Then click on Install Now.
Activation #
After installing don’t forget to activate the plugin.

Installing and Activating WP FundEngine Manually #
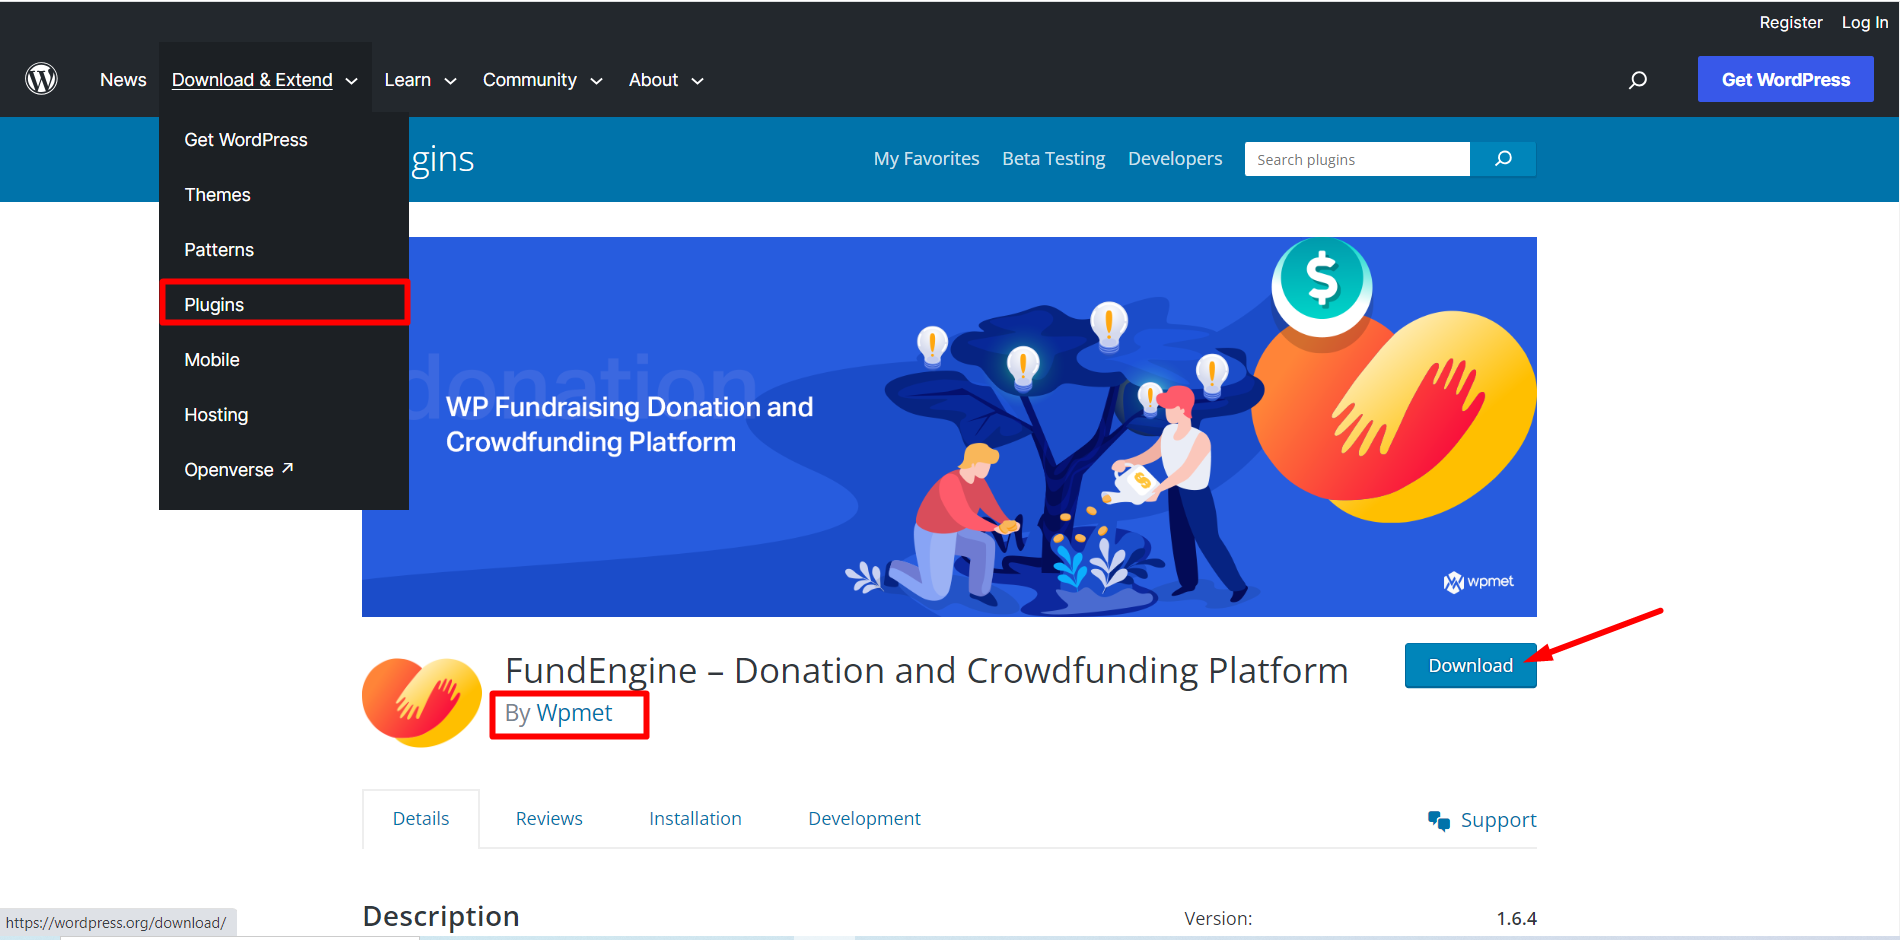
- Go to the link: https://wordpress.org/plugins/wp-fundraising-donation/
- Open the WP FundEngine plugin page on WordPress.org then download the zip file
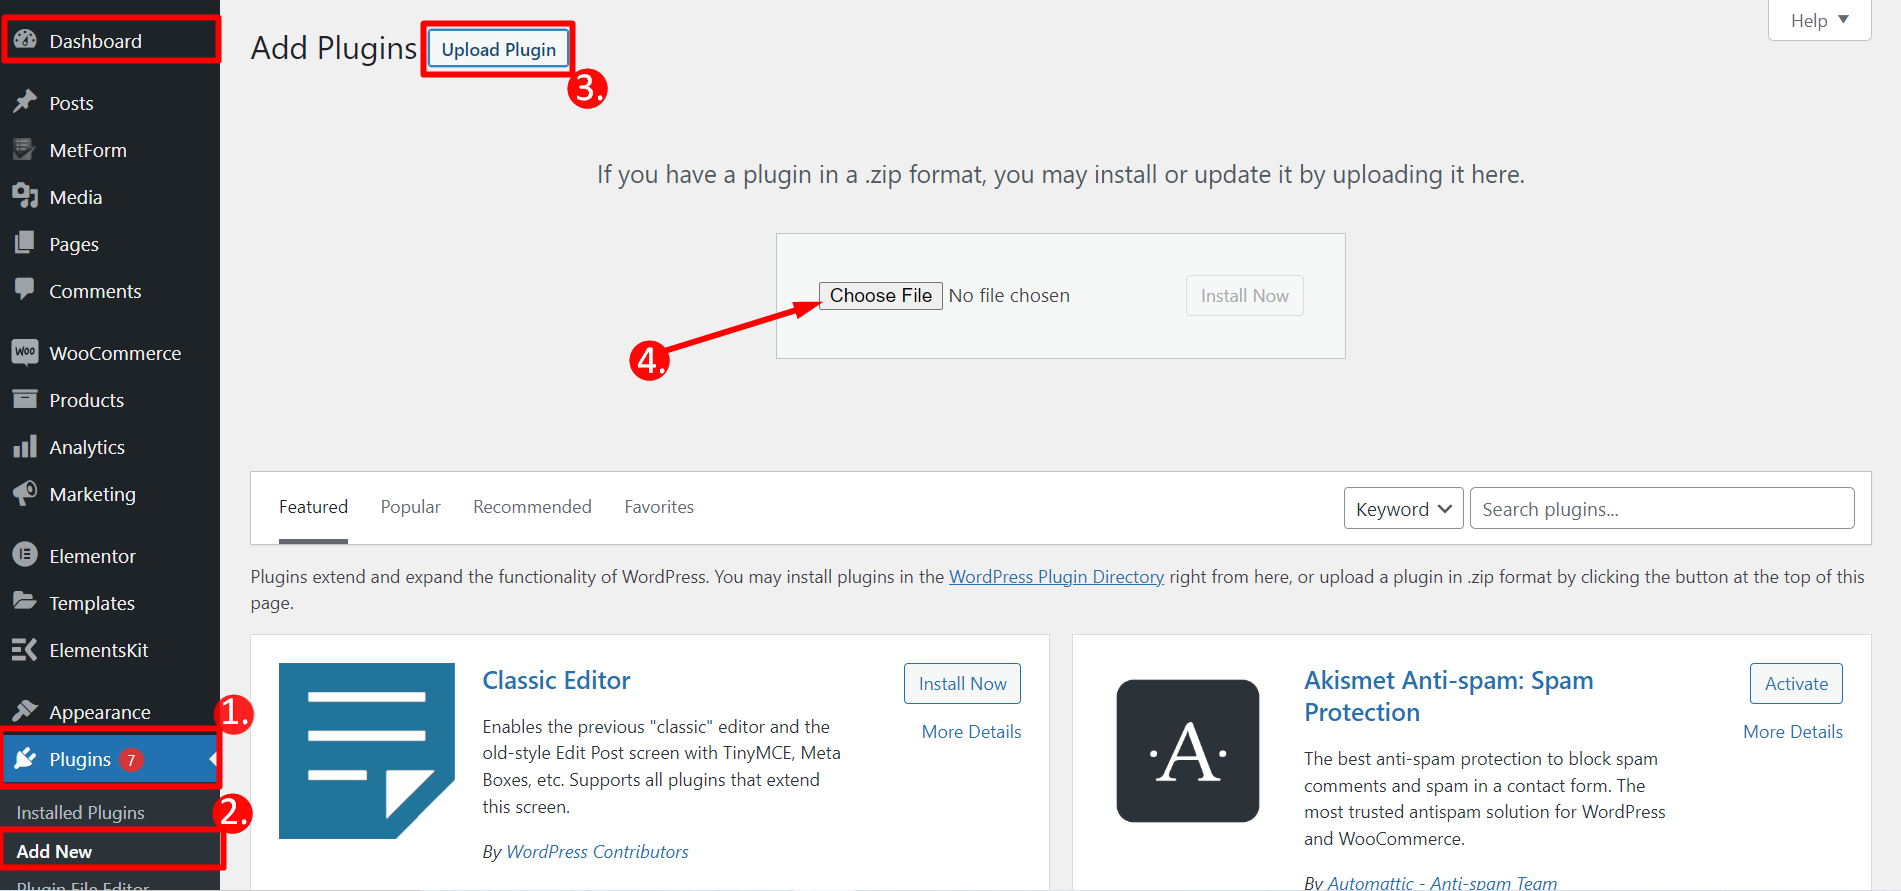
- Then navigate to your WordPress Admin Dashboard, from there navigate to Plugins → Add New → Upload Plugin
- Then click on Choose File and select the zip file you’ve downloaded then click Install Now, wait a bit until installed then click on Activate Plugin
You have to activate the plugin and you will see WP FundEngine will appeared accordingly.
Setting Up WP FundEngine Donation #
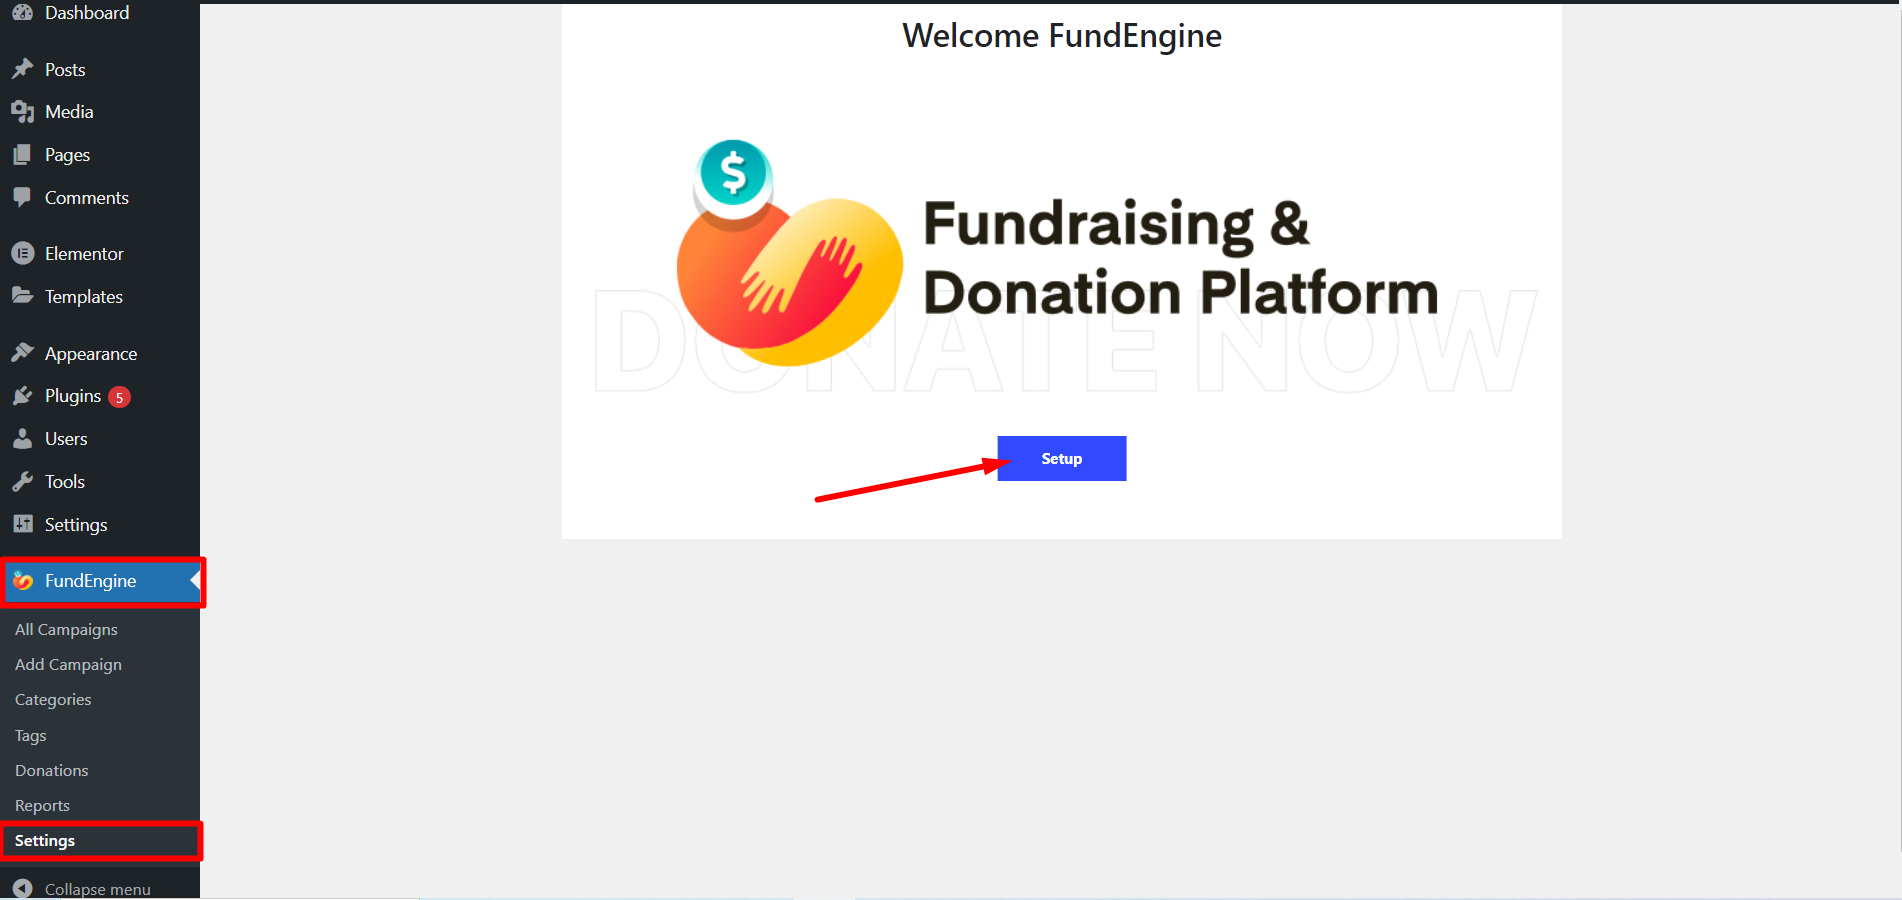
- Go the plugin and find Settings
- Click On Setup
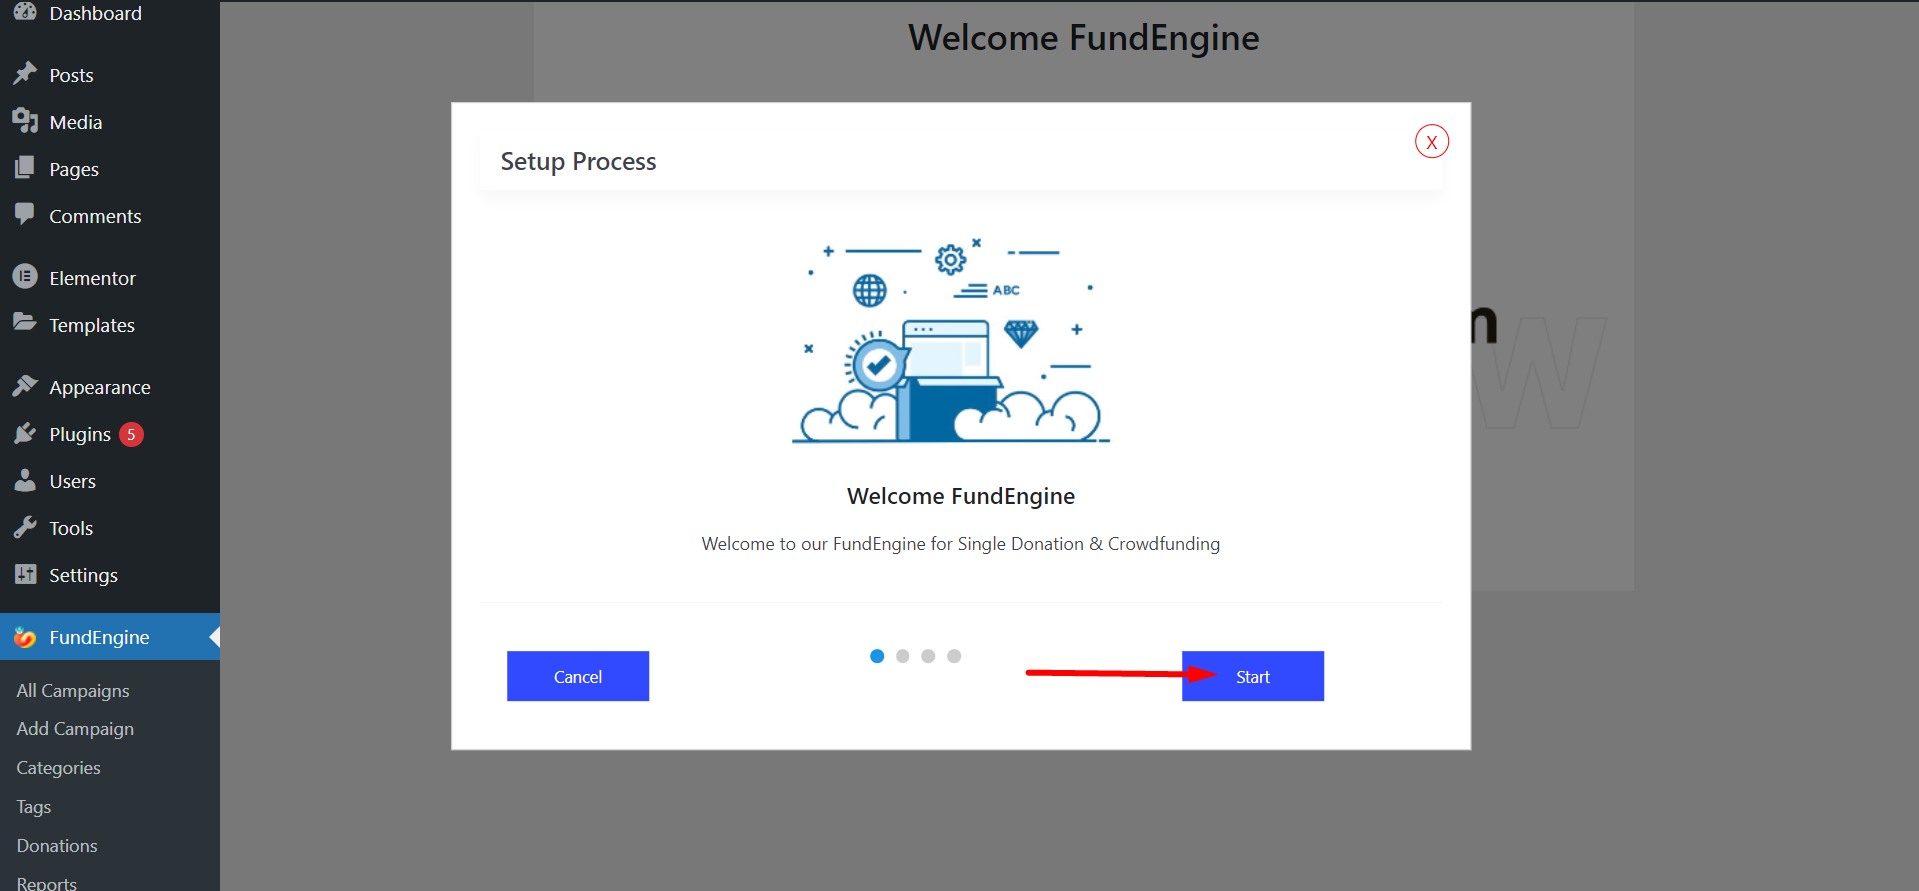
Click On Start
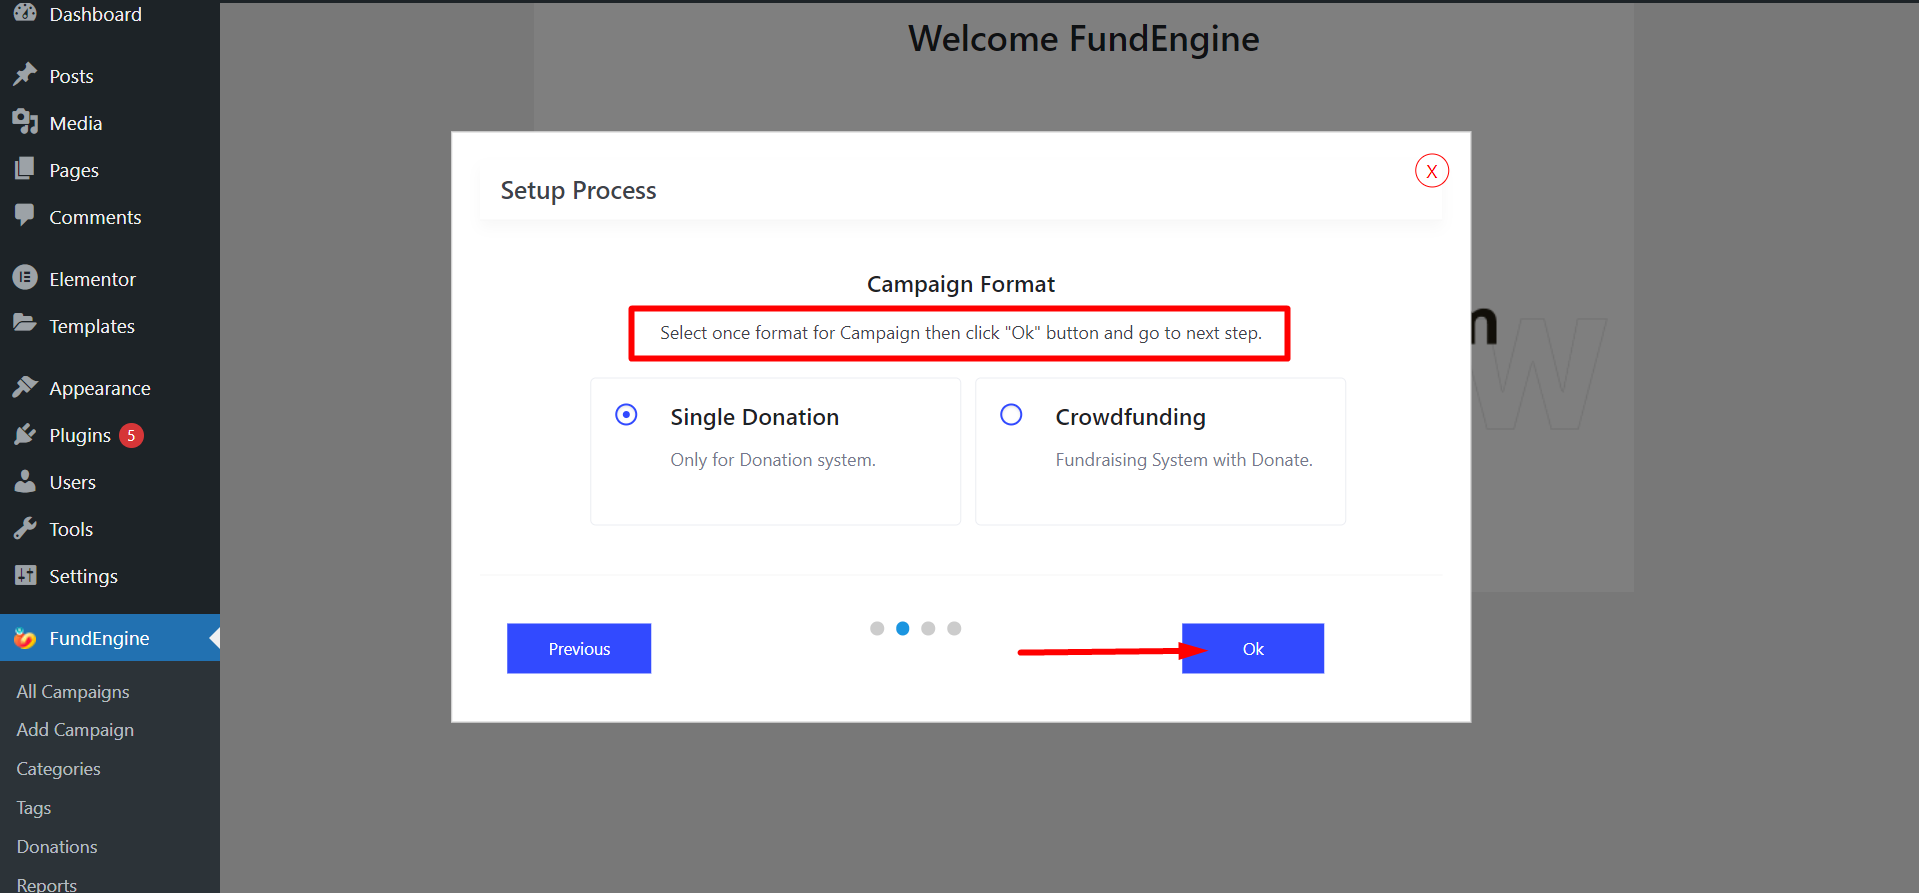
Choose a format and click on Ok
Now, choose a payment gateway and press Select

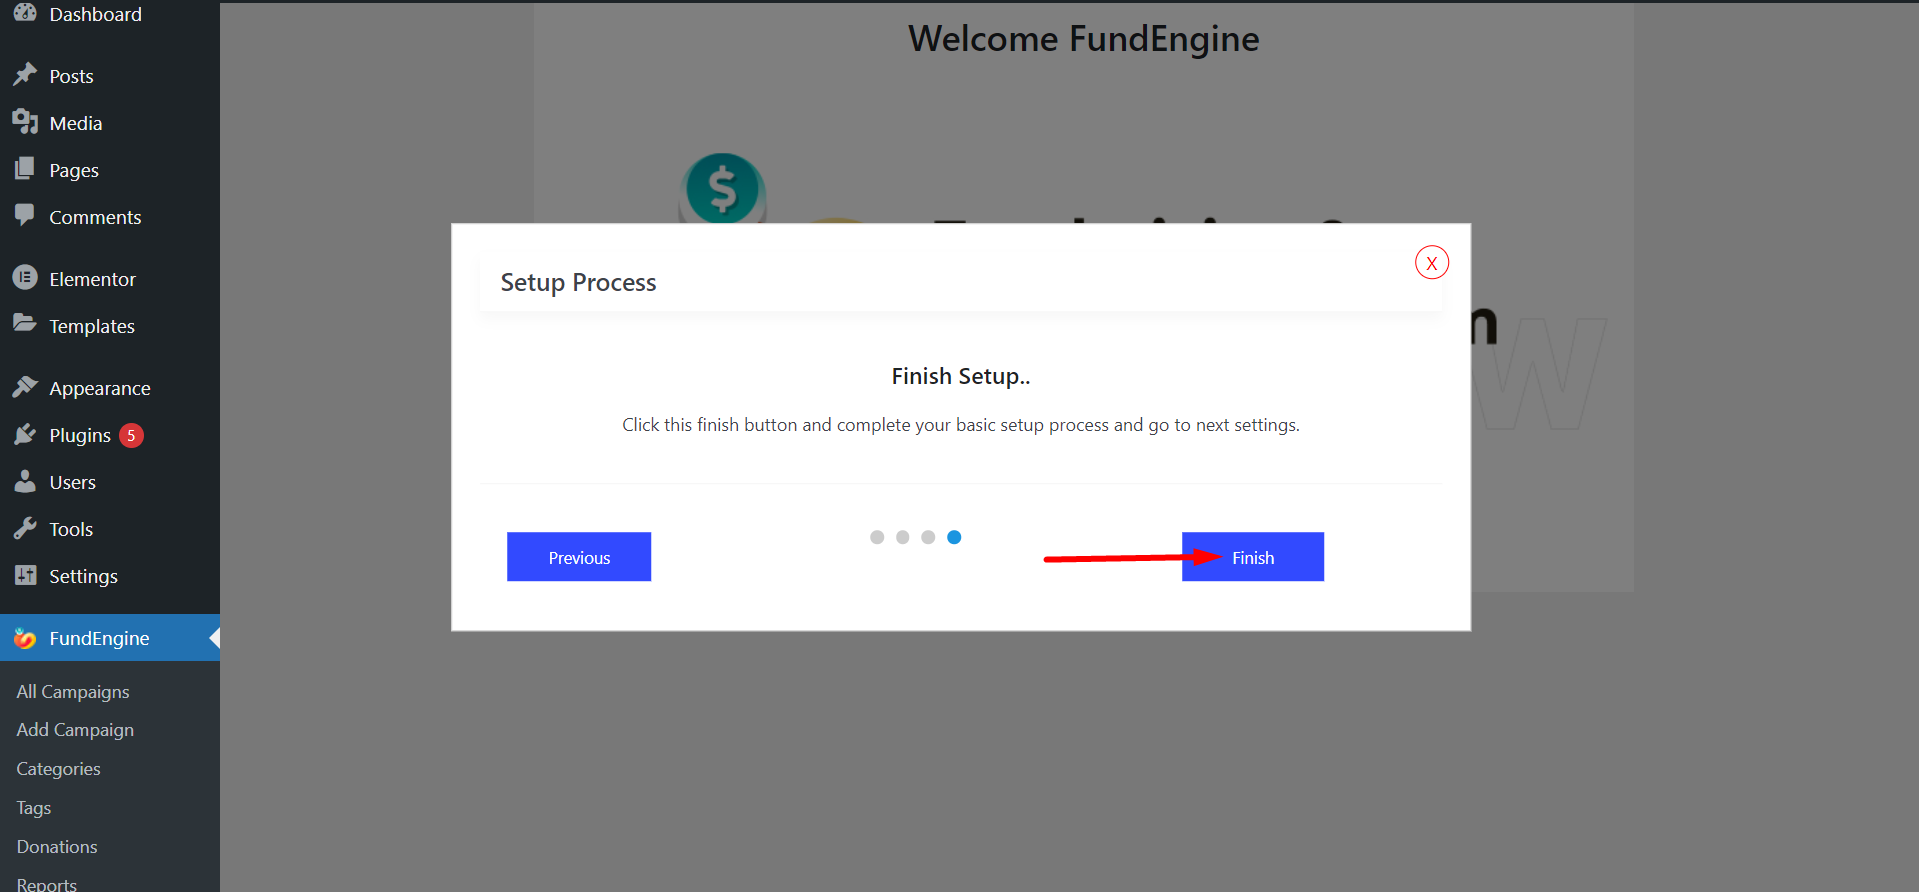
Finish the process by clicking Finish button.
This is how you can download, install, and activate the plugin easily and start working quickly.


