


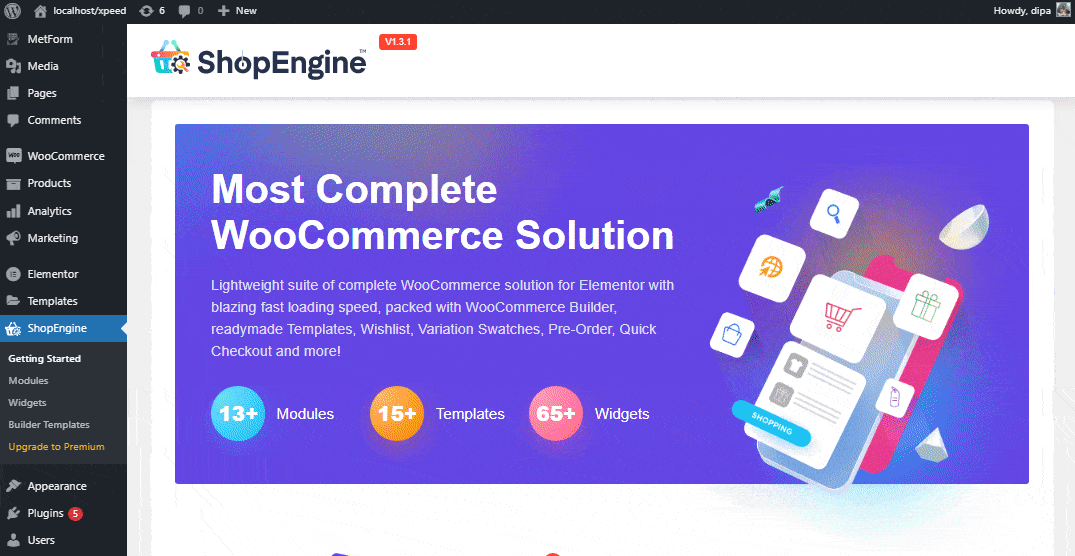
ShopEngine is designed with a powerful yet user-friendly dashboard for you. In this WooCommerce Dashboard, you will get all the necessary information and resource links. This includes Documentation, Video tutorial links, Official support channel links, Product comparison section, and many more.
Required Plugins: #
To use the ShopEngine plugin, you need to have to following plugins installed on your website:
- WooCommerce: Download Plugin
- Elementor: Download Plugin
Once you install the ShopEngine plugin, you will get access to the ShopEngine dashboard for WooCommerce.
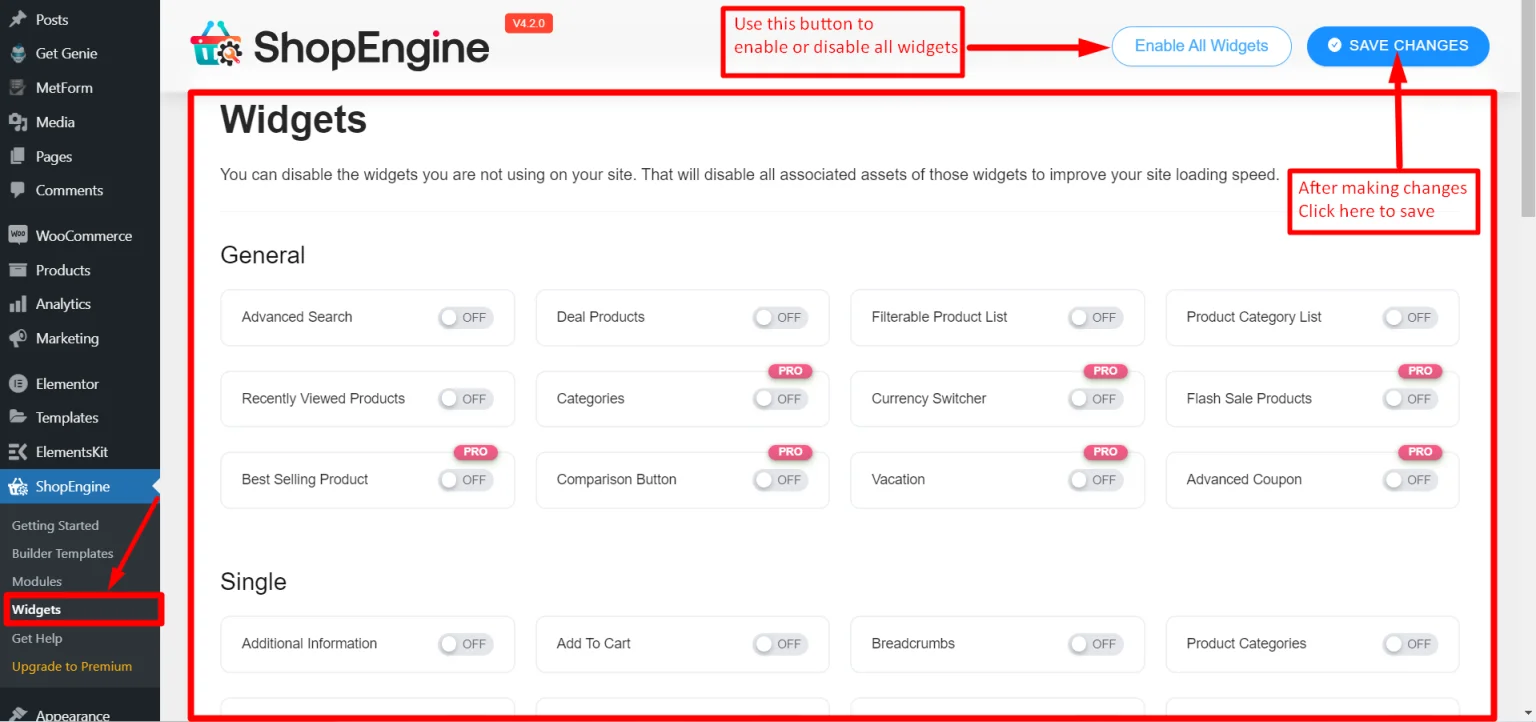
WooCommerce Widgets by ShopEngine #
Go to the ‘Widgets’ to check out all the available ShopEngine widgets. Here we have introduced the single widget activation or deactivation along with bulk activate and deactivate functionality. You can enable or disable all the widgets just in one click.
- Please make sure to click the save changes button to save your settings.
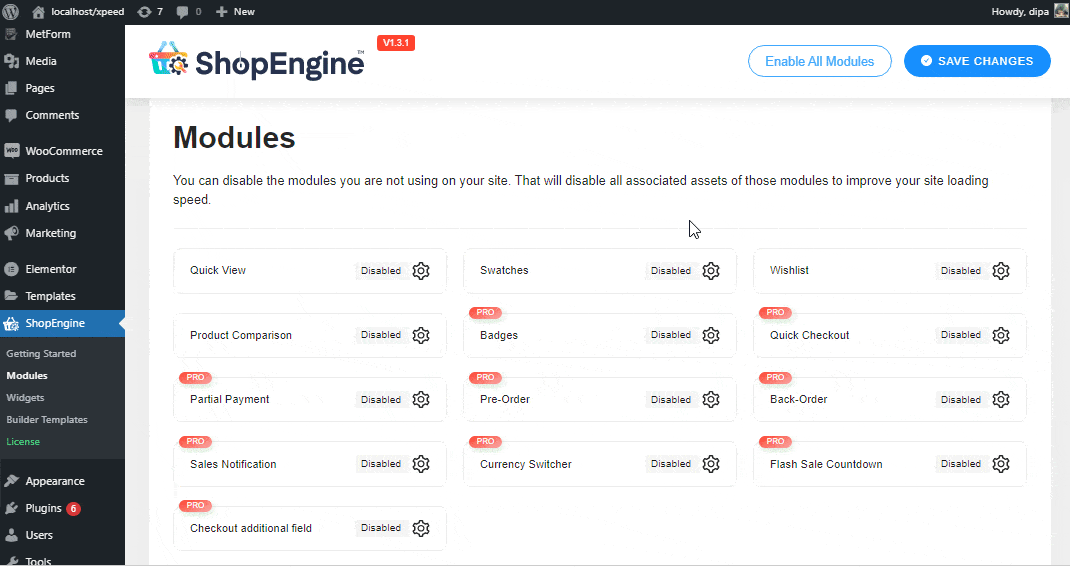
ShopEngine Modules for WooCommerce #
You can switch to the ‘Modules’ to check out all the available modules. You can use the toggle to enable or disable them as per your requirements. Click on Save Changes after every action.
Builder Templates in WooCommerce Dashboard #
From this ‘Template‘ section, you can visually design WooCommerce templates for different pages such as Single Product page, Shop Page, Archive page, My Account page, Checkout Page, Cart Page, Thank you page without any coding skills. To create your template:
- Go to Templates > Add New.
- Provide name-> Select your page type: For Ex: Shop.
- Enable Default Template Toogle-> Save Changes-> Now Click on Edit with Elementor.

That’s how you can install ShopEngine in your WooCommerce website simply and smoothly. Then, you can proceed to upgrade your WooCommerce website with ShopEngine.


