


In different events, stores often offer flash sales. It could increase your sale for events. To offer flash sale products, you need to integrate the feature for your WooCommerce store.
How to Add Flash Sale Products? #
It is easy to add flash sale products offer in your WooCommerce store using only ‘Flash Sale Products’ widget. To add flash sale products, follow the following simple steps –
Step 1: Enable Flash Sale Countdown Module #
To show the flash sale products, enable the Flash Sale module first as shown here.
Step 2: Choose the Page to Add Flash Sale Products #
Now, choose the page where you do want to add the flash sale products widget. For instance, you can select the shop page or single product page to show the flash sale products.
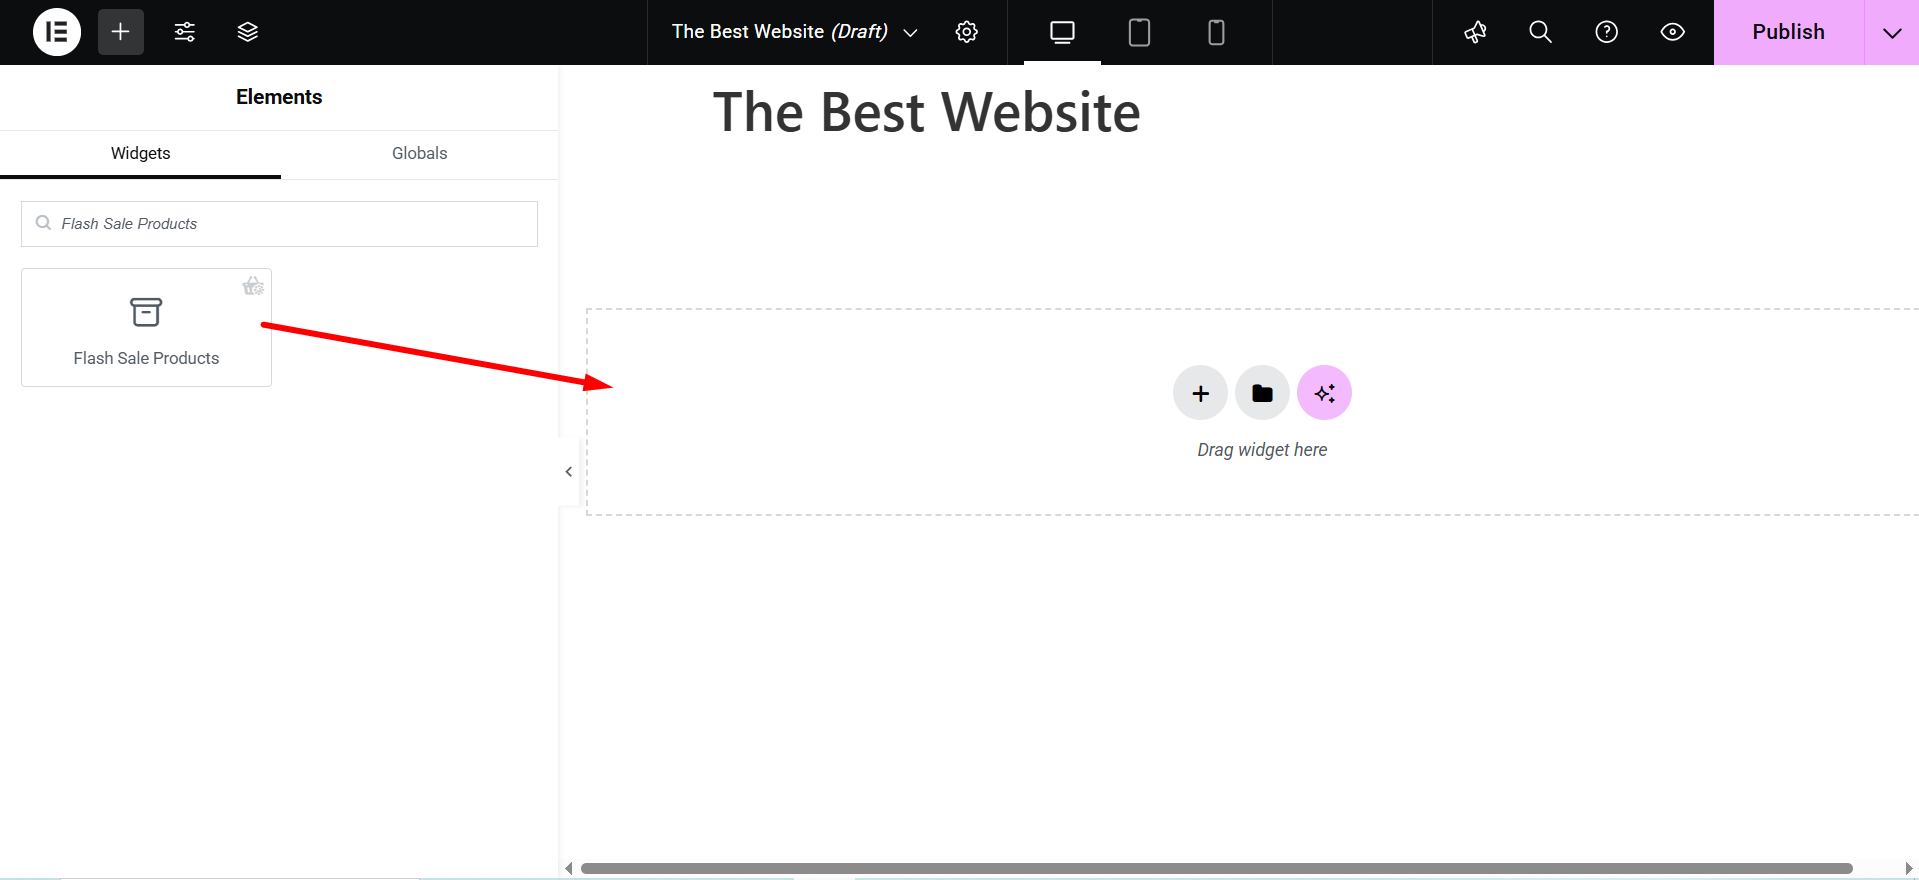
Step 3: Add Flash Sale Products Widget #
Now you will land on the default Shop page. In the widget bar, search for ‘Flash Sale Products’. You will see the widget in the list. Drag and drop the widget on the page.
Now you will see the campaign list in the widget option panel. Choose the Black Friday Campaign as we have selected it in the Flash Sale Countdown module.
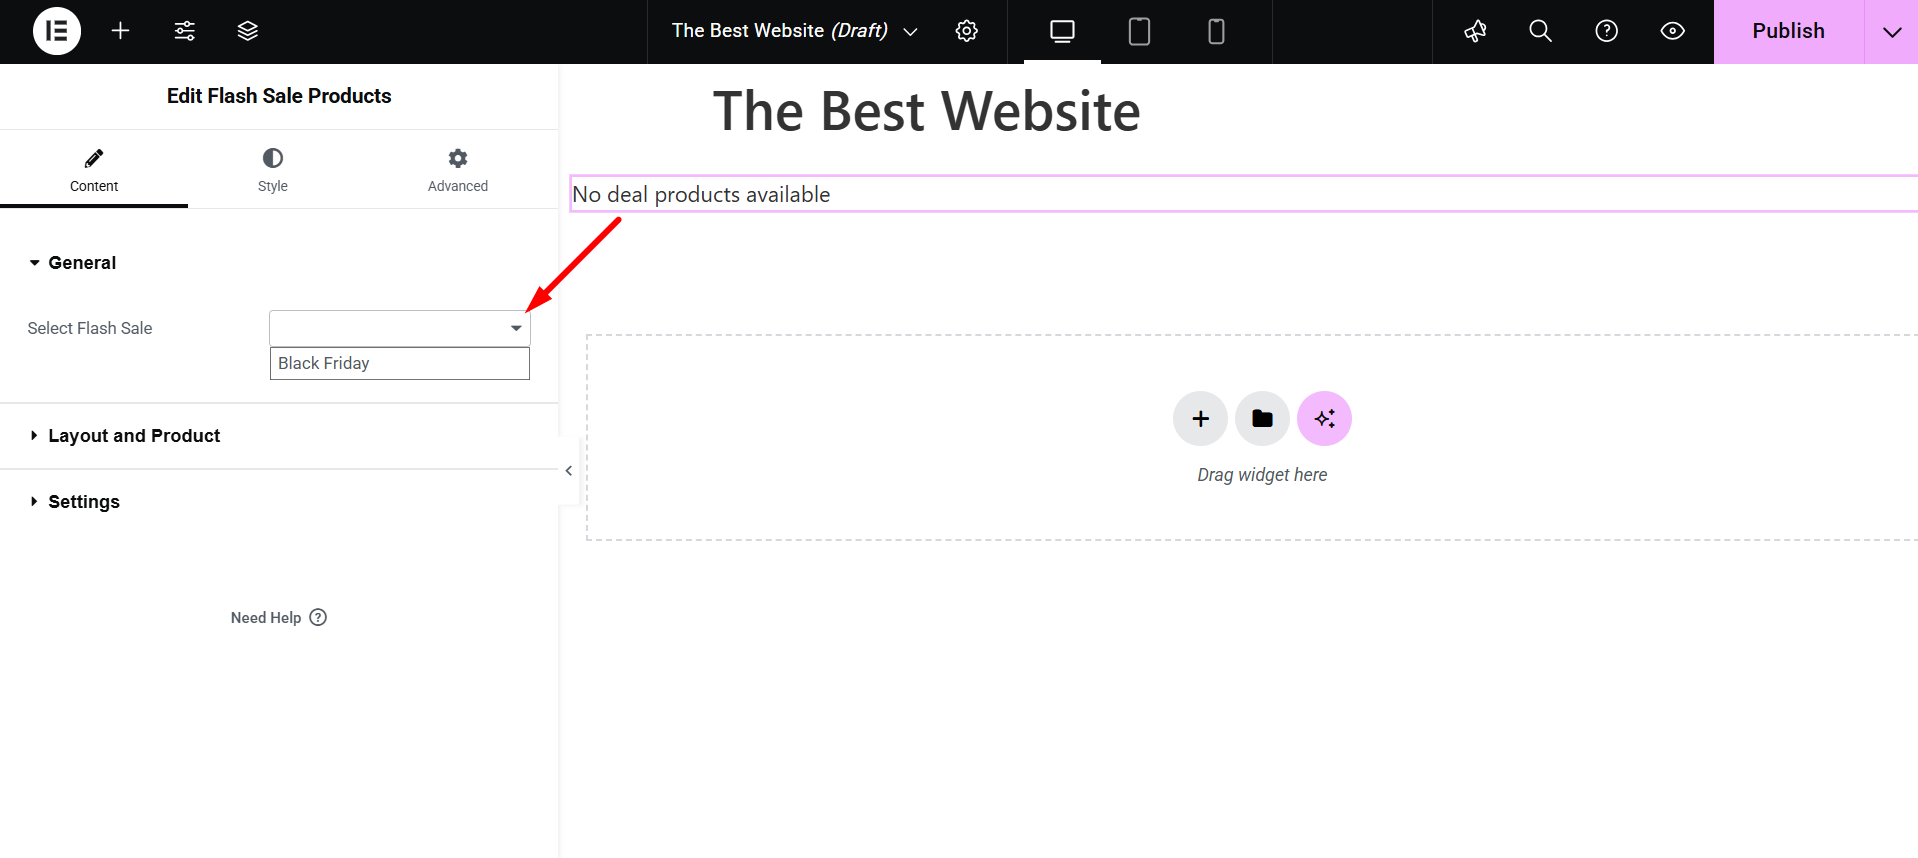
Once you select the campaign, it will show all the available products for flash sale.
Step 4: Customize the Widget Layout #
Now you can customize the layout of the flash sale products. Click on the edit icon on the top right.
You will see the options panel.
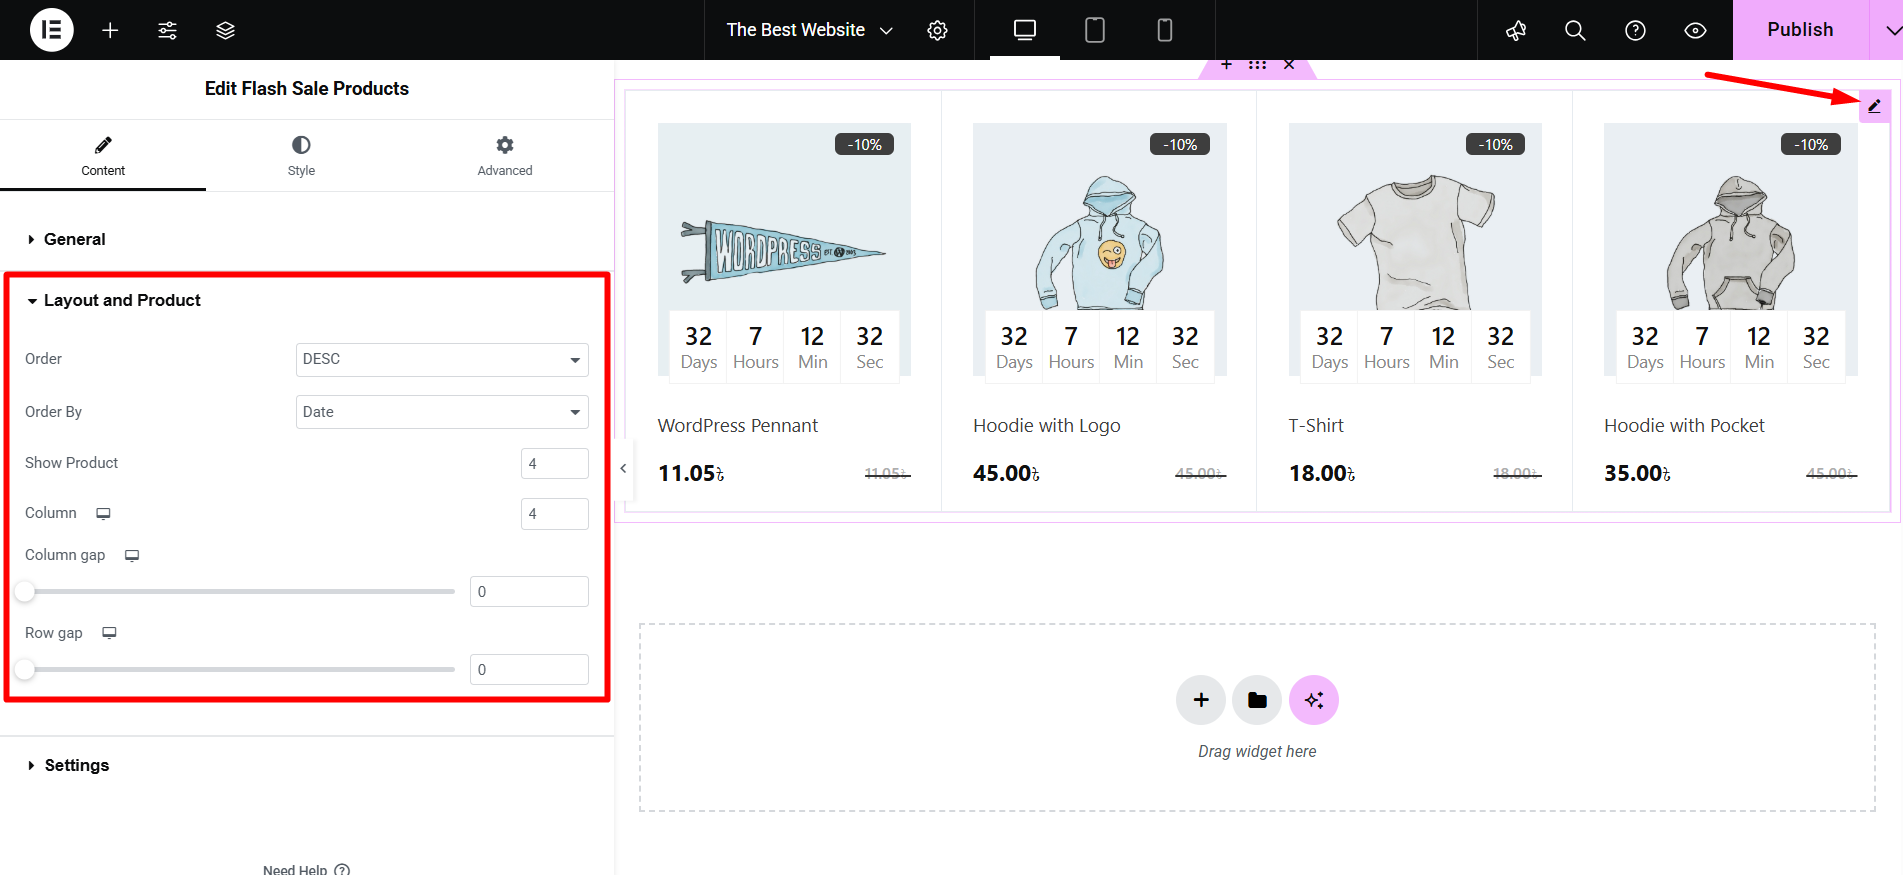
- Order: You can select ascending or descending order for the products
- Order By: Select the product order based on date, product ID, title, name, popularity
- Show Product: Choose how many products do you want to show
- Column: Select the number of columns for products
- Column gap: Customize the column gap from here
- Row gap: Customize the row gap from here
Step 5: Customize the Widget Settings #
You can also change the widget settings from the Widget settings option. Click on the settings tab of the widget. You will see the list of options to customize the widget settings.
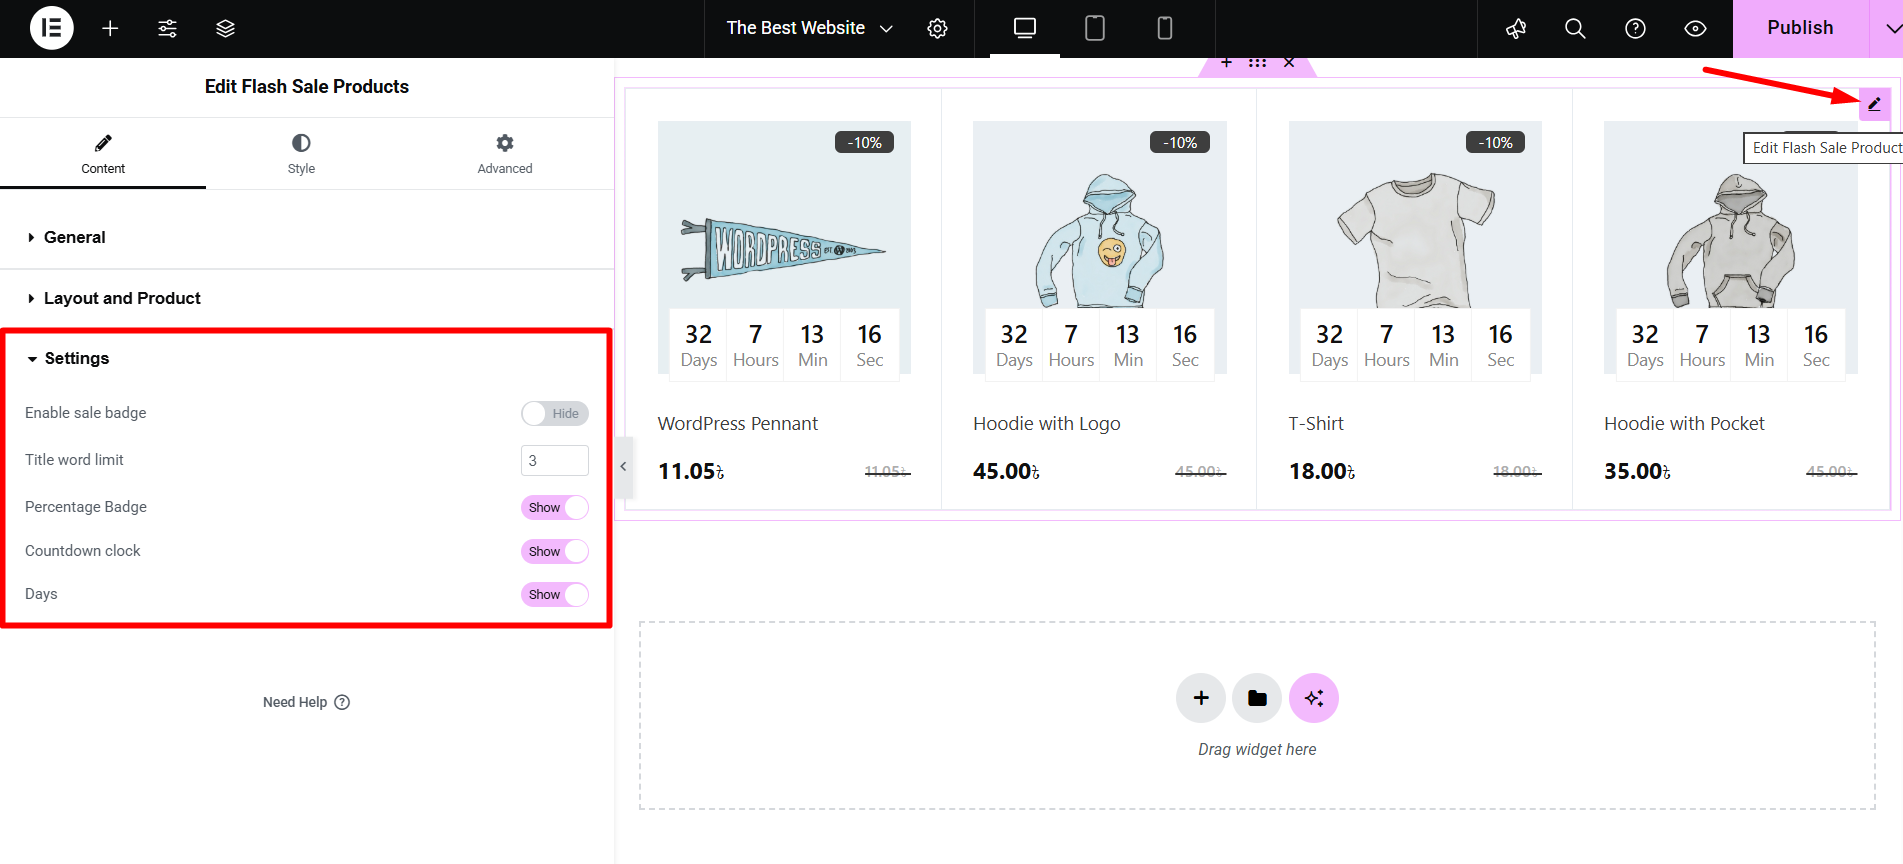
- Enable sale badge: Enable or disable sale badge
- Title word limit: Customize the title word number
- Percentage Badge: Hide or show the percentage badge
- Countdown clock: Show or hide countdown clock
- Days: Show or hide days count
For each changes, the layout of the shop page will have a different look.

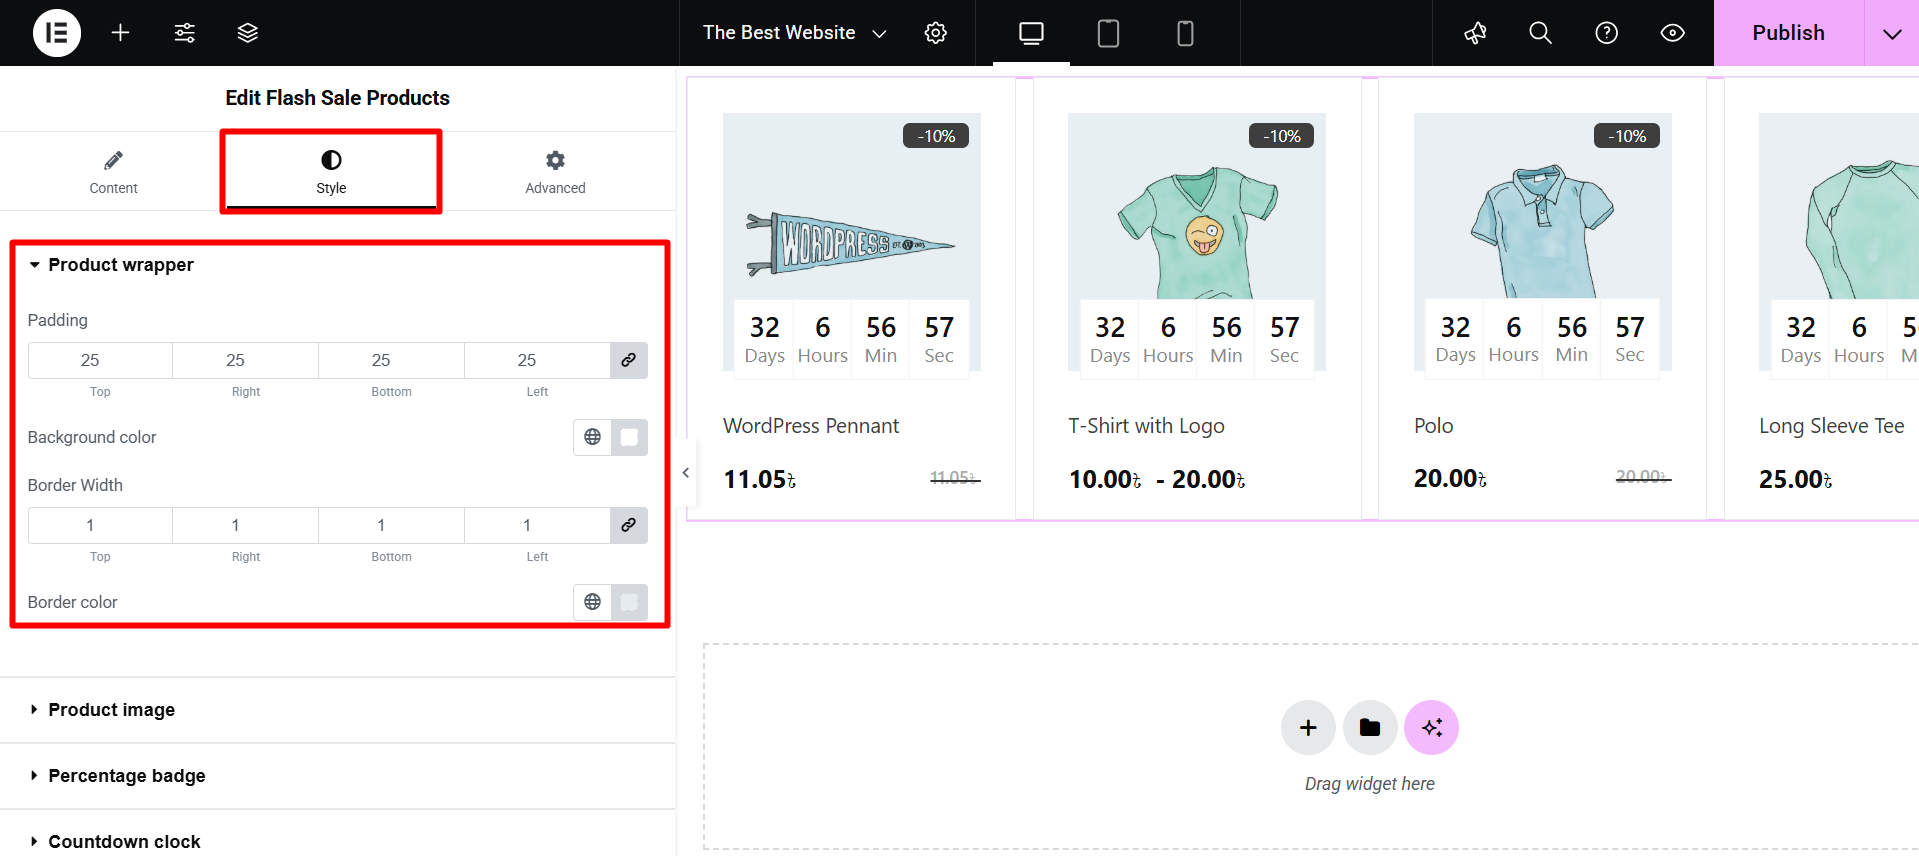
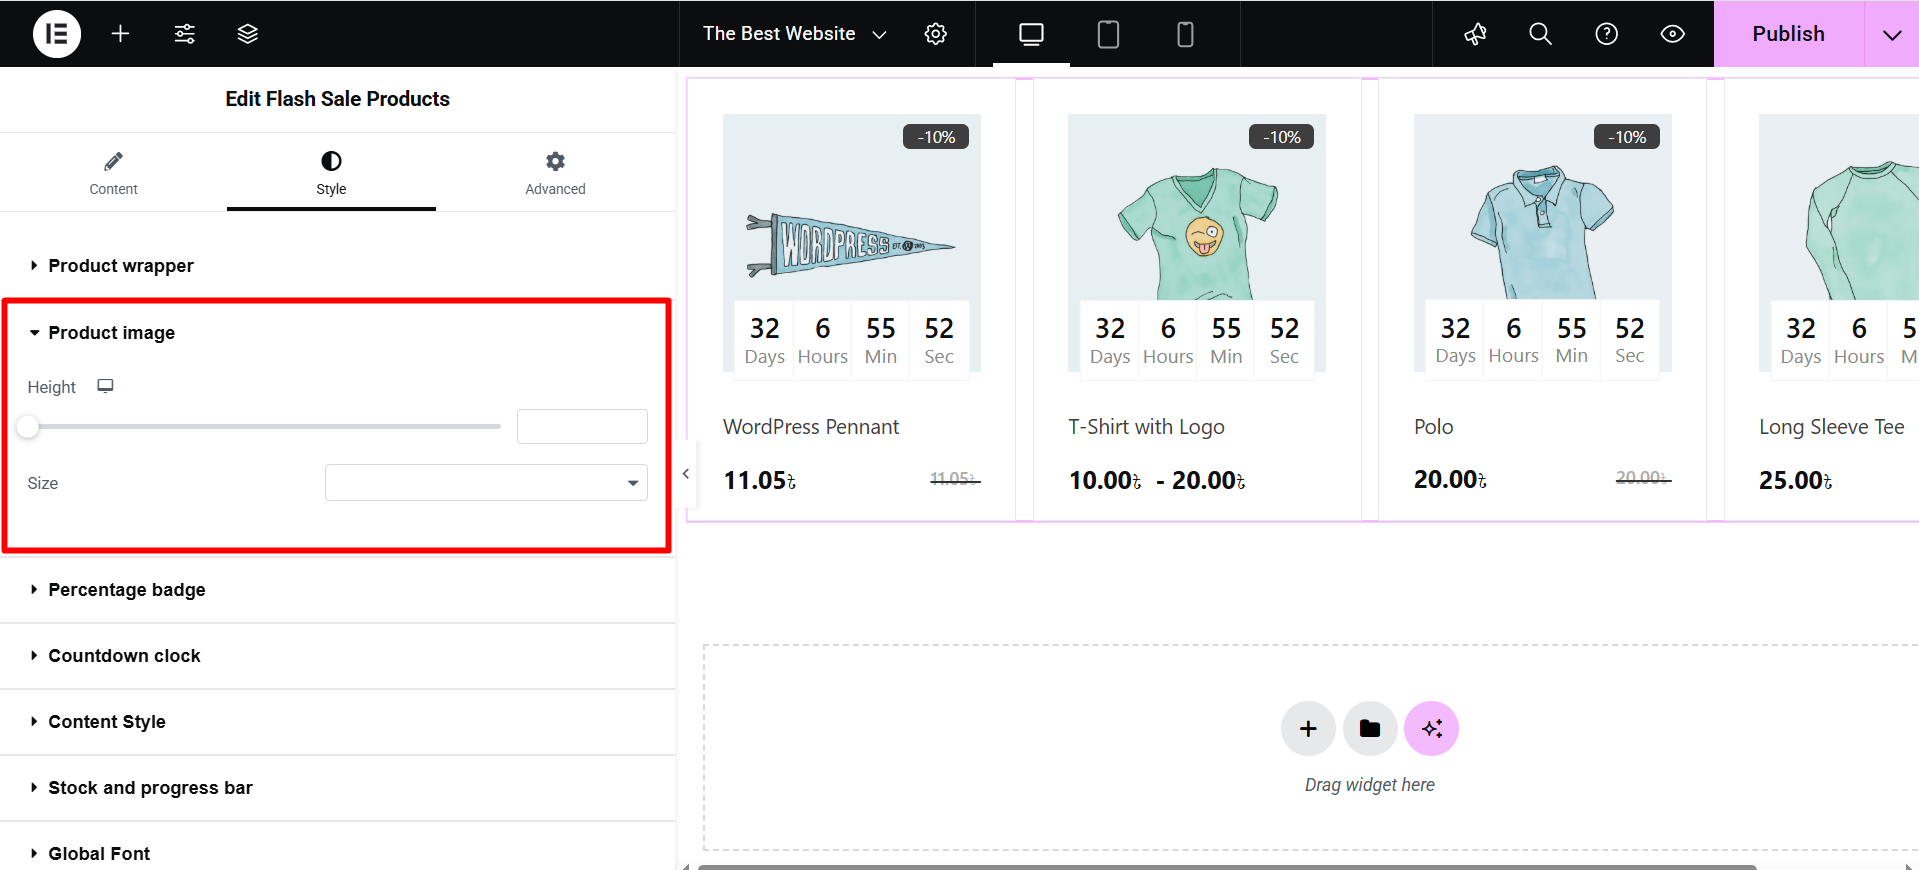
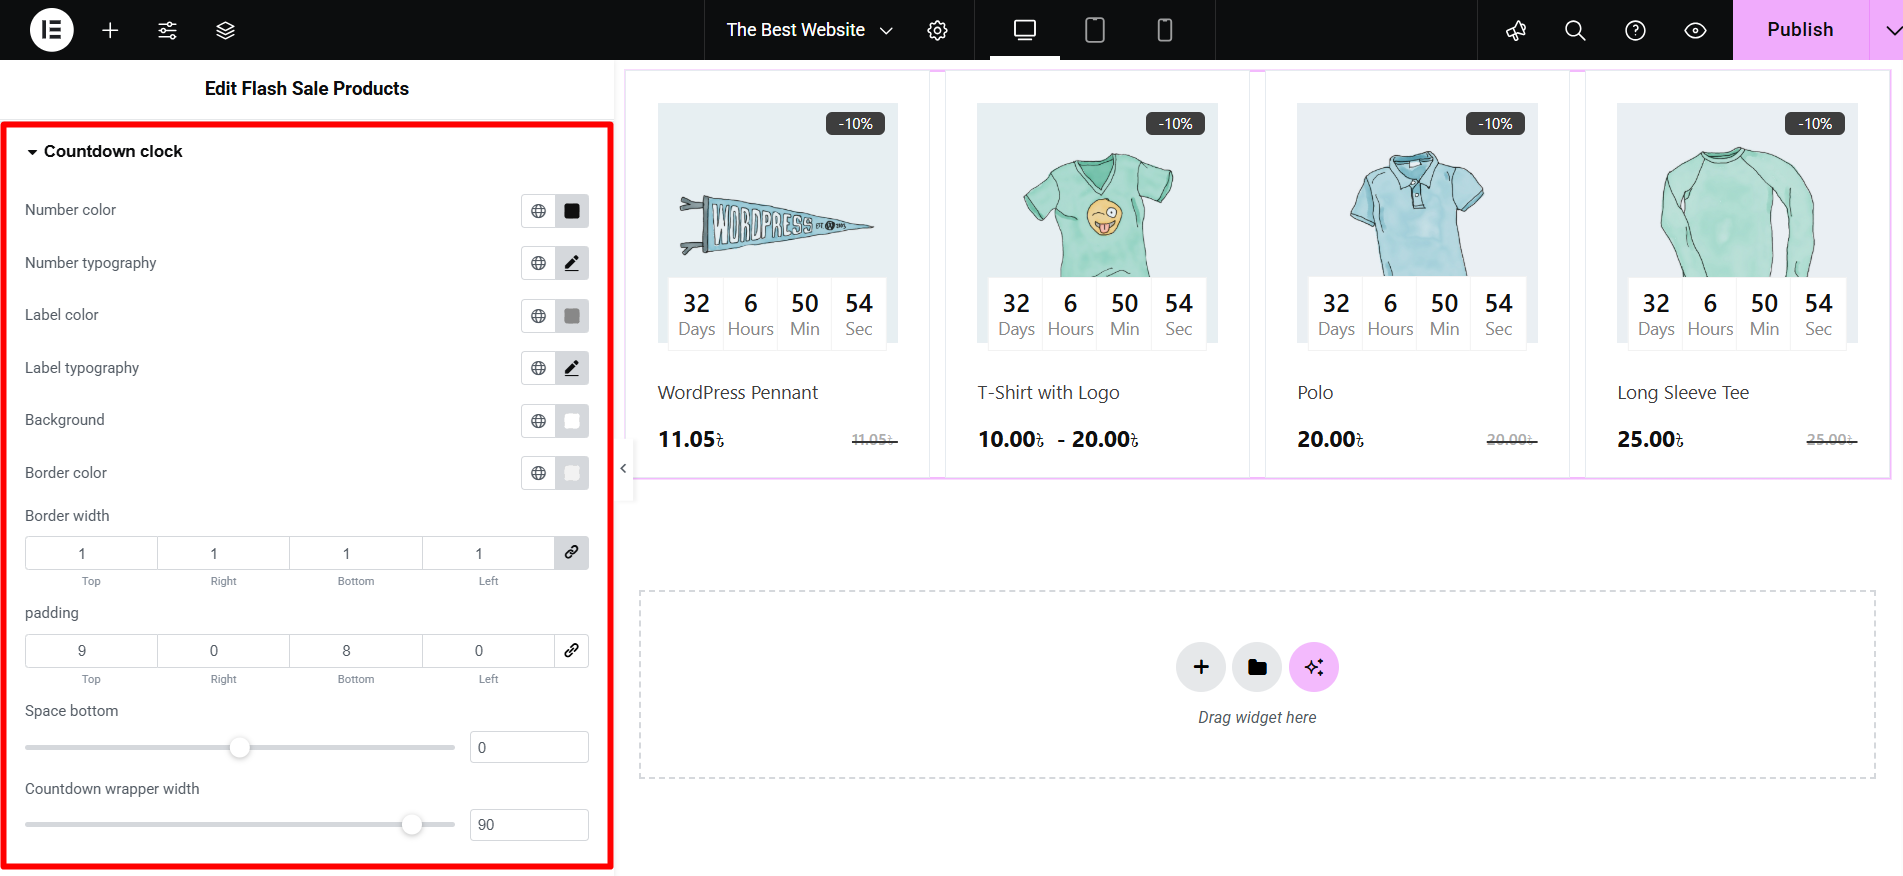
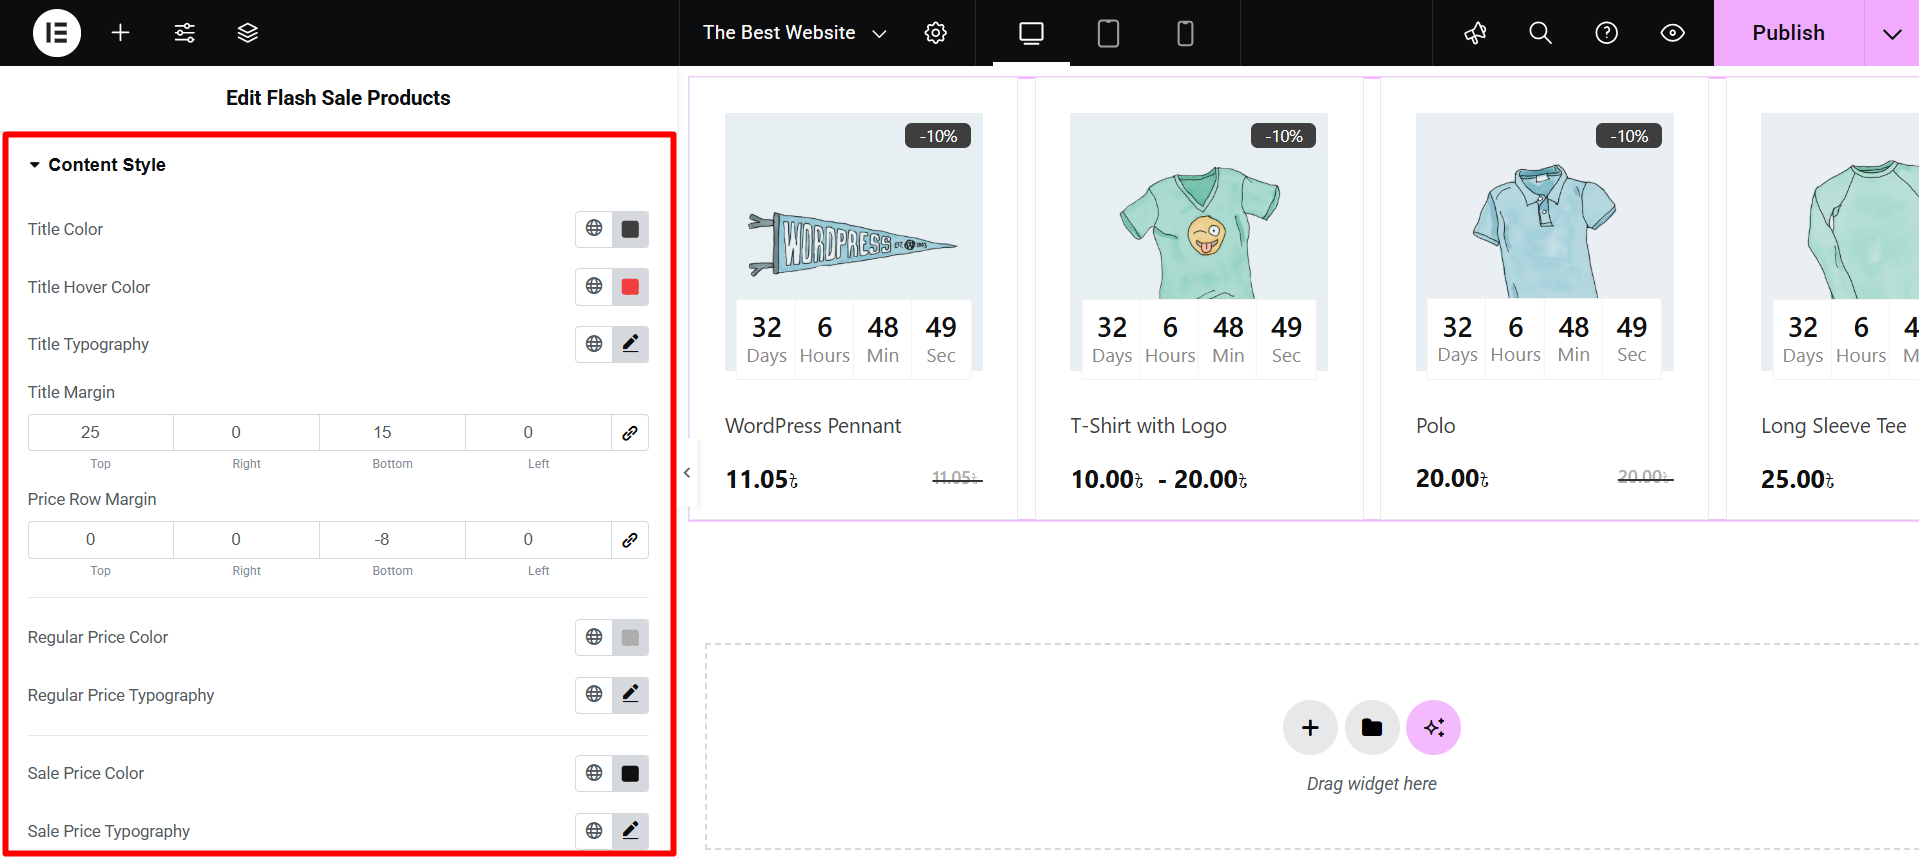
Step 6: Style the Widget Settings #
Product wrapper: Here, you can adjust the overall product box with options for Padding, Background color, Border Width, and Border Color.
Product Image: Lets you set the Height and Size of the product images displayed in the grid.
Percentage Badge: Customizes the discount badge (e.g., “-10%”) with settings for Padding, Border Radius, Position (top/left), Color, Background, and Typography.
Countdown Clock: You can style the timer with options for Number/Label Color, Typography, Background, Border, Padding, and wrapper Width.
Content Style: Controls the appearance of text and pricing, including Title Color and Typography, and separate settings for Regular and Sale Price Color/Typography.
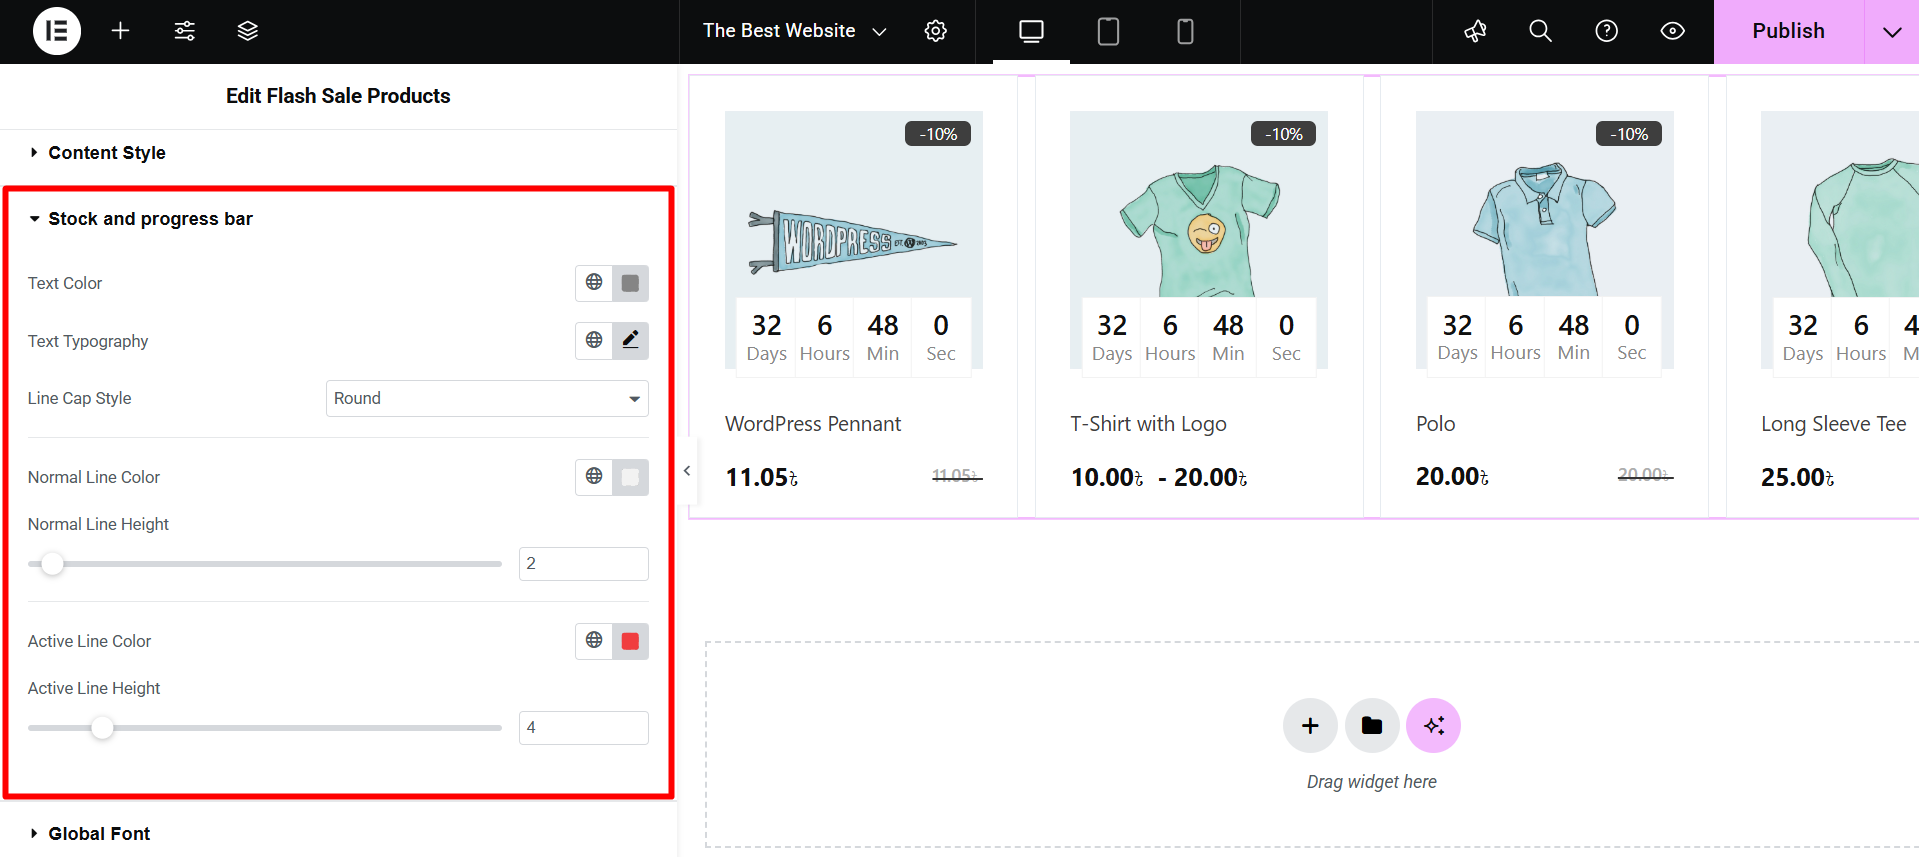
Stock and Progress Bar: Styles the inventory status display using Text Color/Typography, line cap style, and specific Color/Height for both the Normal and Active progress lines.
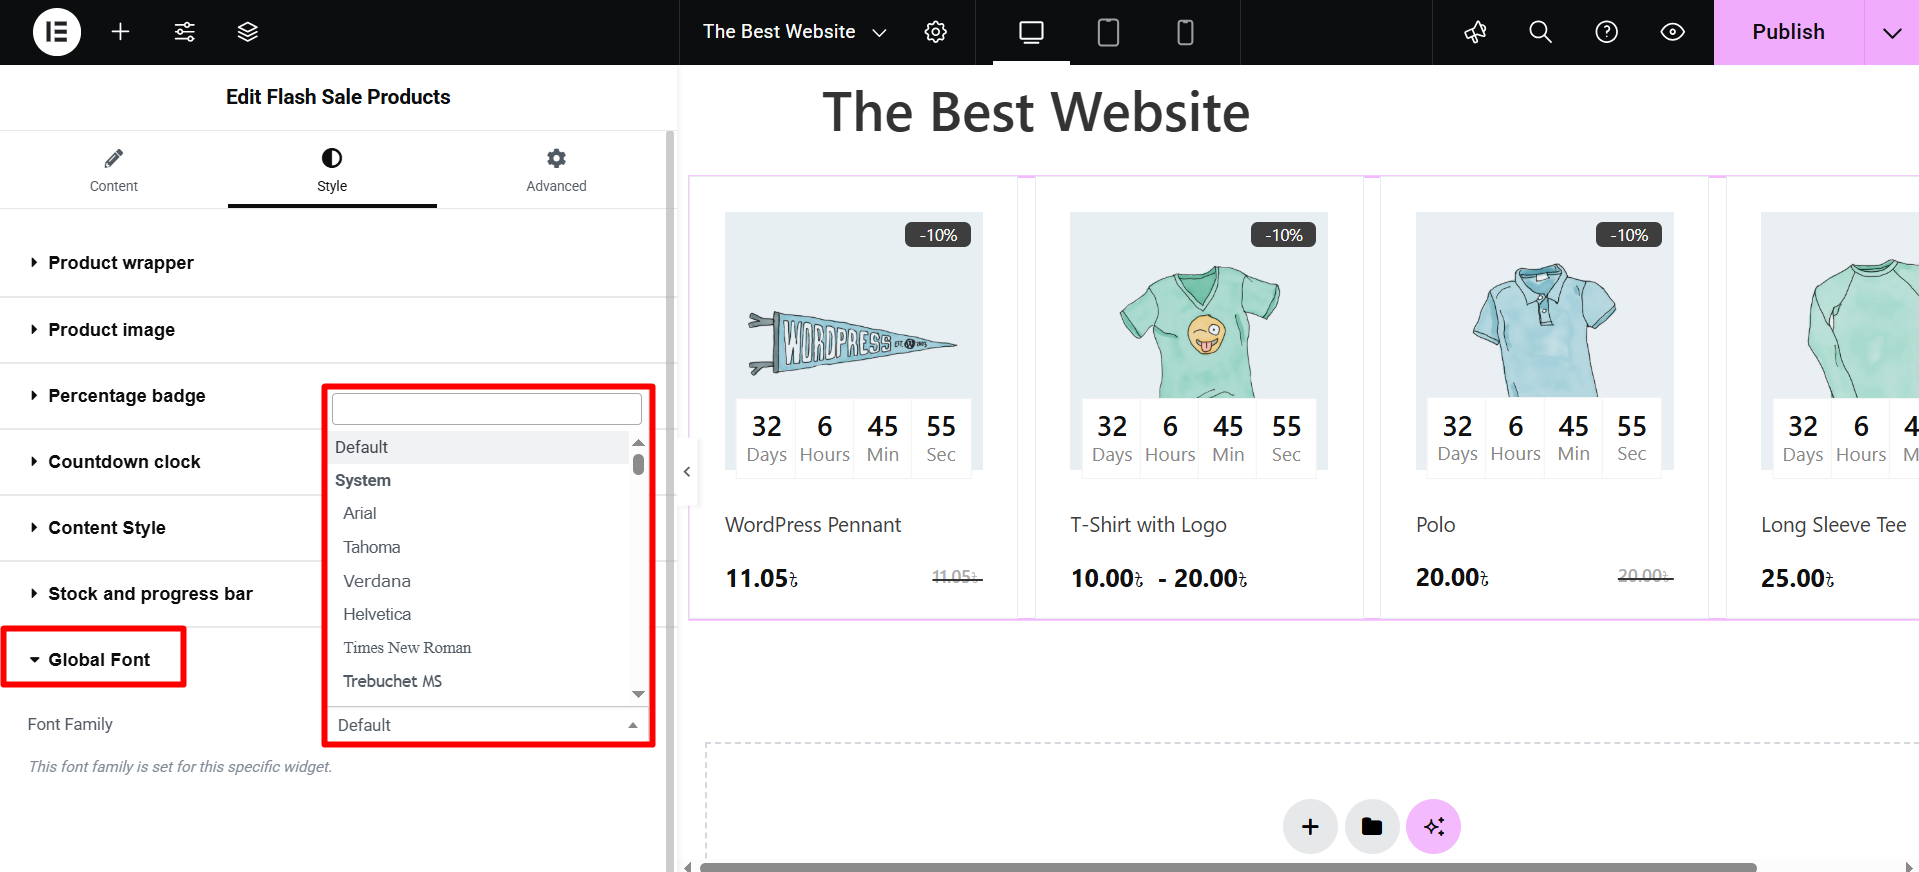
Global Font: Allows you to select a specific Font Family (e.g., Arial, Verdana) to apply to the entire widget.
Once the customization for the widget, check the preview and update the page.


