The advanced WooCommerce builder ShopEngine is now offering the most demanded feature ‘Conditional Template’. Now you can set distinct page layouts for different categories of products on the shop page and archive page.
Here you will learn how to set conditional templates with ShopEngine.
Setup Conditional Template for ShopEngine #
ShopEngine offers a wide range of templates for the shop page and archive page. Now you can use different templates for different categories of products.
To add a template for a particular product category, go to your WordPress Dashboard > Builder Templates > Add new.
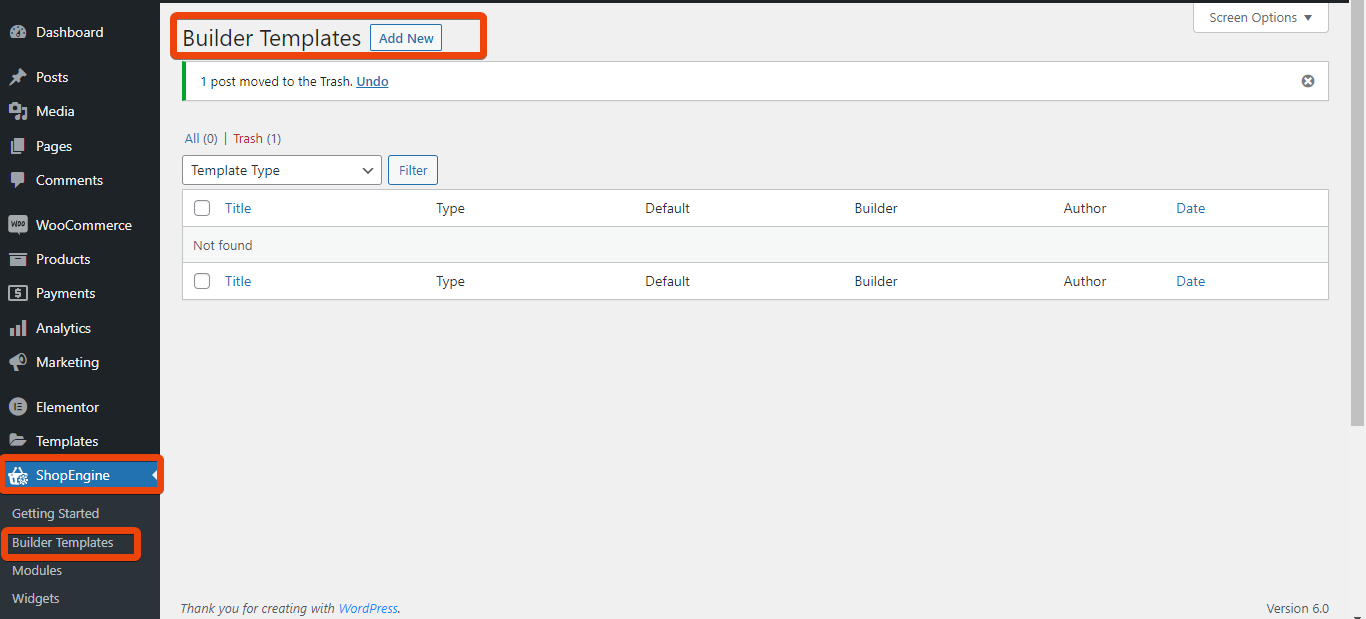
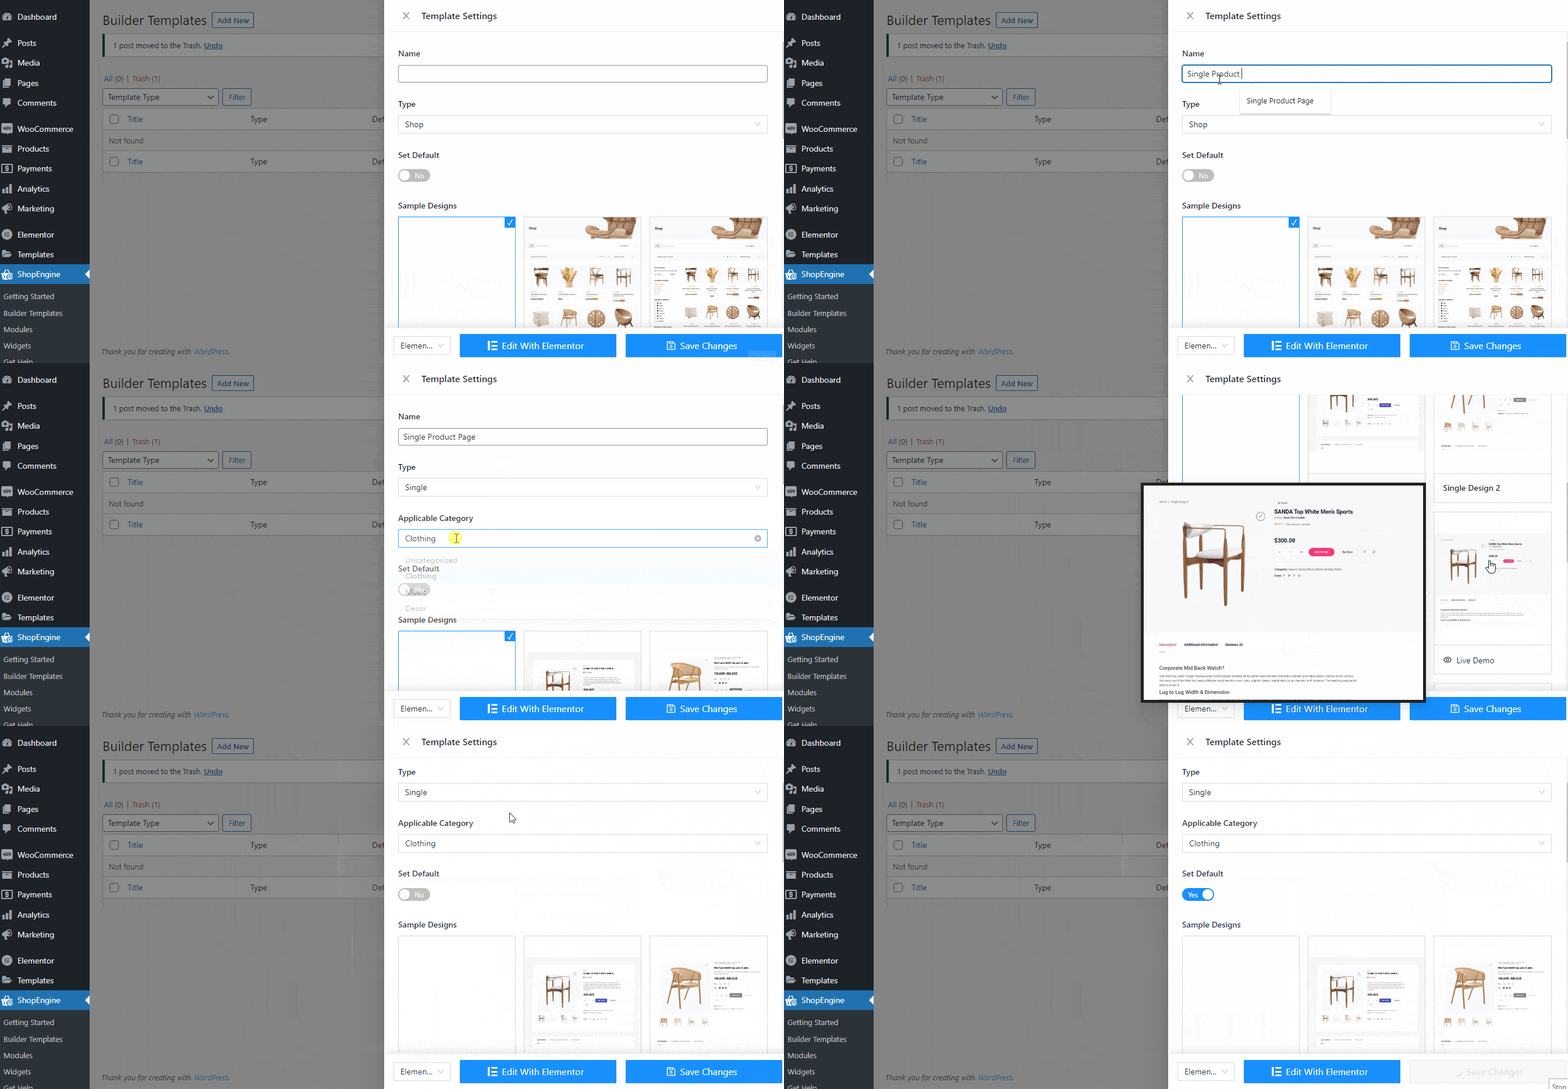
Now if you want to add a conditional template for a single product, select ‘Single’ as the type of builder template. Then give the page a name on the top.
After that, from the tab ‘Applicable Category’ choose the category for which you want to show the template. You will see all the available categories in the drop-down list.
For instance, here I have selected the ‘Clothing’ category. Now go through all the available templates for the Single page and select the one that you like most.
Select the page as default and save the changes.
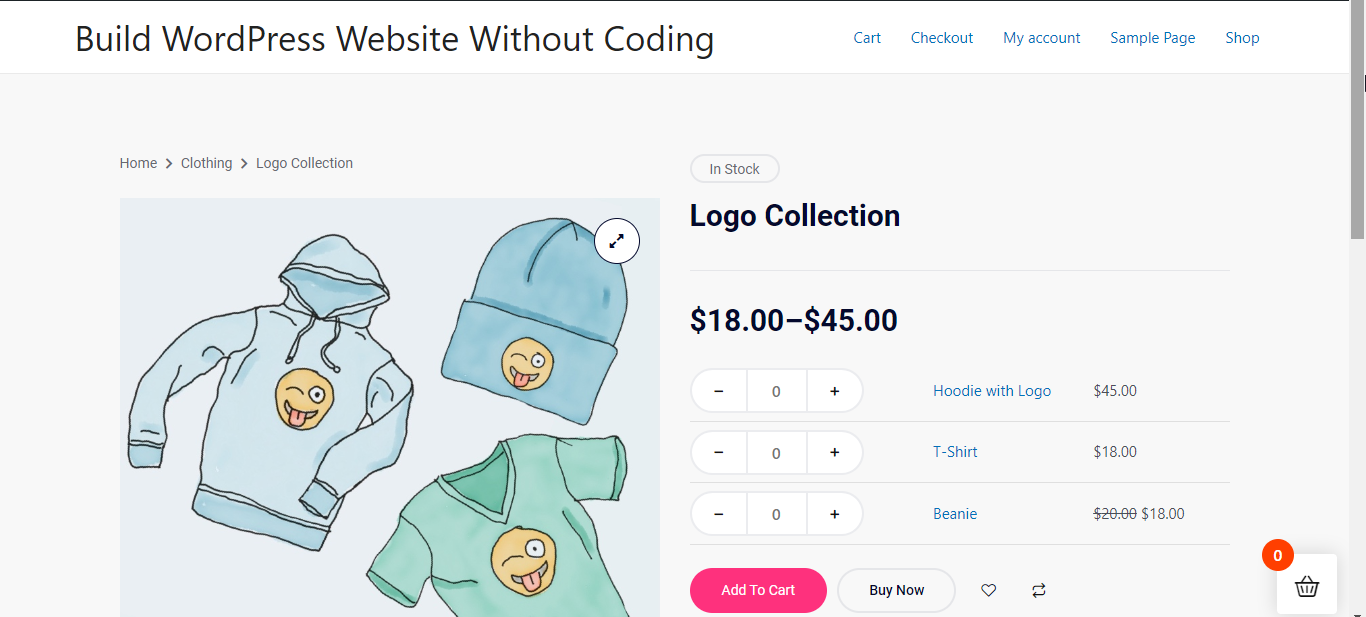
If a customer visits a product page from the ‘Clothing’ category, he will see your selected template layout.
You can similarly set a particular type of template for other categories.
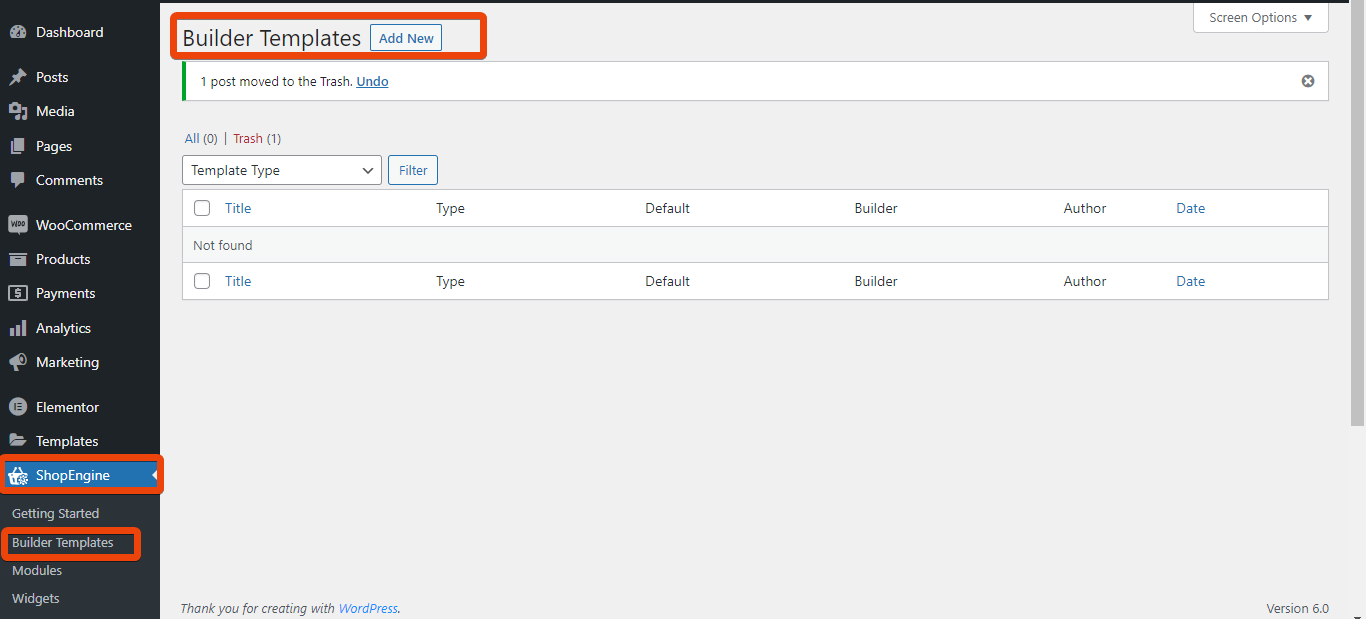
Now let’s say you want to set the conditional template for the archive page. For this, go to WordPress Dashboard > Builder Templates > Add new.
From the available template list, select ‘Archive’ as the type of builder template. Like a single product page, give the name for the product page and then choose the applicable category. For instance, you can choose ‘music’ as the category.
Go through the available layouts for the archive page and select one that you want to show for your selected category.
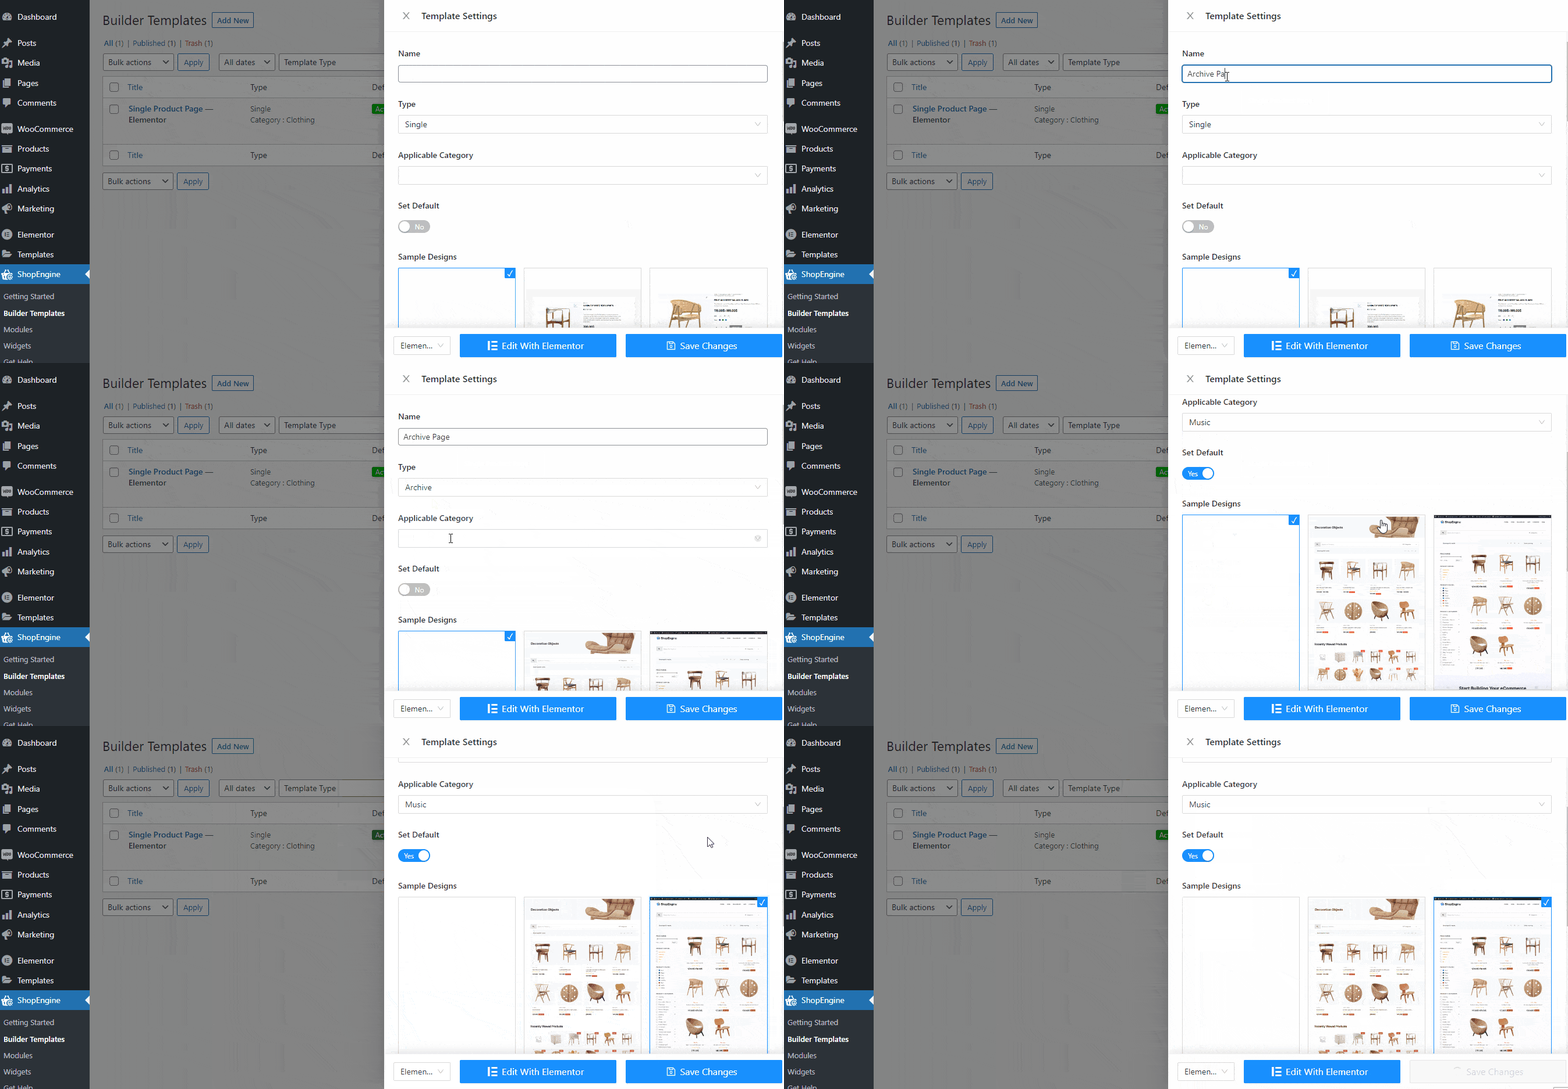
If a customer visits the archive page of that particular category, he/she will see the selected template.


