
 German
  English
  Spanish
  Italian
  French
  Danish
  Portuguese
  Swedish
  Polish
  Korean
  Japanese
 Morphing bedeutet, ein Bild oder eine Form in ein anderes zu verändern oder zu verwandeln. Es handelt sich um einen Spezialeffekt bei Filmen und Animationen, der ihnen einen makellosen Übergang verleiht. Um Ihrem Website-Bild einen besonderen Effekt zu verleihen, präsentiert Ihnen ElementsKit einen vollständig anpassbaren Widget-Namen Bild-Morphing.
In dieser Dokumentation erfahren Sie, wie Sie das ElementsKit Image Morphing-Widget verwenden und die Bilder Ihrer Website ansprechender gestalten.
Anpassung des Bild-Morphings #
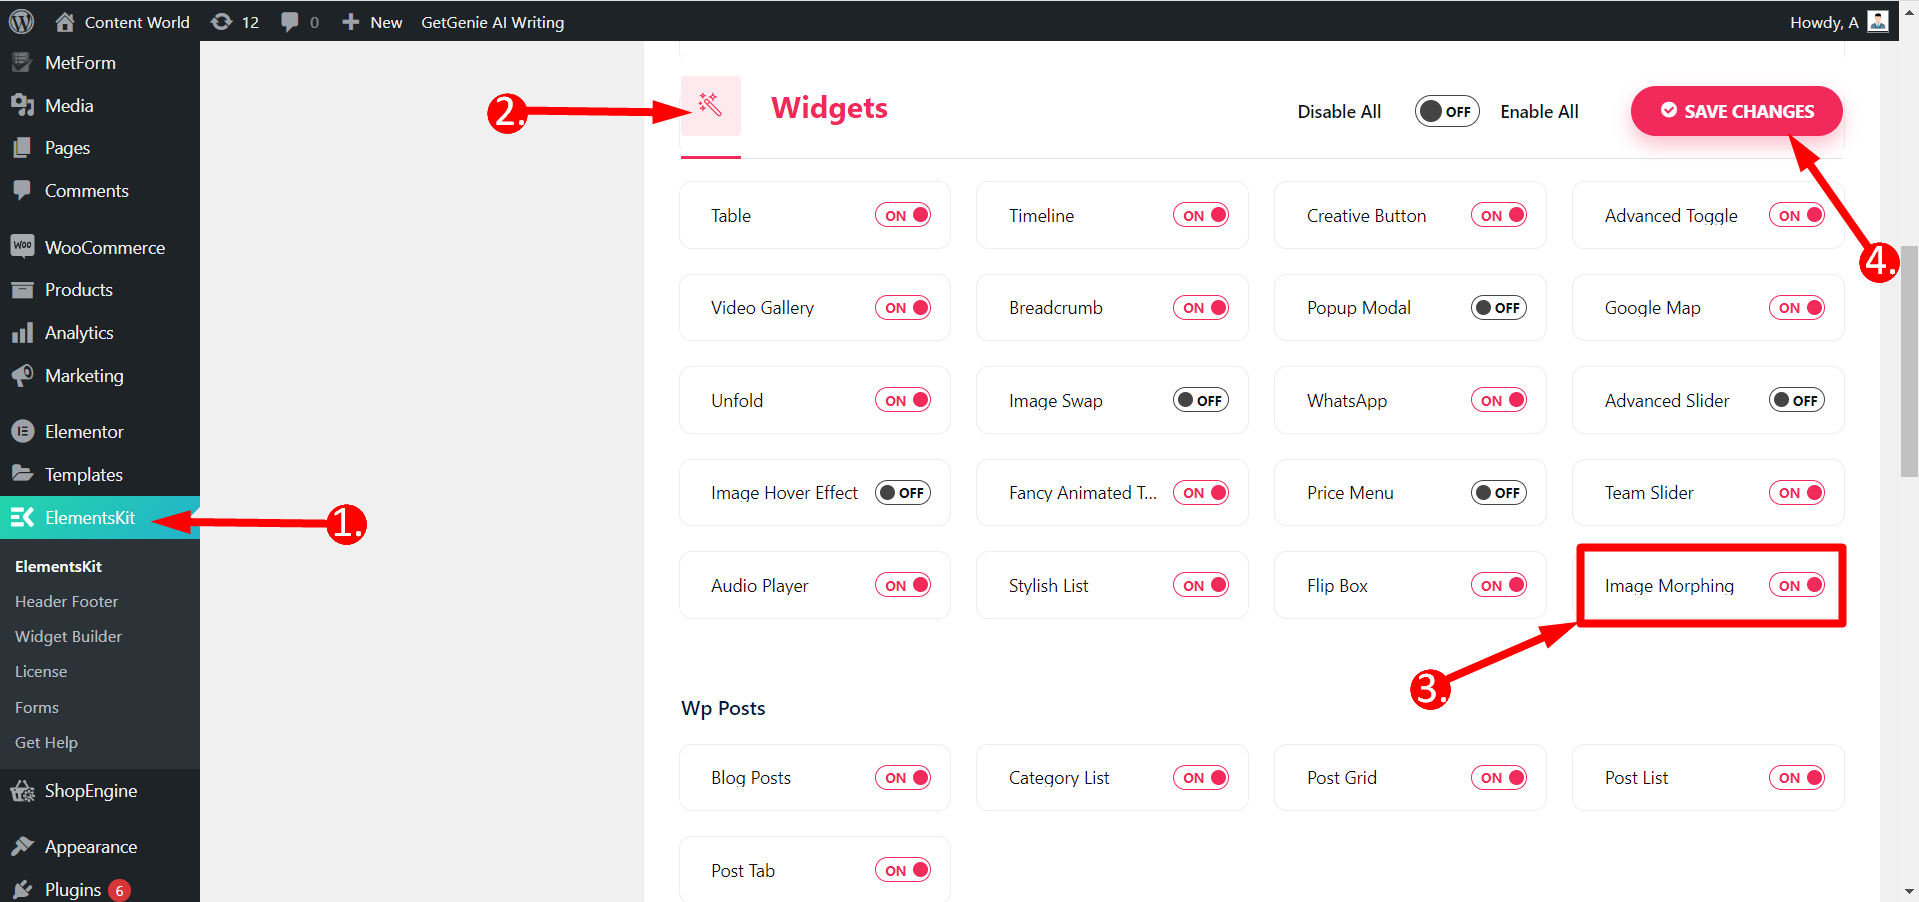
Sie benötigen ElementsKit Pro, um das Widget verwenden zu können. Und beginnen Sie mit dem Einschalten des Widgets über das Dashboard.
Widget aktivieren #
Gehen Sie zu Ihrem WordPress-Dashboard ⇒ 1. Suchen Sie nach ElementsKit ⇒ 2. Klicken Sie auf Widgets ⇒ 3. Aktivieren Sie das Image Morphing-Widget ⇒ 4. Speichern Sie die Änderungen
FVon Ihrem Dashboard aus ⇒ Erstellen Sie eine Seite oder bearbeiten Sie eine alte Seite ⇒ Bearbeiten Sie sie mit ElementsKit ⇒ Suchbild-Morphing-Widget ⇒ Ziehen Sie es einfach per Drag & Drop
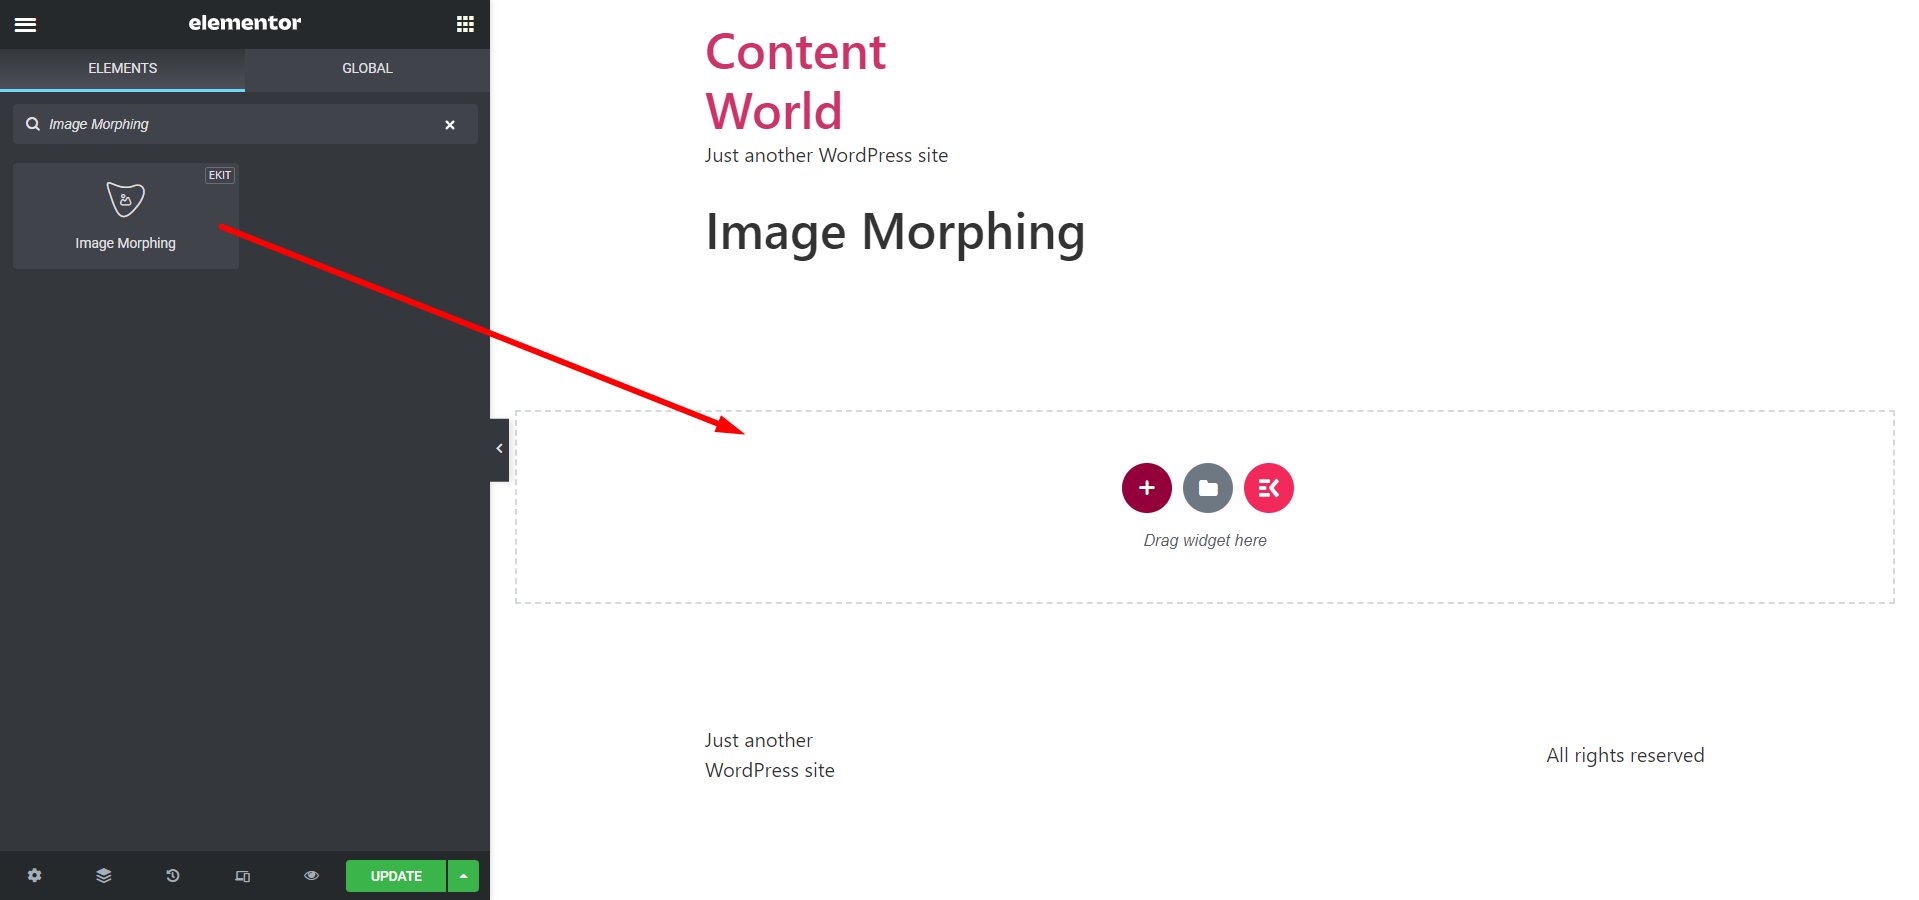
Inhalt #
- Wählen Sie den Effekttyp aus. Wählen Sie den Effekt aus Bild, Farbe und Verlaufsfarbe Optionen.
- Bildgröße- Wenn Sie „Bild“ auswählen, können Sie in diesem Feld die Bildgröße anpassen.
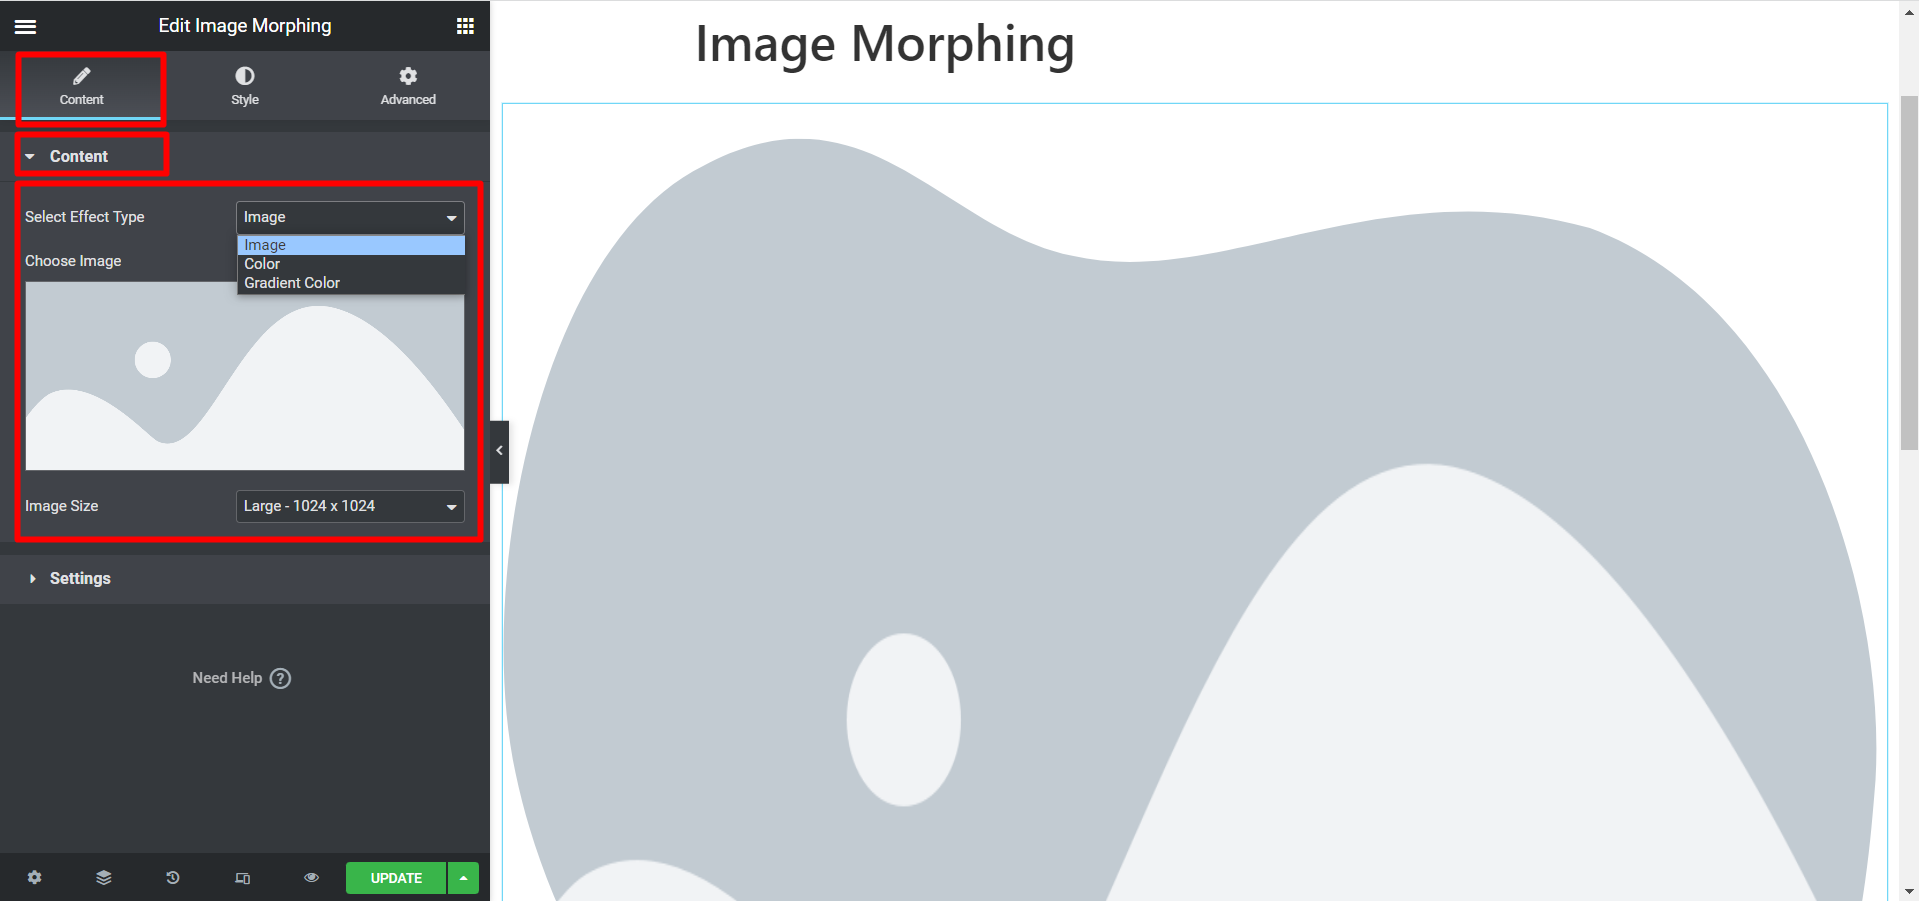
- Schlaganfall anzeigen- Wenn du wähle eine Farbe dann ermöglicht Ihnen dieses Feld dies Strich anzeigen oder ausblenden.
- Wenn du Wählen Sie eine Verlaufsfarbe Als Effekttyp haben Sie dann die Optionen zur Positionsanpassung: Position X1, Position X2, Position Y1 und Position Y2.
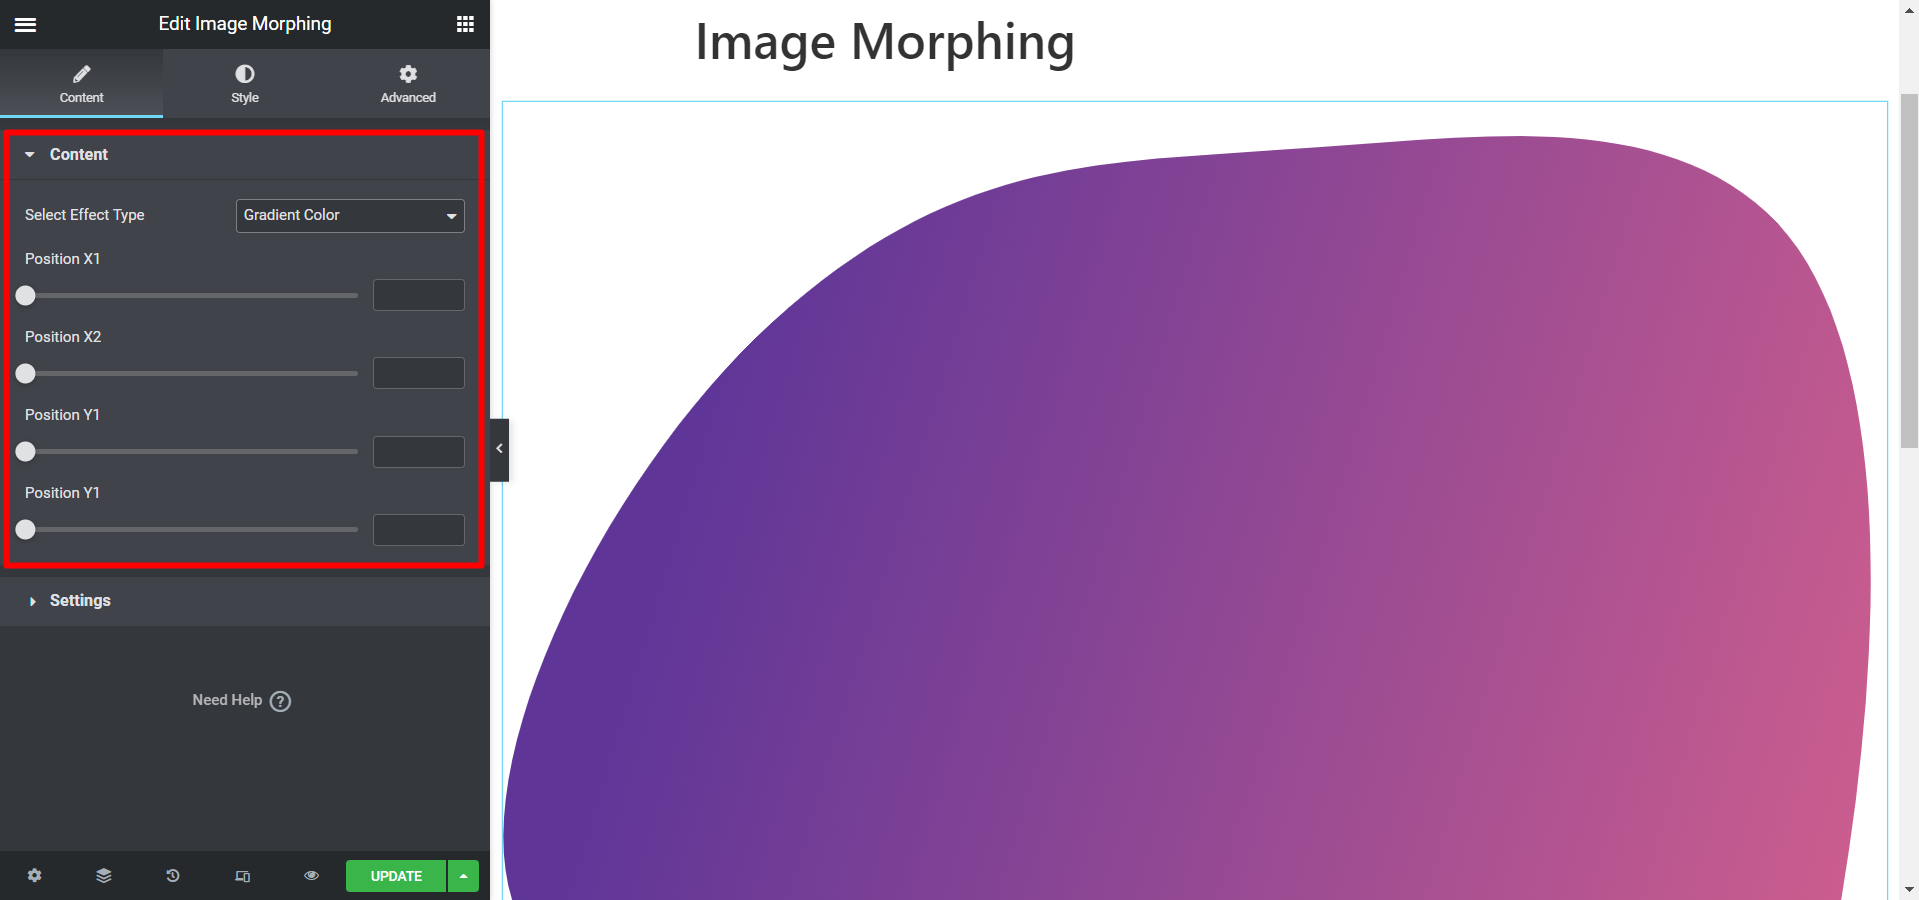
Einstellungen #
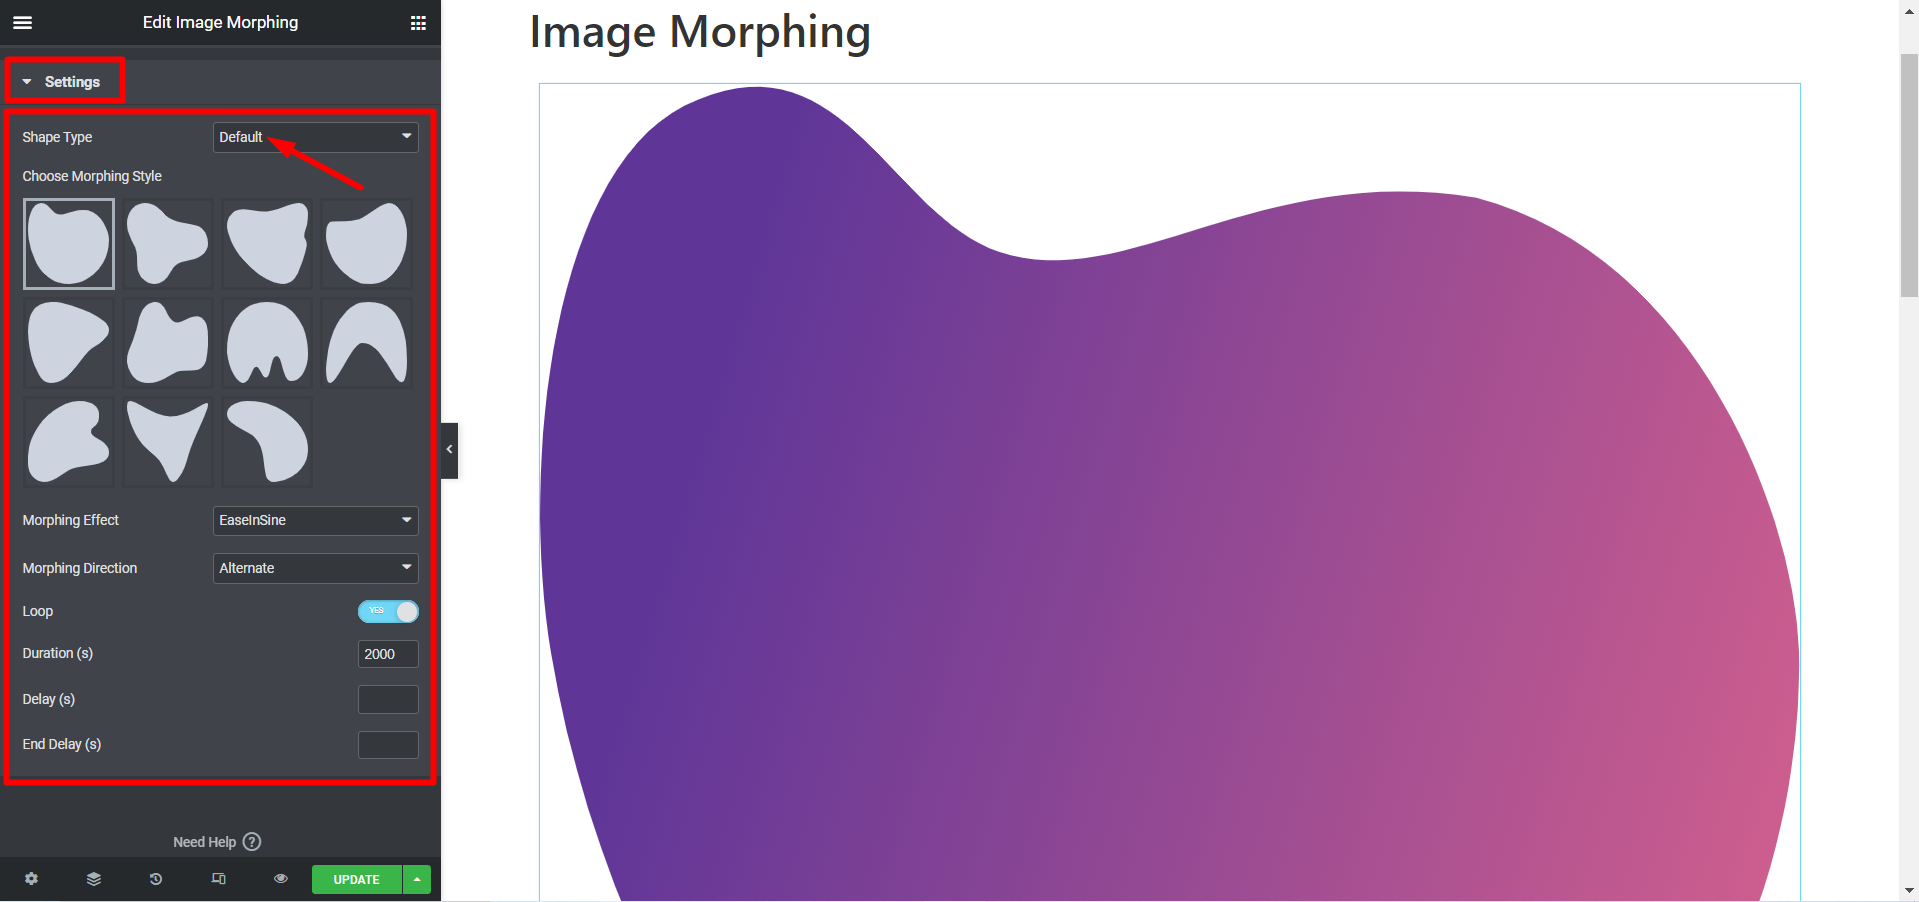
Formtyp- Wählen Sie „Standard“, dann werden die folgenden Anpassungsoptionen angezeigt:
- Wählen Sie den Morphing-Stil – Es stehen viele verschiedene Stile zur Auswahl.
- Morphing-Effekt- Es gibt verschiedene Effektoptionen für Ihr Bild.
- Morphing-Richtung- Die Animationsrichtung kann sein Normal, umgekehrt oder alternativ.
- Schleife- Wenn Sie das Morphing in einer Schleife anzeigen möchten, schalten Sie die Schaltfläche „Loop“ auf „JA“, andernfalls auf „NEIN“.
- Dauer (n)- Stellen Sie hier die Dauer der Animation ein.
- Verzögerung(en)- Passen Sie in diesem Feld die Verzögerungszeit der Bildanimation an.
- Endverzögerung(en)- Geben Sie hier die Endzeit der Animation ein.
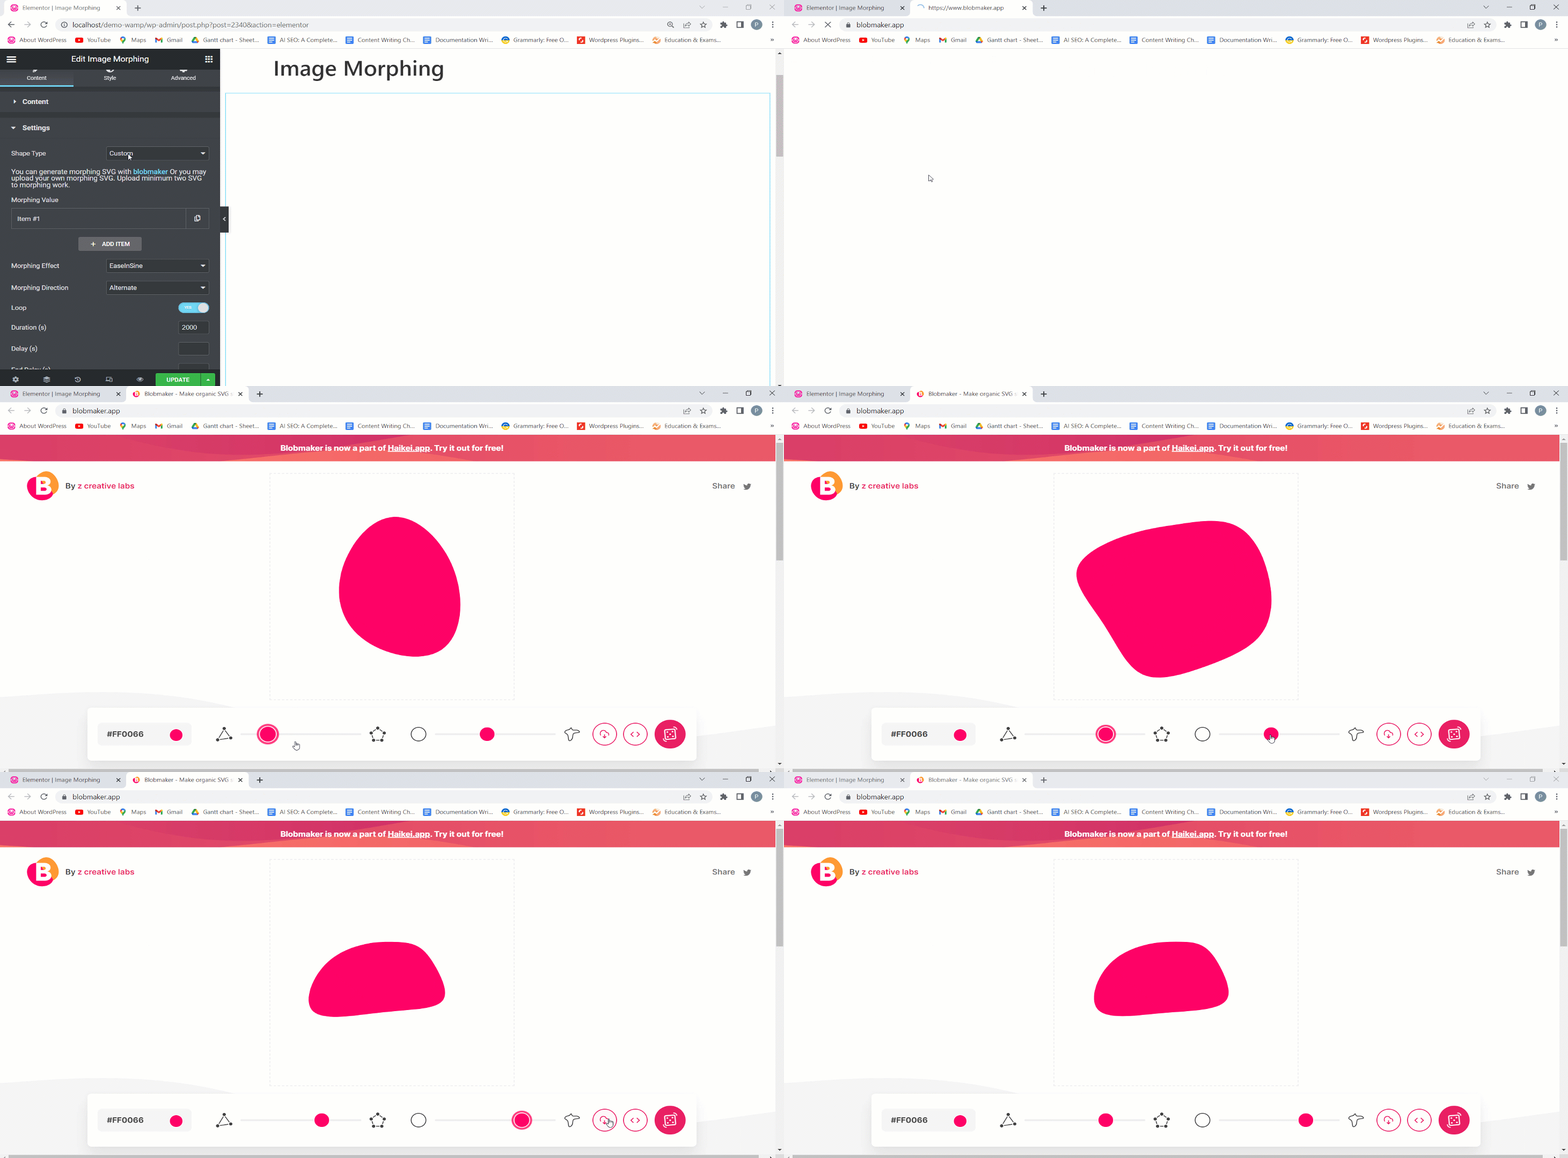
Allerdings, wenn Sie möchten benutzerdefinierter Stil Dann können Sie mit Blobmaker Morphing-SVG generieren.
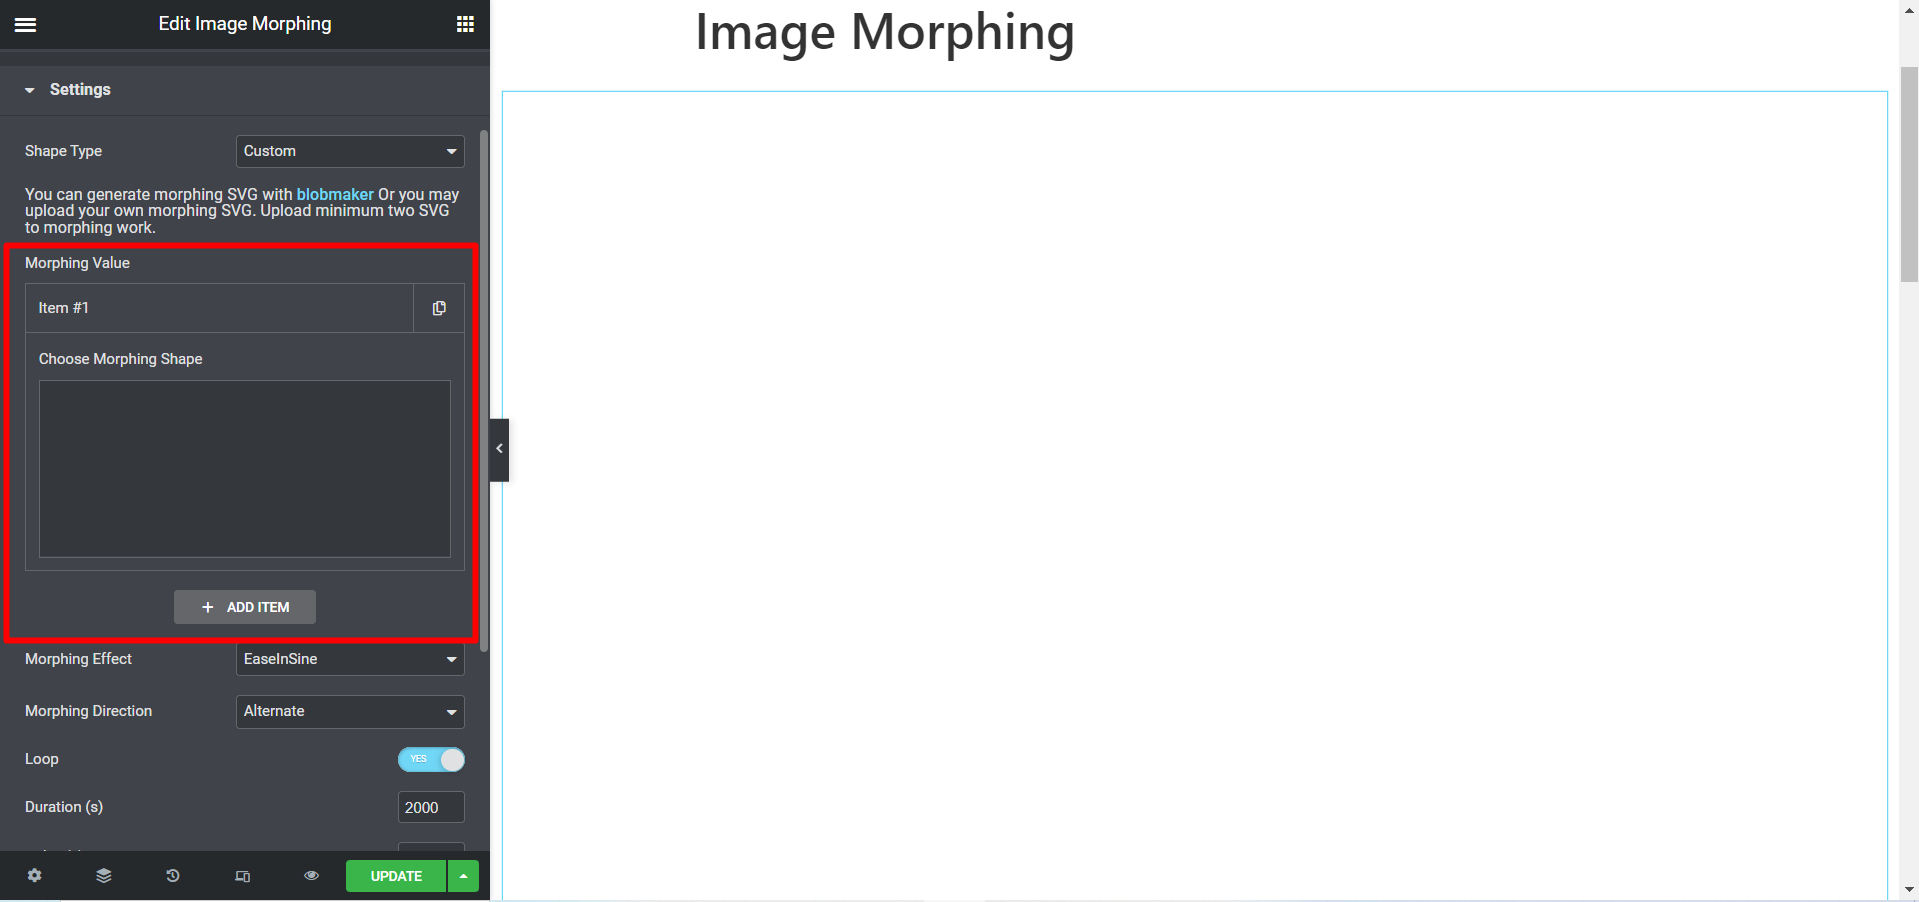
Außerdem können Sie Ihre hochladen eigenes morphendes SVG. Beachten Sie, dass Sie hochladen müssen mindestens zwei SVG zur Morphing-Arbeit.
Stil #
Die Styling-Optionen sind für Bild-, Farb- und Verlaufseffekte verfügbar.
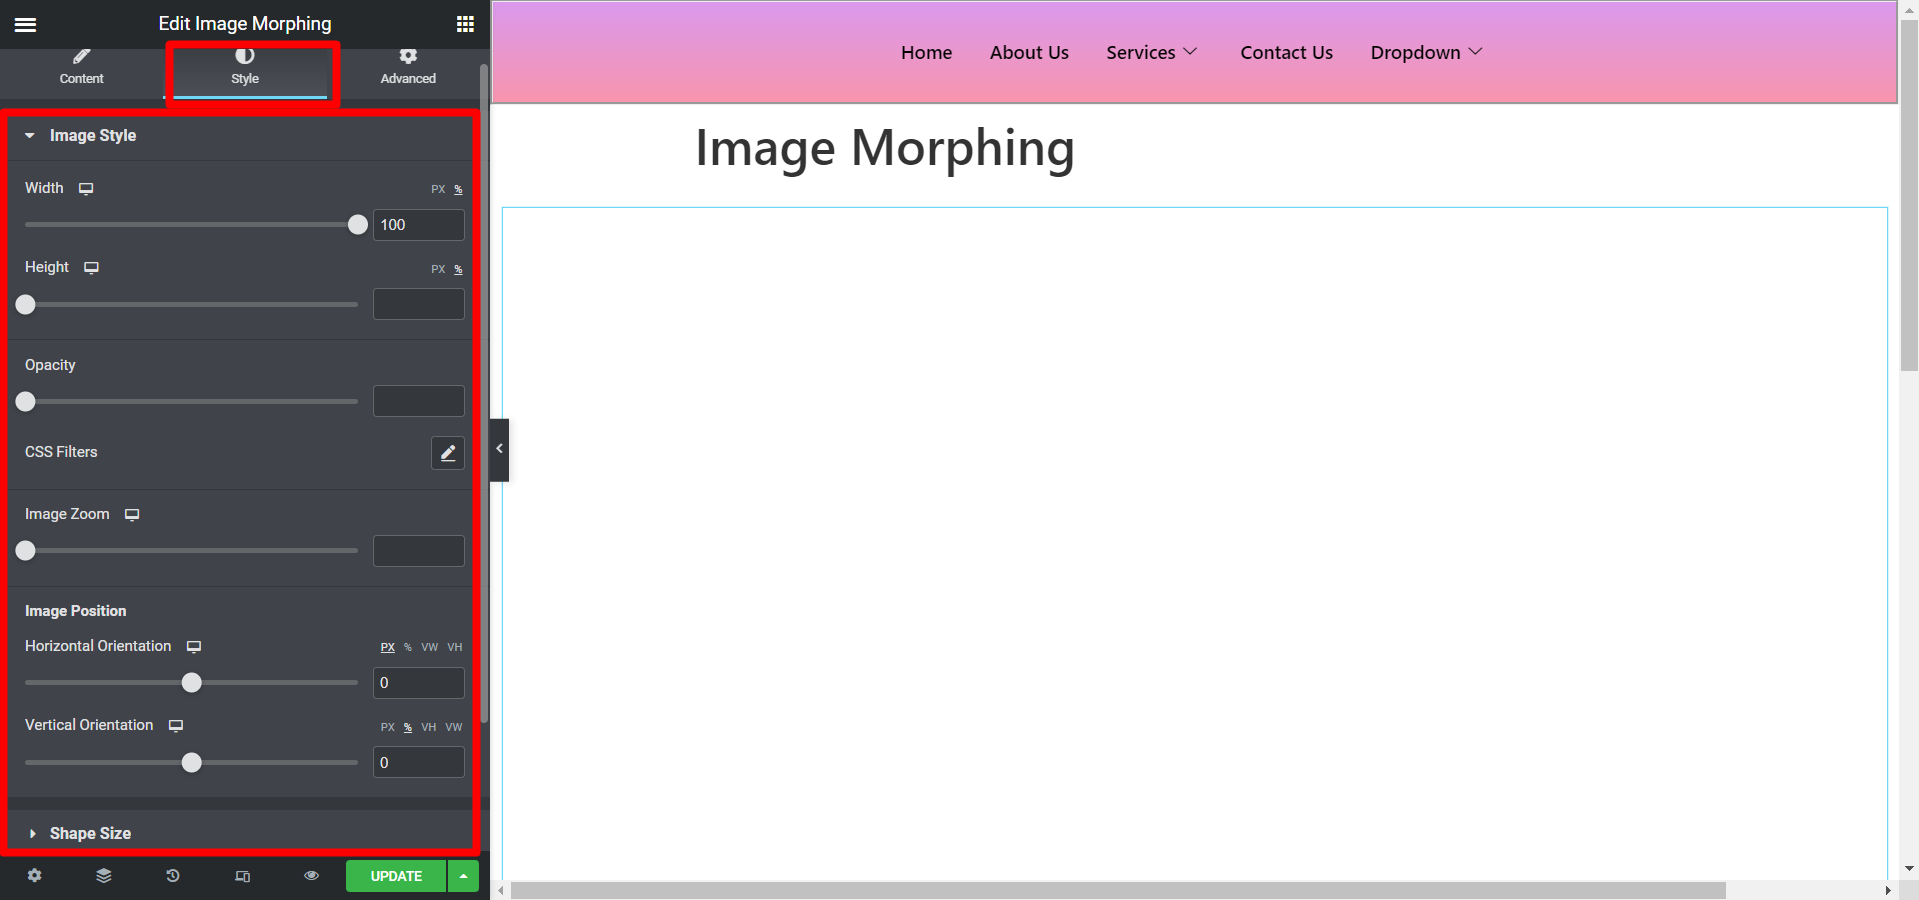
ICHMagier-Stil #
In diesem Abschnitt können Sie die Breite, Höhe, Deckkraft, CSS-Filter, den Bildzoom und die Bildposition des Bildes in horizontaler und vertikaler Ausrichtung anpassen.
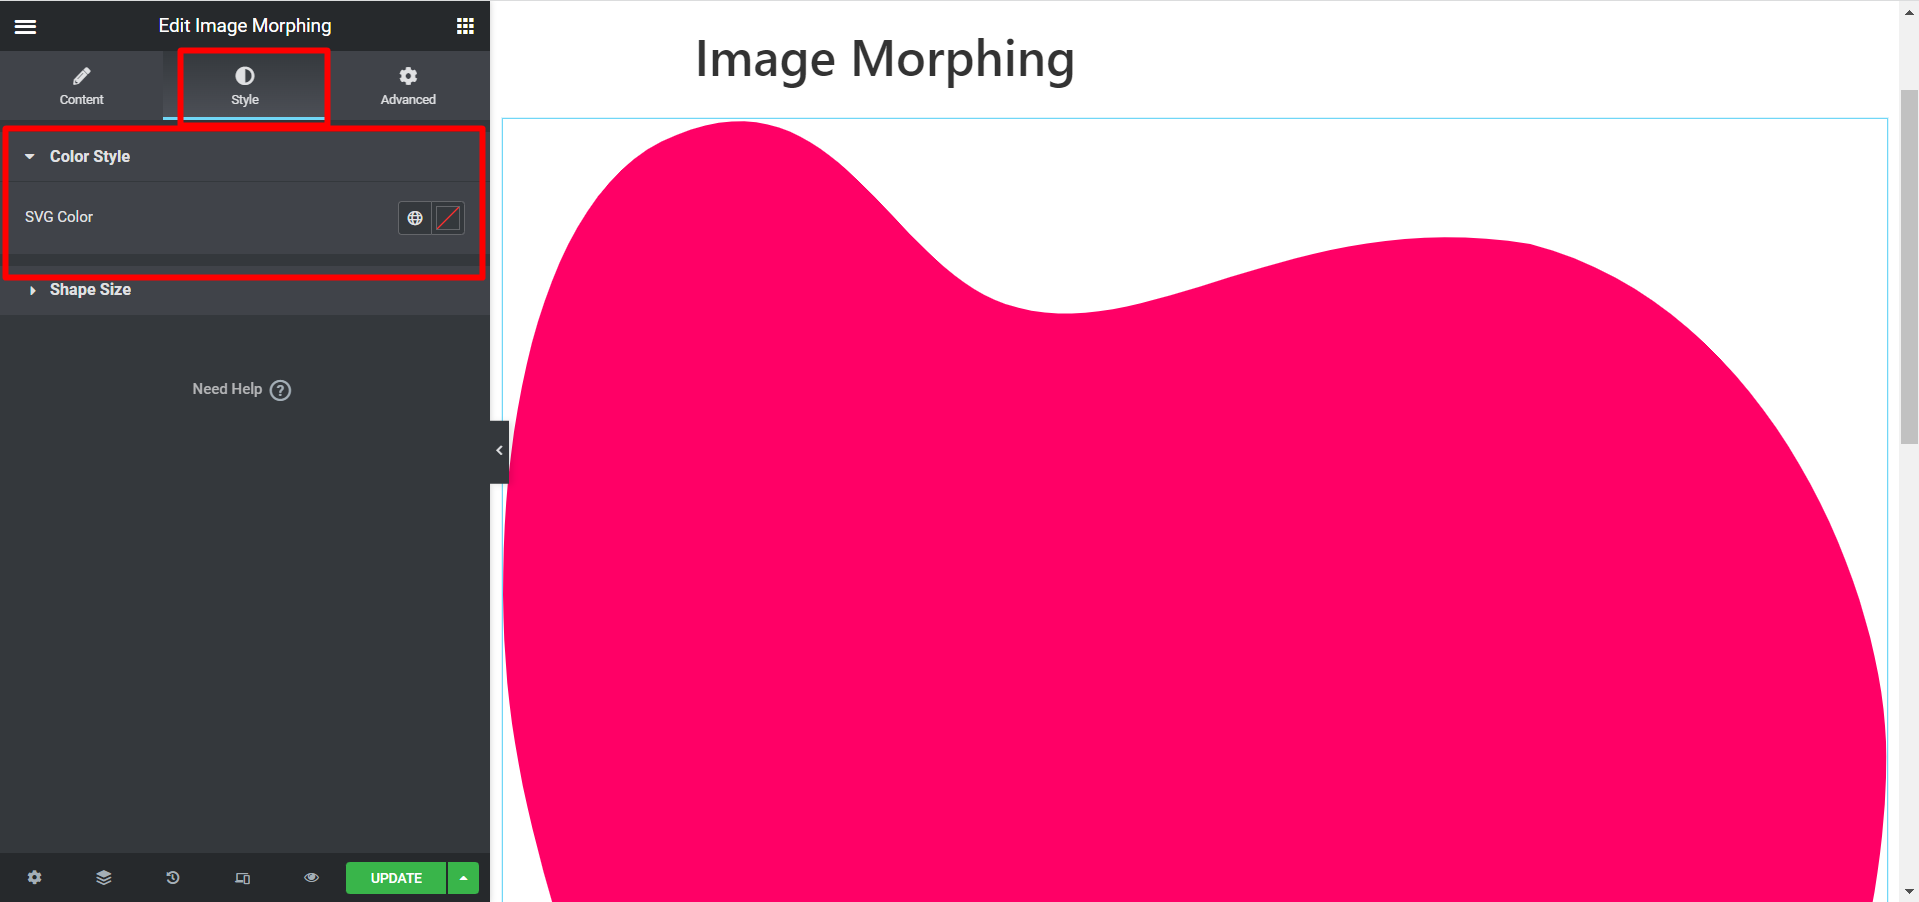
Farbstil #
Für den Farbeffekttyp stehen Ihnen Optionen zur Verfügung SVG-Farbe anpassen.
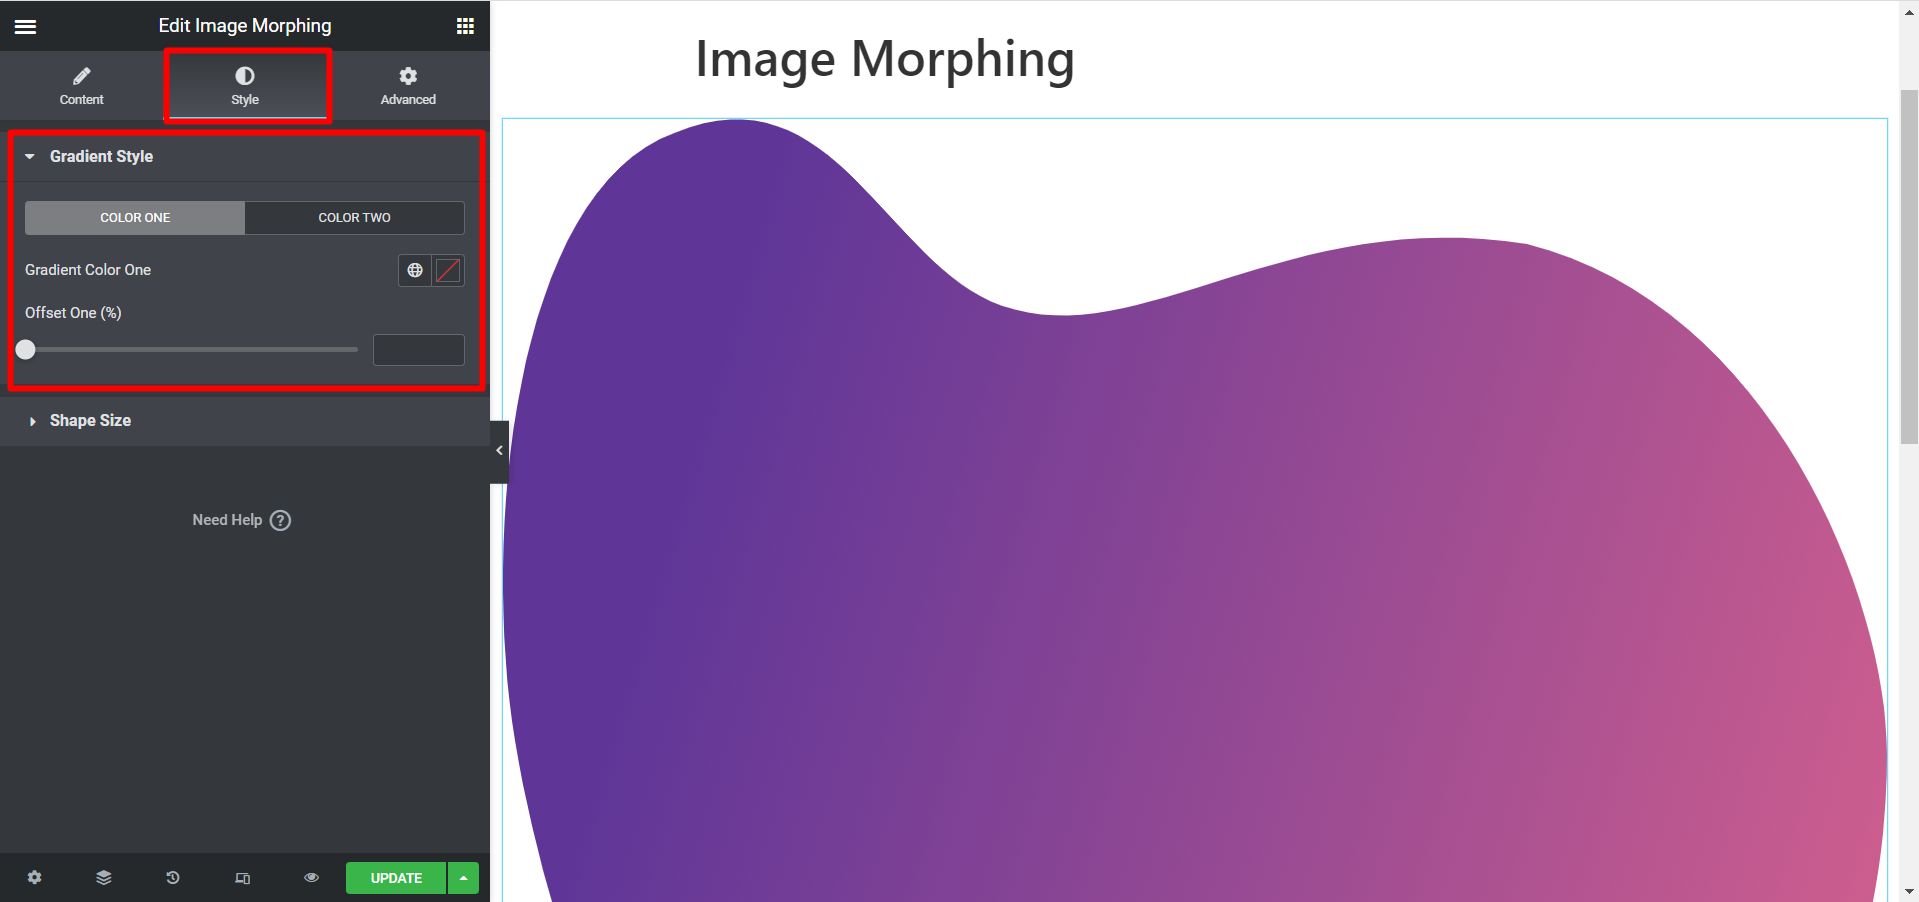
Farbverlaufsstil #
Es gibt zwei Farboptionen, müssen Sie entsprechend auswählen und auch den Offset anpassen.
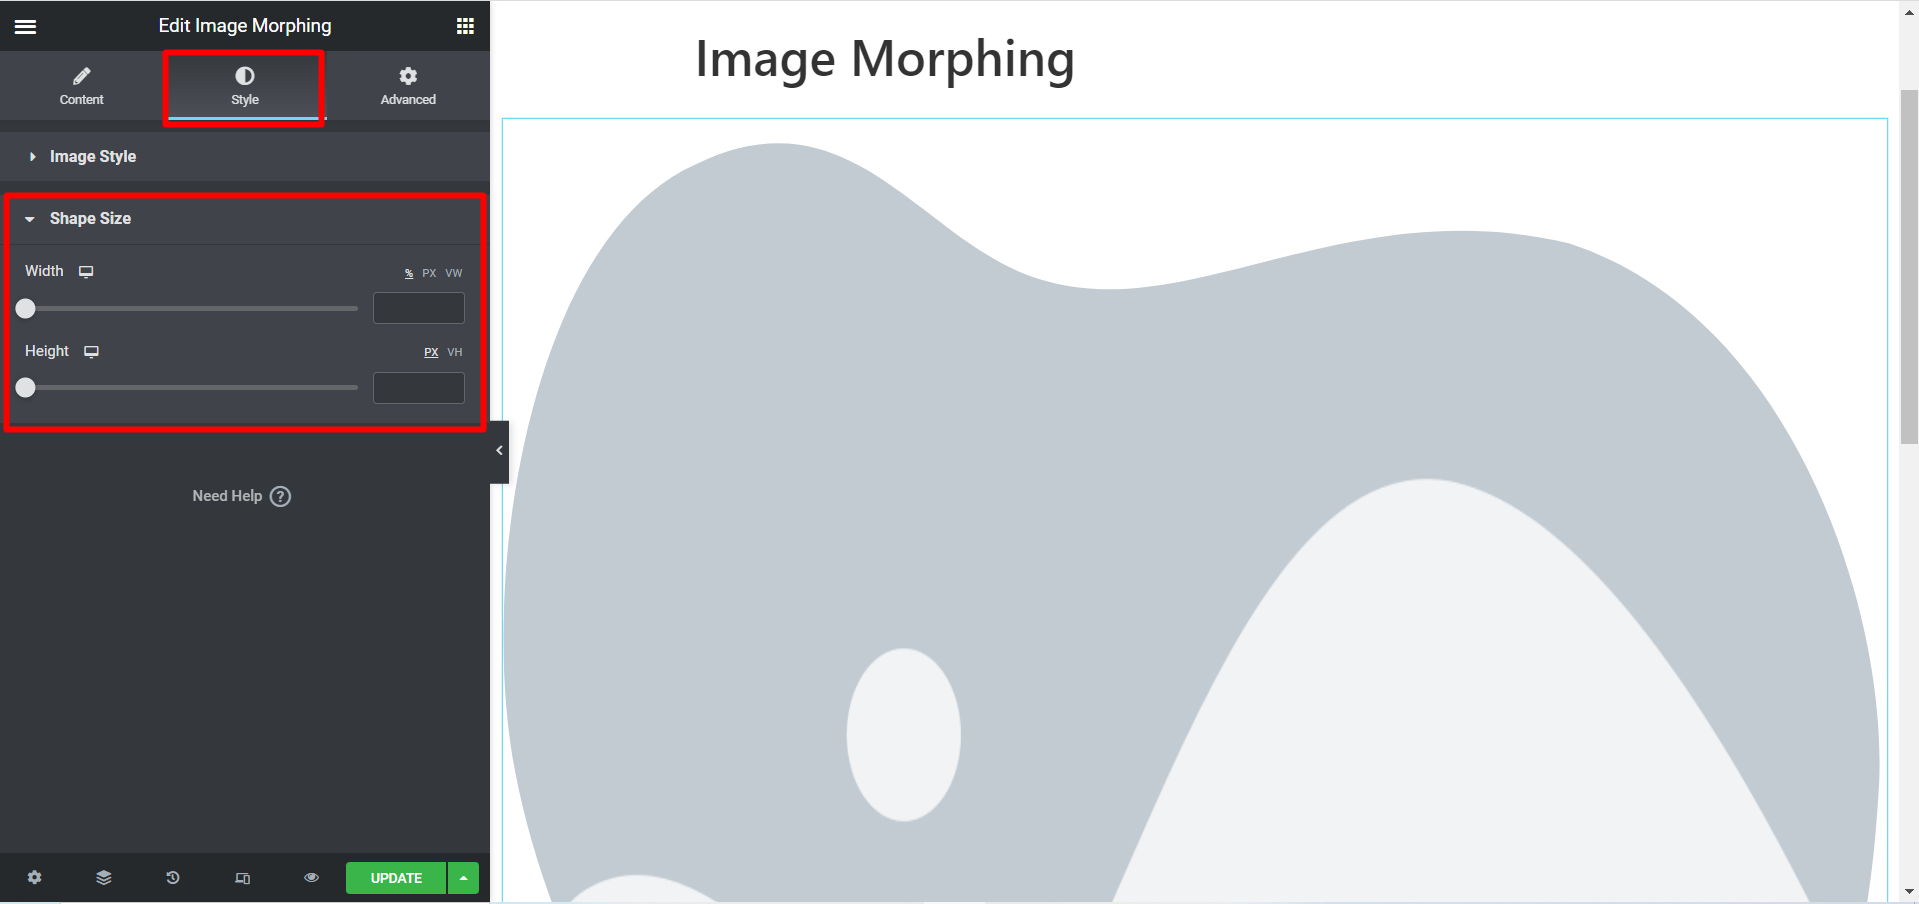
Sape-Größe #
Diese Option gilt für alle Effekttypen. Sie können die Breite und Höhe der Bilder entsprechend Ihren Anforderungen anpassen.
Dies ist ein Beispiel für Bildmorphing, das wir für Sie angepasst haben.

Um verschiedene Bilder durch Animationen und ungewöhnliche Effekte auf attraktive Weise zu präsentieren, ist das ElementsKit Image Morphing-Widget die beste Wahl.


