


 English
  German
  Spanish
  Italian
  French
  Danish
  Portuguese
  Swedish
  Polish
  Korean
  Japanese
 Interestingly designed texts catch viewers attention most. Marketers style their marketing messages applying fancy effects. ElementsKit has brought such a wonderful widget with advanced features. It helps to make animated and attractive texts easily.
Let’s learn how to use ElementsKit Fancy Text Widget following the below steps.
Adding Fancy Animation Text with ElementsKit #
Access your Dashboard -> Select any Page or Post -> Click edit with ElementsKit -> Search ElementsKit Fancy Animation Text widget -> Drag and Drop the widget
Content Section #
Here, you will see Fancy Text part, it contains the following fields-
Animation #
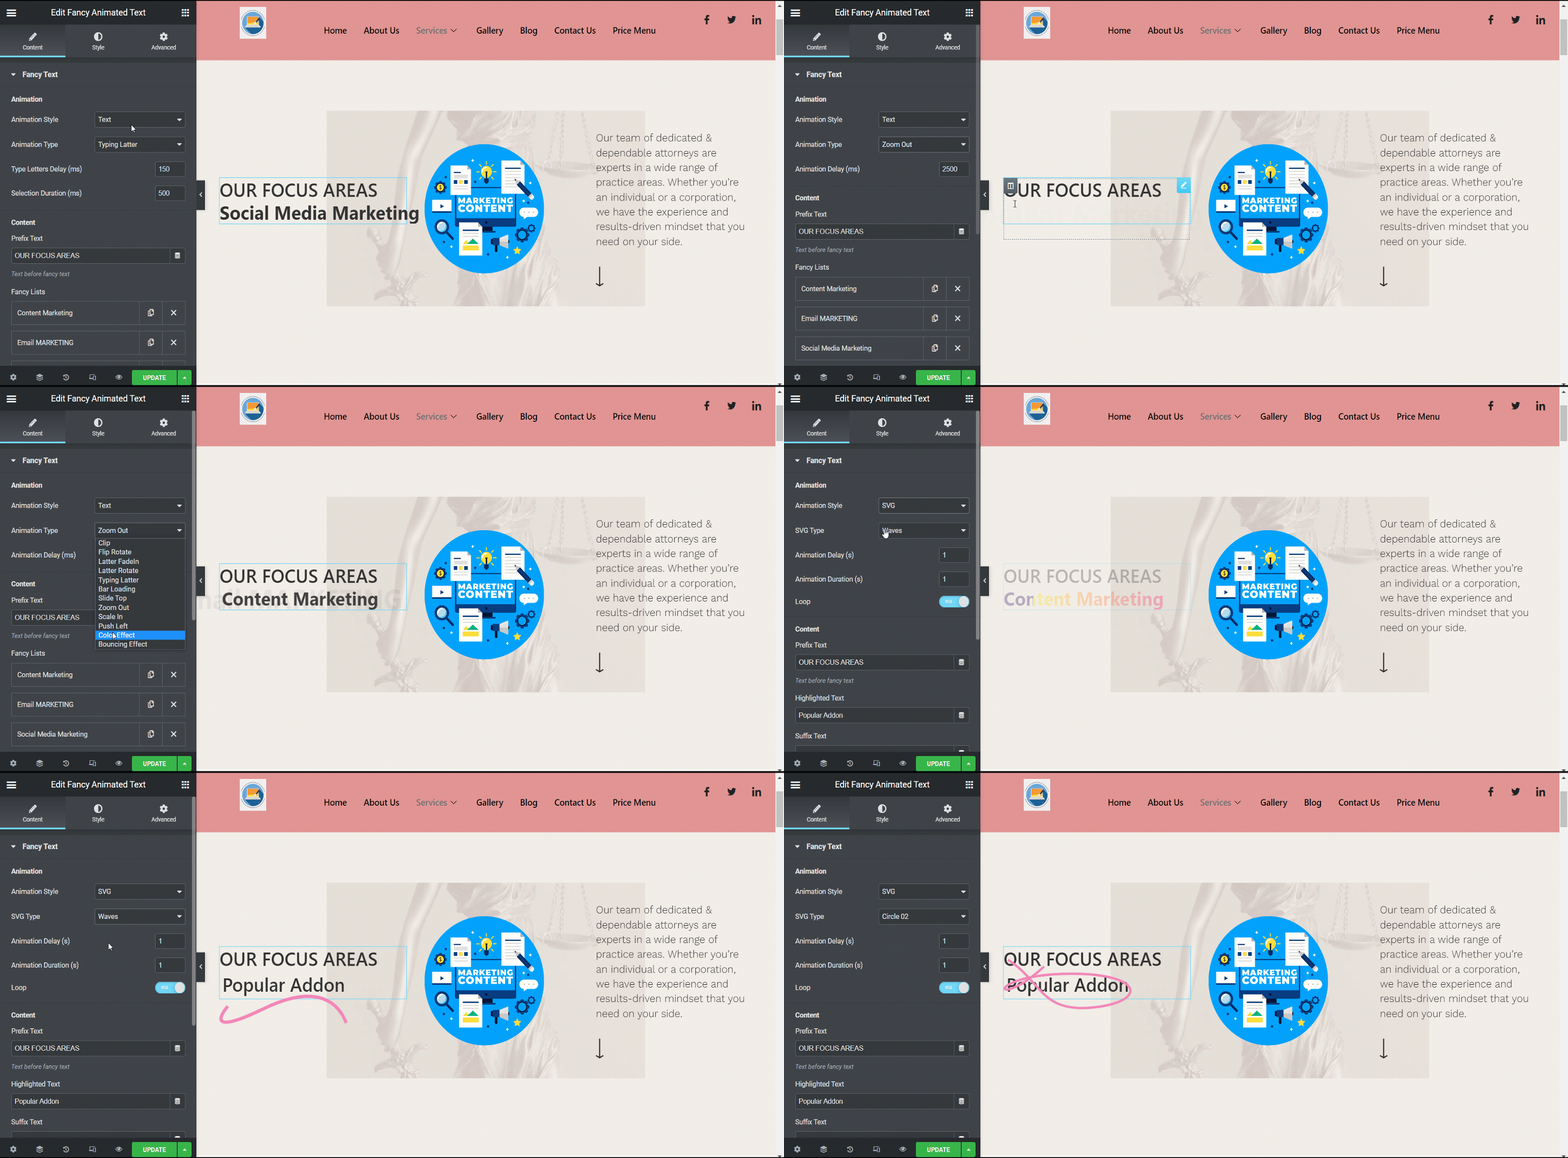
- Animation Style- You can select Text or SVG for different animation styles.
- Animation Type– Based on your animation type you will get various choices here.
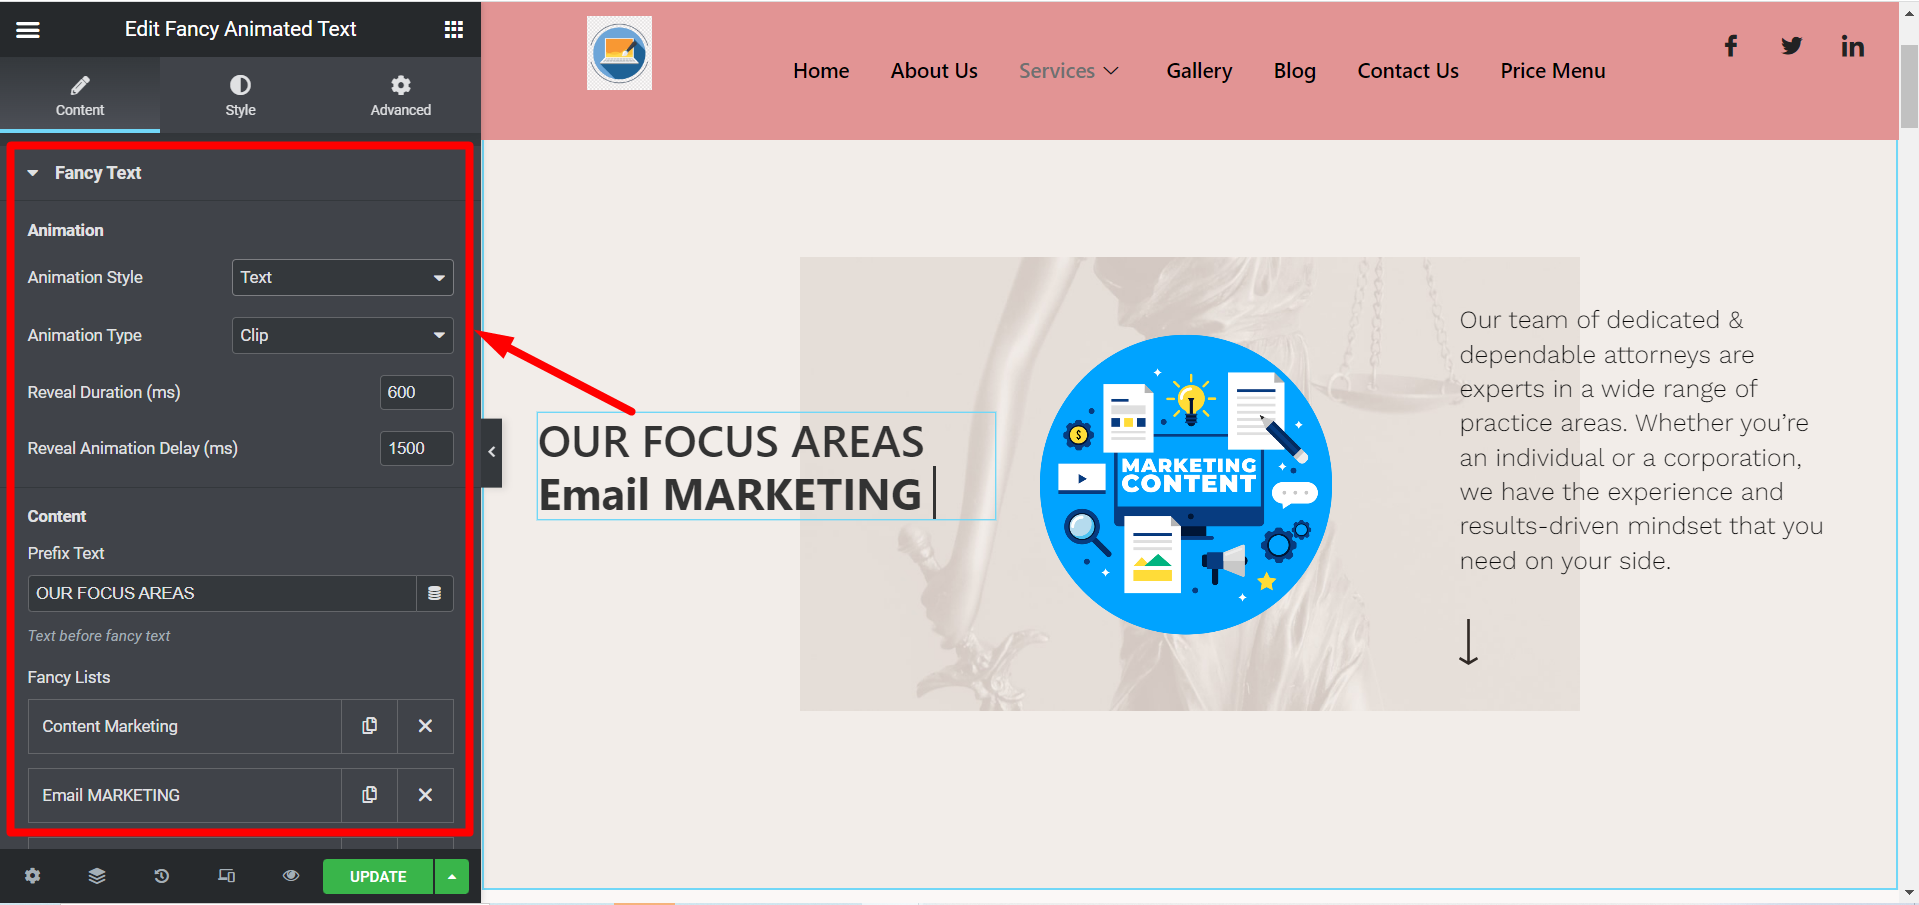
- Reveal Duration (ms)/ Type Letters Delay (ms)/ Animation Delay etc.- According to animation style and type you have to adjust duration.
- Reveal Animation Delay (ms)/ Selection duration (ms)/ Letters Delay (ms) etc.- This field is also associated with animation style and type.
Content #
- Prefix Text– Write the prefix content you want to display. It means it will be written before the fancy animation.
- Fancy Lists– Add items here for fancy animation.
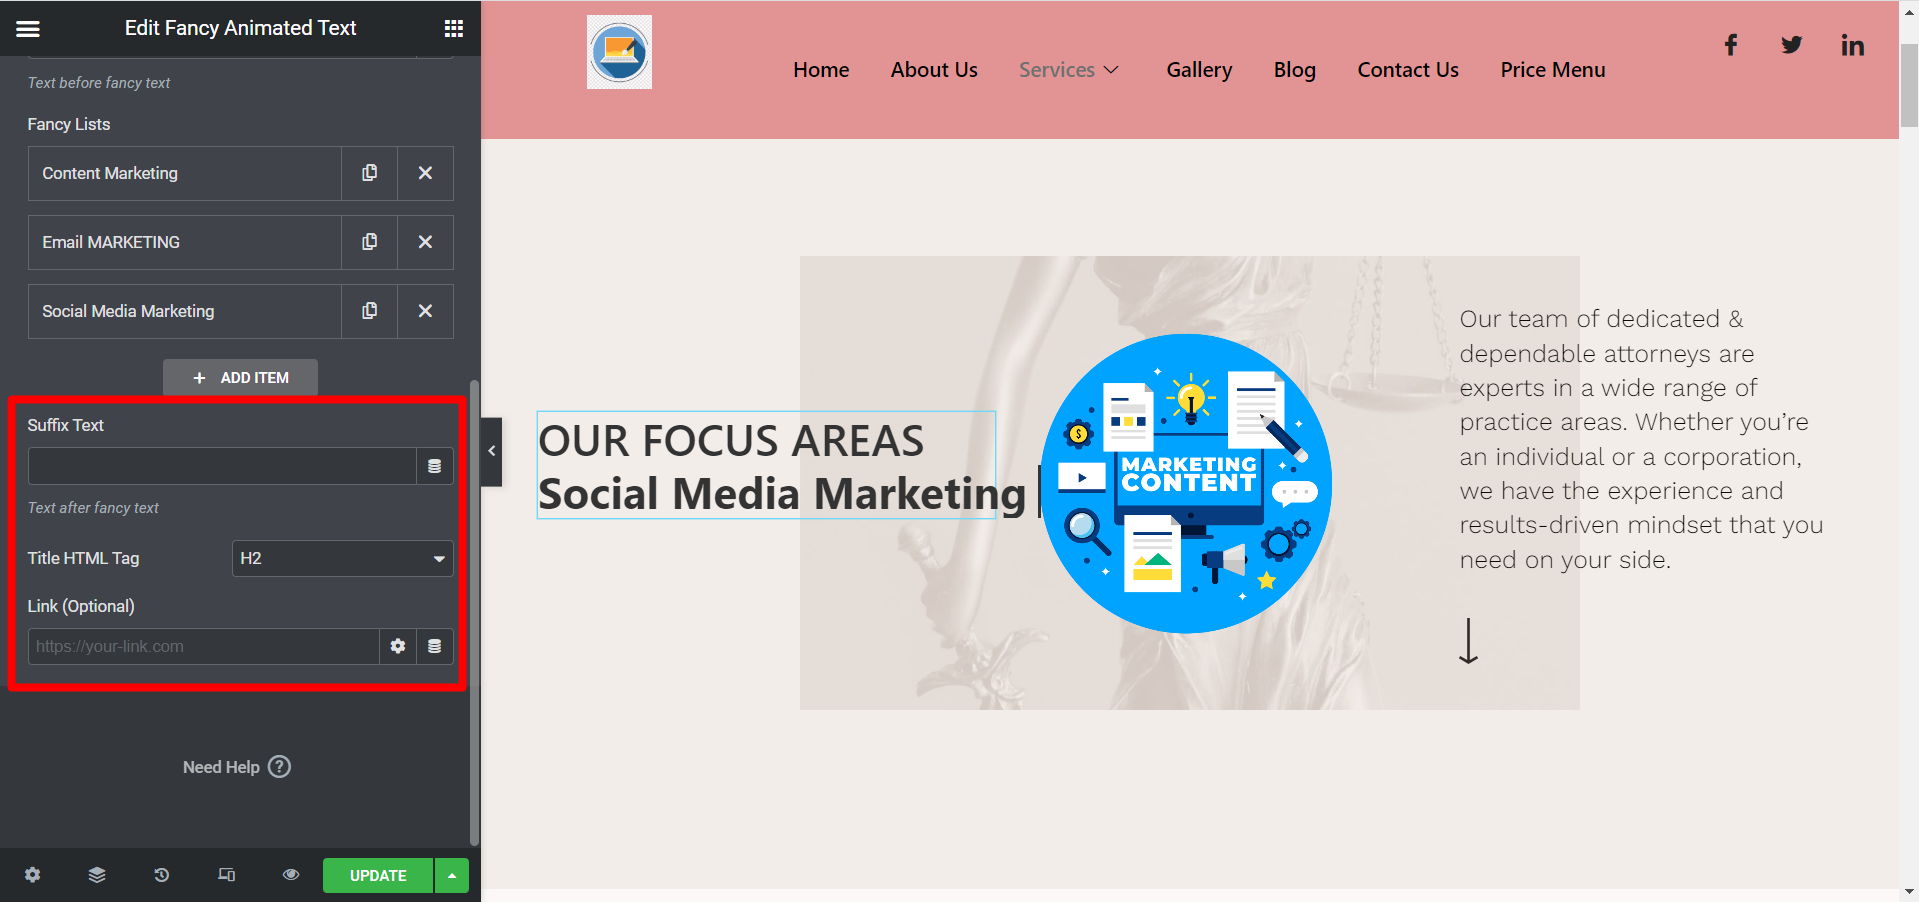
- Suffix Text– Write the suffix content you want to display. It means it will be written after the fancy animation.
- Title HTML Tag– Select the HTML tag of the content here.
- Link (Optional)– Add any link if you want the users to redirect to any other location.
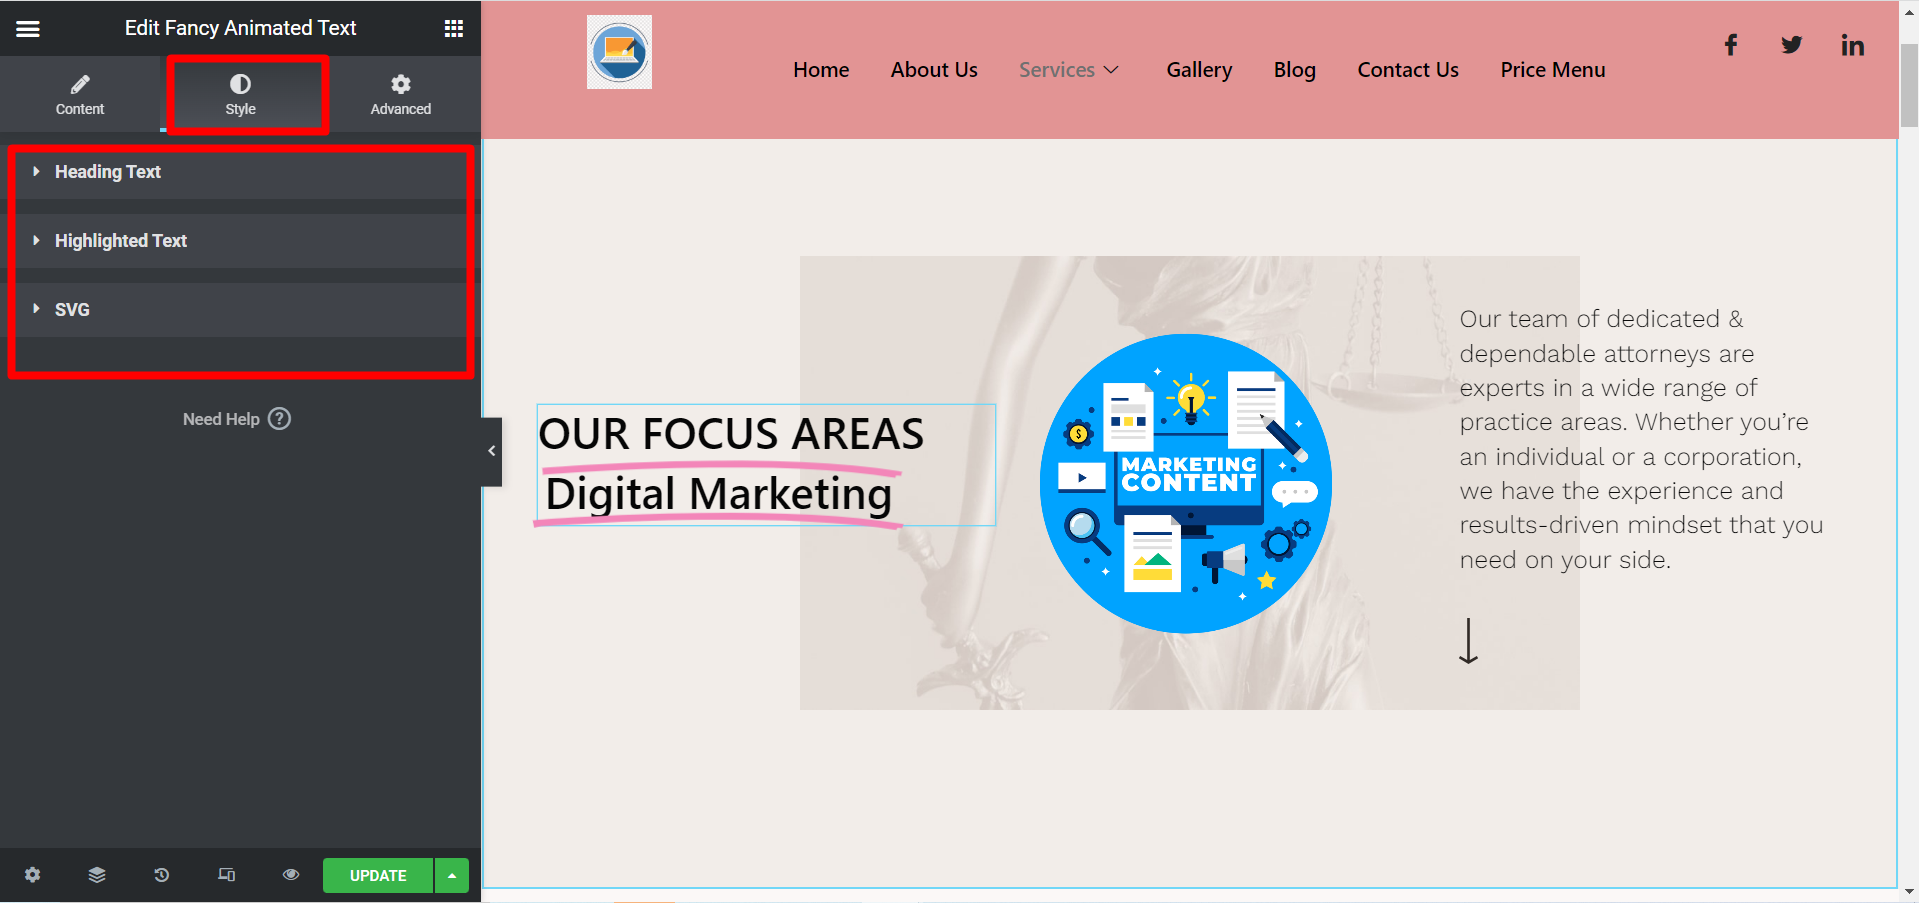
Style Section #
- Heading Text- Here you can adjust alignment, typography, color, etc.
- Highlighted Text- Use this field to adjust typography, color, and padding.
- SVG- select stroke color and stroke weight here.
After editing and styling all your required statements click update and see the changes from front end. An example is-
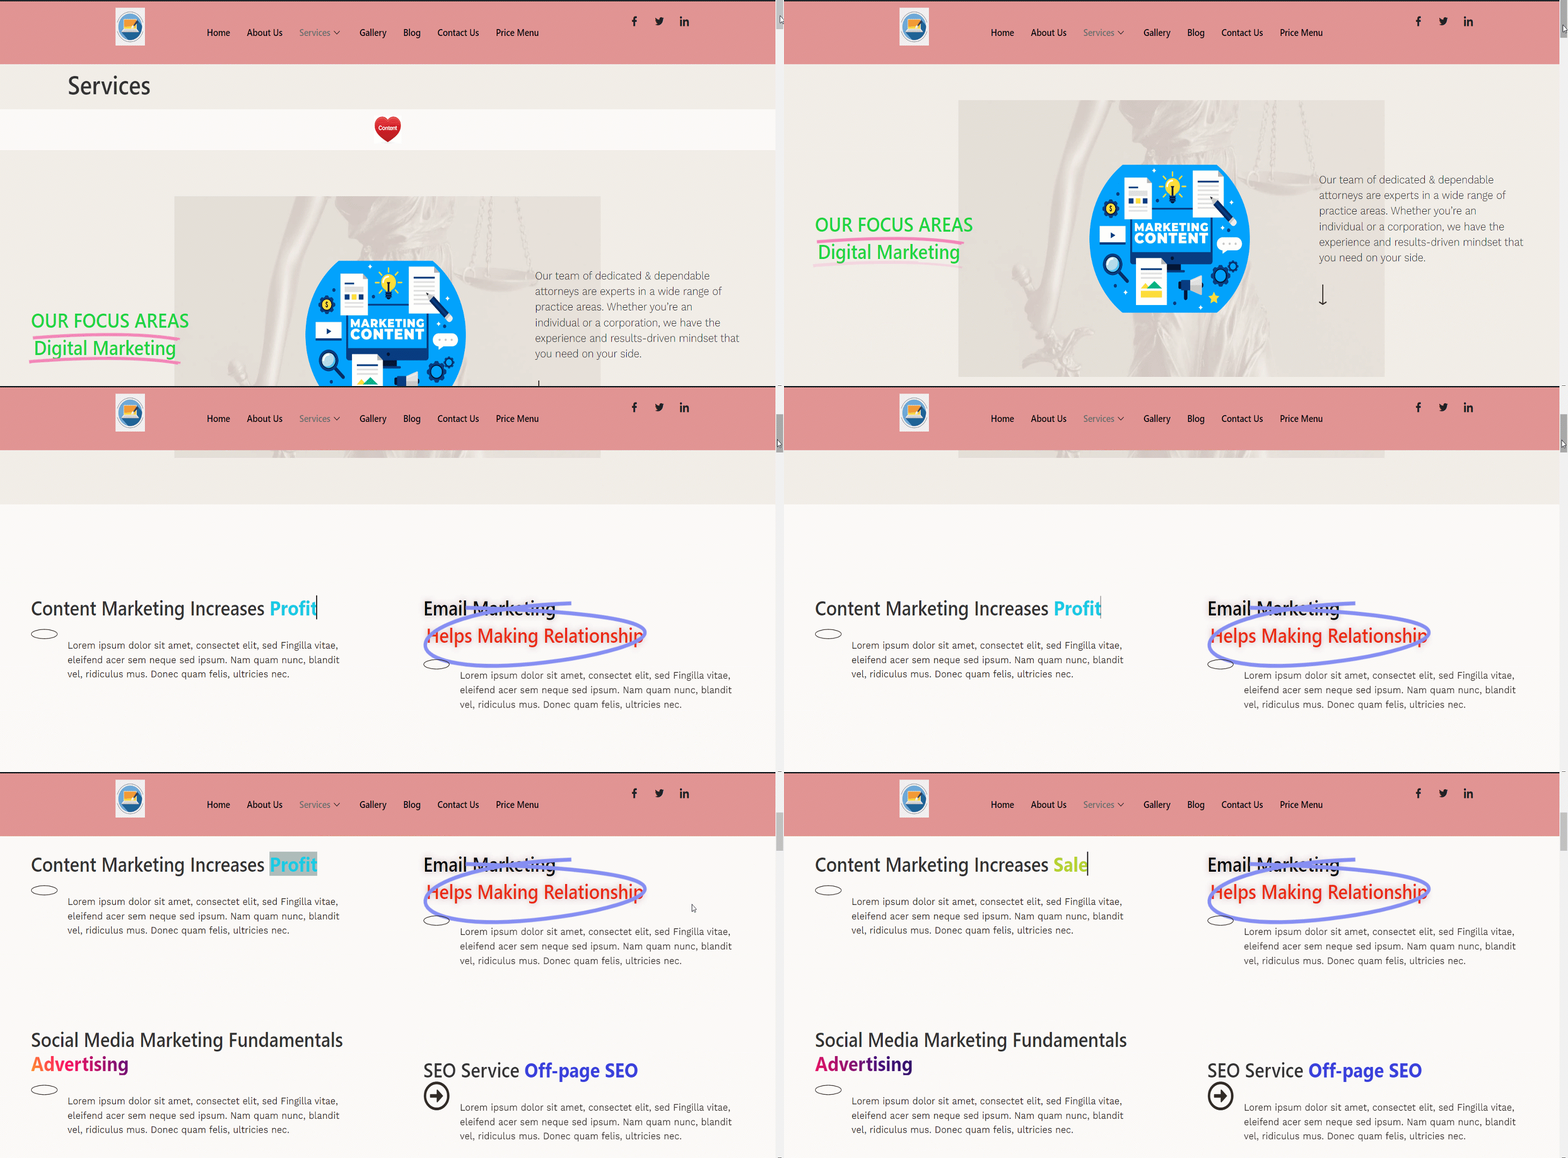
Use the useful tool today, it is quick and well-systematic. You can make your important headlines and promotional statements more eye-catching by customizing the content with the help of ElementsKit fancy text widget.


