


The ElmentsKit interactive link widget is designed to bring dynamism and motion to your Elementor website user experience. Visitors can easily access different sections or features through behavioral effects like hover, scroll, or click. It’s like a mini navigation menu that adds visual interest and interactivity to your content through dynamic and animated responses.
Let’s see how you can use the ElementsKit Interactive Links Widget.
Before going to the main part:
You need to have the ElementsKit Pro version installed and activated on your Elementor website
How to Use ElementsKit Interactive Link Widget? #
Log in to your WordPress website and start with the step one:
Step 1: Activate ElementsKit Interactive Link Widget #
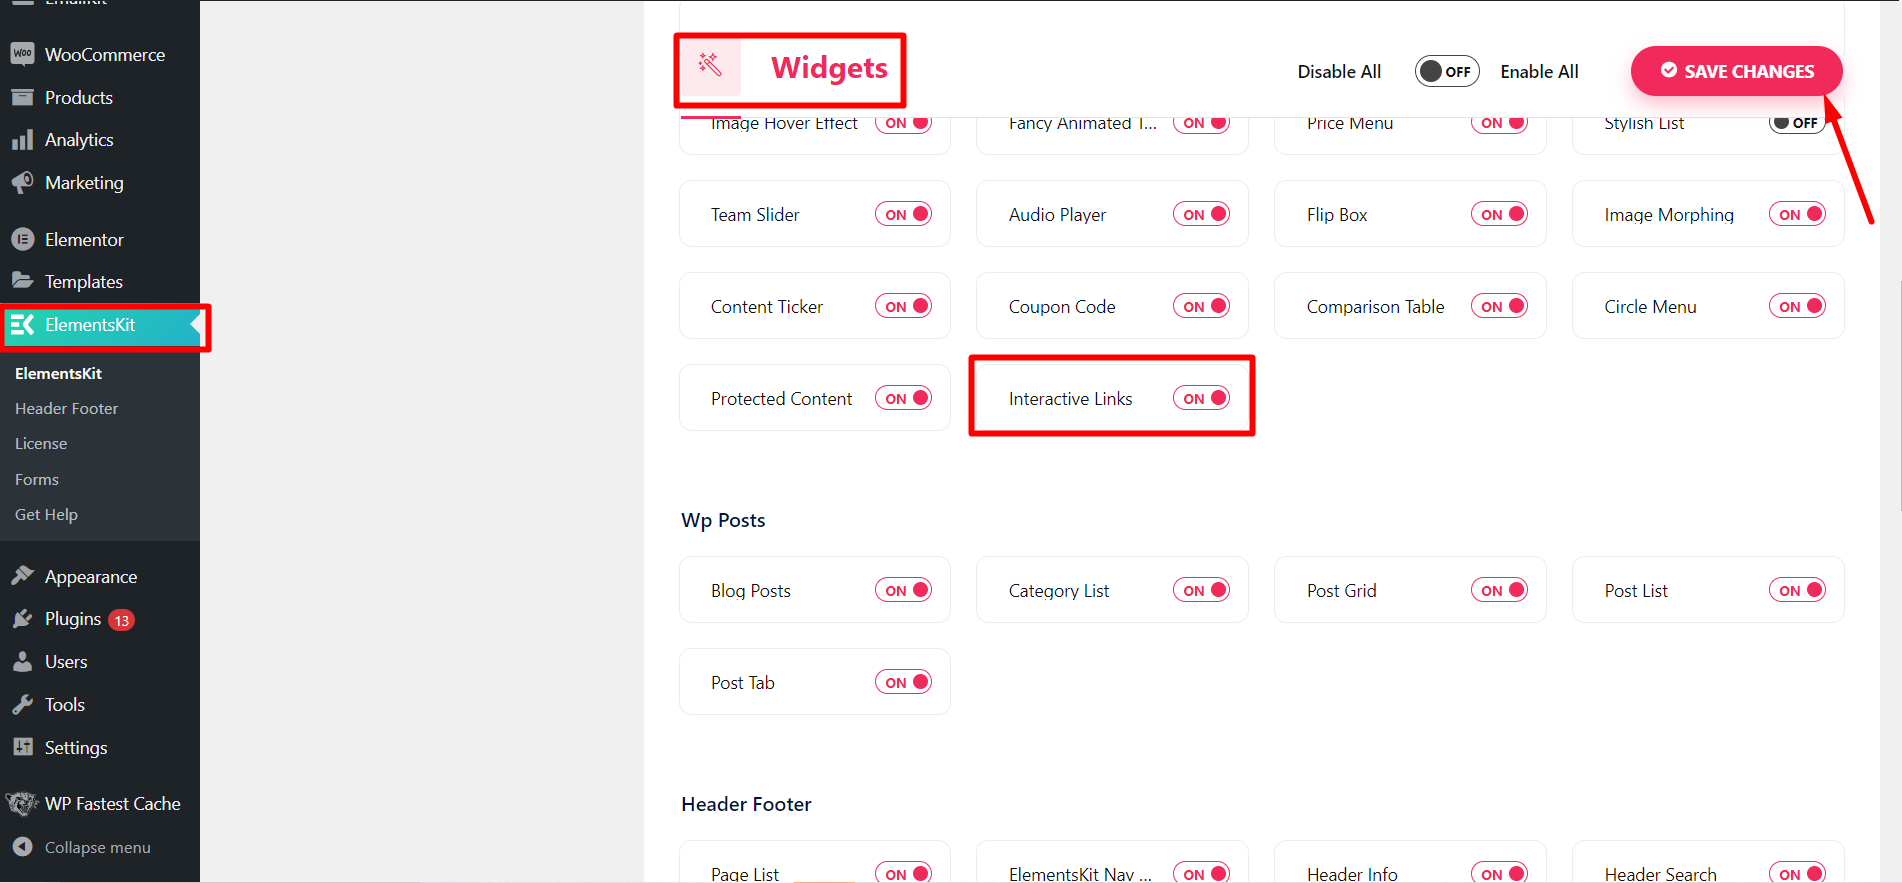
Now start from your WordPress dashboard > Find ElementsKit > Go to Widgets > Interactive Links > Turn ON the widget and click Save Changes.
Now, you have to open the page or post where you want to use the Interactive Links widget.
- Start with editing with Elementor.
- Search from ElementsKit Interactive Links Widget.
- When you see it, drag & drop the widget.
Step 2: Configure Interactive Link Section #
Go to the widget settings, and enter the Content tab. And, configure the settings below.
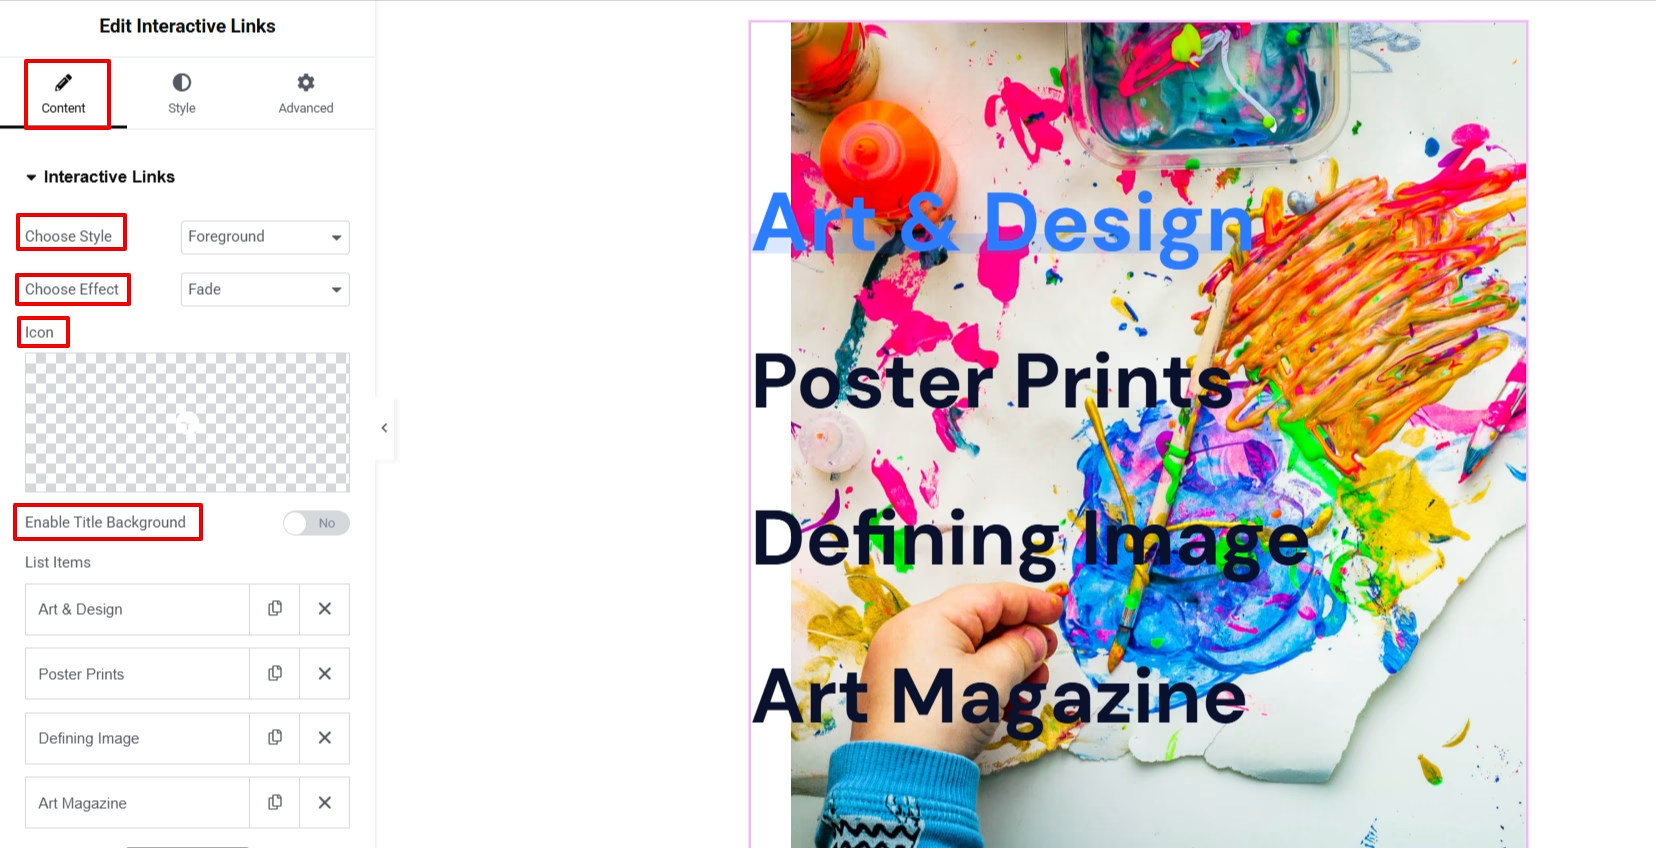
- Choose Style: Here, the two options are Background and Foreground.
- Choose Effect: There are various effects, including Fade, Slider, Zoom In, Zoom Out, Rotate, and Blur.
- Icon: Use the icon library to add an icon with an interactive link list.
- Icon Position: Set icon position before or after an item.
- Show Icon on Hover: Enabling this option will show the icon only on the hover state.
- Enable Title Background: Add a background to the title of the interactive section.
Step 3: Add List Item #
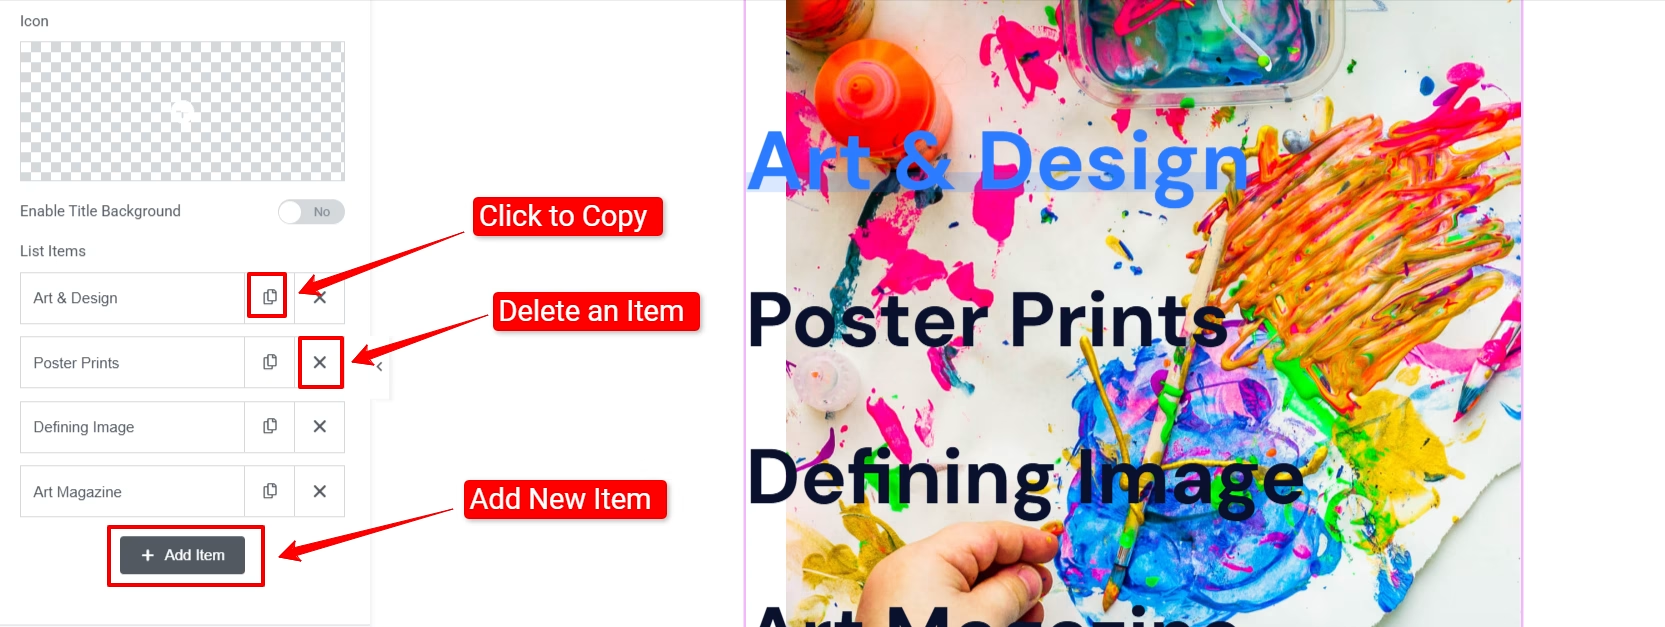
Add items based on your needs. Click the +Add Item option to add a new list item. Once you add an item, it reveals various options lto add title, subtitle, link, and image.
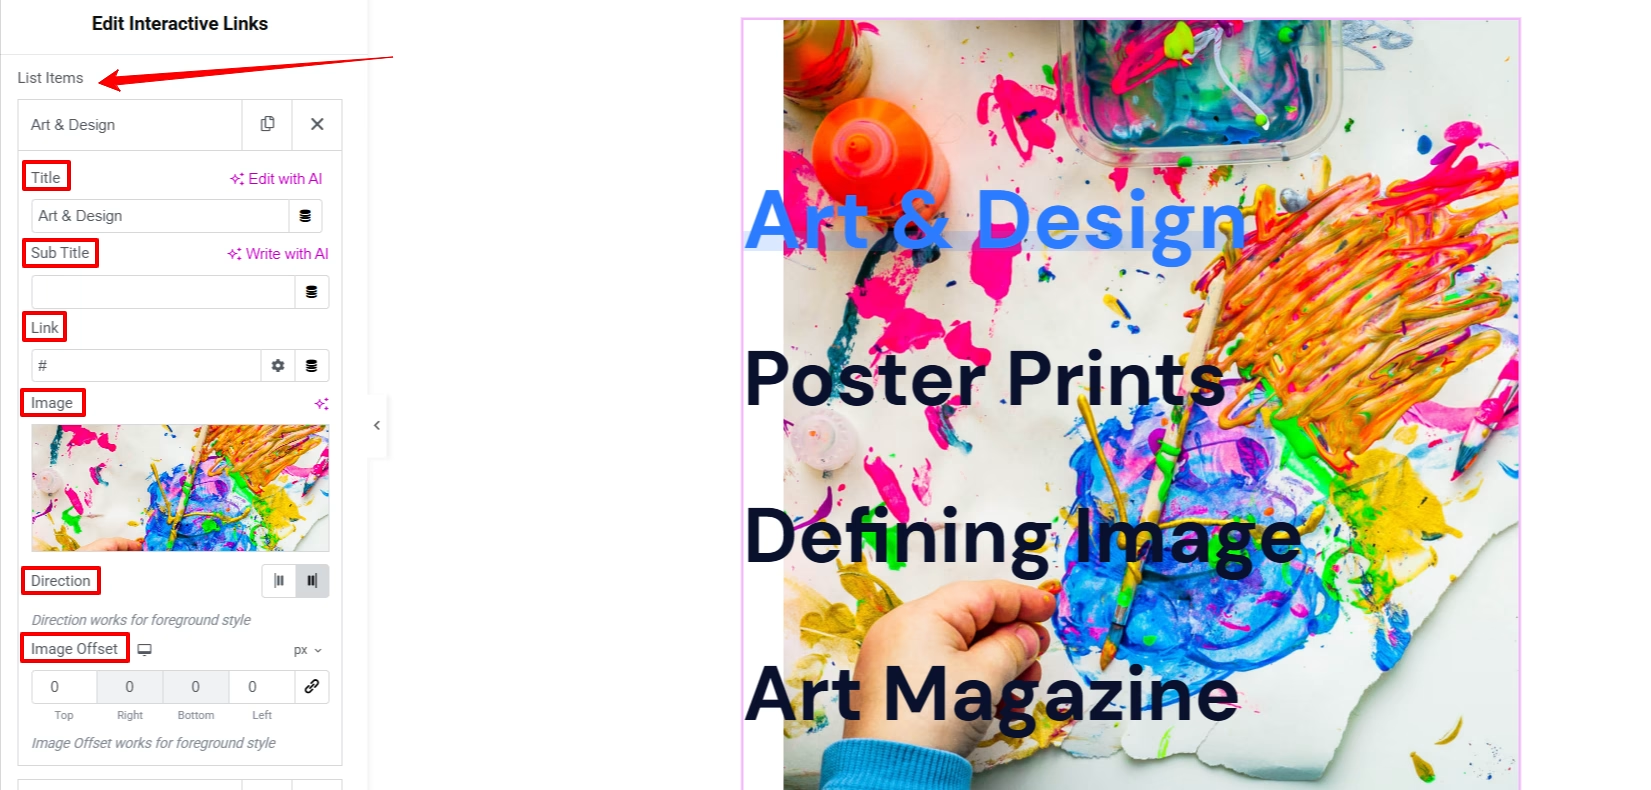
And, if you selected the “Foreground” option in the step 2, then you can set Direction & adjust Image Offset of list items.
Step 4: Customize Interactive Link Section #
To customize the entire interactive links section, navigate to the Style tab. And, you will see the below’s styling options:
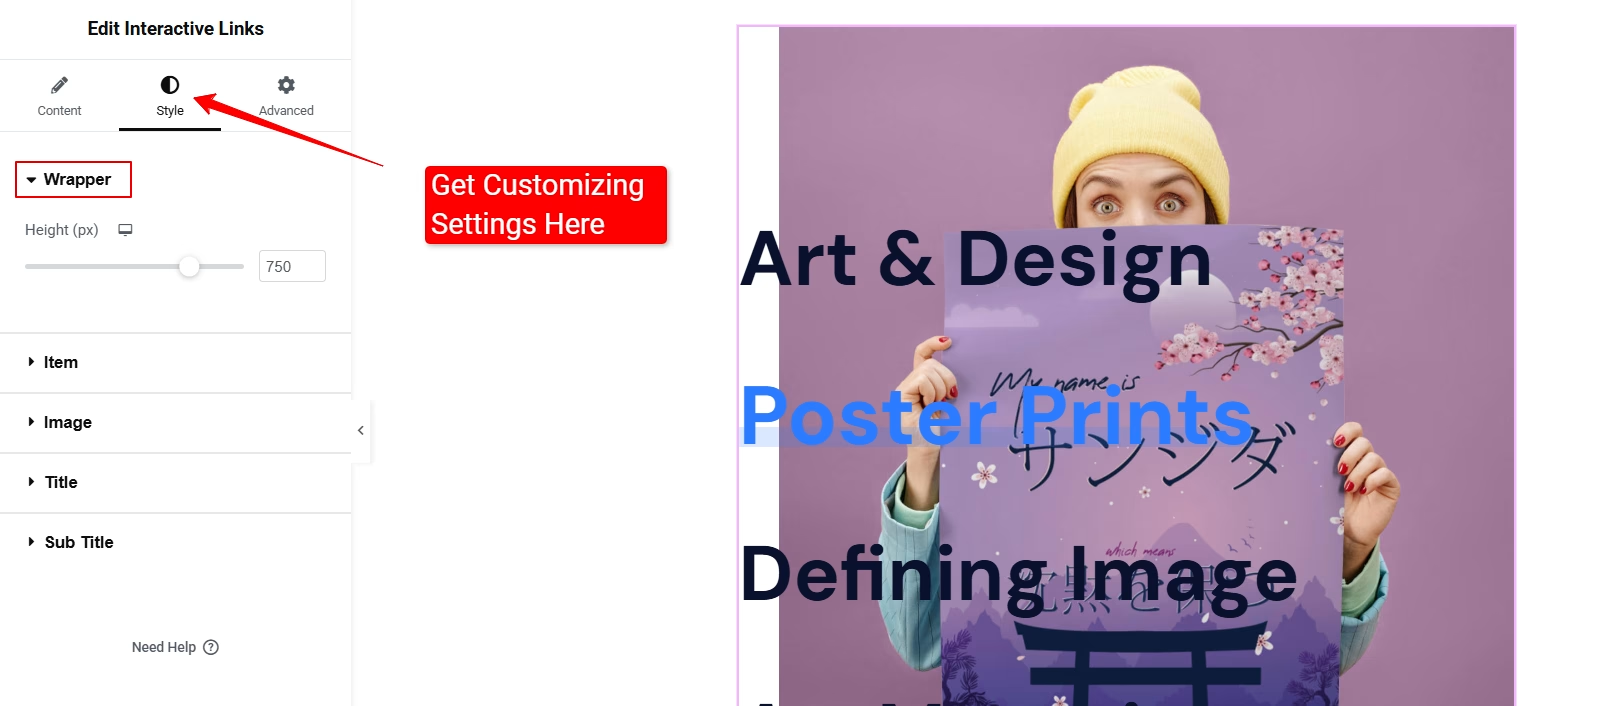
- Wrapper: From here, you can control the height of the wrapper.
- Item: It allows you to justify content, align items, text alignments, control options of space between and width, border, padding, and margin, and hover animation choices.
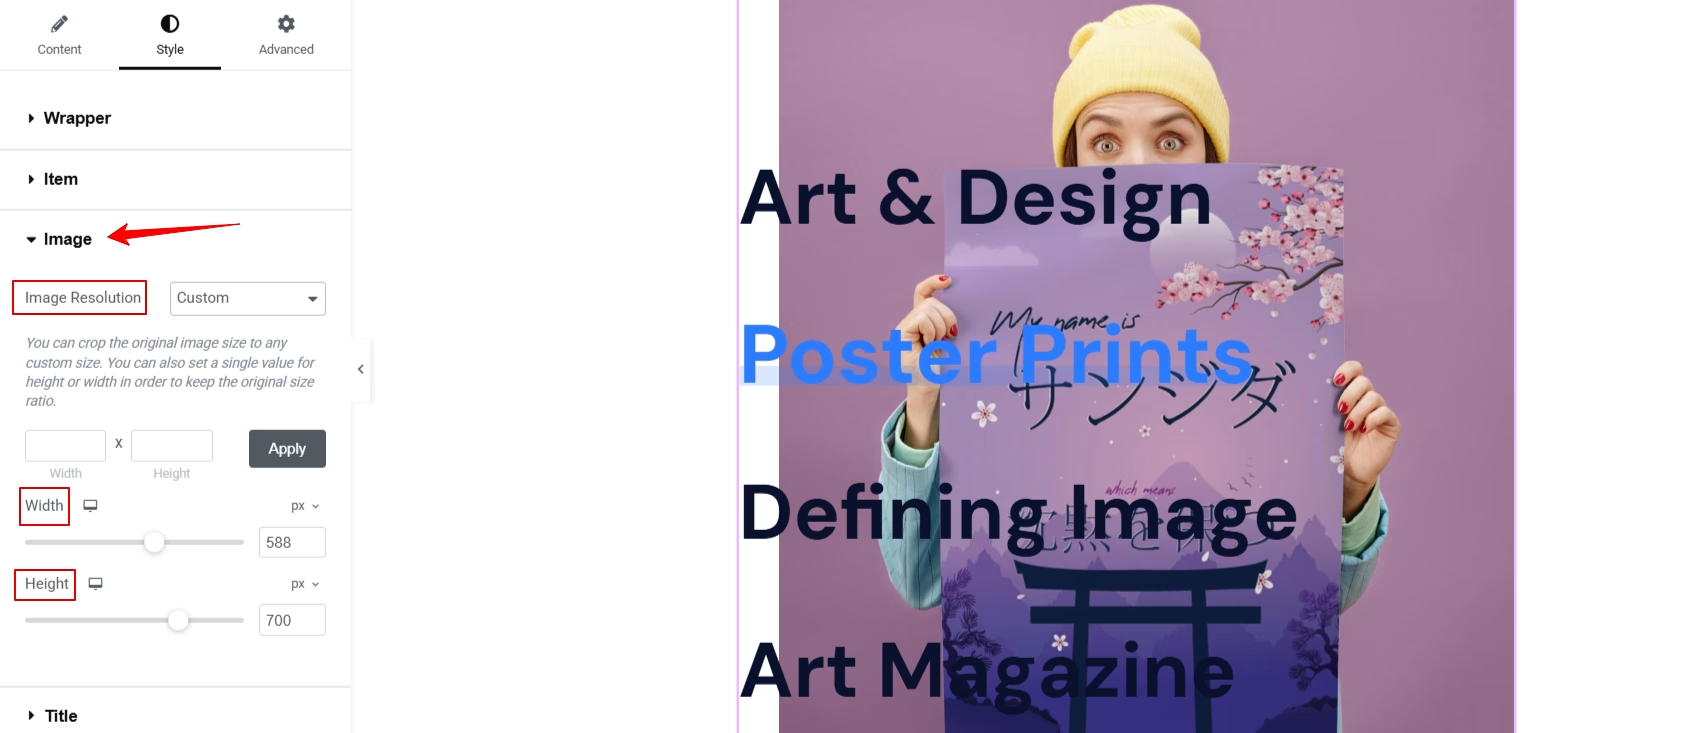
- Image: This option will let you adjust the image resolution, width, and height.
- Title: To change the title texts’ color, typography, hover & active color, you can use this option.
- Icon: Define the icon size and determine the gap between icons. Also, give a color for your added icons.
- Sub Title: Here, you can change the title texts’ color, typography, hover & active color.
Step 5: Preview, Check, & Publish #
Once done, preview your design before going live. Do all the adjustments if you notice any.
Here you go! Check how we have customized the widget 👇
This is it! The widget is handy and gives super outputs within a short time.
So, try ElementsKit Interactive Link widget now.


