Post tab widget is an interesting tool to show various posts in a tab. And you can also control multiple tabs to show your posts. It is highly customizable and easy to use for users. Using this way your visitors can enhance their user experience and you can generate more sales.
Are you thinking how to add post tab in Elementor? Let’s have a look through this short but detailed documentation.
How to Add Post Tab in Elementor- Post tab Widget #
Navigate to Your Dashboard -> Select any page -> Edit with Elementor -> Search Post Tab Widget
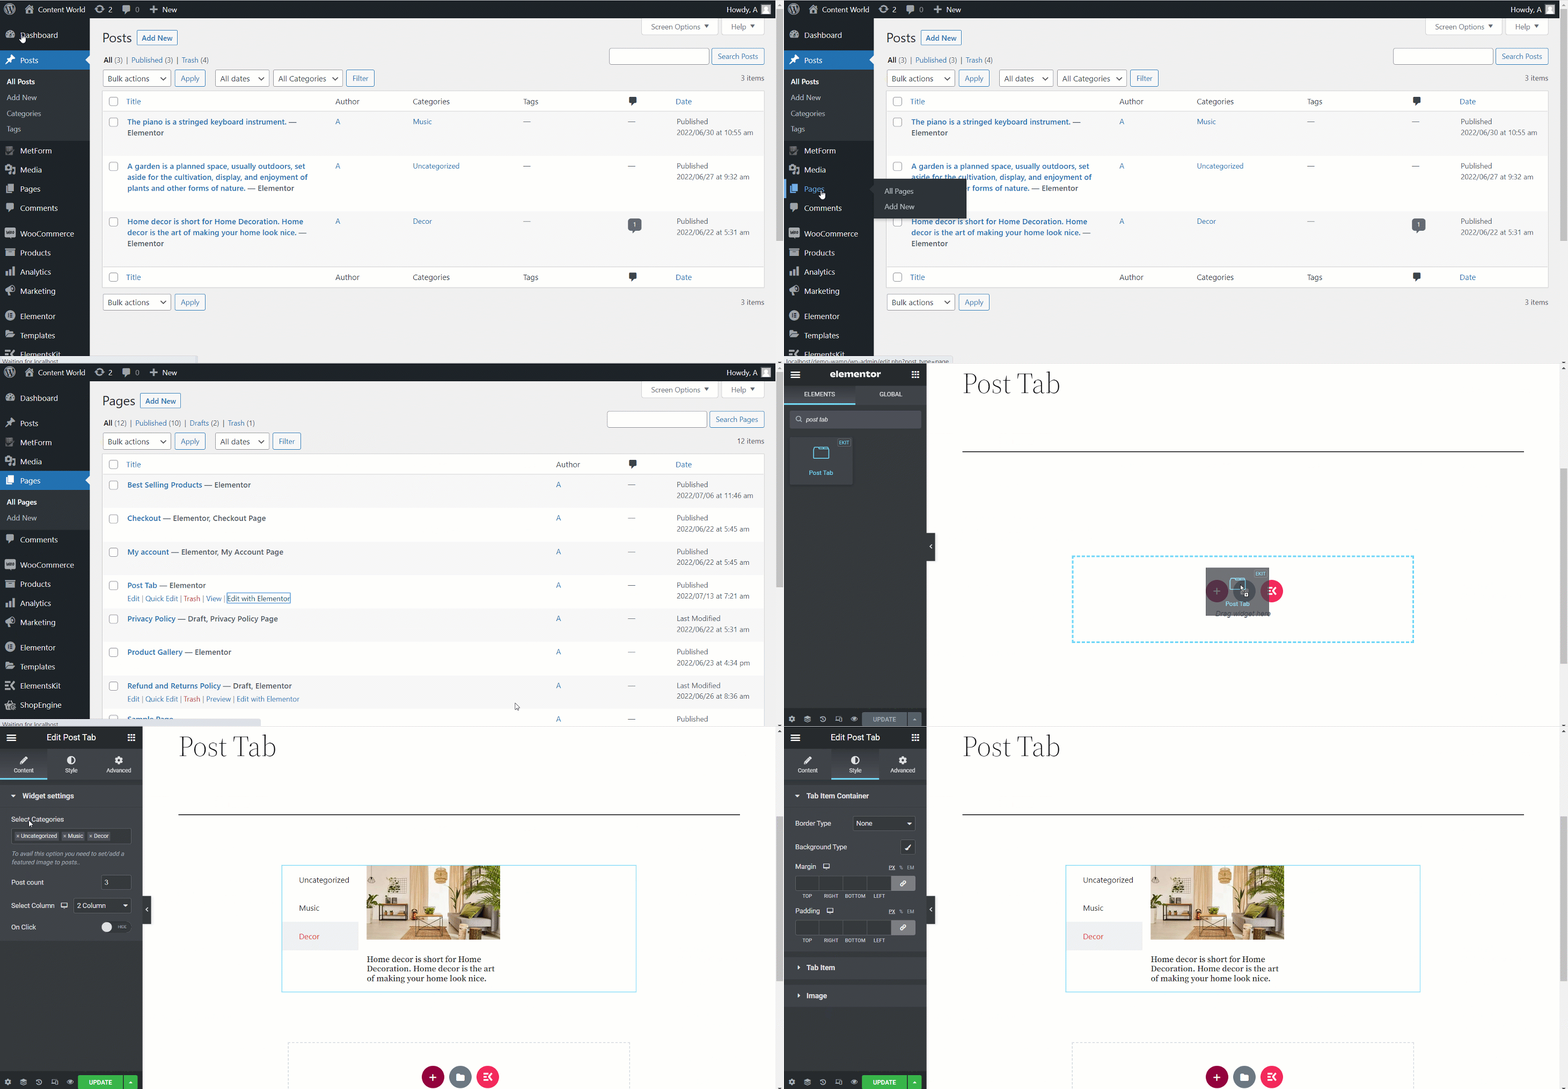

After drag and drop the widget you will see Widget Settings in the Content section. Here the edit options are-
- Select categories– Here you can select the post categories those you set before for each post.
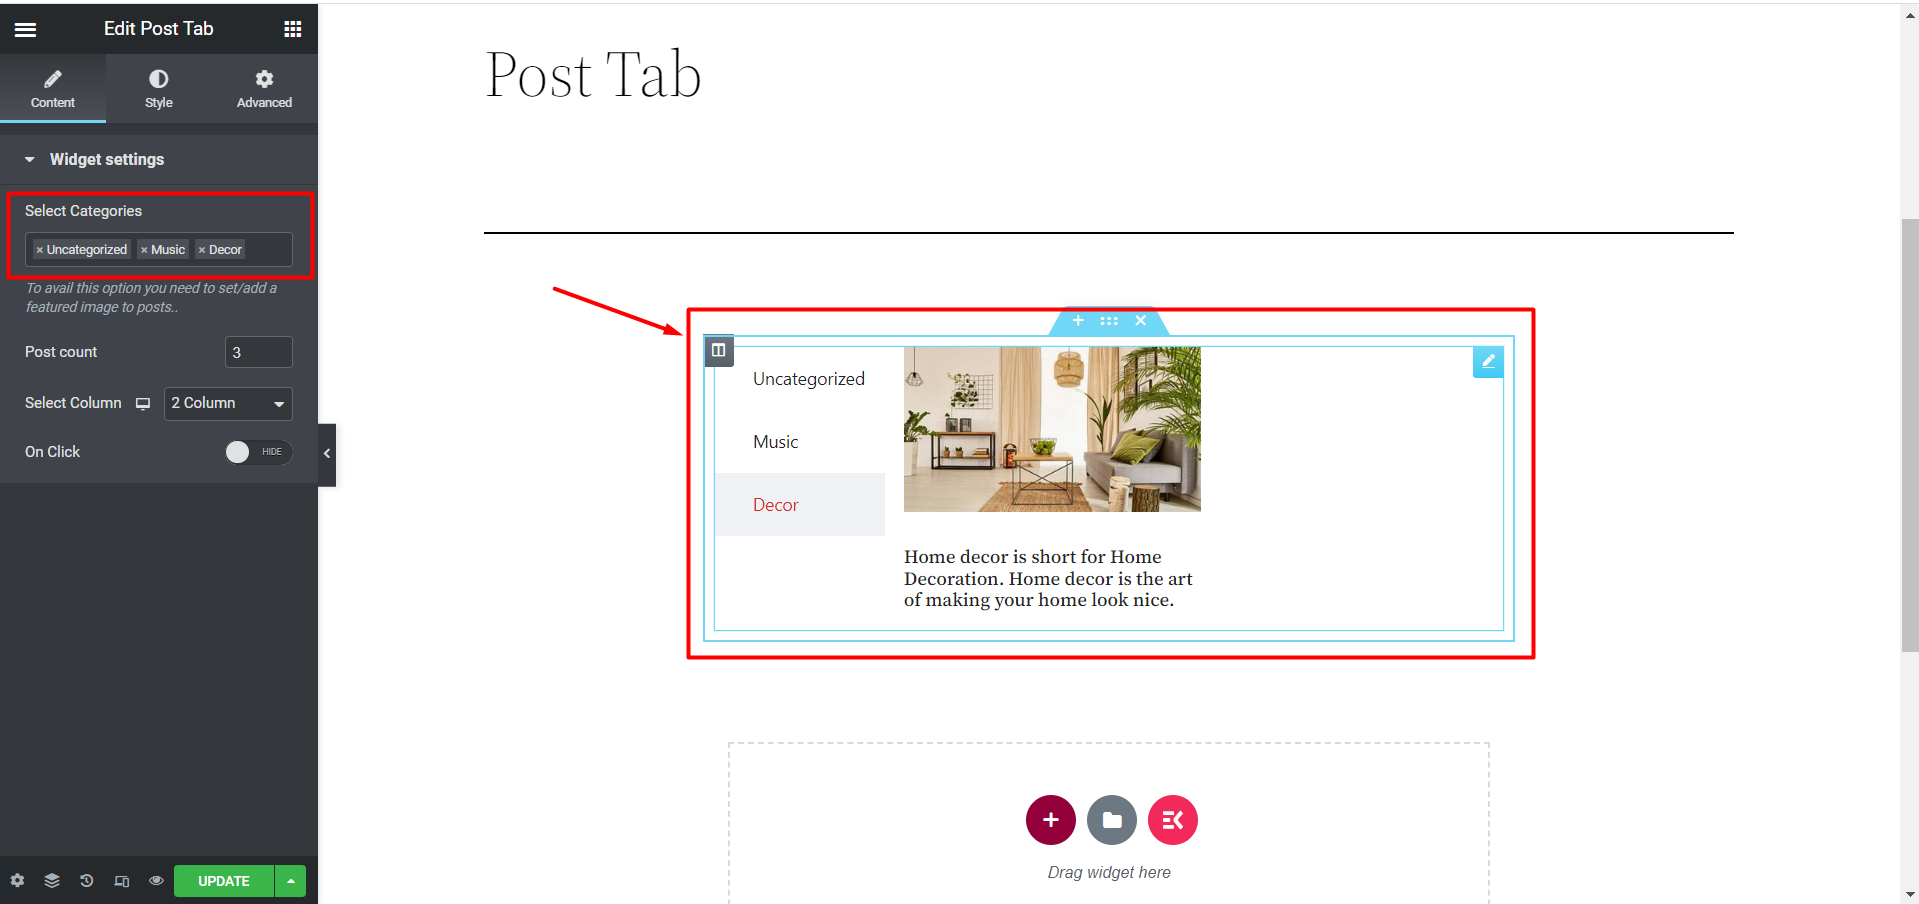

- Post Count– Select the number of posts you want to showcase in a tab.
- Select Column– Select column number of posts and design your tab.
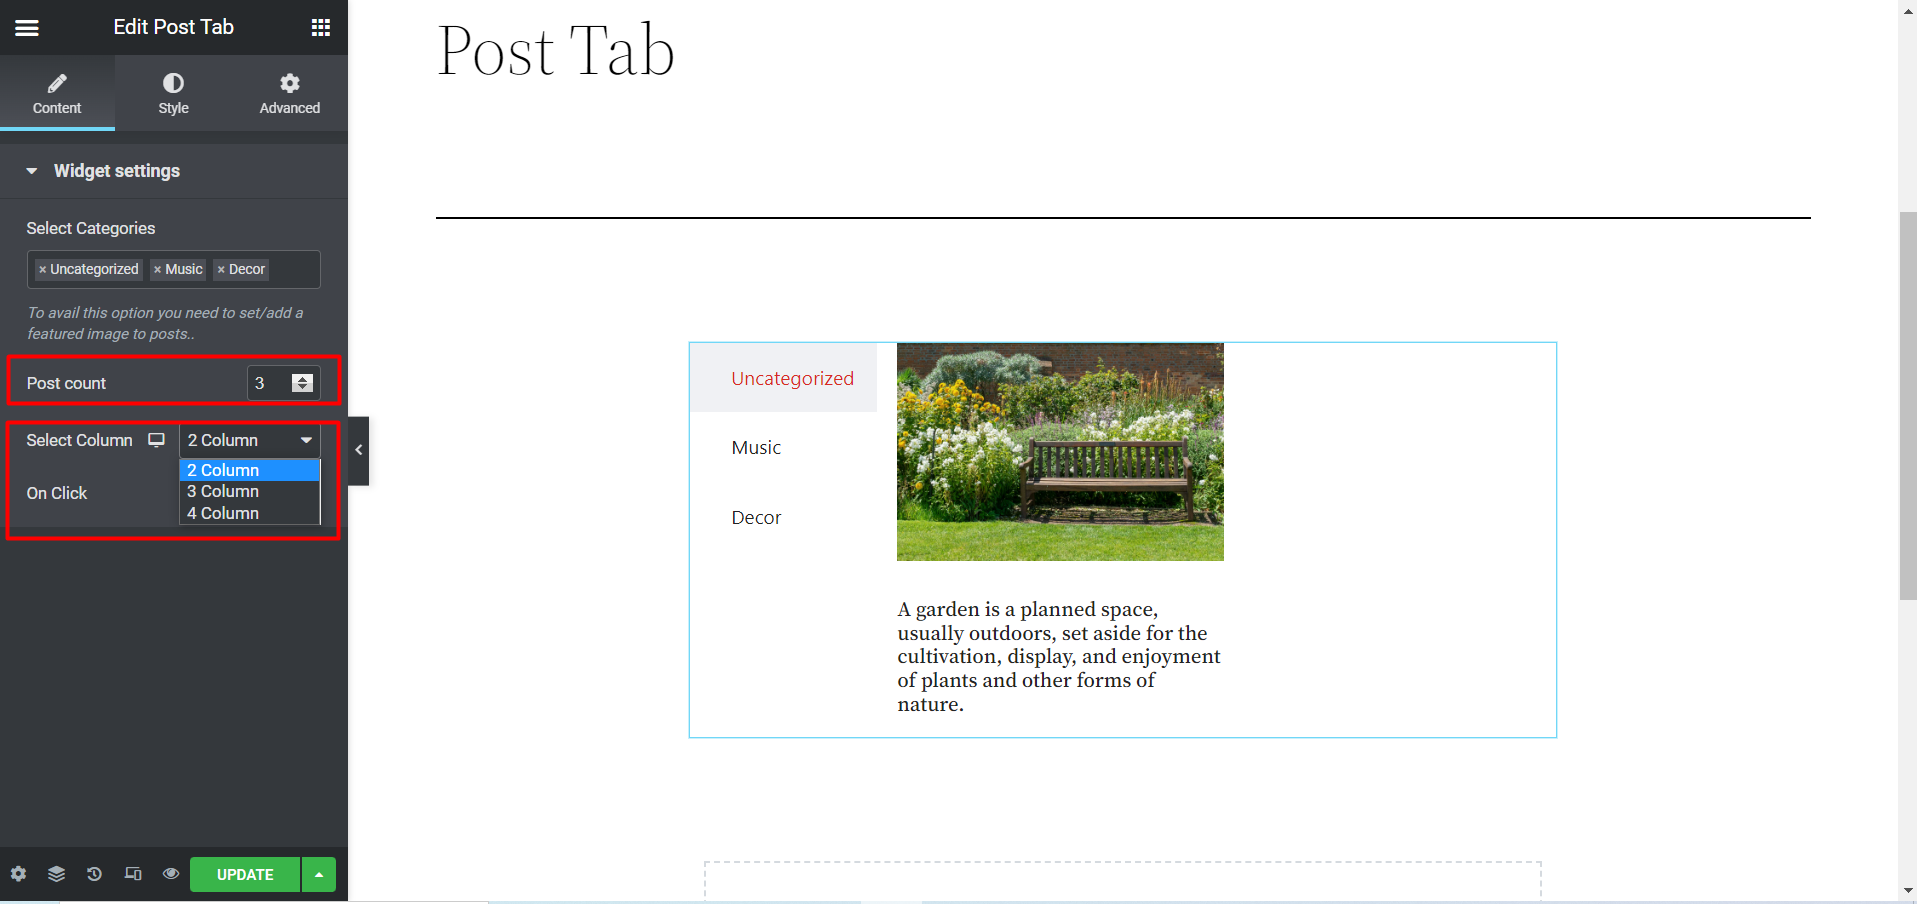

- On Click– You can SHOW/HIDE this option. If you click SHOW then a new option named Link Archive? will be appeared. And, you can also click SHOW/HIDE for this archiving solution.
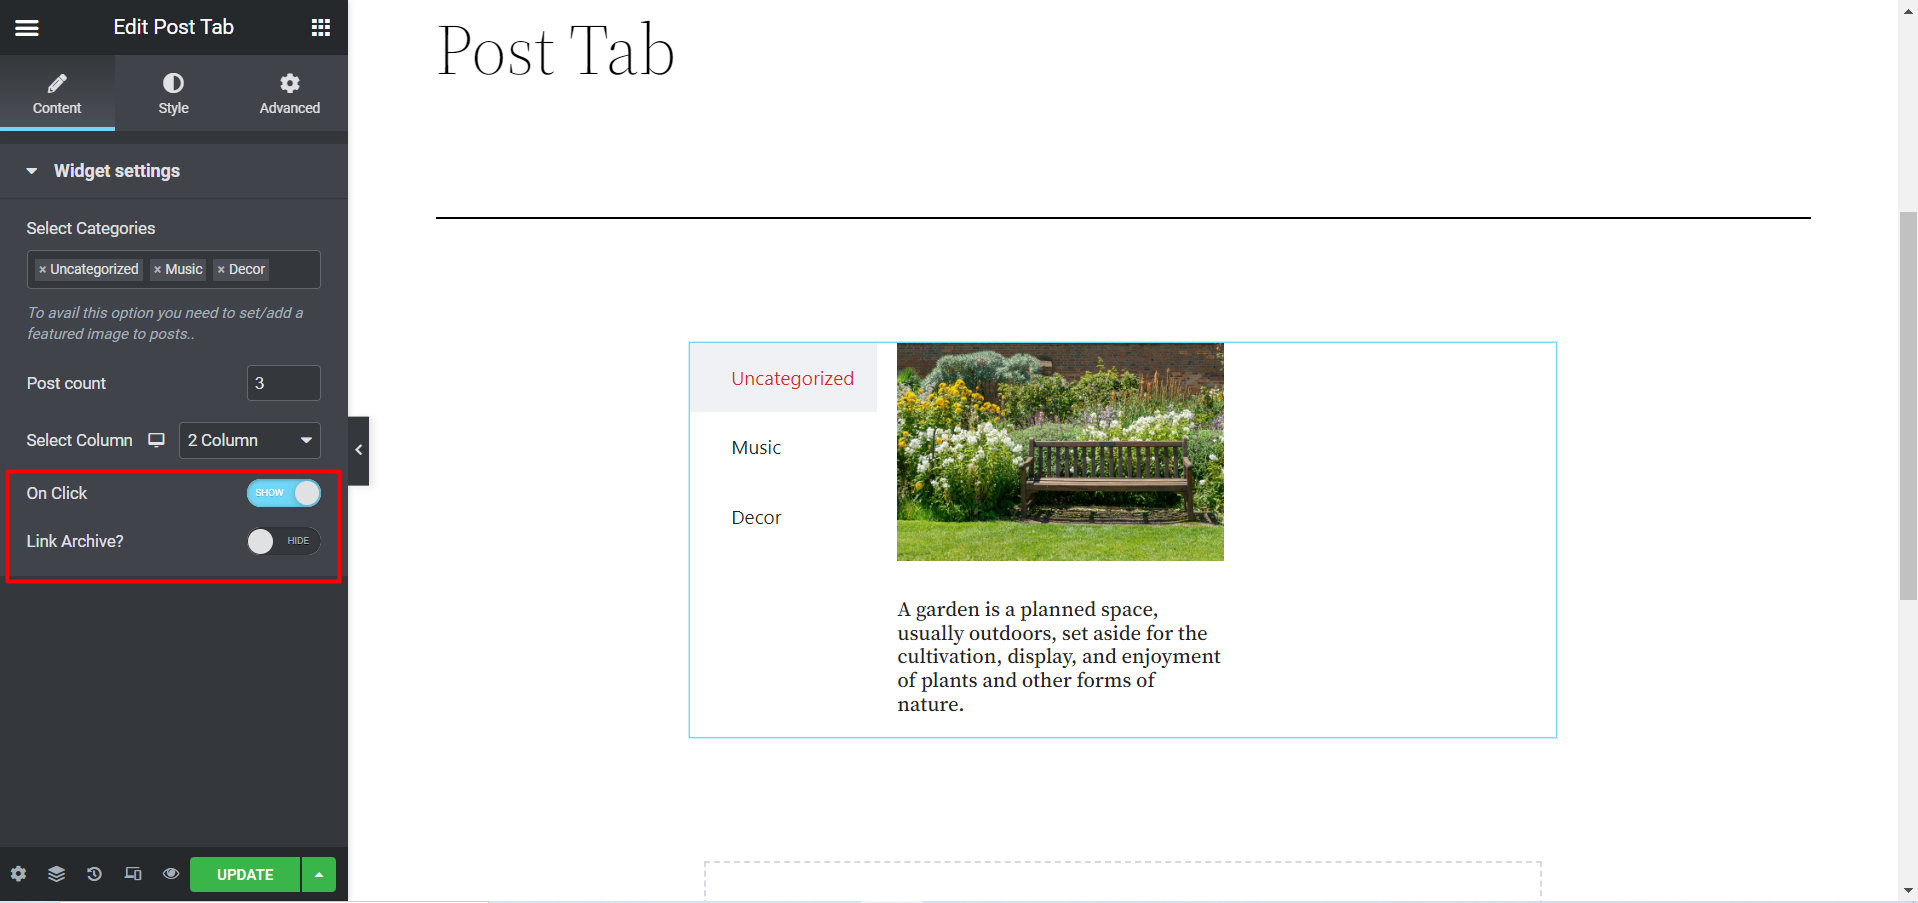

Now, in the Style section you will get some more options to design your posts and tabs. Those are-
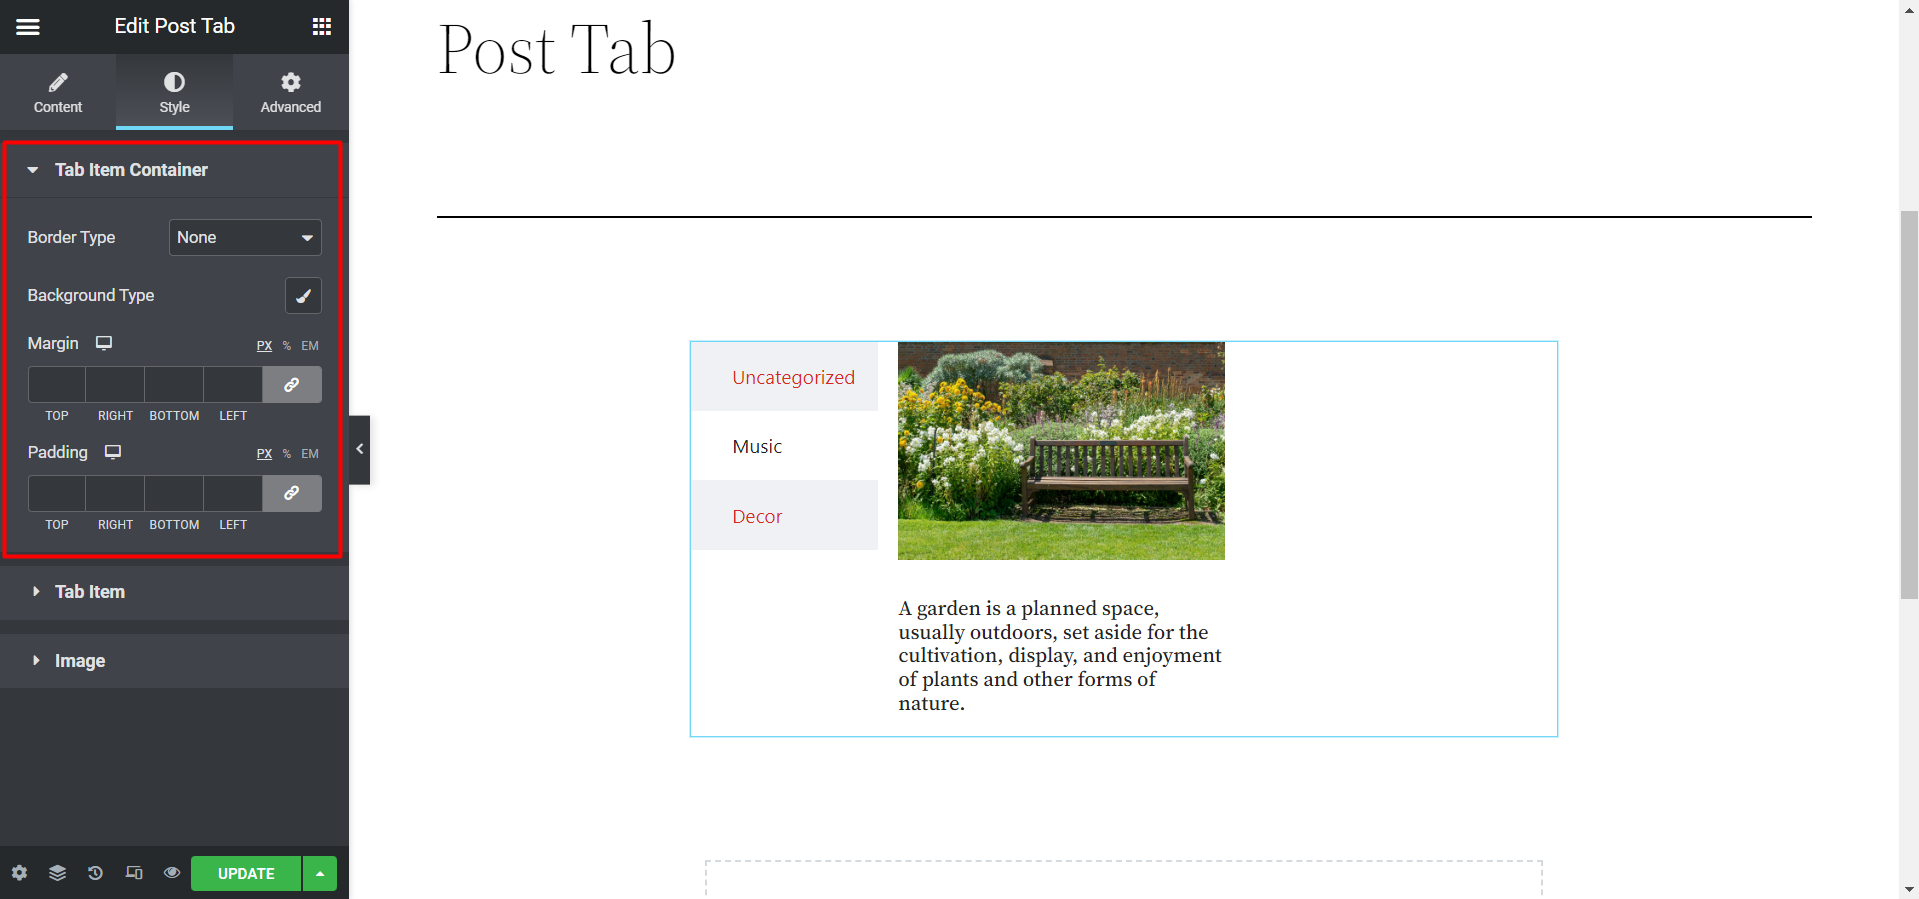
- Tab Item Container– In this option your edit tab items include, Border Type, Background Type, Margin, and Padding.

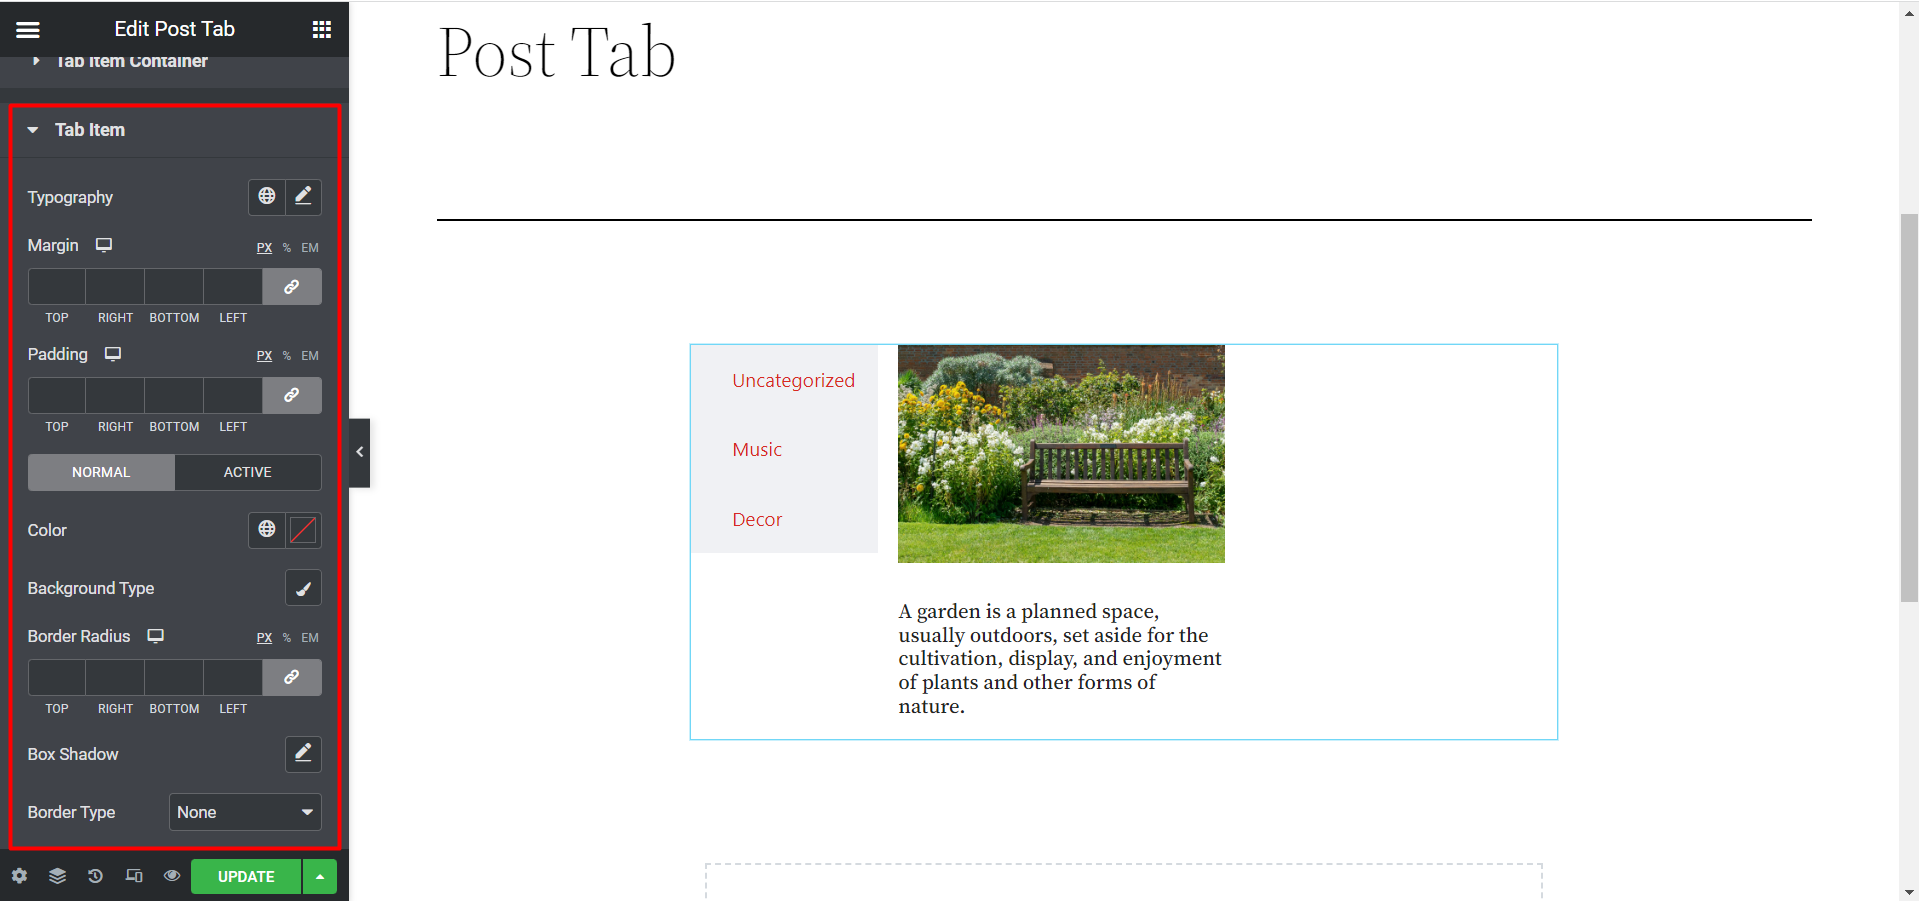
- Tab Item- Here, you will find edit options like Typography, Color, Box Shadow, etc.

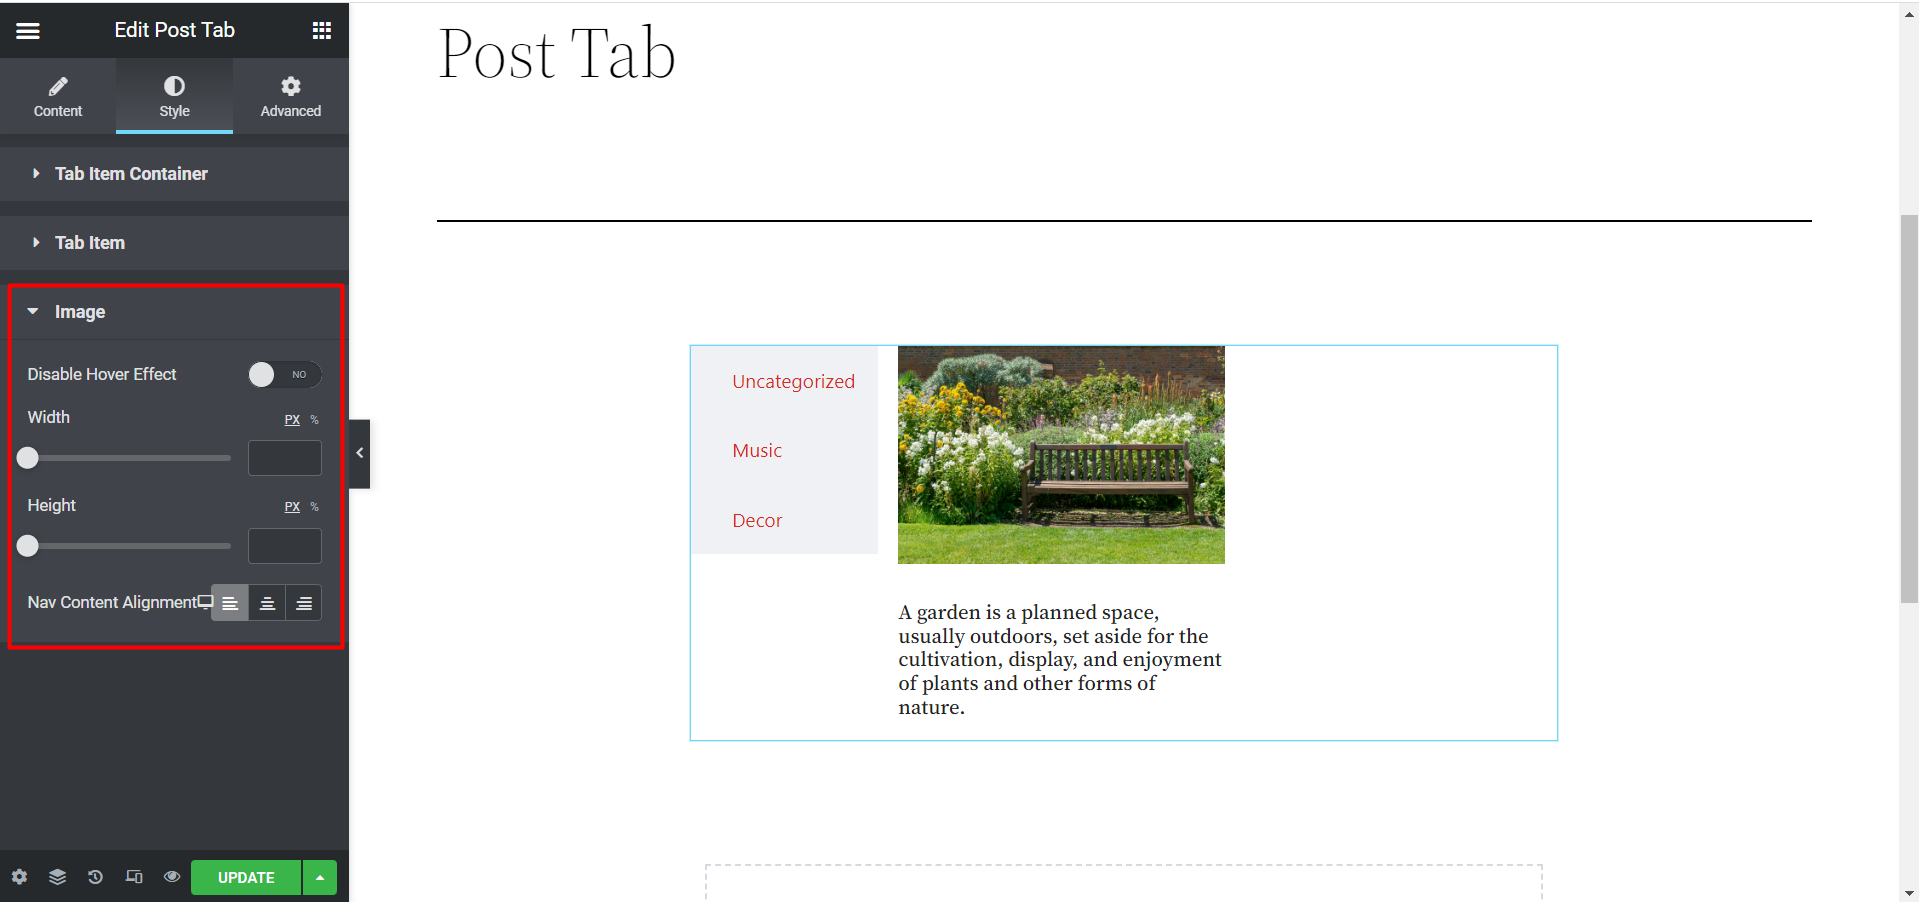
- Image- It shows options to set Hover Effect, Image Width and Height, and Alignment.

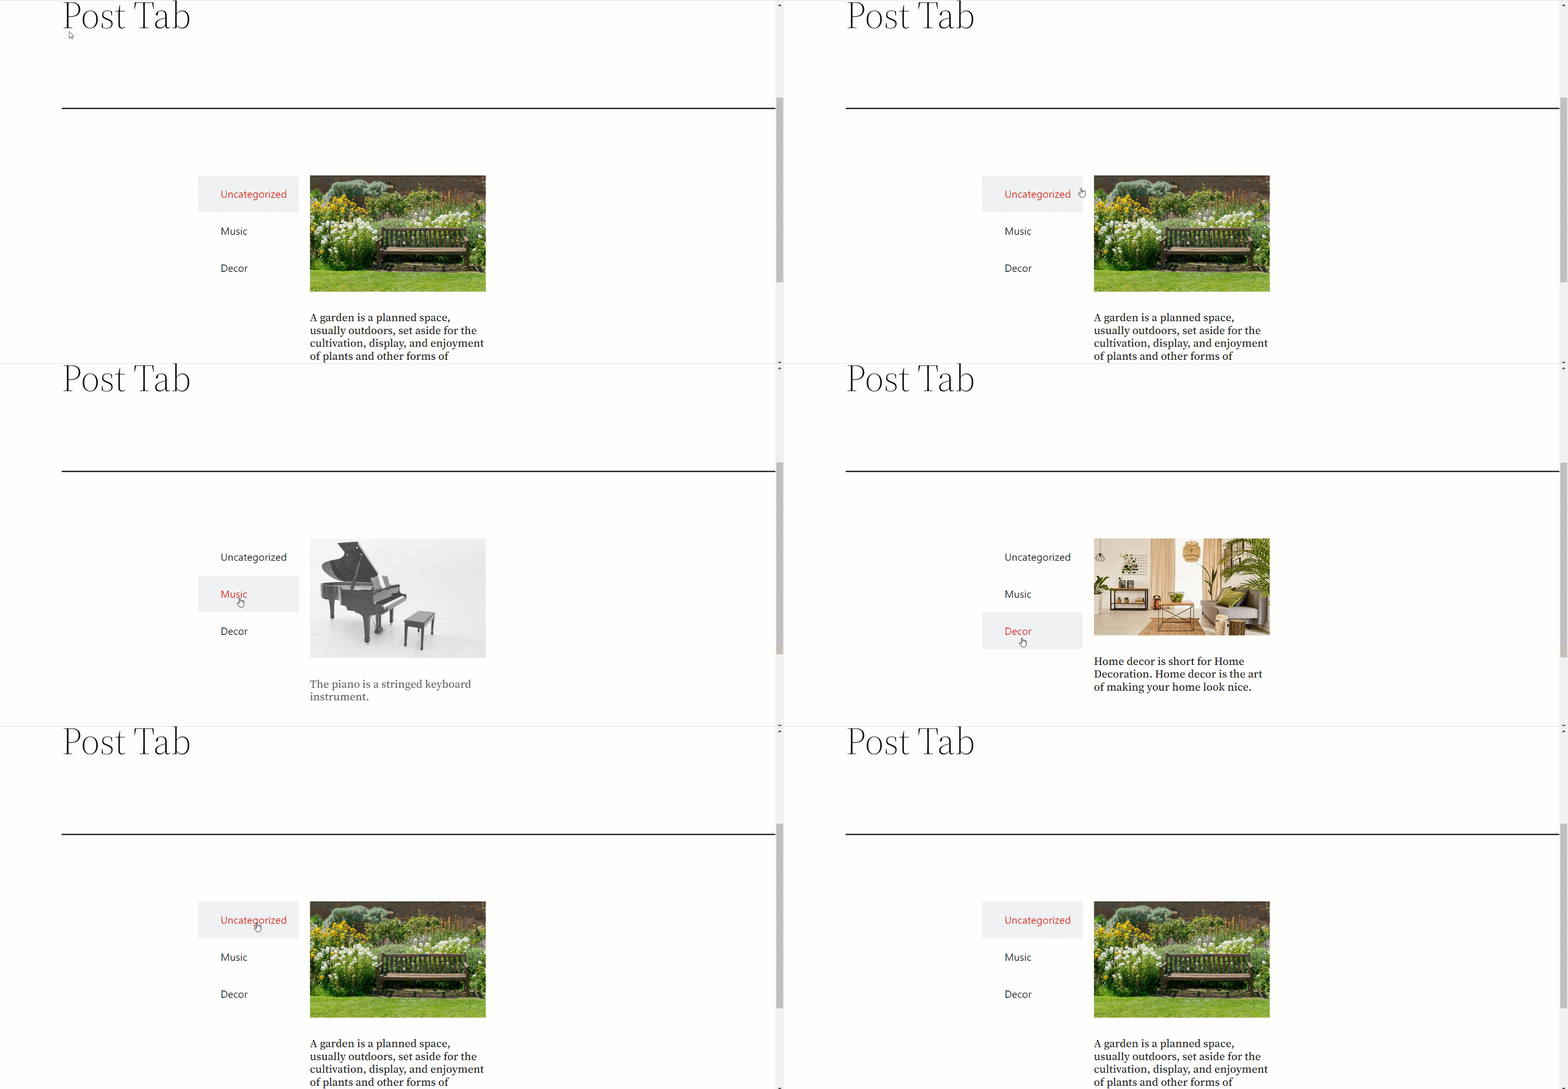
Finally, after setting everything it may look from the front end like this, here we have set 1 post per tab.

This is how you can add this effective widget to organize your posts and tabs. Just follow the easy steps and make some stylish tabs to engage new website visitors.


