


ElementsKit supports a fully drag & drop Header & Footer builder for Elementor. You can build any type of WordPress Header & Footer on the fly using ElementsKit pre-designed templates. Here’s a comprehensive article to explain every method of creating header and footer designs for WordPress.
Watch our Elementor header-footer building video guide:
Or, follow the step-by-step instructions on the WordPress header-footer builder:
Step->1: Add Header and Footer #
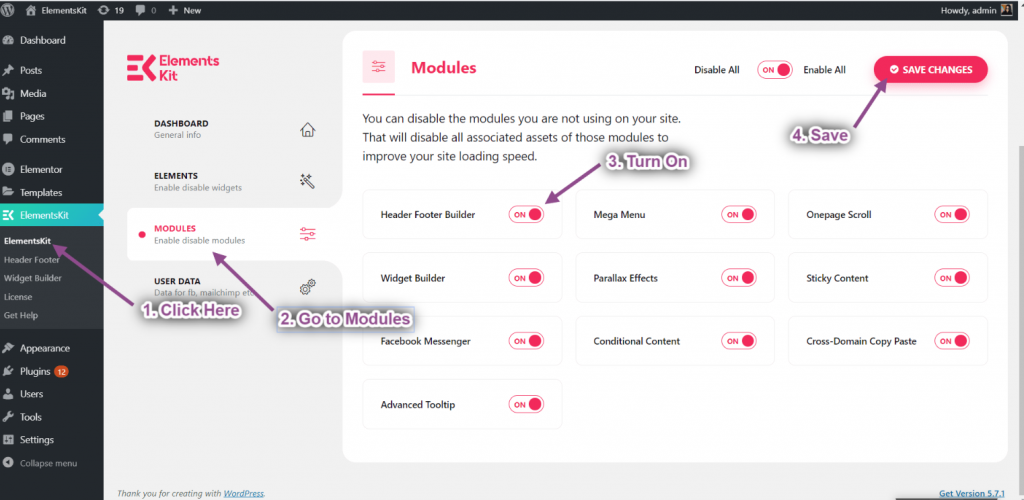
- Make sure you have the Header Footer module enable from ElementsKit → Modules.
Step->2: Create a Header Template #
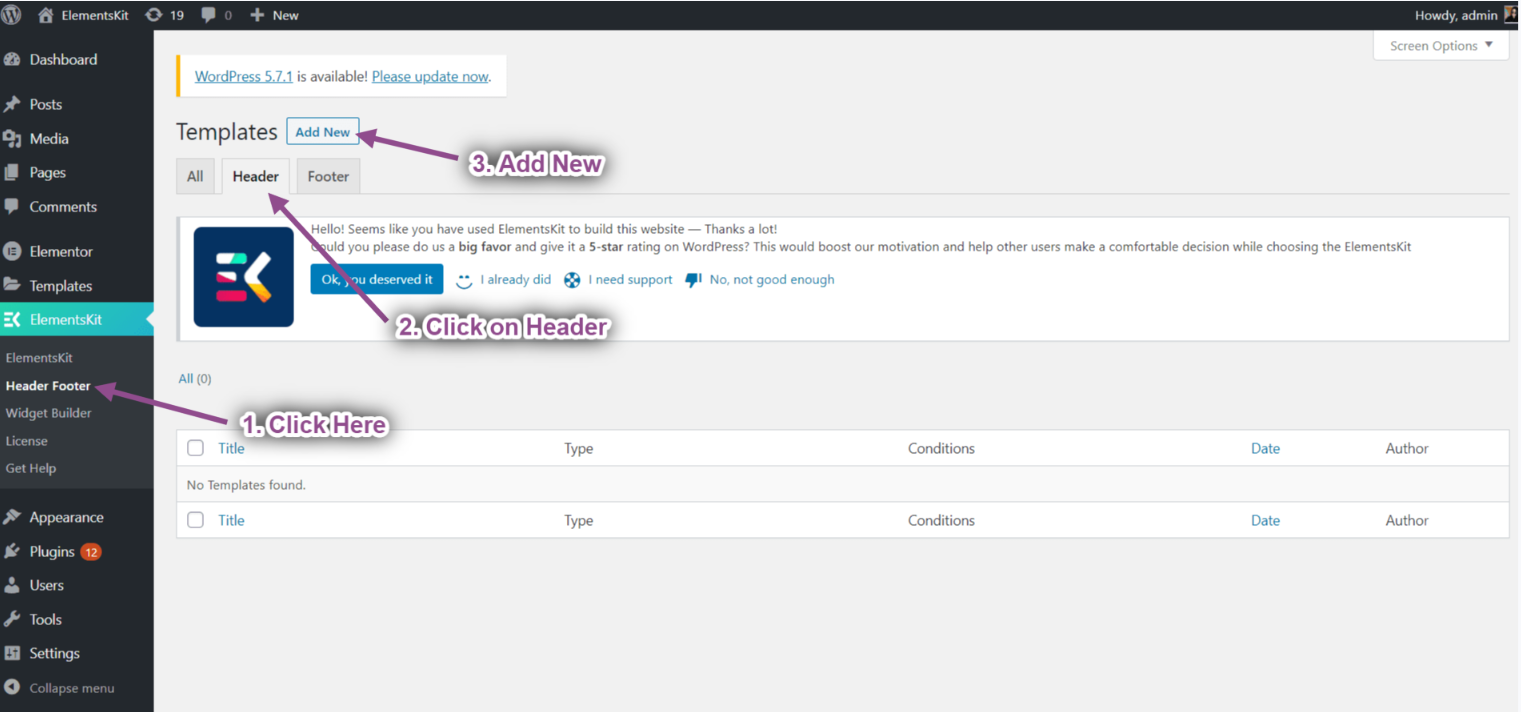
- Navigate to ElementsKit→ Header Footer→ Header→ and click Add New.
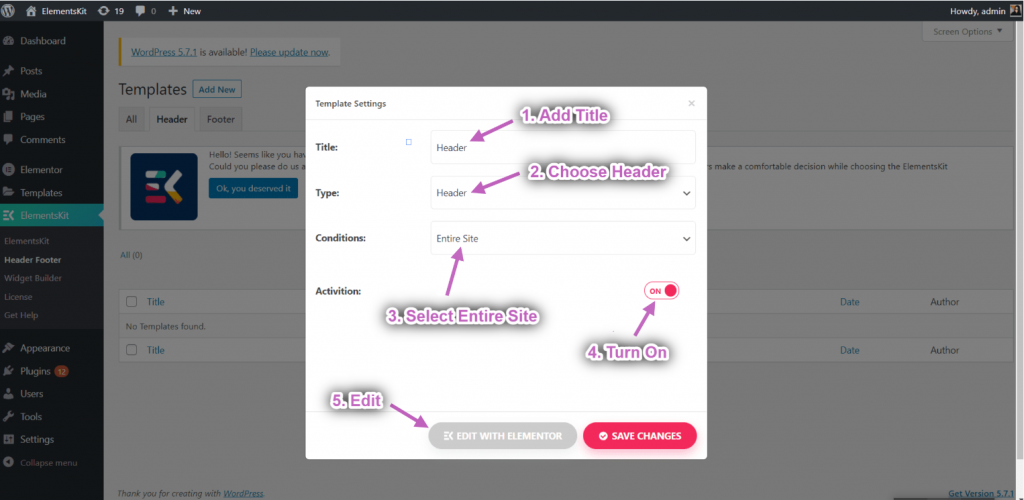
- A popup box will open with options.
- In the popup box type a Title, select the Type→ Header.
- Select the Conditions→ Entire Site.
- Toggle the Activation option and click on Edit With Elementor.
- Select your structure from the selected area.
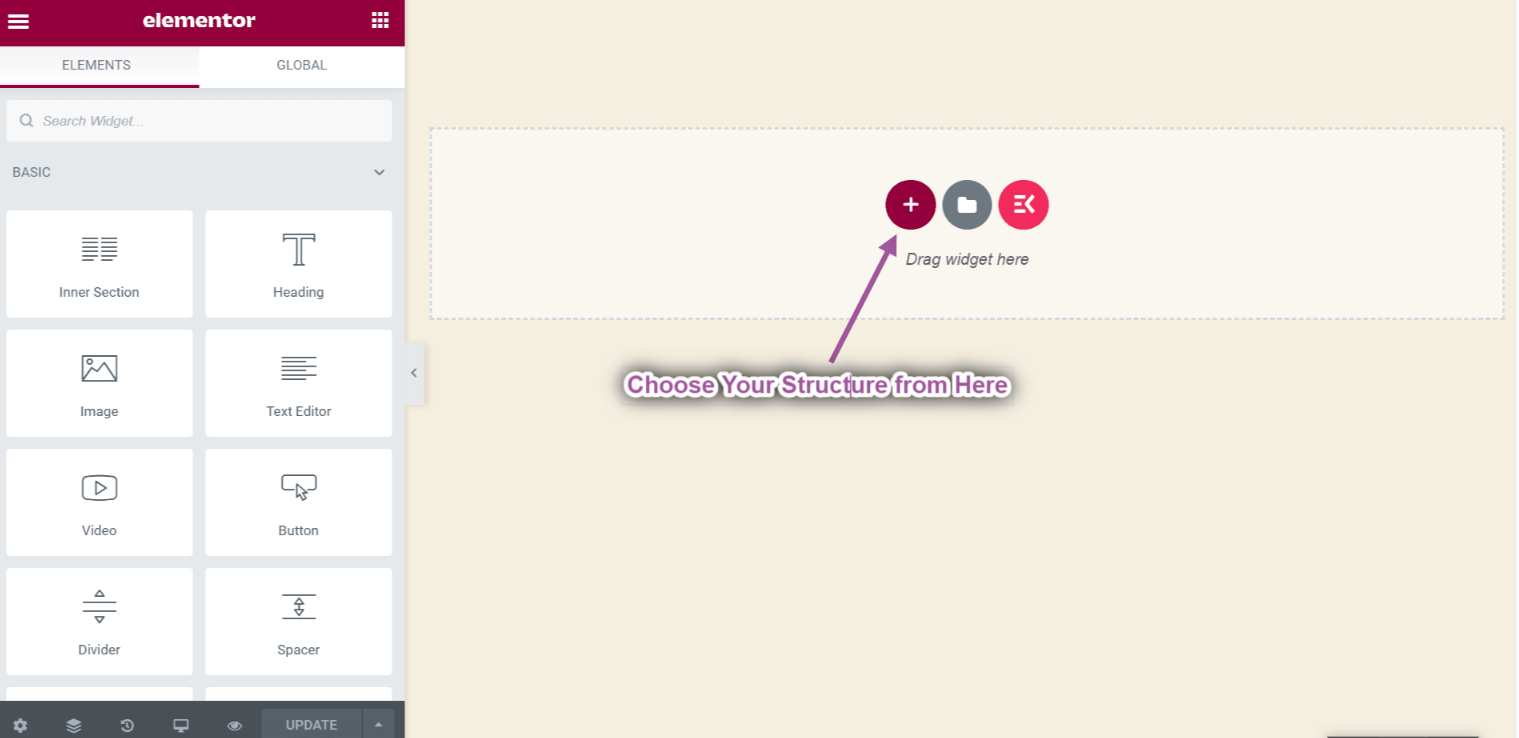
- Now just drag the Image and Nav Menu widget from the Elementor Block and drop it on the selected area.
- You can add any type of widget from here.
Create Header from Pre-made Templates
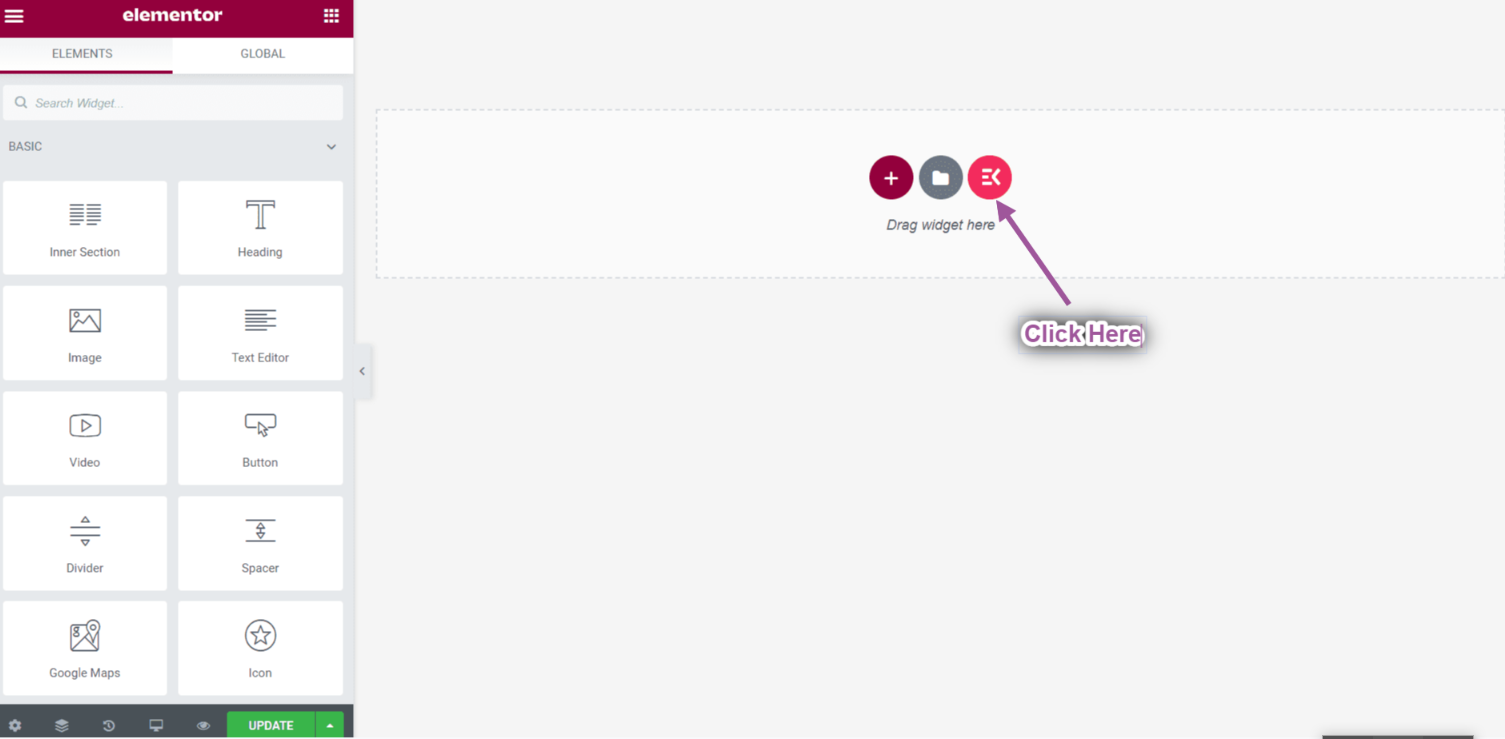
- Click on the ElementsKit Icon to insert header from our premade templates.
- Go to Headers-> Select your Desired Template-> And click on the Insert button to add.
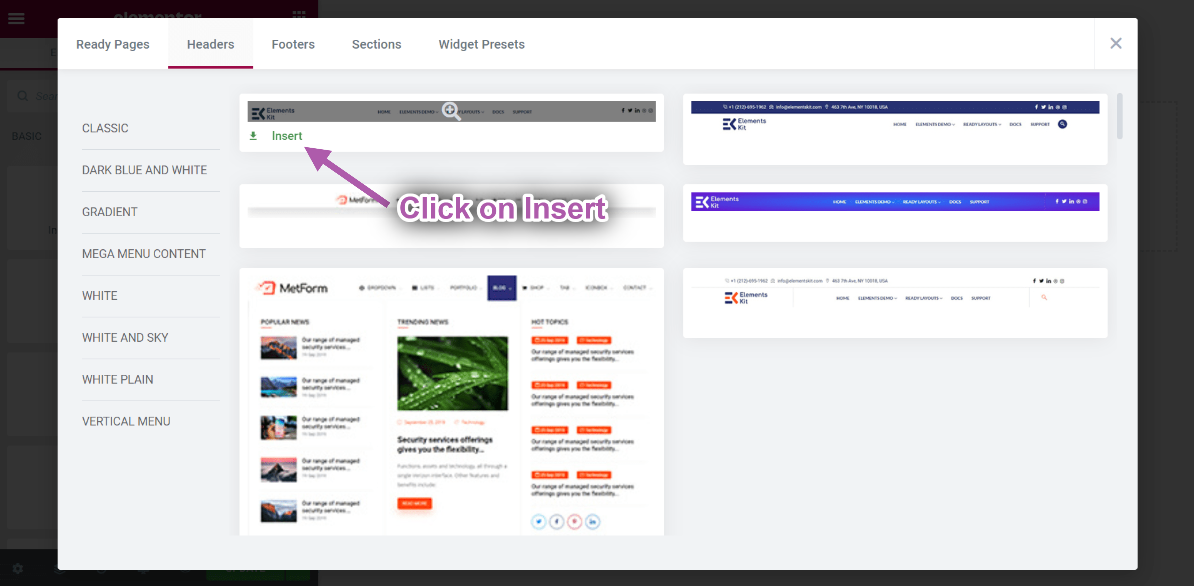
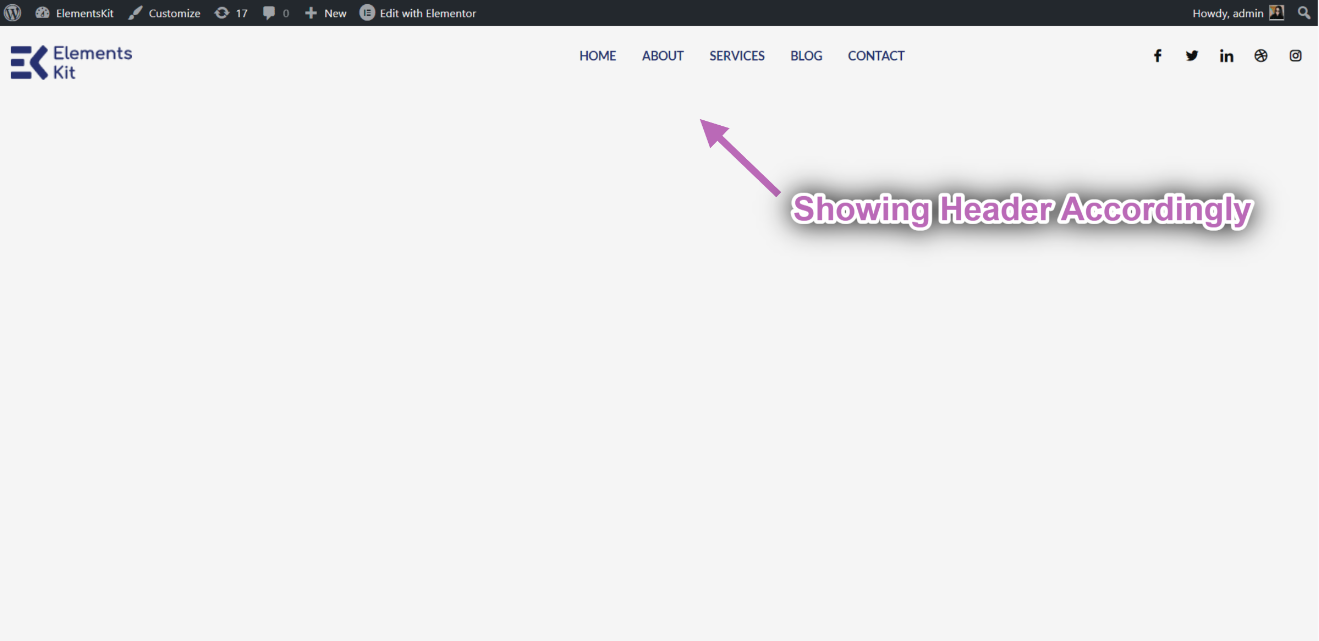
- You can see your selected Header template showing.
- Now click on the Selected Nav Menu area-> Select your Menu from the drop-down.
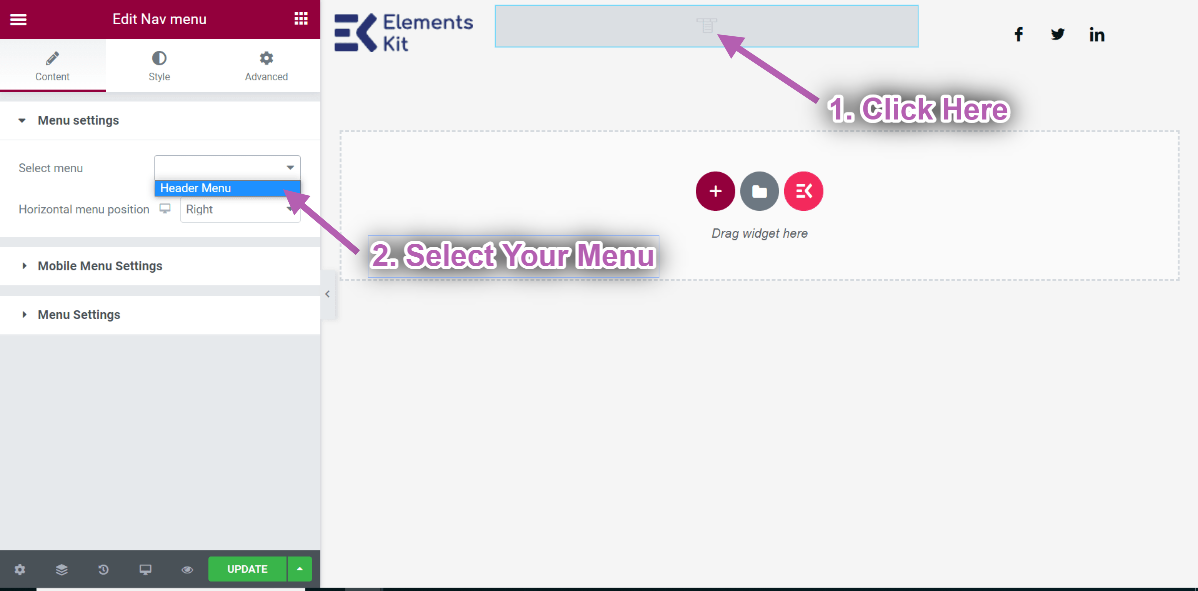
- Once done, click the Update button to save the menu.
- Now go to your site and you can see your selected Header Template is showing accordingly.
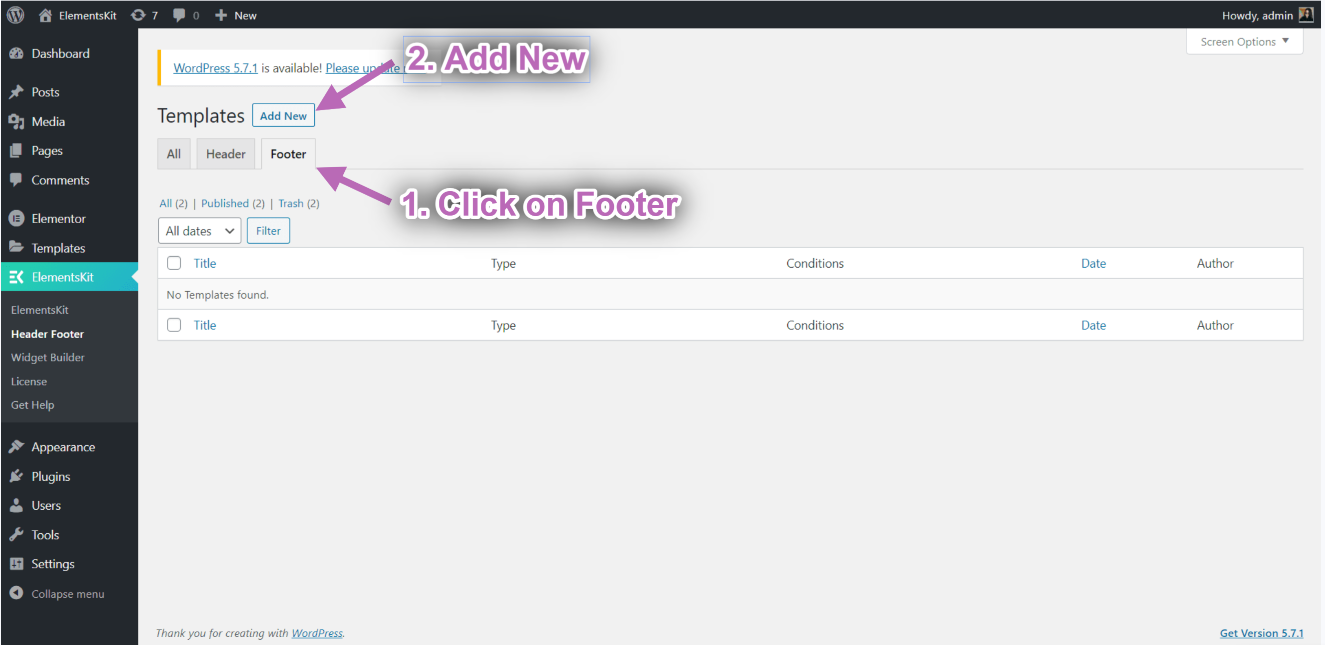
Step->2: Create a Footer Template #
- Navigate to Footer→ and click Add New.
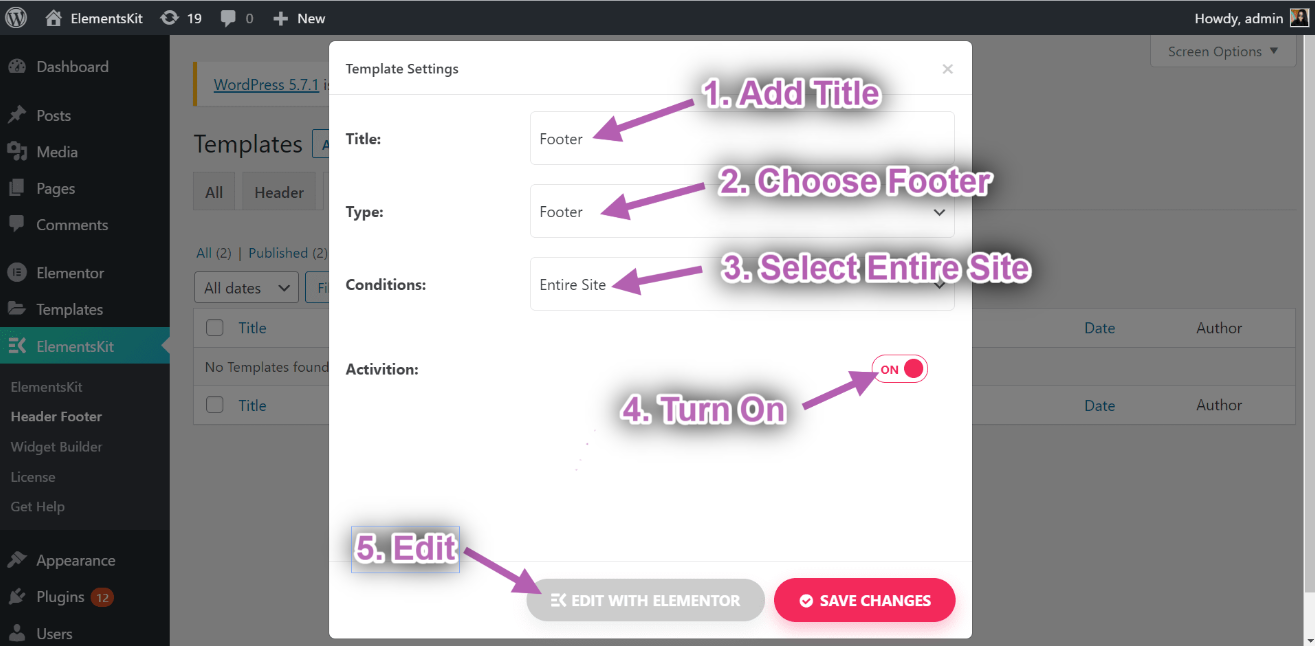
- A popup box will open with options.
- In the popup box type a Title, select the Type→ Footer.
- Select the Conditions→ Entire Site.
- Toggle the Activation option and click on Edit With Elementor.
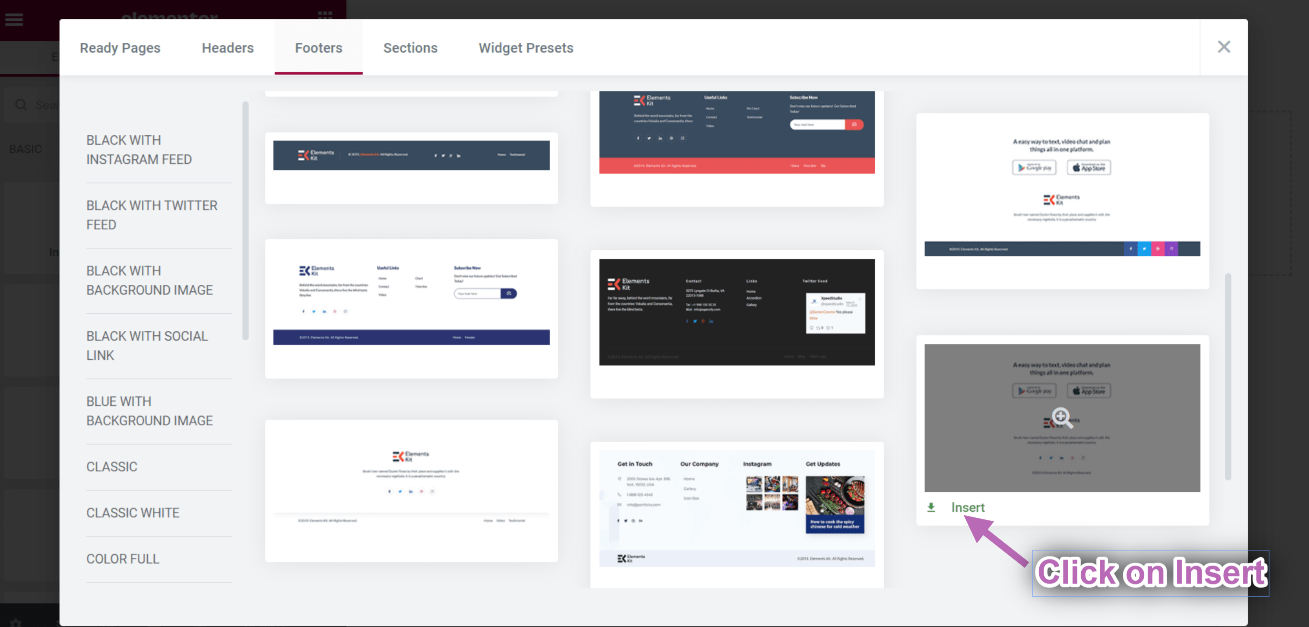
- Click on the ElementsKit Icon to insert header from our premade templates.
- Go to Footers-> Select your Desired Template-> And click on the Insert button to add.
- Once done, click the Update button to save the menu.
- Now go to your site and you can see your selected Footer Template is showing accordingly.

So this was our detailed guide on building a WordPress header-footer for Elementor websites. However, if you still have any issues, please contact our support team.
Quick Recap
Let’s take a quick look back at what we’ve achieved in this WordPress website header and footer builder module tutorial:
Tools Used: Elementor & ElementsKit Elementor Addon
✅ Install and activate the ElementsKit Header Footer Builder Module,
✅ From your WordPress dashboard, navigate to ElementsKit > Header Footer.
✅ Create a Header or Footer builder template.
✅ Choose where to show your customized header or footer navigation.
✅ Start editing with Elementor builder.
✅ Choose a template or build from scratch.
✅ Preview & publish header footer builder template.
So, using the ElementsKit Header Footer Builder module is the easiest way to build and customize the WordPress header or footer.


