Get Started #
WooCommerce Checkout displays product selection and checkout forms on a single page. Add products to an order, remove and complete payment without leaving the page. Just follow the Step by Step process:
Create Form #
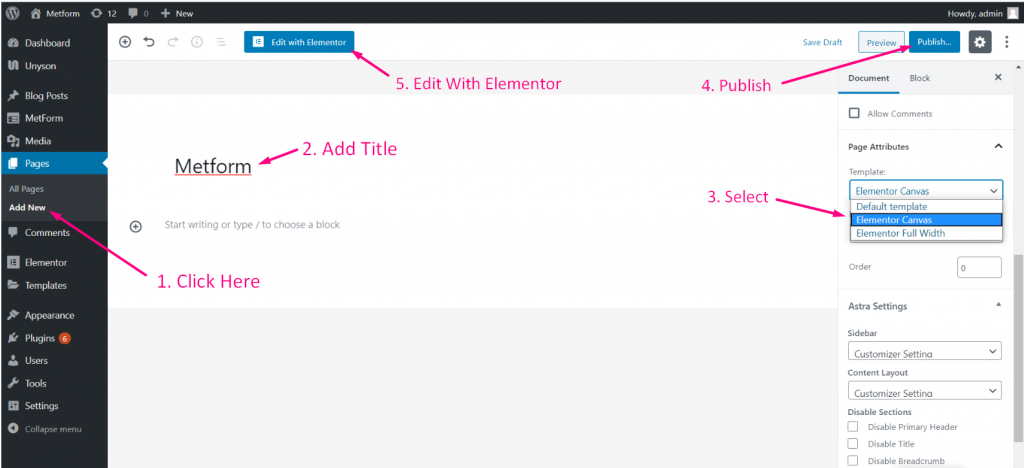
Step=>1: Go to Dashboard=> Pages=> Add new=>
- Add Page Title
- Select Template Elementor Canvas
- Click on Publish
- Edit with Elementor
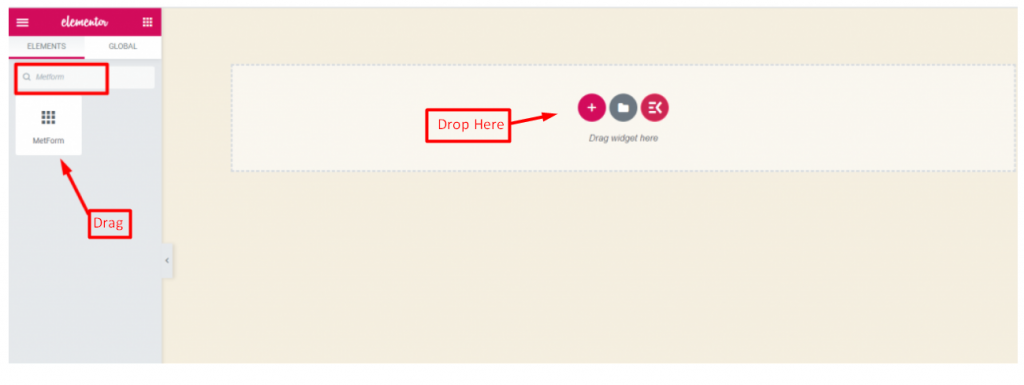
- Step=>2: Search For Metform=> Drag and Drop
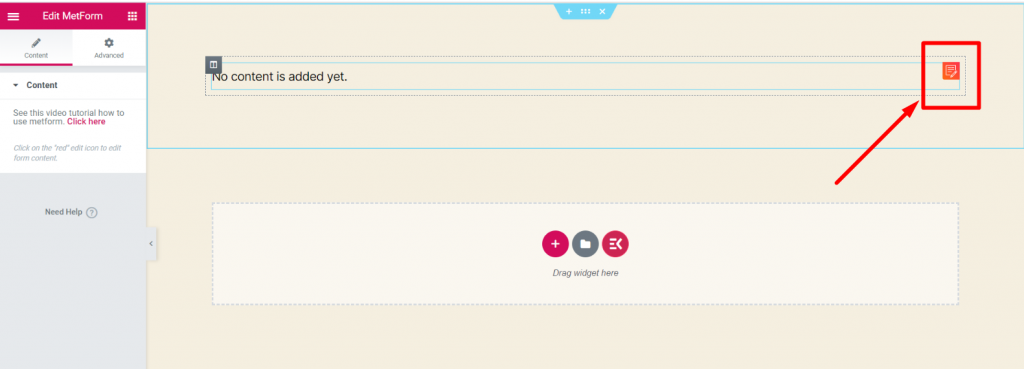
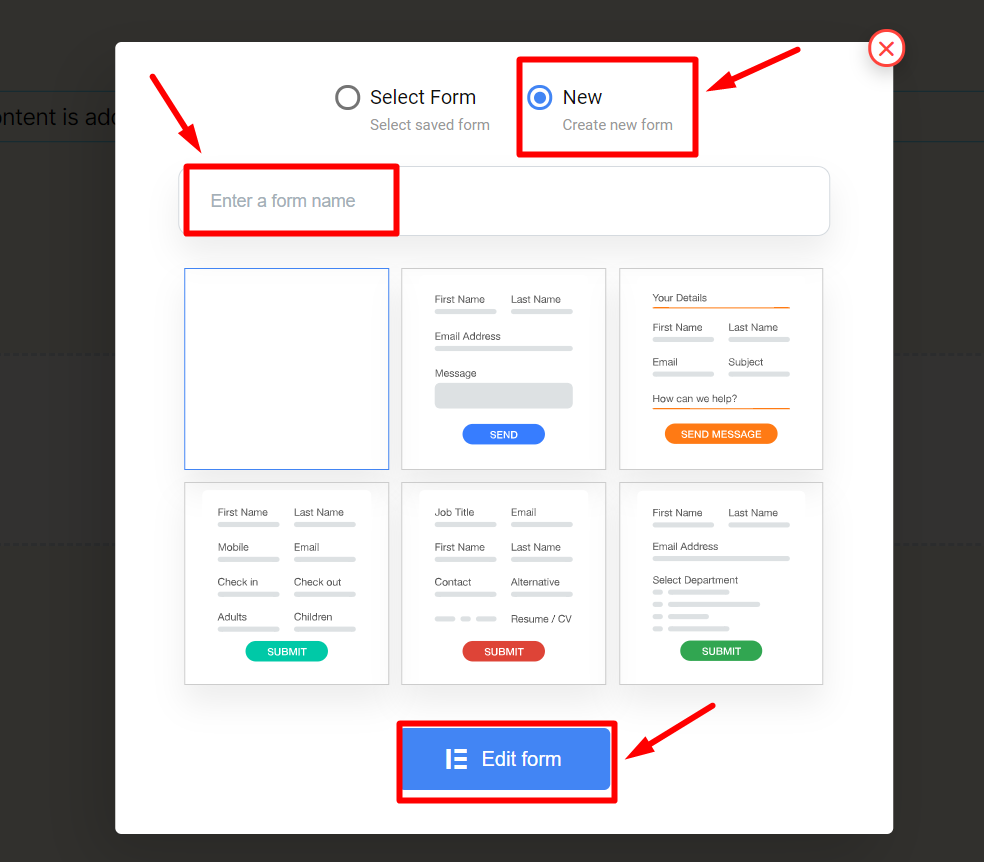
- Step=>3: Click on the selected Icon
- Step=>4: Or you can select New=> Enter your Form Name=> Click on Edit Form
Set Product Value #
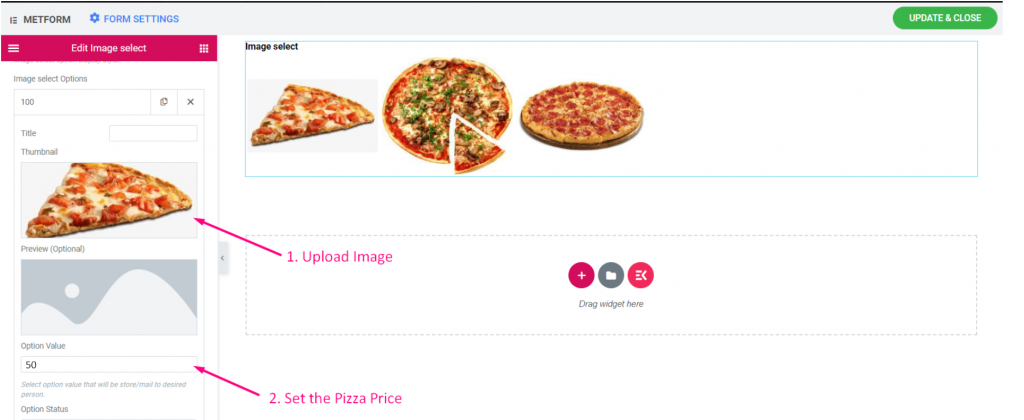
- Step=>1: The Created Form will Appear=> Now Search for Image Select=> Drag=> Drop

Step=>2:
- Upload Image
- Set the Product Price. For EX: 50
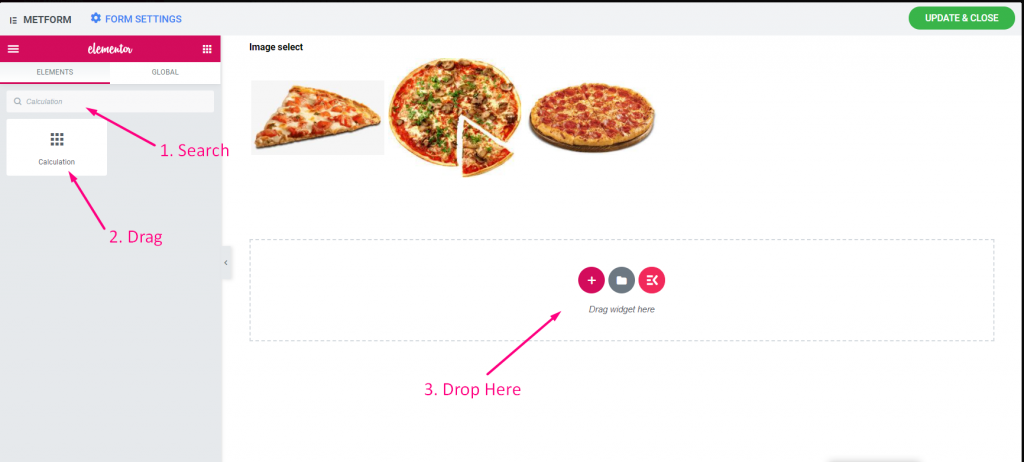
Step=>3:
Now Search for Calculation=> Drag=> Drop
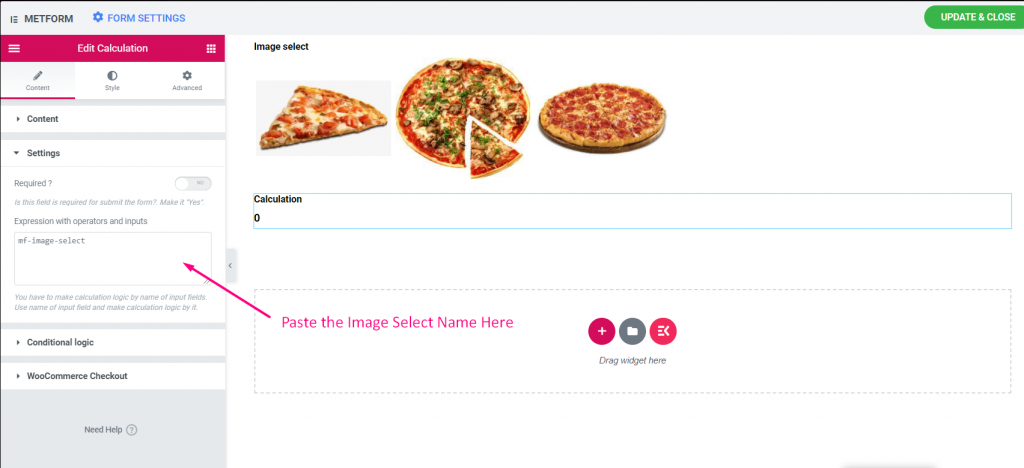
- Step=>4: Copy the Image Select Name
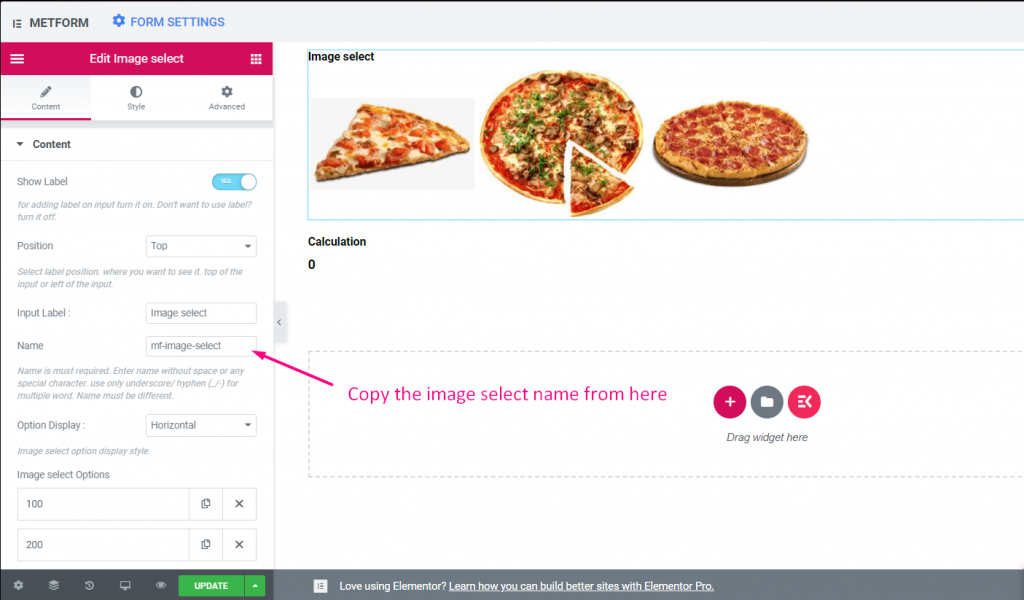
Step=>5: Paste the Image Select Name on the Calculation=> Settings=> Expression Section
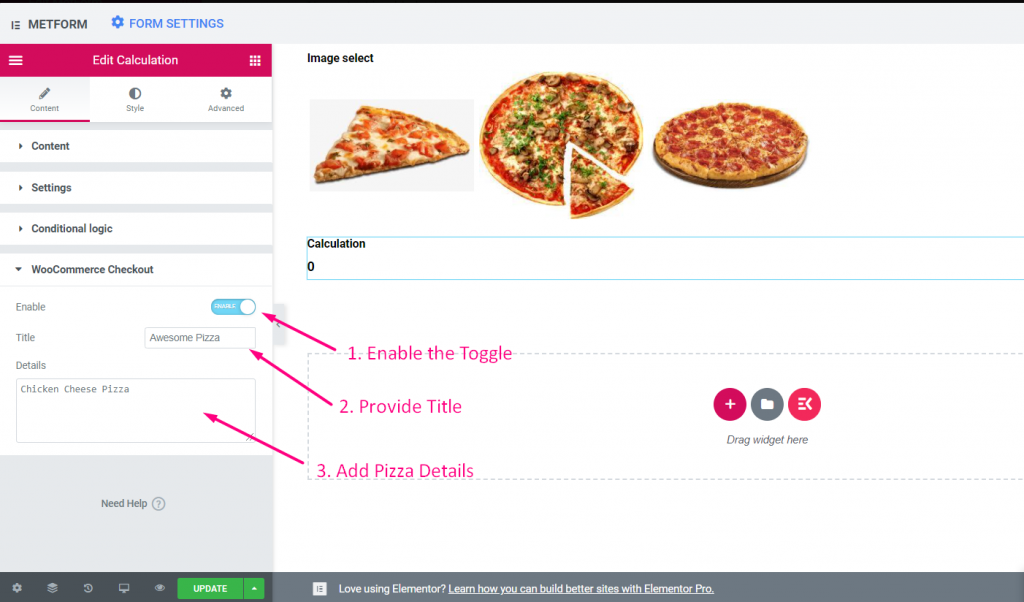
Step=>6:
- Go to WooCommerece Checkout=> Enable the Toggle=> Provide Title=> Add Pizza Details
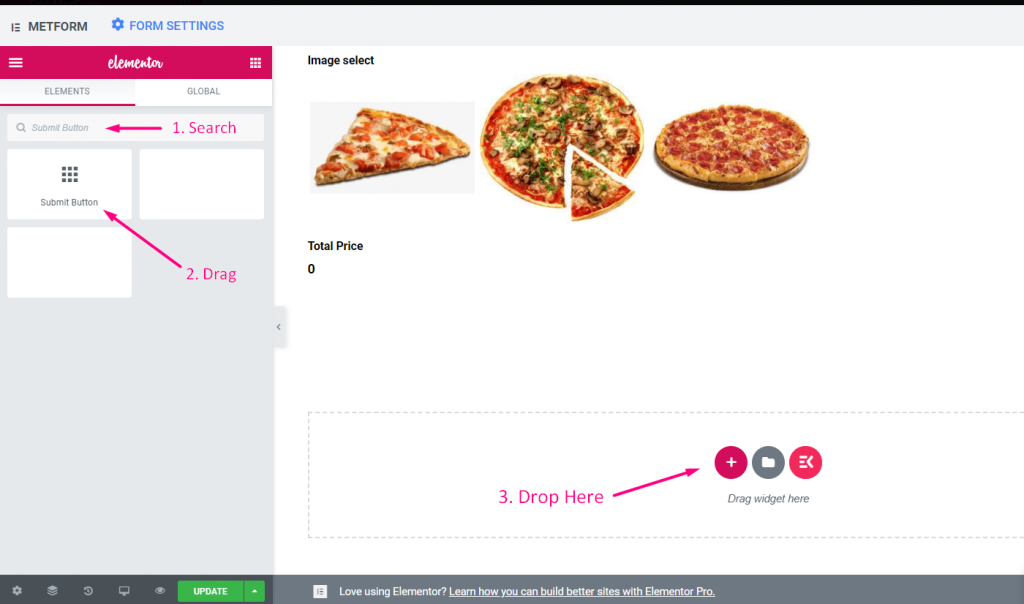
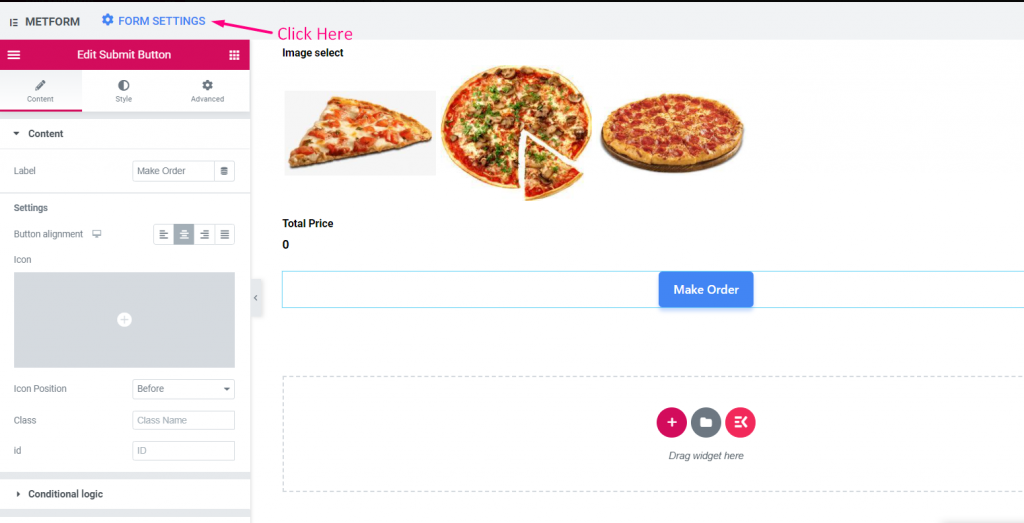
- Step=>7: Now Search for Submit Button=> Drag=> Drop
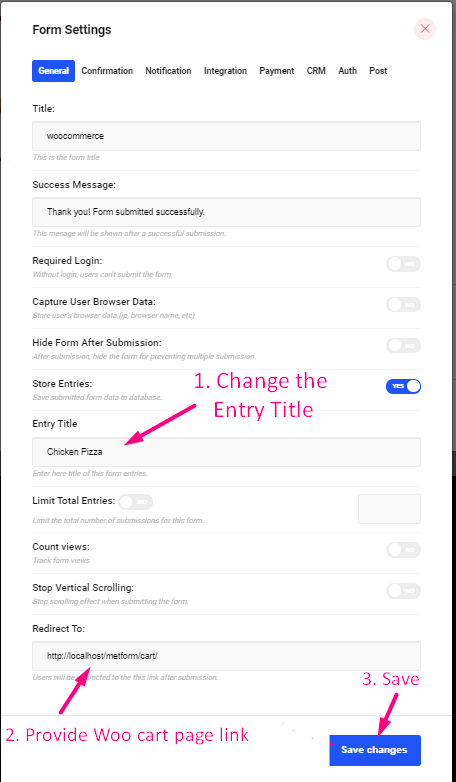
- Step=>8: Click on the Form Setting
Step=>9:
- Add or Edit any Entry Title from Here.
- Provide the WooCommerce Cart Page Redirect Link
- Save Changes
Site View #
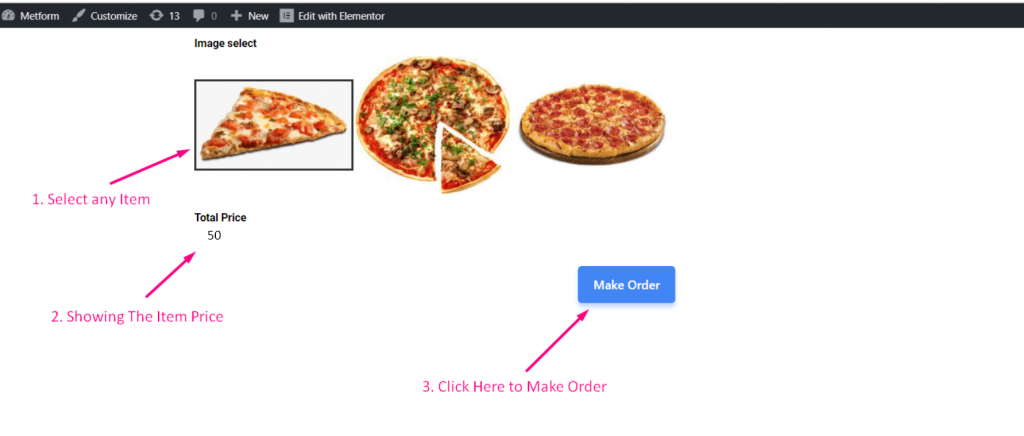
Step=>1: Now go to the Site=> Select Any Item=> Click on Make Order
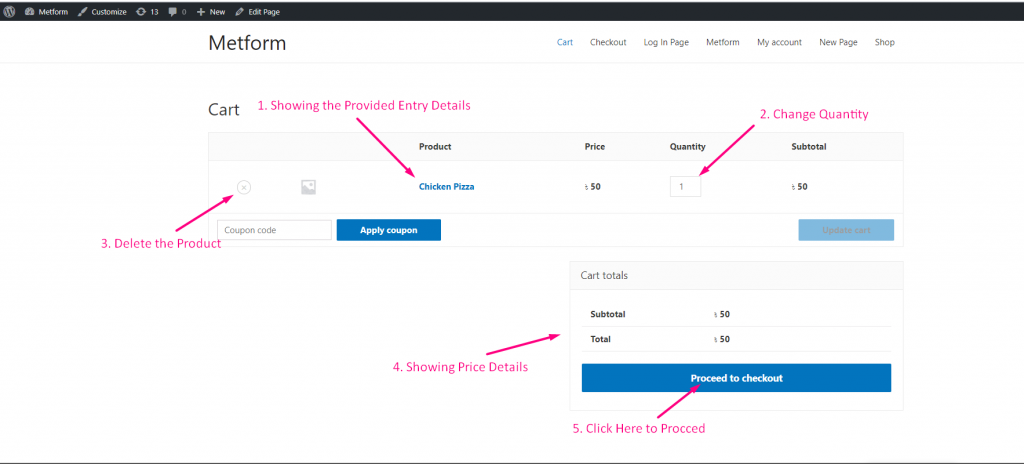
Step=>2: This will move to the WooCommerce Cart Page that you have given on the Form Settings
- Showing the Entry Details as you have provided on Form Settings Entry Title.
- Set the Quantity of the product
- Showing the Price Details
- Now click on Proceed to Checkout
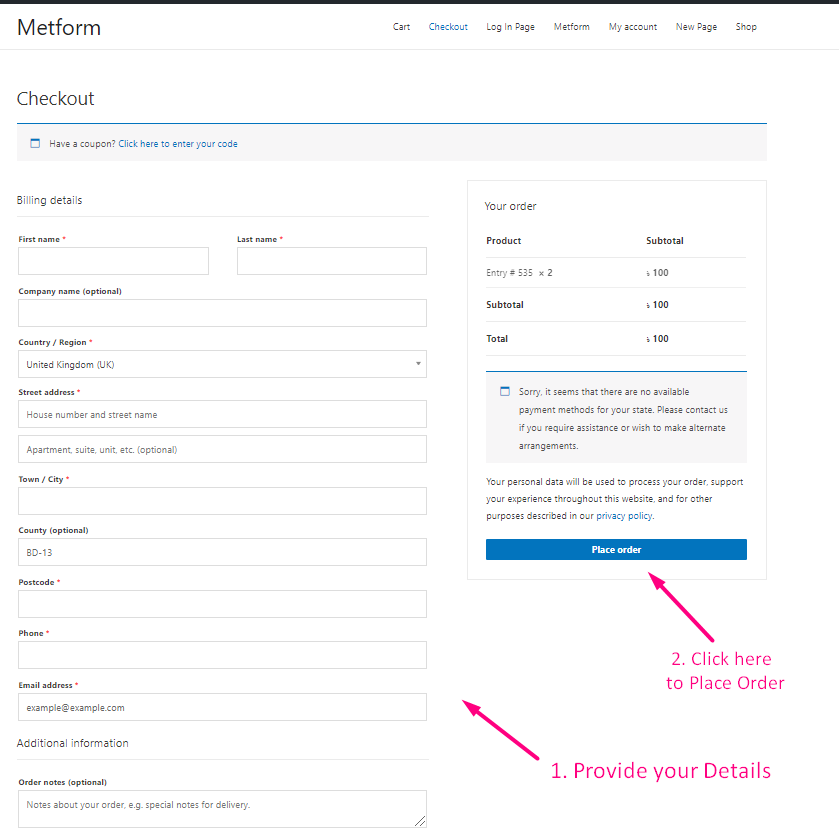
Step=>3: This will move to the WooCommerce Checkout Page
- Provide Your Billing Details
- Click on Place Order