To display a list of pages from your website, you can pick GutenKit Page List block. By customizing the appearance of the block, you can display the pages in a variety of styles.
We’ll discuss here, how to use GutenKit Page List block. Let’s start!
How can you use page list block? #
Access to your WordPress dashboard –
- Find Pages/Posts > Add New Page/Post or start editing an existing page with the block editor.
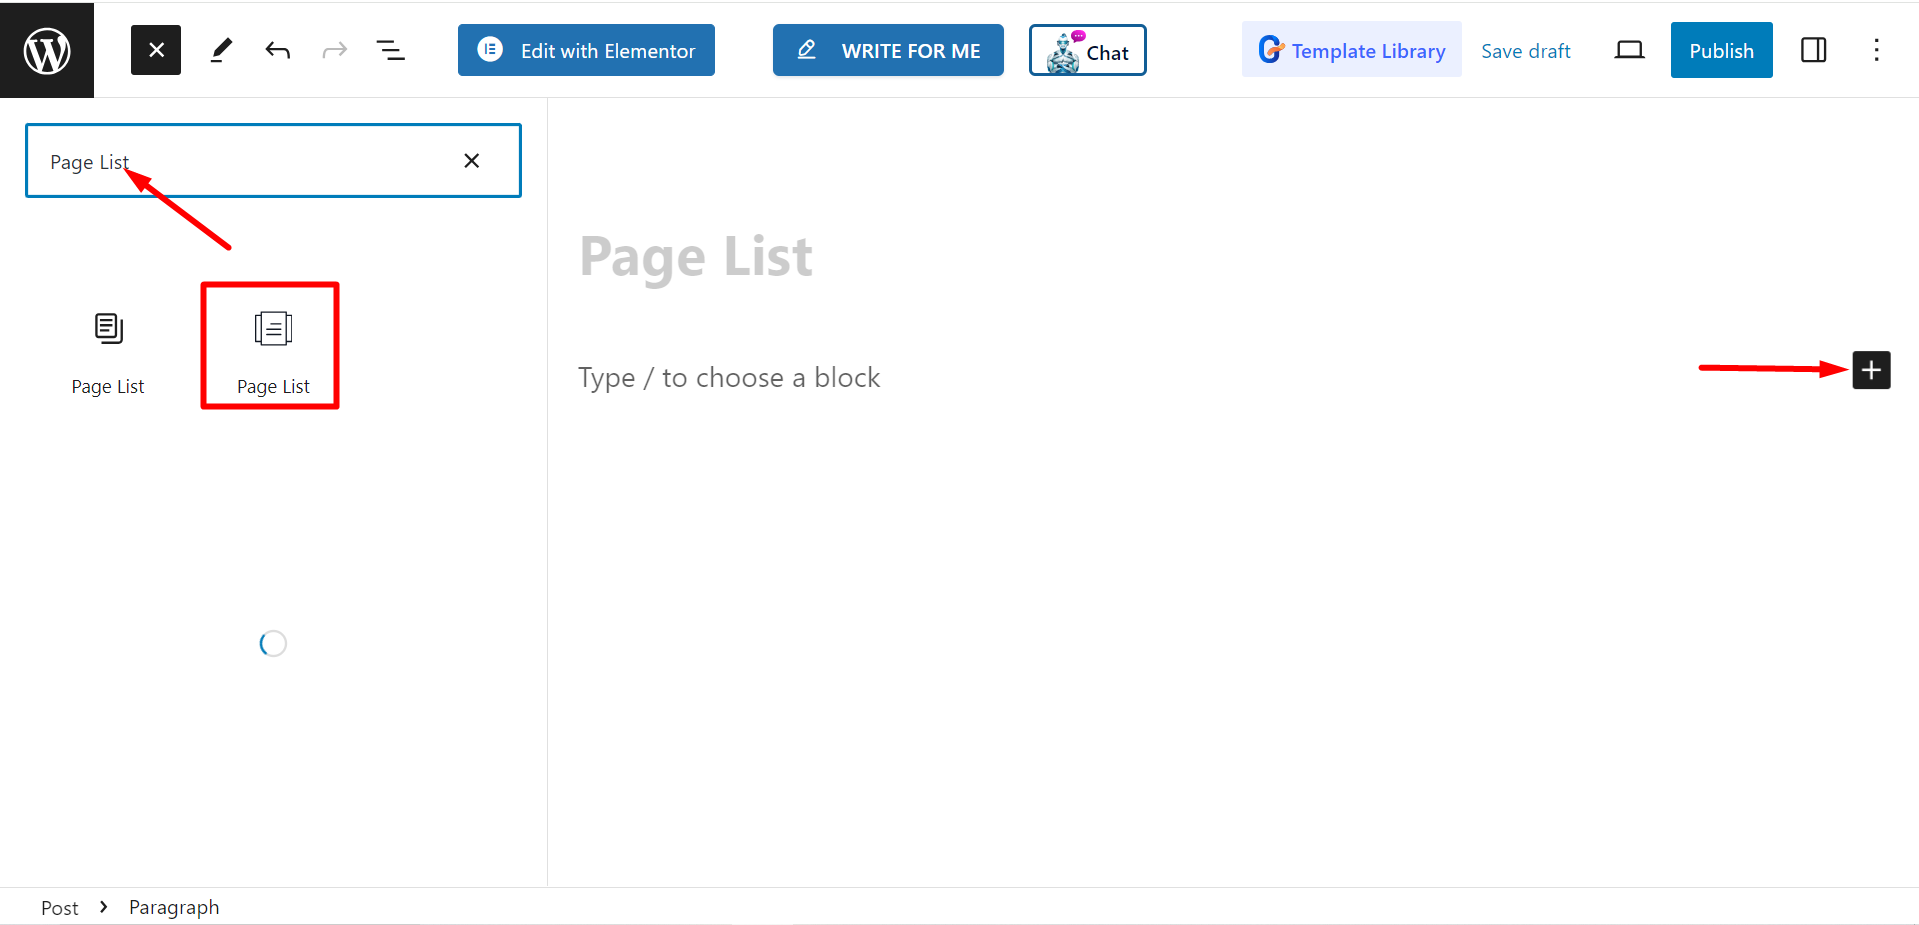
- Look for the “+” icon at the right side or top of the editor screen. Click it.
- A block menu will appear, search for “Page List”.
- When you see it, click it or drag & drop it on the block editor screen.

Editing content part #
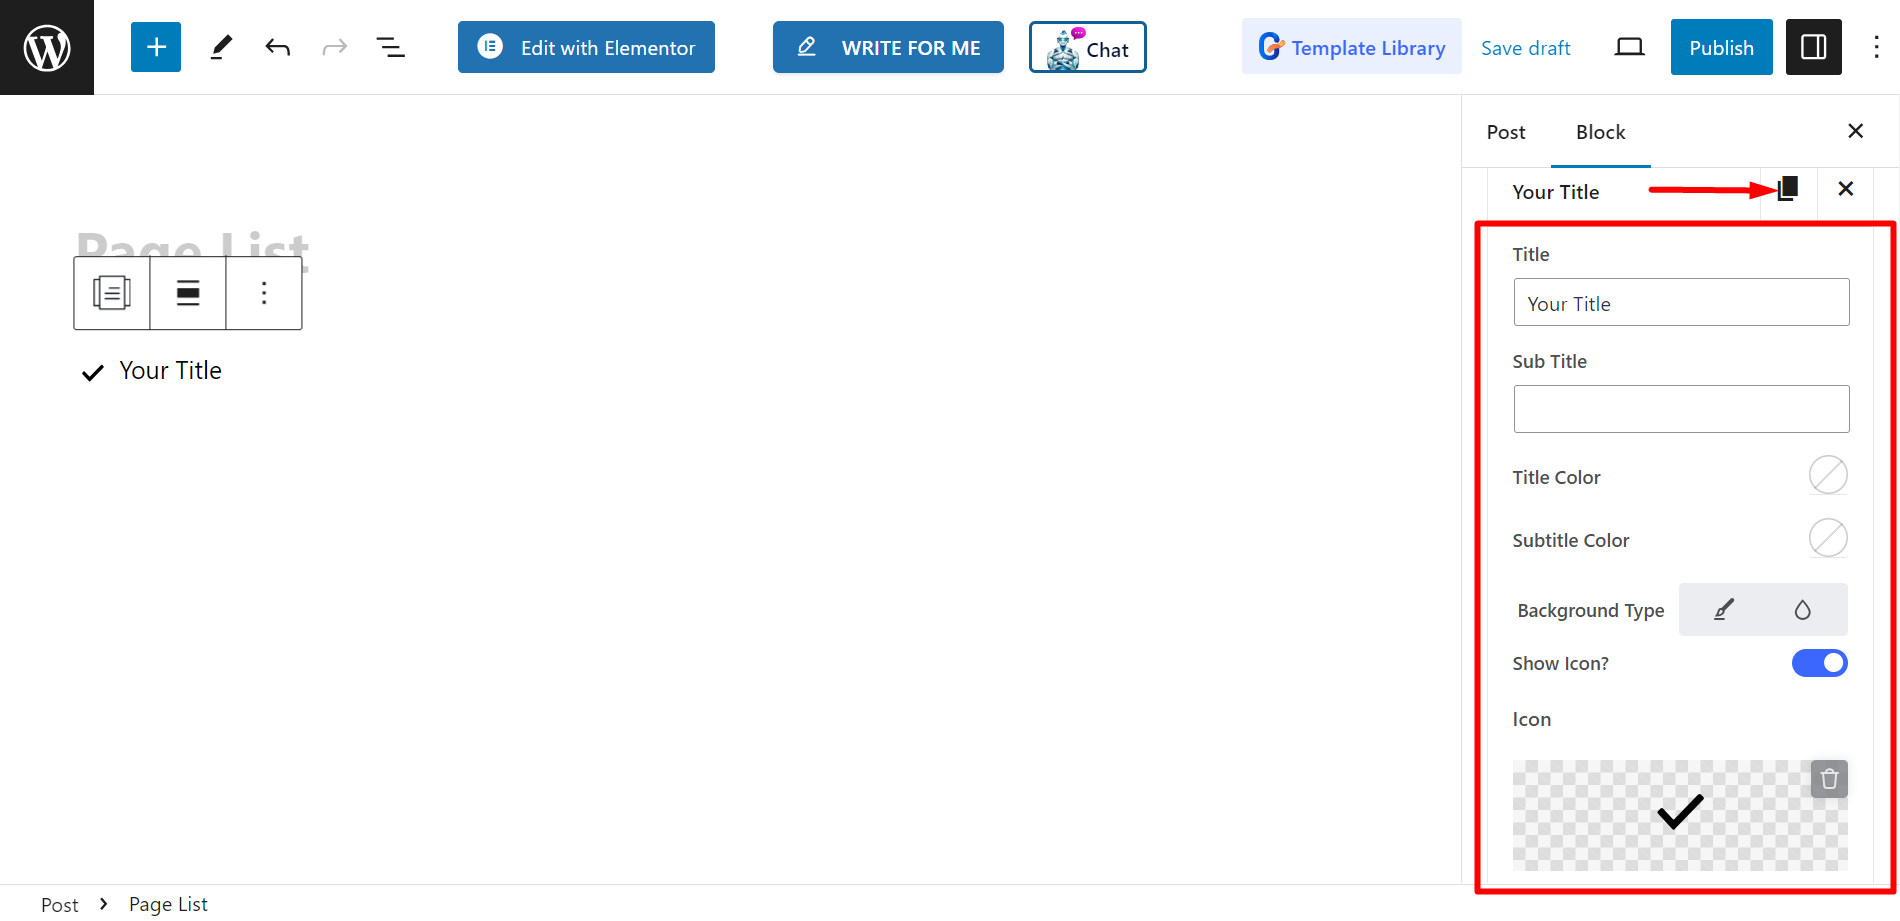
There are two parts, List and Settings. When you expand the fields you will customization options.
List #
From the List option, you can add items according to your needs and customize them.
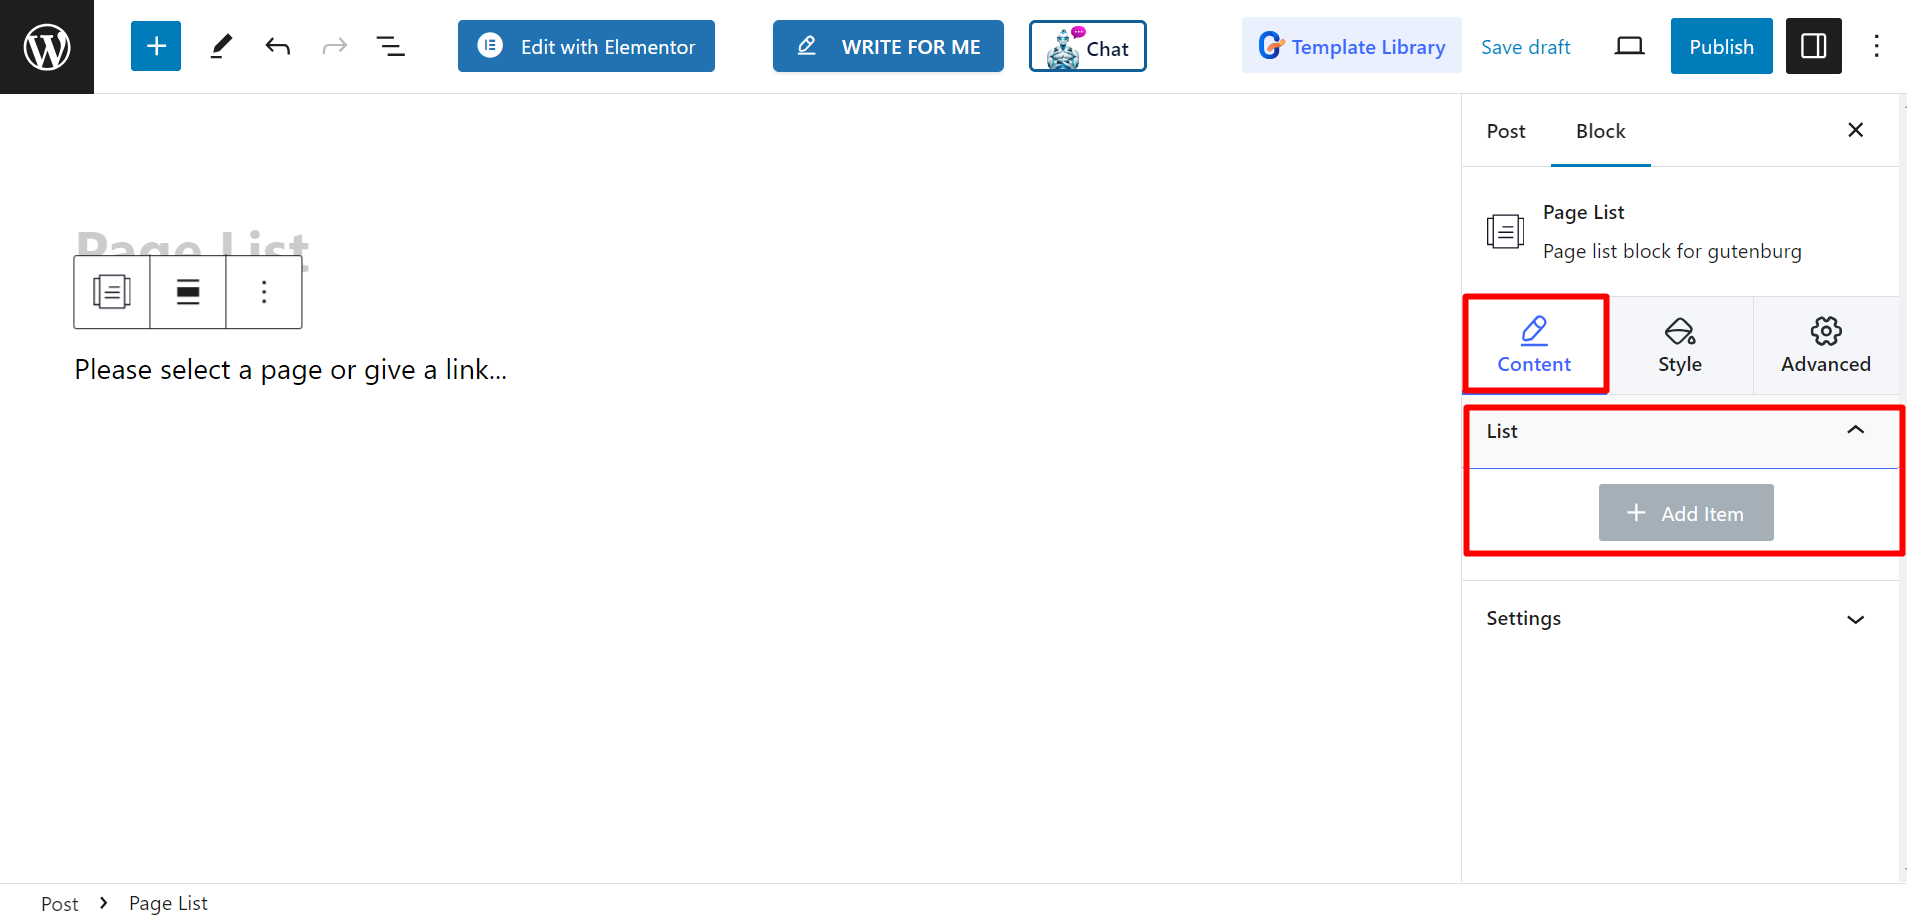

After adding an item or page name, you can set Title, Sub Title, Title color, Subtitle Color, Background Type, Show Icon, Icon, Icon Color, Select Page / Custom Link, and Show Badge.

Settings #
- Alignment – You can adjust the alignment by choosing default or inline style. However, if you choose inline style, you can also adjust Columns grid.
- Target – There are options to select target as blank or self.
- Rel – You can keep it ON or Off.

Style #
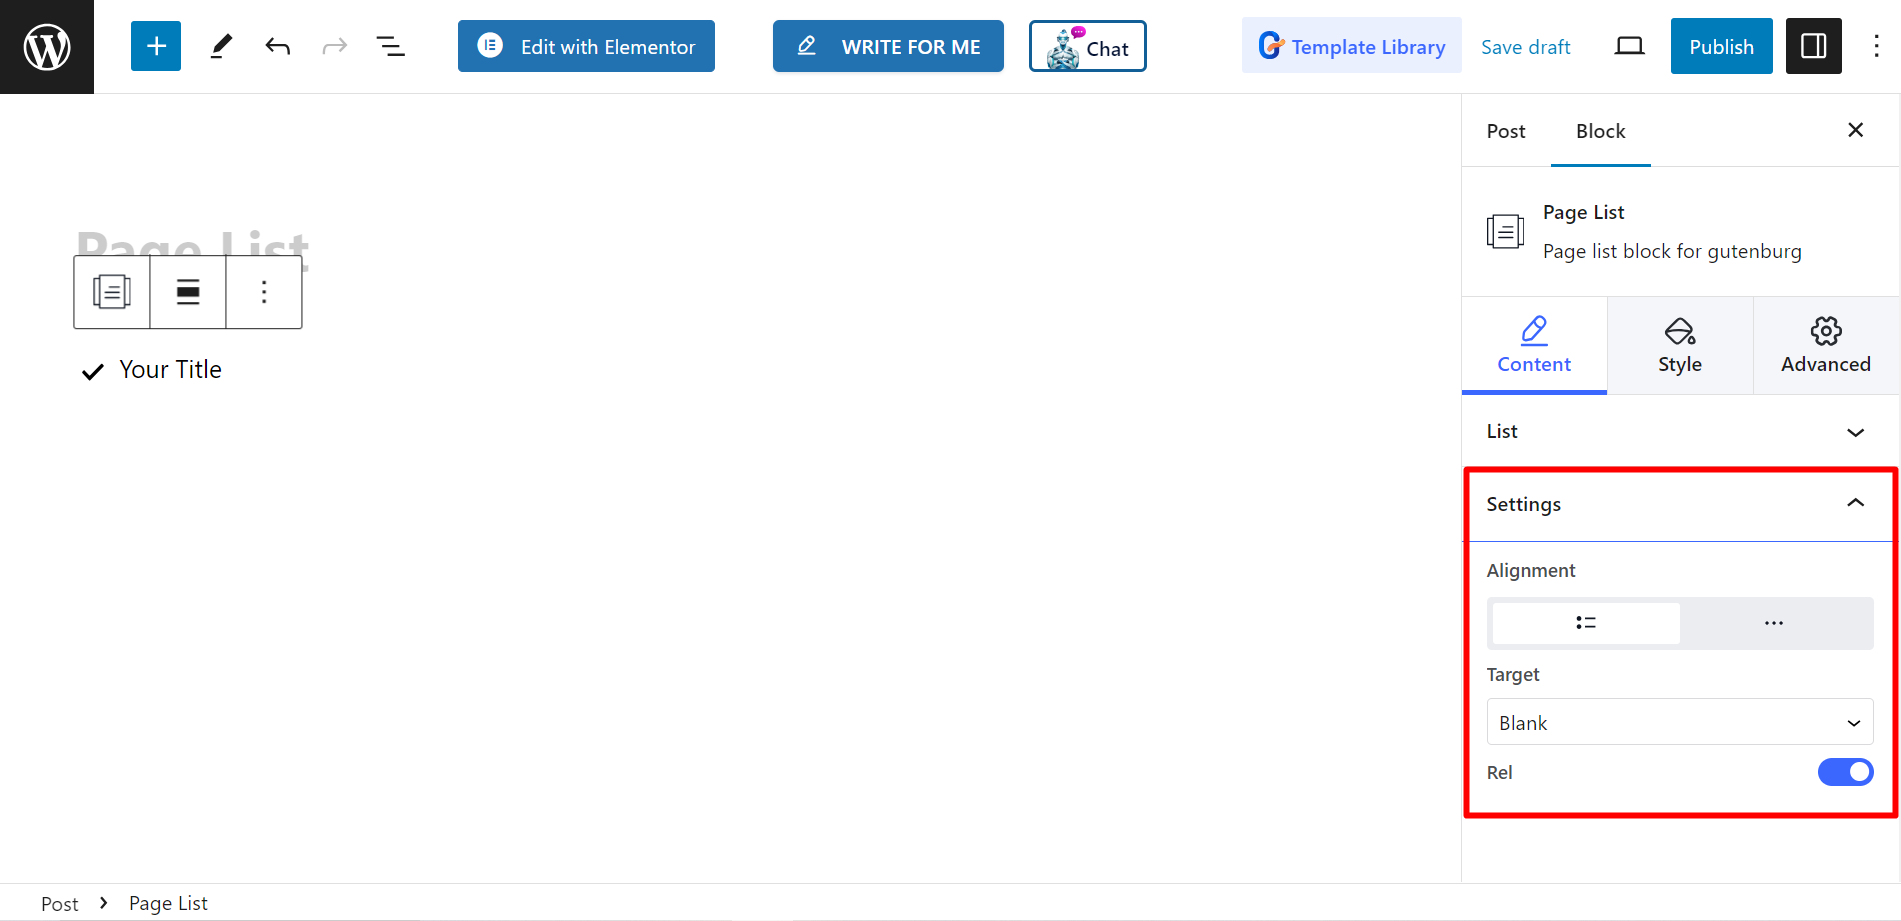
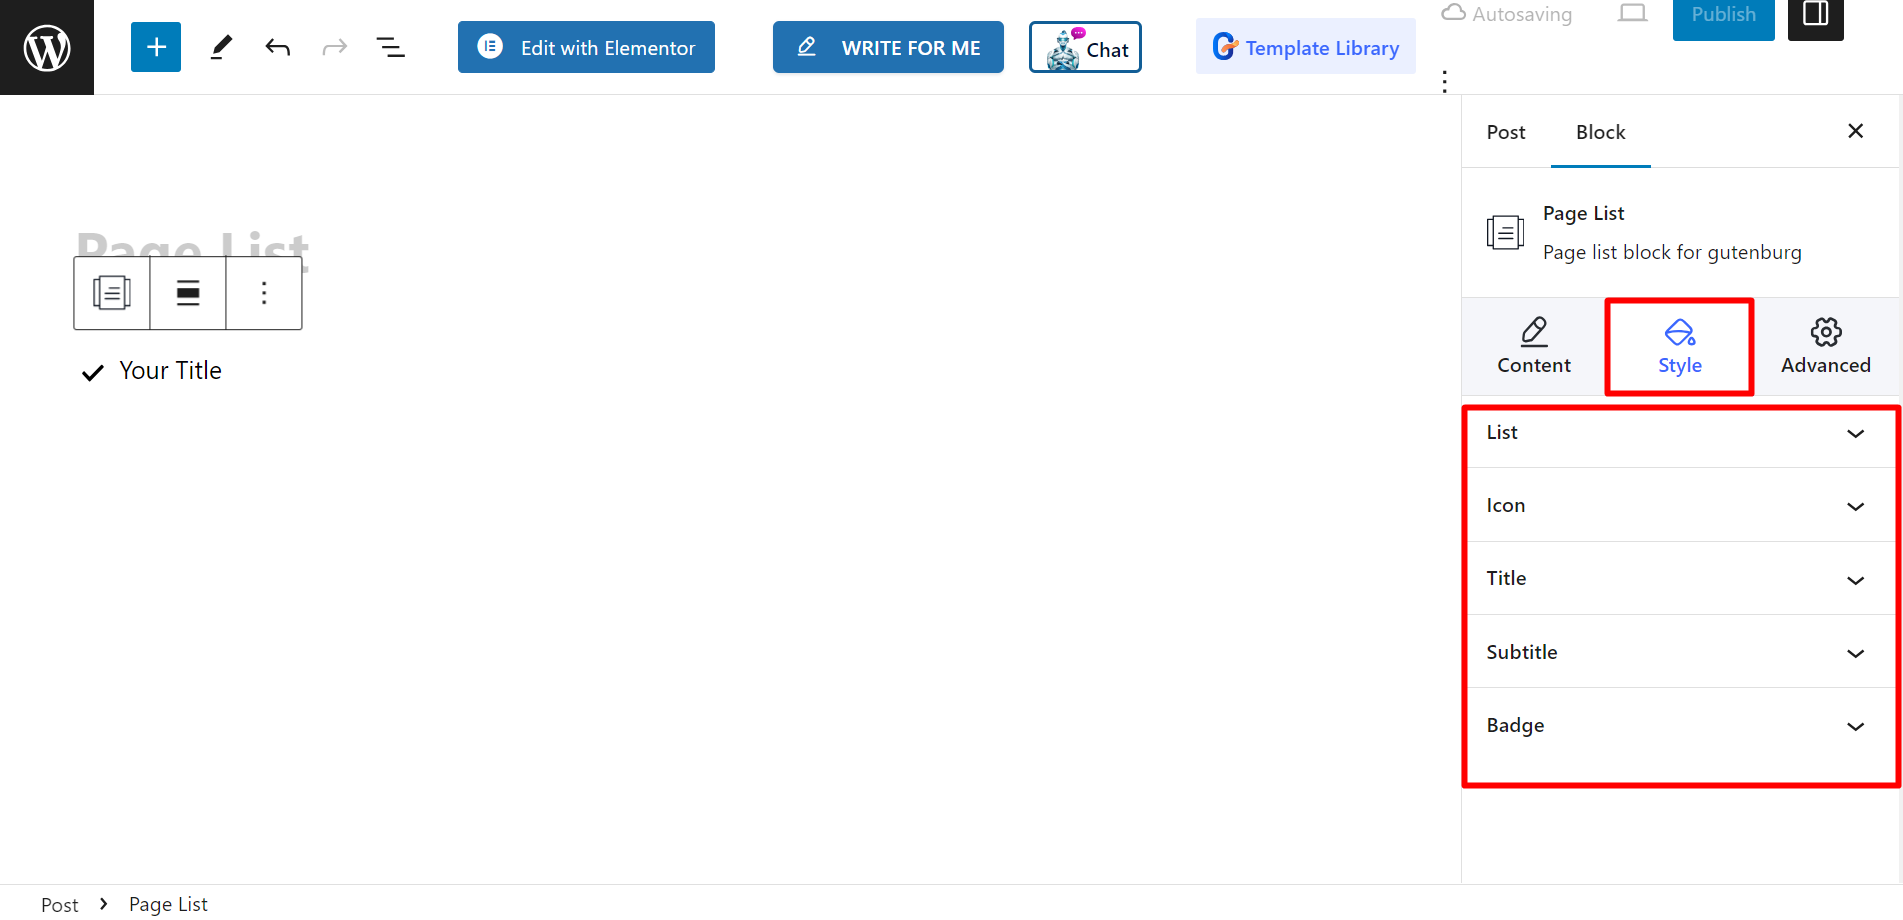
- List – You can style your page list with custom width, row gap, padding, divider etc.
- Icon – If you want you can change the icon alignment. icon color, padding, and so on.
- Title – To customize the title color, margin, typography, etc. you can use this option.
- Subtitle – There are choices to adjust subtitles’ hover color, margin, typography, etc.
- Badge – Finally, you can decorate the badge by changing typography, color, margin, etc. with this option.

Final output #
See how we have customized it –
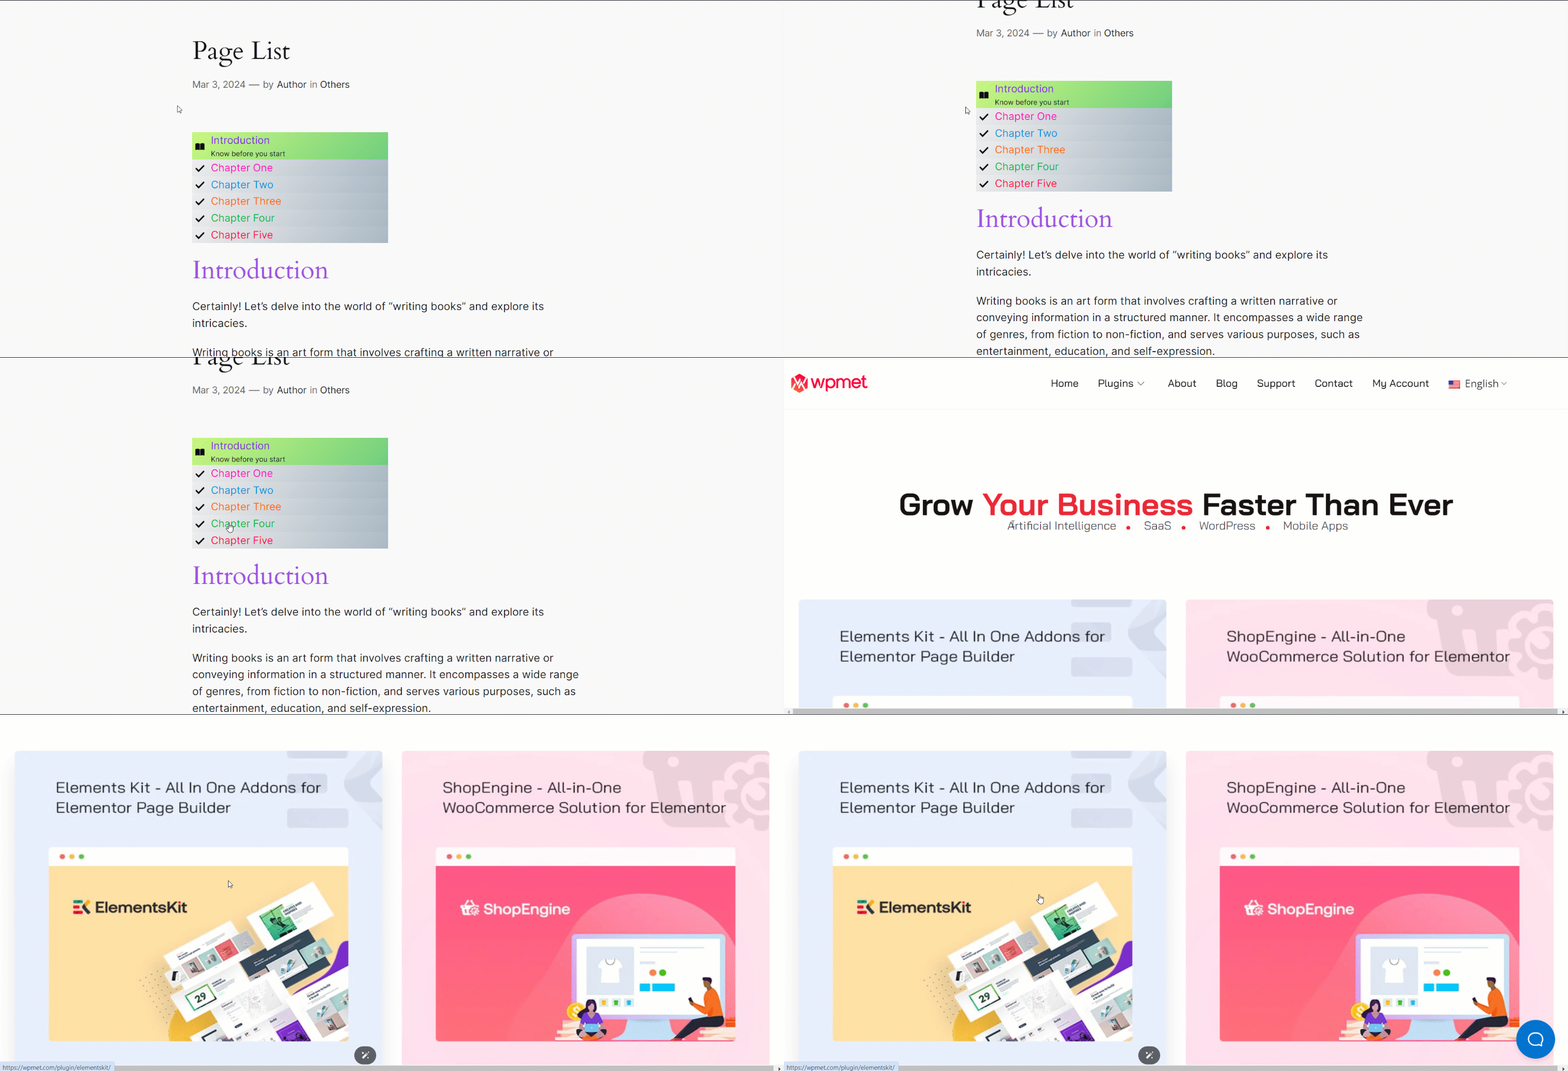

Follow these steps, and you’ll be able to create your customized page list.


