The Interactions module in GutenKit allows you to create dynamic and interactive impressions by defining triggers and actions. It enables you to respond to user interactions and viewport changes, enhancing the overall user experience.
Let’s learn how the module works.
GutenKit Interactions module # #
It is a Pro module. Don’t forget to get it from here.
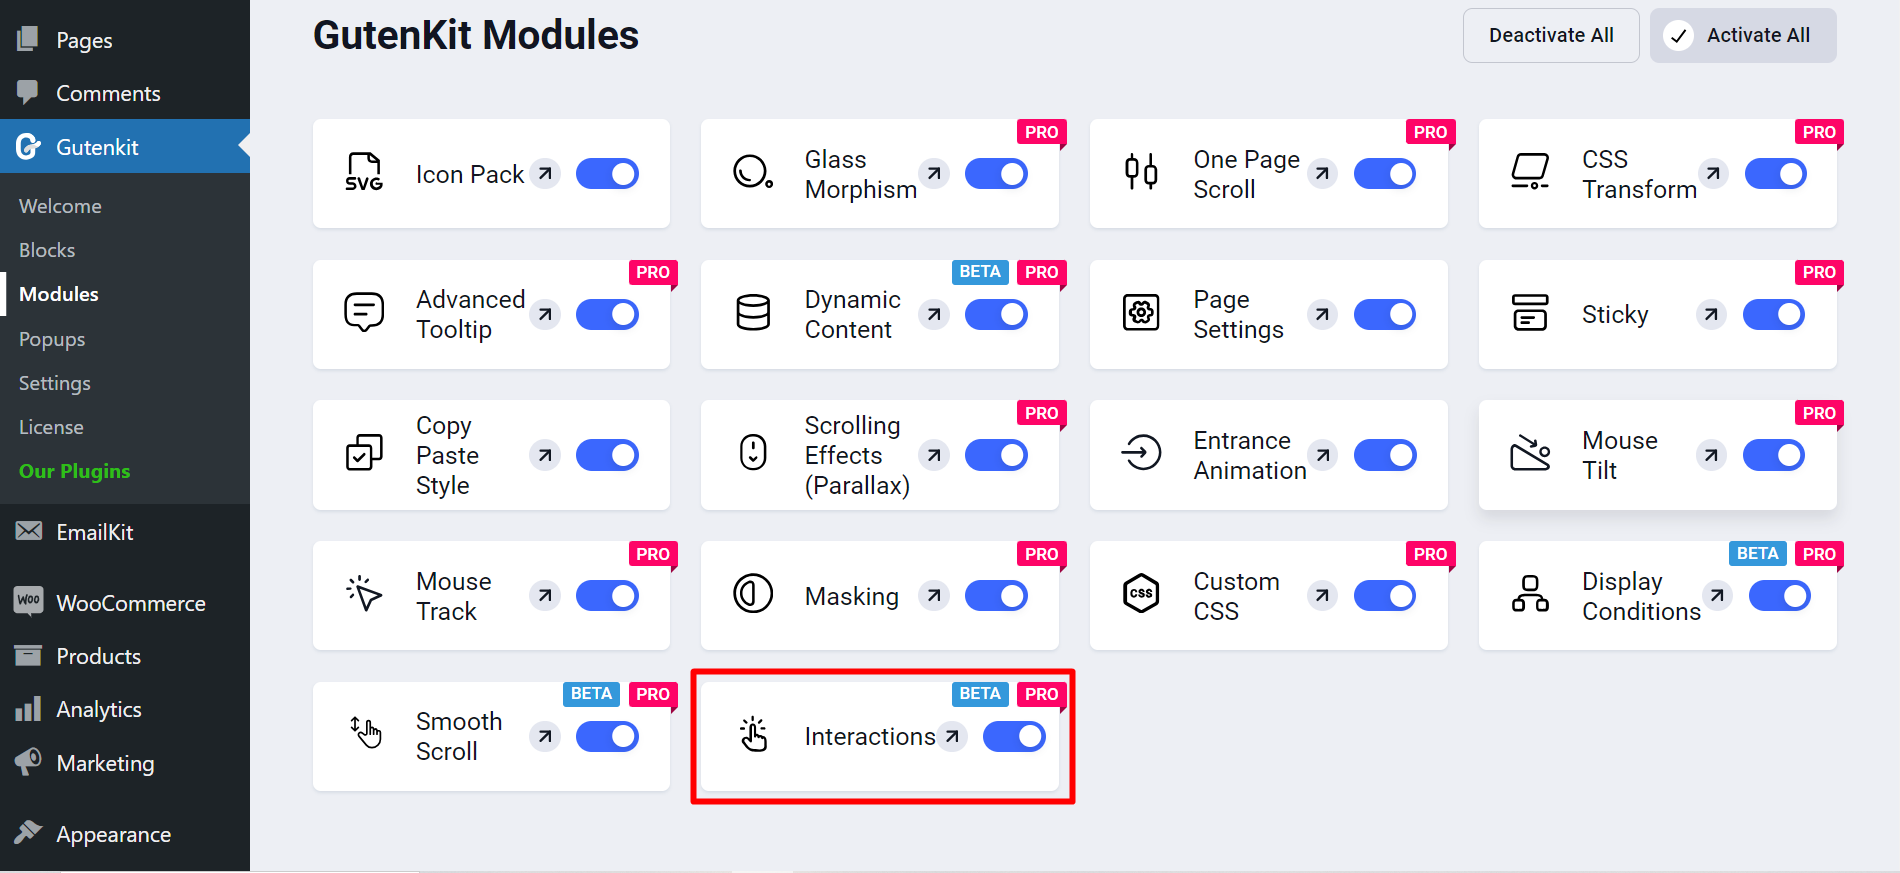
- Login to your WordPress dashboard
- Find GutenKit and go to Modules
- Find Interactions module and turn it ON
Add the module to page/post #
Now, open your desired page/post.
- Add block you want to apply Interaction with.
- Go to the Advanced tab and under this tab you will see Interactions module.
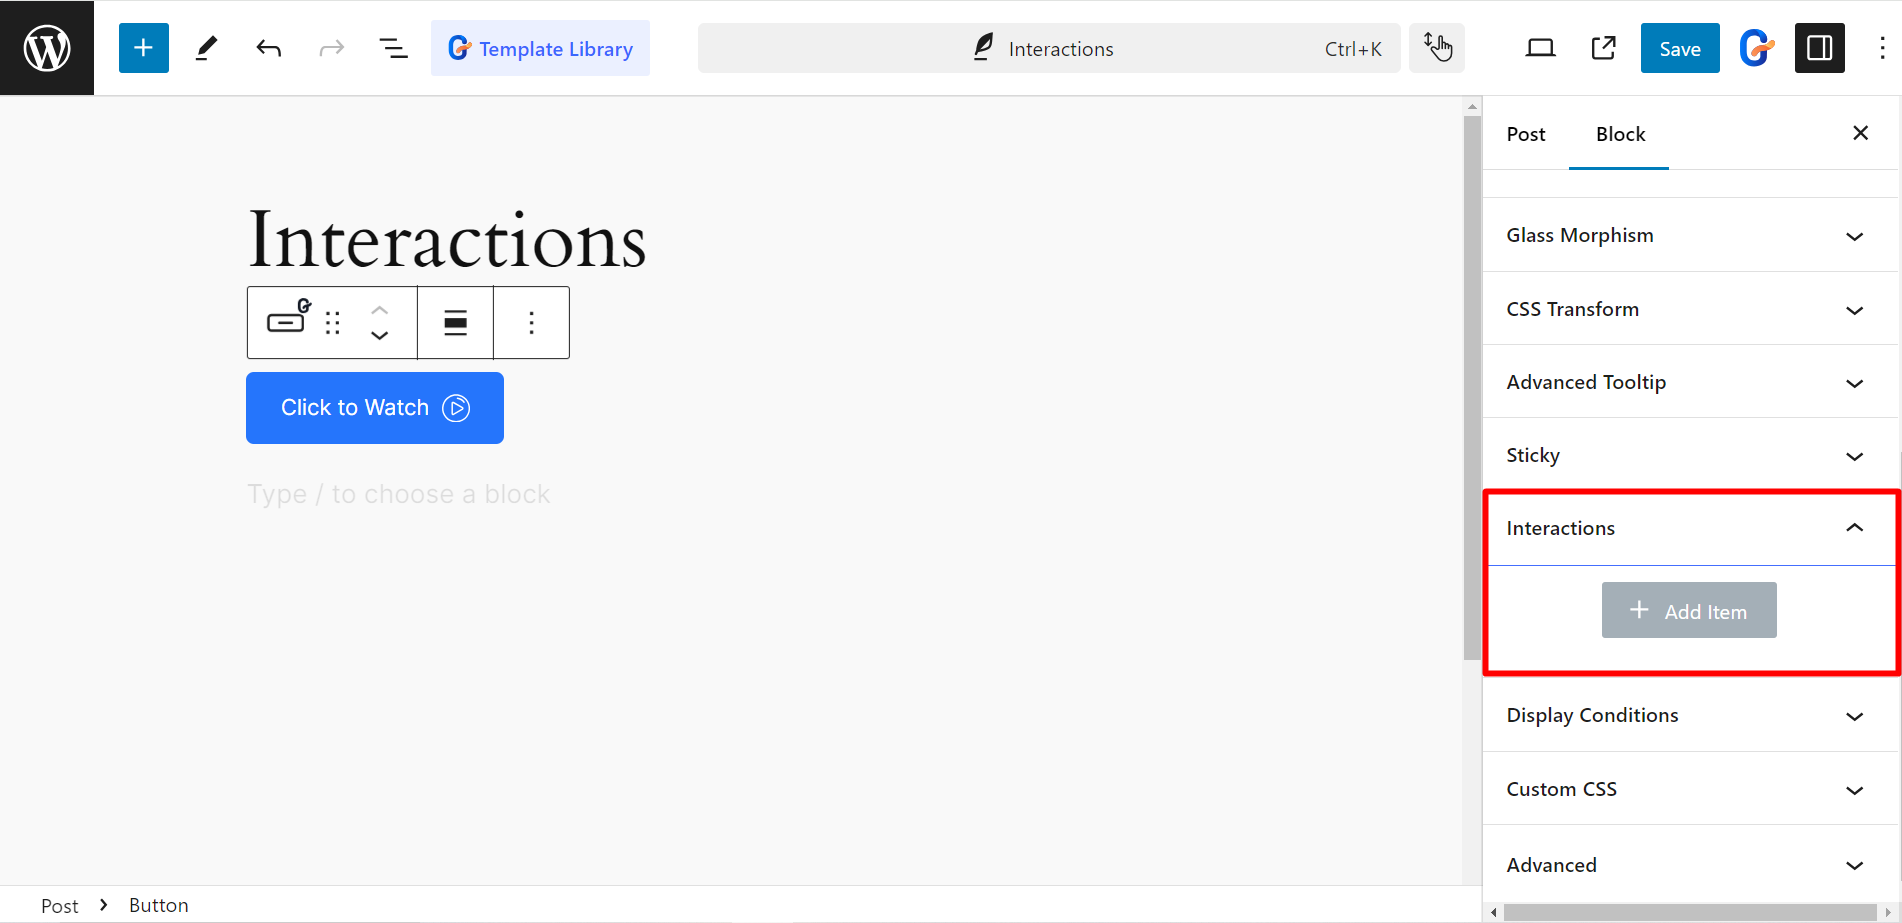
Customization options #
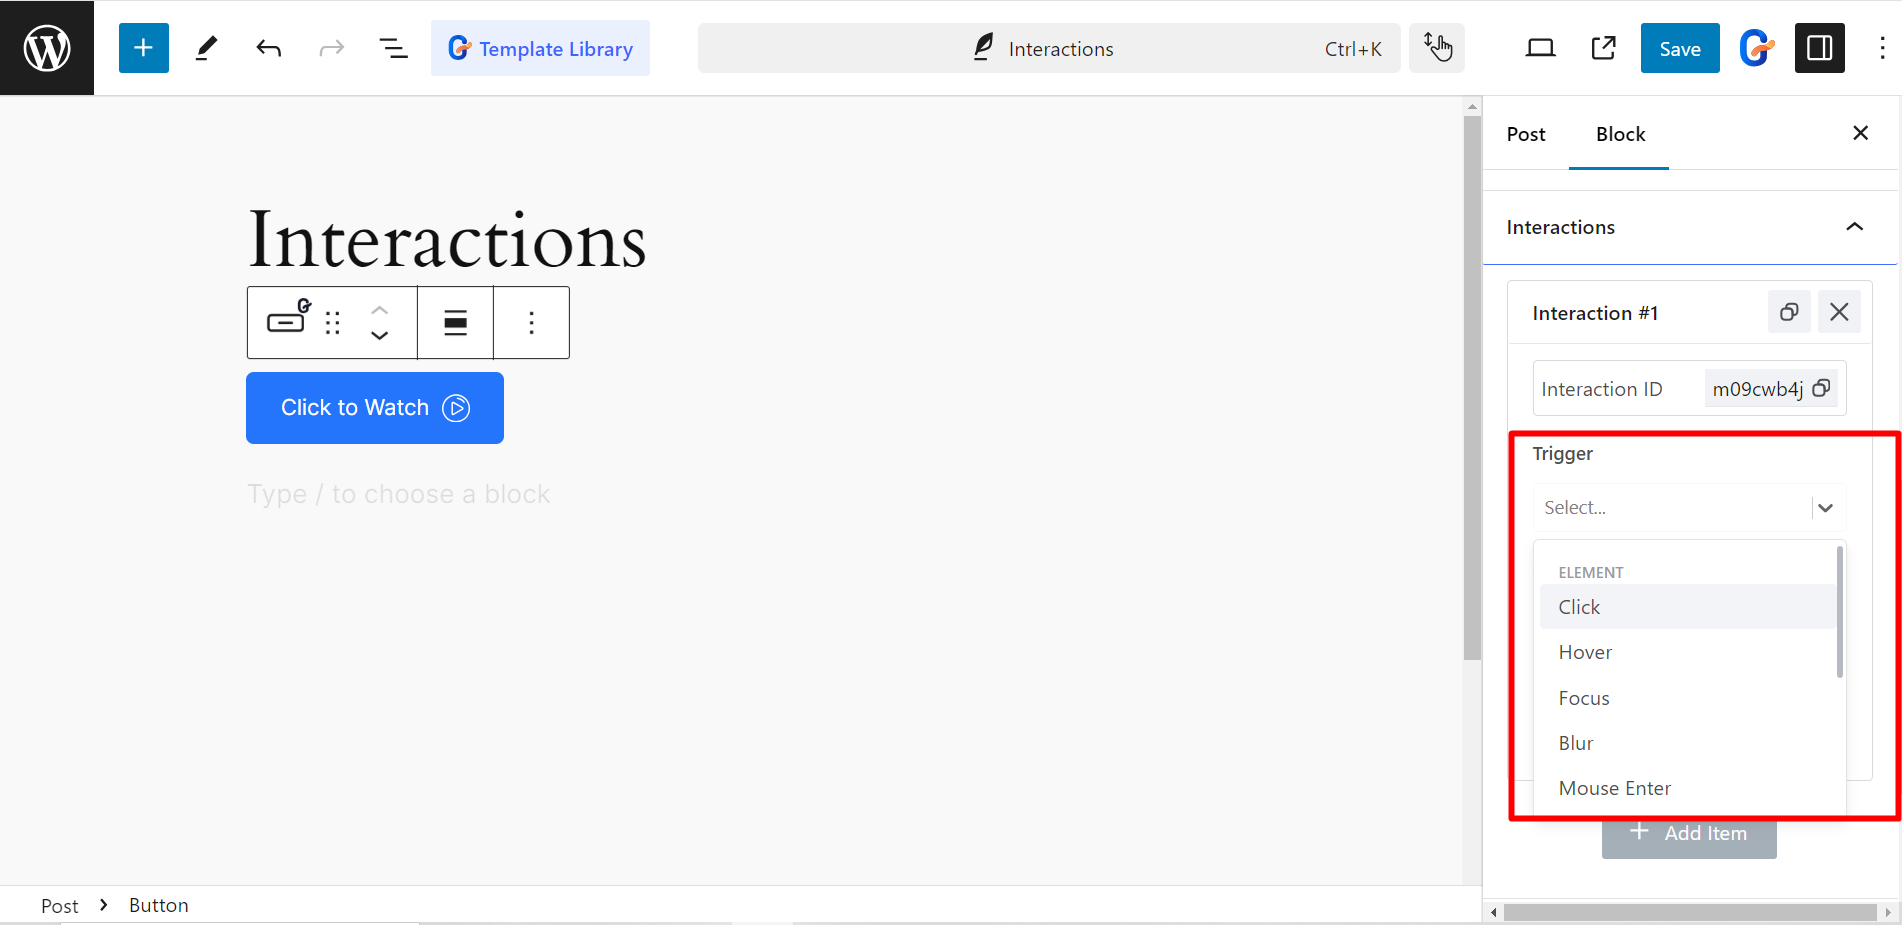
After expanding the module, you’ll get these customization options –
- Trigger: It allows you to define specific events that will initiate actions within your GutenKit blocks. It depends on elements including Click, Blur, Hover, Mouse enter and Leave, Enter and Leave viewpoint, etc. Also, you can choose options like Scroll, Content loaded, Mouse and Leave window for the browser/window.
- Actions: This feature specifies what happens when a trigger is activated. For example, Show element, Toggle attribute, Scroll to, Scale, Translate, Rotate, Opacity, etc.
- Selector: It determines which elements are affected by the trigger and action. Here, you’ll get two options, Self and CSS selector.
Utilizing GutenKit interactions module #
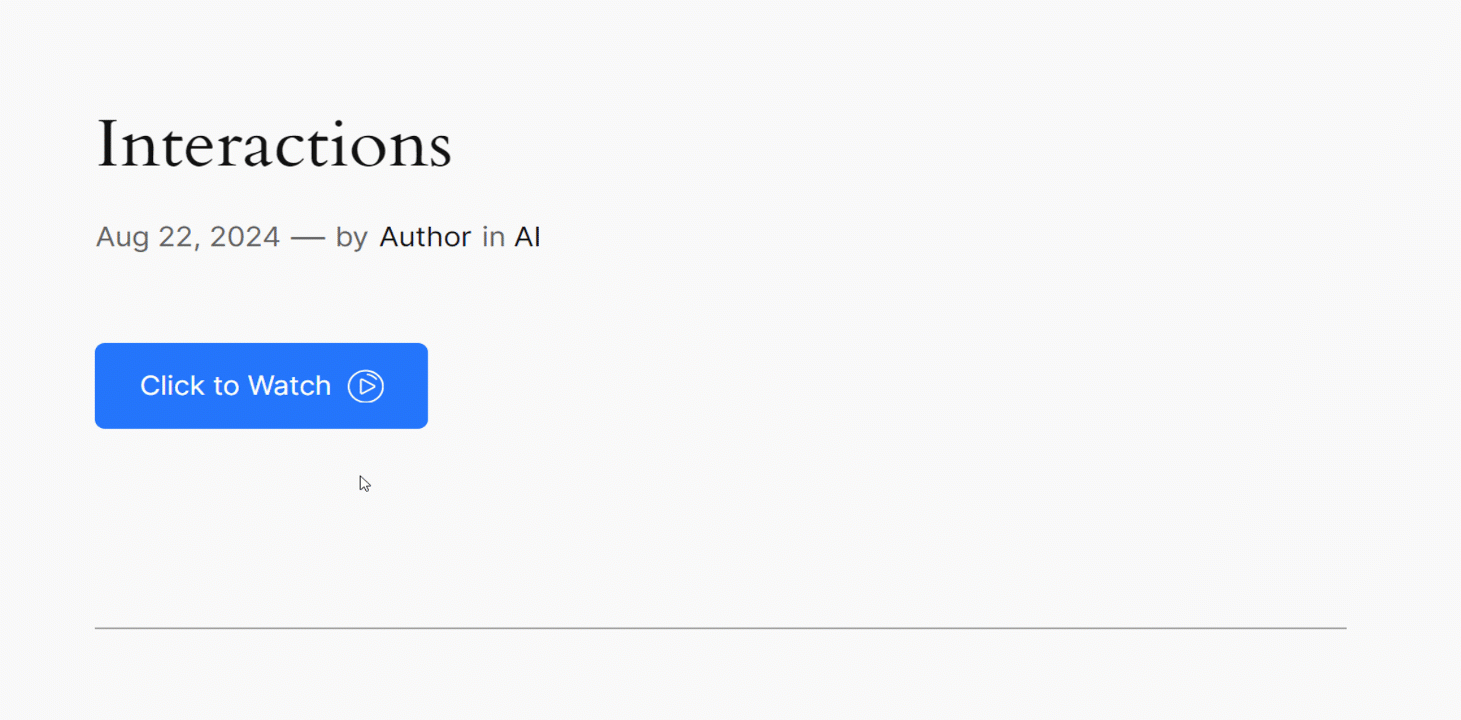
Here we’ve tested the module with a button, see the example.