The GutenKit Advanced Tab block in WordPress allows you to add custom fields to your posts and pages. These fields can be used to store additional information about your content, such as author information, related posts, or custom metadata.
Check the documentation and learn to use the GutenKit Advanced Tab block.
How can you use Advanced Tab block? #
Access to your WordPress dashboard –
- Find Pages/Posts > Add New Page/Post or start editing an existing page with the block editor.
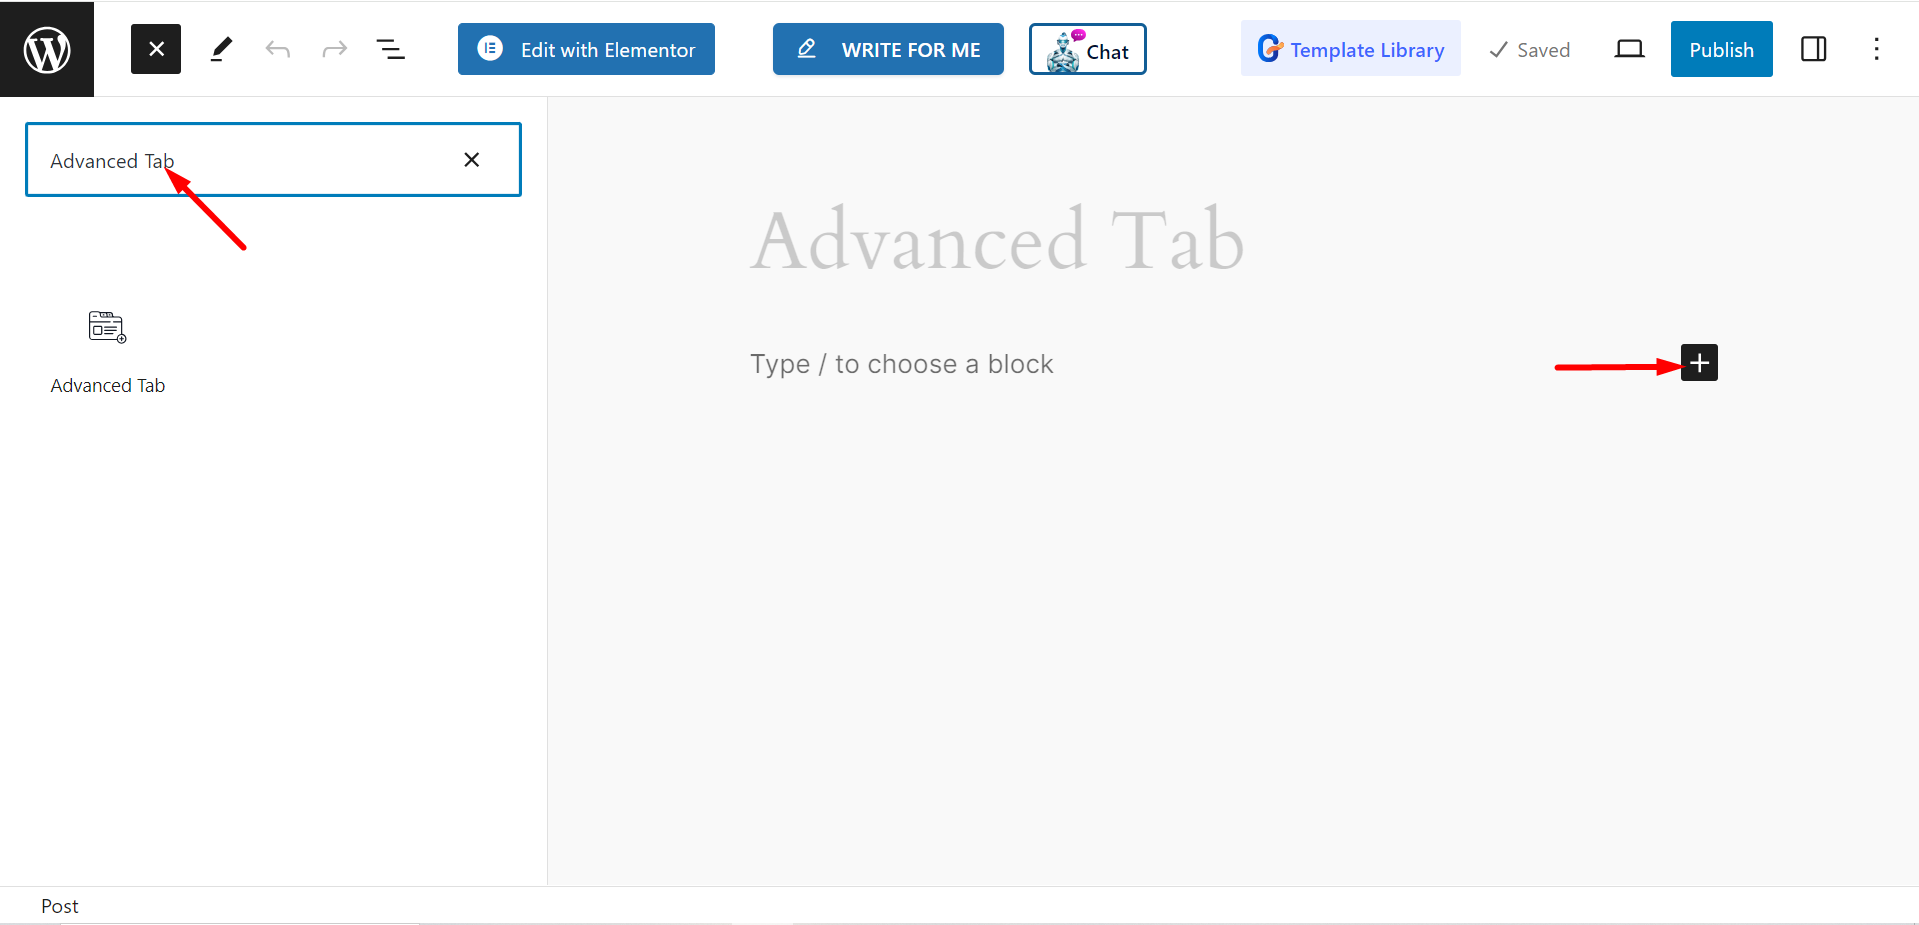
- Look for the “+” icon at the right side or top of the editor screen. Click it.
- A block menu will appear, search for “Advanced Tab”.
- When you see it, click it or drag & drop it on the block editor screen.
Editing content part #
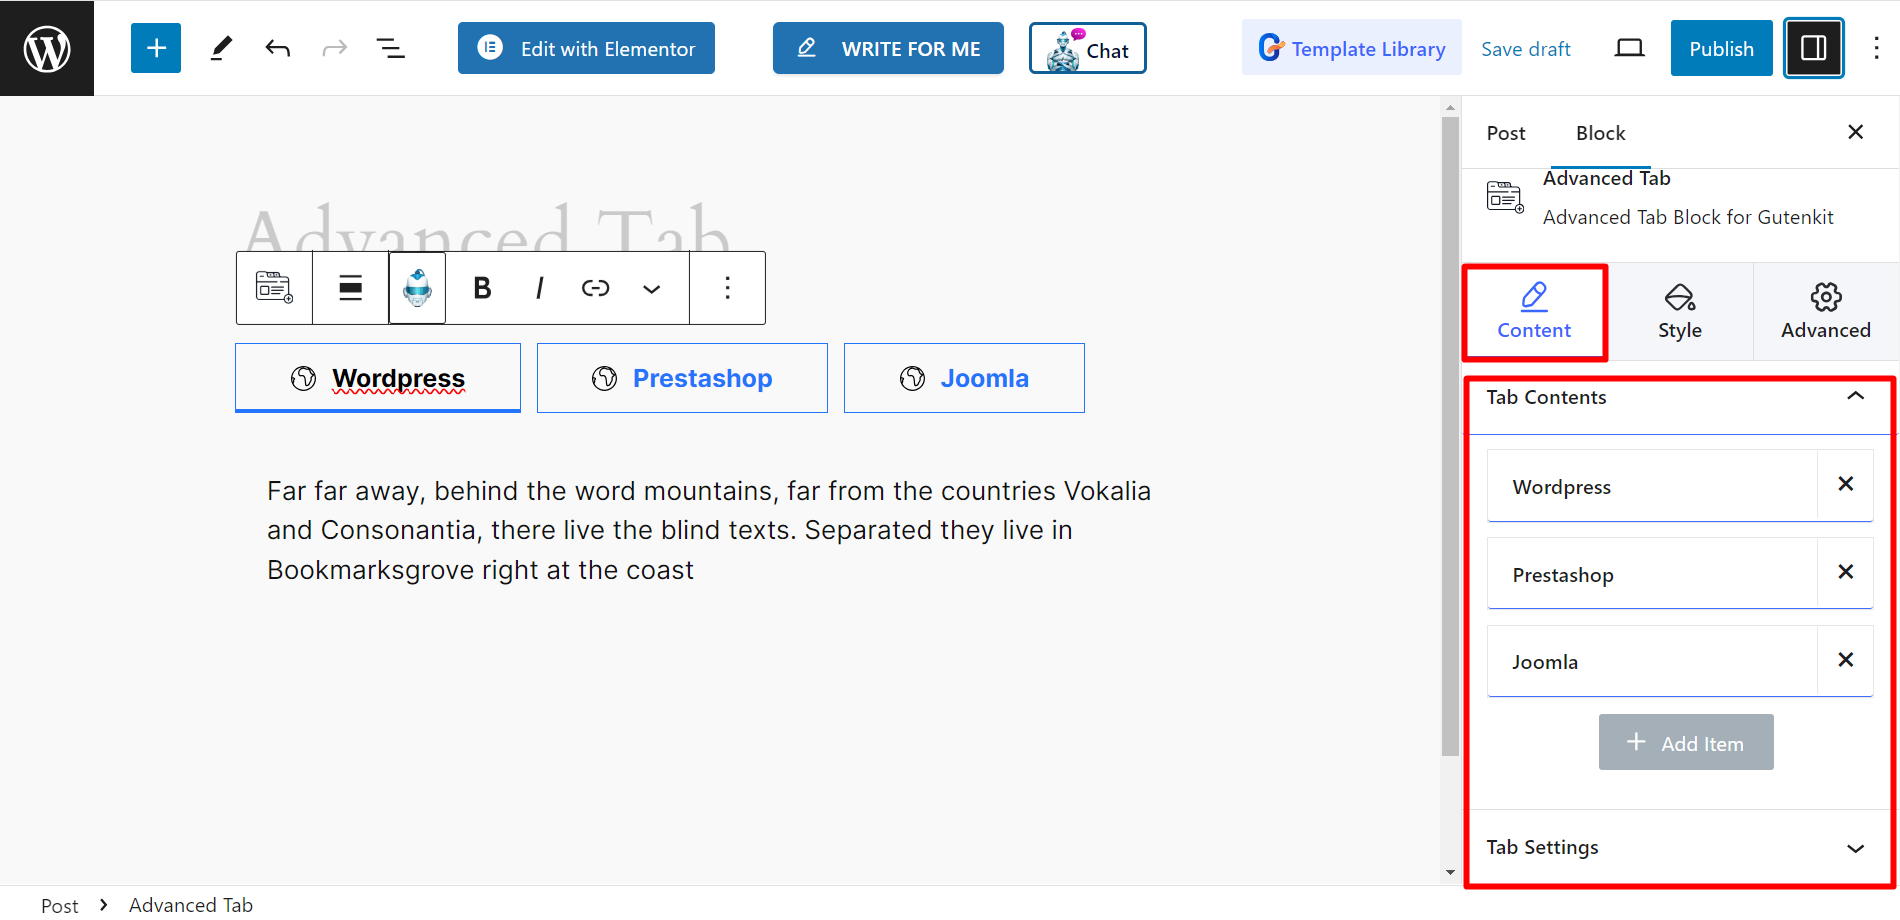
Tab Contents – Here you add tabs according to your needs. When you will expand a tab, you can customize the item’s name and set icon.
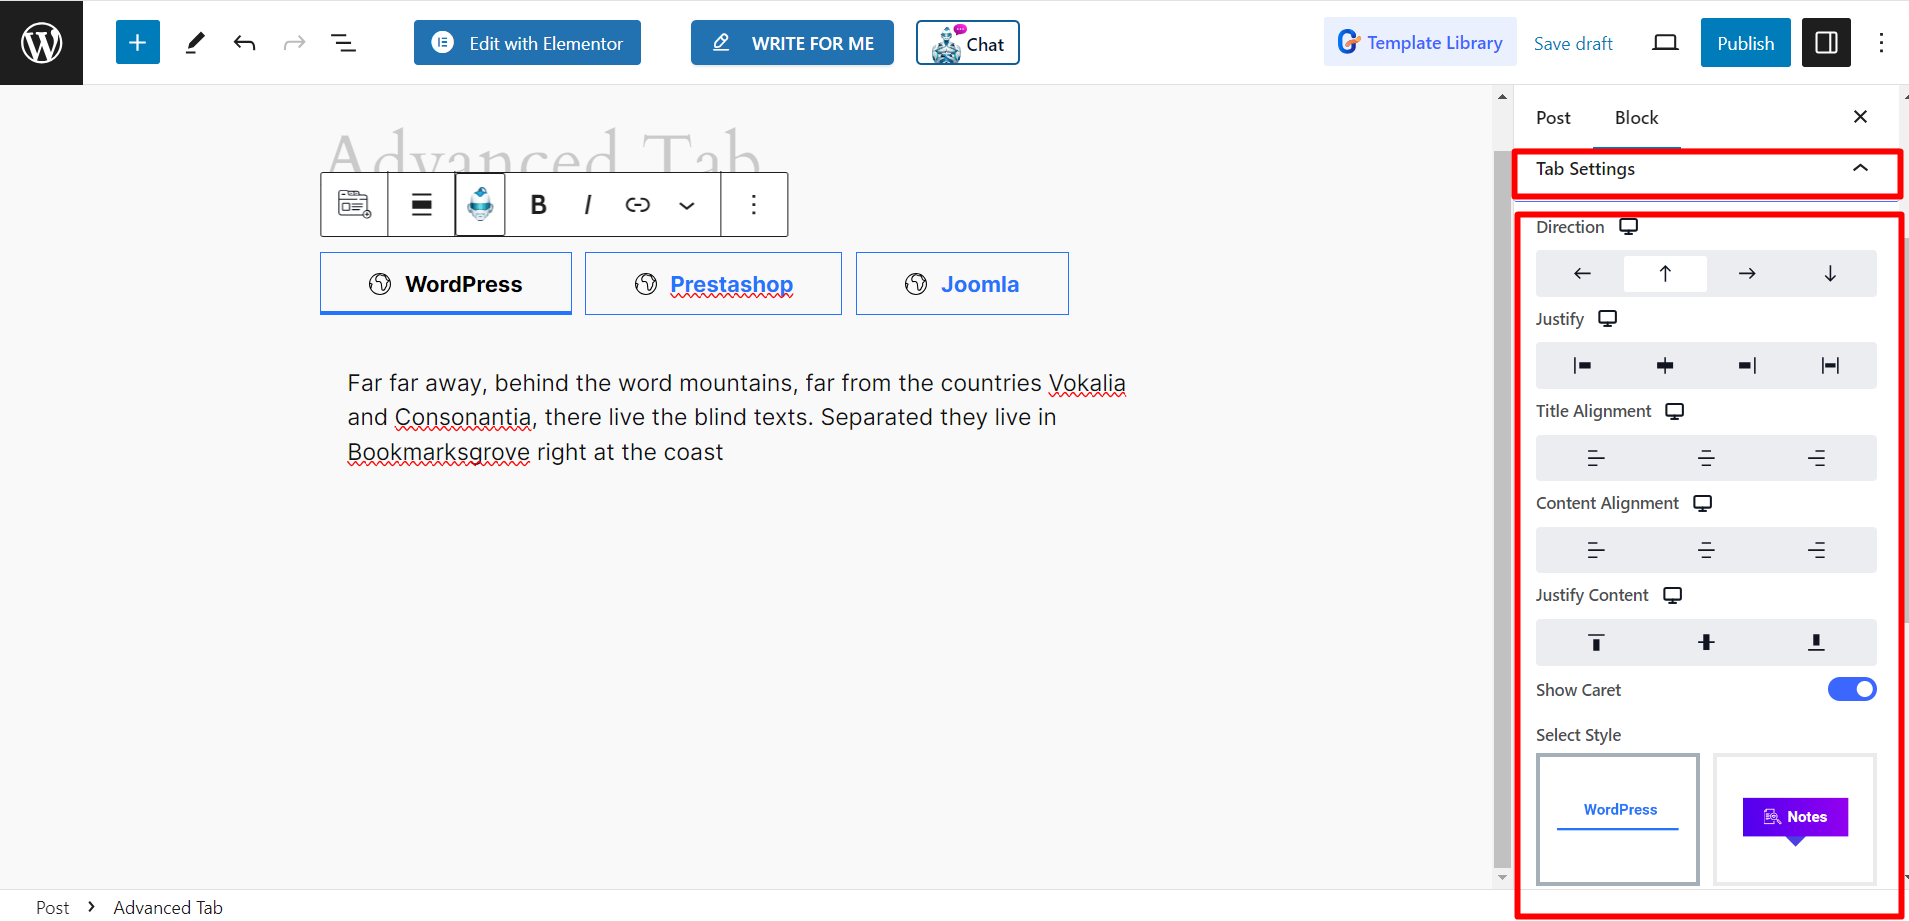
Tab Settings – The settings option will let you adjust the tabs’ Direction, Justify, Title Alignment, Content Alignment, Justify Content, choose Caret styles, Enable URL Hash, and set Mouse Event at click or hover.
Read the below explanation to understand Caret style and Enable URL Hash features.
➡️ Caret style: It refers to a mark or design, attached with a line. Here, it represents the current state of your tab.
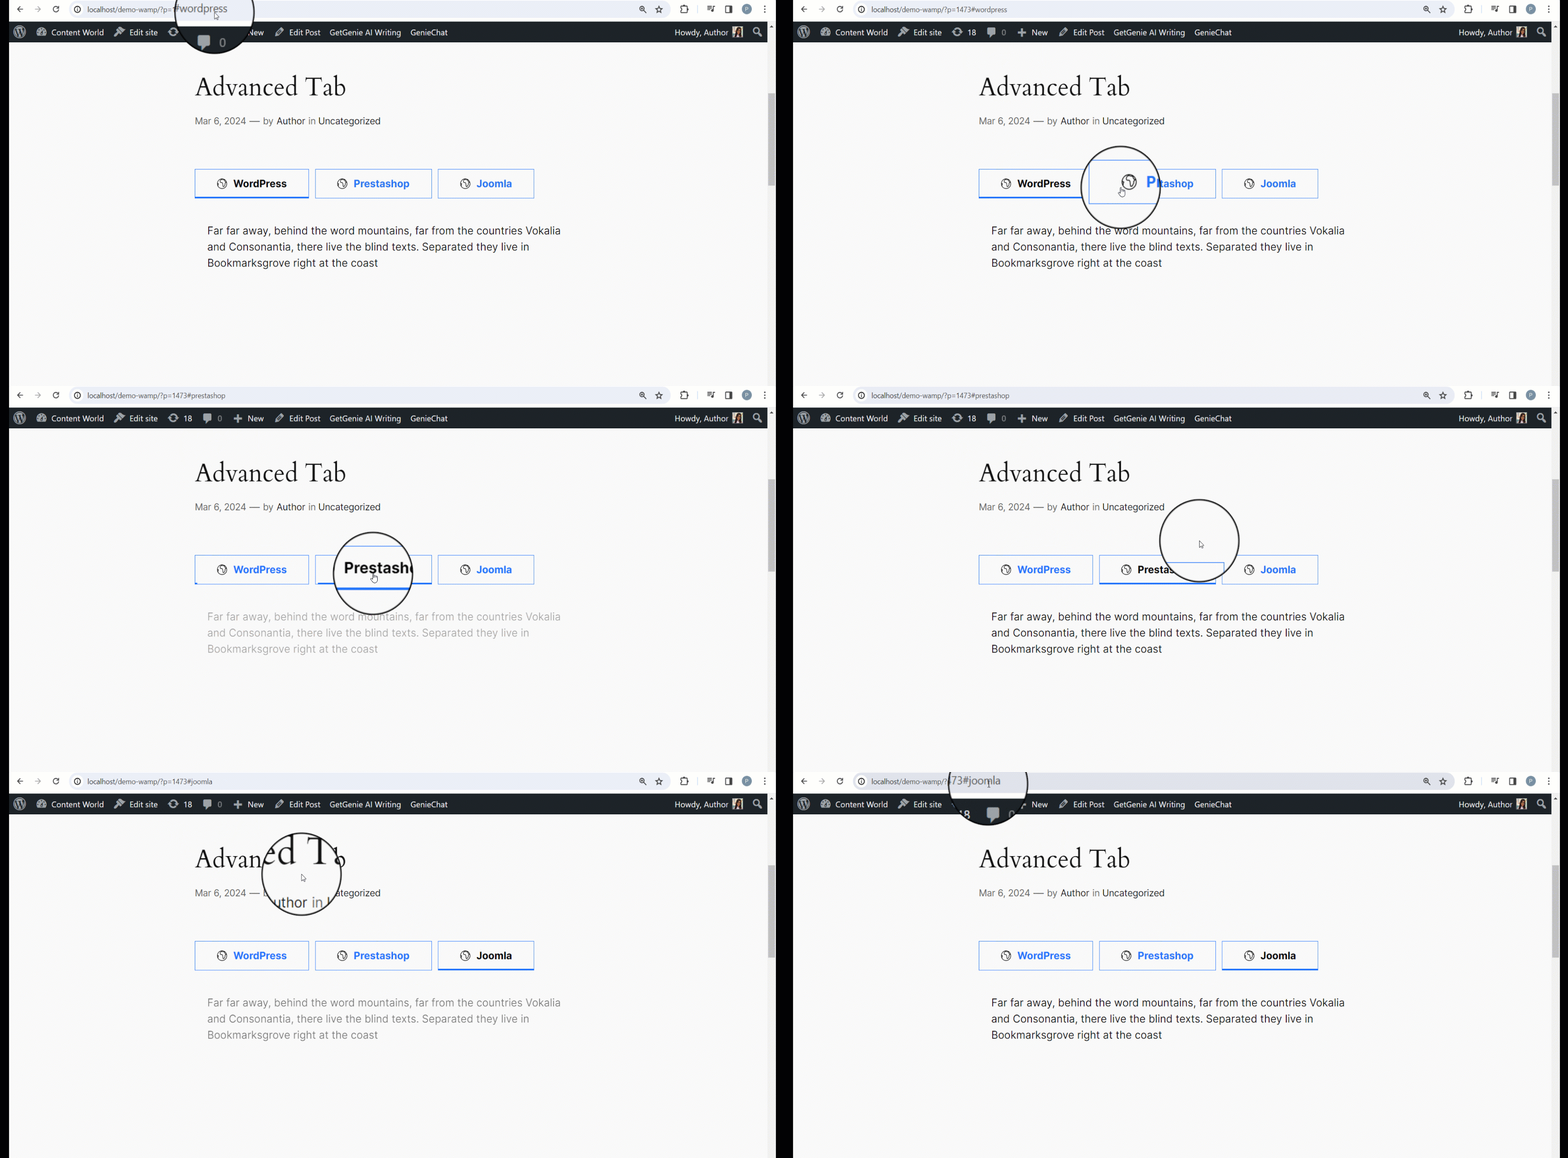
➡️ Enable URL Hash: When you enable this option, the feature will allow you to get single and different links of each tab with a Hash (#). You can check it from the front end.
Style #
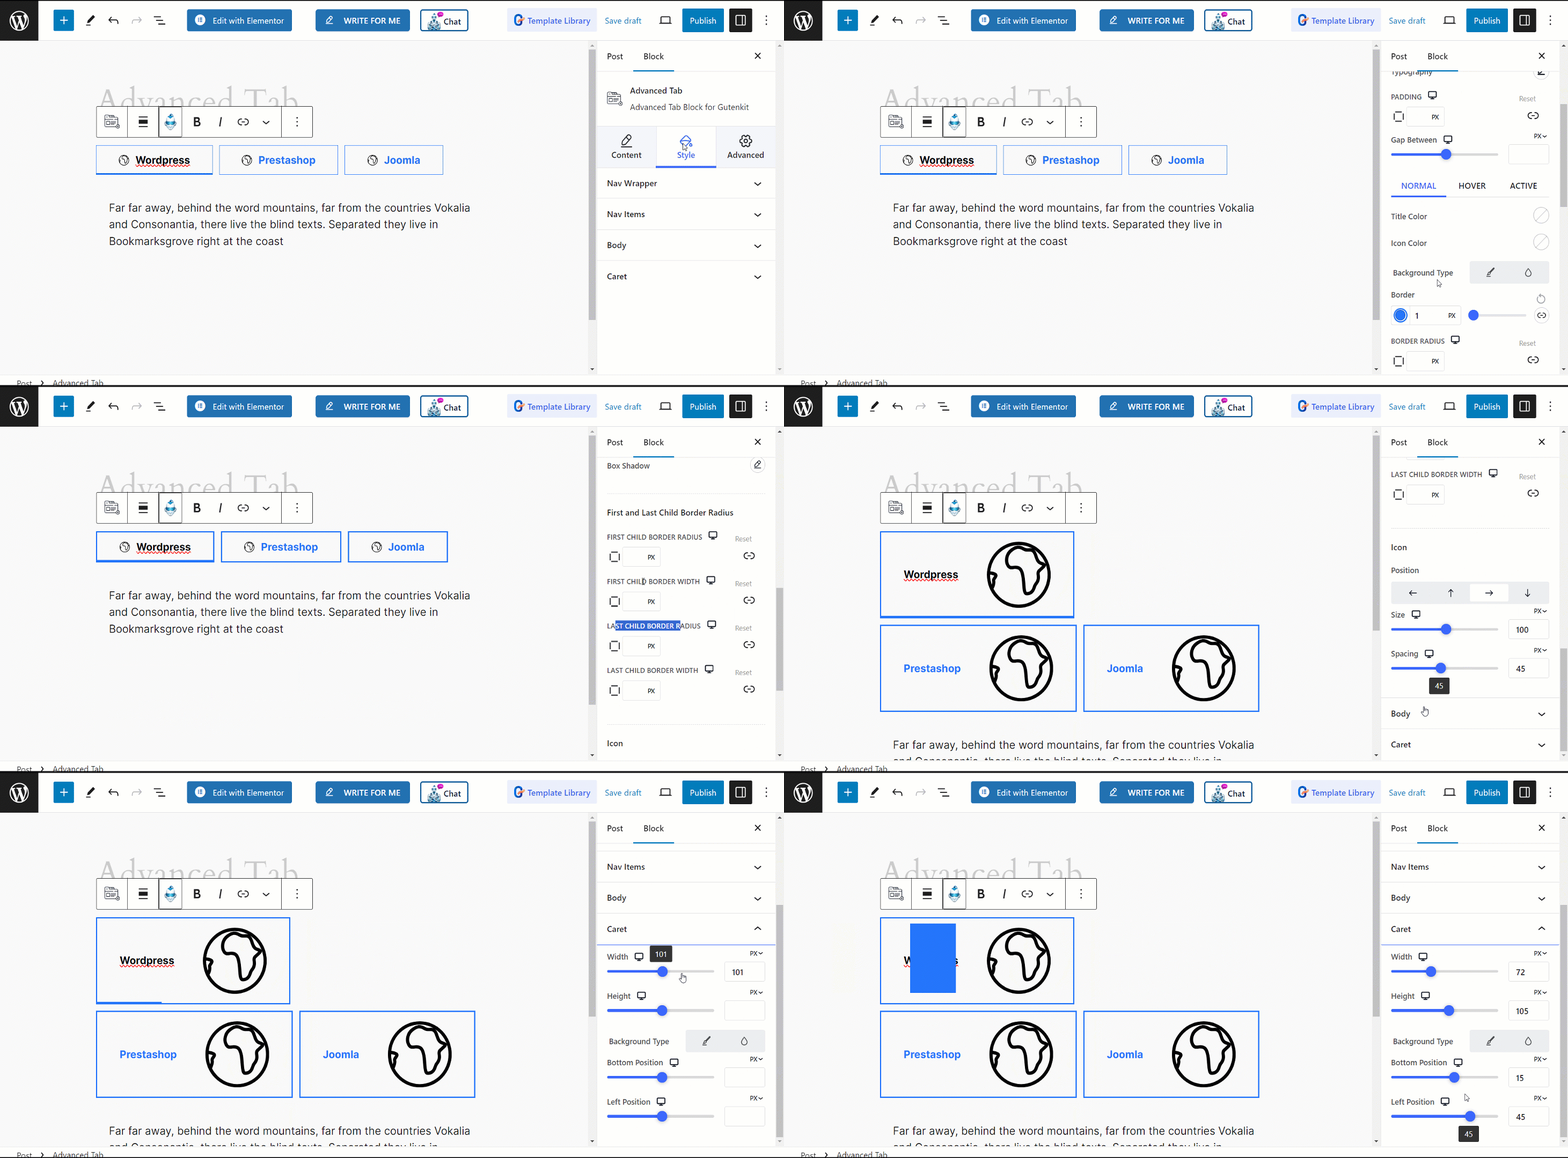
Here, you can change the Background, border, padding, box shadow, typography, color, adjust width and height where necessary, and other relevant things for –
- Nav Wrapper: It contains all the individual Nav Items (tabs).
- Nav Items: From here, you can style all the individual items.
- Body: It holds the content part and lets you design it.
- Caret: You can style the caret style with this feature.
Final output #
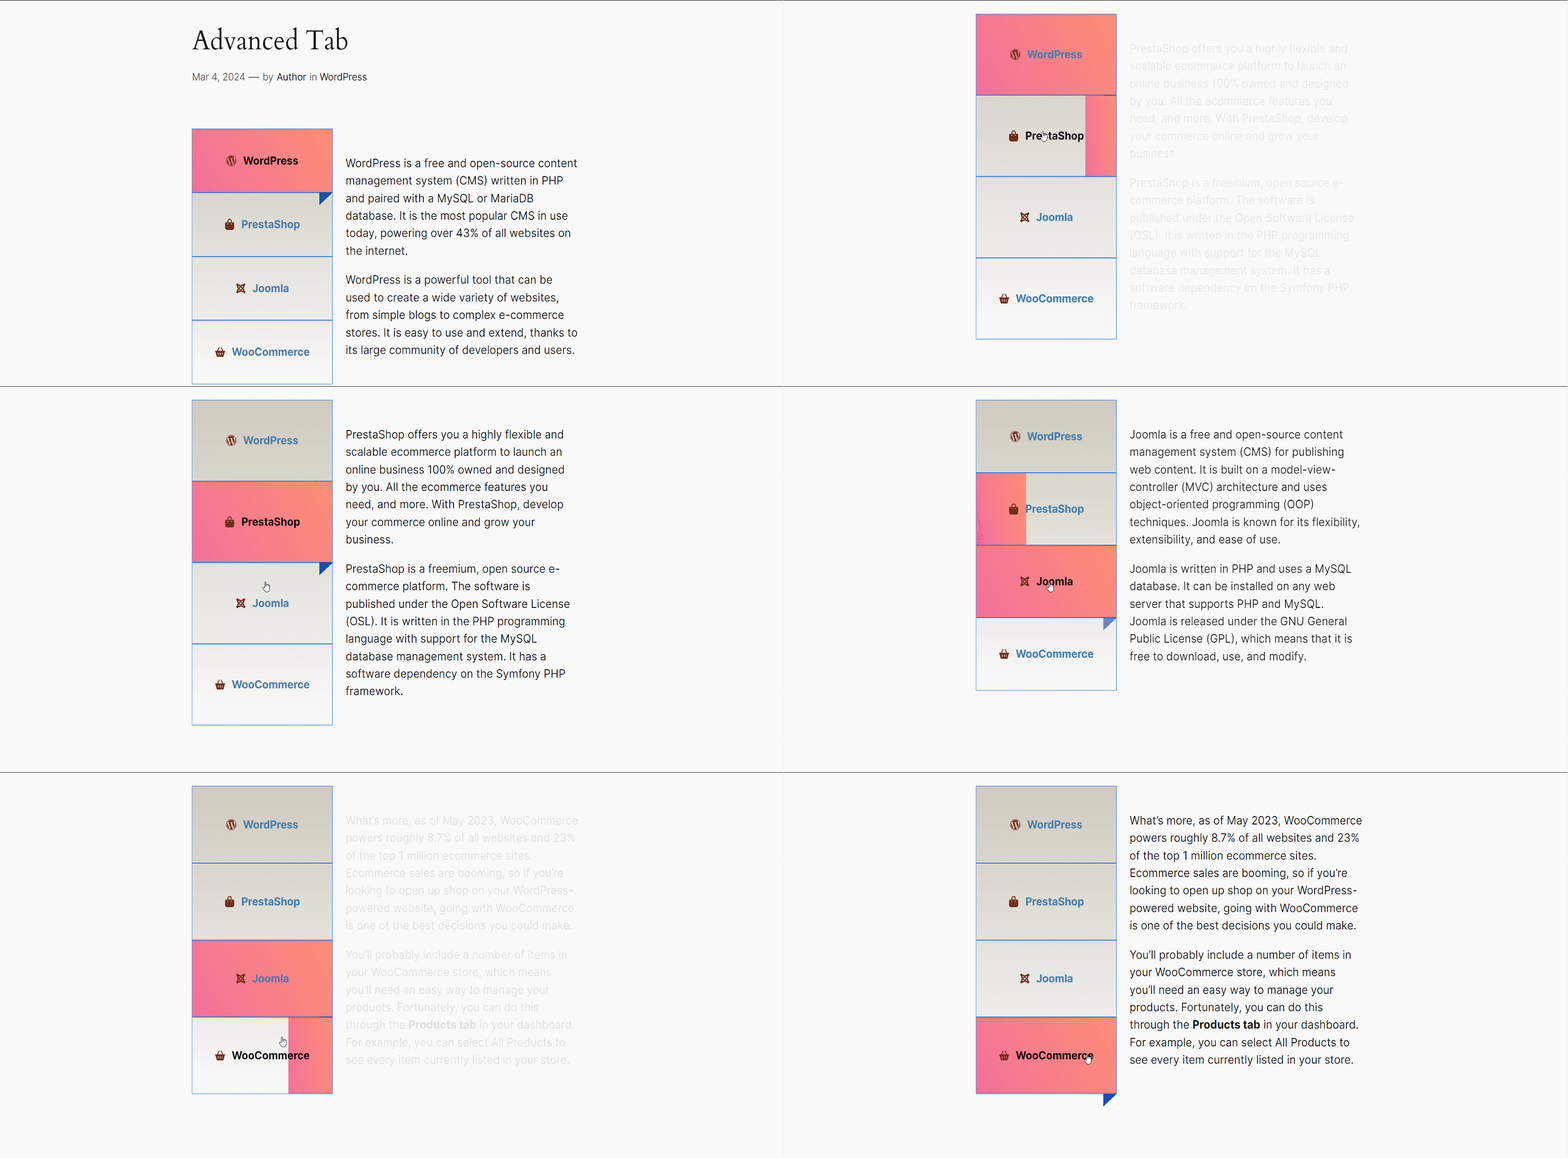
We have prepared an example for you –
You’ve completed the tutorial. Now it’s your time to try!


