


WP Social Pro is the ultimate WordPress social media plugin that integrates with all the social media platforms and features. The plugin comes with features like social login, social share, and social counter, with all the latest SDK and APIs. You can have all these features added to your website with this easy-to-install and well-optimized plugin.
To use all the advanced features, learn how to purchase the WP Social Pro plugin and install it to your WordPress site.
Purchase, Install, and Activate WP Social Pro #
Prerequisite:
Install and activate the lite plugin 👉 WP Social
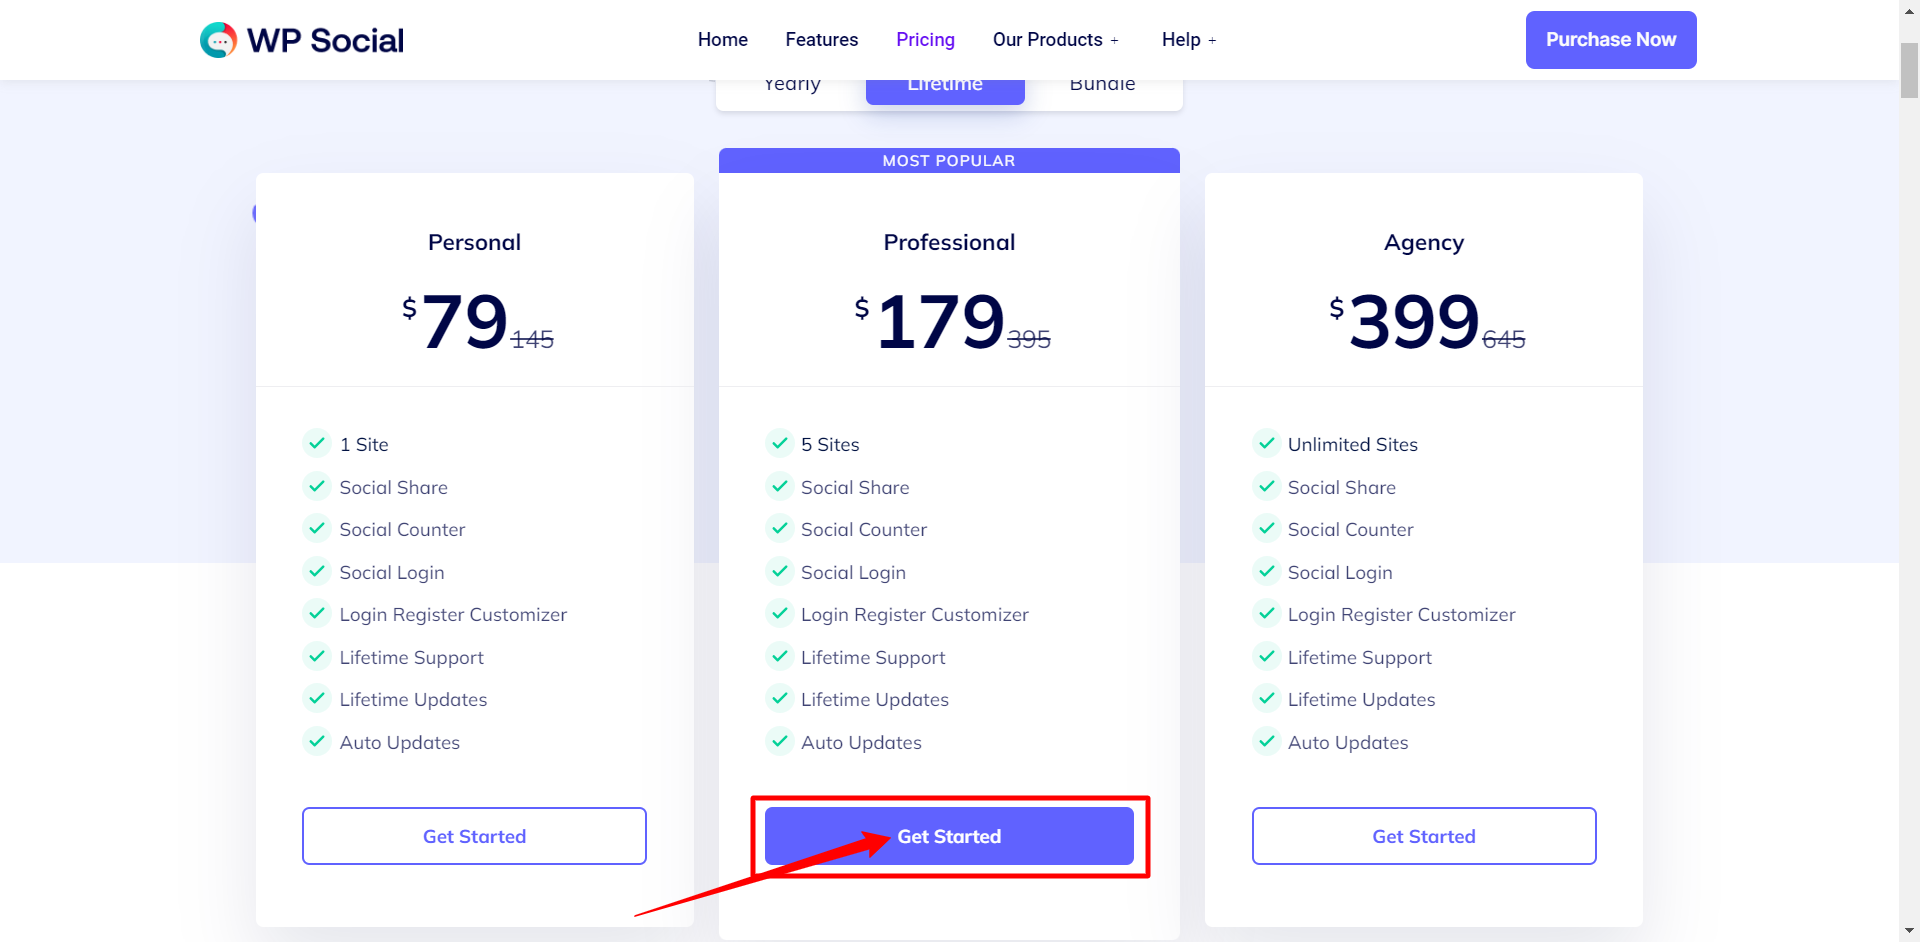
Step 1: How to purchase WP Social Pro #
To purchase this premium WordPress social media plugin:
- Go to the WP Social Pricing page.
- Choose a plan from the flexible pricing plans. Click on the purchase button (Get Started).
You’ll be redirected to the Checkout page.
On the Checkout page,
- On the checkout page, enter your login credentials if you already have an account.
- Otherwise, enter your Personal Info including your Email Address, First name, and Last Name.
- Then click on the Purchase button to continue the payment procedure.
- If you have a discount code, enter it in the required field.

Step 2: How to Download the Plugin #
Once you complete the payment procedure you will receive an email with your Username, Password, and log in URL.
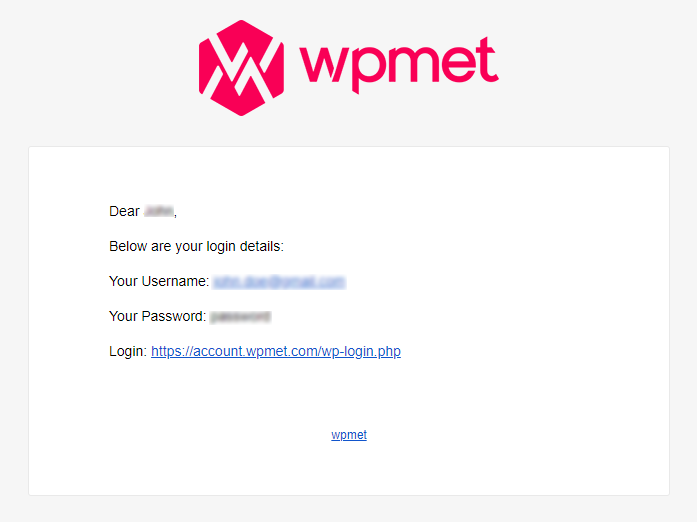
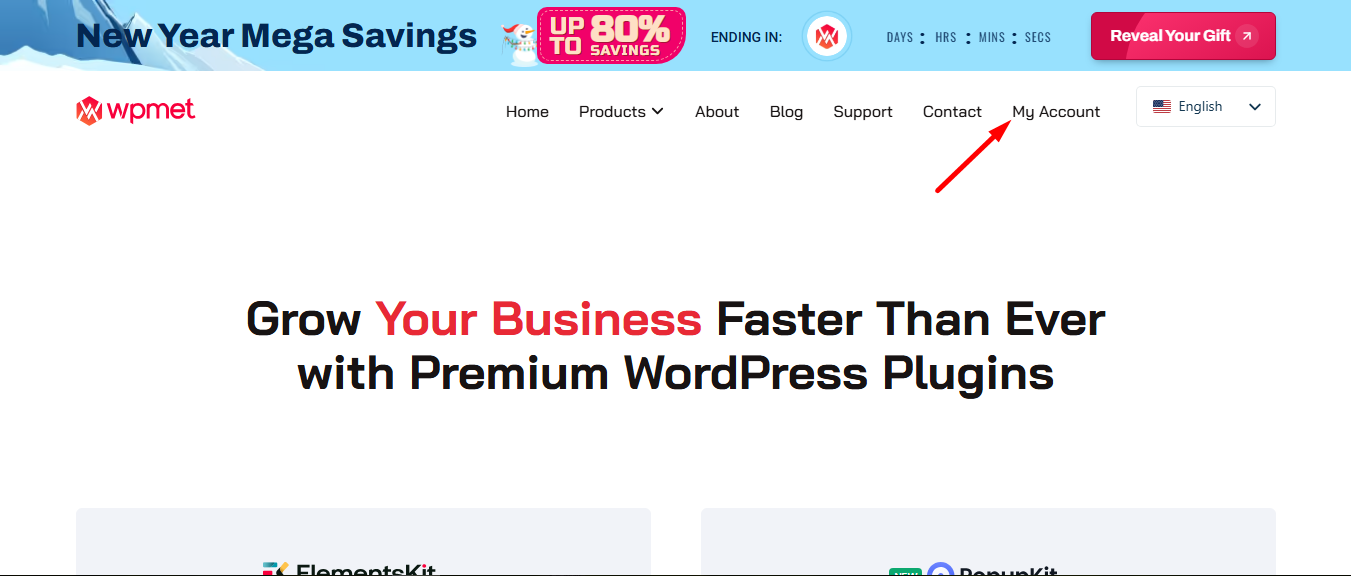
Access your Wpmet account by clicking the secure link in your email, or simply log in directly via our website.
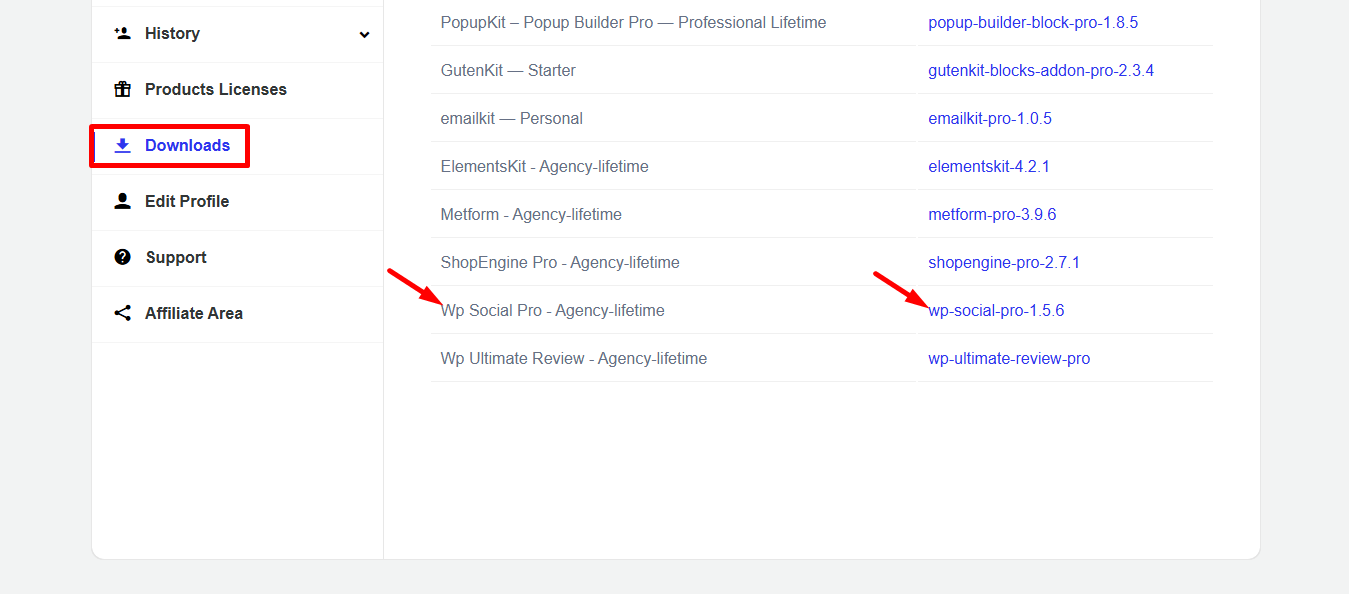
To download the plugin,
- Go to the login page and log in with your username and password.
- Move to the WPmet download page and download the “wp-social-pro” file.
Step 3: How to install WP Social Pro #
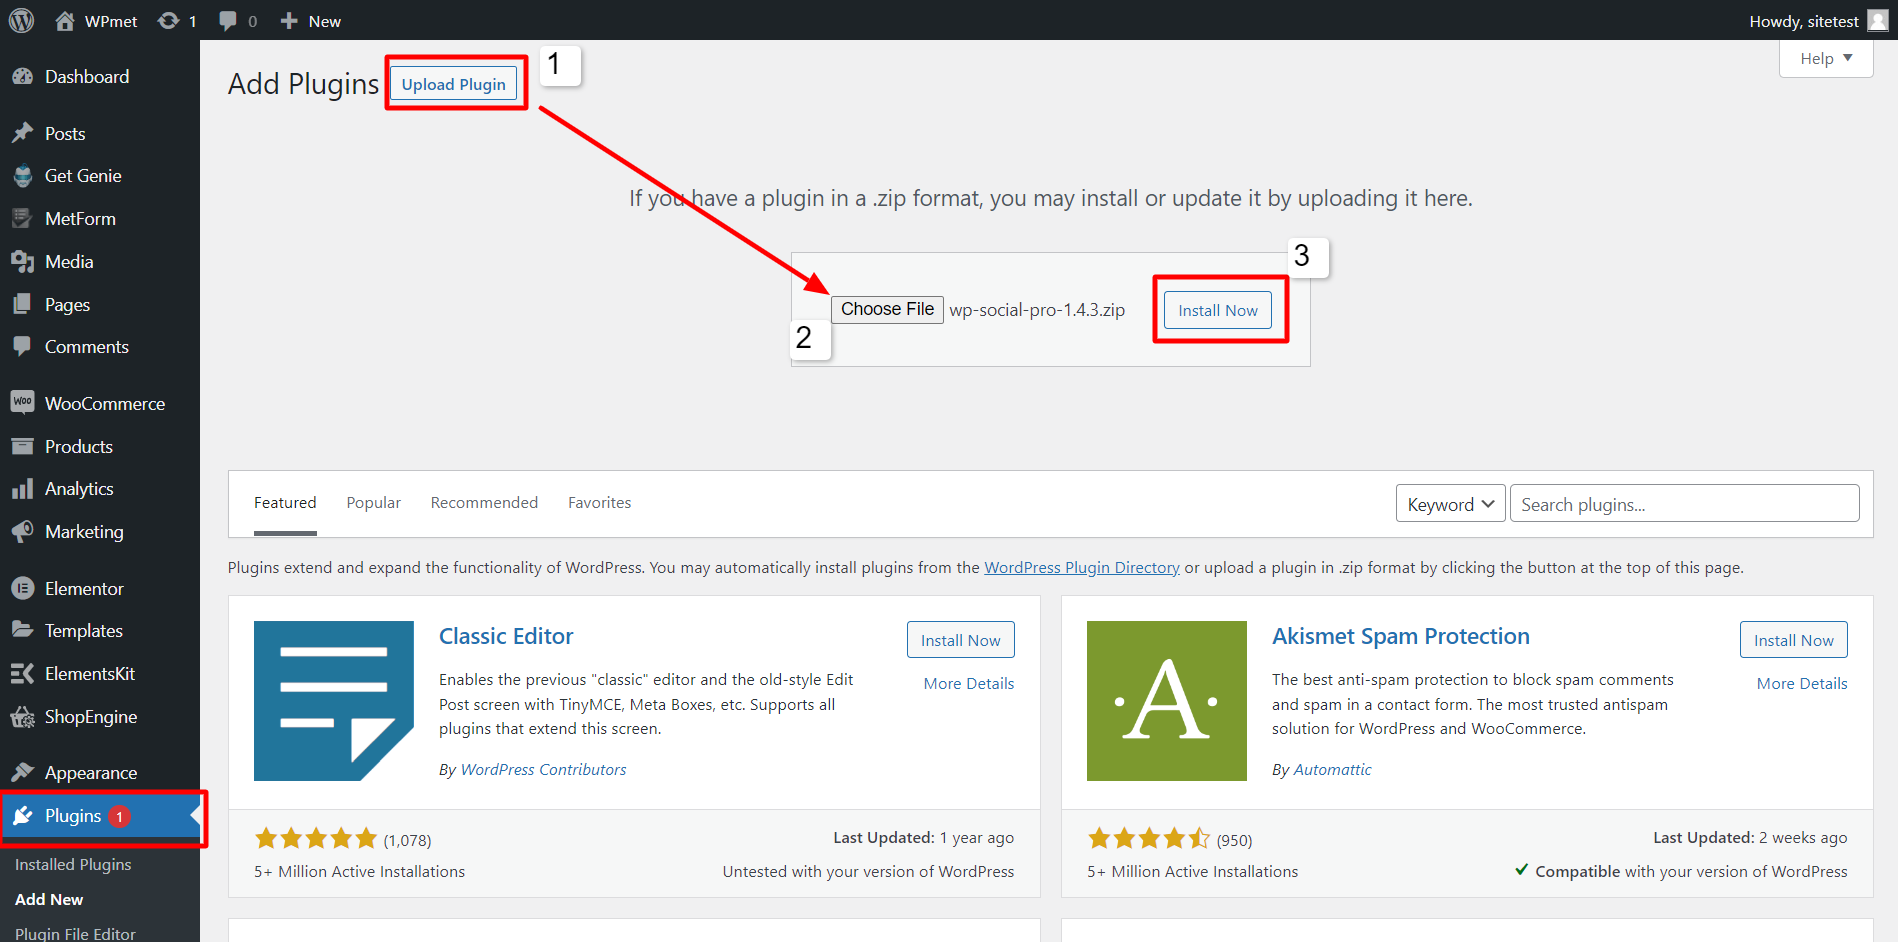
The final step is to install the WP Social Pro plugin on your WordPress site. To install the plugin, login to your WordPress site and:
- Navigate to Plugin > Add New > Upload Plugin.
- Click to Choose File and upload the file.
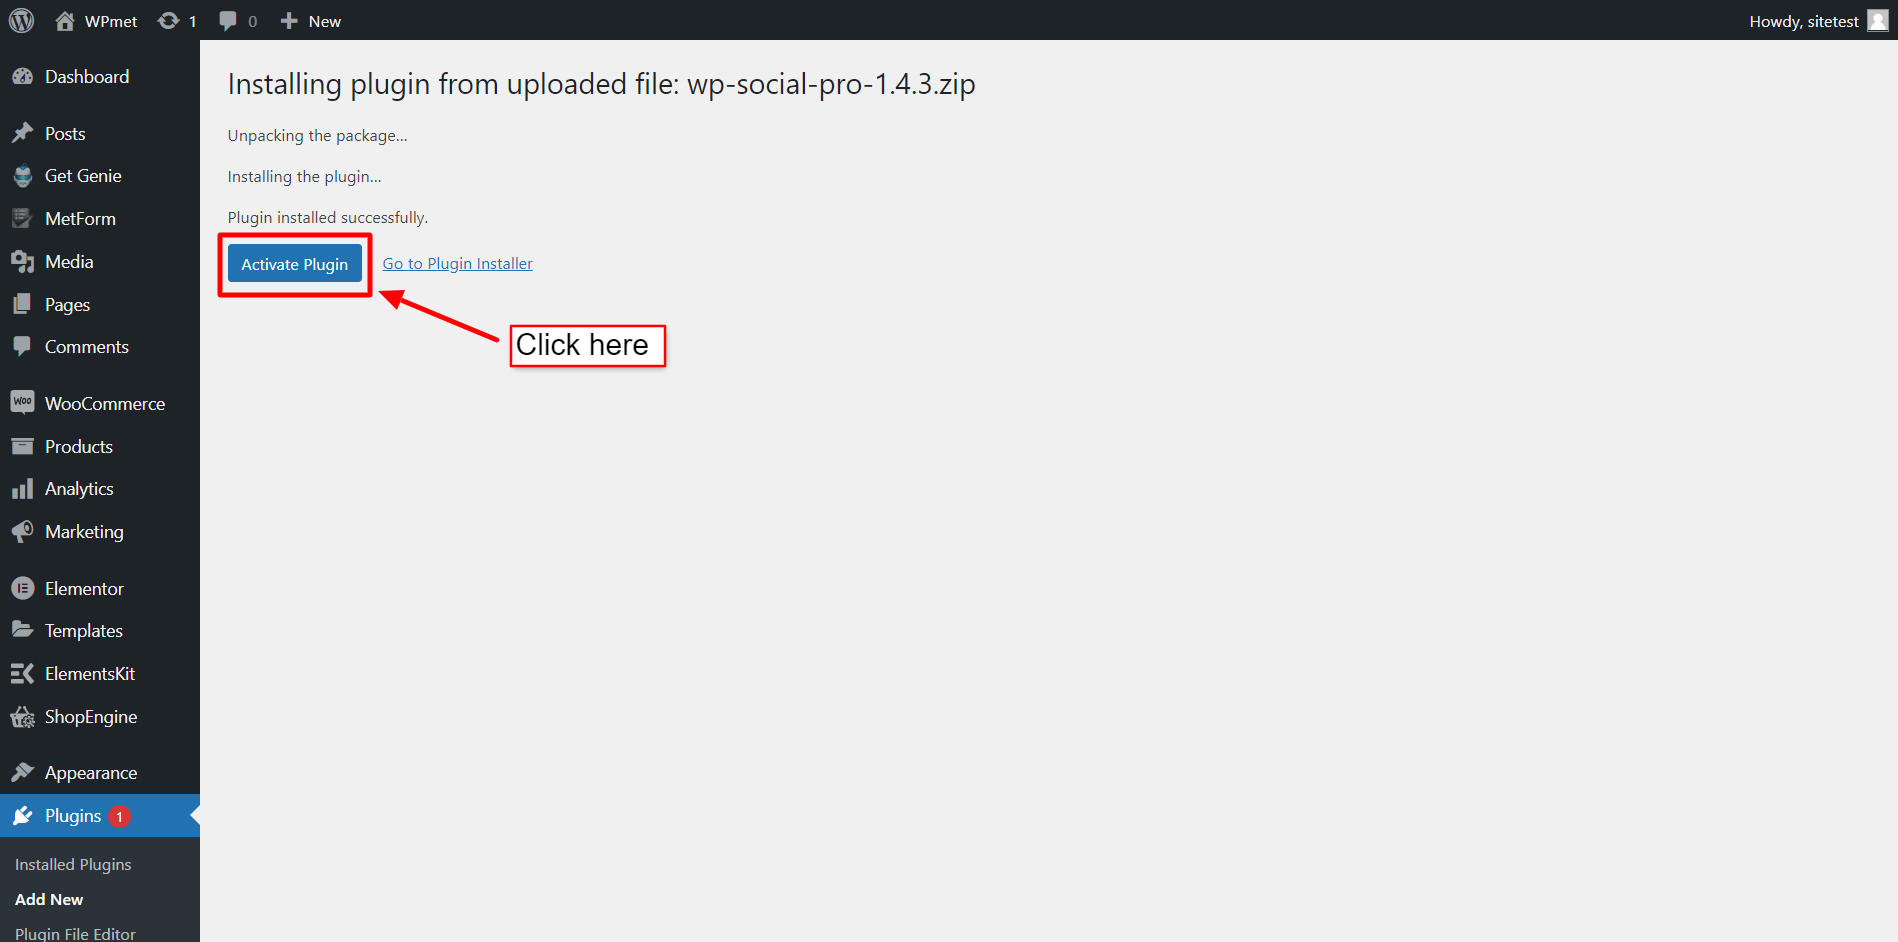
- Then click Install Now and wait for the installation process to complete.
After that, click Activate Plugin to finalize the activation of the WP Social Pro plugin.
Step 4: License Activation Process #
Go back to your Wpmet account. Select WP Social Pro from the Product Licenses tab and add the domain of your site.
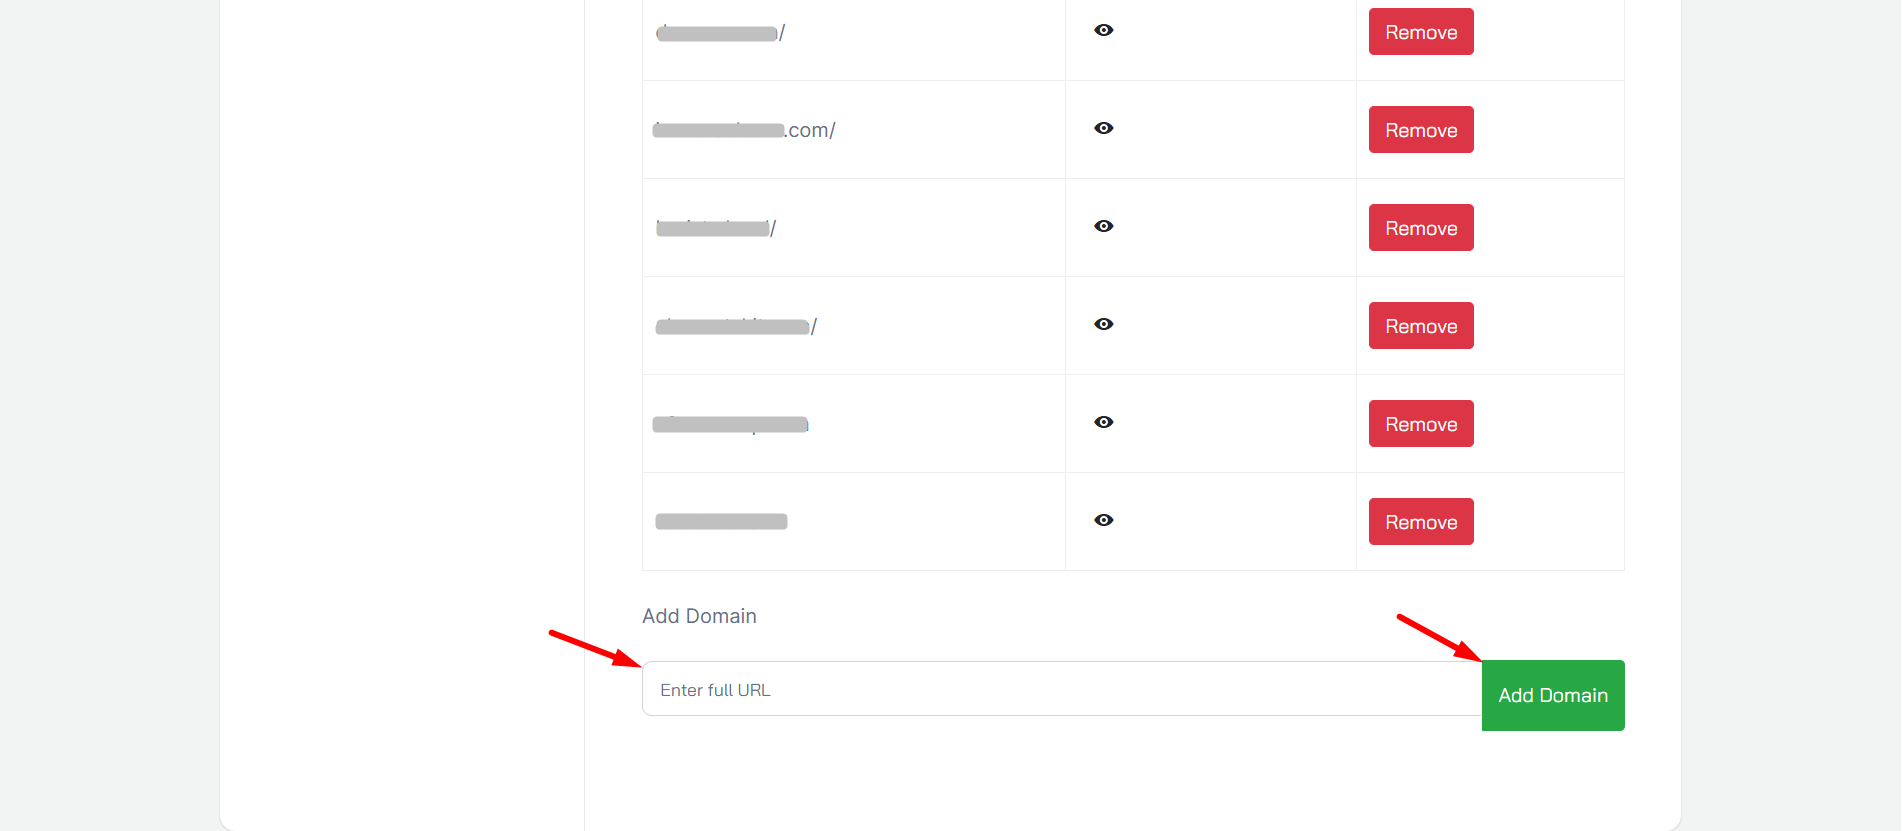
To activate the license:
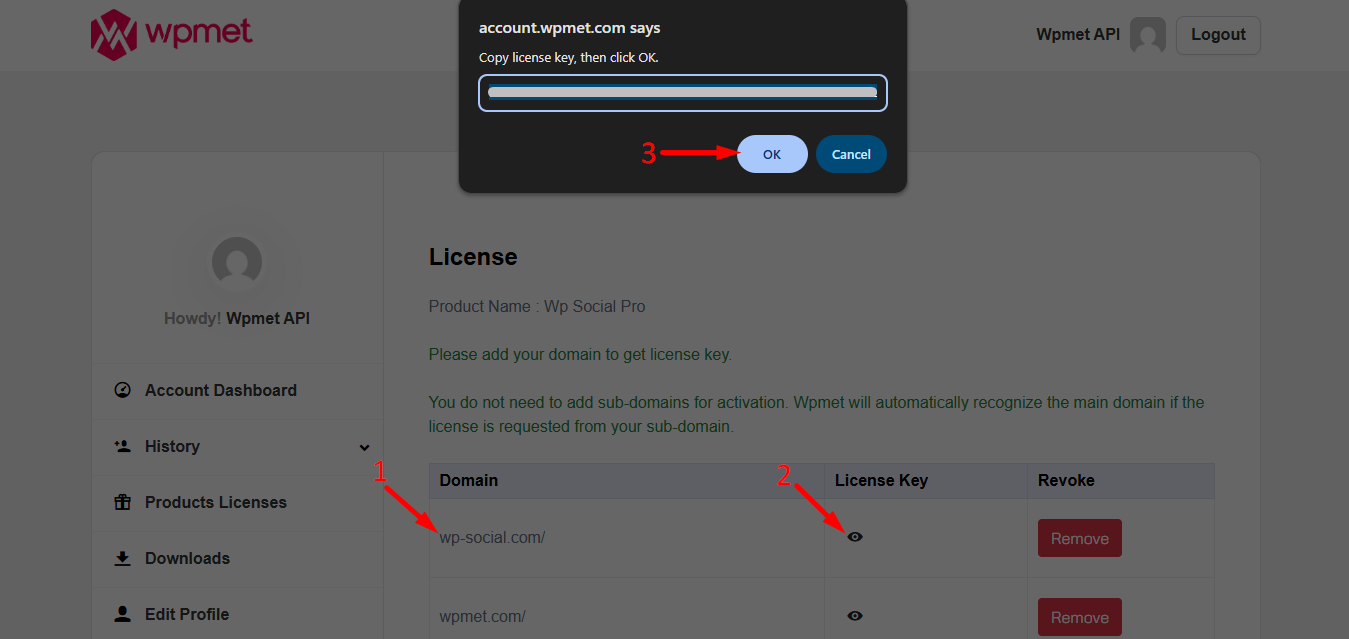
- Identify your domain in the list.
- Tap the eye icon to view your unique key.
- Copy the key and confirm by clicking OK.
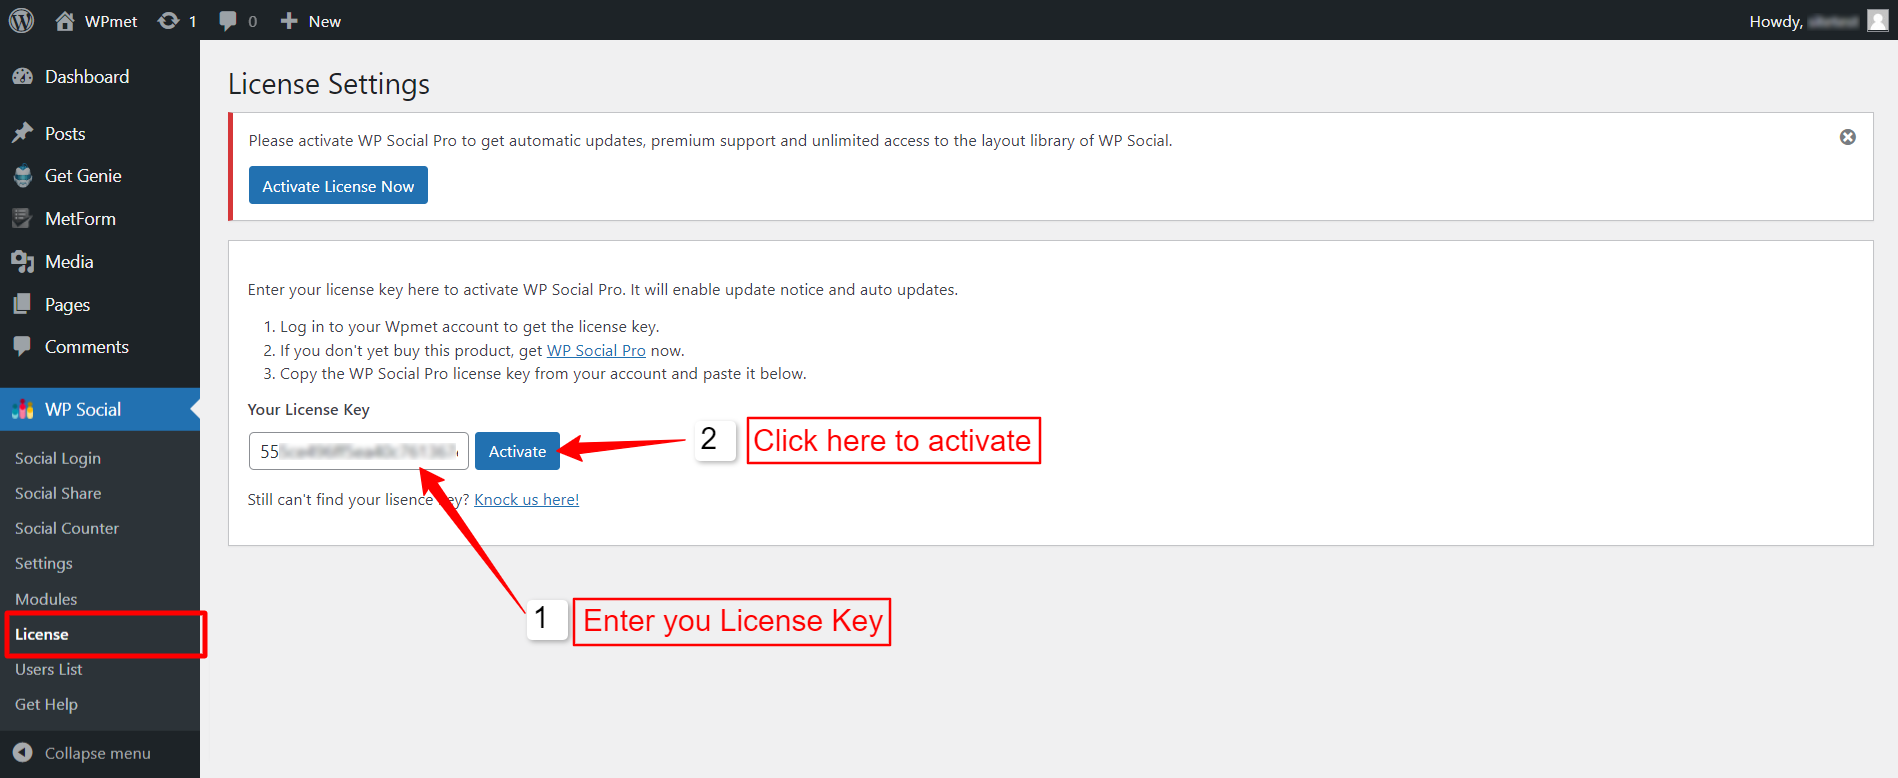
Next step is to activate the license on your website. First login to your WordPress site and navigate to WP Social > License from your WordPress dashboard.
- Enter your License Key on the required field.
- Finally Activate the license key.
You’re all set! Your license is active, and you can now start using WP Social Pro to boost your site’s social engagement.


