


I wish… I could use a WordPress custom header on my website without having any coding skills!
Ever thought of yourself like that? Surely, you did!
Well… The good news is… yes, you can use the Elementor page builder to build a fully custom header.
You may already know that the Elementor page builder allows a non-coder designer to build fully unique WordPress pages.
So, here in this article, you will get the step-by-step process for how to design a custom header with Elementor and ElementsKit add-on.
Let’s get into it!
Why Do You Need to Design an Elementor Custom Header
Designing a custom header with Elementor in a WordPress site offers numerous advantages, enhancing both aesthetics and functionality. Here are 5 key benefits of incorporating a personalized header into your website:
🚀 Enhanced Branding and Identity
Creating a WordPress custom header with Elementor allows you to tailor the design to match your brand’s identity. You can incorporate brand colors, logos, and typography, providing a consistent and professional look across your site.
This consistency helps in establishing and reinforcing your brand identity, making your website more memorable to visitors.
✅ Improved User Experience (UX)
A well-designed WordPress custom header can enhance the overall user experience by making navigation more intuitive and user-friendly.
You have the flexibility to organize navigation menus, include call-to-action buttons, and optimize the layout for better accessibility. This, in turn, can reduce bounce rates and encourage visitors to explore more content on your site.
📱Responsive Design for Mobile Devices
Elementor allows you to create responsive headers, ensuring a seamless experience for users on various devices, including smartphones and tablets.
With an Elementor custom header, you can optimize the layout and content specifically for smaller screens and provide a mobile-friendly design to adapt different resolutions and orientations.
💰Increased Conversion Opportunities
Designing WordPress custom header using Elementor enable you to strategically place important elements such as contact forms, search bars, or promotional messages in prominent positions.
This can lead to increased conversion rates as visitors are more likely to notice and engage with these elements.
🎨 Flexibility and Design Control
Elementor provides a drag-and-drop interface, so you will have complete control over the design of your header without the need for extensive coding skills.
This flexibility helps you to experiment with different layouts, styles, and content arrangements until you find the most visually appealing and functional Elementor header for your site.
How to Design a Custom Header With Elementor: Step-by-step Guide
To create and design an Elementor custom header in your WordPress site, you will need two custom header wordpress plugins –>
Now, we’ll show you the step-by-step process of how to create a custom header with Elementor for your WordPress website.
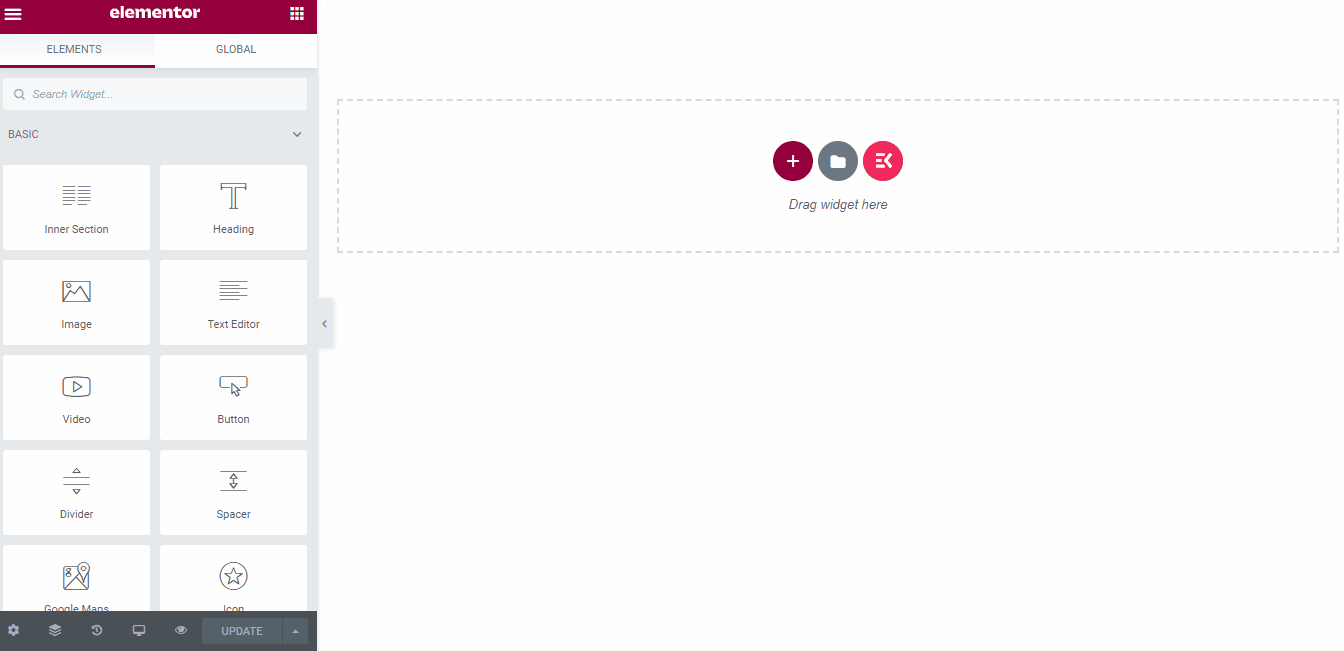
Step->1: Add Header Template
First, login to your admin dashboard panel to create a WordPress custom header design with Elementor.
- Navigate to ElementsKit → My Templates→ Click “Add New“.

Step->2: Select Header Options
A popup box will open with options.
- Add a Title. For example: Custom Header
- Select the Type → Header
- Select a Condition → Entire Site, Singular, or Archive
- Turn On the Activation Option
- Click on “Edit With Elementor”
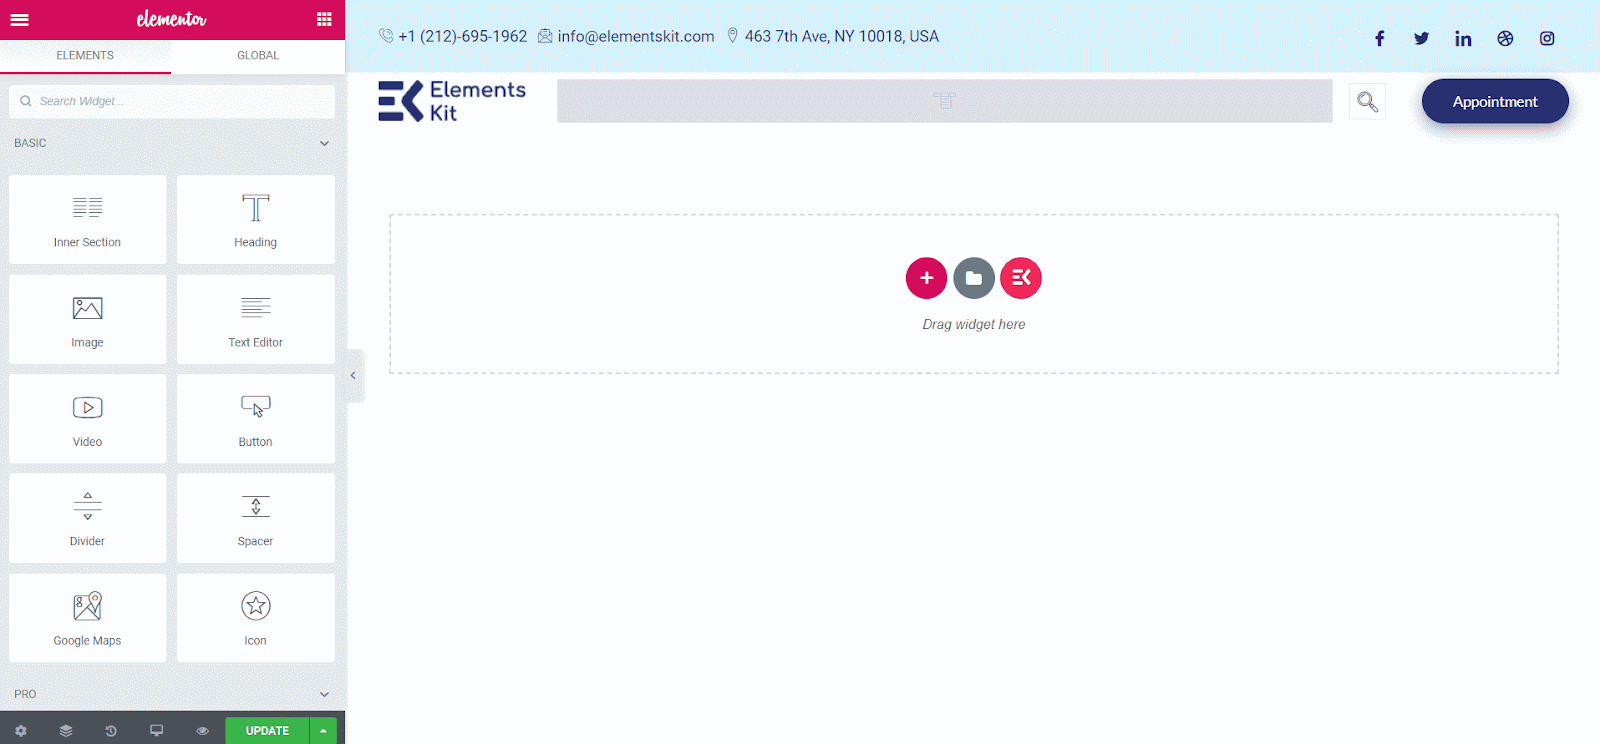
Now you can edit your professional-looking Elementor custom header section with ease.

Step->3: Choose a Header Design
You can select your custom header design for your WordPress site from the ElementsKit built-in header library.
- Choose a design from the library.
- Click on the “Insert” button of your chosen design.
- It will automatically put your custom header design on your webpage.
Step->4: Customize the Default Layout
To edit the layout section click on the customization button:
- Enable/ Disable Stretch Section: You can stretch the section to full-width
- Adjust Content Width: Select the content width boxed or full width from the drop-down menu
- Change the column gap to Narrow, Extend, Wide, or Wider.
- Adjust Height: Choose Elementor Fit to screen or min-height
- Choose vertical-align from Top, Middle, Bottom, Space Between, Space Around, Space Evenly
- Overflow: Keep it Default or Hidden
- Select HTML Tag: Select from the drop-down
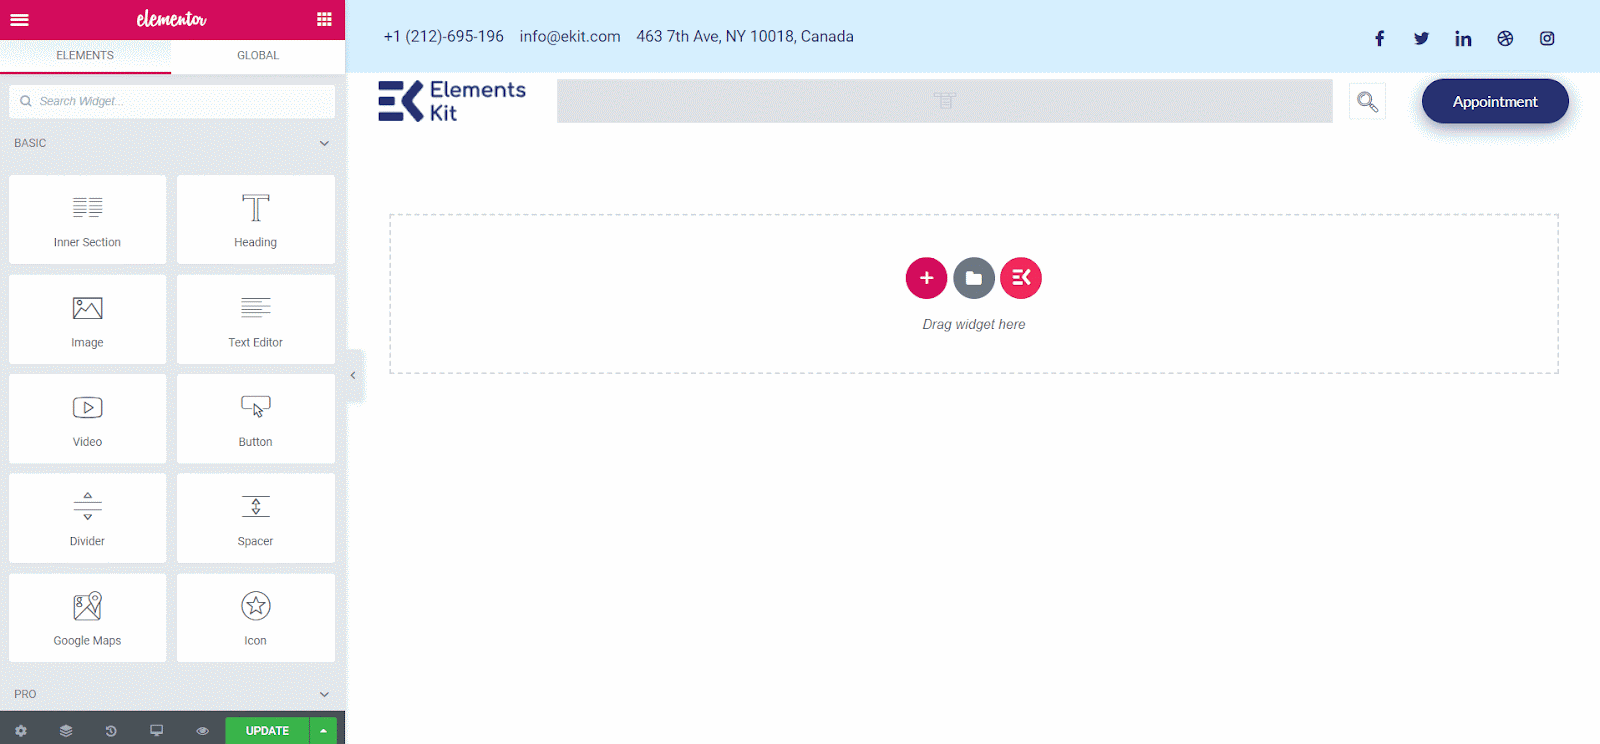
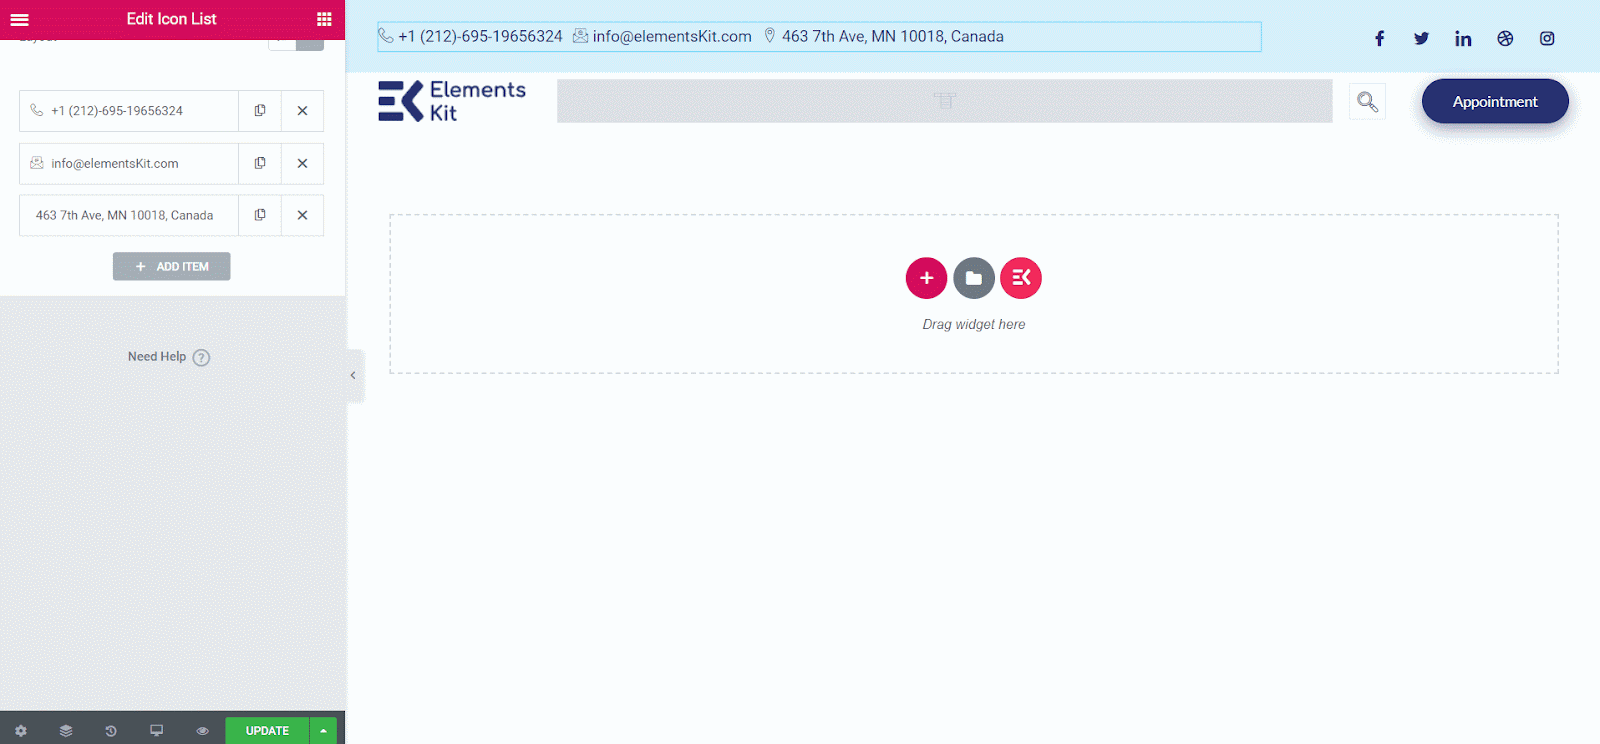
Step->5: Customize Telephone Number
Reduce the communication barrier by adding the contact number to your site. You can add a link to your Elementor contact number so that visitors can easily call you.
- Choose the layout: Default or Inline
- Customize company Telephone no
- Upload any Icon with Redirect Link
📢📢 See also – Breaking Records: Celebrating 1 Million+ Users of ElementsKit!
Step->6: Customize Email
Adding your official email address on the custom header eases the communication procedure. It ensures a smoother communication bridge with your users.
Let’s have a look at the process of customizing the email address in your WordPress site’s custom header.
- Choose the layout: Default or Inline
- Add or Edit the Company Email
- Upload any Icon with Redirect Link

Step->7: Customize the Address
Let your users locate you easily by adding the company address at the top. This will help intensely to improve user interaction. Here’s the process of adding your company address in your Elementor custom header→
- Choose the layout: Default or Inline
- Add or Edit the company
- Upload any Icon from the icon library with the Redirect Link
Step->8: Add Your Social Media Profiles
You can display your official social media profiles like Facebook, Twitter, or Instagram and connect your users seamlessly.
To custom social media icons to make your WordPress custom header more trustworthy, you need to→
- Click on the social widget
- Select your style: Icon, Text or Both
- Select Alignment position: Left, Center, or Right
- Add Icon: Upload Icon From Library
- Add/ Edit Label
- Provide Social Link
- Customize Icon for both normal and hover
- Add Background color
- Choose Border Type: Solid, Doubled, Dotted, Dashed, Groove
- Select Text Shadow: Blur, Horizontal, Vertical
- Select Box Shadow: Horizontal, Vertical, Blur, Spread
- Choose Position: Outline or Inset

Step->9: Add a Logo
You can add a logo with some easy steps:
- Click on the Logo Image→ upload or choose from your media file
- Select the Image Size from the drop-down
- Choose the Alignment left, center, or right
- Add any type of Image Caption like an Attachment caption or Custom caption
- Choose the Link Type Media File or Custom URL. You can also add a redirect URL.

Step->10: Add Search Option
If your website contains a large amount of content, you can add a search option for your website. Have a look at how you can add custom search options:
- Add any placeholder text
- Upload icon from the icon library
- Adjust the size by dragging

Step->11: Add a CTA Button
Follow the process to add a CTA button in your WordPress custom header →
- Label: Add or Edit Button Text
- URL: Provide Redirect URL link
- Enable Add icon to provide Button Icon
- Upload the Button icon from the Icon library or you can upload it from your library
- Select Icon Position: Before Text or After Text
- Choose Alignment: Left, Center, or Right

Step->12: Customize the Menu
Megamenu Builder is one of the most amazing features of ElementsKit. If you want to create and customize the menu section, you can use this Megamenu feature. Let’s see the functionalities:
- Choose your previously created menu from the drop-down
- Select the horizontal menu position: Left, Center, Right, or Justified
- Upload Mobile Menu Logo and Hamburger Icon
- Enable/ Disable the submenu click area: Icon/ Text
- Enable/ Disable one page
- Choose responsive breakpoint: Tablet/ Mobile

Step 13: Testing the Header
Now, it’s time to check the result. After designing your WordPress custom header with Elementor in just click on the “Update Button”
Let’s check out the final output!

Wrapping Up
It’s really simple to create a great-looking website header with Elementor and ElementsKit.
I hope that you have learned how to create a fully custom header for your WordPress site with Elementor. However, if you have any further queries about the procedure, feel free to leave a comment below. We will be glad to help you.

Leave a Reply