


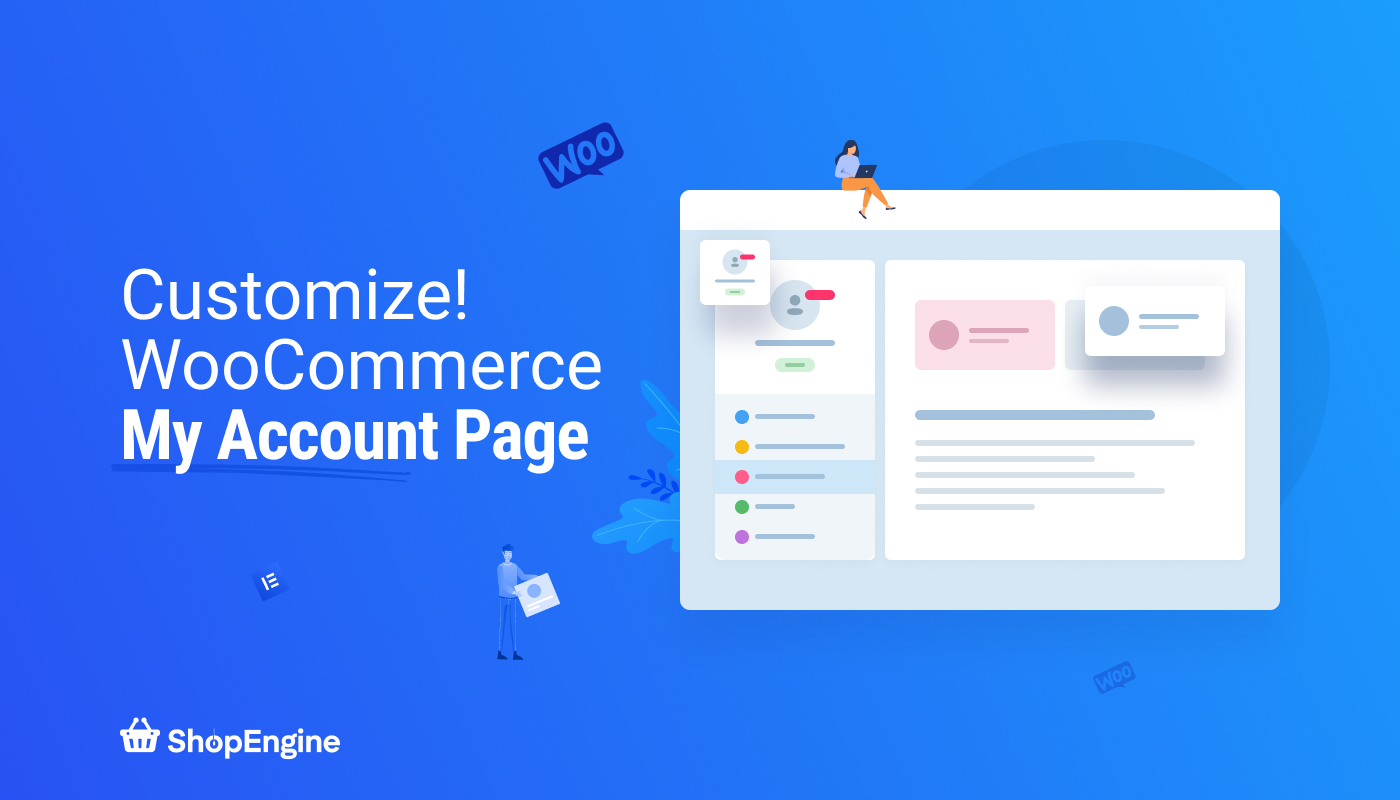
Are you tired of your customers’ boring WooCommerce my account page on your website? 😣
Looking for an easy way for your WooCommerce my account page customization? Then you’re at the right place…
There’s much more you can do with this necessary WooCommerce my account page element of your eCommerce site for a better customer experience.
However, the WooCommerce My Account page customization can be really complicated and inconvenient.
As a result, we’re here to give you full exposure to one of the finest and easiest methods to customize the WooCommerce My Account page will ease.
Installing a WooCommerce plugin that has pre-built WooCommerce my account page templates with multiple WooCommerce functionalities, will save a lot of your time and money.
Fortunately, there are numerous areas where you can make modifications as well. Always remember that a complete modification to the My Account page so that all of your clients have a consistent experience.
Quick Overview
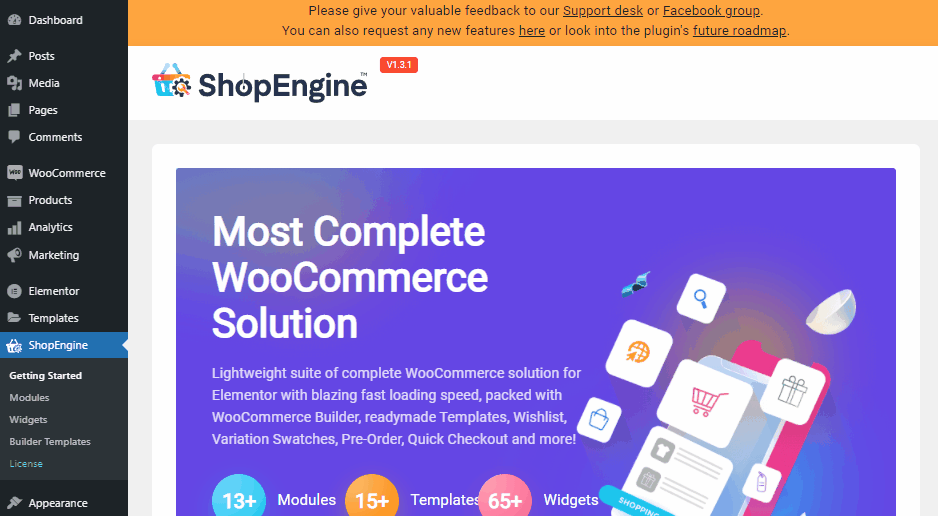
WooCommerce my account page customization might take a few minutes if you are using a smooth WooCommerce builder like ShopEngine. Besides ShopEngine, you will need two more plugins such as Elementor and WooCommerce.
Needed plugins: WooCommerce, Elementor, and ShopEngine.
ShopEngine promotes Elementor interface which means you can create and customize WooCommerce my account page by dragging-and-dropping widgets. Further, customization is possible without using a single line of code.
Here you will get to know customization process of my account pages including My Account Order details, My Account Downloads, My Acoount Addresses, My Account Details, My Account Wishlist, and My Account Login.
Why WooCommerce My Account Page Customization is Important?
The account page is one of the fundamental aspects of Woo stores as our clients may require more options on their account page. They may want to include other crucial details such as payment options, websites, addresses, and so on.
You may also prefer to change the account page layouts, colors, and text styling on their account page, which is quite common in today’s date. As all the WooCommerce users are aware that they aren’t possible by default with Woo system.

Adding codes for these, as well as any other changes is the obvious approach. You can also customize the WooCommerce My Account page with one of the WooCommerce My Account page customization plugins.
Installing a WooCommerce extension or customizing it from scratch on your WordPress website is without a doubt two of the greatest solution that one could choose.
WooCommerce My Account Page Customization with ShopEngine
This method is much simpler. There are multiple WooCommerce account page dashboard plugins available in WordPress. Which will help you to create and customize your my account page, in just a minute! 🥱
All you have to do is just select an WooCommerce account page template plugin that has various pre-build WooCommerce customer dashboard templates options that will save a lot of your time and energy.
One of the major parts of having an eCommerce store is allowing consumers to create their own My Account Page. That helps them to save and share information, account details, and billing addresses with you, which makes their shopping experience more convenient.
– quadlayers
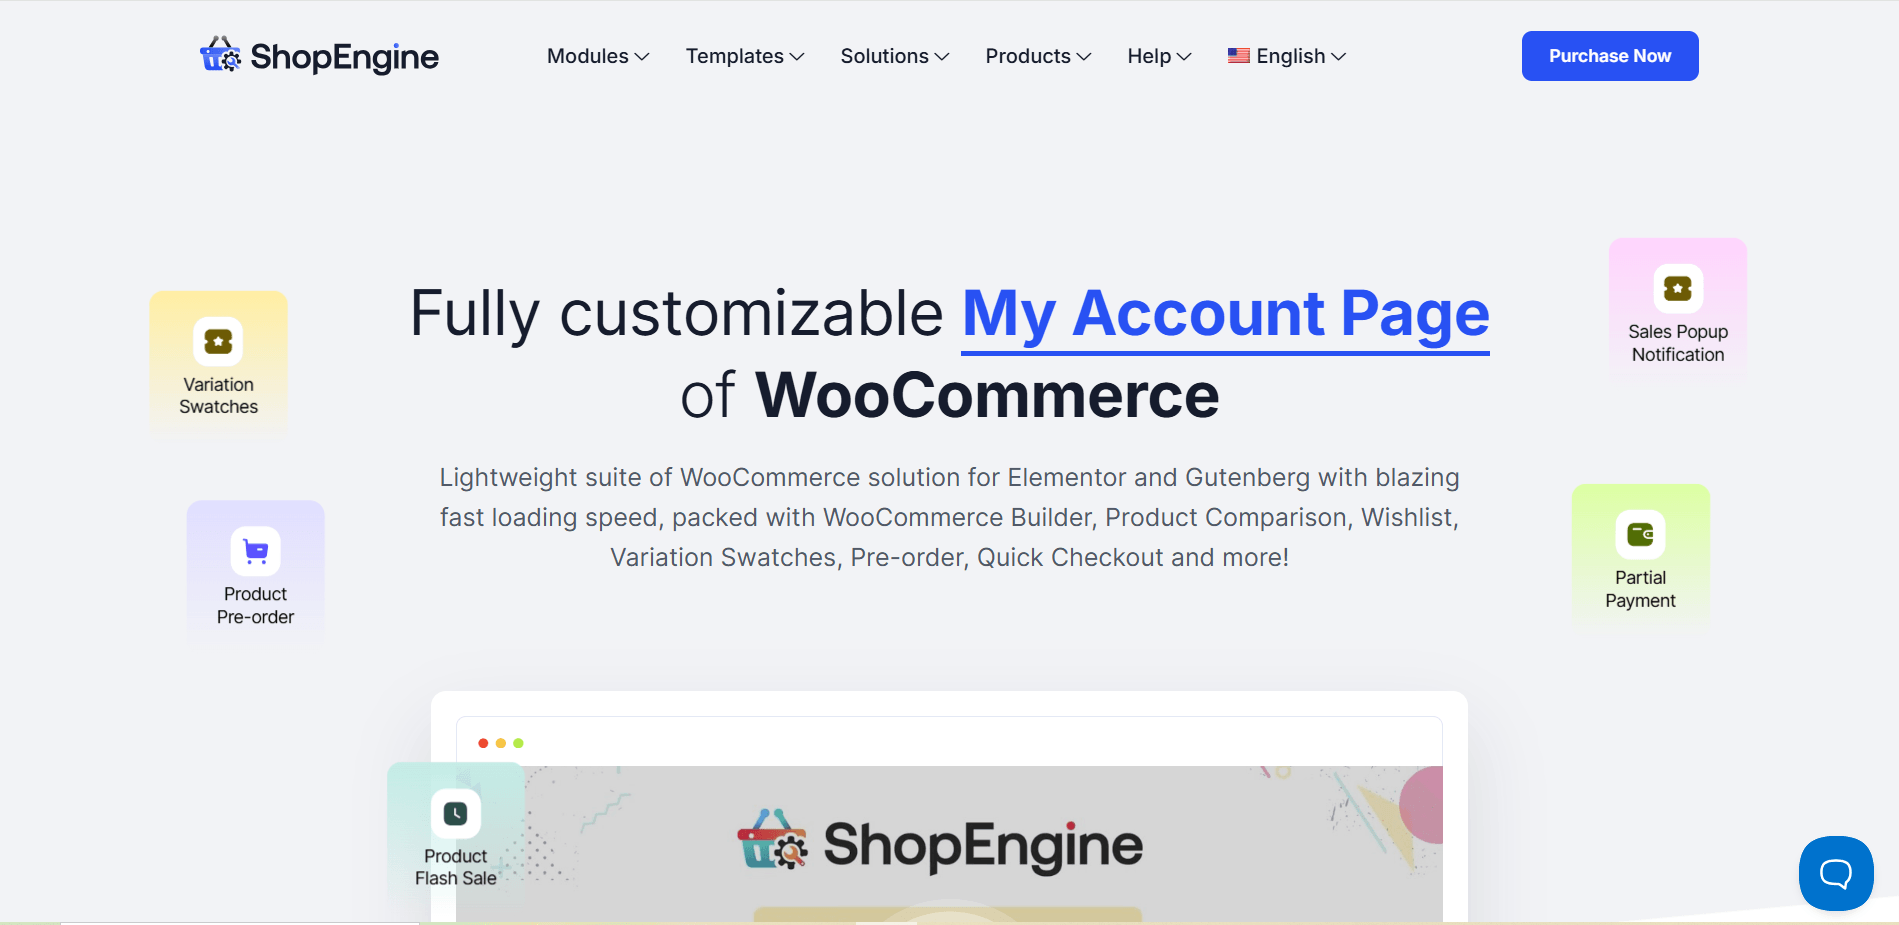
ShopEngine’s Account page template is easy to customize, provides hassle-free navigation, and allows users to take action from a single page.
Here are the key features that make ShopEngine My Account Template unique:
- High in customization and user-friendly pre-built interface.
- The text of the menu options can be edited.
- You can temporarily disable menu options.
- The menus can be reordered.
- ShopEngine is compatible with any theme and plugin/s.
It also has a user-friendly add new section in the account page template. You can also add an introductory login form. After that, they can enter the dashboard where users can input their orders, last order conditions, address, and all other account details.
For each section, you can conveniently use ShopEngine’s ready widgets. The template makes the process effortless, and there is no chance of any error.
Now we will look into how you can create your customer account page in a new avatar with ShopEngine’s build-in account pages templates and widgets. Here you’ll be able to create and customize an intuitive WordPress user dashboard for WooCommerce just the way you prefer.
So, let’s begin with the tools first! 😉
Create WooCommerce My Account Page from Scratch
Typically WooCommerce installation automatically creates my account page with its default settings. And we’re going to edit that defaulted page with something that we prefer to have on our page.
First up we will install and activate ShopEngine which will help us add up the WooCommerce my account page templates super easily and simply.
For that, all you need to do is go to Admin Dashboard > hover over Plugins > click on Add New and search ShopEngine, an WooCommerce my account page builder.
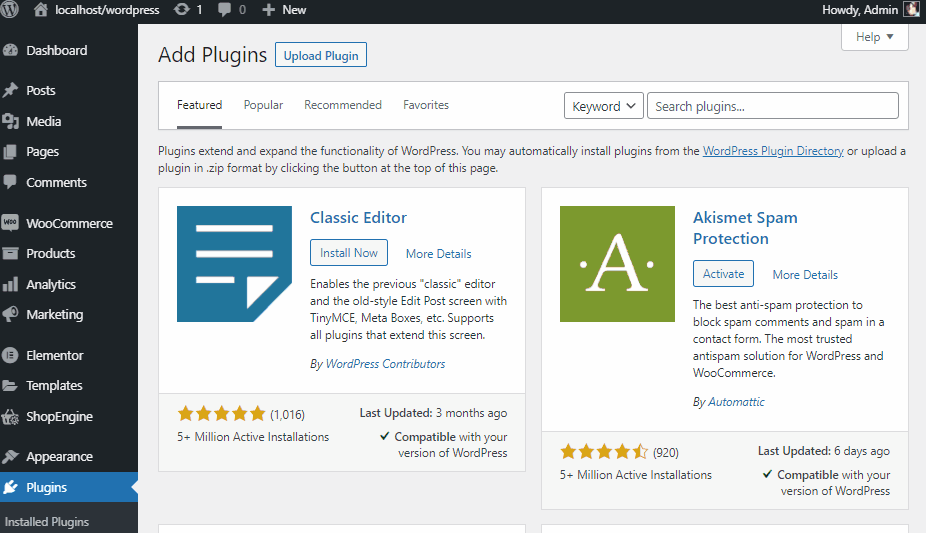
After that simply click on Install Now > Activate. Then hover over Pages and click on All Pages.
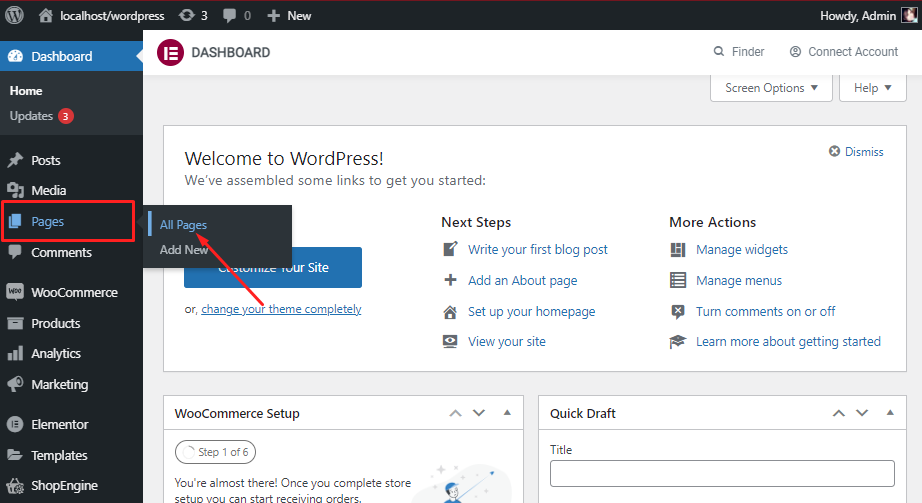
There you will get to see all sorts of default My Account pages that WooCommerce has created for your eCommerce store.
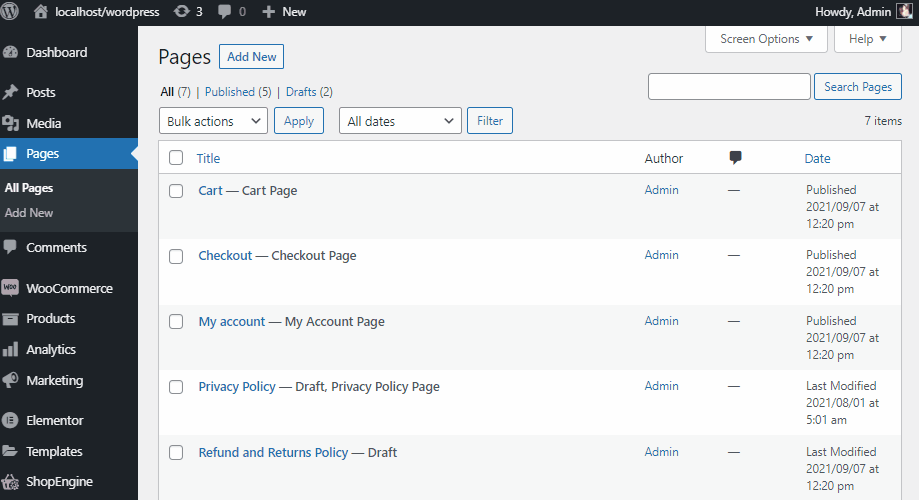
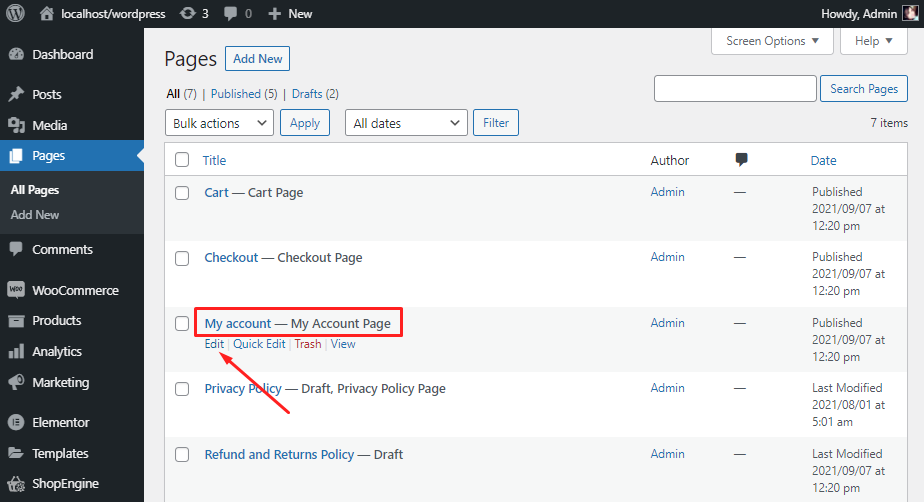
Now you are probably seeing all the defaulted WooCommerce pages. As we’re fixing my account page only, all we have to do now is just put our cursor on My account – My Account Page and click on Edit below the title.
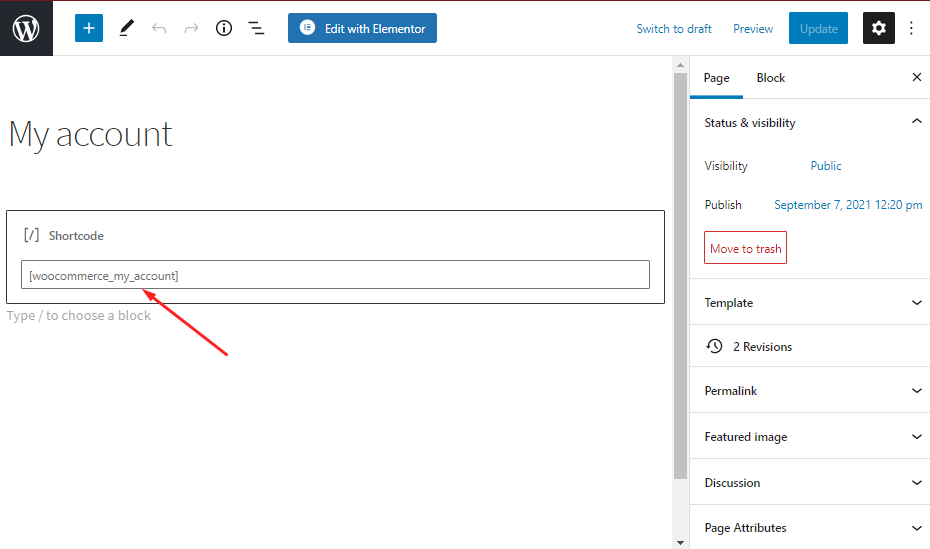
What you will see there is something like this below, just a shortcode of the default WooCommerce my account page.
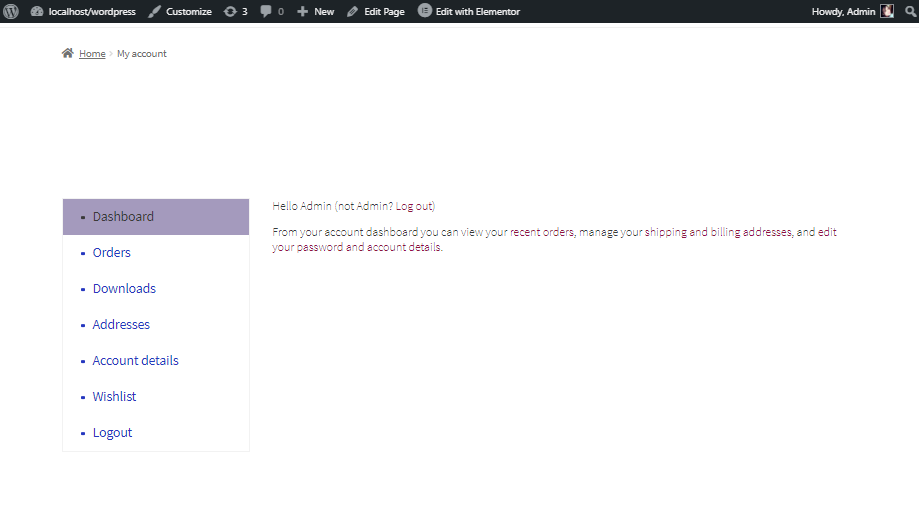
And this second image is how your customers will see their WooCommerce my account dashboard when they login to your site.
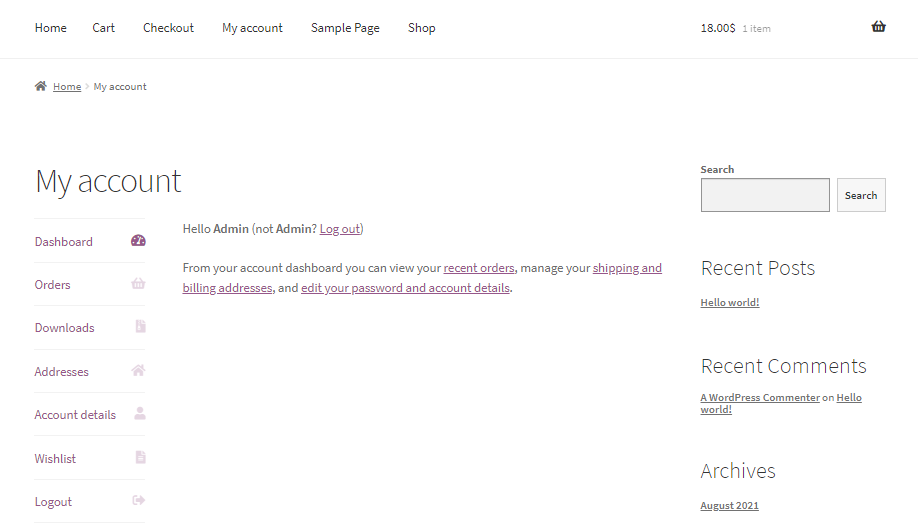
Do keep in mind that it varies from theme to theme, mine is built on WordPress default theme. However, the context should be the same.
ⓘ Also Read 👉 WooCommerce vs Magento: Which one is Best for you?
Getting Started
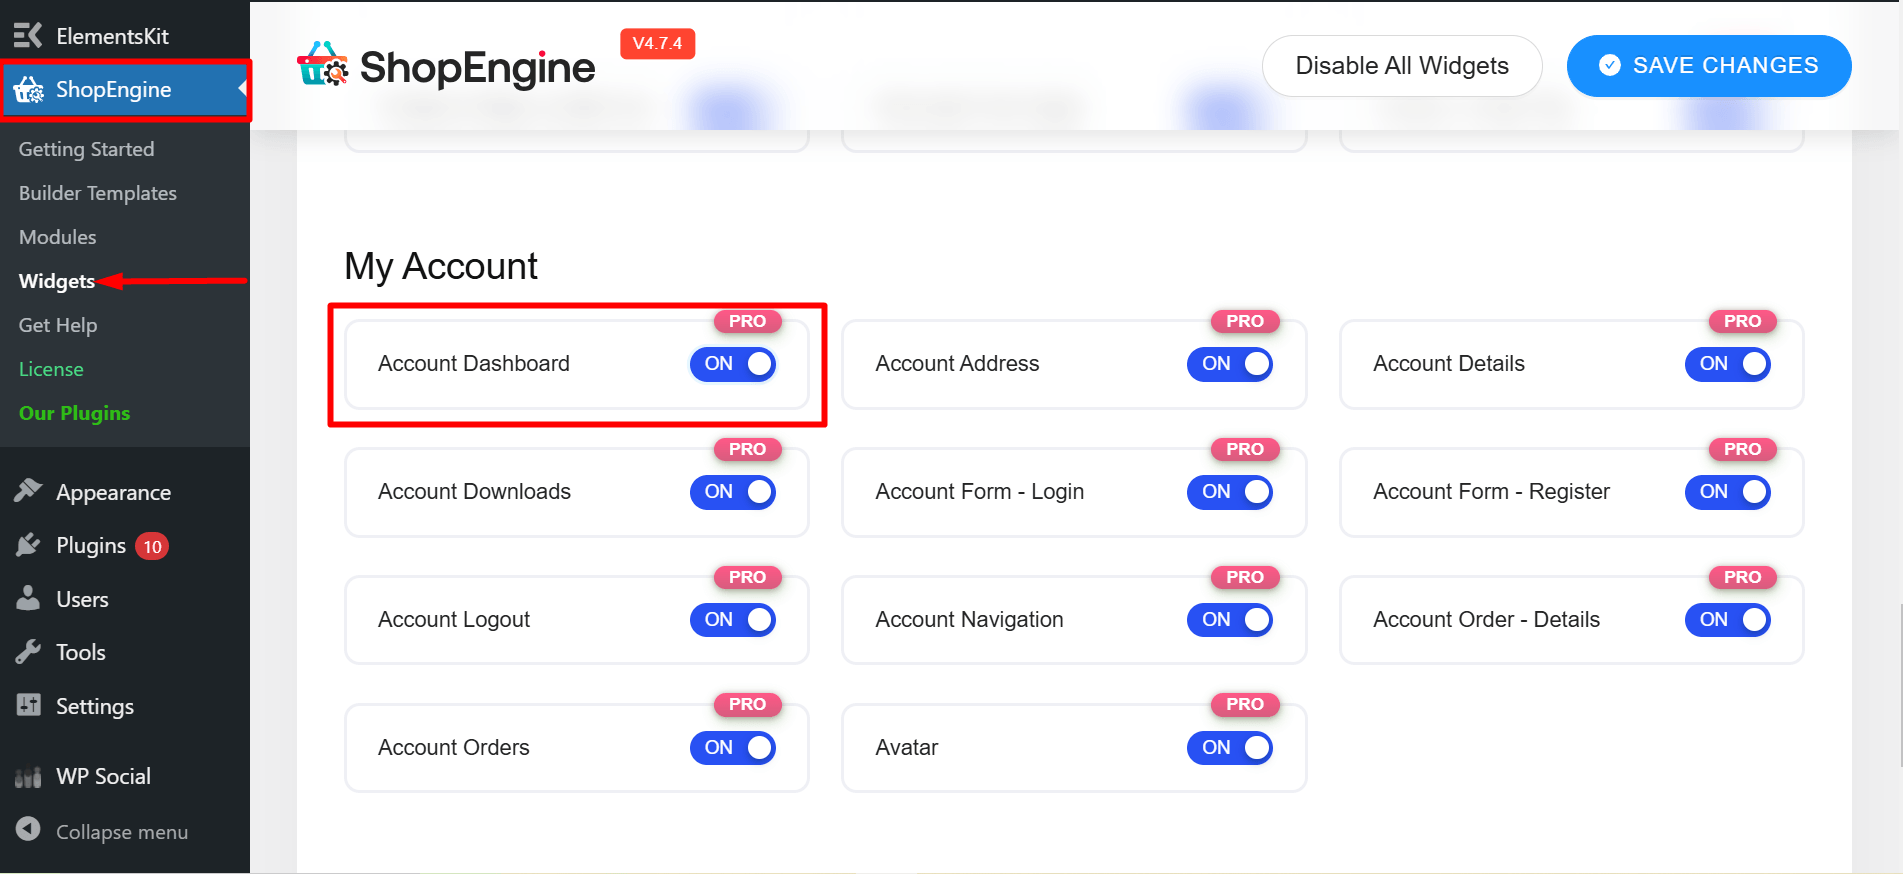
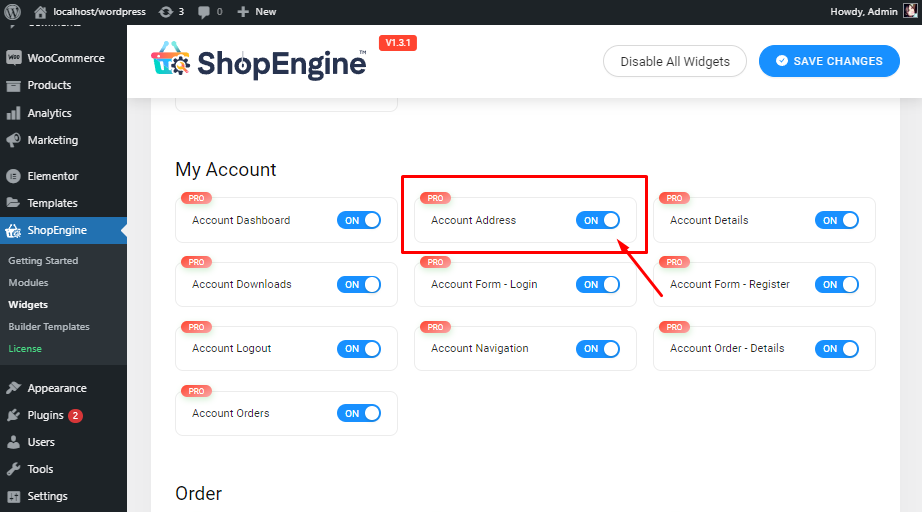
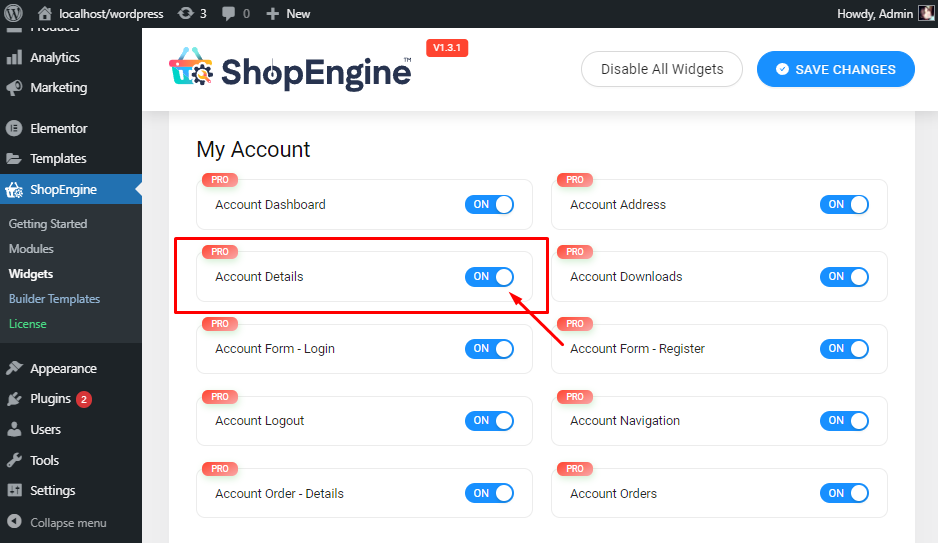
Hover over ShopEngine and click Widgets, there will find your widget library. Do keep in mind that the My Account widgets bundle only comes with ShopEngine Pro.
Now, you have to turn ON Account Dashboard widget.
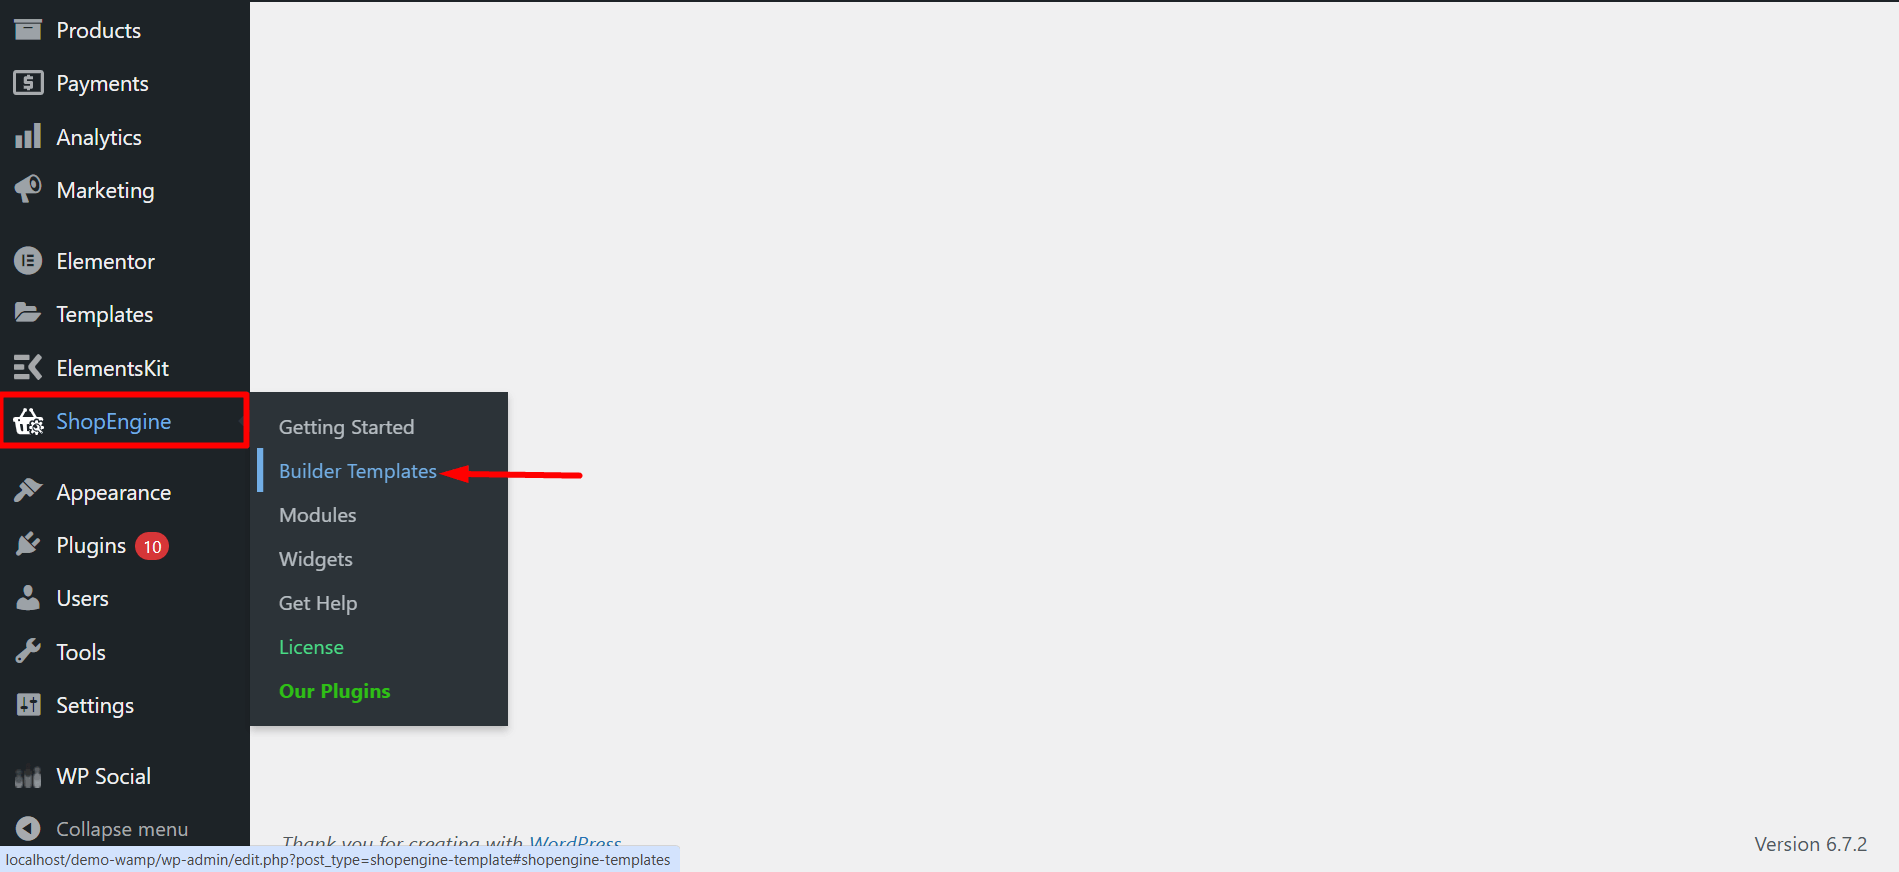
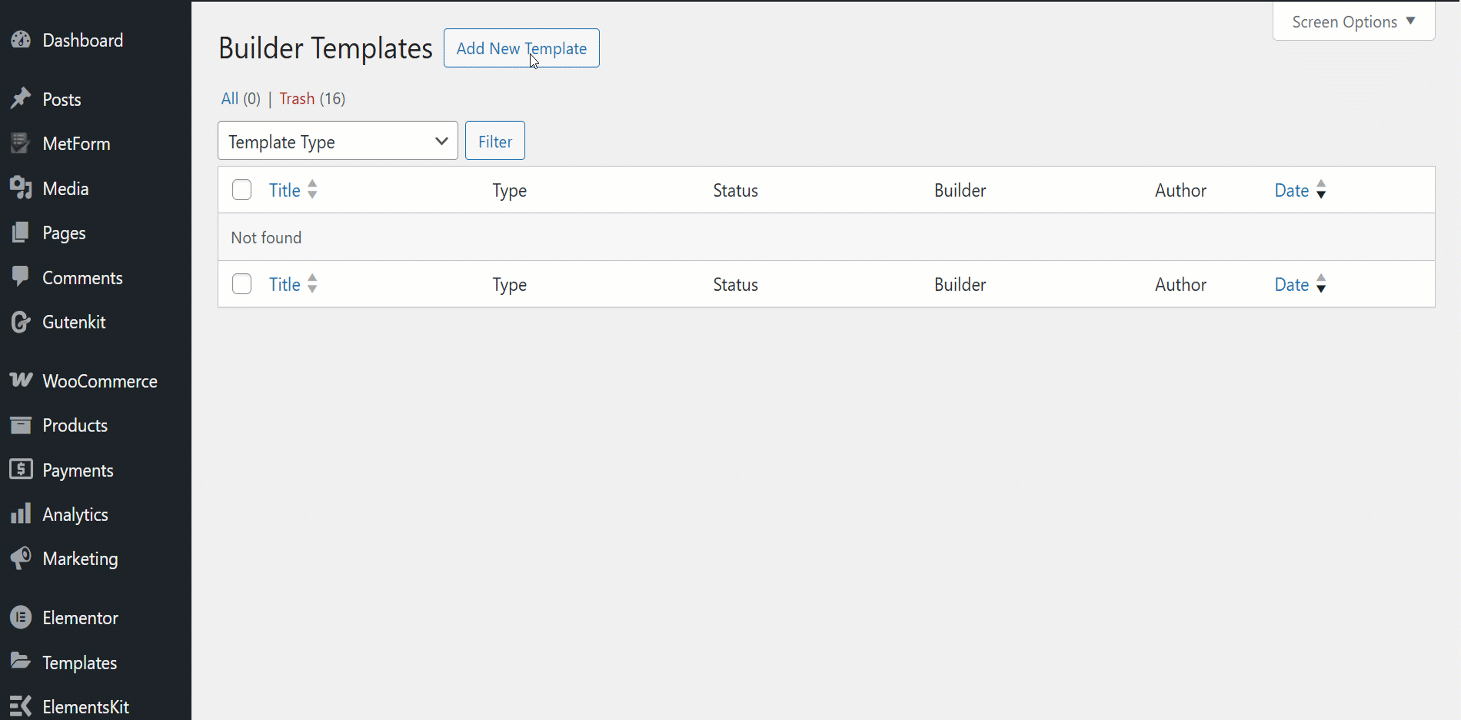
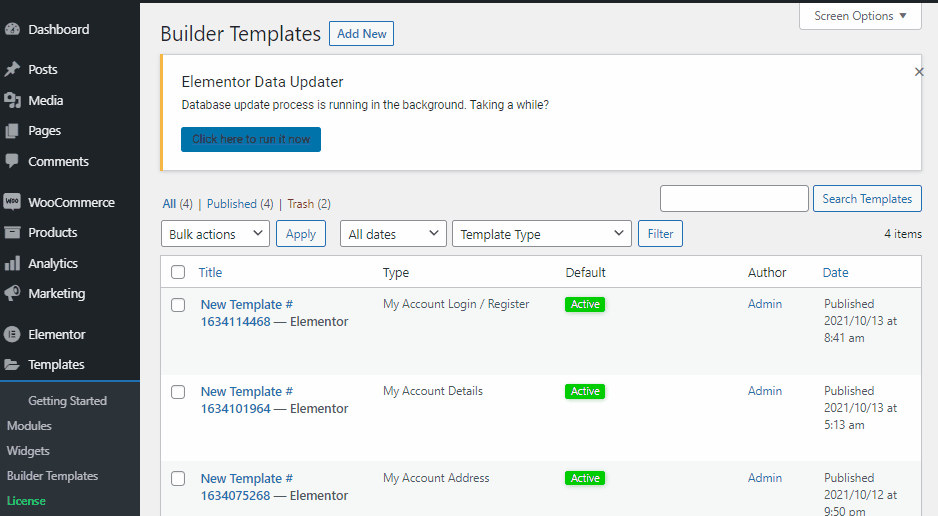
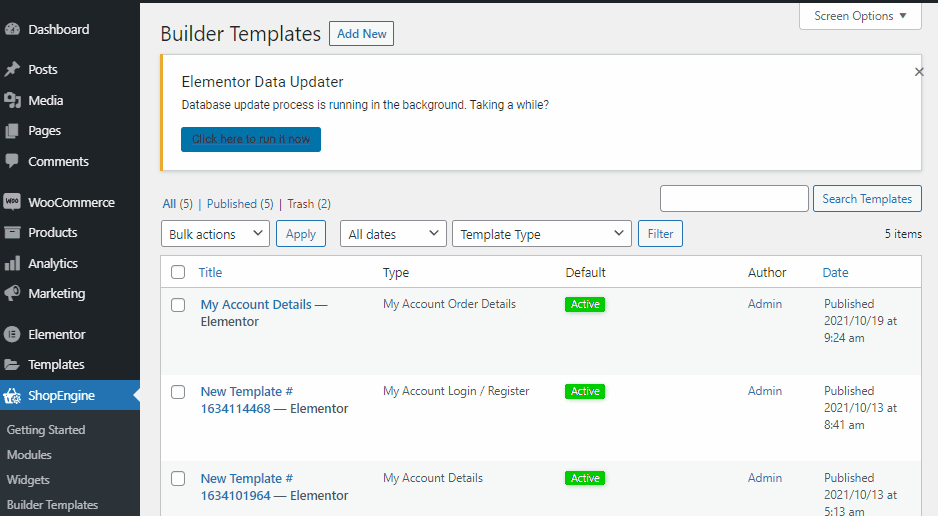
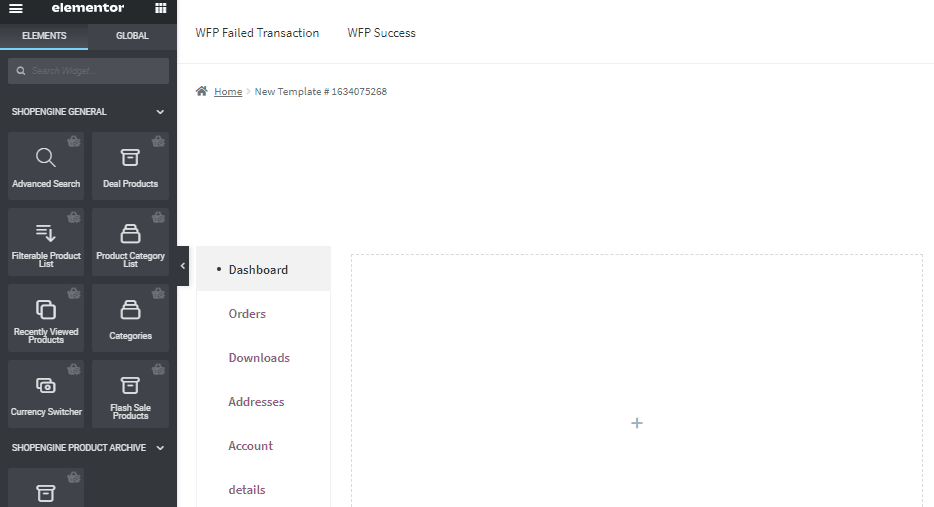
Now go to Template Builder and click Add New. There you’ll find all types of templates.
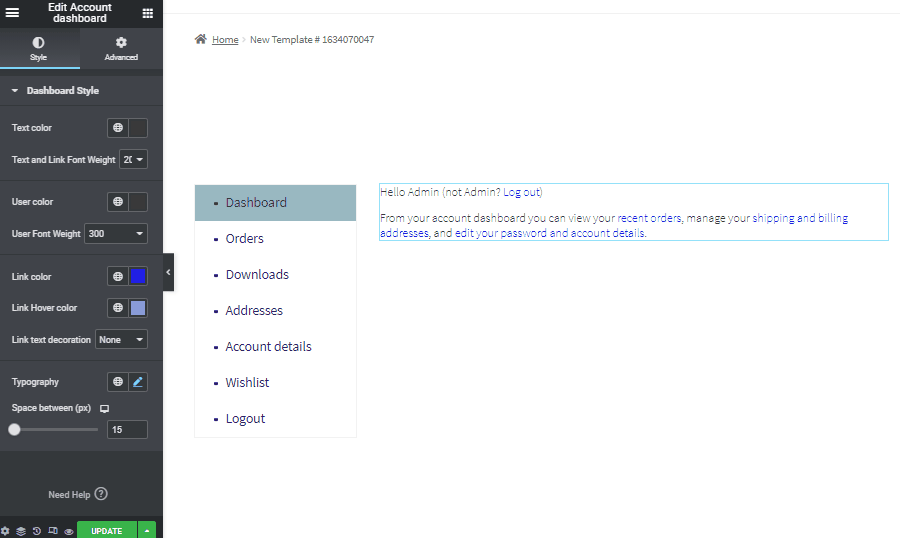
Select Account Dashboard > enable Set Default button > choose your dashboard template design, here you can select either the Blanck Page and start building your own WooCommerce my account page design. Or, you can simply select the Pre-Built Design and customize it just the way you like it. After that click Edit with Elementor.
And you’re done! All you should do now is customize anything you want to change.
Account Dashboard widget for Elementor will let you customize text color, text and link font-weight, user color, user font-weight, link color, link hover color, link text-decoration, typography, and space between in px.
At the end don’t forget to click Save and Preview.
Now let’s move to the next one.
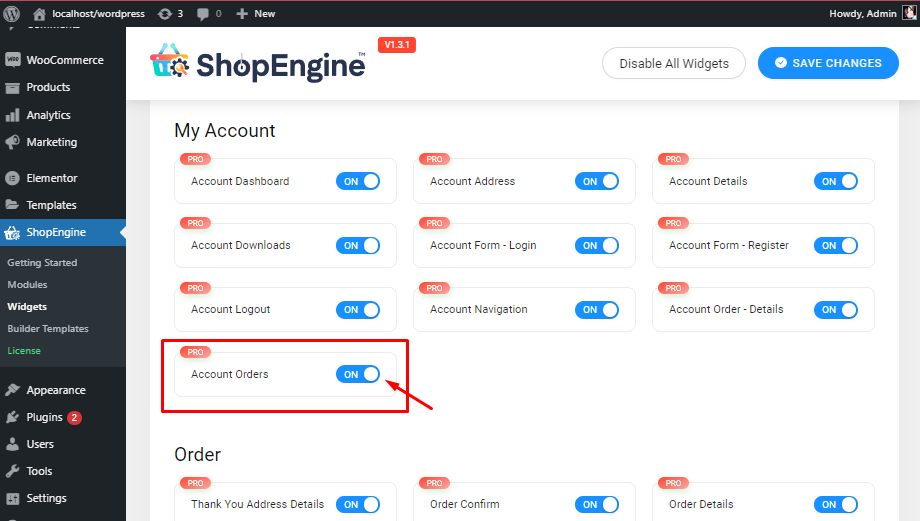
My Account Order Details
The Account Orders widget is intended to be used on the Account Orders page. ShopEngine, an WooCommerce user dashboard plugin offers the Account Orders widget to let you change and customize the Account Orders style as per your choice.
Again make sure your My Account Order widget is turned on. And to do that ShopEngine > click Widgets > My Account Orders.
Now got to Template Builder and click Add New. There you’ll find all types of templates.
Select Type > enable Set Default button > choose your dashboard template design, here you can select either the Blank Page and start building your own design. Or you can simply select the Pre-Built My Account Order Design and customize it just the way you like it. After that click Edit with Elementor.
Account Orders widget for Elementor will let you customize the table heading, table body, typography, address details, action buttons, and pagination button.

Moving one…
My Account Downloads
The Account Downloads widget is intended to be used on any My Account Downloads template. ShopEngine offers the Account Downloads widget to let you change and customize the Account Downloads style as per your preference.
From the WordPress admin dashboard, go to ShopEngine > Widgets. From the list of My account widgets, turn the Account Downloads widget ON.

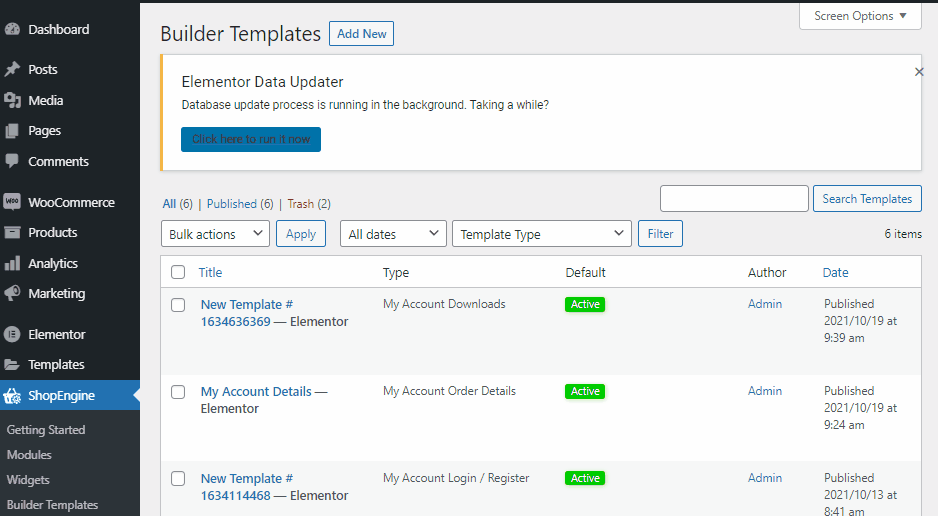
Now go to Template Builder and click Add New. There you’ll find all types of templates.
Give your template a Name > Select Type > enable Set Default button > choose your dashboard template design, here you can select either the Blank Page and start building your own design. Or you can simply select the Pre-Built My Account Downloads Design and customize it just the way you like it. After that click Edit with Elementor to see the magic!
Now it’s time for your personalization. The account Downloads widget for Elementor will let you customize the table heading, table body, and the download button of the My Account Downloads page.

Let’s jump into the next one!
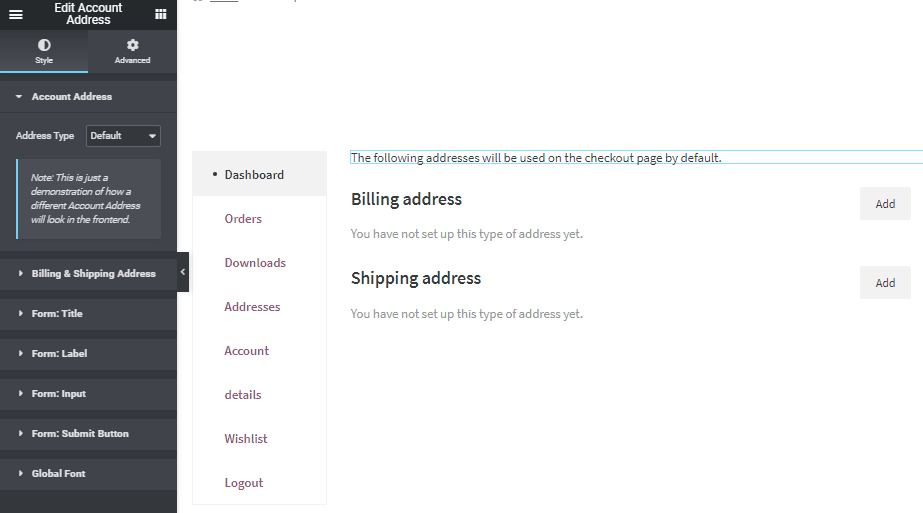
My Account Addresses
Repeat the same procedure navigate in the widget bar, turn on the Account Address. You will see the widget in the list.
Now got to Template Builder and click Add New. There you’ll find all types of templates.
Then select Type > enable Set Default button > choose your WooCommerce client dashboard template design, here you can select either the Blank Page and start building your own design. Or you can simply select the Pre-Built My Account Address Design and customize it just the way you like it. After that click Edit with Elementor to see the magic!
Now you will see the default account address widget layout. You can also choose the ‘Billing Address Form’ or ‘Shopping Address Form’ as the layout.
On the Address Type settings, you will see the default account address widget layout. You can also choose the ‘Billing Address Form’ or ‘Shopping Address Form’ as the layout.
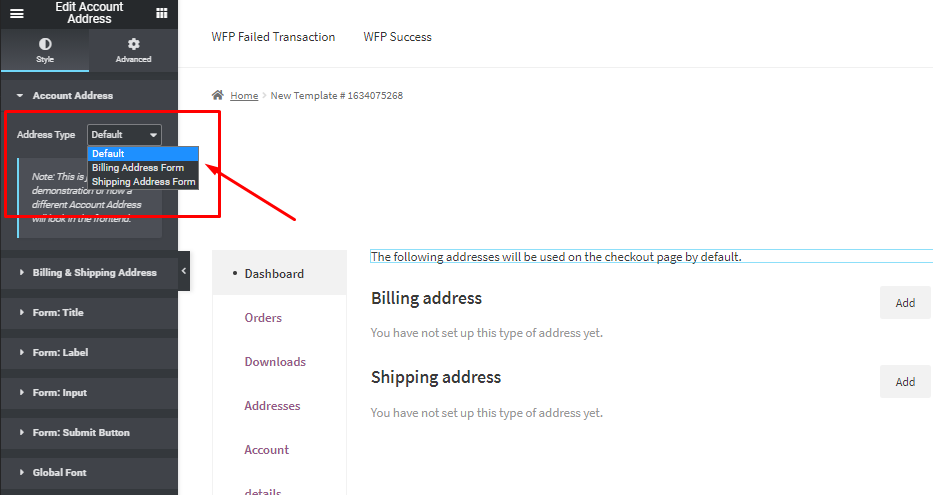
To customize the Account Address section, select the options from the left bar. There are tons of customization options for the widget, such as Title, Label, Form Input, Font, Form Button, etc.
All good, now let’s move to the next one!
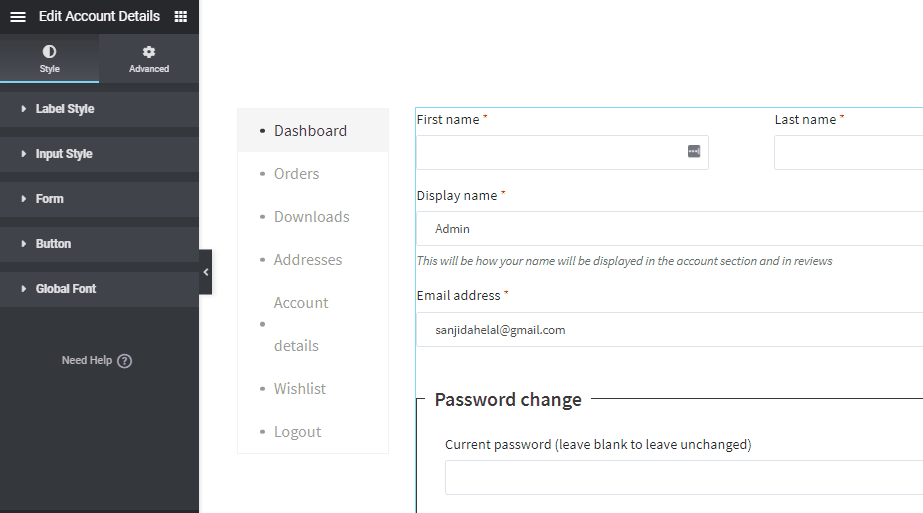
My Account Details
Your customers might want to change the Account Details when they needed. ShopEngine’s ‘Account Details’ Widget makes it easy to integrate the feature.
At first, don’t forget to turn on your Account Details widget. Hover over ShopEngine > click Widgets > scroll down to My Account > Enable Account Details.
Now go to your Elementor Editors Dashboard and search Account Details. Drag and drop the widget to get it all fixed.
It’s for some editing. From the widget option panel, you can customize the layout. There are multiple styling options like Label style, Input style, Form, Button, you also have options for Global fonts.
Moving on to the next one!
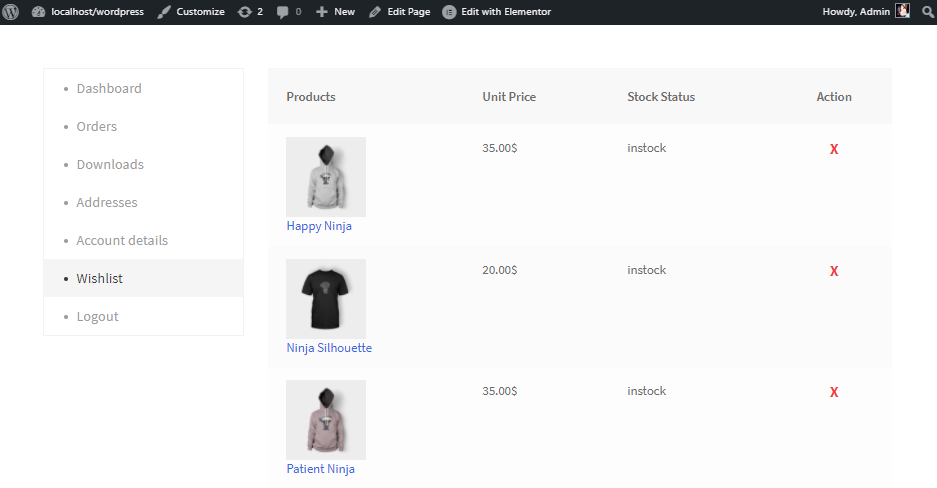
My Account Wishlist
To integrate the Wishlist option in your my account dashboard you need to configure the module first. Just go to ShopEngine > click on Modules > select Wishlist, turn it ON > click Save Changes.
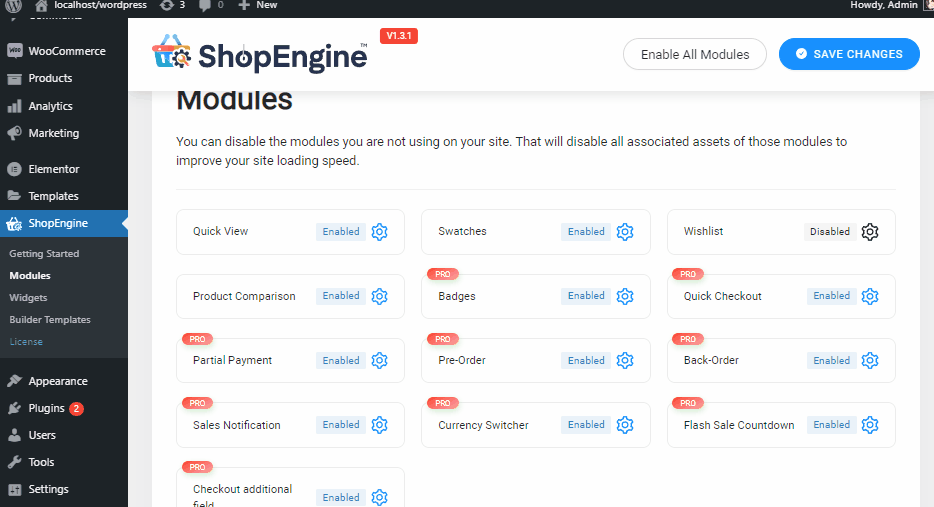
Now simply visit your store page and check if it has been embedded properly or not.
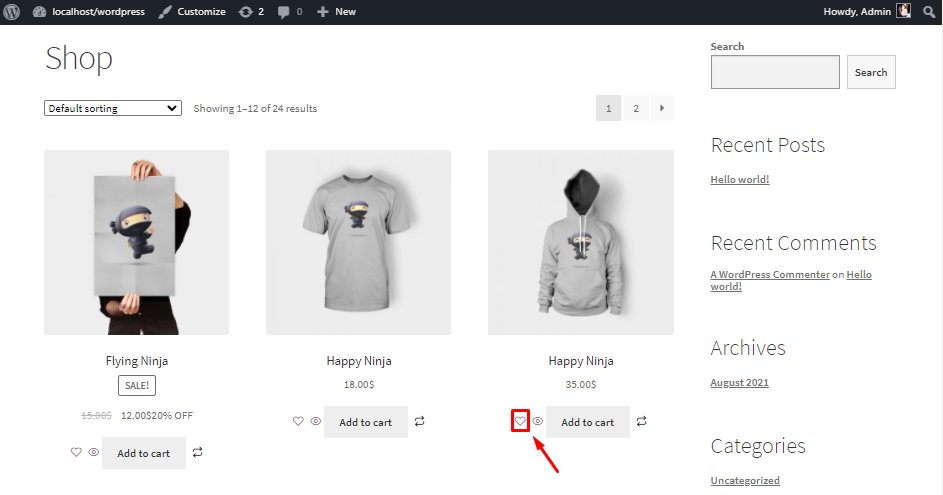
You can check on your My Account Dashboard Wishlist option right after enabling the module. As it updates automatically, easy and simple!
We’ve almost come to the end of our My Account Dashboard segment.
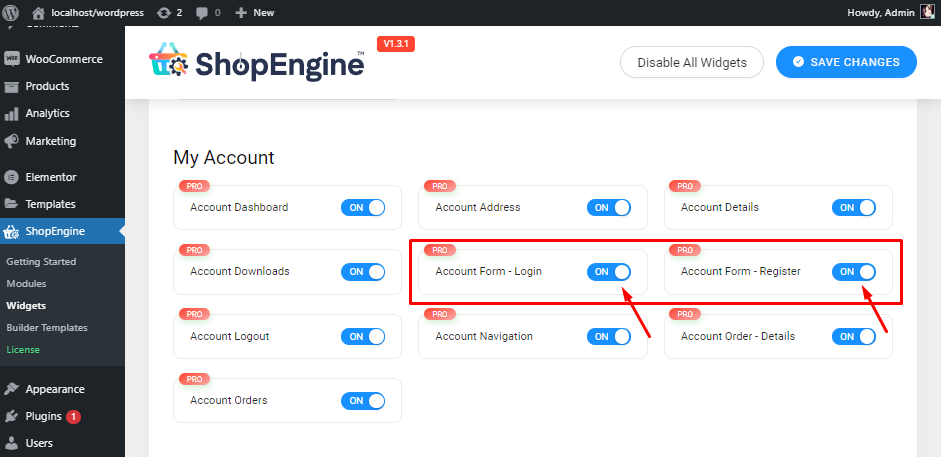
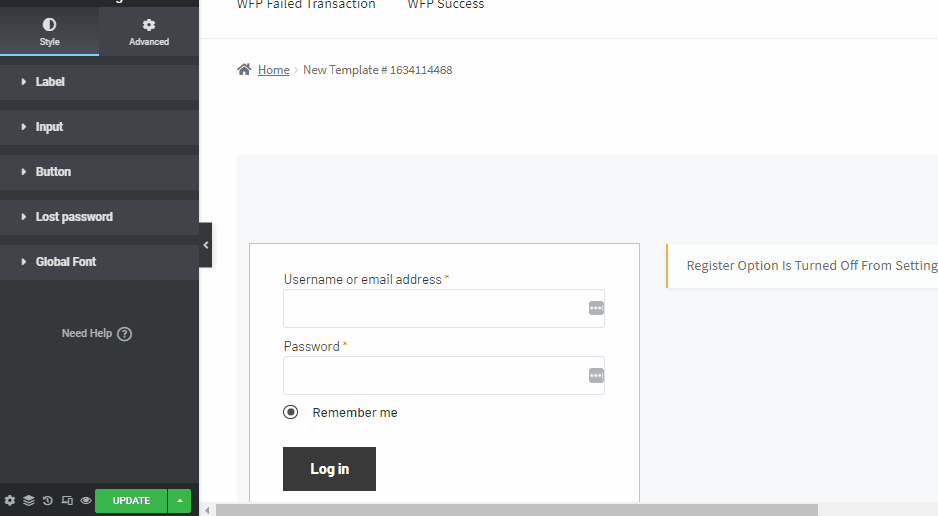
My Account Login/Register
Again make sure your Account Login and Account Register widget is turned ON.
Now create your My Account Login/Registration template. Go to Builder Templates > Add New > Select your Template type > Set default > Select the Sample Design > click on Edit with Elementor.
It’s for some customization now. From the widget option panel, you can customize the layout. There are multiple styling options like Label style, Input style, Form, Button, you also have options for Global fonts.
Congrats you’re all set! 😄
🤷🏻♀️ Why should you choose ShopEngine?
Well, the reasons are simple, with ShopEngine you will get a full package of 62+ Fully Customizable Widgets, 12+ Useful Modules, 15+ pre-designed templates, that will make your WooCommerce store faster, smarter, better!
Moreover, this Elementor WooCommerce my account page builder also has 24/7 helpful community support.
More Resources
For better WooCommerce understanding checkout our latest blogs:
✅ How to Customize WooCommerce Shop Page
✅ How to Customize the WooCommerce Product Page
✅ 10 Useful & Best Shopping Cart Plugins for WordPress & WooCommerce 2025
Wrapping Up
Finally, customizing the My Account page is now complete, I hope that the article was helpful enough to provide you a clear picture of the Elementor WooCommerce my account page customization.
The WooCommerce my account default page is rather minimal, despite the fact that it contains vital information about your users. As a result, by editing it with WooCommerce admin dashboard plugin like ShopEngine, you may get a leg up on your competition and make the most of your wooCommerce site.
Leave a Reply