


If you are planning to build a WordPress website, one of the elements that deserves your attention is button. Needless to say, website buttons come in different types including text, ghost, raised, toggle, and floating action buttons. But do you know that you can create creative buttons in WordPress with no hassle?
No doubt, several ways are there to create creative buttons for your WordPress site. I will walk you through how to create creative buttons with the help of ElementsKit. I have picked ElementsKit as it lets you build creative buttons for your WordPress site in the simplest and easiest way.
But before I show you how to create creative buttons in WordPress site, it’s key to understand why add creative buttons to your website. Only if you are convinced about the importance of creative buttons, you will be curious to learn how to create creative buttons in WordPress.
A website without buttons is incomplete and is unlikely to convert visitors. No matter whether it’s a blogging site, ecommerce site, creative agency site, or even a SaaS site. adding buttons on different areas of a website is crucial. If your site is an ecommerce site, you can add “Shop Now”, “Add to Cart”, “Check out” buttons, etc.
However, if your site is a SaaS website, you can add CTA buttons like “Buy Now” or “Purchase Now” etc. Buttons come in handy even in a blogging site. You can place “Subscribe”, “Sign up”, and Submit buttons on registration and subscription forms. Now, let me list out some reasons why you should create creative button in your WP site-
- Display and highlight call to action texts like “Buy Now”, “Download Now”, etc. through creative buttons
- Gather information from target audience through registration form
- Give your visitors access to more of your site content linking the buttons
- Additionally, improve the overall layout of the site
How to Create Creative Buttons in your WordPress Site:
You have already learned the benefits of adding creative buttons to your WordPress site. Now, you must be itching to know the easiest method to create creative buttons in WordPress site. I will walk you through how you can create creative buttons in WordPress site with ElementsKit. So, let’s get started….
Visit your site’s dashboard:
First up, log into your site’s admin panel and visit the dashboard. The dashboard will display all the necessary items including ElementsKit on the sidebar assuming that both Elementor and ElementsKit are already installed on your website.
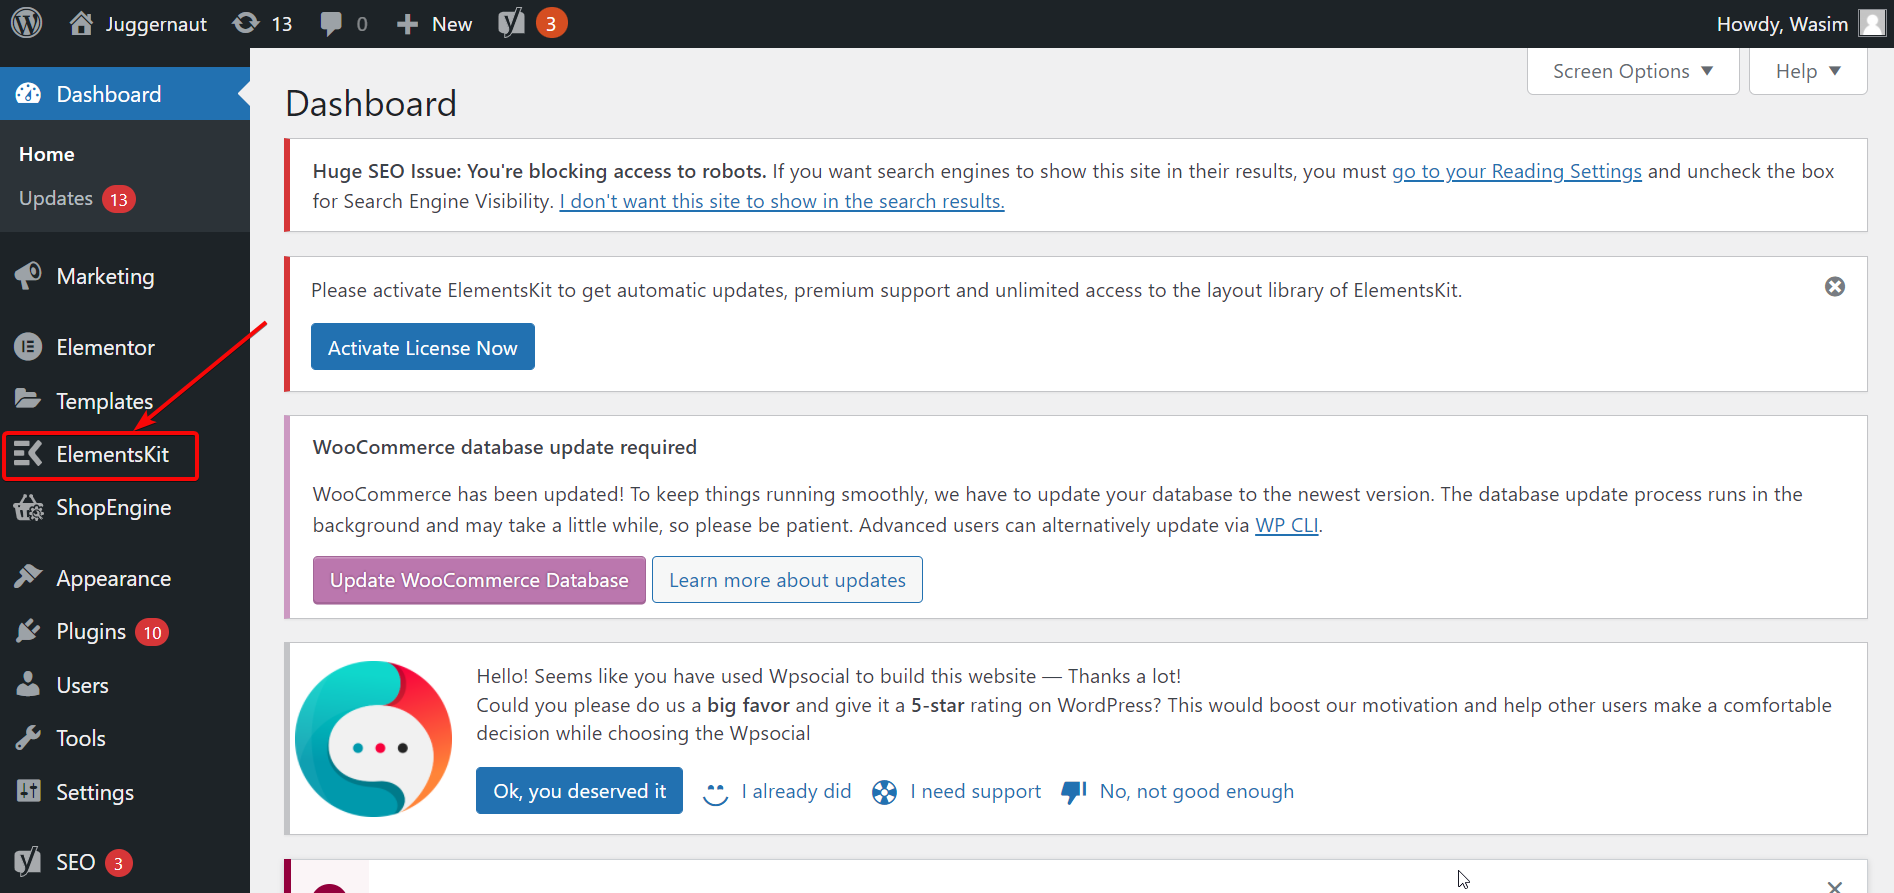
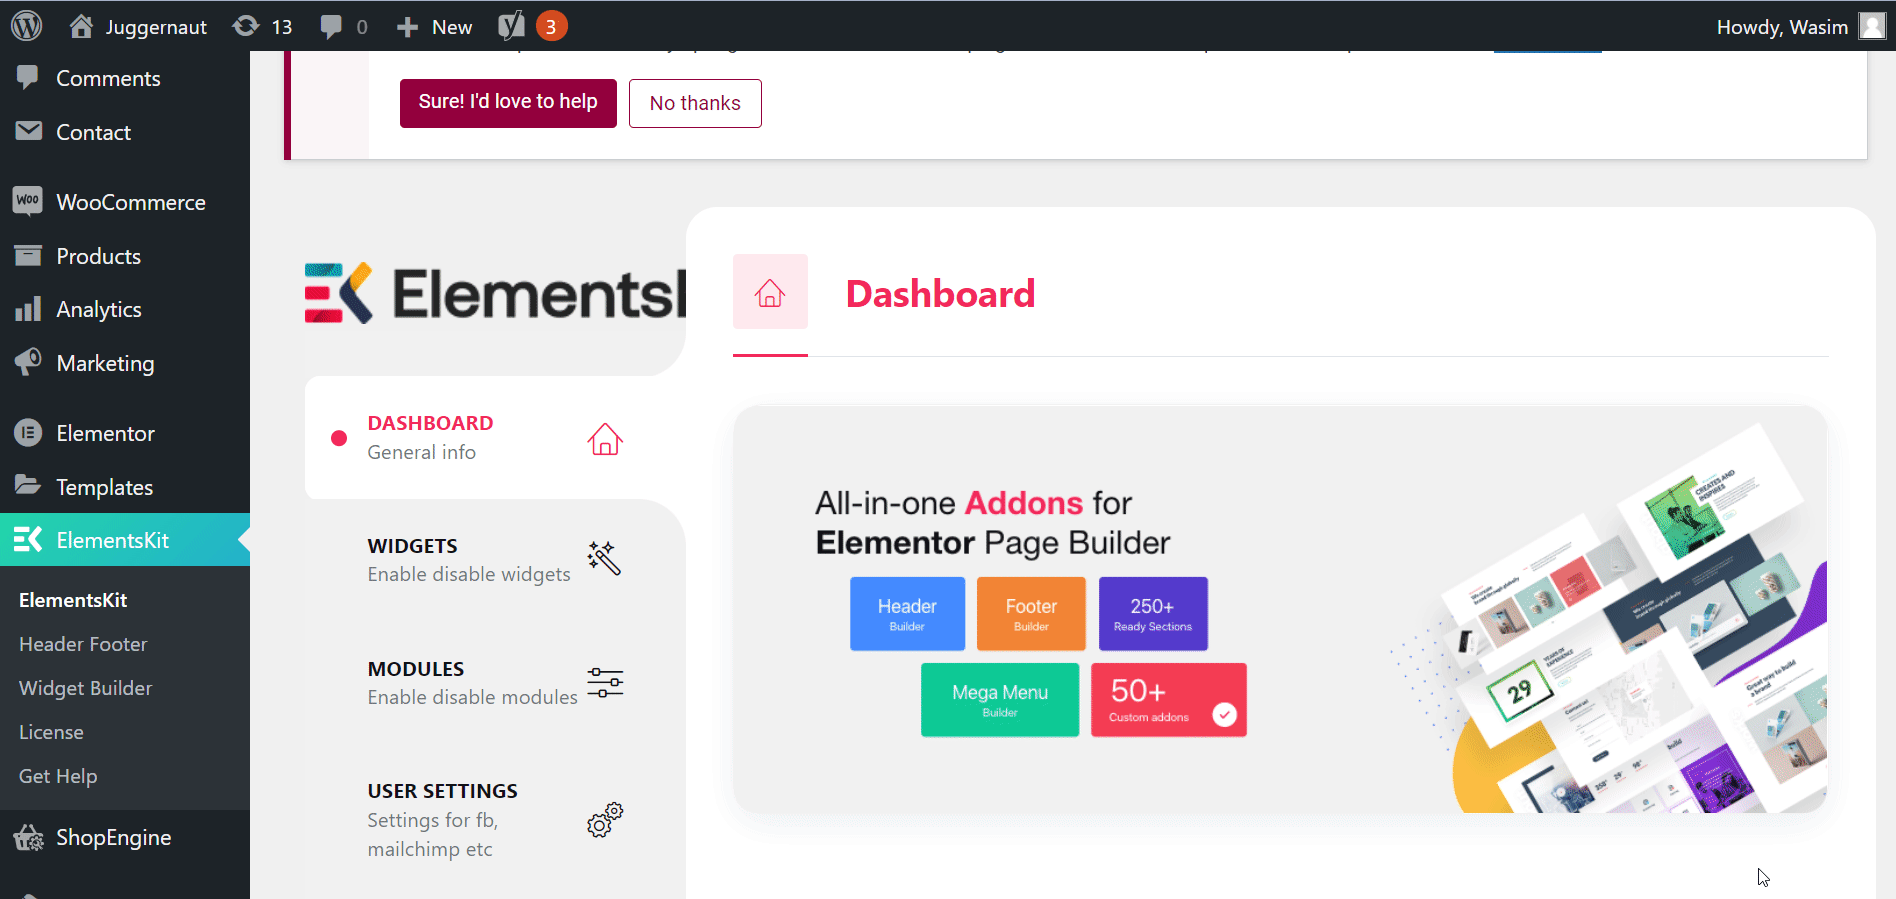
Now, navigate to “ElementsKit” on the sidebar at first and click it. Then, click the “Widgets” tab, find the Creative Button widget and enable the widget. Finally, hit the “Save Changes” button.
Open any page in Elementor window:
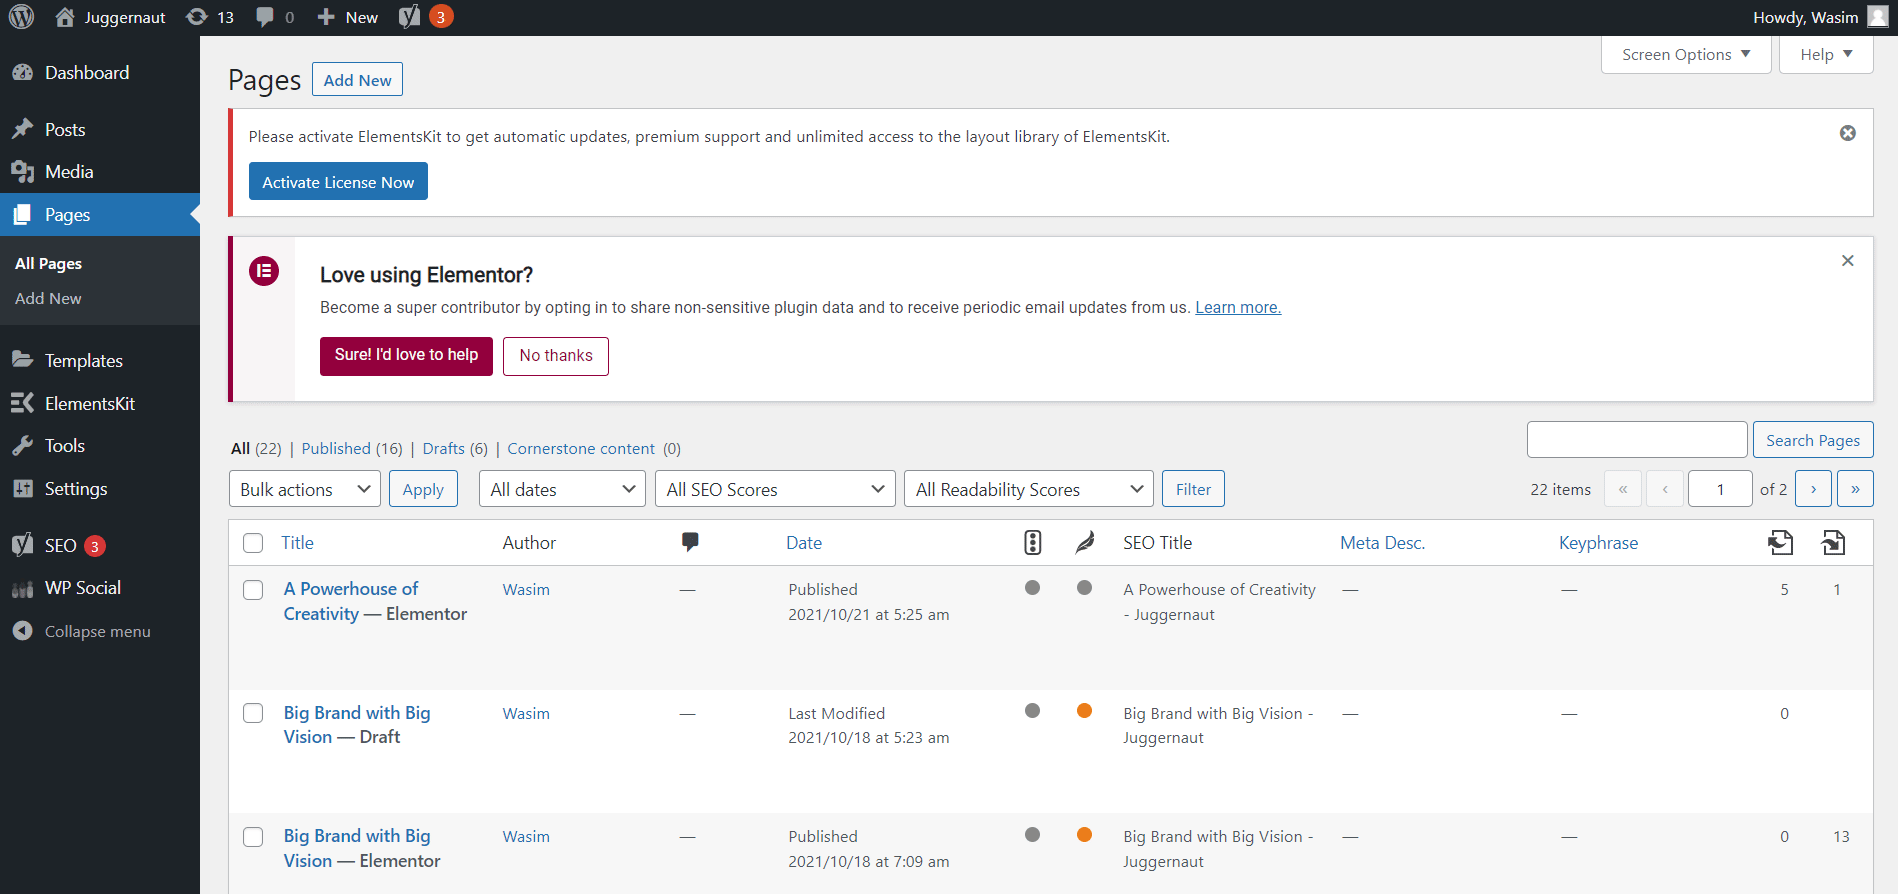
Now, go to “Pages” tab and open any of your existing page in the Elementor window clicking “Edit with Elementor” to make use of the creative button widget.
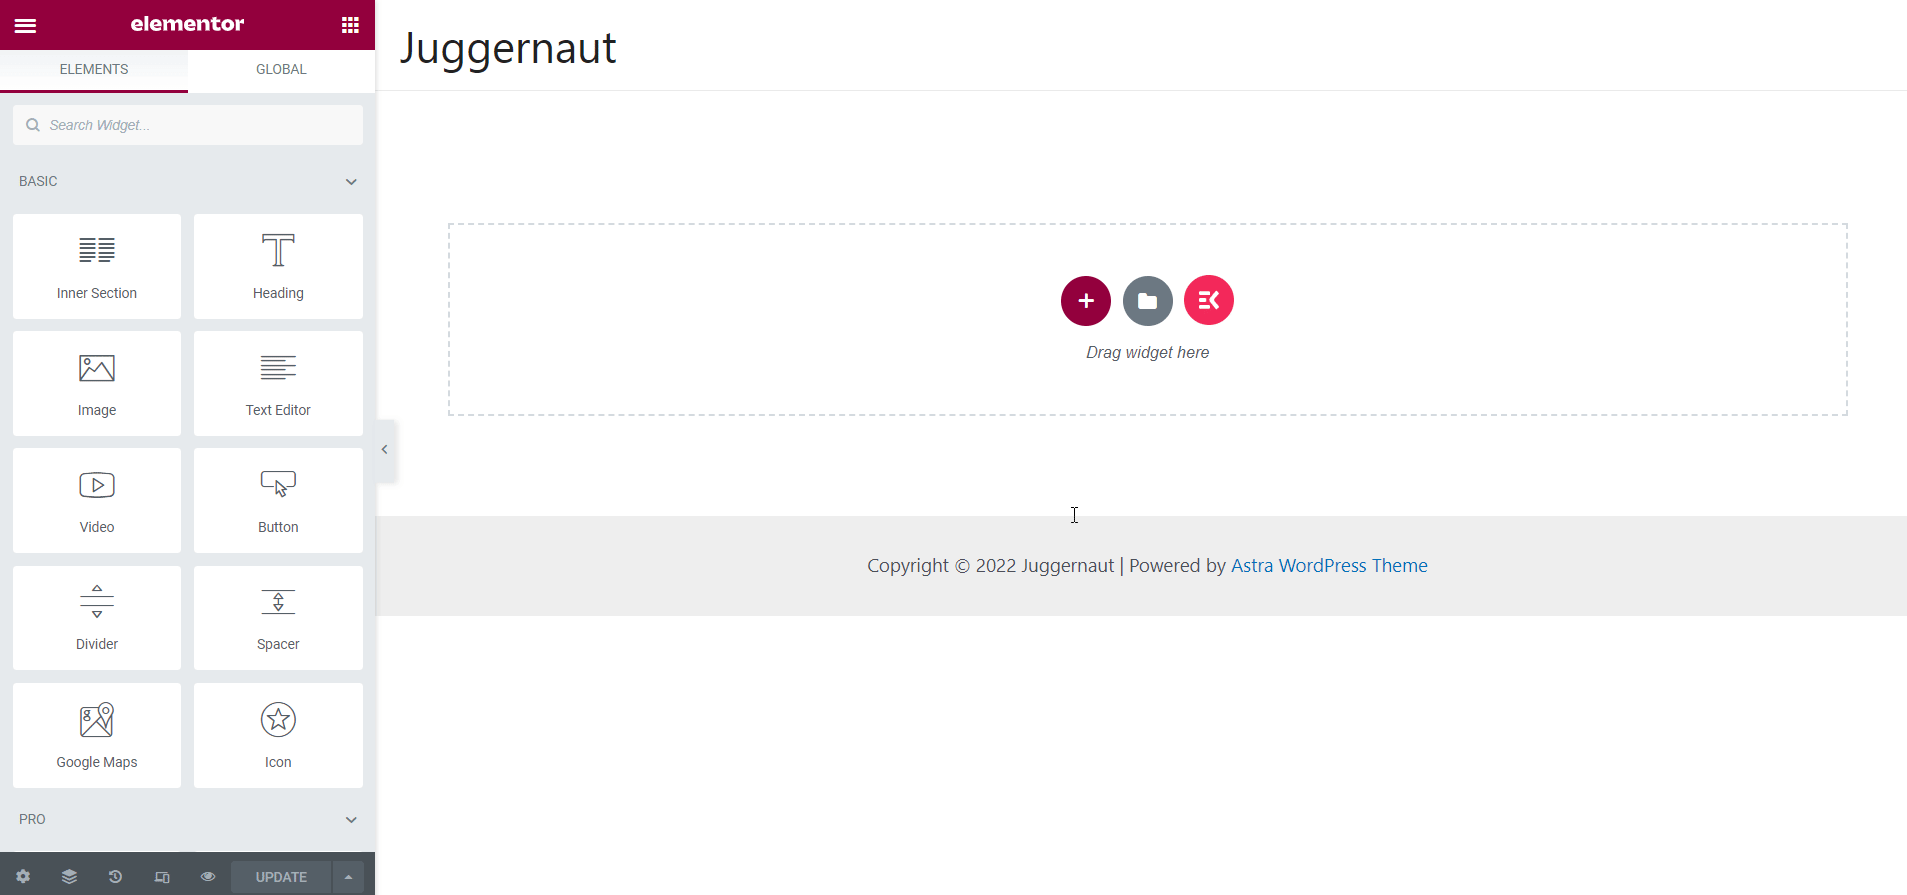
It’s time now to leverage the creative button widget to create your desired creative button. In the search field, search with the term “creative button” and the widget will show up. Drag and drop the widget thereafter in the designated area and the creative button will appear instantly.
Curious to know the benefits of leveraging ElementsKit in your WordPress site? Head over to the blog clicking the link below-
10 advantages of using the ElementsKit widget builder
Customize the content section:
At this moment, you will have the options to customize different elements of the creative button including label, URL, adding icon, setting alignment, adding hover effect, etc.
Let’s customize each of these elements sequentially-
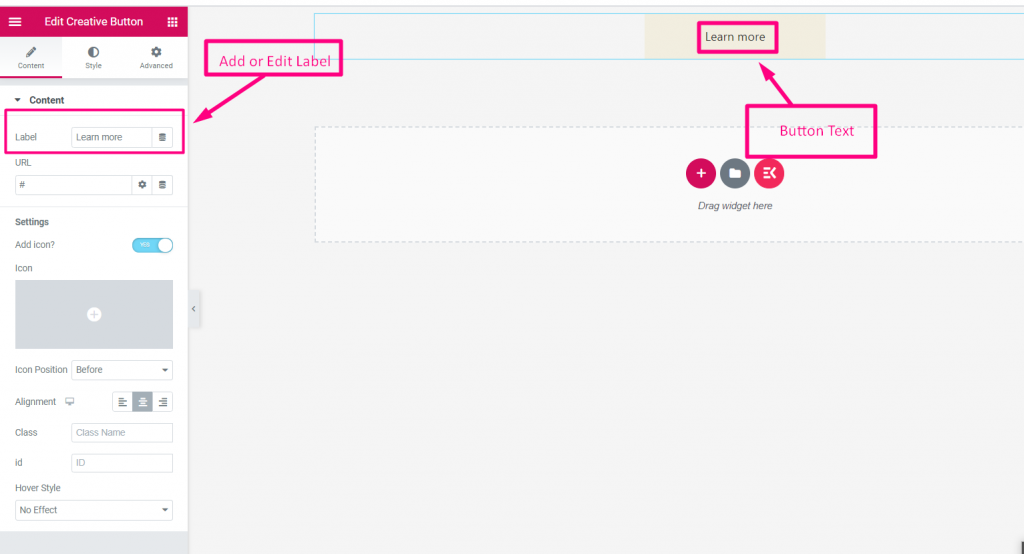
Label
Under the Content section, add or edit button text and the edited text will show up on the buttons as visible in the screenshot below.
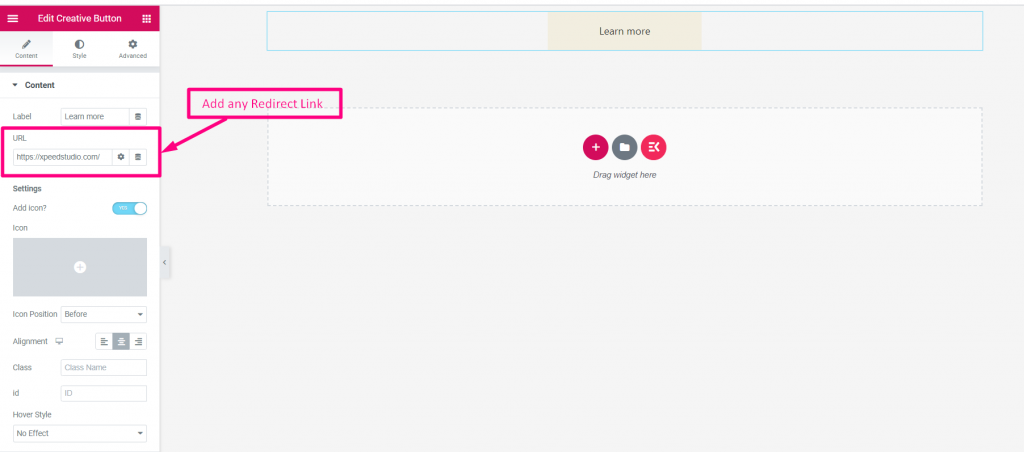
URL
Under the Content section, add any redirect link on the URL field as shown in the screenshot below.
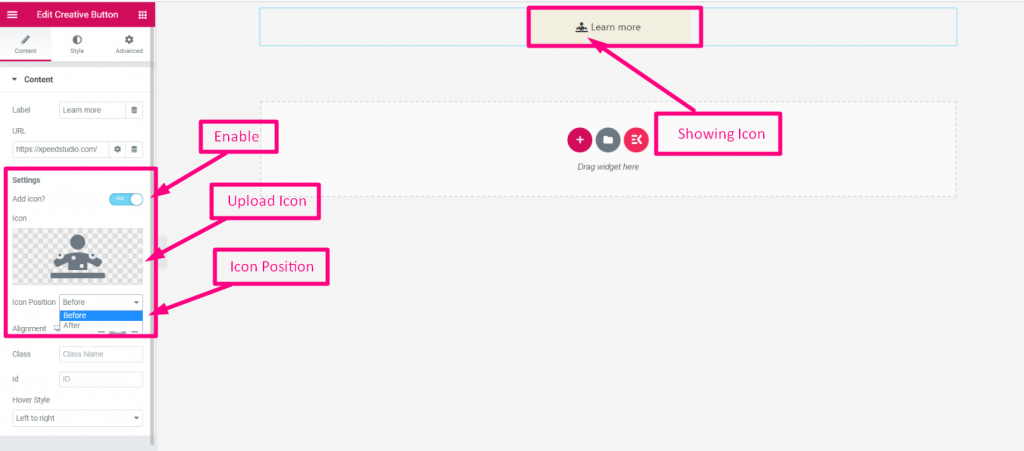
Add Icon
Now, it’s time to add icon and to do that, follow the steps as shown below-
- Enable Icon
- Upload Icon from Library
- Select Icon Position: Before or After Text
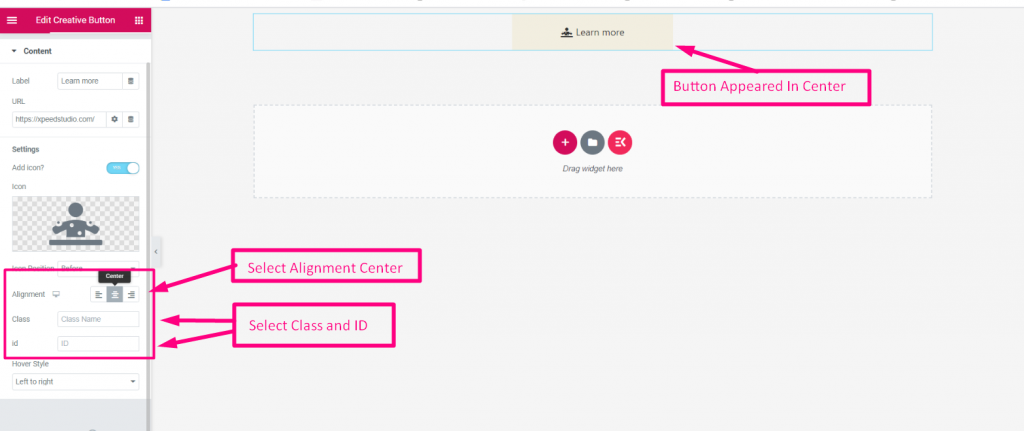
Alignment
Then, move on to select the Alignment: Left, Center or Right. Based on that, your creative button will show up.
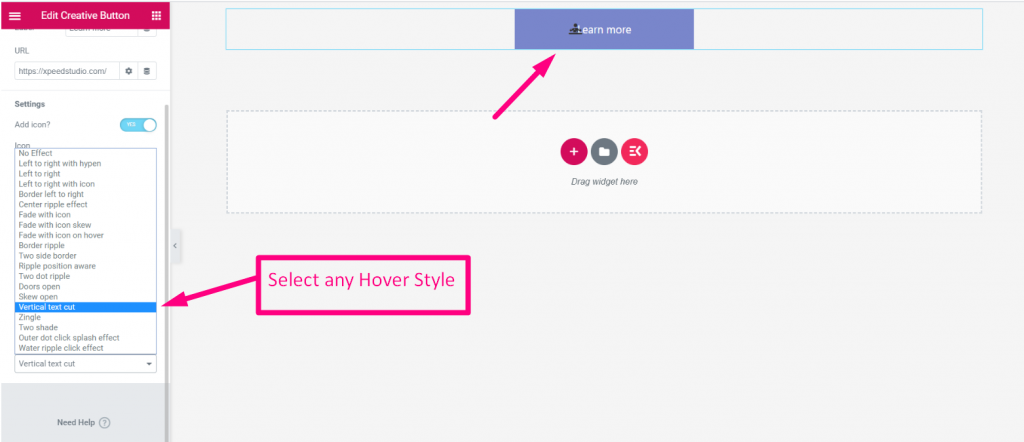
Hover Effect
You can also select any hover effect from the Drop-Down as visible in the screenshot. Choose your desired hover effect and after that the effect will start working on the button.
Wanna know how to create custom Facebook like button in your WordPress site? Learn the walkthrough of creating custom Facebook like button in WordPress clicking the link below-
How to create custom Facebook like button in WordPress?
Wrap up
That’s all I had in this short tutorial for you. I have walked you through how you can create creative buttons in WordPress site smoothly in no time. The credit goes to ElementsKit as it was developed with so much of simplicity that you can easily create creative buttons in WordPress site.
ElementsKit, however, is an incredible plugin that comes with many other handy features. You can make use of these breathtaking features for your WordPress site, built with Elementor. So, hurry up and avail of ElementsKit to add all the marvelous features to your WordPress site for Elementor.

Leave a Reply