

Ever wondered about the gravity of a website for a creative agency? In the modern era, when the world is revolving around the Internet, you can’t overlook the importance of a website for your creative agency. Having an online presence will ensure you create an impression on your audience. So, develop a creative agency website to make that happen.
On top of that, you are getting an opportunity to present all your business details to your site visitors and prospects. This not only builds credibility but also helps you to stand out from your competitors. But for that to happen, you have to build your creative agency website flawlessly and stunningly.
So, how to develop a creative agency website? Well, you can get the site built by hiring a professional web developer. But in this write-up, I will walk you through how to develop a creative agency website without coding from scratch. This will help you to build your website yourself without anyone’s help.
Wanna learn about the best WordPress hosting service providers? Visit the link below then-
So, let’s get started……
Purchase a Domain Name:
First and foremost, to develop a creative agency website, you have to choose and buy a domain name for your WordPress website. Many companies are available to sell domain names. If you aren’t aware of what a domain name is, don’t worry!!! I will clarify it now.
The domain name is the address of your website on the Internet. When anyone will visit your site directly or organically, a particular name will show up on the URL. This name is the identity of your website and that’s what the domain name is.
For example, if you visit Amazon’s home page, its URL will show up something like this- amazon.com or https://www.amazon.com. Here, amazon is the domain name of the e-commerce giant Amazon. Similarly, facebook is the domain name of Facebook.
Choose a Reliable Hosting Service Provider:
Next, you have to choose a hosting plan from any hosting service provider. There are a number of hosting service providers out there. You can choose any of them and register an account. But we would specifically recommend you to go for Kinsta as they are dependable with their service.
Hosting your website, however, means you are storing your website content and files on a remote web server. This will make your website’s resources visible to your visitors on the Internet.
When people type the domain name of your website and try to visit it, your website will be accessible from the remote server. As a matter of fact, when you use localhost, your site content gets visible only on your local computer. Why? Because it hasn’t been made public.
Only after you host your site on a production server or a live server, your website gets public. And users can access your site. Cool, right? As I mentioned above, many companies exist that sell domain names and offer hosting services.
But it will cost an arm and a leg from most of these companies. Therefore, you have to be very circumspect while choosing your service provider. Do the necessary research to find the best domain registrar and web hosting company.
Install WordPress on a Web Host:
Once you have picked and purchased the domain name as well as the hosting service, it’s time to install WordPress. How to do that? Well, you can do that manually. But there are some hosting companies that install WordPress by default.
So, if your hosting service provider offers this service, why take the extra hassle of installing WordPress manually? Just follow their instructions and you will be done with the WordPress installation process!!! Now, you are all set to log into your WordPress admin panel.
Learn the process of installing WordPress on your localhost if your are interested
Install the Required Plugins:
After accessing your website’s admin panel, install all the plugins necessary for building a creative agency website. Let me list out all the essential plugins that you need for your website-
- WordPress
- Elementor
- ElementsKit
You can also install Metform which is a pretty useful contact form plugin. Apart from these, you can install a number of plugins depending on your requirements.
Choose and Install your Creative Agency Website Theme:
After accessing your website’s admin panel, cherry-pick your creative agency website theme. Tons of themes are available in WordPress by default for free from where you can search for a creative agency website theme. From the available themes, you can choose a creative agency theme, install it, and finally activate it.
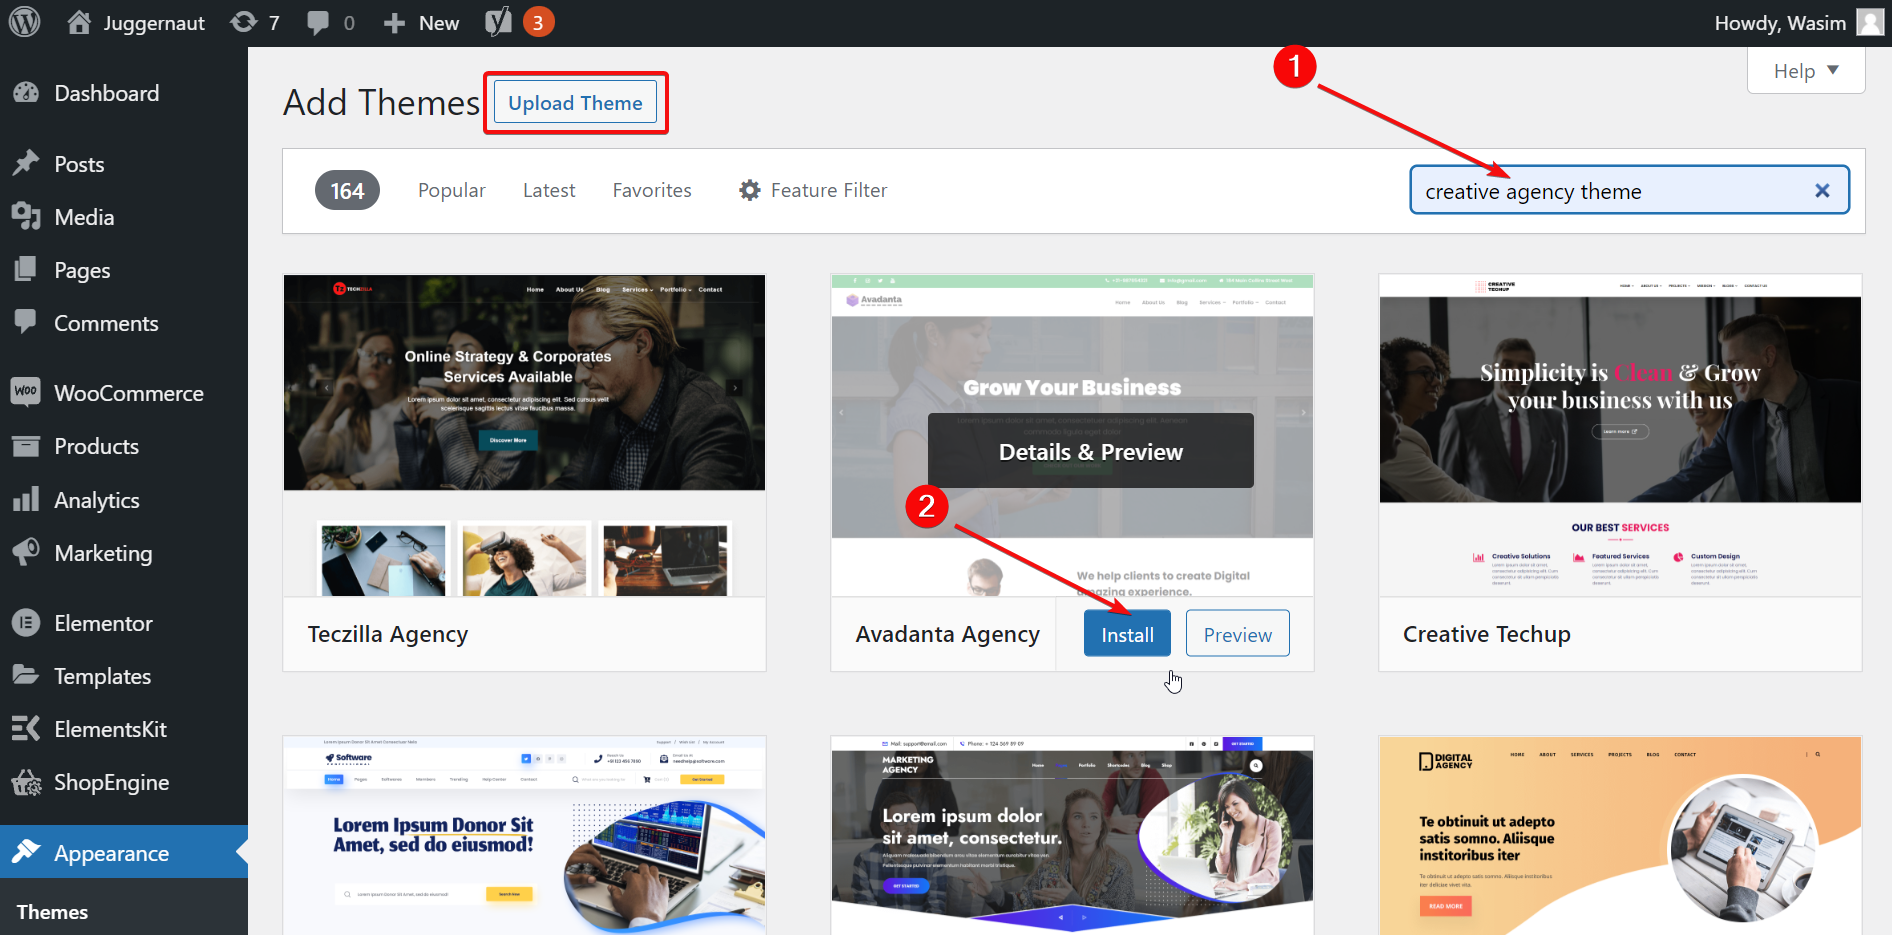
However, if you aren’t content with the WordPress free themes and looking for more variation in the theme, you can go for a premium theme. In that case, you have to download your preferred theme from the respective vendor’s site and then upload it on your WordPress site.
Create Necessary Agency Pages:
Now, it’s time to build your creative agency pages. Generally, a creative agency website contains pages like home, services, portfolio, about us, and contact us. Some agency sites may have additional pages like blog, management, team, etc.
I will walk you through the process of creating agency pages in this tutorial. After that, you will be able to build your creative agency site from scratch without coding.
So, let’s get started….
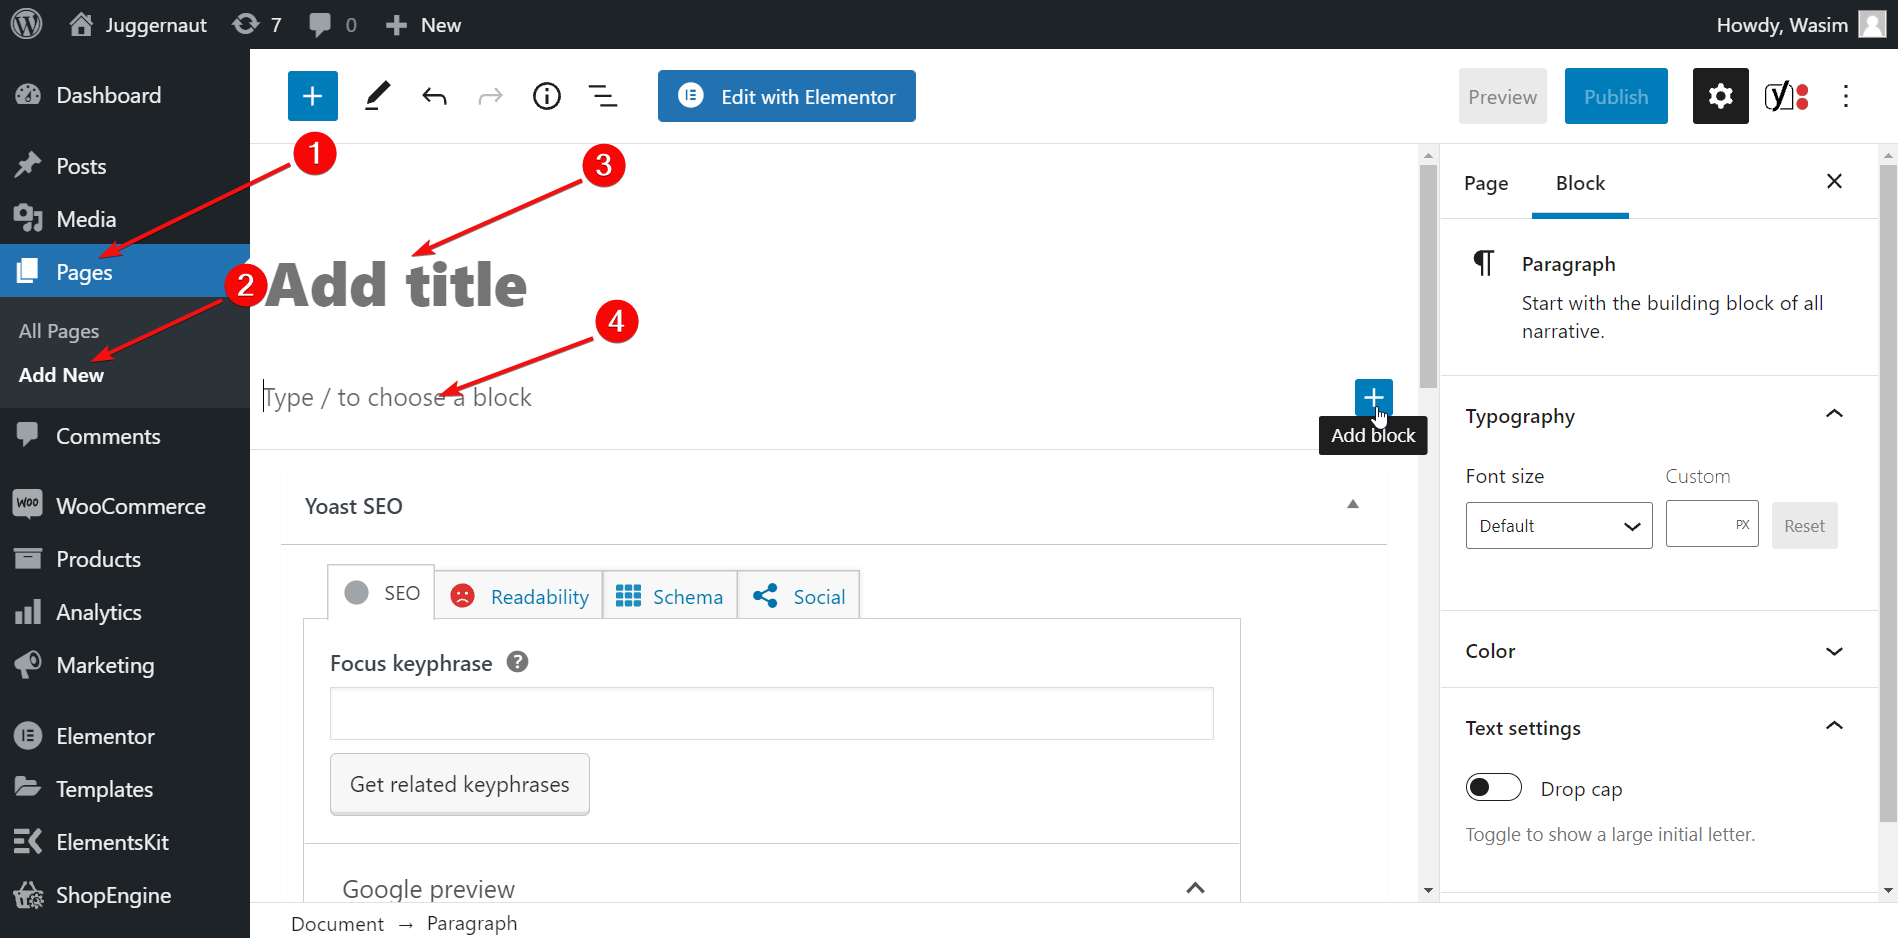
Create your First Page:
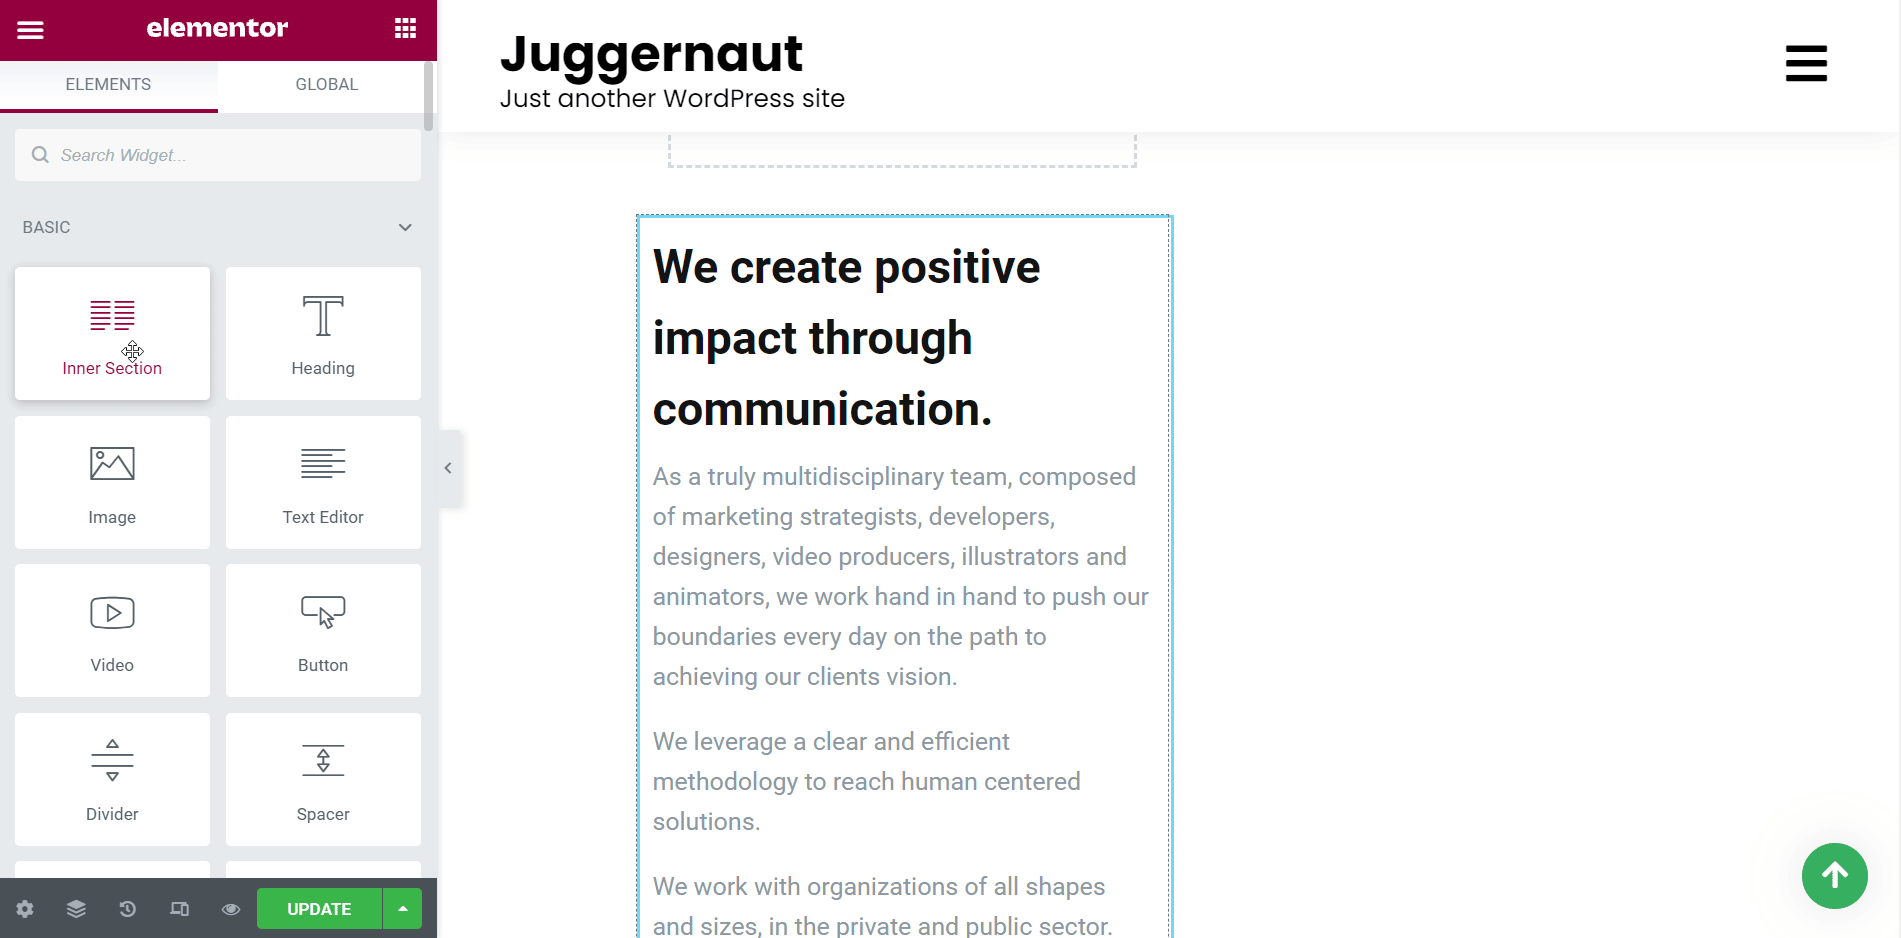
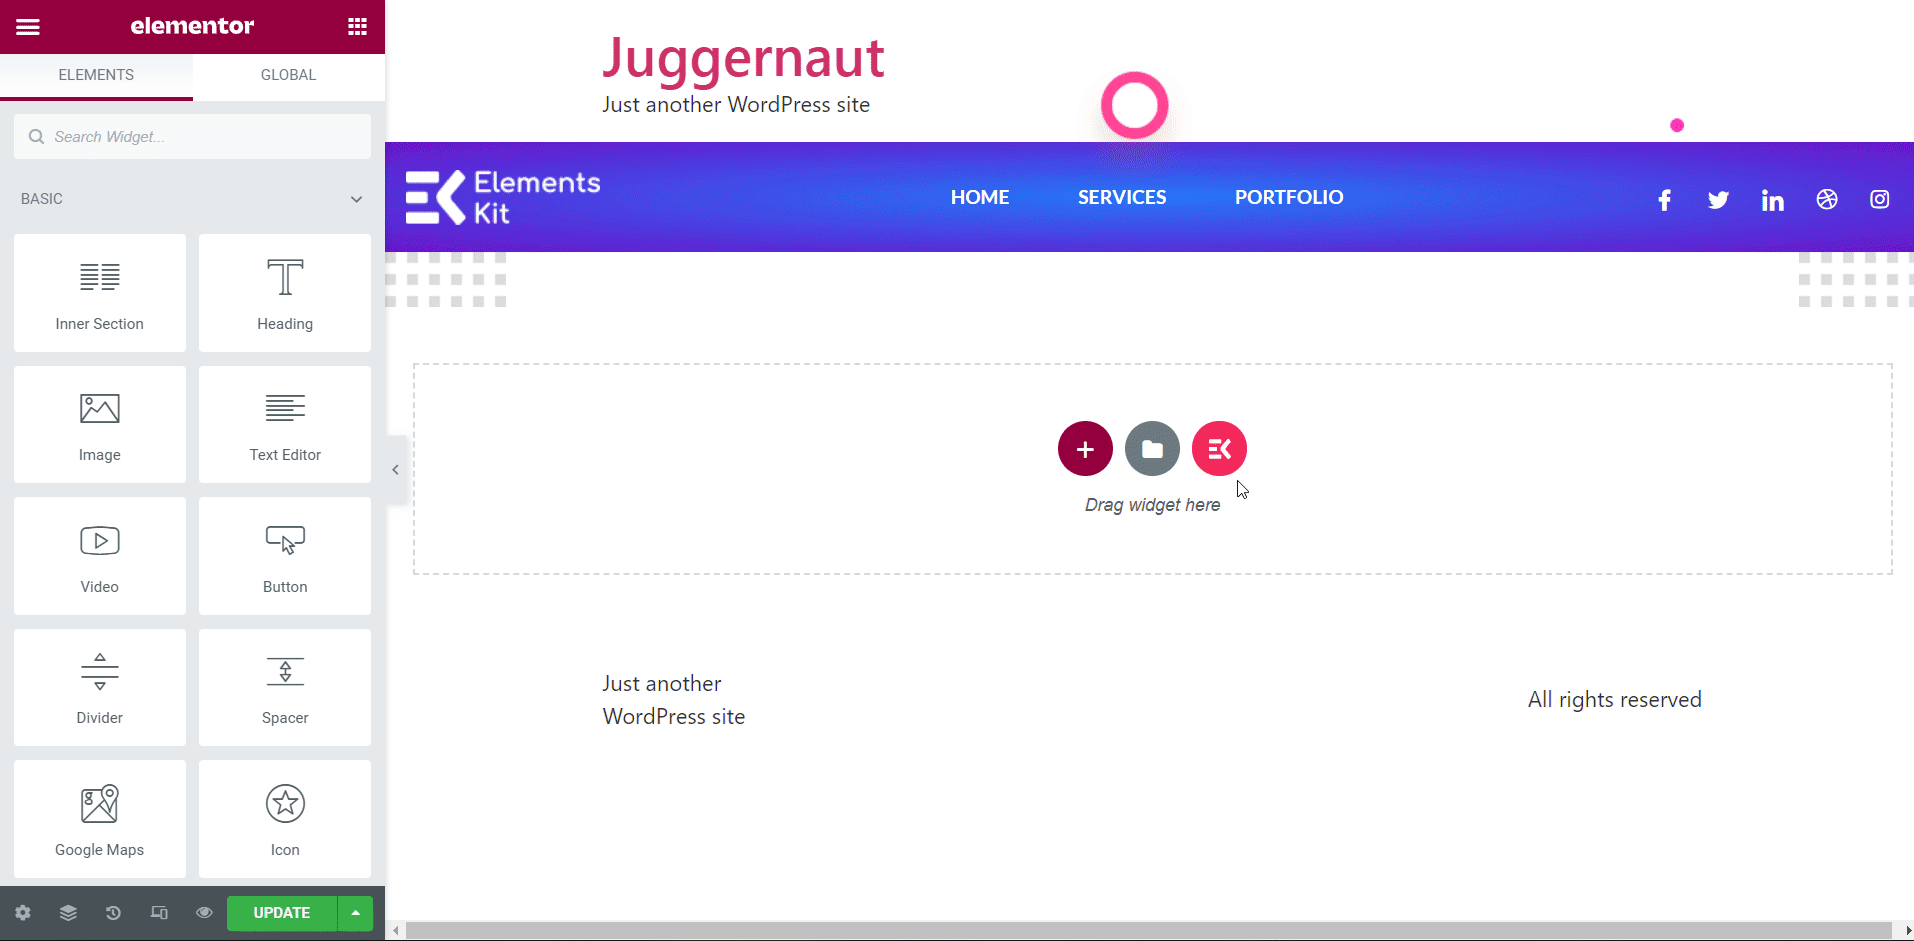
At first, go to the dashboard of your admin panel and navigate to “Pages”. Select “Add New” from the menu and you will land into the editor. Here, you have to create your first page and that’s the homepage of your site. Add the title of the page at first and then place the content of the page on the designated area.
As it’s a creative agency website, you need content in a variety of forms. Besides texts, you have to add visuals and that too have to be of different types.
Add Necessary Content and other Elements on the Page:
- Type or copy and paste your homepage texts on the specific block. If it’s a paragraph, choose paragraph block. If it’s a heading, choose the heading block. This is how you can choose your preferred blocks.
- After that, add the relevant images on the page selecting the image block. Add static image, dynamic image, carousel, video, and so on. You can also add a parallax effect on the hero section of your page.
- Don’t forget to add CTA buttons on different sections of the page as it’s key to increasing session rate and decreasing bounce rate.
- Apart from that, you can add a variety of widgets and designs to enhance the layout of your page.
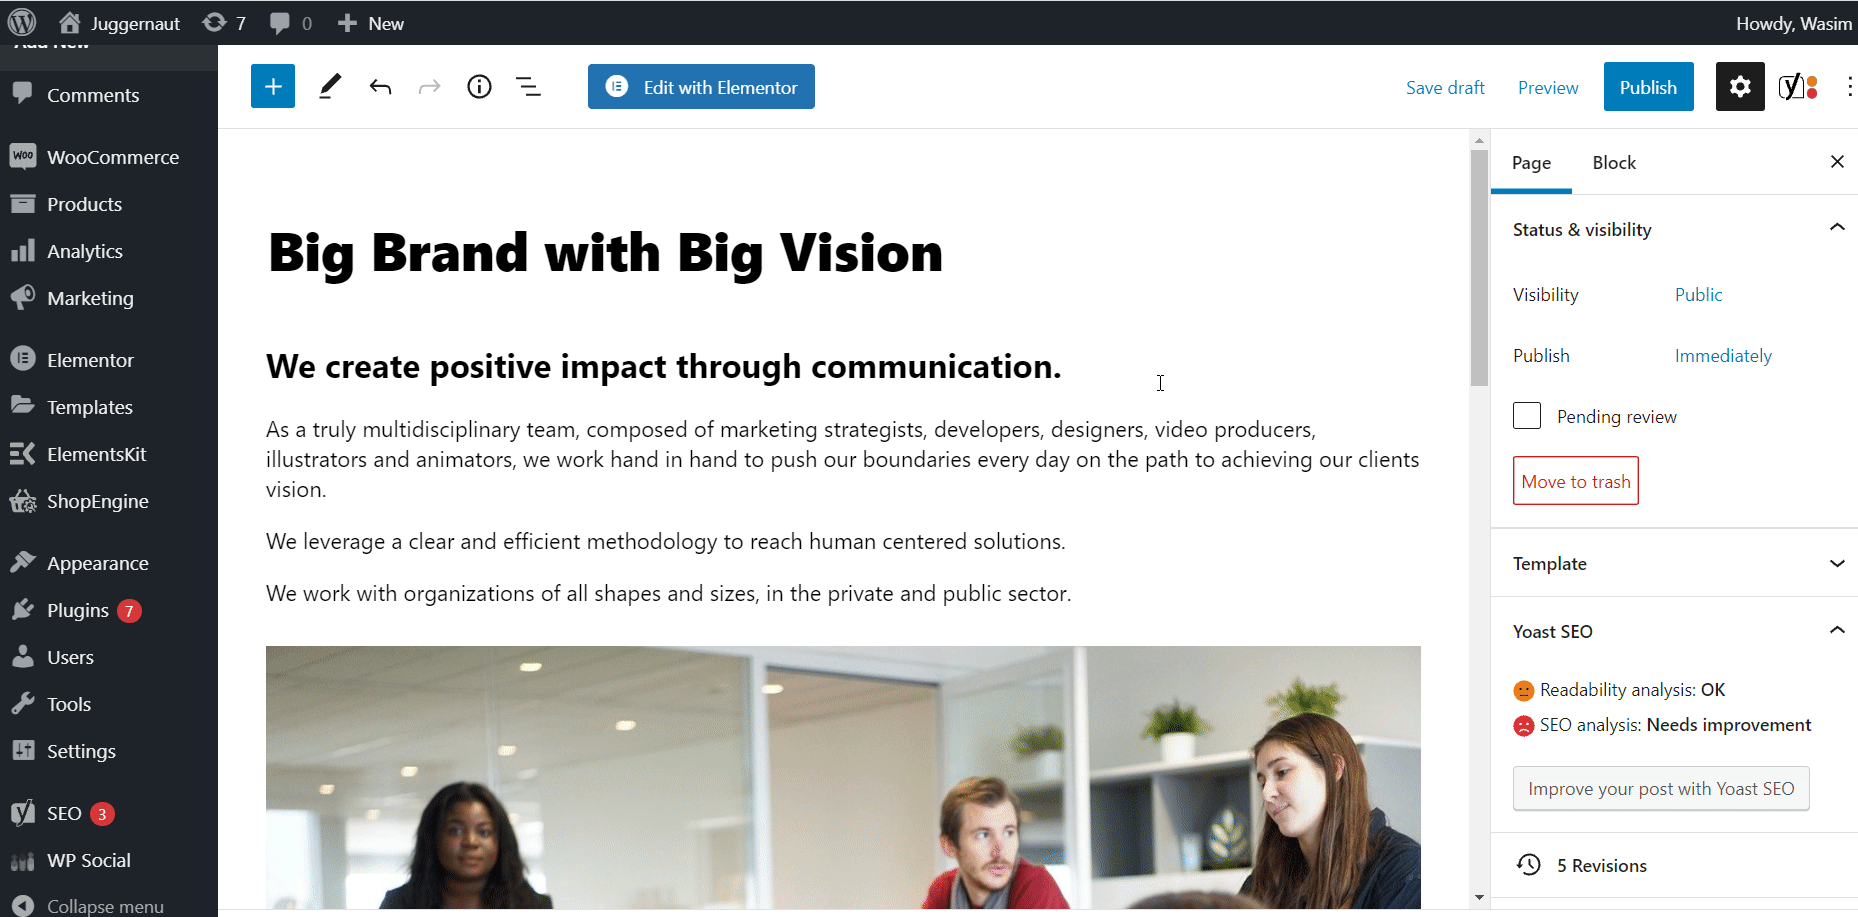
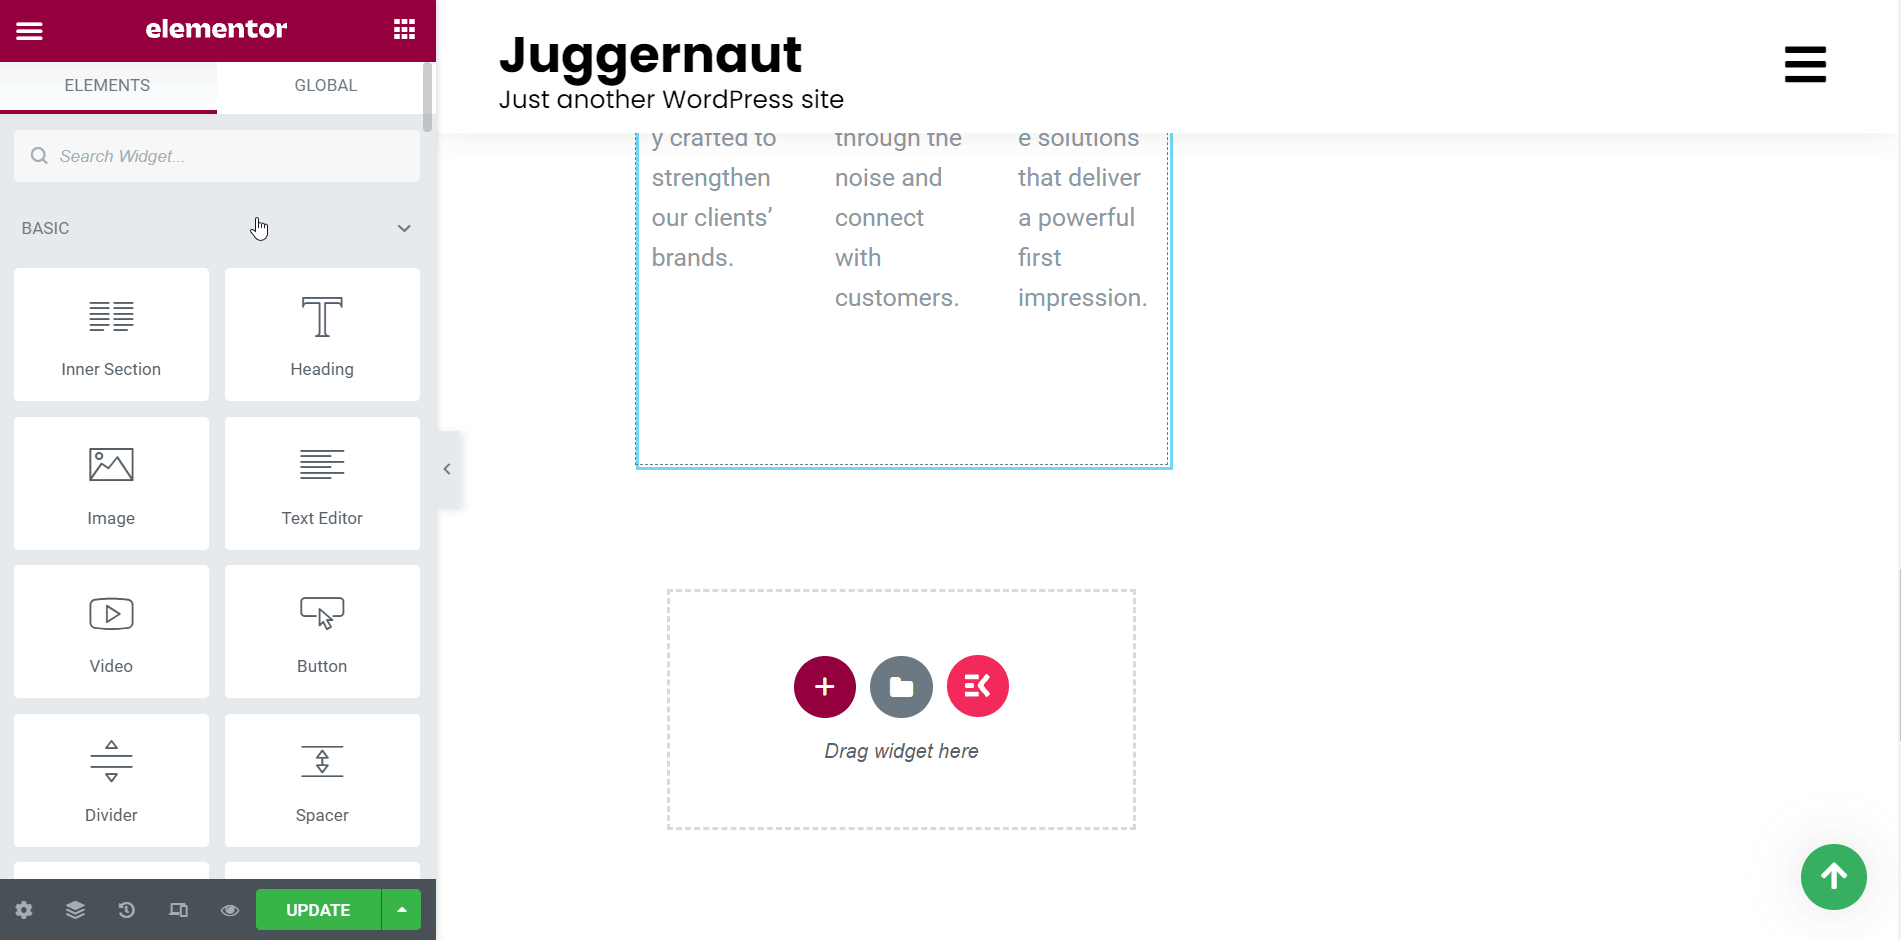
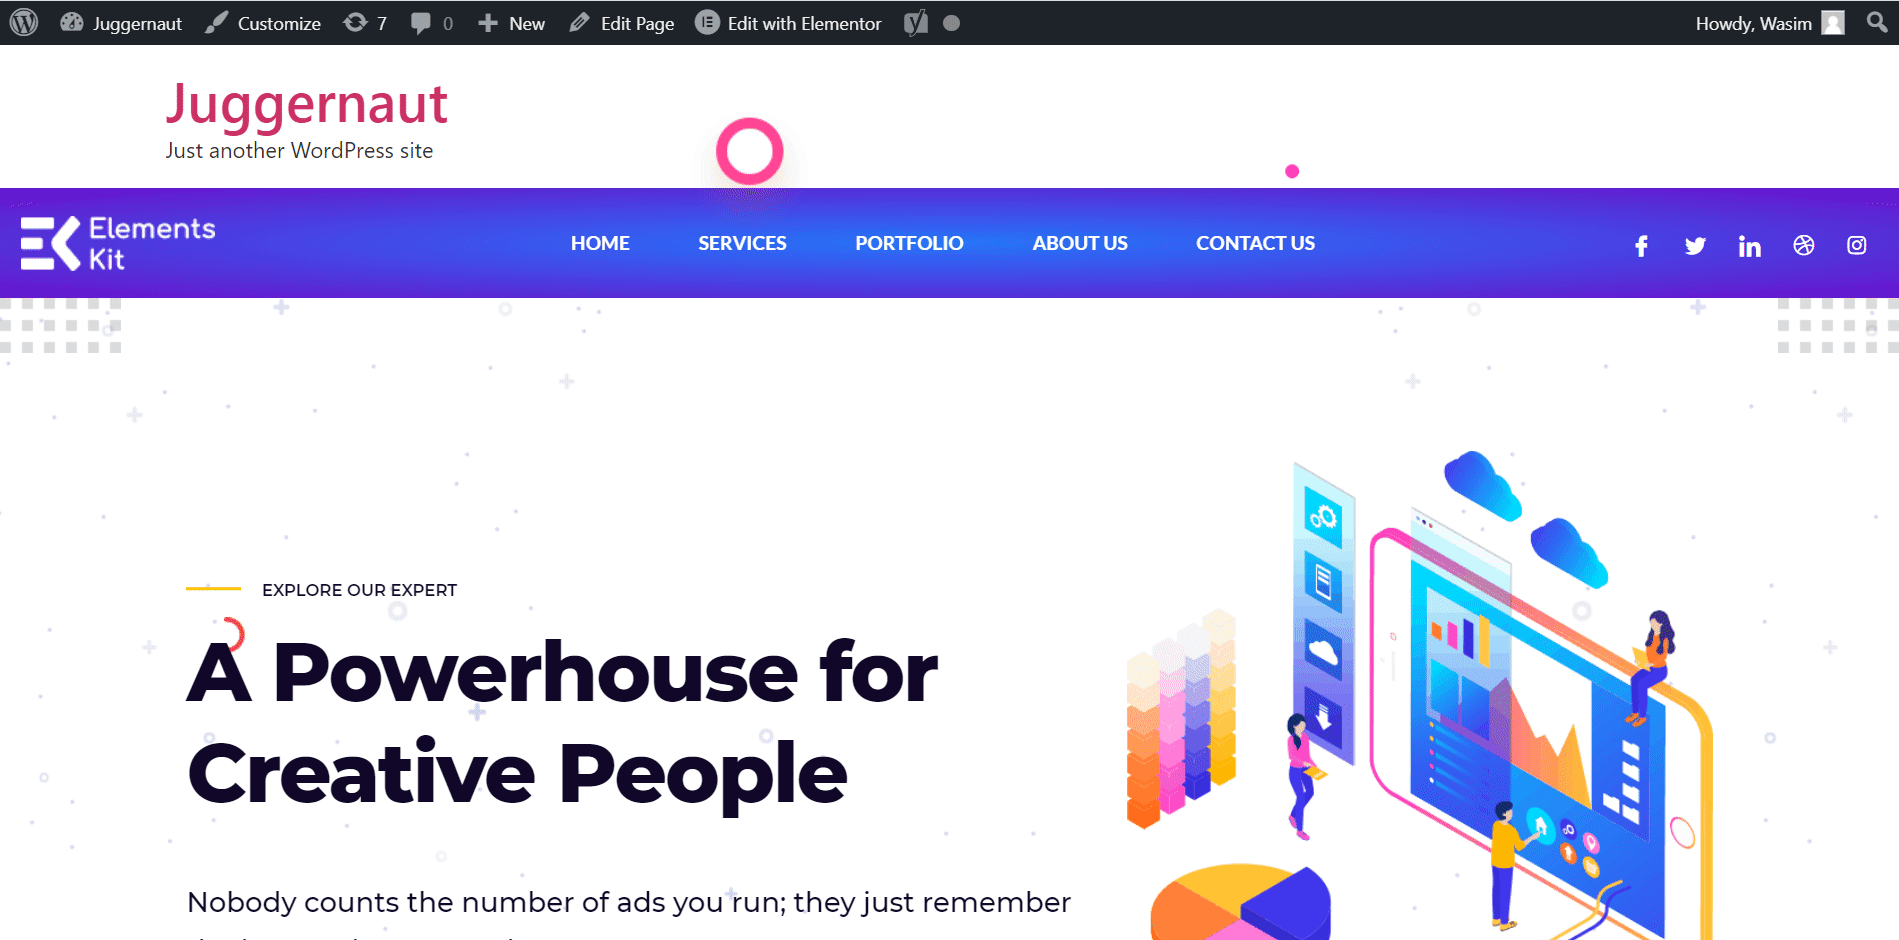
However, I have built the homepage only with the essential elements of a creative agency website to give you a demo. The back-end look of the homepage shows up like this-
Likewise, you can build all the other necessary pages like services, portfolio, contact us, about us, and so on.
Now, go to the dashboard again and locate Appearance. Select Menus from a list of items. This will take you to a new page where you can set the items of your navigation menu.
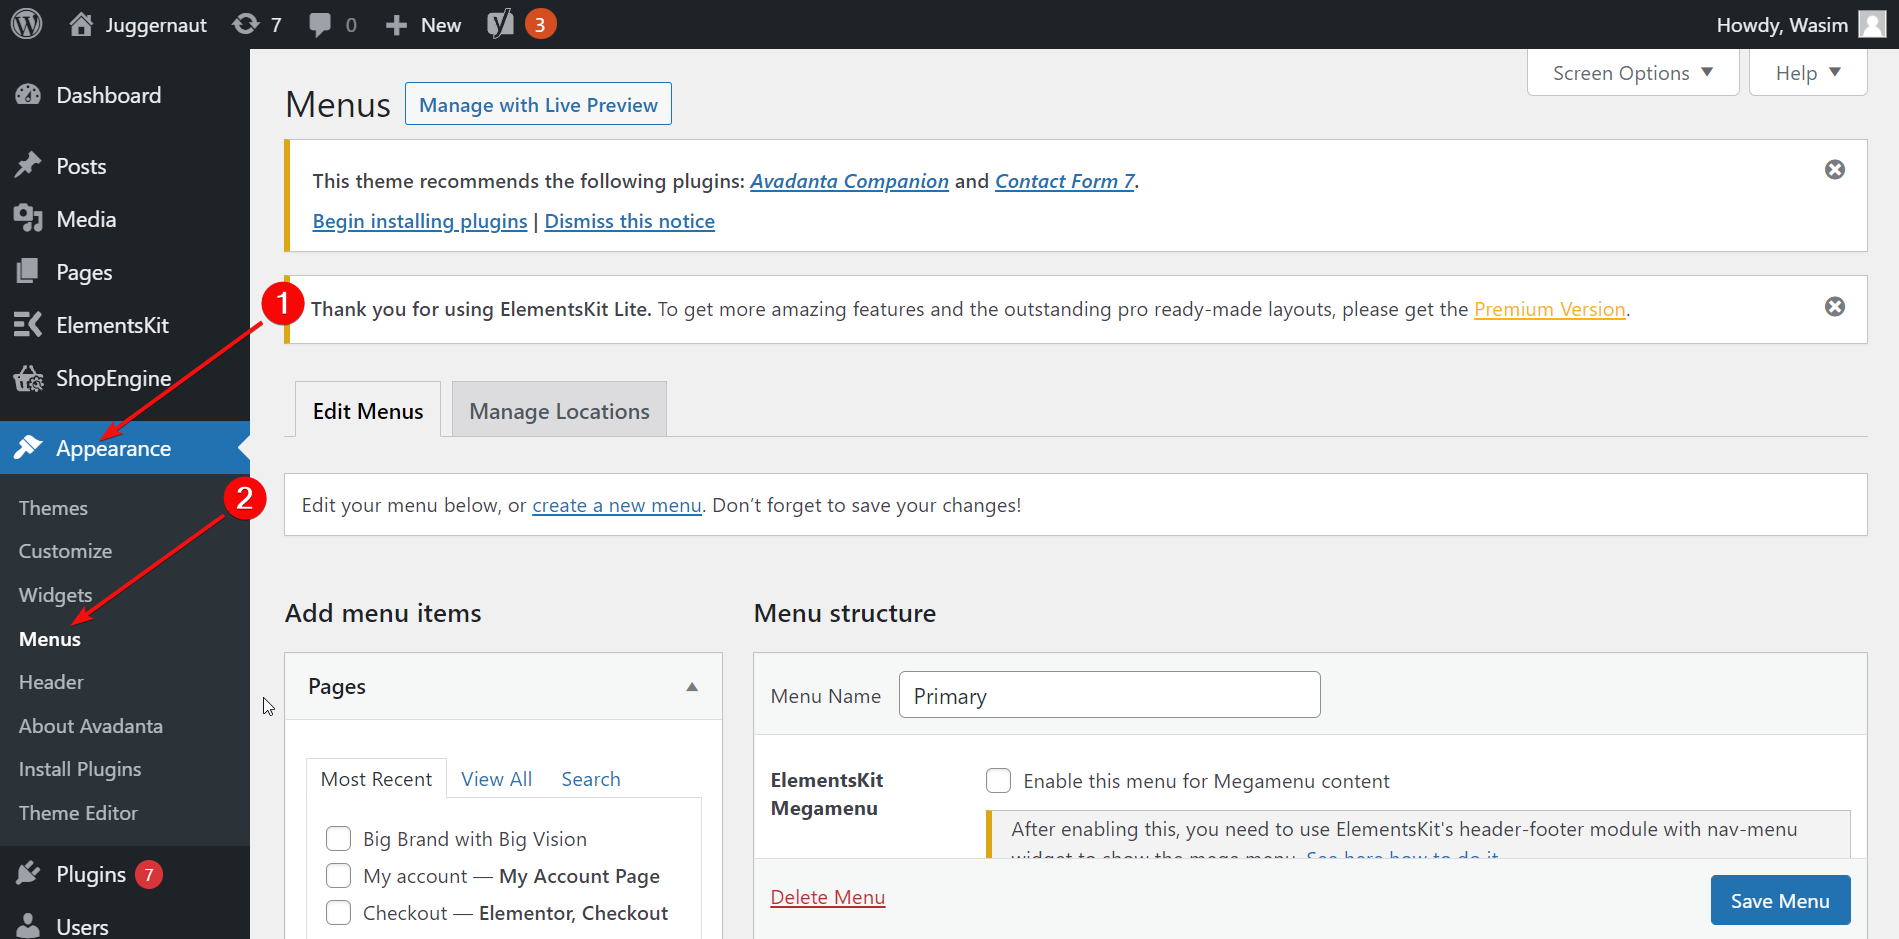
Add a Menu Name:
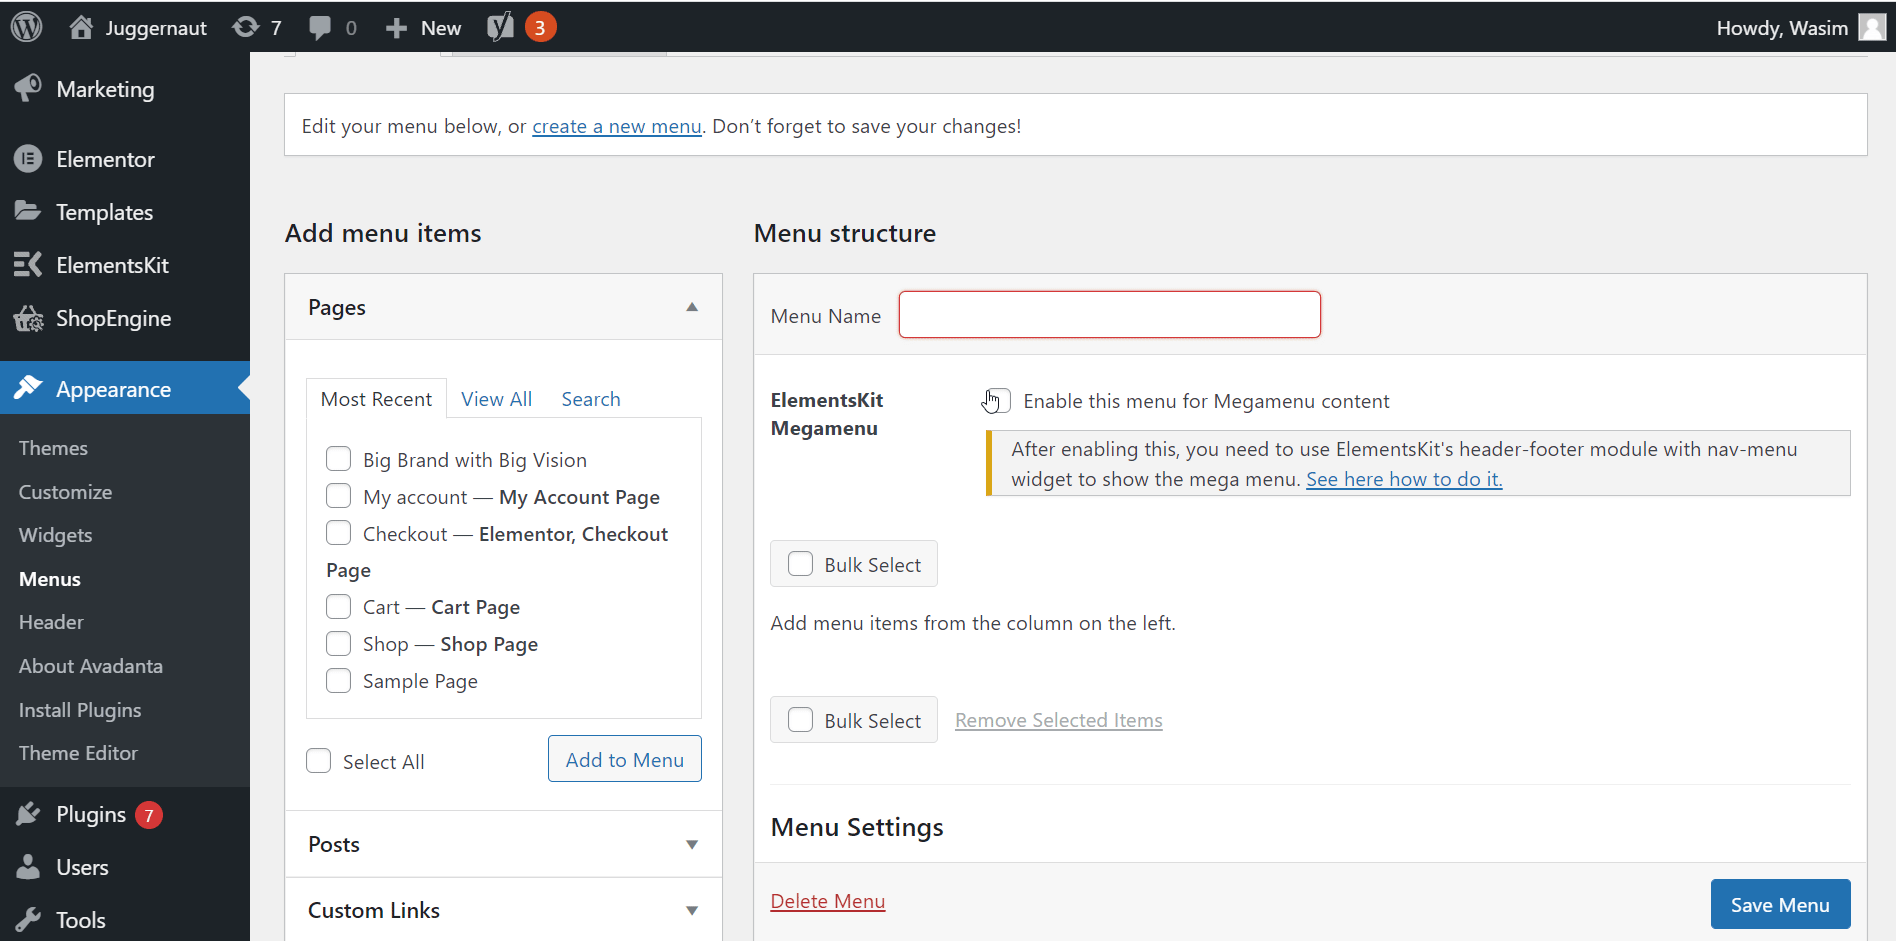
At first, add a menu name on the specified field and enable ElementsKit mega menu. Then, find “Custom Links” on the left sidebar. Place the URL of your homepage on the 1st field and add “Home” as your link text.
Click the “Add to Menu” button and immediately it will be added to your navigation menu. Finally, hit the “Save Menu” button.
Create all the other necessary navigation menu items in the similar fashion. After adding to the menu, don’t forget to save the changes by clicking “Save Changes” button.
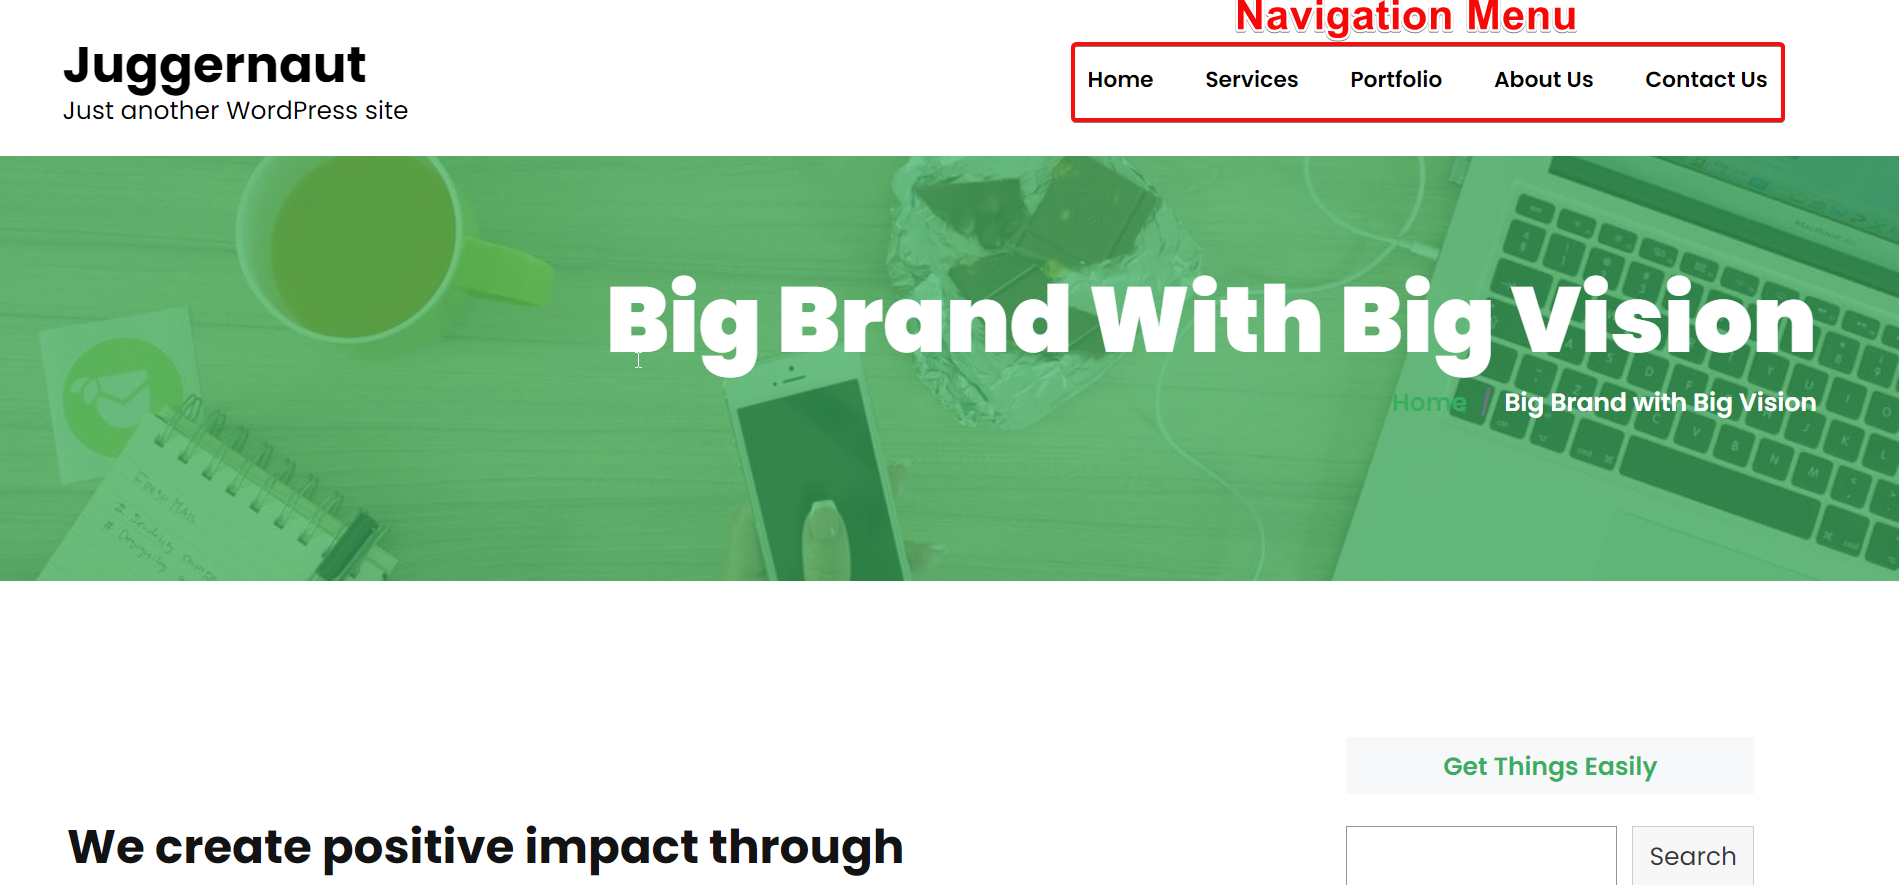
Once you are done, you can check your navigation menu showing up with all the added menu items on your creative agency site.
Don’t Forget to Customize your Pages:
Now, move on to the Elementor window to personalize your site. To do so, follow the steps underneath-
- Navigate to Pages > All Pages
- Hover the cursor on the page you want to edit
- Click on “Edit with Elementor”
After you switch to the Elementor window, you will have plenty of options to customize your pages. ElementsKit comes with tons of widgets as well as header and footer builders that you can leverage to customize your agency pages.
I will show you the use of 2 widgets of ElementsKit- Heading and FAQ. These 2 widgets will help in the customization of the homepage and improve user experience.
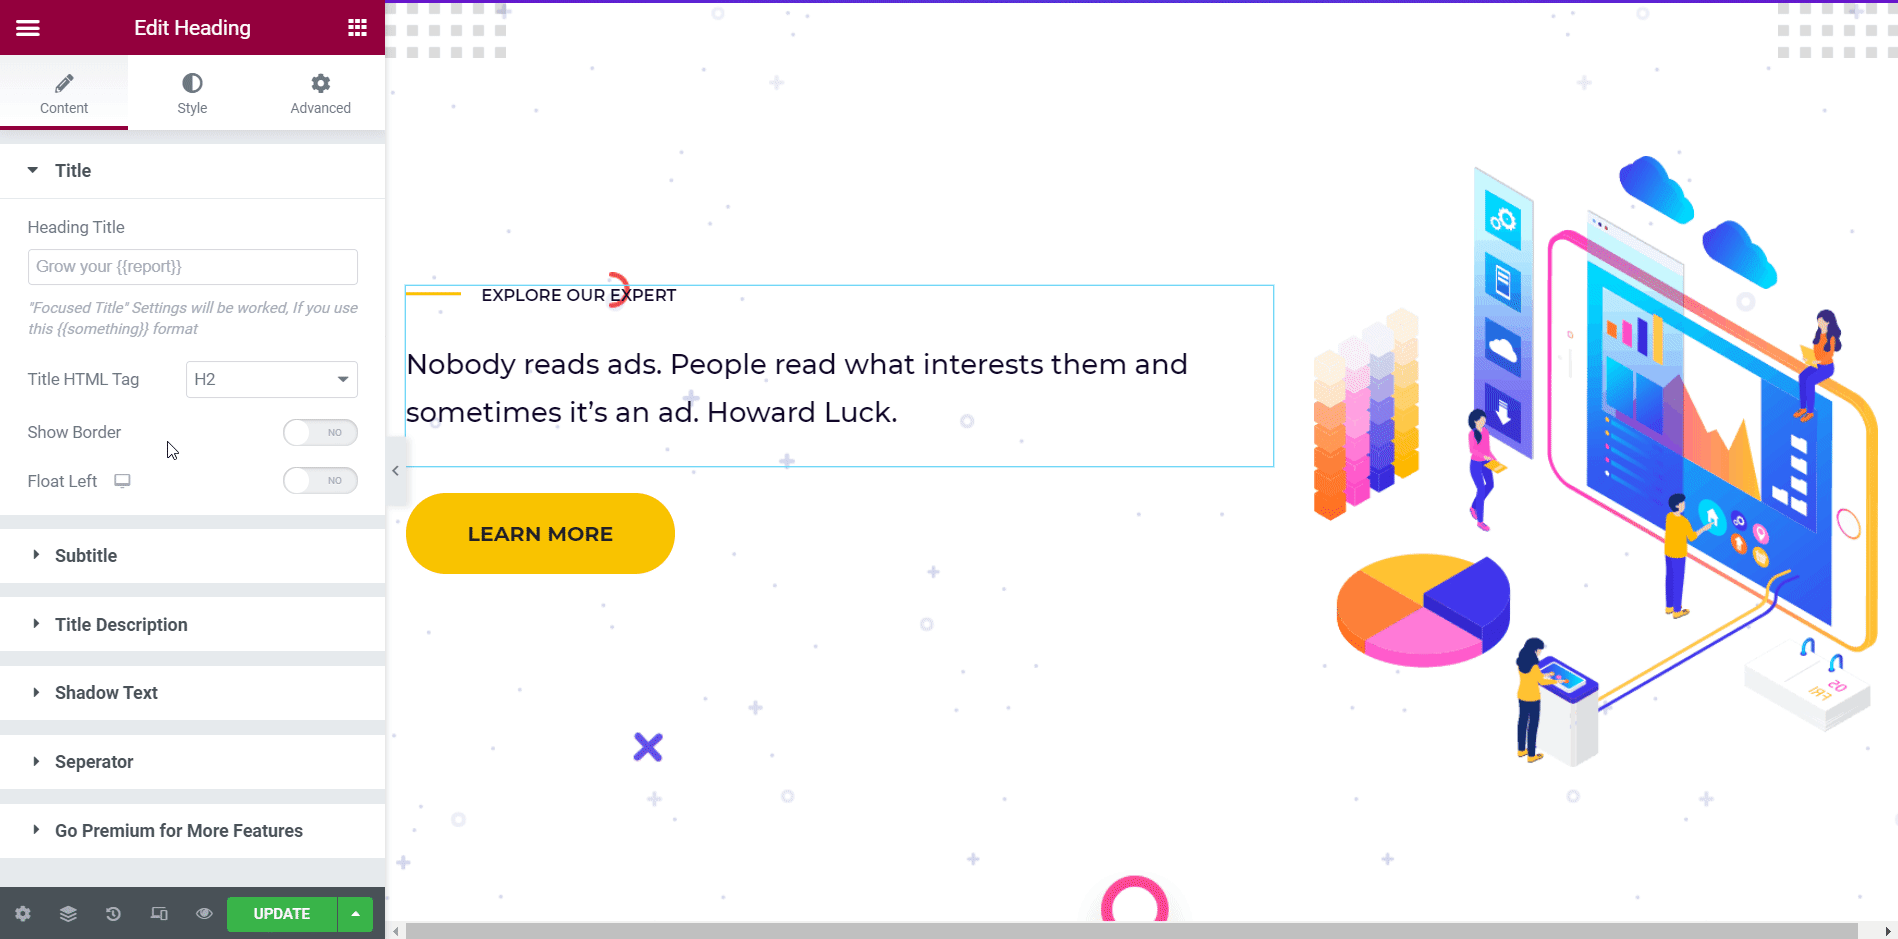
Drag and Drop the Heading Widget:
Go to the ElementsKit section first. Drag and drop the Heading widget to the specified area. Then, edit the default content of the widget and place your own content both in title and title description. Make other necessary tweaks in parameters like color, typography, margin, etc. Finally, update the page.
Drag and Drop the FAQ Widget:
Then, drag and drop the FAQ widget to the designated area. By default, the widget will show content. Edit the content and put the relevant questions and answers in the respective fields. Modify the necessary areas with parameters like title color, typography, padding, etc. Finally, update the page.
View the Updated Page:
Now, go to the homepage and take a look at the updated page. The page will show up with additional heading and FAQ sections.
This is how you can make use of the ElementsKit widgets and enhance your creative agency site pages. And with that, you are primarily done with building a creative agency website without coding.
However, you can deploy many other widgets as per your needs and display a gorgeous creative agency site to your visitors!!!
Build a Creative Agency Site with Templates:
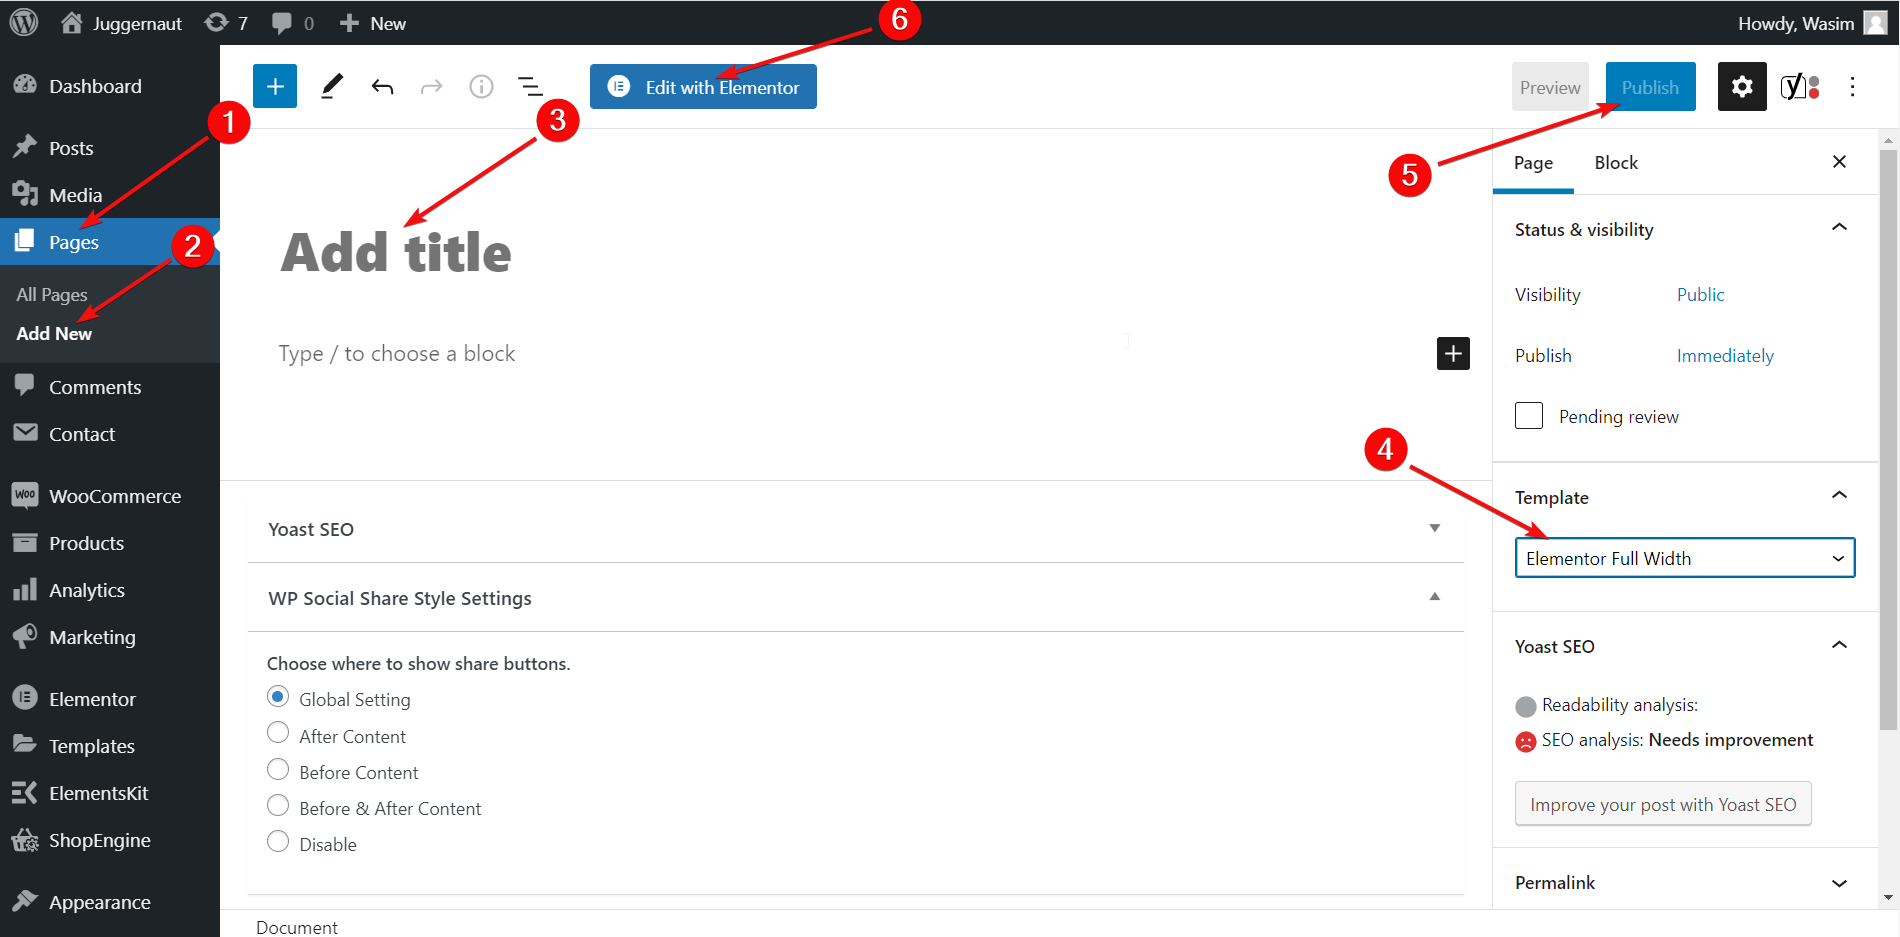
Create and Publish a New Page:
At first, create and publish a new page. In order to do that, navigate to “Pages” and click “Add New”. This will take you to the WordPress editor.
Now, add a title for the page and set template to “Elementor Full Width” as shown below. Finally, publish the page and switch to the Elementor window.
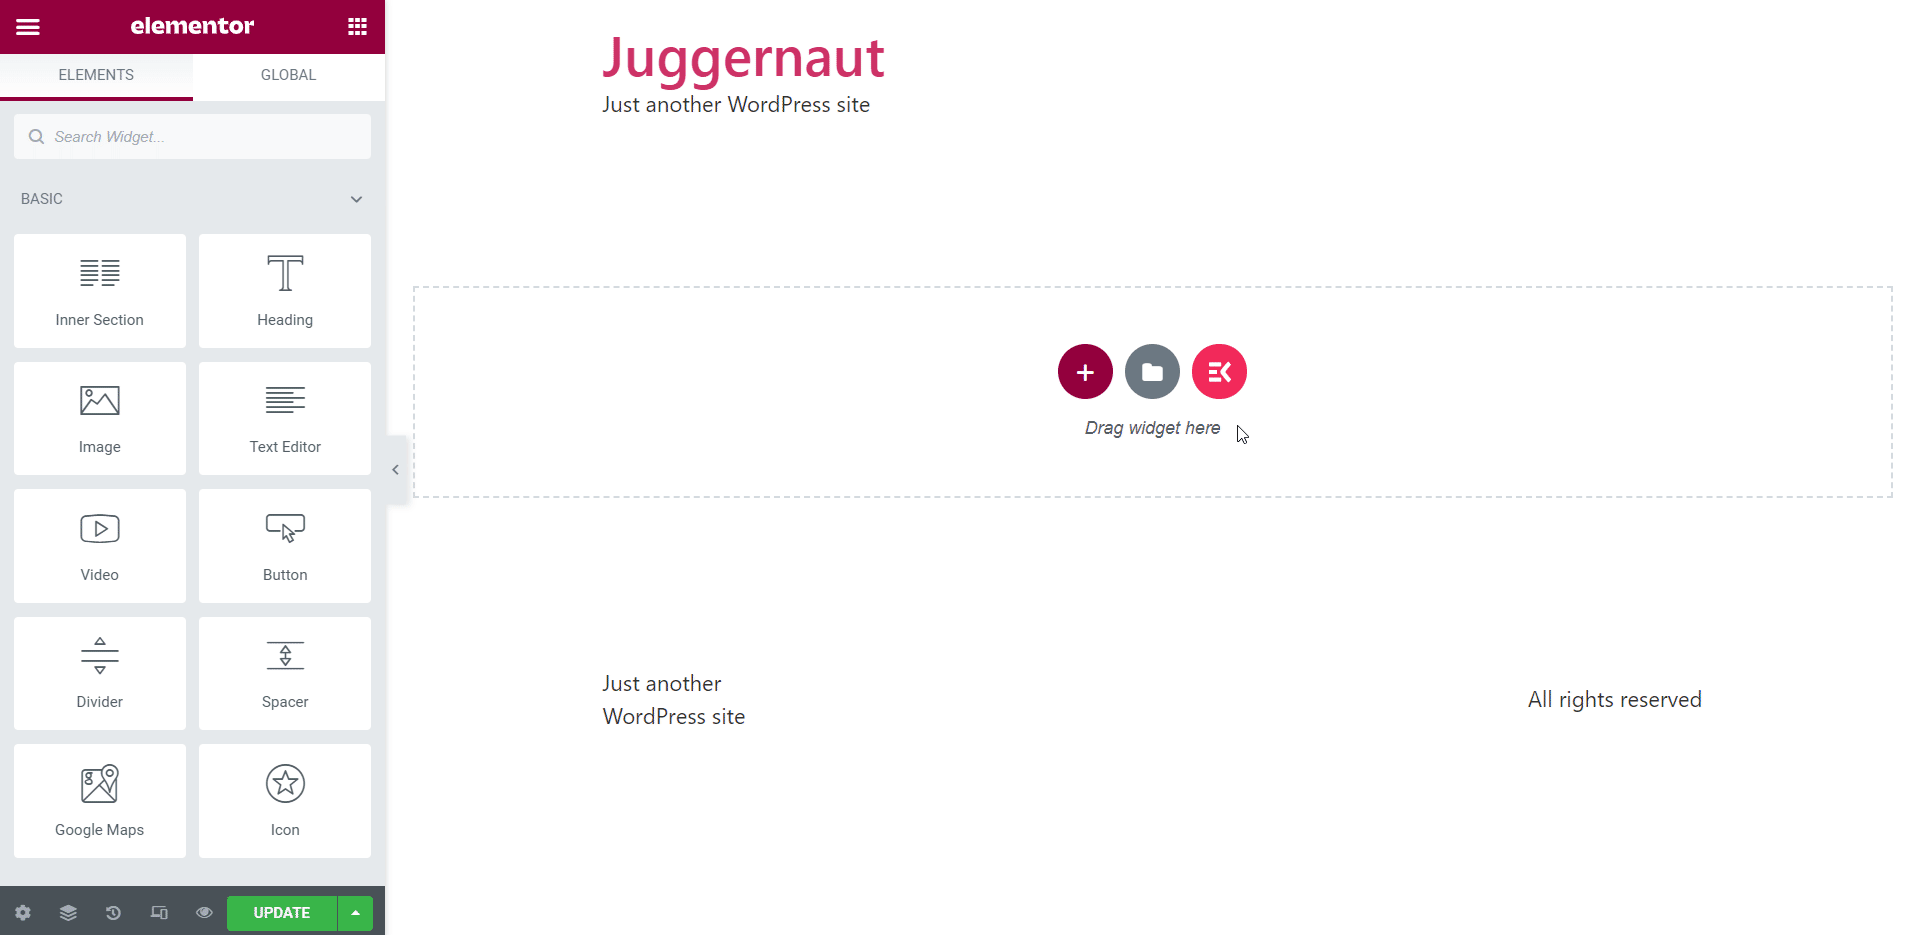
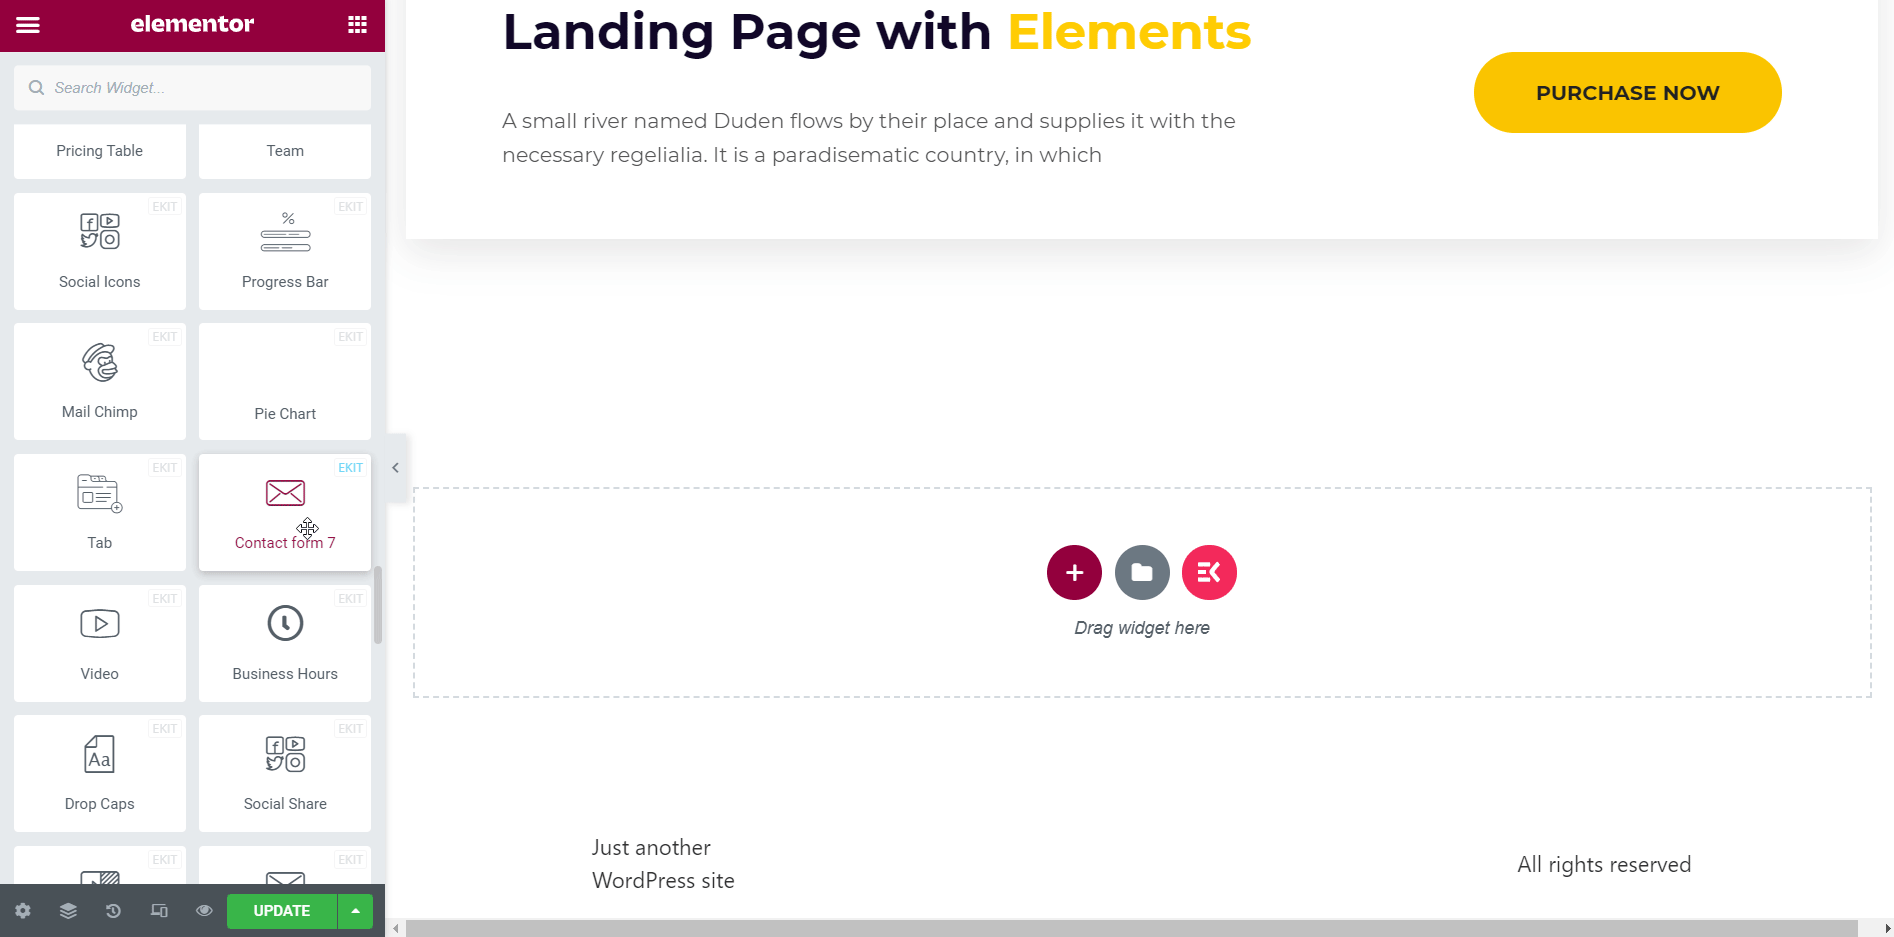
Next, click the ElementsKit button in the section area and navigate to the “Sections” tab. Pick and choose your header section and click “Insert”. Immediately, the header section will show up on the top of the page.
Customize Header Section Elements:
Now, move on to the sidebar to customize different elements of the header section. Make the necessary changes into different parameters of the Content and Style tab like menu settings, menu wrapper, menu item style, etc.
After that, go back to the section area again and hit the ElementsKit button. This time, go to the Templates tab and find out the agency template. Cherry-pick your homepage template and click “Insert”. The template will appear on the page instantly after that.
Modify different Sections on the Template:
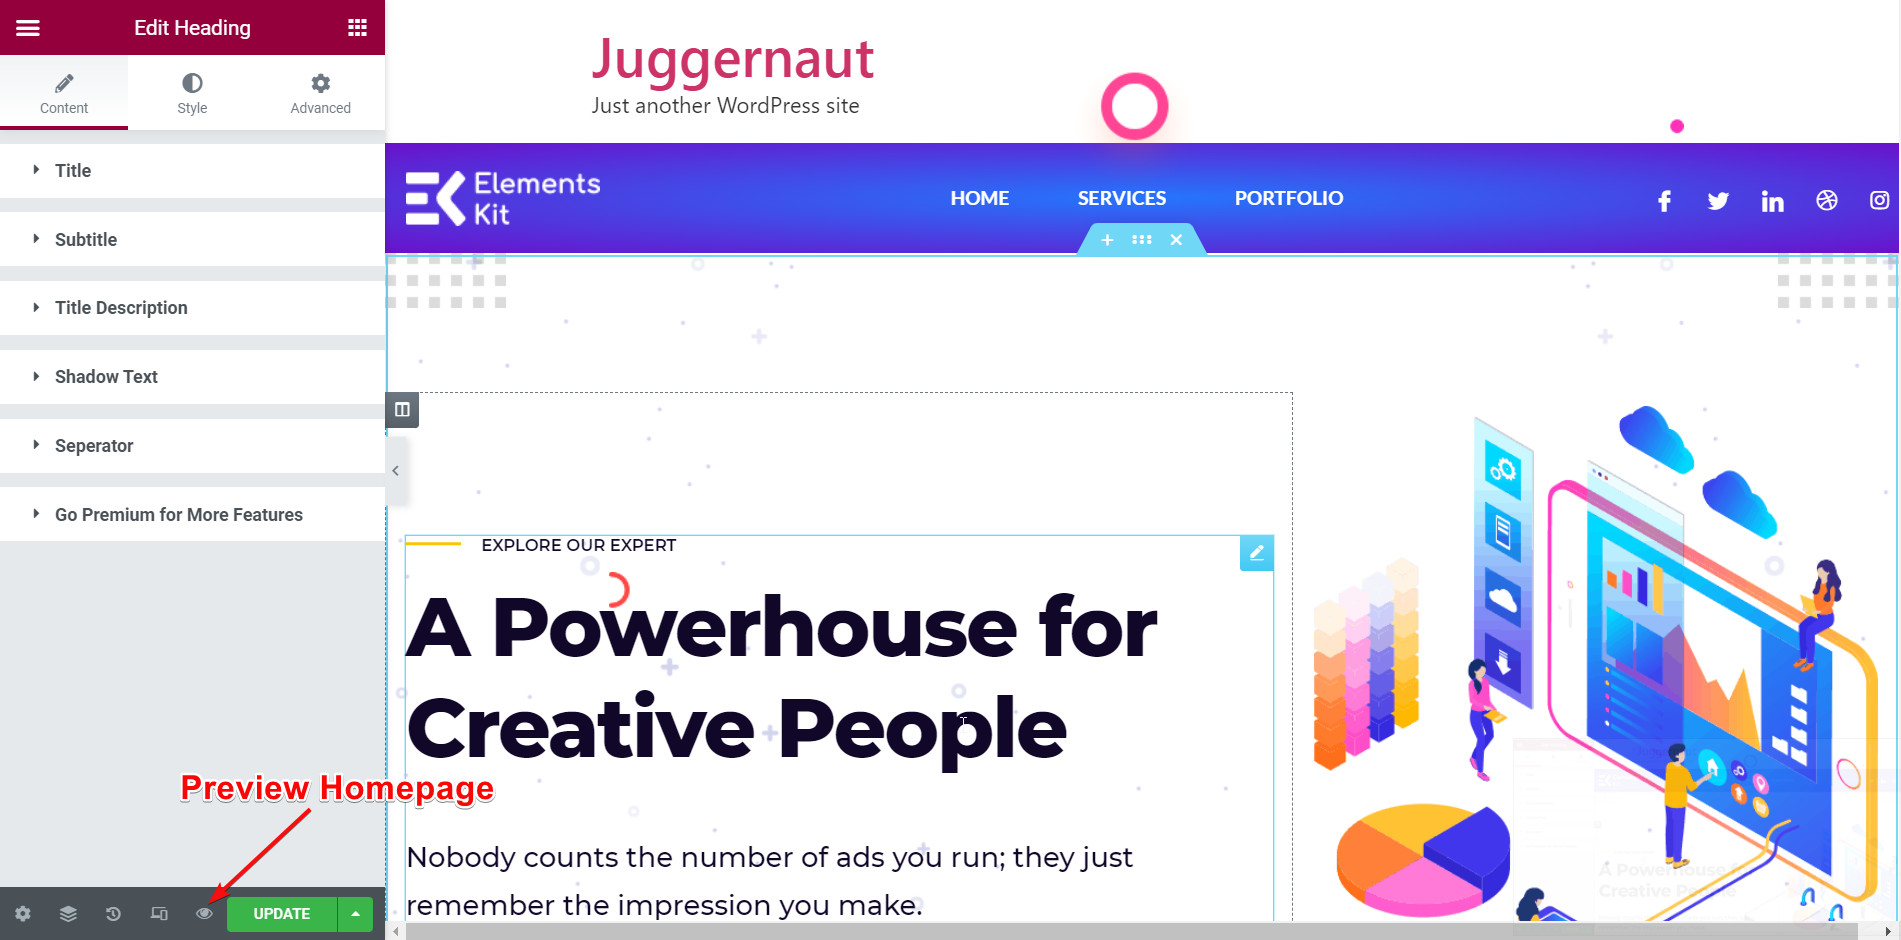
Now, you have the full liberty to modify different sections on the template from the sidebar. To demonstrate to you, I have modified the title and title description of the template from the Content tab.
I have also added a contact form along with a header using the Contact Form 7 widget of ElementsKit.
This is how you can tweak different sections as you desire. You can also stylize different sections from the Style tab adjusting text alignment, image dimension, changing text color, typography, etc.
Preview the Homepage:
Once you are done with all the changes, you can preview the homepage on your website. Click on the “Preview” icon to take a look at the appearance of the homepage.
Build other Necessary Pages:
Similarly, you can build the other necessary pages of your creative agency site like Services, Portfolio, About Us, and Contact Us pages.
The next step is to add a navigation menu with all the page options. I have already shown the method of adding the navigation menu above. So, I wouldn’t repeat it here.
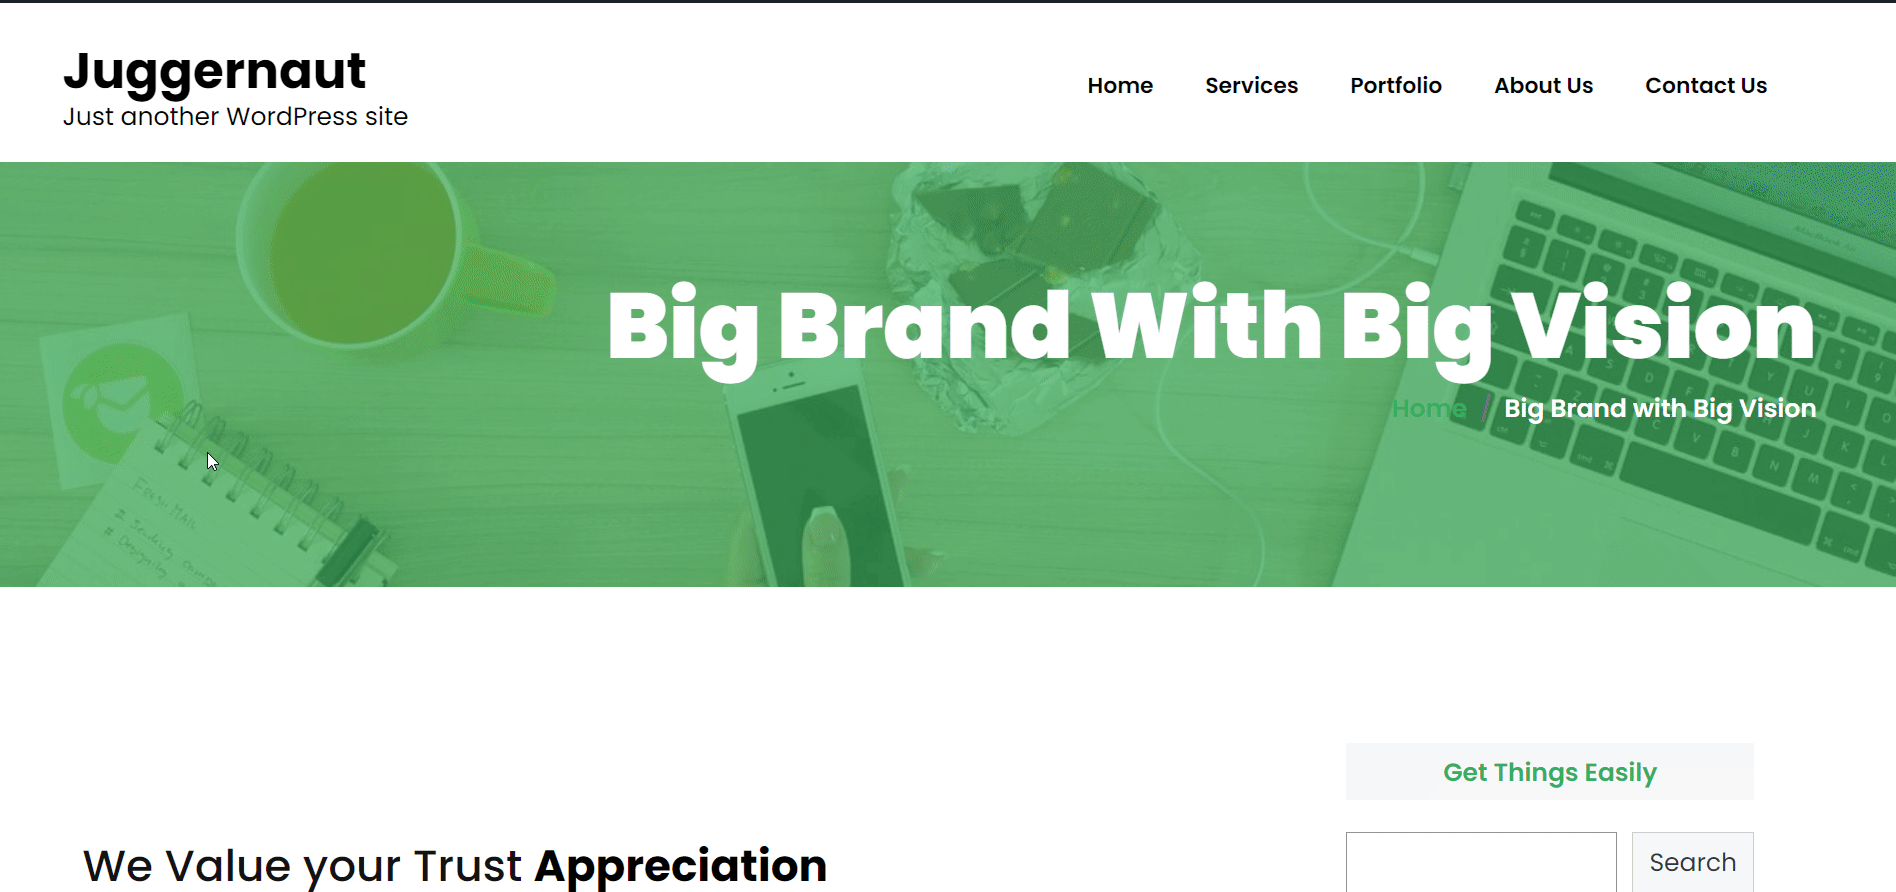
Final Look of your Creative Agency Site:
Finally, it’s all-set and you can take a look at your creative agency website built with ElementsKit ready-made templates.
Final Words:
This is how you can easily develop creative agency website with ready-made templates. I have walked you through the process of building a creative agency website both from scratch and using template. Based on your preference, you can go ahead to develop creative agency website in any of the ways. Likewise, you can build other types of website like SaaS website, business consulting website, etc.
But don’t forget to install the necessary plugins like Elementor, ElementsKit, etc. to get all the functionalities of building your creative agency website.
If you are curious to know about the process of developing a business consulting website, click the link below-
Leave a Reply