
Le module Paiement Partial vous permet de recevoir des paiements échelonnés pour les magasins WooCommerce. Vous pouvez accepter le paiement partiel d'un produit et sélectionner une autre méthode pour recevoir le reste de l'argent.
Vous pouvez également recevoir de l'argent pour une réservation d'hôtel, une réservation de restaurant, etc. grâce au module de paiement partiel intégré de ShopEngine.
Comment intégrer le paiement partiel dans WooCommerce #
Étape 1 : Activer le paiement partiel #
- Allez sur le tableau de bord WordPress => ShopEngine => Module.
Activer le paiement partiel Modulez et effectuez les modifications dont vous avez besoin.
- Type de montant:Vous pouvez sélectionner le type de paiement partiel : Pourcentage ou Montant fixe.
- Montant: Saisissez le montant ou le pourcentage du paiement partiel.
- Masquer le ou les modes de paiement lors du paiement:Utilisez cette option pour masquer la sélection du mode de paiement lors du paiement.
- Envoyer un e-mail après la date de la commande en jours/s: Définissez le nombre de jours après l'achat pour envoyer des e-mails de rappel de paiement aux clients.
Ensuite, vous pouvez saisir des étiquettes personnalisées pour les cinq fonctionnalités suivantes :
- Partial Payment Loop Product Label: Display a custom label on product listings showing partial payment availability.
- Partial Payment Single Product Label: Show partial payment info directly on the individual product page.
- Étiquette de paiement intégral : Clearly indicate the option for paying the full amount upfront.
- Étiquette du premier versement : Label the first payment amount in an installment plan.
- Other Installment Label: Define the text for upcoming or recurring installment payments.
- Pour payer l'étiquette pour la page de paiement : Highlight the amount due now at checkout for partial payments.
Étape 2 : Modifiez la page du produit pour activer le paiement partiel pour le produit #
Accédez maintenant au produit pour lequel vous souhaitez activer le paiement partiel.
WooCommerce >> Products >> All Products >> Select the Product >> Edit
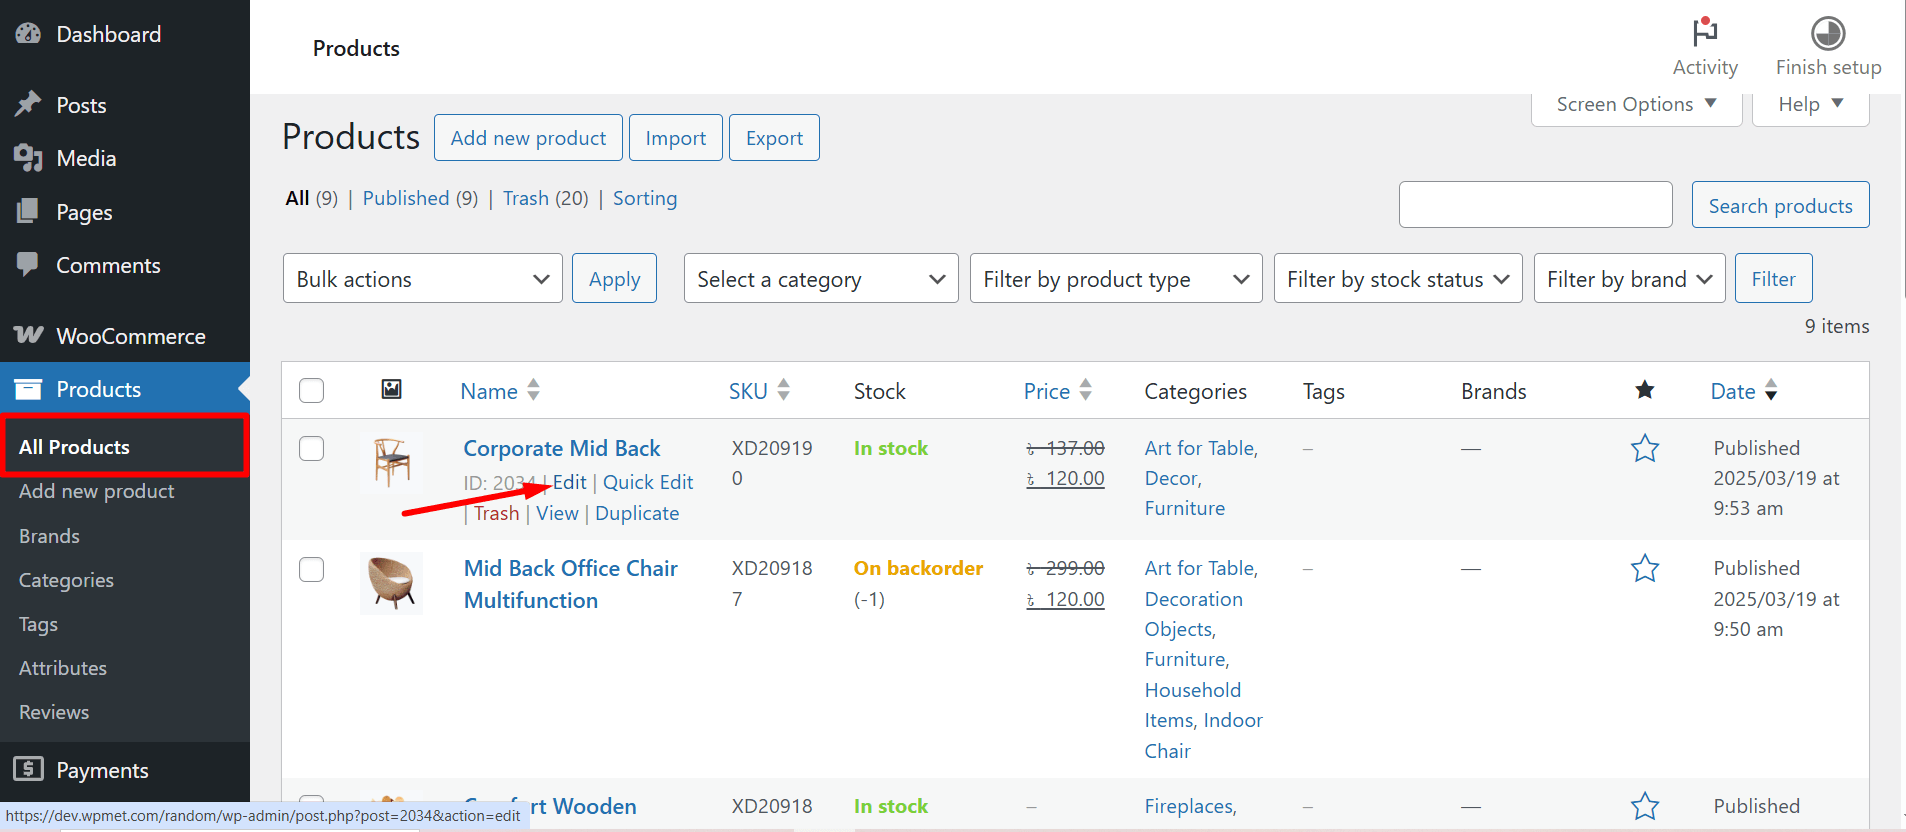
Après cela, depuis la page produit, permettre le paiement partiel pour ce produit particulier. Choisissez le type de paiement partiel.
Si vous utilisez un pourcentage, sélectionnez le pourcentage. Mettez à jour le produit. Vous pouvez également choisir un montant fixe.
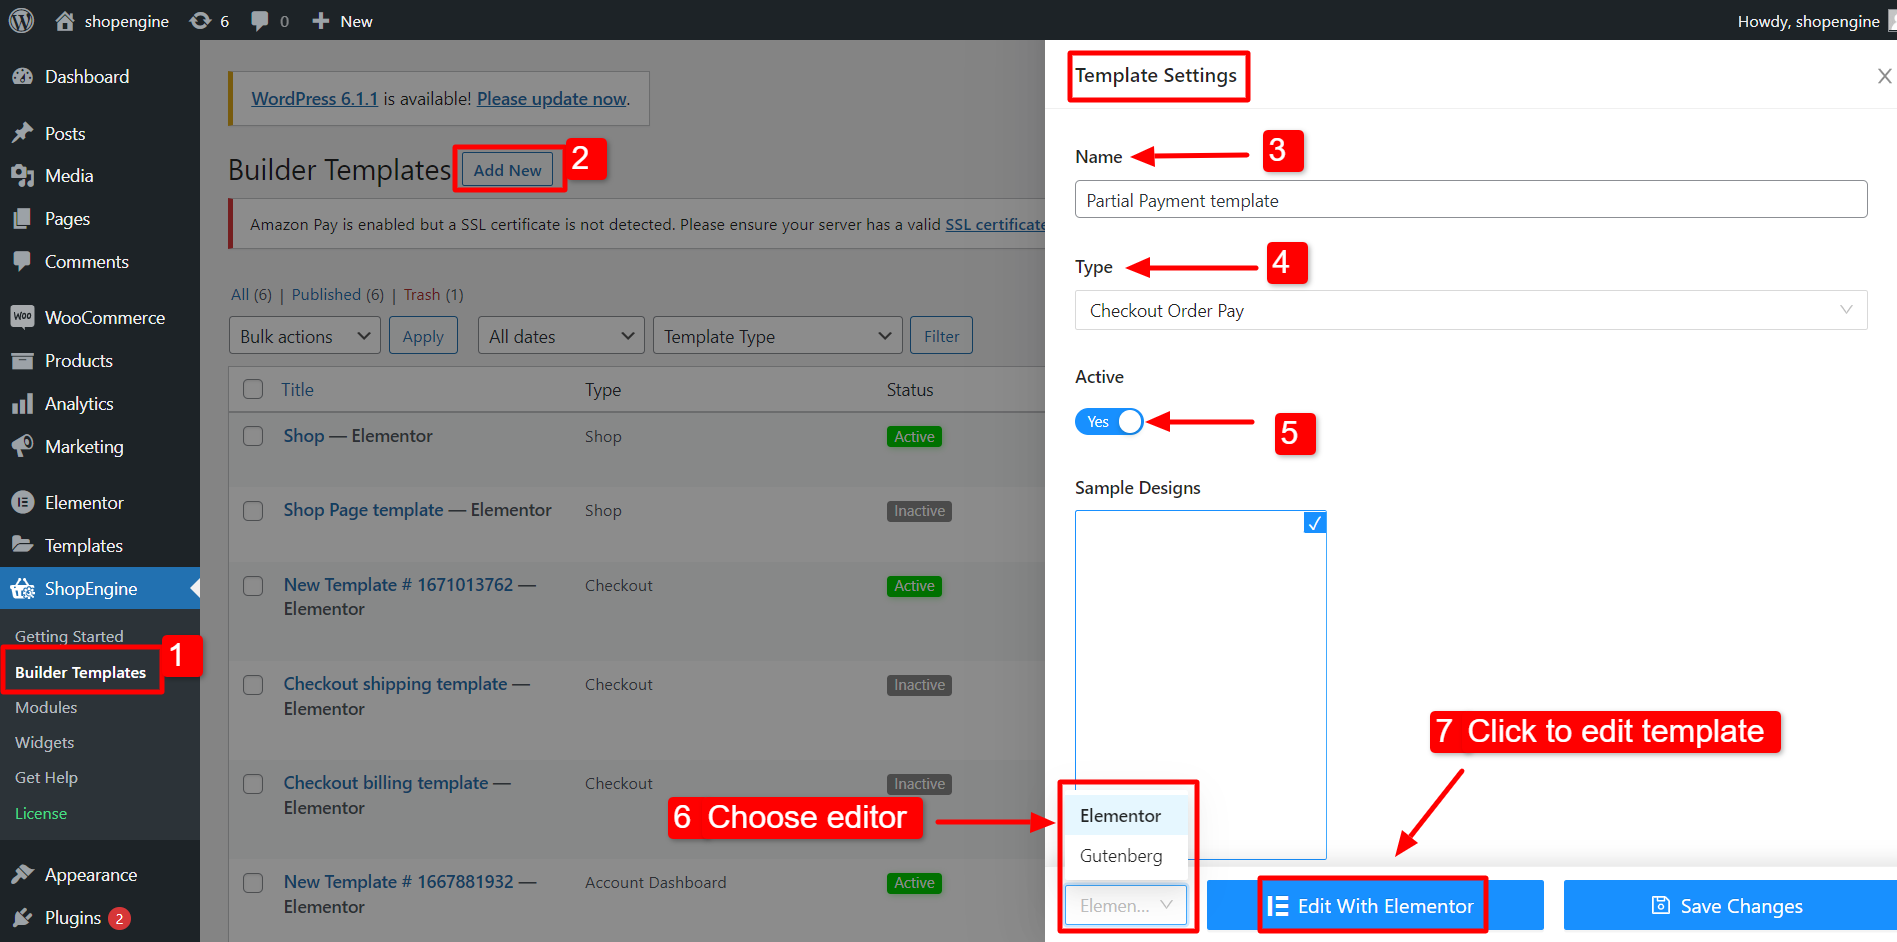
Étape 3 : Créer un modèle pour le paiement dû #
Pour créer un modèle pour le paiement dû,
- Aller vers ShopEngine >> Modèles de constructeur à partir du tableau de bord WordPress.
- Clique sur le "Ajouter un nouveau" bouton dans le coin supérieur gauche.
- Dans la fenêtre Paramètres du modèle, entrez un modèle Nom.
- Définir le modèle Taper à : Paiement de la commande.
- Activer le gabarit.
- Sélectionnez l'éditeur (Elementor dans ce cas).
- Clique sur le Modifier avec Elementor.
Sur l'éditeur Elementor, faites glisser et déposez le widget Checkout Order Pay dans la zone de conception, vous pouvez maintenant voir les détails du paiement dû de votre commande.
Step 4: Check how it work #
- Allez maintenant sur la page produit. Vous verrez les options de paiement partiel et de paiement intégral.
- Sélectionner Paiement partiel et cliquez sur le Ajouter au panier bouton.
- Maintenant, depuis le haut, cliquez sur « Afficher le panier » et voyez si le paiement partiel fonctionne.
- Vous pouvez également consulter la page de paiement pour les détails.
Once the user completes the first payment, he will see the due amount on the my account order details page.
Lorsque les utilisateurs accèdent à Mon compte > Commandes > Voir détails de la commande, il verra l'option de Payer le paiement dû. S'il choisit de payer le paiement dû, il verra l'option du deuxième versement comme suit.
Les utilisateurs peuvent ensuite payer le montant dû à partir de cette page.