
If you are involved with the event management business, you would definitely look for volunteers. Even if you just occasionally organize events like WordCamps, meetups, or the likes of them, volunteers are a must-have. But how to select volunteers for your event?
There must be a process before you get volunteers in, right? Yeah, you will naturally assess some skills and qualities of a volunteer candidate. The best method is to ask volunteers to apply for the position through a “Volunteer Application Form“.
So, how to create a volunteer application form in WordPress? Well, that’s exactly what this tutorial deals with. In this write-up, I will walk you through the easiest and simplest method of creating a volunteer application form in WordPress with MetForm.
How to Create a Volunteer Application Form in WordPress
Before you create a volunteer application form for your WP website, it’s important to note that the form builder has all the mandatory options for form creation.
MetForm is a WordPress form builder that not only makes form-building easy but also offers customizable templates. Even when it comes to connecting WordPress forms to Google sheets, integration with MetForm is the easiest way.
Without further ado, let’s cut to the chase…
Install and Activate MetForm:
First up, visit your WordPress dashboard and move ahead to install and activate both MetForm and Elementor. For that, move to “Plugins” on the sidebar and click “Add New“. After that, install Elementor first either from the downloaded files or directly from the search bar.
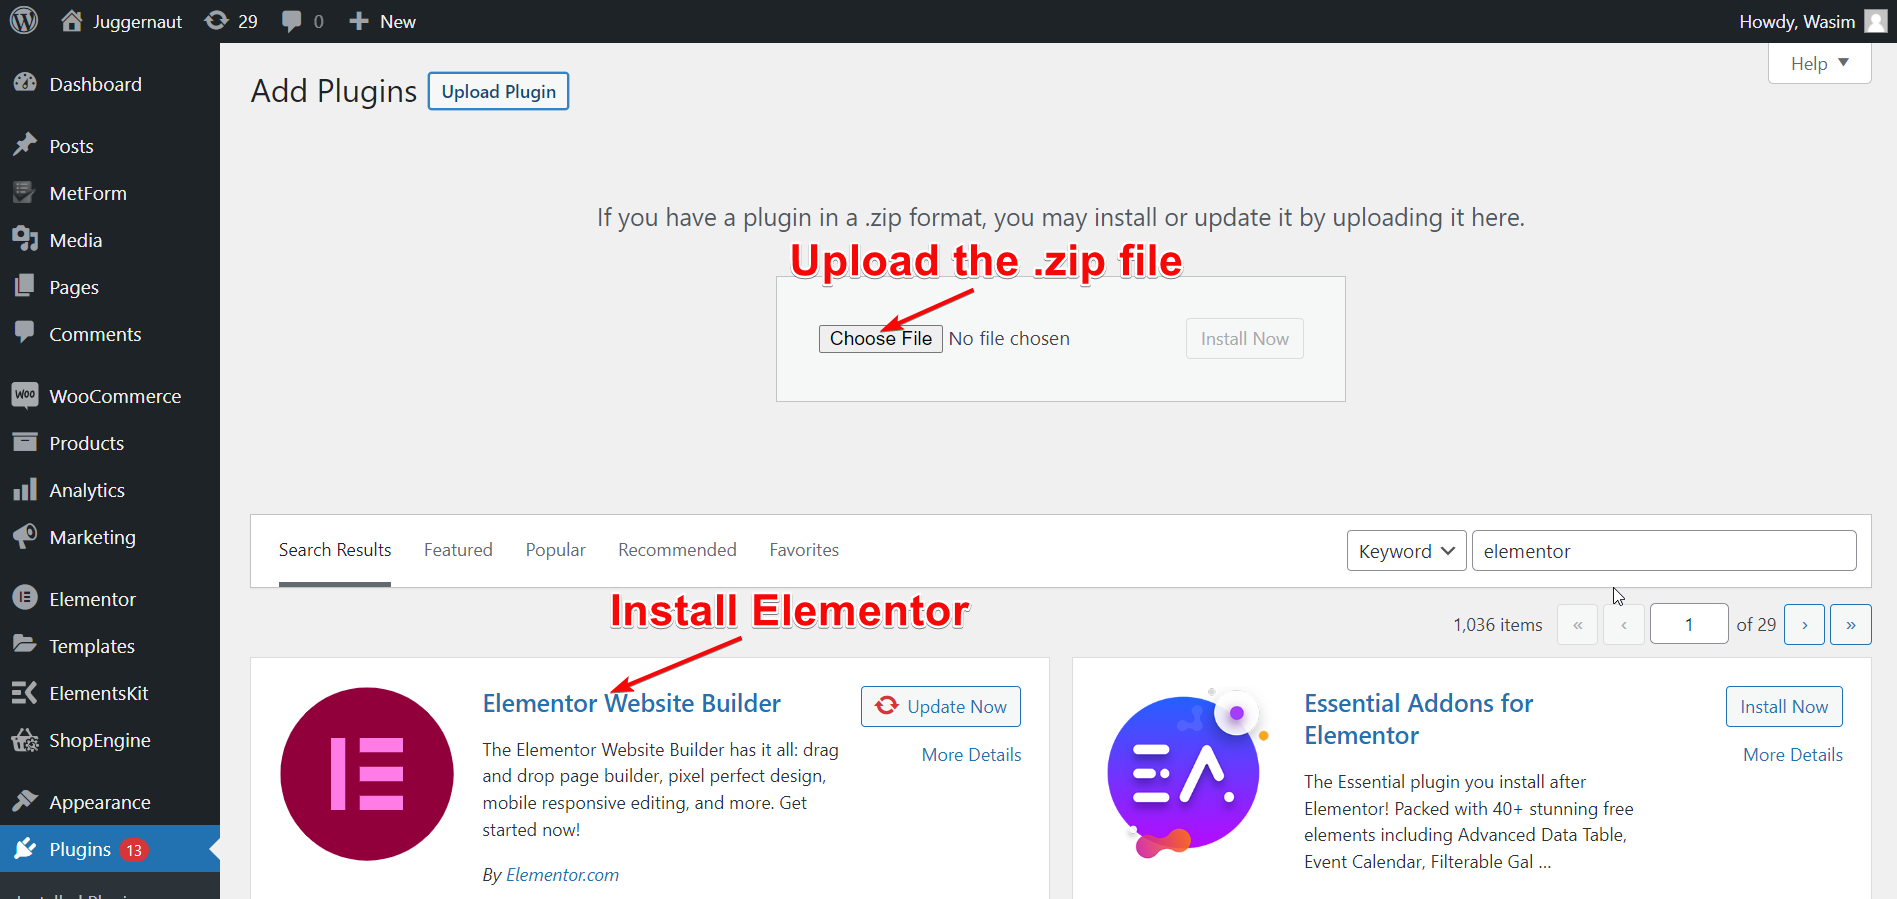
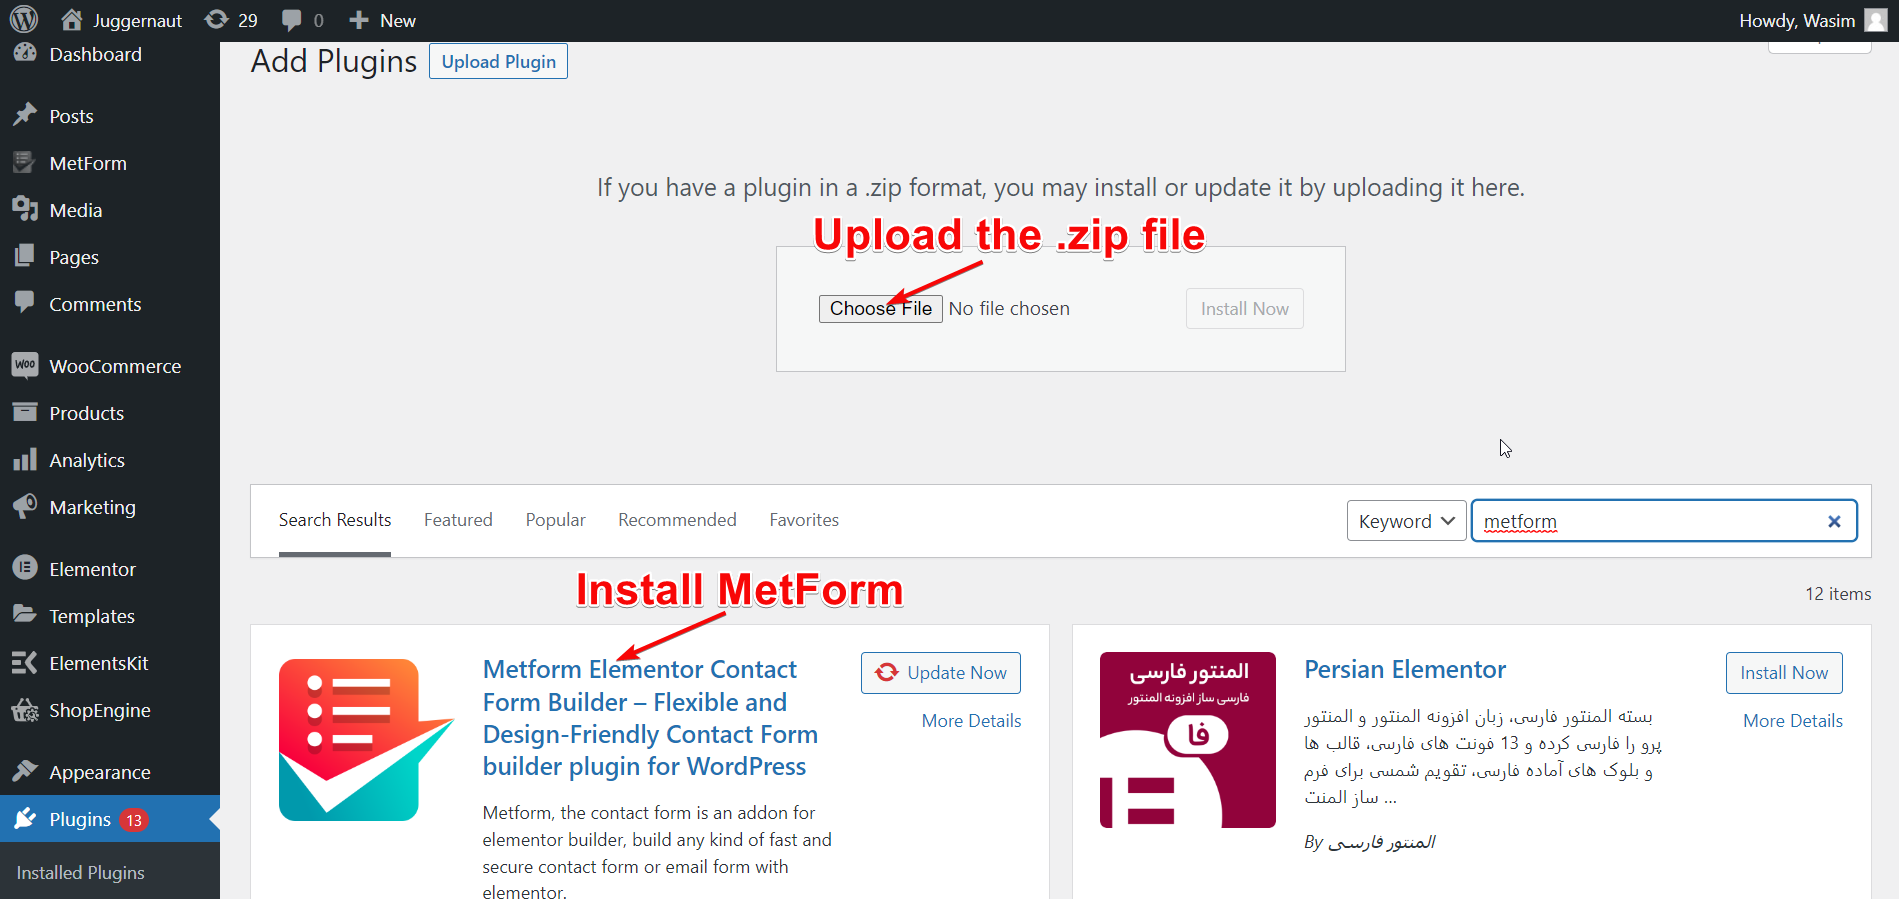
Once Elementor is installed, move ahead to install MetForm in the same process. If these plugins are already installed on your website, just skip this step and move to the next step.
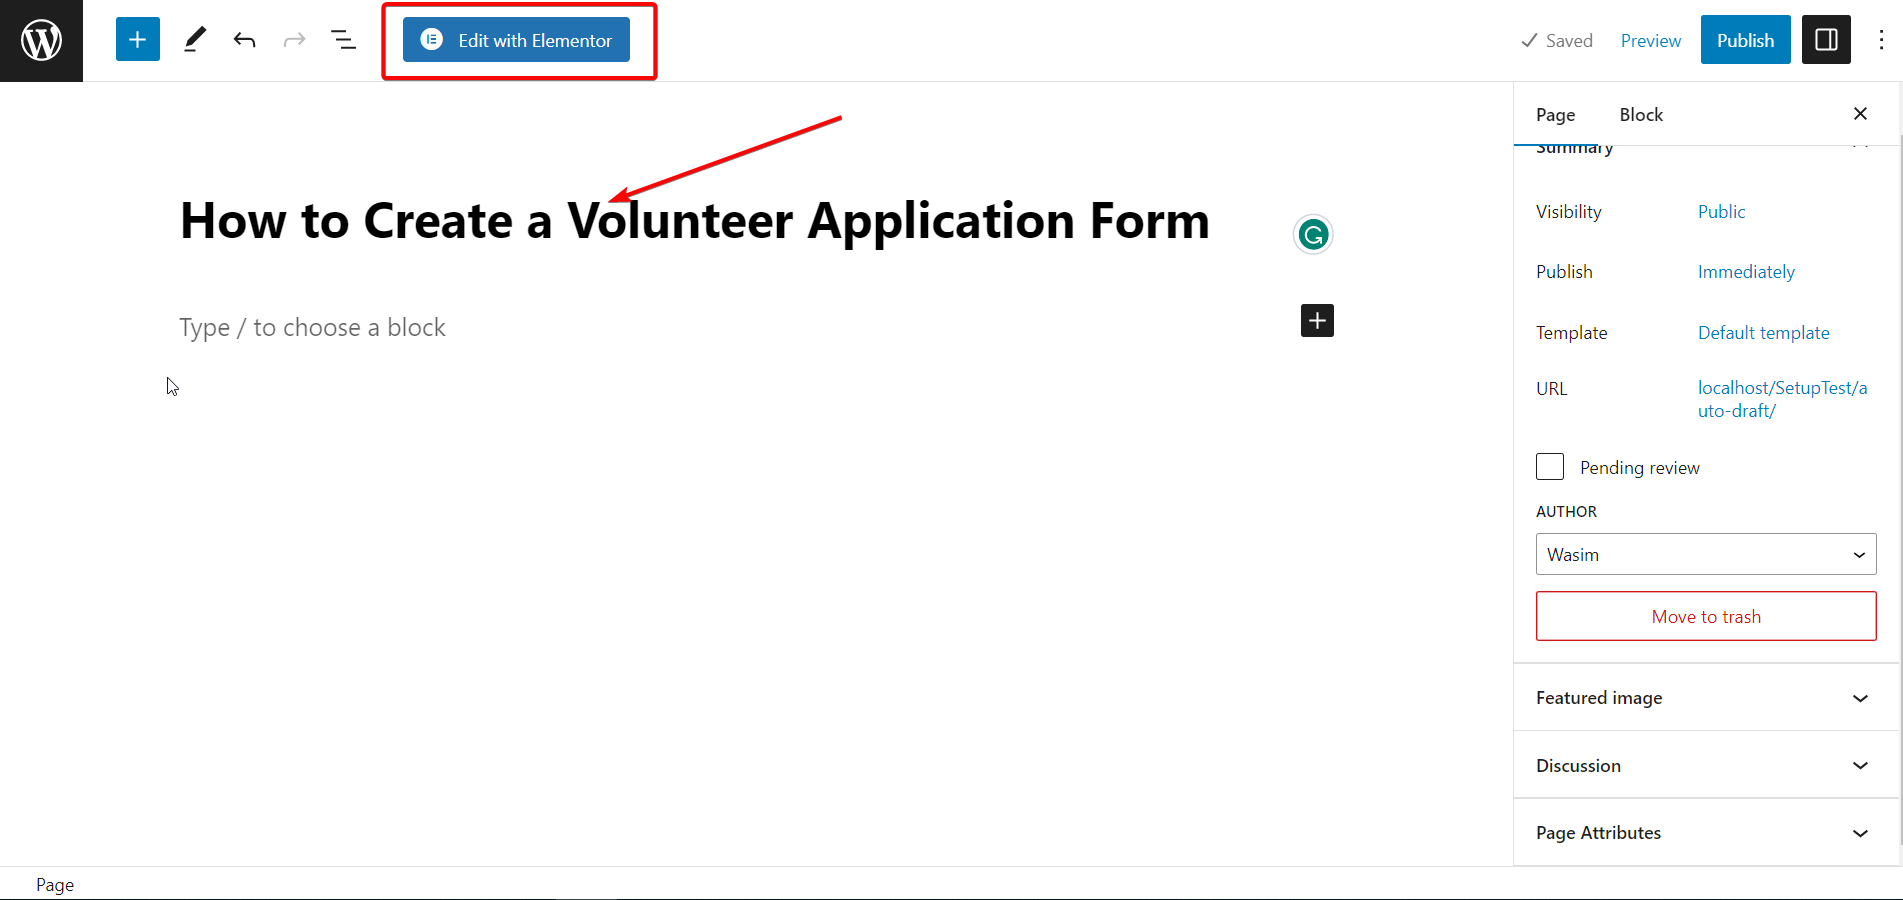
Title Your Page and Switch to the Elementor Window:
Now, navigate to “Pages” on the dashboard and select “Add New” to move to a new page. Then, add a suitable title to the page and click “Edit with Elementor” to switch to the Elementor window.
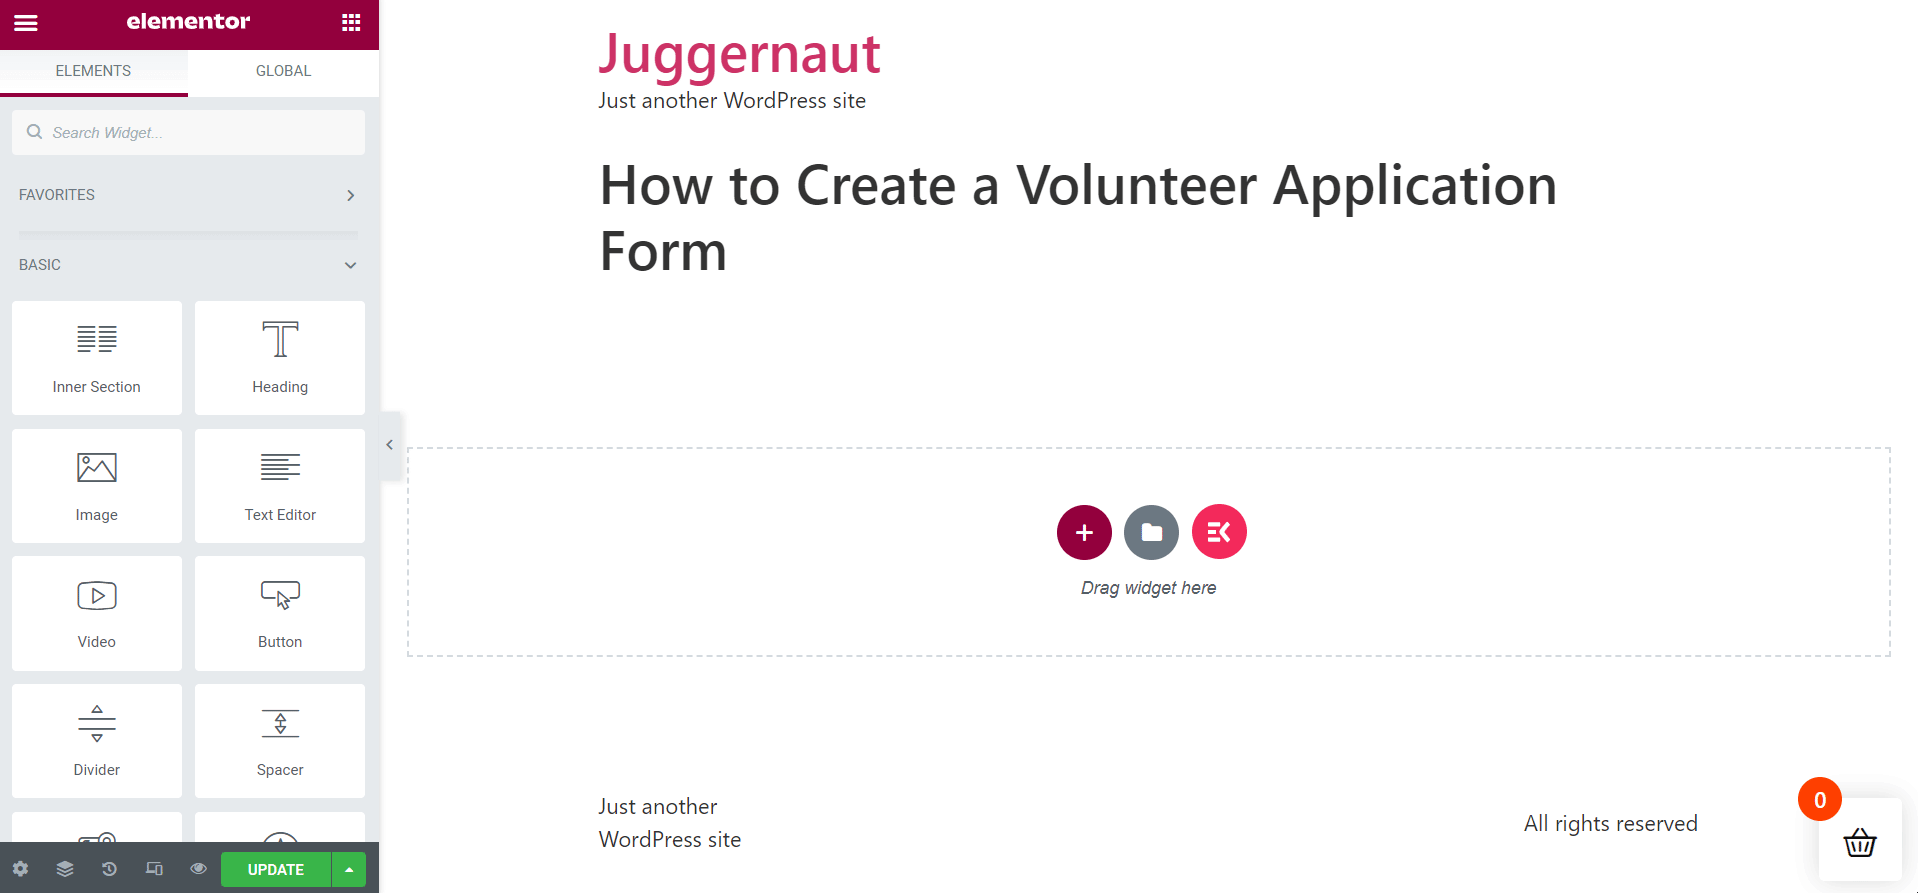
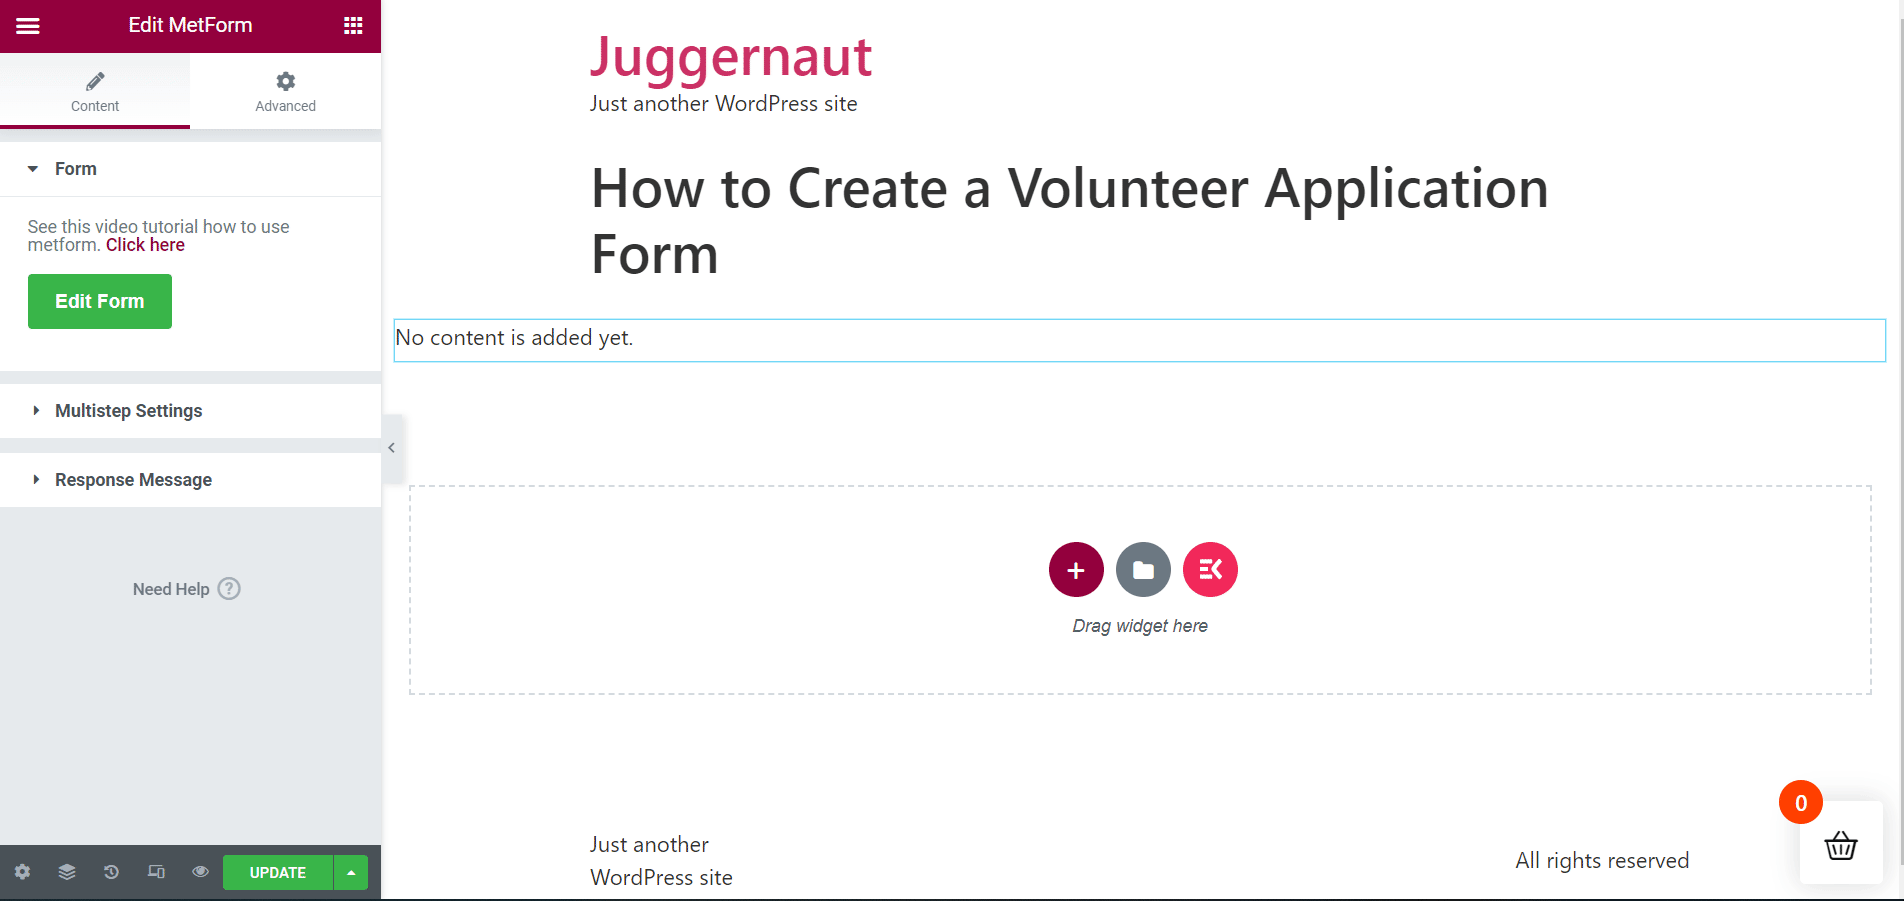
Drag and Drop MetForm:
Now, it’s time to use the MetForm widget to create your volunteer application form. Search for the widget on the search bar and then drag and drop it into the designated field. By default, no content will show up after that.
Select the Volunteer Application Form Template:
Now, click the “Edit Form” button, leading to the form creation window. To create the volunteer application form template, click “New“, search for the template, name the form template, and hit the “Edit Form” button. However, if you already have the template saved, simply click the “Select Form” to proceed.
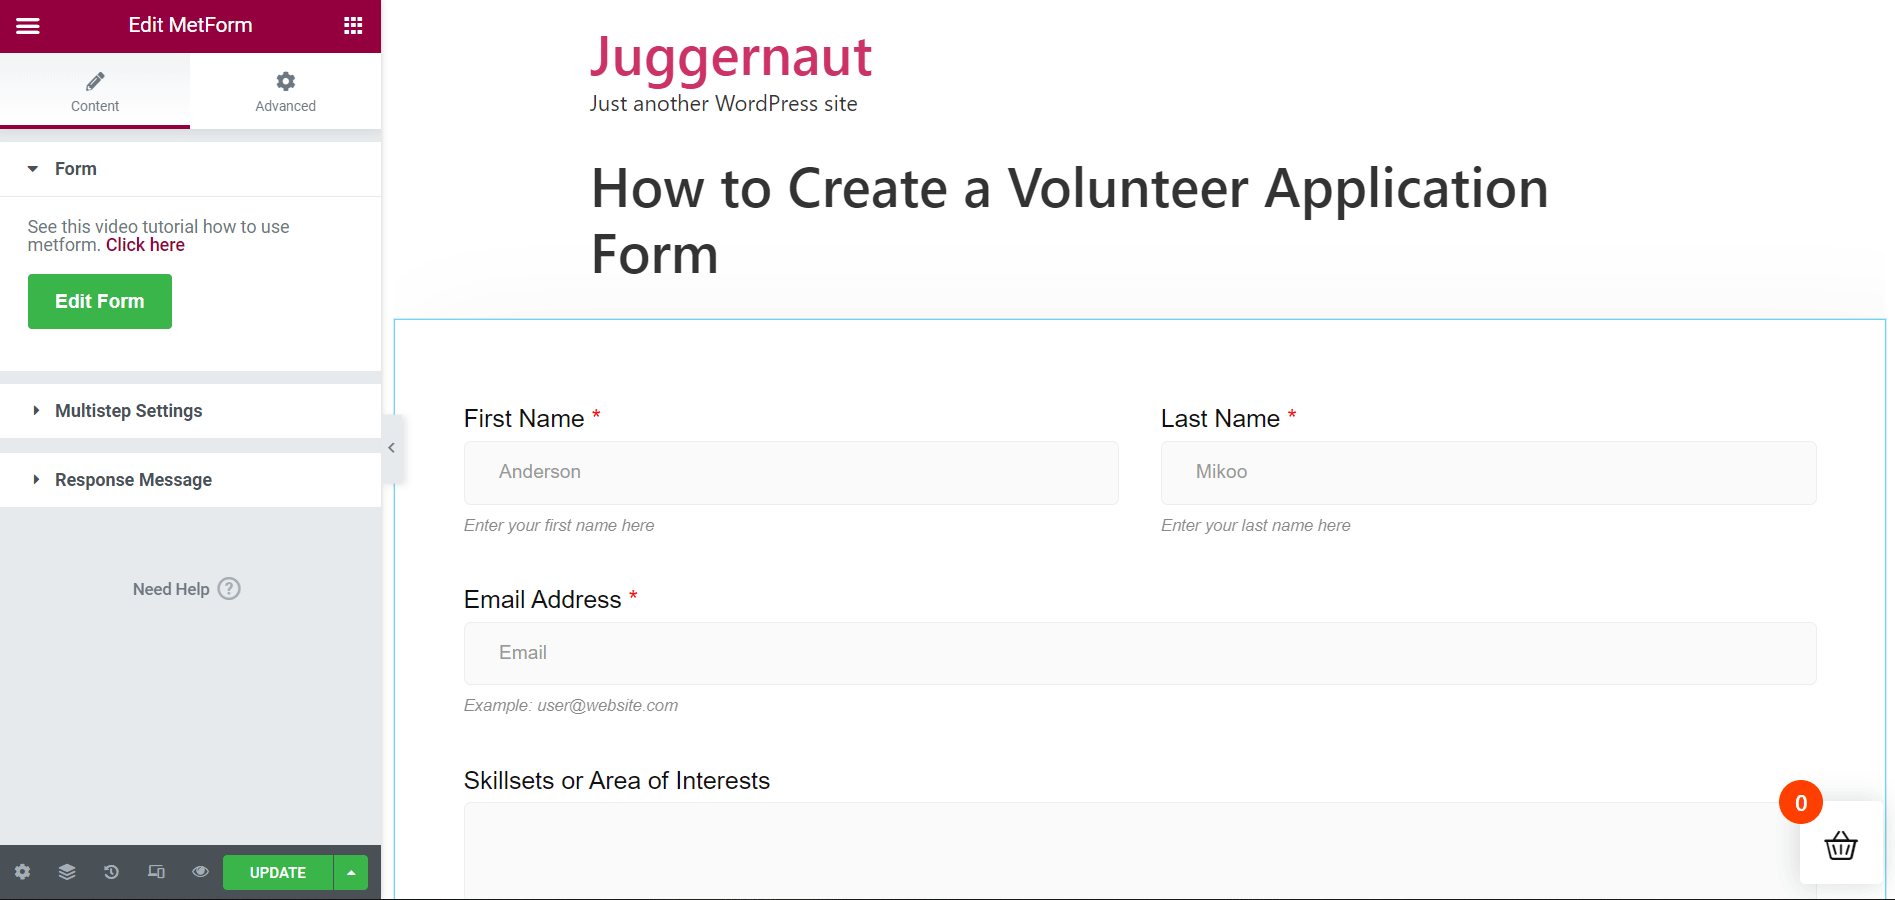
Edit and Customize the Form:
MetForm’s volunteer application form template will show up immediately after that. It’s time to edit your form fields and customize the form as you wish. A number of options will show up that you can utilize to set up your form.
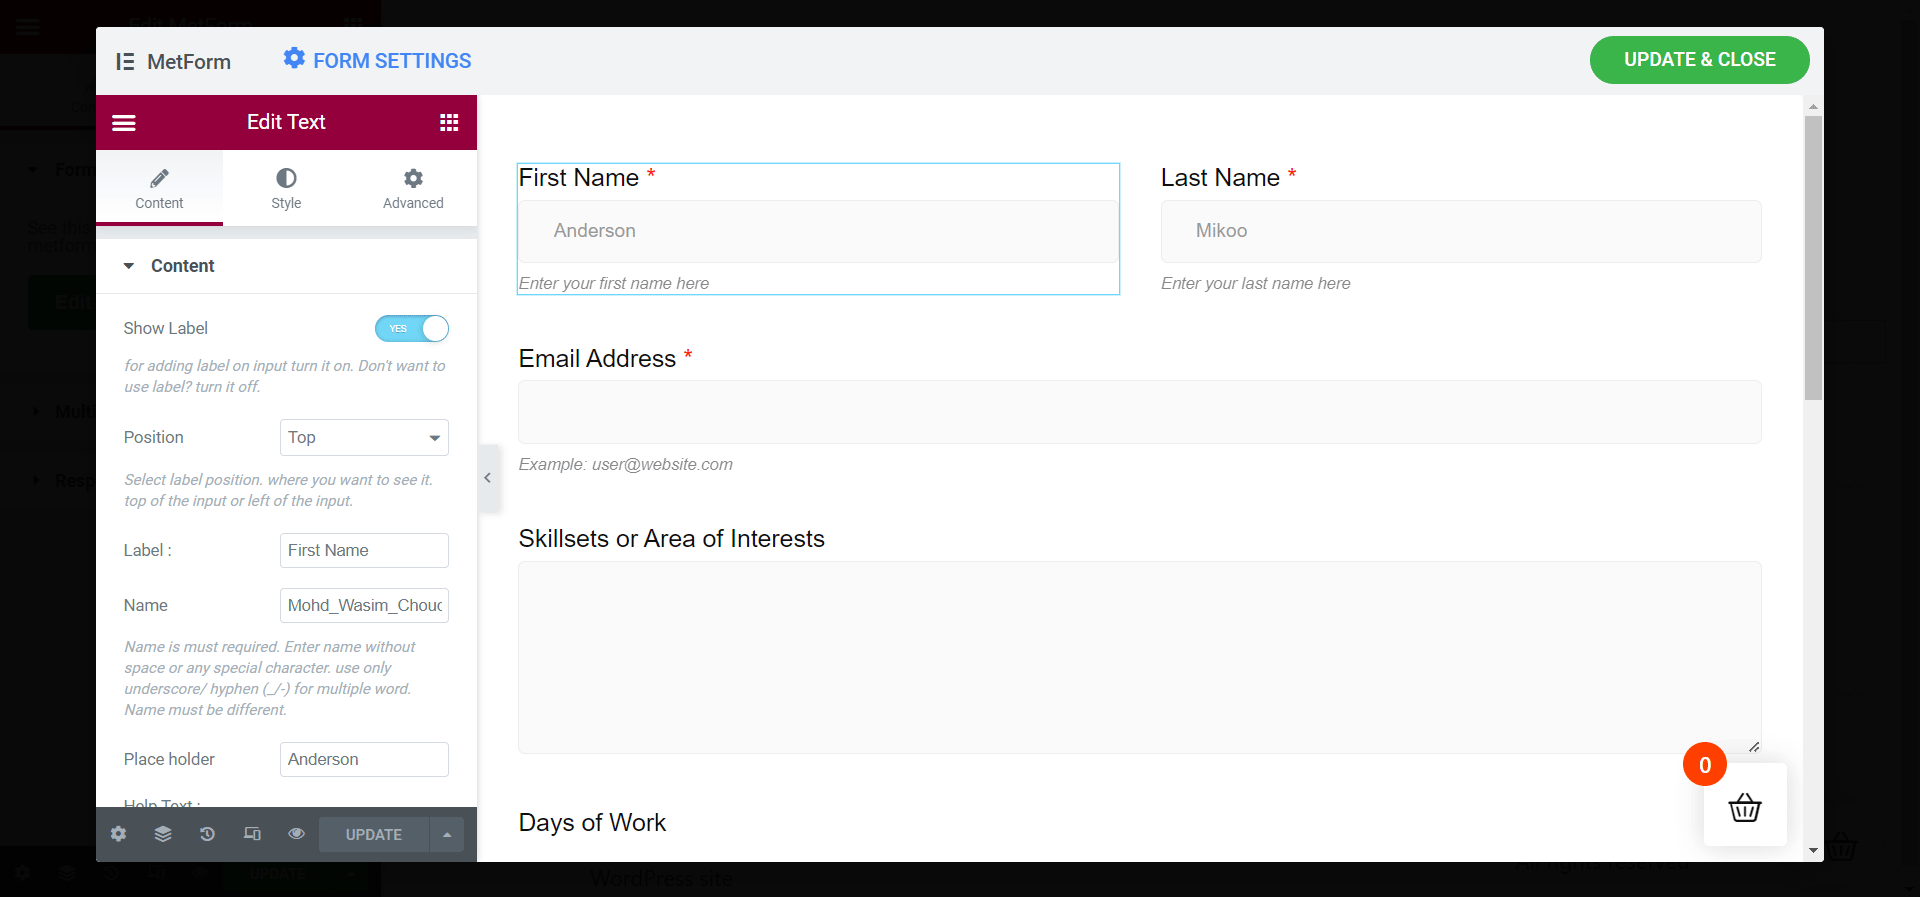
Under the Content tab, you will notice options, including Content, Settings, and Conditional Logic. These options include further elements that you can tweak to get your form ready.
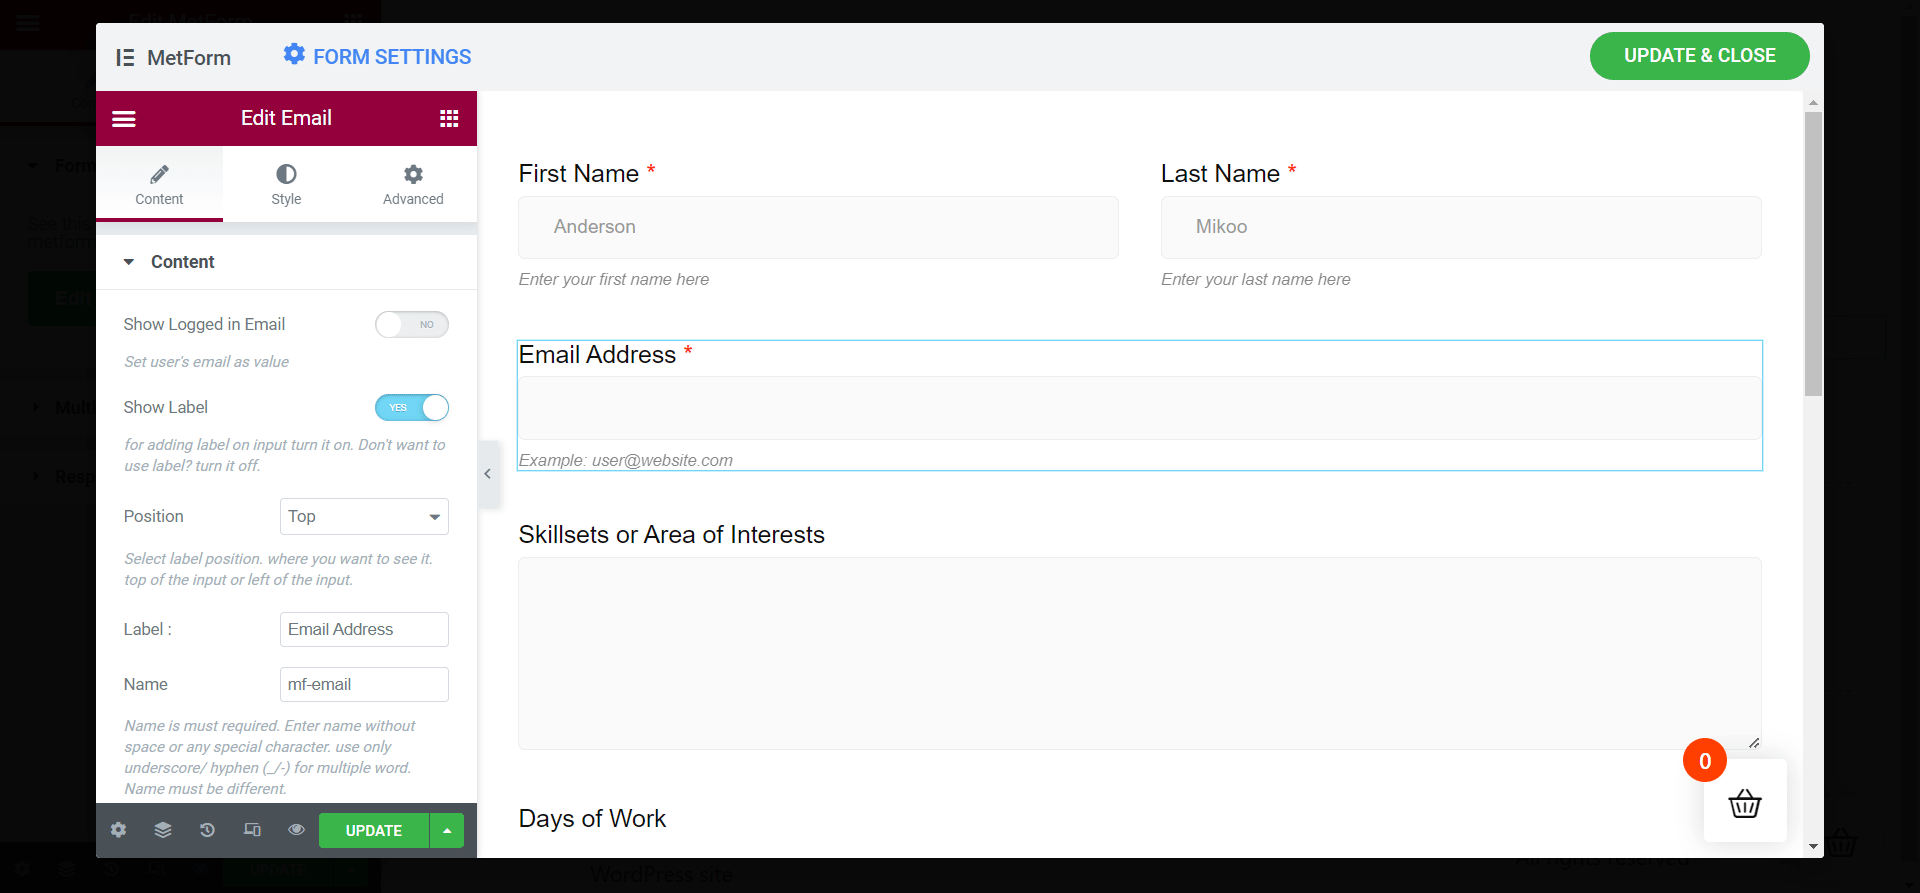
- Show Label
- Position
- Name
- Placeholder
- Help Text
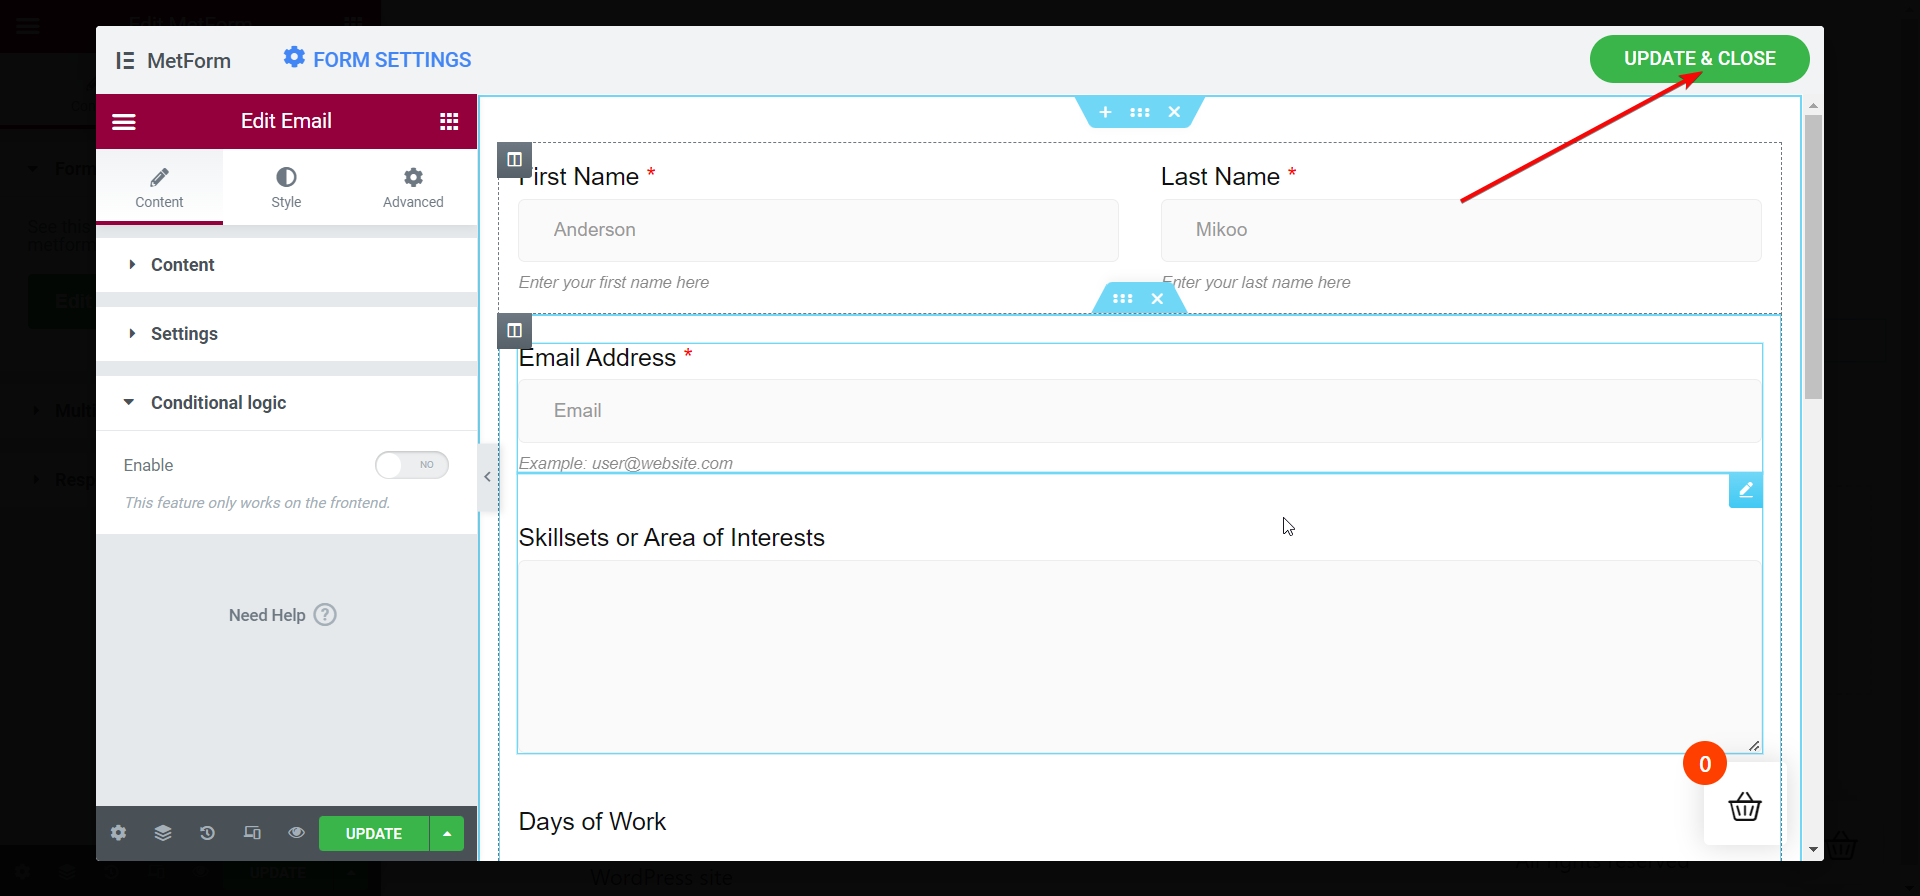
Update the Changes:
Once you are done with the settings of the volunteer application form, you are good to go. Just hit the Update & Close button to apply the changes in your form.
View the Form on the Elementor Window:
Instantly after that, your volunteer application form will show up on the Elementor window. Take a look at all the fields of your form and make sure each of them looks perfect. You can apply multistep settings too in the volunteer application form.
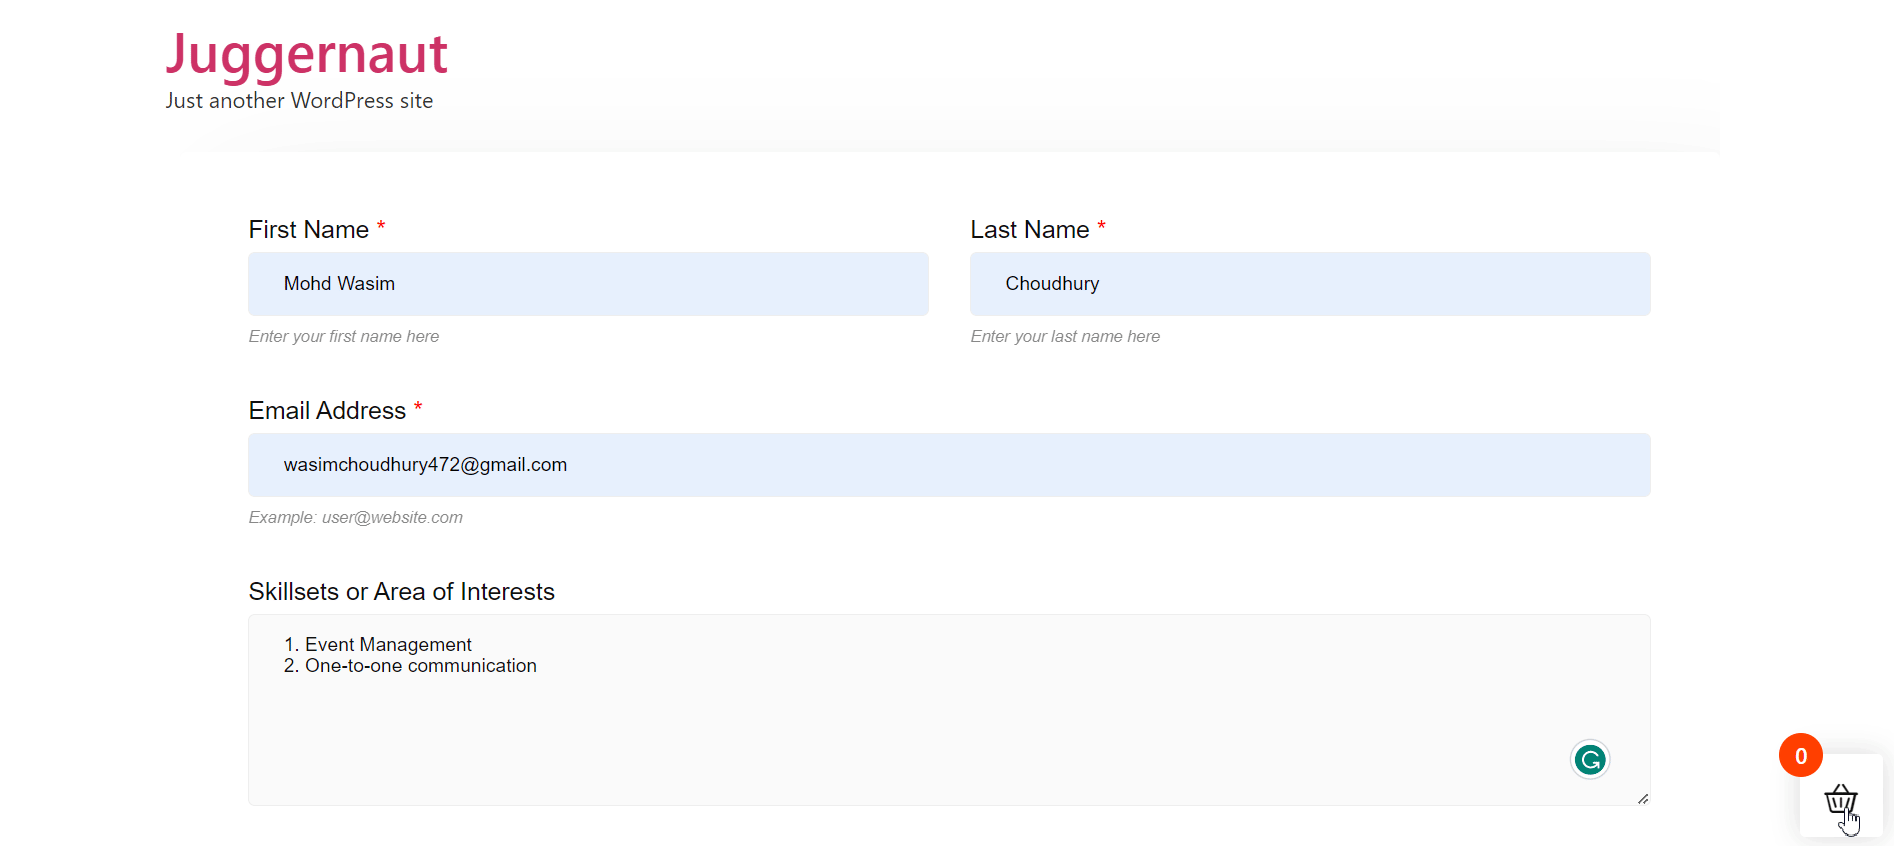
Fill up the Form After Publishing or Updating:
Now, you are all set to publish your page or just update the page if it’s already published. Open the page directly or in the preview mode to fill up the form.
Now, put accurate data in all the form fields before submitting the form. Once the form is filled up, hit the “Apply Now” button. Immediately after that, a success message will show up on top of the screen.
That’s how easily you can create a volunteer application form with the help of MetForm’s ready-made template. However, you can also create a volunteer application form with MetForm from scratch.
In that case, you can place your desired fields into the form but as the volunteer form is pretty straightforward, the best is to make use of MetForm’s ready-made volunteer application template.
Final Words:
As a website owner, you would always look for the easiest and simplest ways to form creation. The same applies to the volunteer application form creation. You will find a host of WordPress volunteer application form tools but most of them show a complicated process to get your job done.
Some of them may follow a simple process to build a volunteer application form but provide awful layouts. MetForm stands out from all the volunteer application form builders both design-wise and process-wise.
On top of that, the form builder is lightweight as well as responsive enough and doesn’t affect the speed and smoothness of your WordPress website.
Leave a Reply