

If you own a website to sell products or services, you would love to have a career page, won’t you? The career page shows up with different names on many websites like “Join Us” “Job Opening” or “Job Board“. However, the purpose of the career page regardless of the name primarily is to list the job posts.
Needless to say, these job posts contain relevant details about each position. Apart from this primary section, a career page sometimes also contains other info like organizational values, benefits, and a section called “Why Join Us?“
In this write-up, I will guide you on how to create a career page on your WordPress website. So, yeah, if you are a WordPress user, it’s specifically meant for you. From this post, you will pick up the simplest and easiest technique for creating a career page on your WP site.
Before I take you right into the process, let me first enunciate the need or importance of creating a career page on your WordPress website. Without further ado, let’s cut to the chase…
Why Need a Career Page:
Every business looks for a way to grow and redouble its manpower. And for that, they tend to hire candidates for various positions as they upscale their sales and revenues. An array of platforms are there to post job circulars, including job portals, social media channels, and your own website.
When it comes to advertising job vacancies on your own website, you would do that through a career page. Now, you might be wondering about the need of having a career page on your website, right? Especially, when you know that advertising can be done through job portals and social media.
Let me catalog some of the pivotal reasons why you should create a career page on your website-
- Grab skilled and qualified job-seekers right on your website
- Scale up your website’s overall traffic
- Introduce your brand to job-seekers right away
- Streamline hiring efficiency by avoiding 3rd party registration
- Facilitate candidate filtering and shortlisting process
How to Create a Career Page on your WordPress Website:
The wait is over! Now, I will show you how to create a career page on your WordPress website. In order to create the career page, I will leverage a WordPress plugin “ElementsKit“. The reason I will avail ElementsKit is because of the fact it allows creating a career page smoothly and efficiently.
Let’s get started…

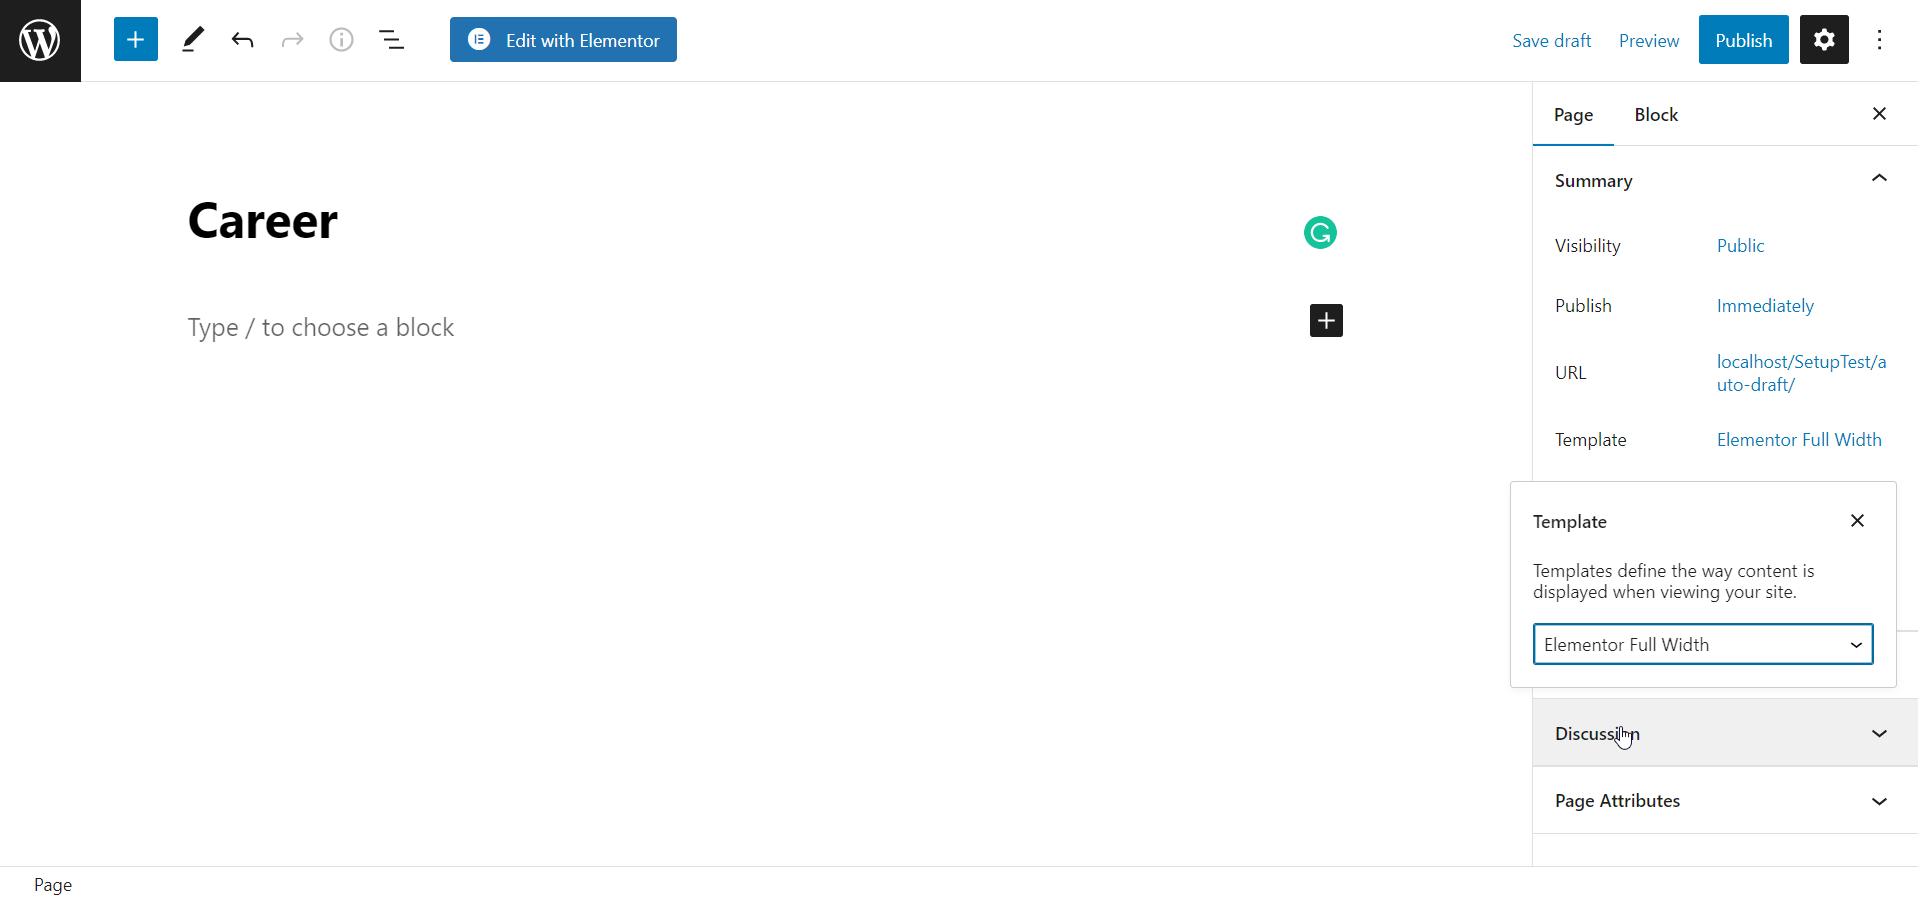
Create a New Page:
First up, go to the dashboard and navigate to Pages. Click “Add New” to move to a new page. Then, set your page name. In this tutorial, I am setting my page name as “Career”. Set your template to “Elementor Full Width”.
Finally, publish the page by clicking the “Publish” button from the top-right area. Then, switch to the Elementor window by clicking the button “Edit with Elementor“.
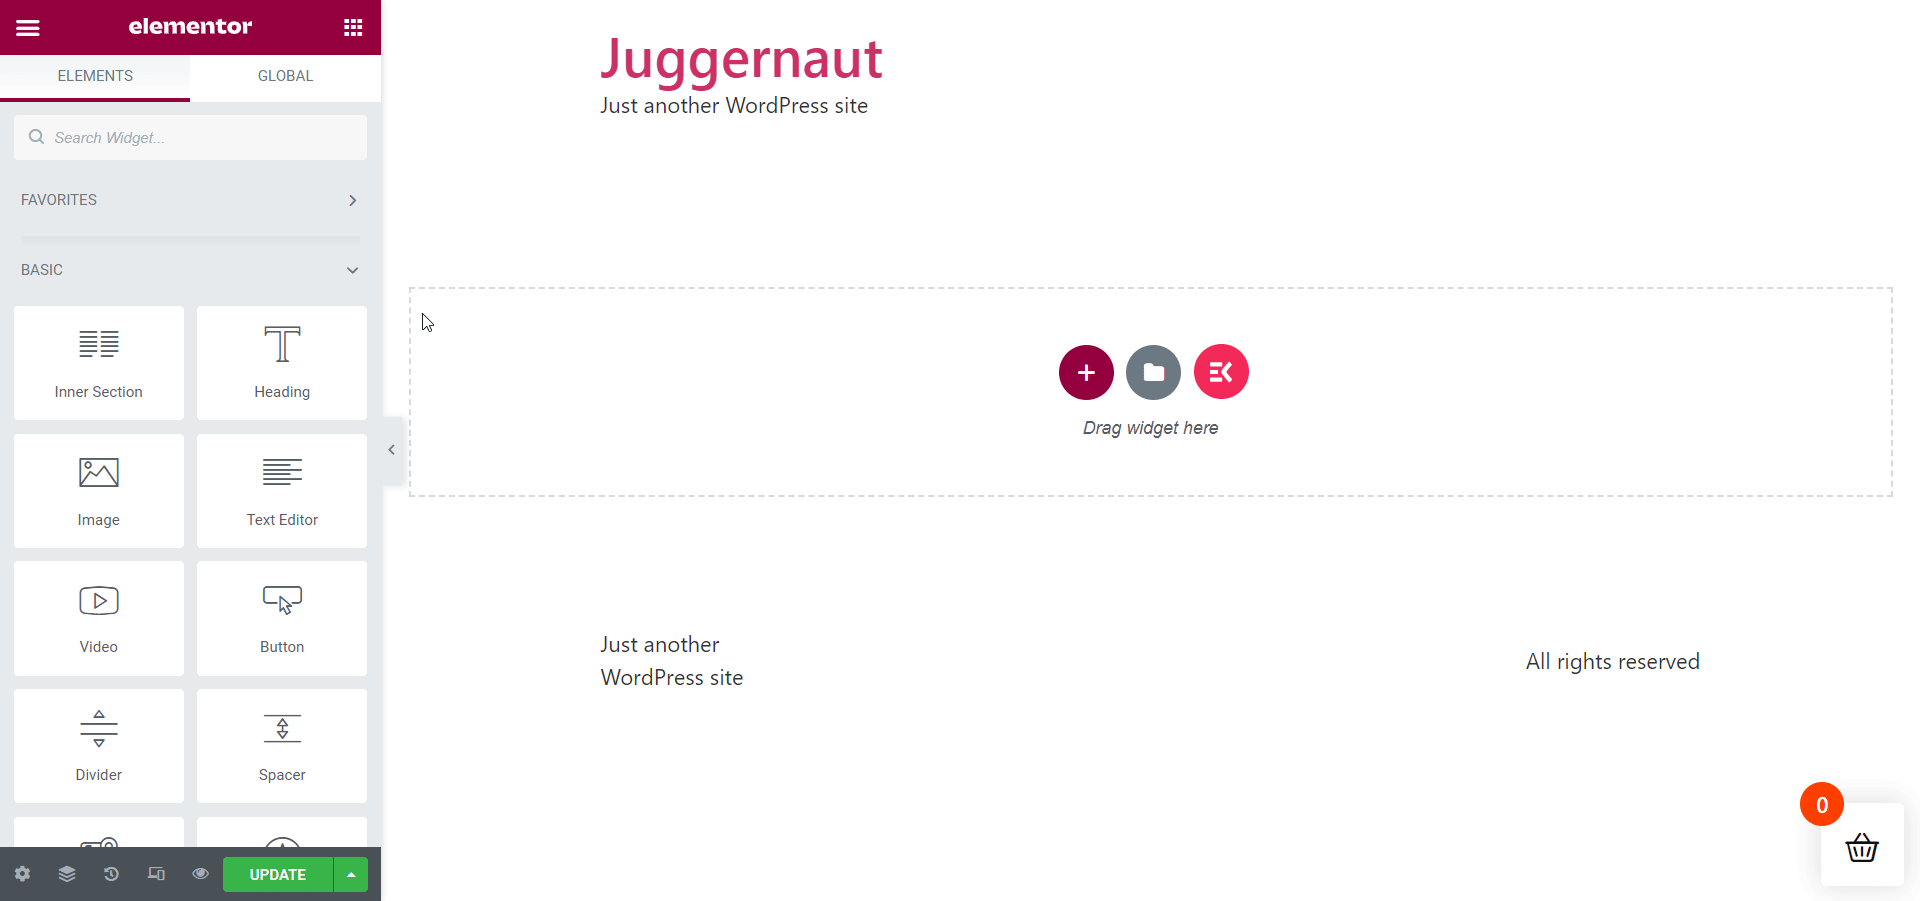
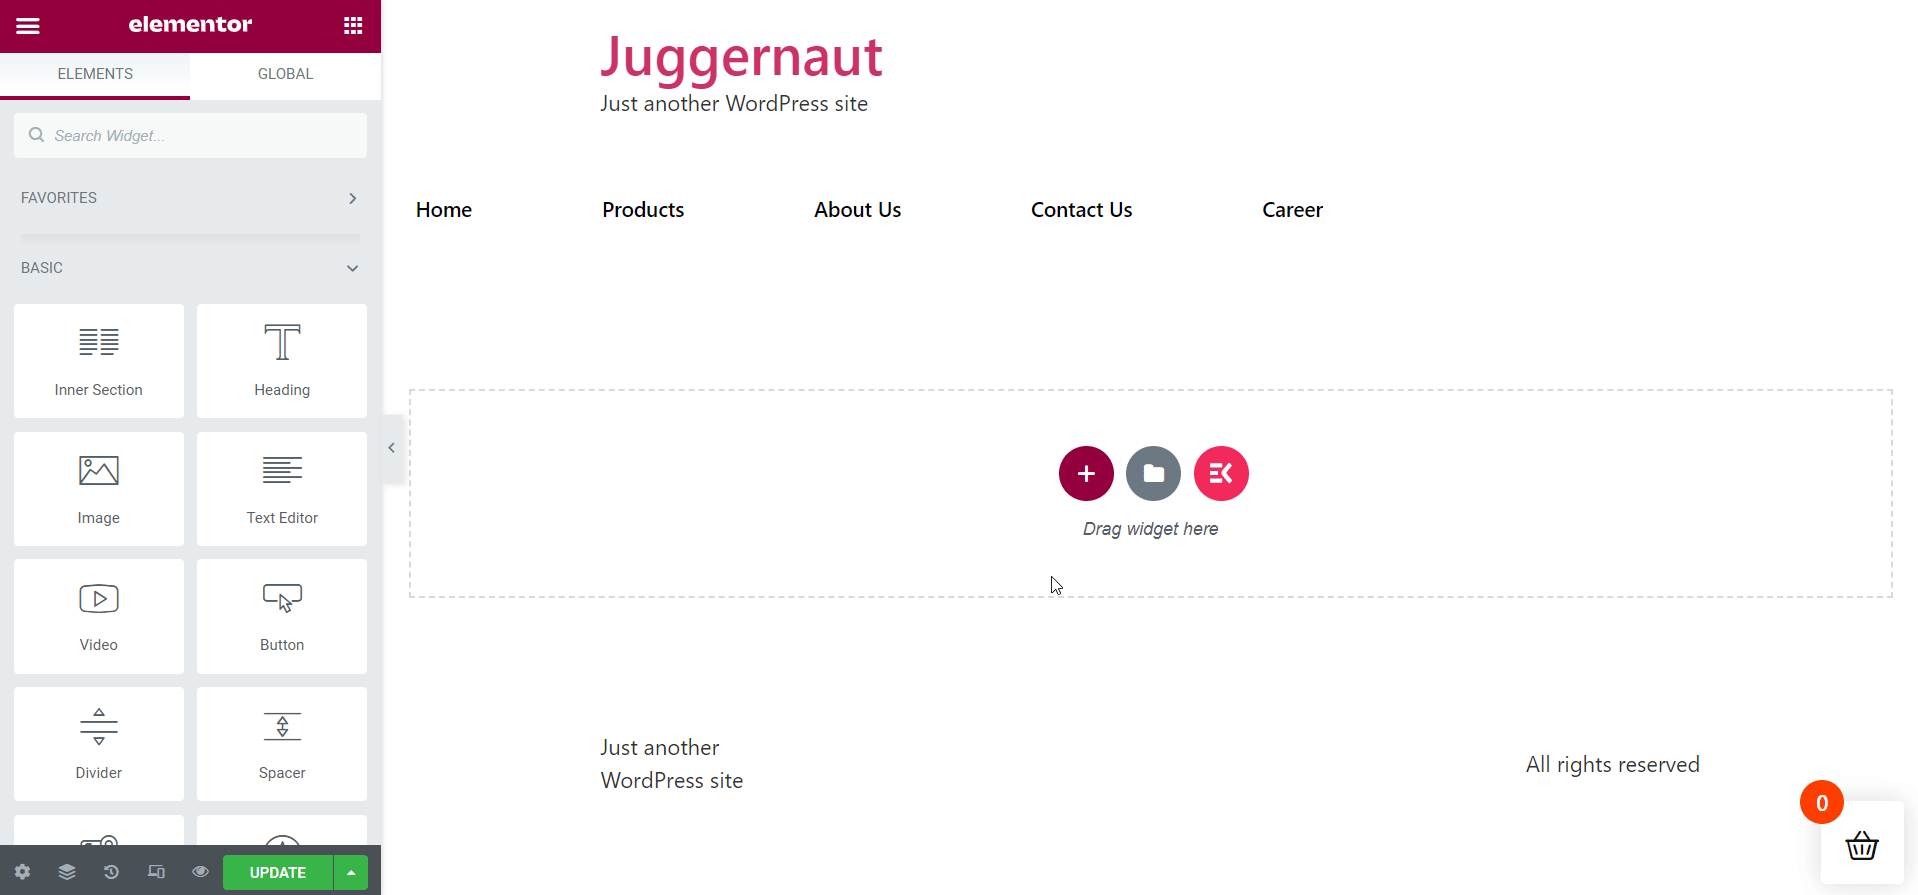
Now, start creating your career page. Right at the get-go, search for the ElementsKit Nav Menu widget from the search bar at the top-left area. And then, drag and drop the widget into the designated area. Immediately after that, a menu bar will show up.
All you have to do is select the menu from the left sidebar for the menu items to show up. The key point to note here is that you must create your menu with a name and add menu items beforehand from the WordPress dashboard. Or else, your menu tabs will not show up.
Follow the sequence below to add menu tabs:
Dashboard > Appearance > Menus > Menu Name > Custom Links > Save Menu
Once you are done with that, move ahead to edit your menu bar area from the Content and Style sections. Make sure that you adjust the width of the menu tabs in the proper ratio to the page width.
Create a New Section Dealing with Team Members:
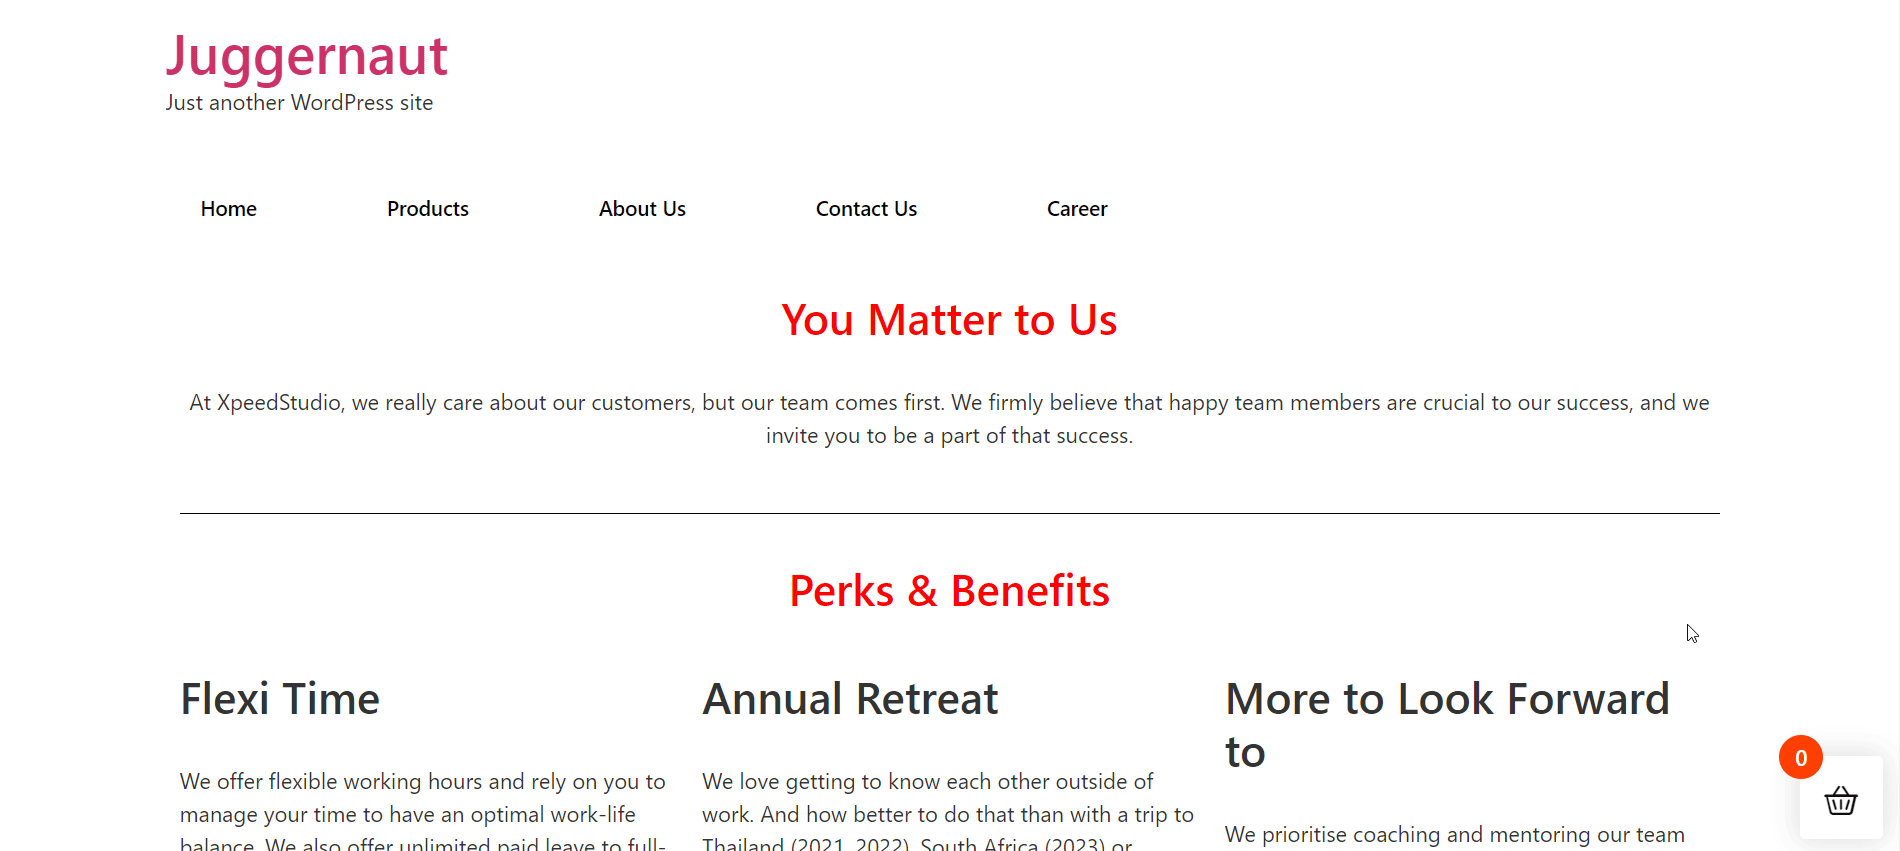
The next job is to add a new section relevant to your career page. I will create a section titled “You Matter to Us“. This section will basically talk about the value and importance of team members to your organization.
It’s time to look for the Heading widget of ElementsKit from the search bar. After you find it, drag and drop the widget into the specified area. Then, rename the section title. In my case, I will rename it with “You Matter to Us” text as decided before.
Now, navigate to the item “Title Description“. All you have to do is turn on the “Show Description” toggle and delete the existing description to add your title description. A separator will show up by default under the title.
You can remove it if you want from the “Separator” item. In that case, toggle off the “Show Separator” item. Apart from that, you can add a subtitle too. If required, you can stylize the section from the “Style” tab.
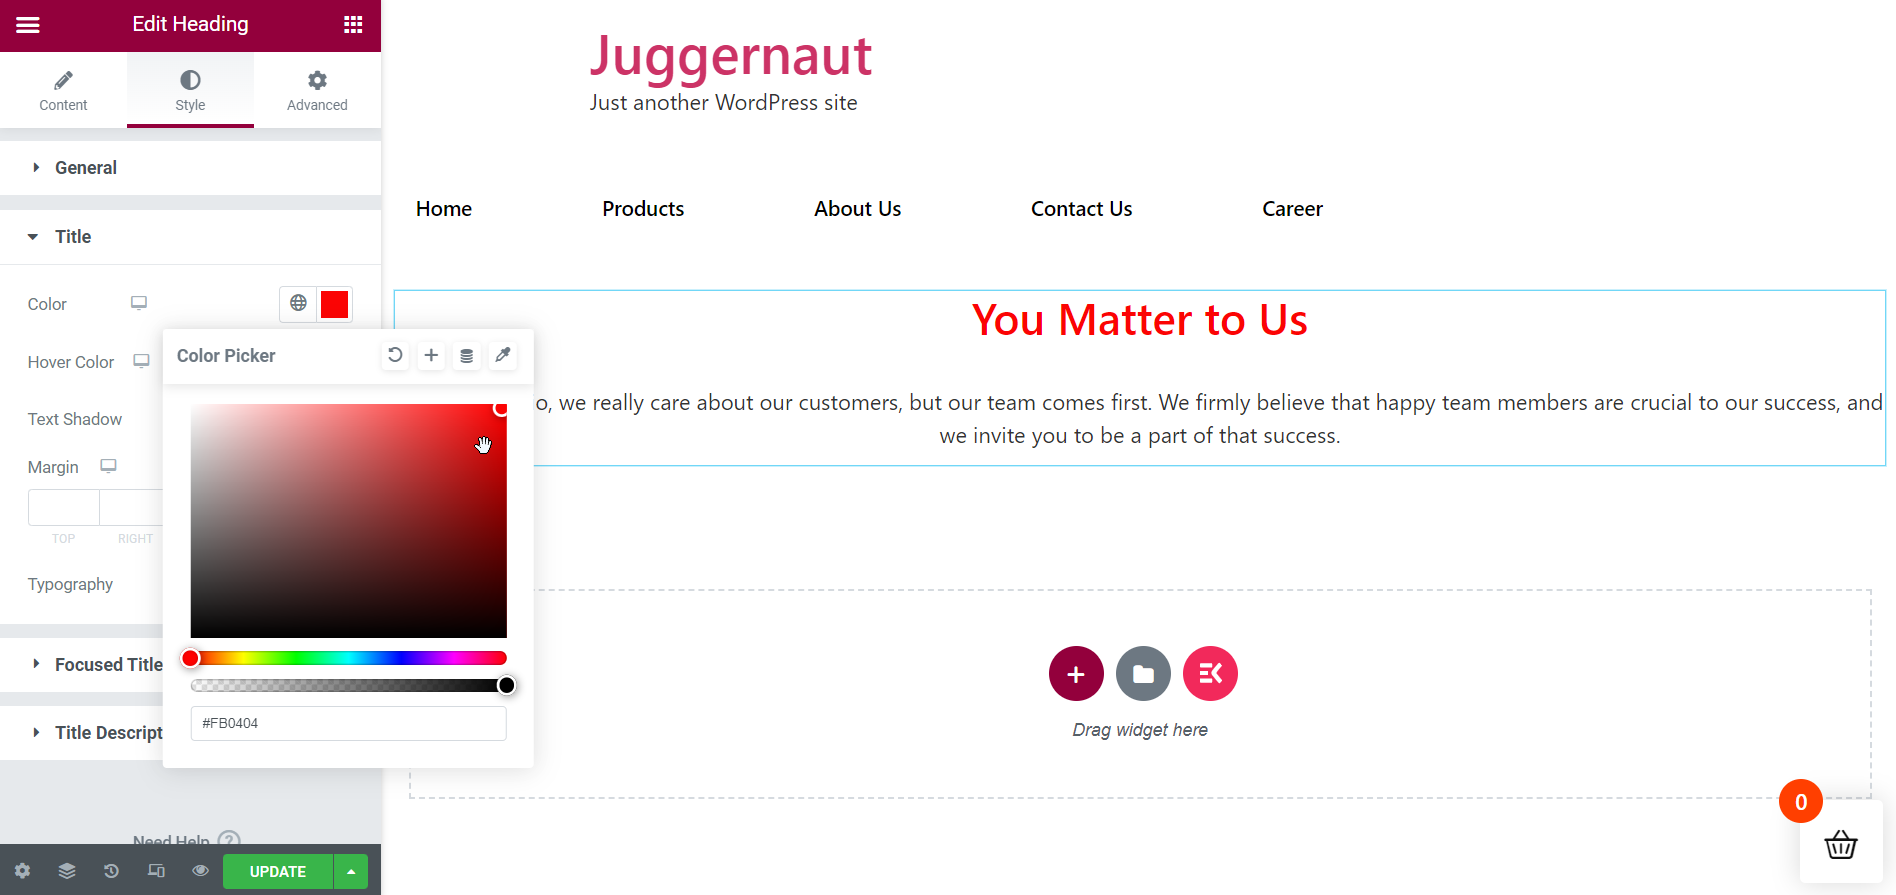
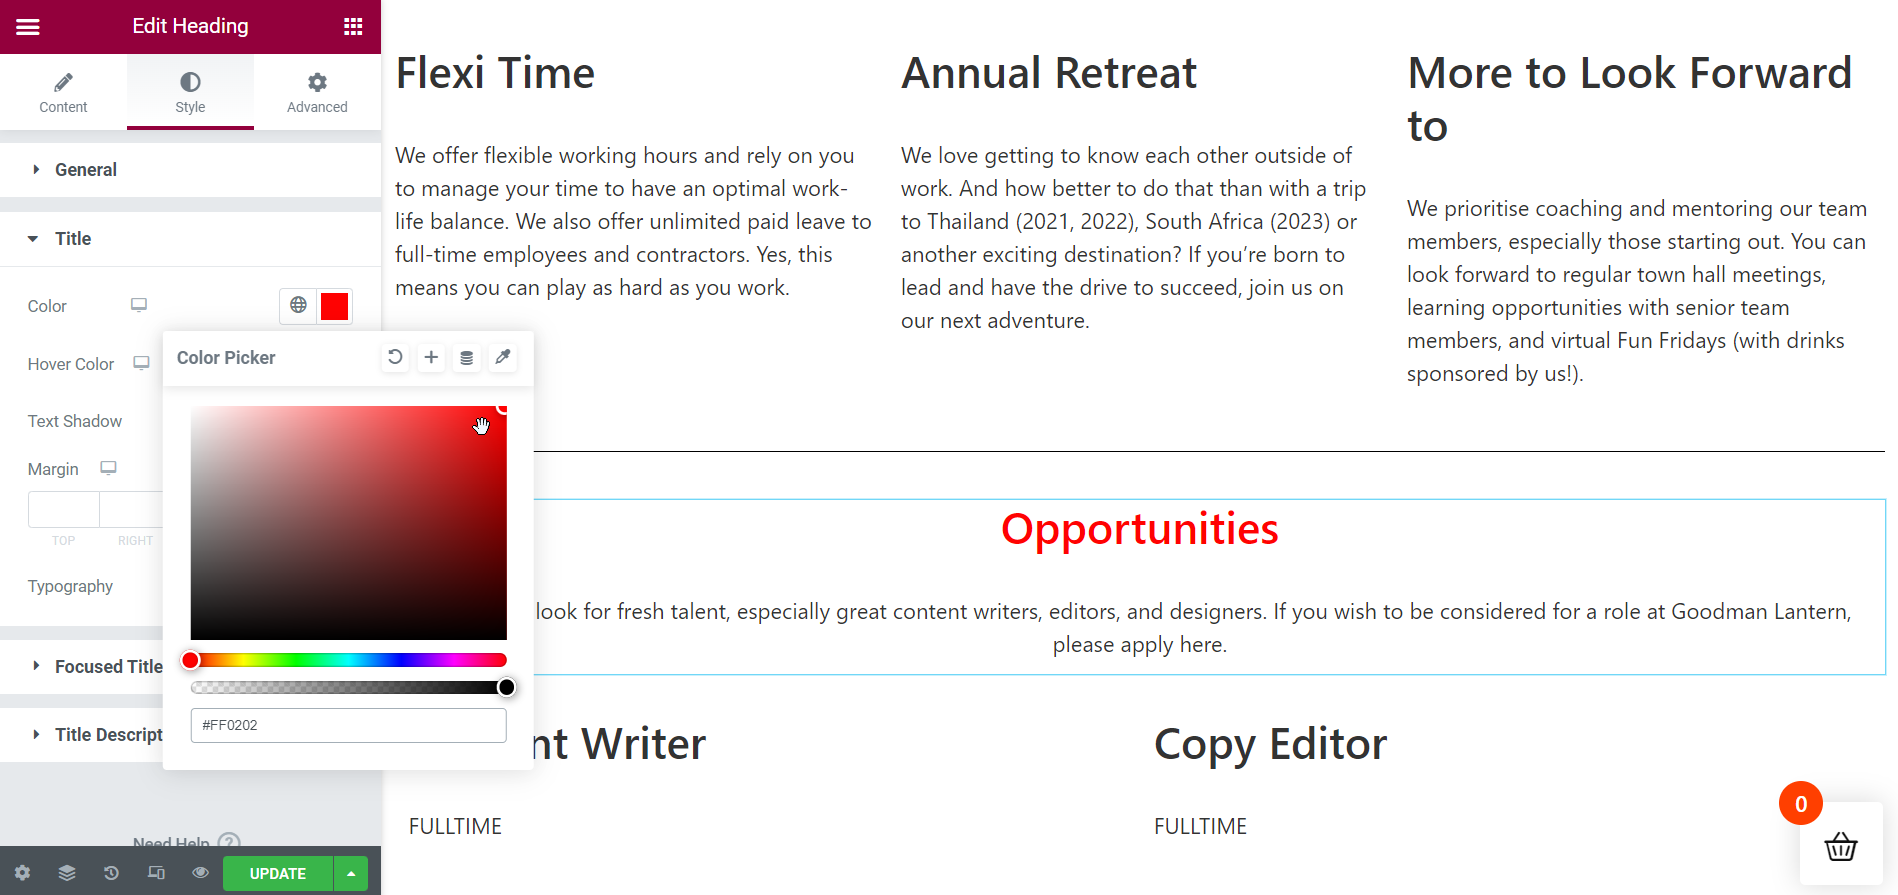
Colorize your Section Title:
For a better look, add a catchy color to your section header. Compared to the description color, red is likely to look better.
Create Perks & Benefits Section:
Now, it’s time to create the next section “Perks & Benefits“. For that, drag and drop the ElementsKit Heading widget again like before. Rename the title with “Perks & Benefits“. Don’t forget to make any adjustments that are necessary.
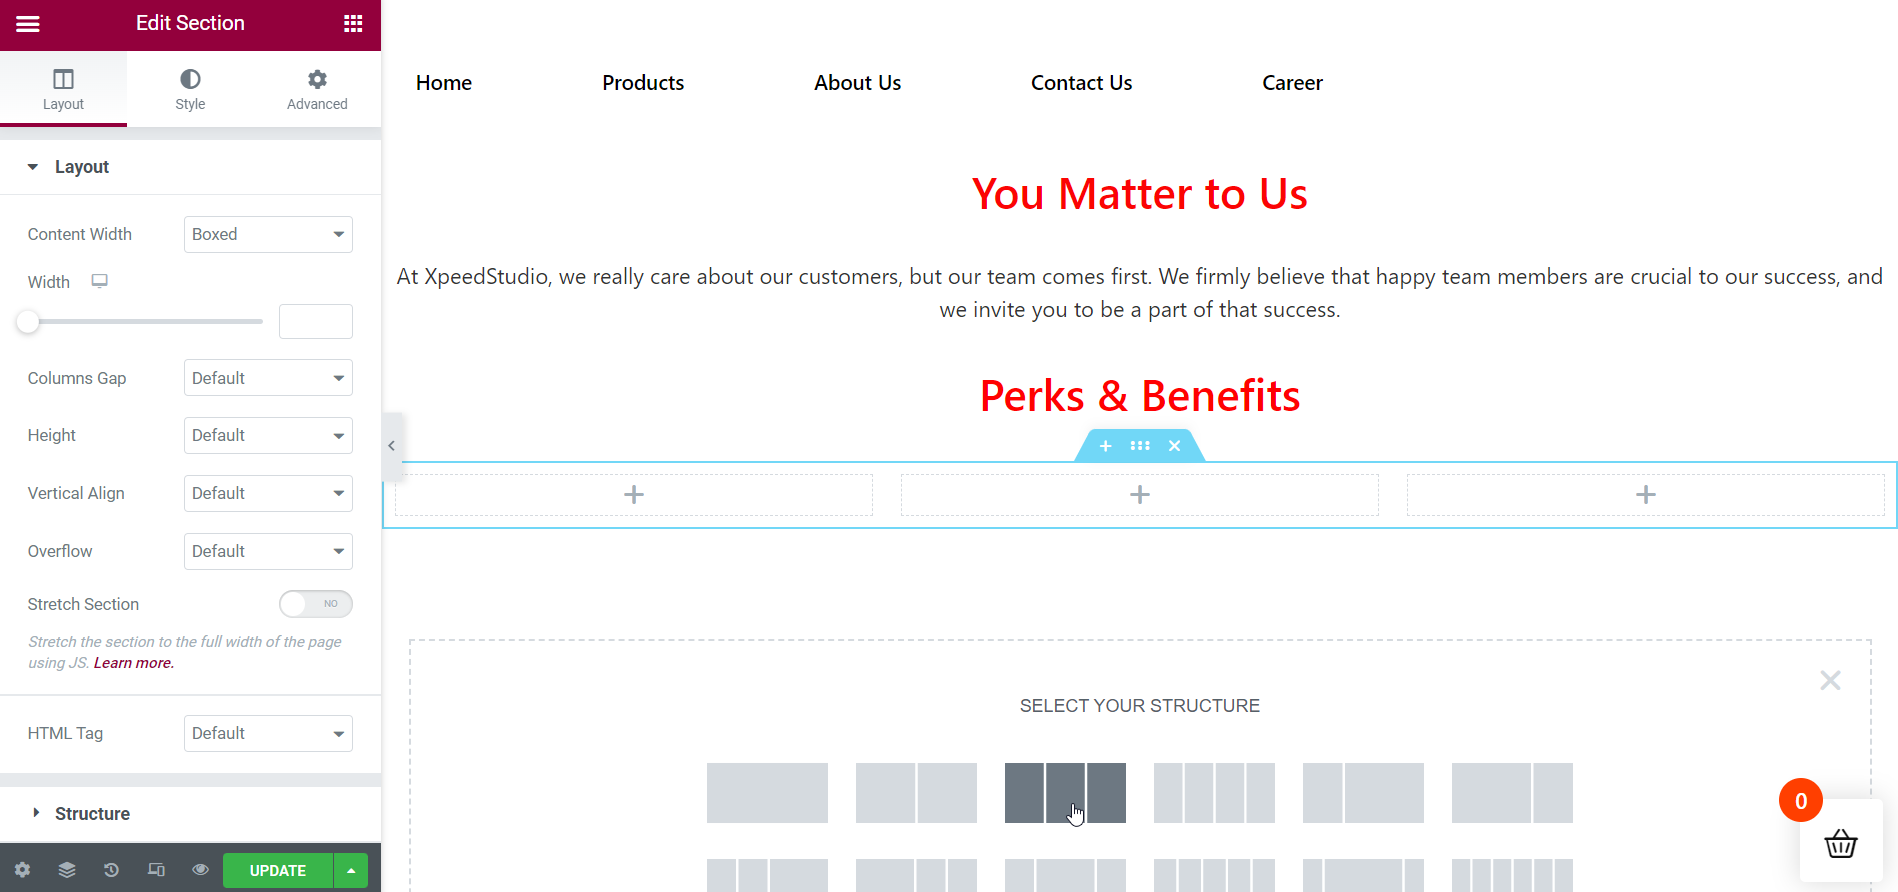
Add the Necessary Number of Columns under the above Section:
Since the “Perks & Benefits” section deals with the benefits an organization provides, you have to create subsections to display them side by side. Here, I will create 3 columns to display perks.
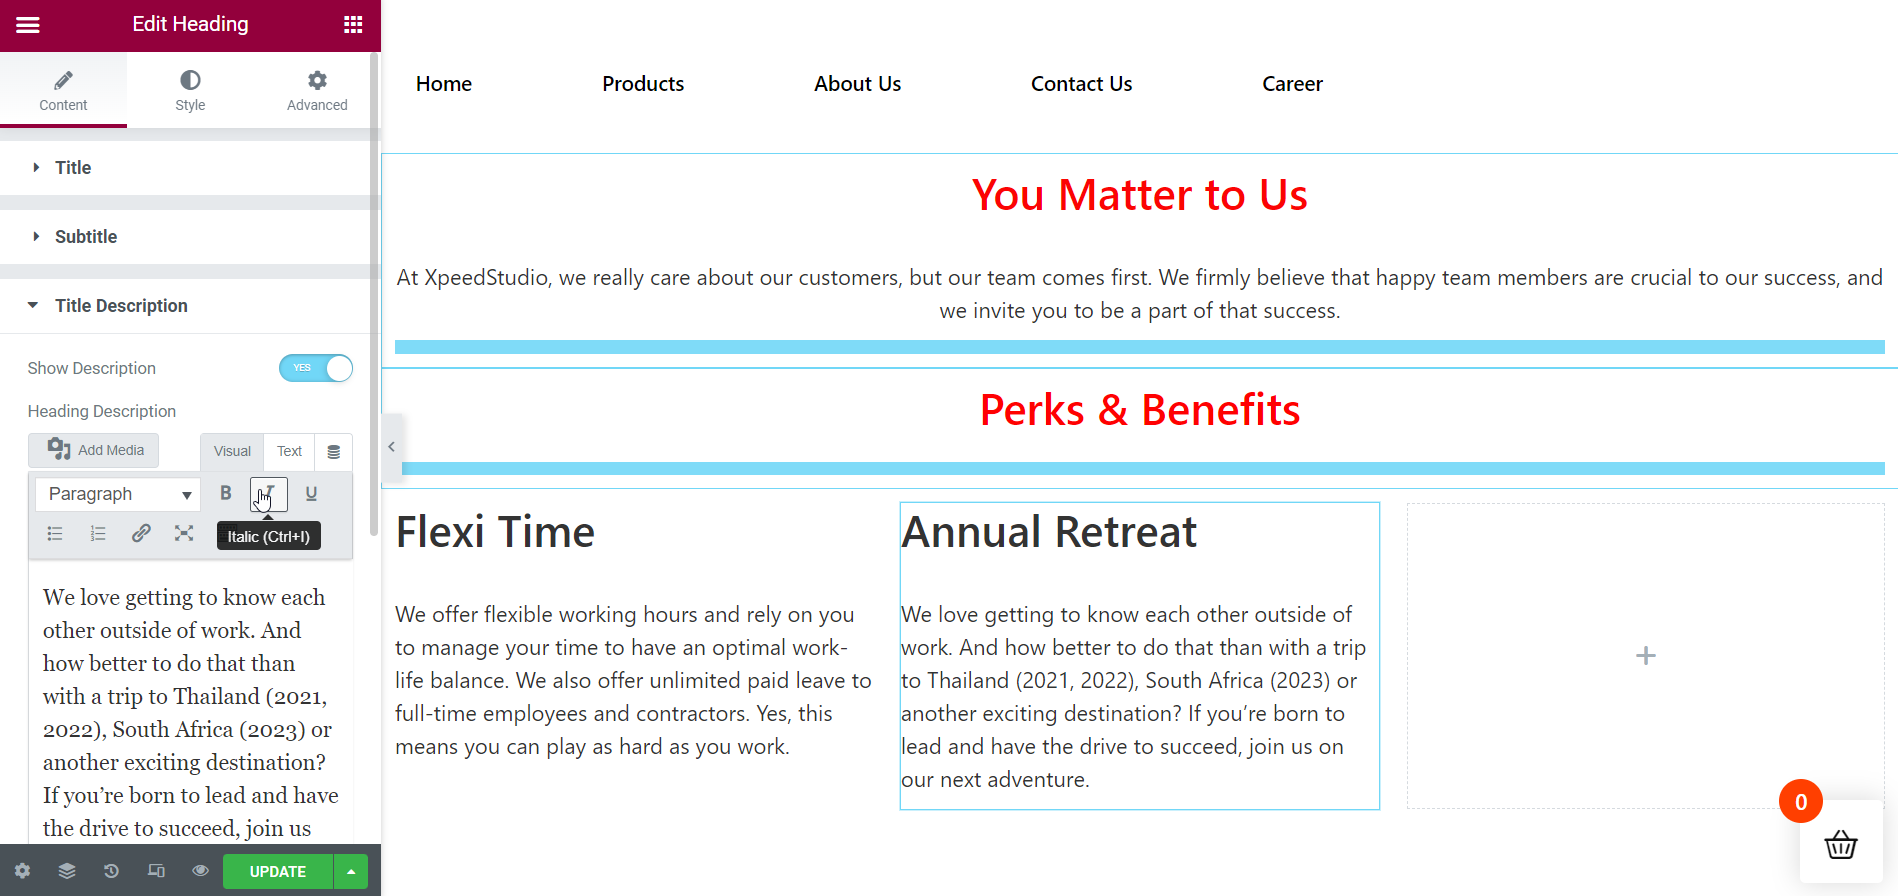
Insert the 1st Perk on the 1st Column:
So, add your first perk to the first column. To do that, drag and drop the ElementsKit Heading widget to the designated area. Title your perk properly and then add your title description. Remove the separator from the “Separator” tab and If required, spice up your content from the Style tab.

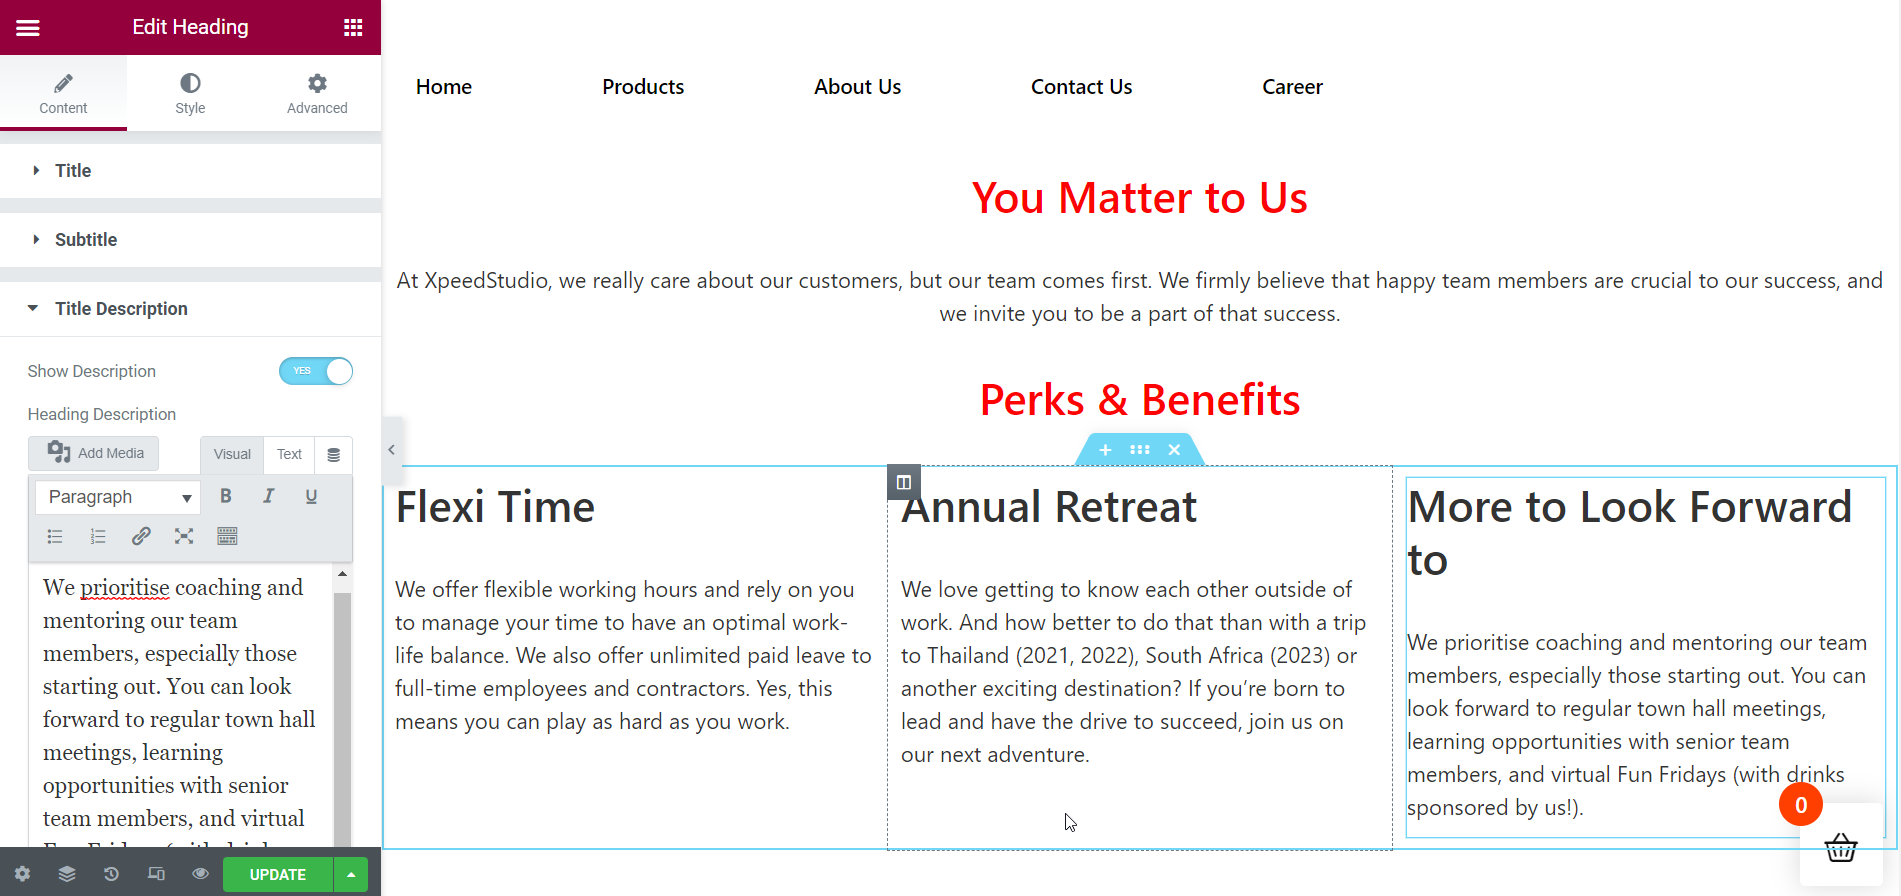
Insert the 2nd Perk on the 2nd Column:
Next, add your second perk to the second column. In order to do that, drag and drop the ElementsKit Heading widget to the specified area. Title your perk appropriately and then add your title description. Remove the separator from the “Separator” tab and if needed, jazz up your content from the Style tab.
Insert the 3rd Perk on the 3rd Column:
After that, add your third perk to the third column. Drag and drop the ElementsKit Heading widget to the specified area to do that. Rename your perk title perfectly and then add your title description. Erase the separator from the “Separator” tab and if required, stylize your content from the Style tab.
Add a Divider to Start a New Section:
Now, it’s time to proceed to the next section. For that, you need to add a divider so that the section transitions smoothly. And the page sections will look good too.
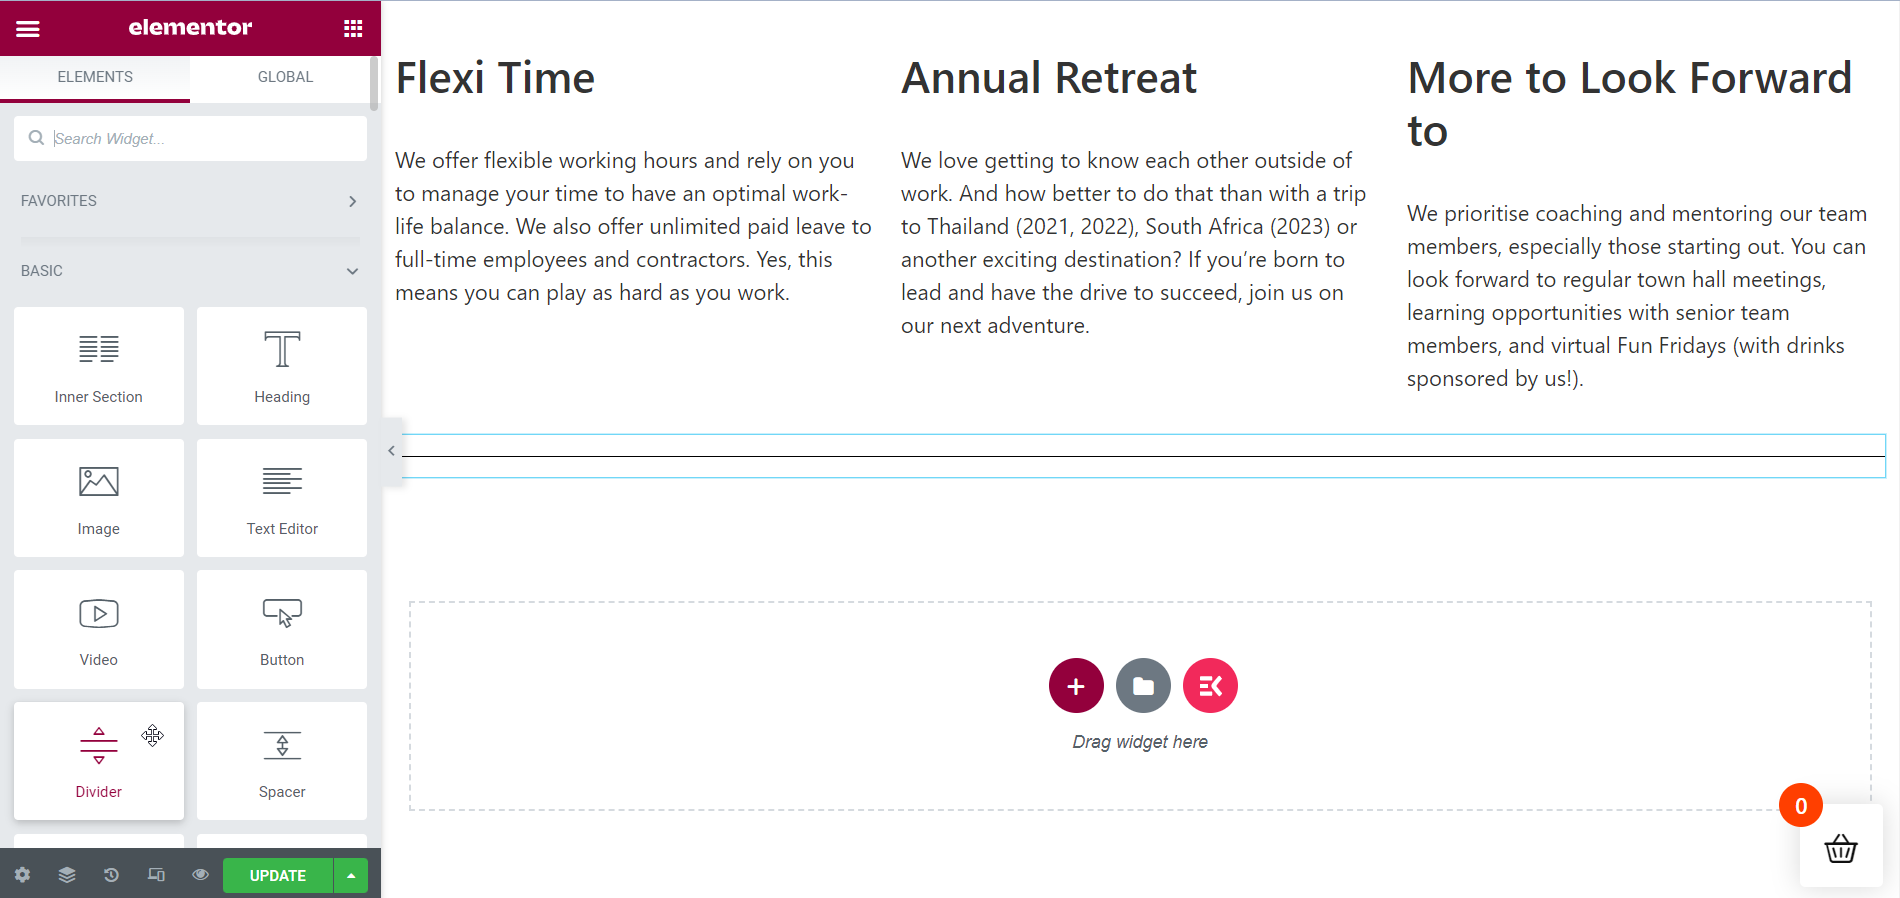
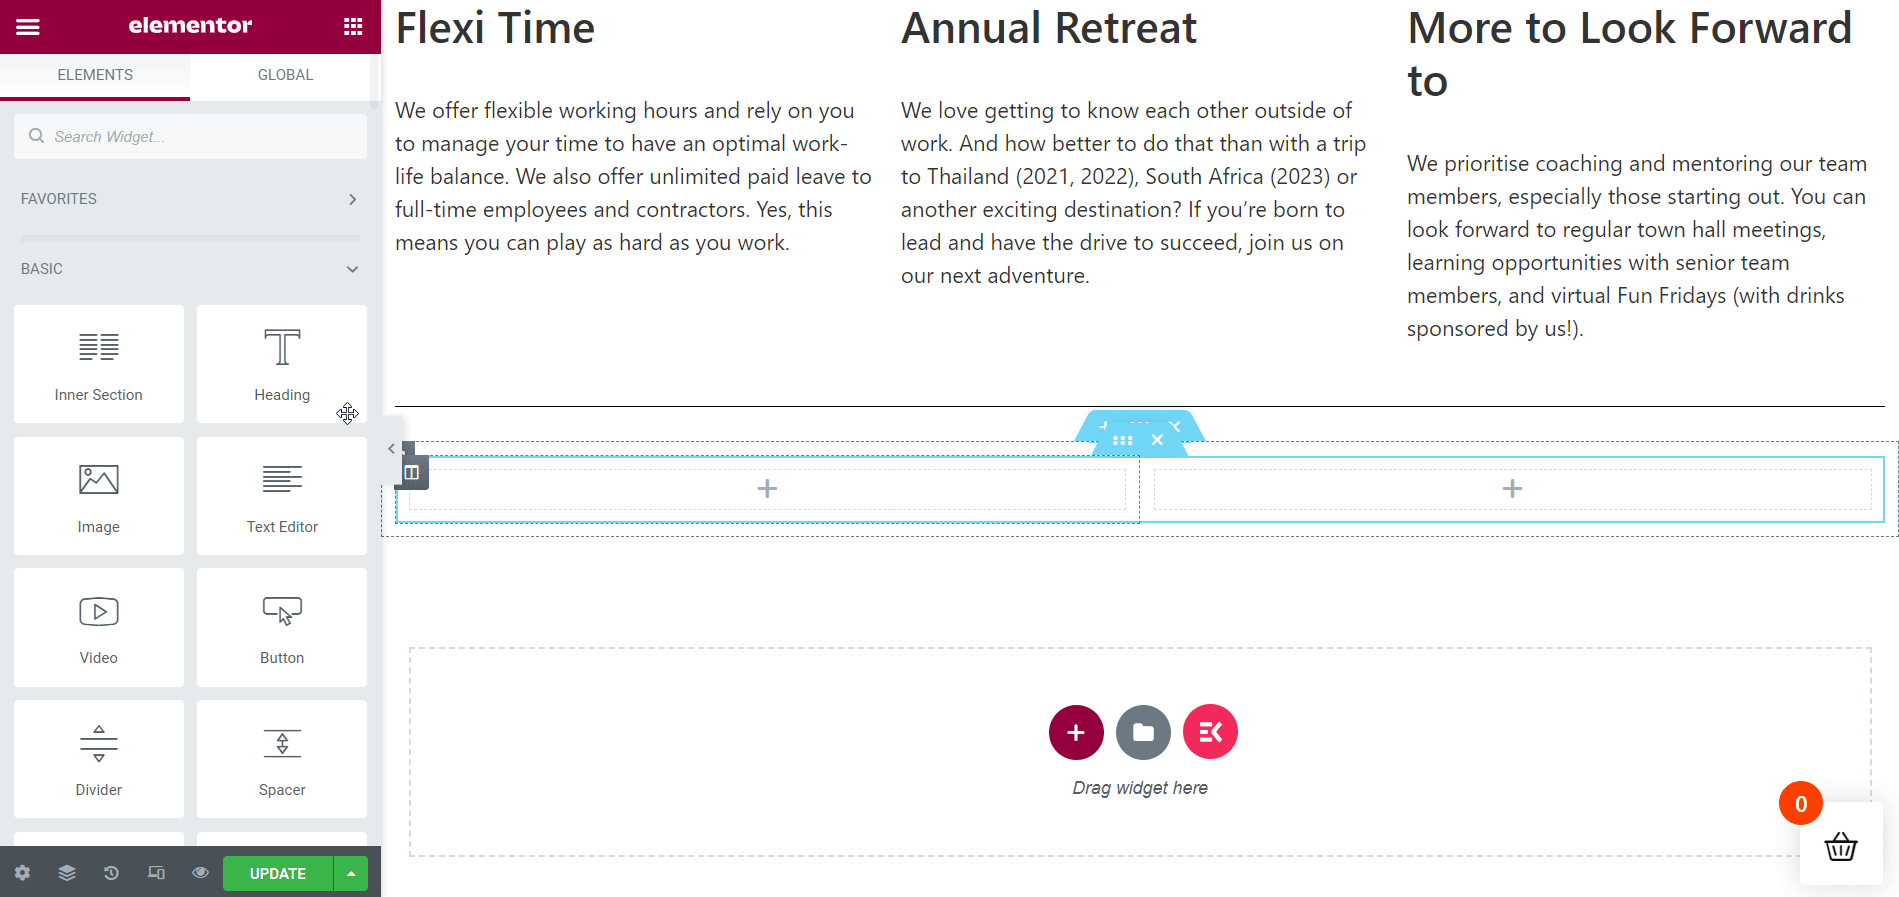
Add an Inner Section:
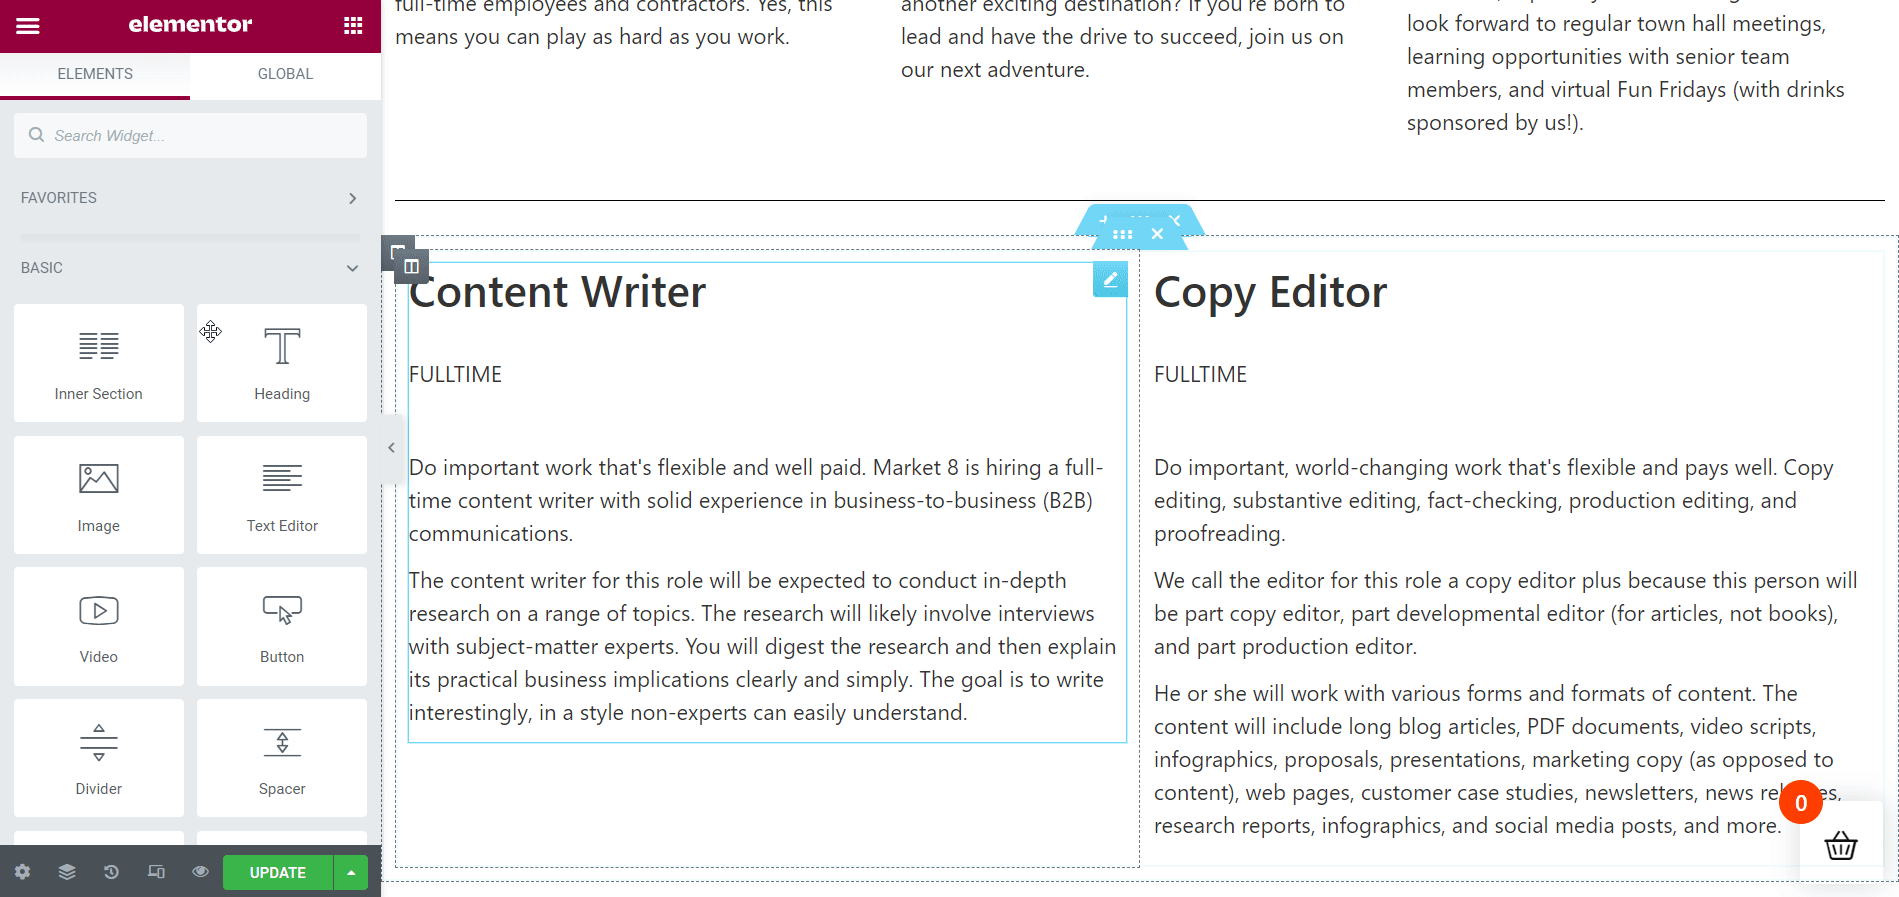
It’s time to create an inner section to show your job opportunities. In this tutorial, I will show 2 job opportunities on the career page.
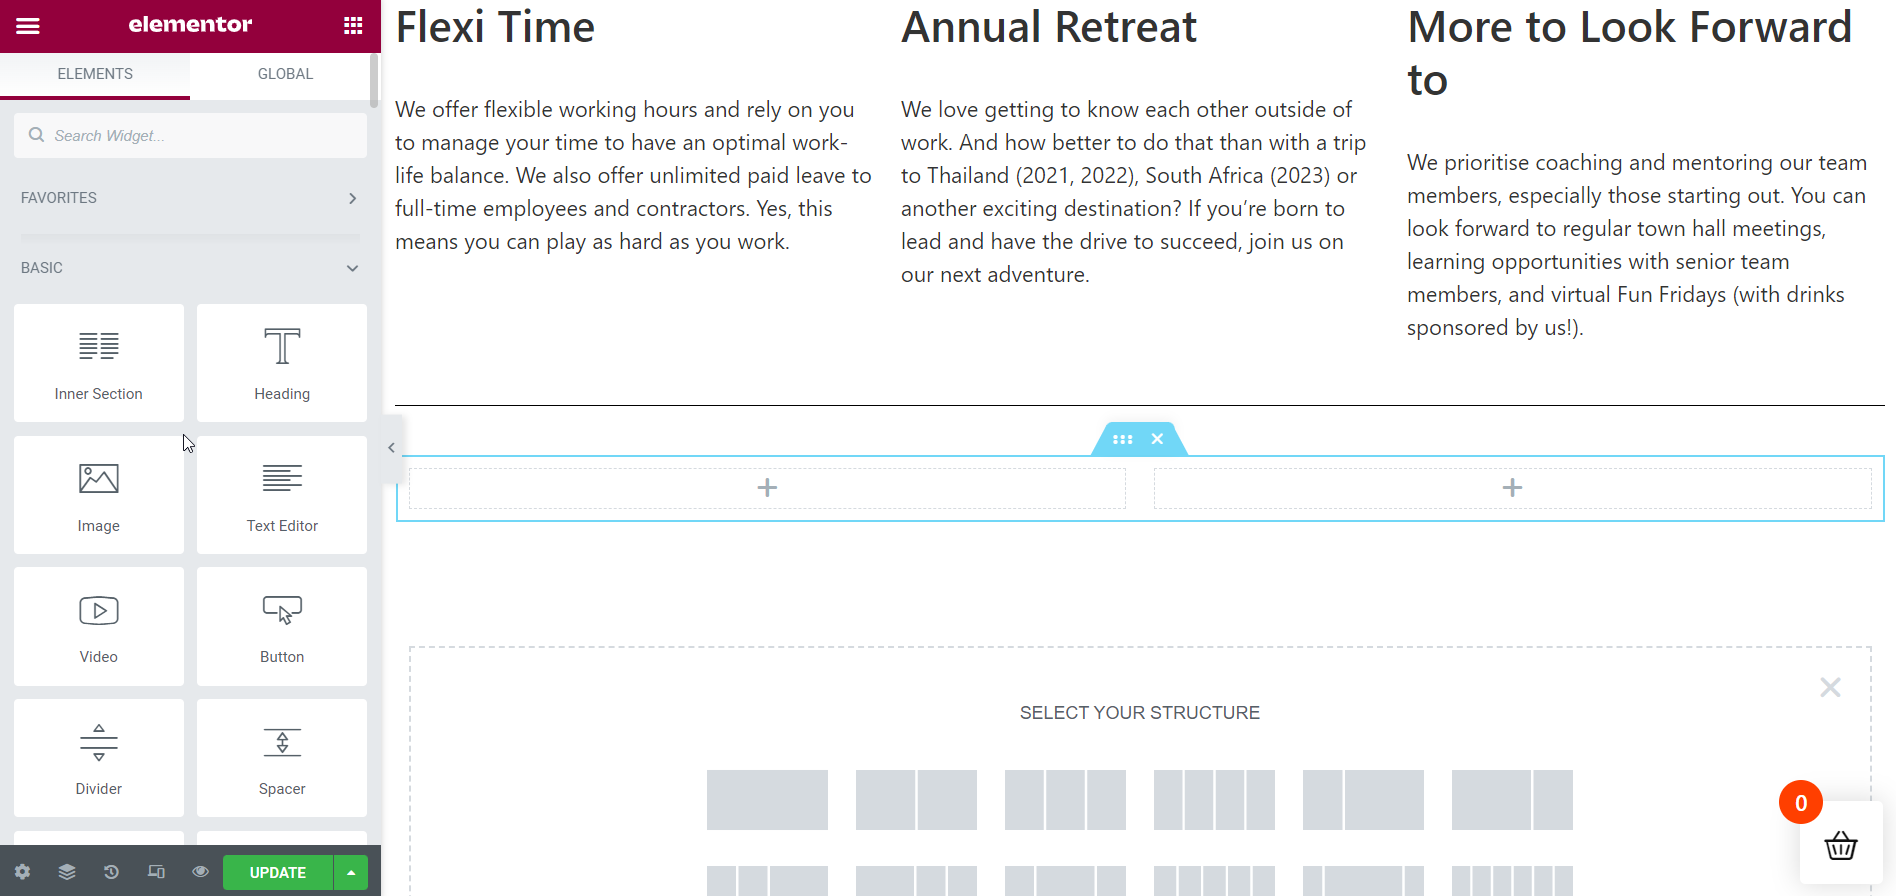
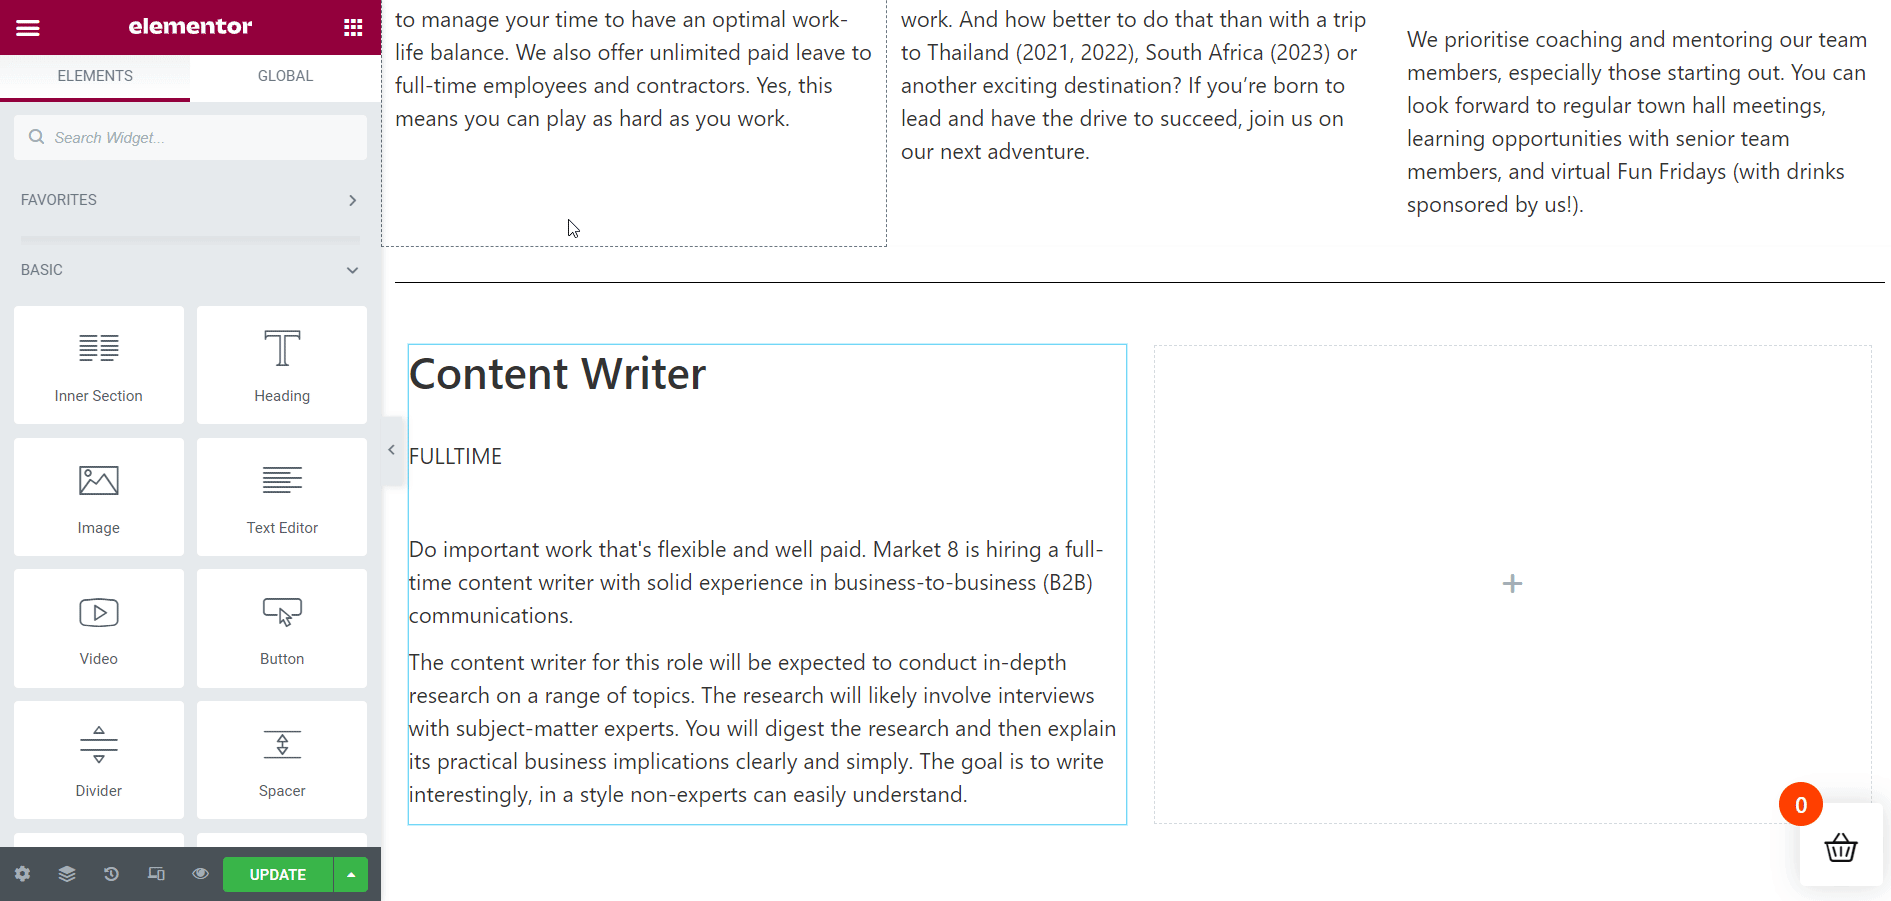
Insert your 1st Job Opportunity:
In this section, I will first work on the 2-column inner section. So, add the necessary details on the 1st column by dragging and dropping the ElementsKit Heading widget. Edit your content text like before and stylize it too if needed.
Insert your 2nd Job Opportunity:
Next, add the necessary details on the 2nd column by dragging and dropping the ElementsKit Heading widget again. Edit your content text like before and stylize it too if required.
Create Job Opportunities Section:
Now, you have to create a new section to show your current job opportunities just above the inner section. Follow the previous method to add your new section.
Colorize your Section Title:
For a better appearance, add a complementary color to your section header. Compared to the description color, red is likely to look better.
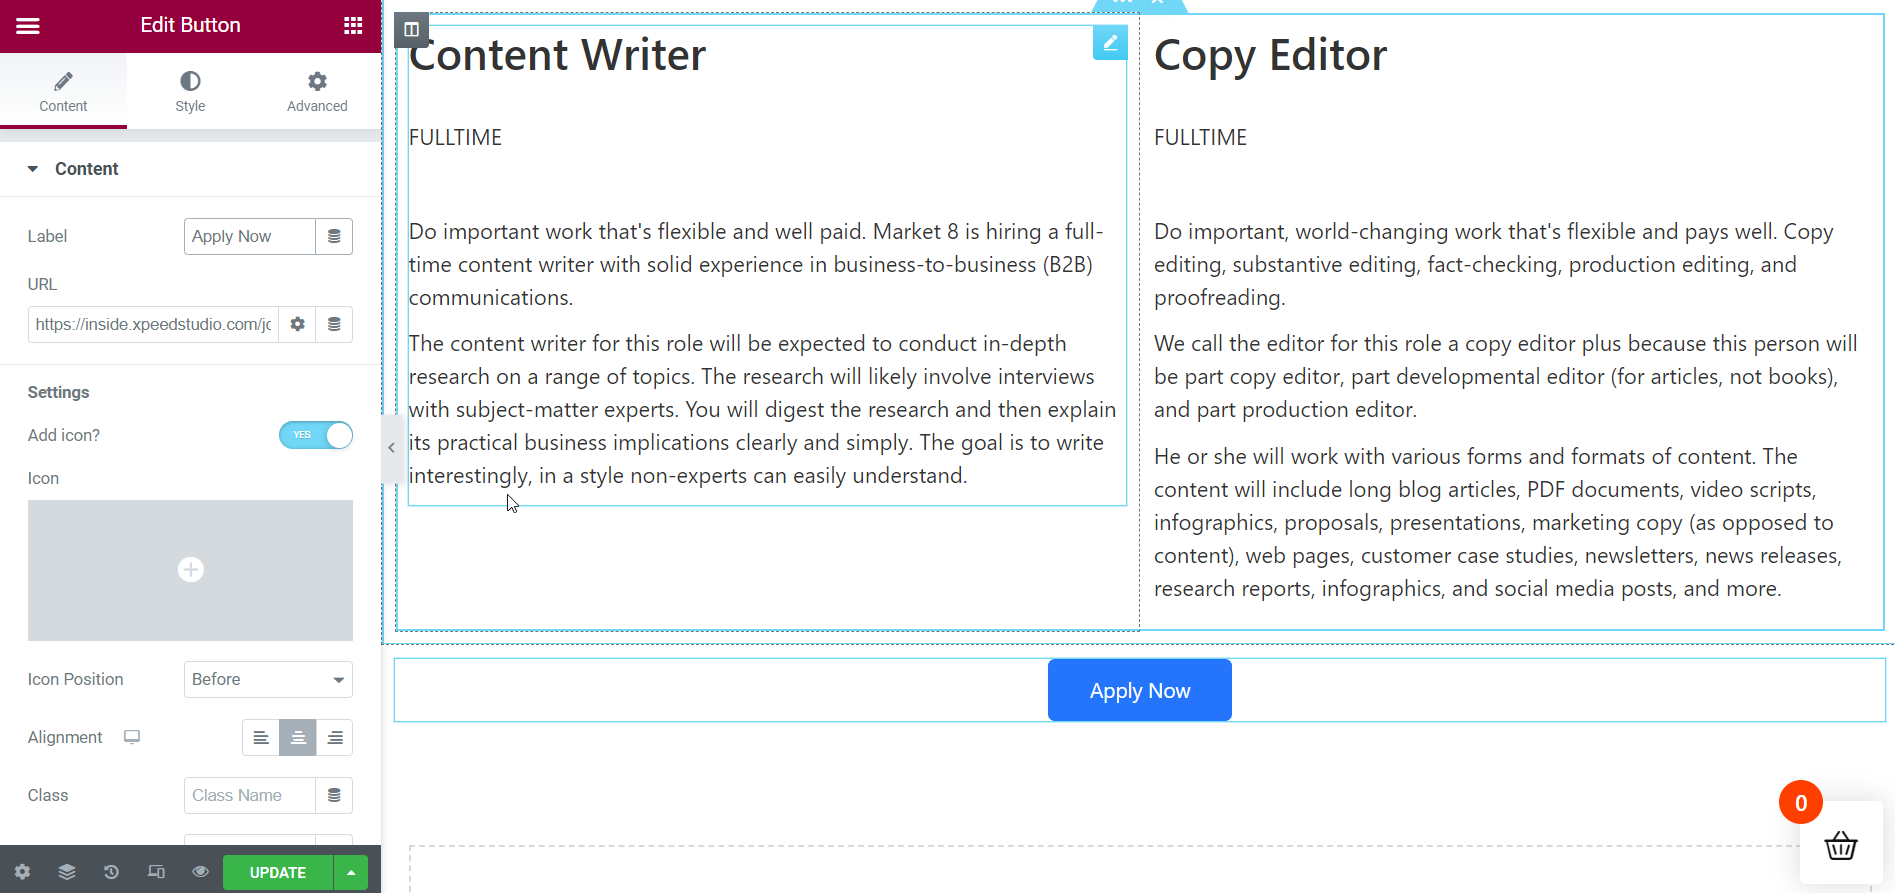
Add “Apply Now” Button:
We are towards the end of creating our career page. But before you view the career page live, add an “Apply Now” button to let job seekers apply for your current job opportunities. Make necessary tweaks like modifying text or button color and other necessary stuff.
Final Output Shows up Live:
Here it is! your career page is ready. From the gif below, you can view the career page live. If you need to add more sections, you can do that in the same way with ElementsKit effortlessly.
It’s Your Turn:
The career page of a website plays a crucial role to provide details about a company’s compensation package and job openings. Hence, it’s salient that you design your career page gracefully and enticingly. Your career page visitors should have a special feeling after visiting the career page.
With ElementsKit, you can spice up your website’s career page by following a simple process. ElementsKit has everything necessary to bring a career page to life. Apart from that, you can use scores of prebuilt templates to design your site’s career page.
Leave a Reply