


HubSpot-integration sikrer problemfri kundeforholdsstyring ved effektivt at administrere dine kunders kontakter. På grund af MetForms HubSpot-integration behøver du ikke bekymre dig om at miste formularer, der indsendes af dine kunder eller besøgende. Alle kontaktoplysninger på dine kunder vil blive gemt på din HubSpot-konto, som du kan bruge i fremtiden.
Opmærksomhed:
We had API based connection before. If you have API based connection with HubSpot, then reconnect your HubSpot account to your site by following the process below using OAuth 2.0.
Kom igang #
sign up for a free HubSpot account
STEP 1: Connect HubSpot with MetForm #
Access your WordPress dashboard –
- Navigate to MetForm Settings
- Go to CRM & Marketing
- Select HubSpot and press the “Click Here To Connect Your HubSpot Account” button

It will redirect you to the HubSpot sign in page from where you can sign in or also sign up.
Efter tilmelding eller login, vil din HubSpot-konto automatisk oprette forbindelse to MetForm using OAuth 2.0. Finally, go back to your WordPress dashboard > click on the"Gem ændringer" knap.

NOTE:
Vi havde API-baseret forbindelse før. Hvis du har en API-baseret forbindelse med HubSpot, så gentilslut din HubSpot-konto til dit websted ved at følge ovenstående proces ved hjælp af OAuth 2.0.
STEP 2: Create Hubspot Form #
Gå til Hubspot=> Markedsføring=> Klik på Formularer

Klik på Opret formular=> Created form appeared

Now select a form editor style and click Next

Select a template to build your form

The HubSpot template is ready to edit. It shows the Hubspot Created Form Fields: Firstname, Lastname, Email.

STEP 3: Create a New Form #
From the dashboard, navigate to MetForm and click Add New Form.

Check out the MetForm form templates, select one or a blank one then import it.

Whether you choose a blank template or a ready one, you have to match the fields with the HubSpot Form Fields.
After editing the necessary things, click Publish.

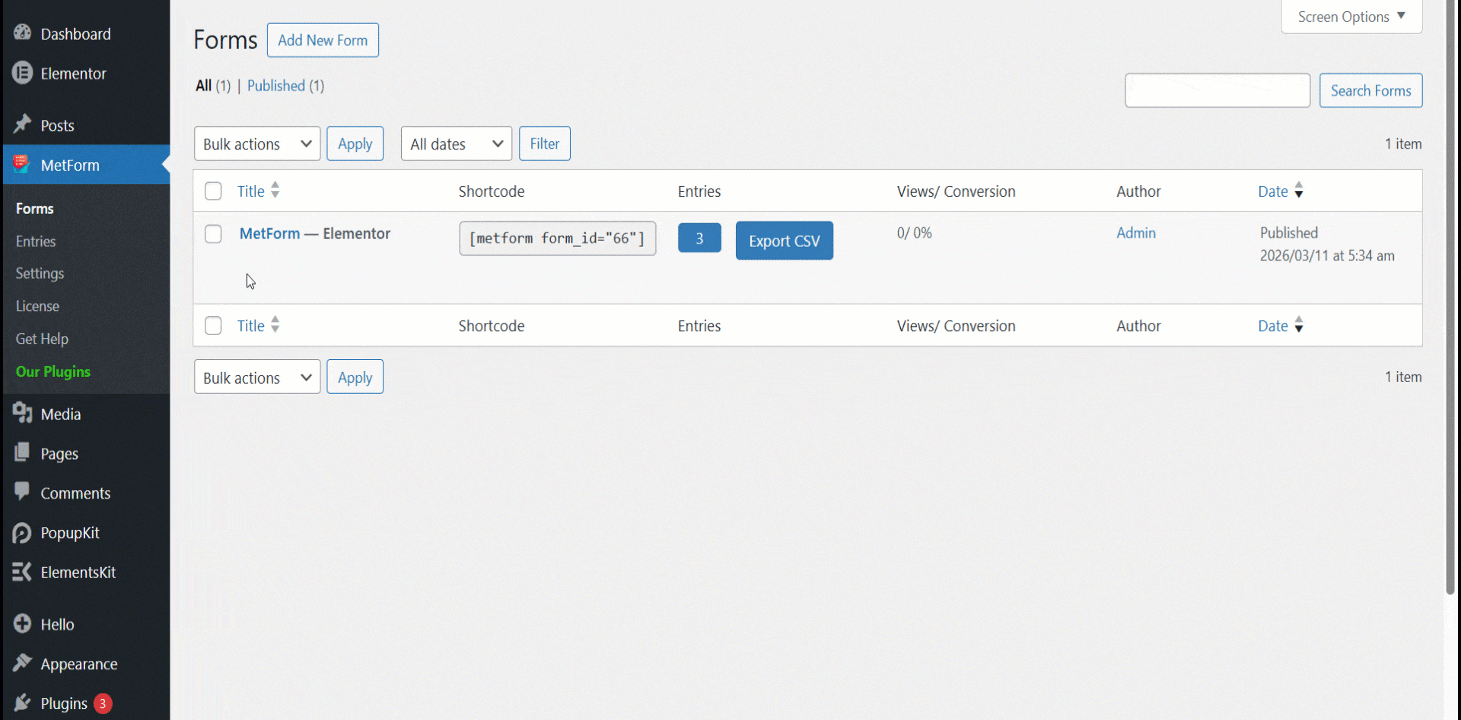
NOTE: After creating the form this way, you can use it on any page using a shortcode or the MetForm widget.
STEP 3: MetForm Form settings #
Fra din WordPress admin panel, visit MetForm>> Forms.
Derefter redigere formularen som du vil tilføje HubSpot til. Derefter skal du gå til generelt faneblad og aktivere Butiksindgange.
Nu, aktivere HubSpot Forms and Contacts som du finder under fanen CRM. Derefter klik på Hent HubSpot Forms og vælg den lignende form som du har oprettet i HubSpot. Nu kommer hoveddelen her.
De venstre felter er de tilføjede felter i din formular, som du har tilføjet til dit websteds kontaktformular, og de højre er feltet i HubSpot-kontaktformularen. Du skal vælg det nøjagtige HubSpot-feltnavn i højre side. For eksempel, hvis feltnavnet på fornavnet i HubSpot-formularen er Fornavn (Listing), så skal du vælge det ligesom gif. Sådan vælger du alle felternes navn på HubSpot Form.
2. Gå til siden=> Udfyld formularen og klik på Indsend knap

3. Gå til Hubspot=> Klik på Kontakter

- Du kan se indsendt kontaktformular her.

👉 Checkout how to multiply leads with HubSpot integration.


