


The traditional business model with physical shops that have been running for centuries is not a feasible solution now. Instead, people are now more likely to shift from physical stores to online stores. If you want to grab the global opportunity and skyrocket your profit, you should create an online store.
The challenge is, how to create an online store when you are not a coder or don’t have web development skills! Well, there are effective solutions now and it won’t take much effort and budget.
There are certain steps you need to follow and in this post, I am going to share the ultimate guideline to start an online store at a minimal budget.
Create an online store – the 7 step guide to follow
No matter what kind of online store you want to create, the following steps will be almost the same. If you have knowledge of the web and how to do some basic web research, you can follow the entire process I am sharing here.
Step 1: Choose the best eCommerce platform
The first step of online store creation is choosing the right eCommerce platform. An eCommerce platform helps to maintain the inventory, product uploads, and the content of the website.
Why an eCommerce platform? Well, there are custom options as well and in that case, you will have to build a custom platform. But here your goal is to do everything with less effort and a minimum budget. So, it will be better to choose an established eCommerce platform.
There are different eCommerce platforms and you need to choose the best one based on the type of your store. For instance, if your store is about startup, you need to choose the best eCommerce platform for startup. Here are the eCommerce platforms that are most popular and have tons of user-friendly features —
Besides the above platforms, there are more. But these are mostly renowned by website developers. Most of the eCommerce platforms used to be premium and you will have to pay for their services.
If you want to create an online store with a free eCommerce platform, WooCommerce is the best solution. With WooCommerce, you can build a complete online store with the WordPress CMS.
Though there is a pro option as well, you can complete almost everything with the free plan. So, I strongly recommend using WooCommerce to build an online store with WordPress. Especially, if you are familiar with WordPress, you must go for it.
The later part of this post will show how to create an online store in WordPress using WooCommerce.
Step 2: Register a domain name and choose the hosting plan
Now that you have selected the eCommerce platform, it is time to register your domain name which will be the identity of your store. However, it won’t cost much to buy a domain name.
There are some renowned domain marketplaces from where you can purchase a fresh domain at $10-$5 unless you are buying a premium domain. If you seek my recommendation, I would recommend Namecheap and GoDaddy. Both of these platforms have been selling domain names for years. Also, they have good customer support from where you can get prompt responses.
Go to any of these platforms, type the domain name that you are looking for and you will see the availability of it. While buying the domain name, you will see different extension options including .com, .net, .co, .org. As you are going to use the domain name for an online store, you should go for the .com extension.
While buying a new domain, make sure the following things –
👍 The domain name should be short
👍 Select a domain name that is brandable
👍 Use .com extension to make it user-friendly
👍 Don’t use number in the domain name if possible
👍 Try to keep the domain name relevant with the type of your store
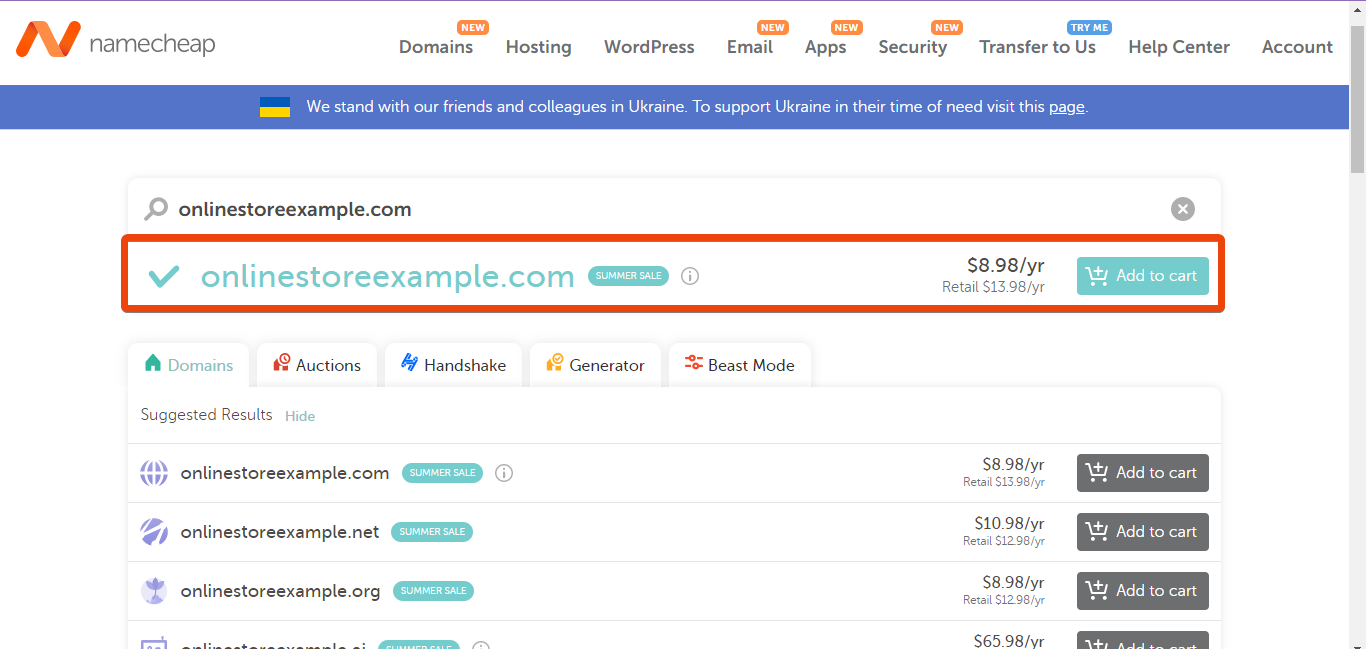
For instance, if you search for onlinestoreexample.com on Namecheap, it is showing that the domain is available to buy.
However, some domain names won’t be available while some domain names would be expensive due to the premium tag.
After registering the domain name, you need to host the domain where you can store all the files.
As you are going to use WordPress CMS, choose the best WordPress hosting provider within your budget.
Step 3: Install an eCommerce theme
Though here I am going to show the way of online store creation with page builders, you should also use an eCommerce theme to ensure the color quality and better user interface.
If you search for the best eCommerce WordPress themes, you will get both free and pro options. If you don’t have much budget, you can start with free options like the free version of the Astra WordPress theme. Astra is a versatile WordPress theme that supports almost all the page builders available in the market.
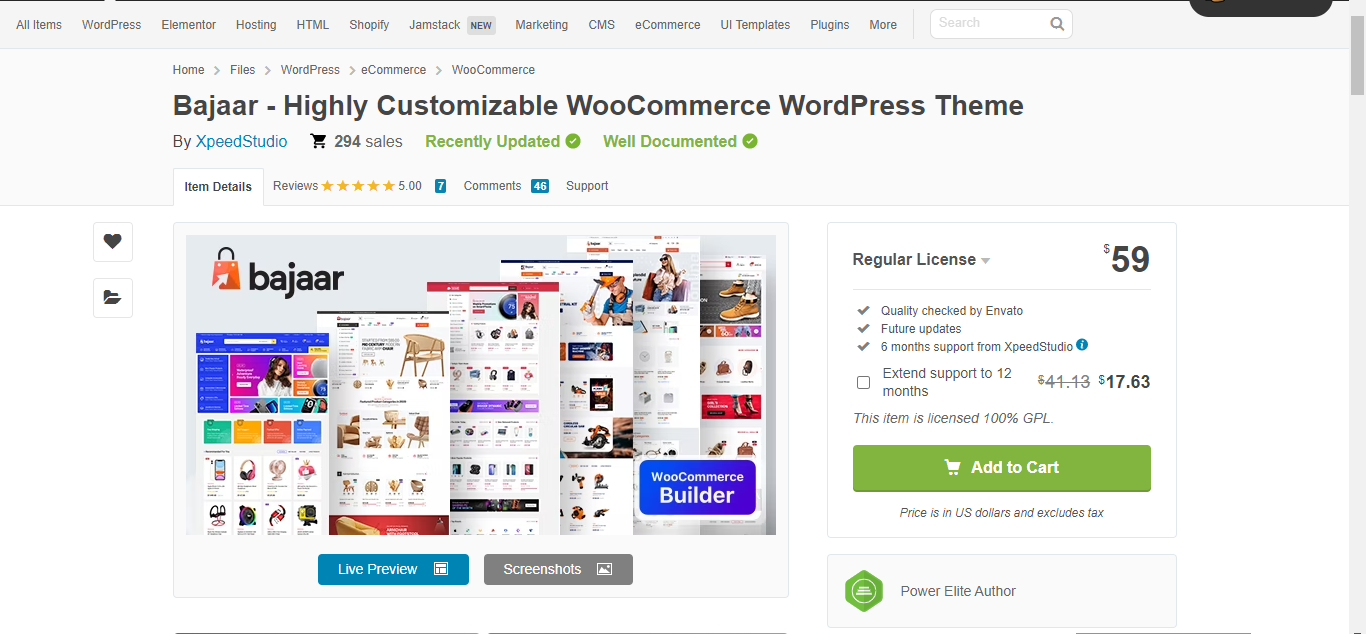
However, if you want to enjoy some custom features with the WordPress eCommerce theme, you should go for a pro option. That will reduce the effort to design different pages. I would recommend using the Bajaar WooCommerce WordPress theme to create the online store.
Bajaar is one of the most popular WordPress themes that comes with versatile features to design any kind of page for an eCommerce store.
Step 4: Select the online store builders
After registering and hosting the domain, you are all set to design the online store. It is time to choose the best eCommerce builders for your online store. Here our goal is to do everything with minimal effort and ensure maximum output. This is possible when you have the best eCommerce builders.
Builders make it easy to shape an online store from scratch without writing codes. To make your path easier, we have chosen the top eCommerce builders that you can use with WooCommerce.
You will need the following WooCommerce builders –
From your WordPress dashboard, go to plugins and search for Elementor page builder. It will appear on the search result. Click the install button and then activate the plugin.
Next, visit ShopEngine’s official website and choose the package according to your needs. You will see three different packages — single, unlimited, and 5 sites. Also, you can choose from yearly, lifetime, and bundle deals. If you have a long-term plan with your online store, must go for the lifetime package as you will get the pro update for a lifetime.
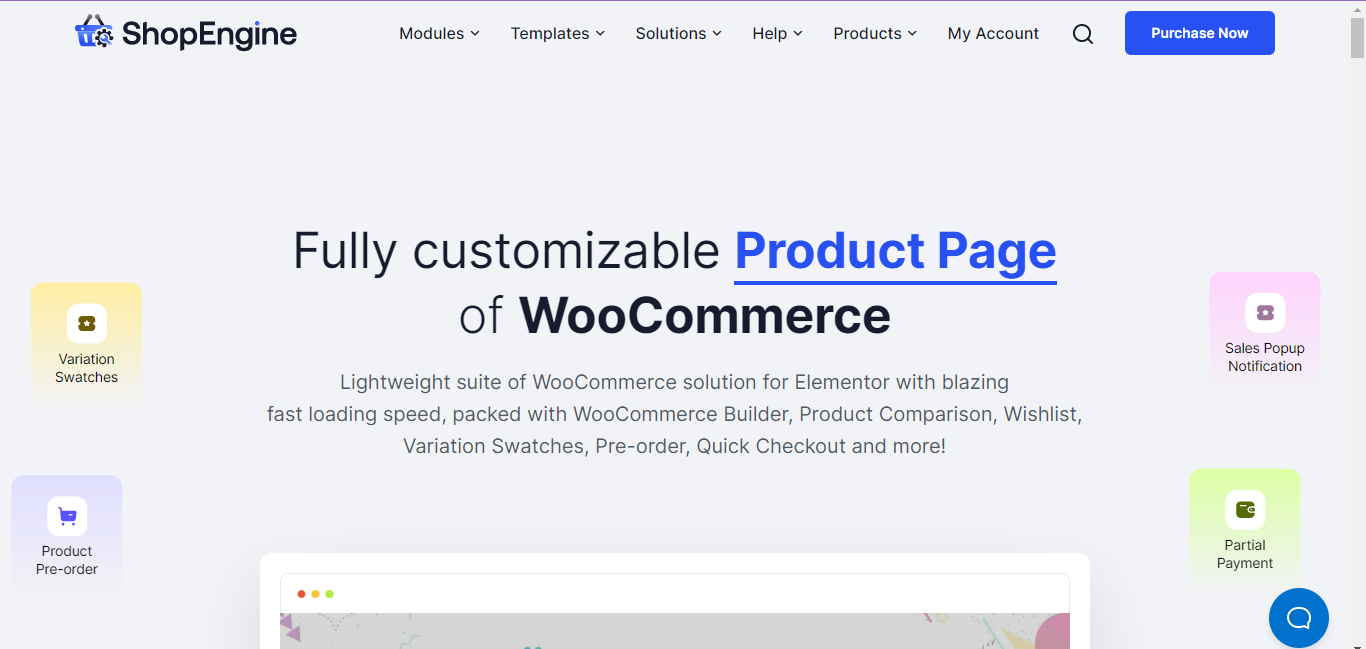
Once you select the package and get the plugin, install it from the WordPress dashboard and activate it.
Other than these two plugins, you might require some other plugins to get more customization options. For instance, you might require a payment plugin, shipping plugin, invoice plugin, etc.
However, most of these plugins have free versions that you can use initially to save. Especially, if you have a tight budget, I strongly recommend using the free versions of the plugins.

Step 5: Customize the online store
Once you have all the essential plugins and page builders, it won’t take much effort and time to create an online store in WordPress. You can design any of the pages of your WooCommerce store by entering the particular section of the eCommerce page builders. So, get ready to make the online store visible.
An online store needs several necessary pages and you can design all of them with ShopEngine. In the first step, I would recommend installing the product archive page. For this, go to WordPress dashboard > Plugins > ShopEngine > Builder templates.
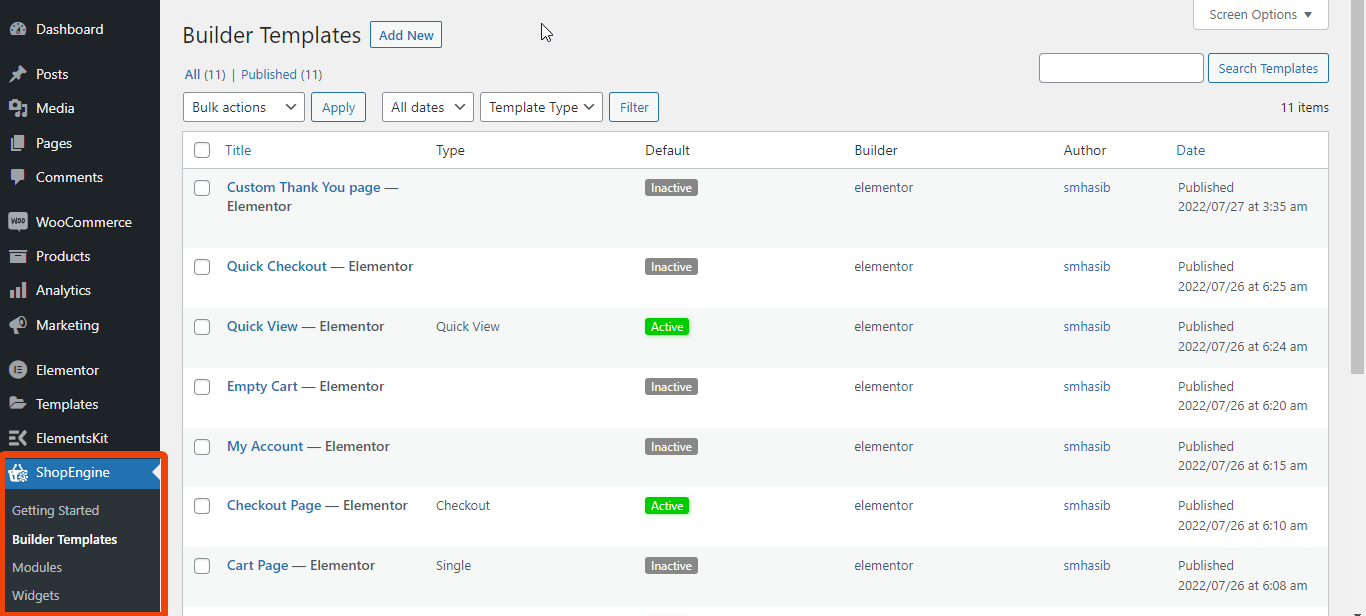
In the builder templates section, you will see all the ready layouts for different pages of ShopEngine. From the list, select the page type as an archive and you will see different layouts for the archive page. Choose the one that you prefer and set it as default. The page will be created.
And more.
Like the archive page, using ShopEngine you can also —
👉 Create a shop page in WooCommerce
👉 Create a product page in WooCommerce
👉 Create a My Account page in WooCommerce
👉 Create a custom thank you page in WooCommerce
Based on the niche/topic of your WooCommerce store, the page style will vary. Look at all the pages according to your niche. However, with the help of ShopEngine, you can do any kind of customization to all the WooCommerce pages without coding.
For instance, if you want to create a clothing store, you need to show the product size chart, category pages, etc.
Step 6: Upload products
Once you create an online store, it is time to upload the product details so that customers can check them and make the decision. You need to add an individual description, size charts, color options, and other relevant information for each of the products.
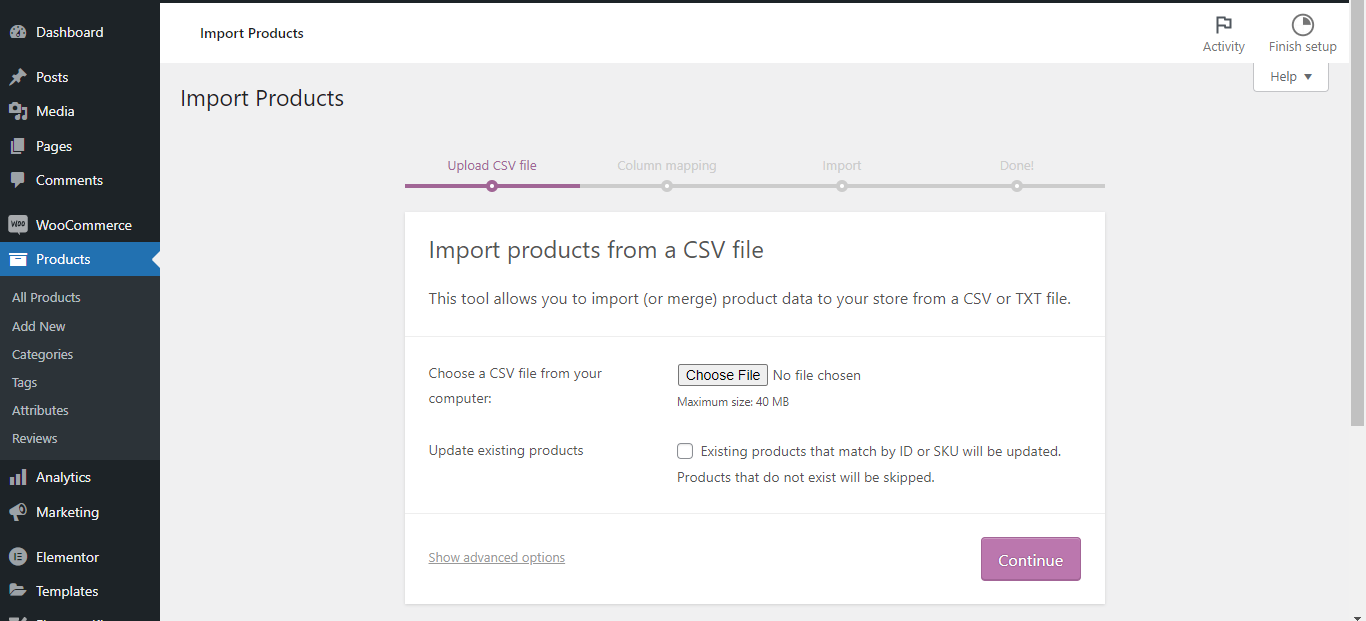
You can upload bulk products as well. Go to WordPress dashboard > Products. Now select Import and upload the CSV file with all the product details.
However, you can change the details anytime from the product page.
While updating the product details, make sure that —
- The product description is mentioning all the benefits
- The description is optimized for the keywords
- The product photo has a high resolution
- Size chart is available for the product
- It is showing all the available color options
Step 7: Add Payment Gateway
When your customers are buying from you, they will have to pay for the product. For that, you need to integrate payment methods. If your store is selling only to local customers, integrate a local payment gateway.
For international customers, you need to integrate internationally recognized payment gateways like PayPal, Stripe, 2Checkout, etc.
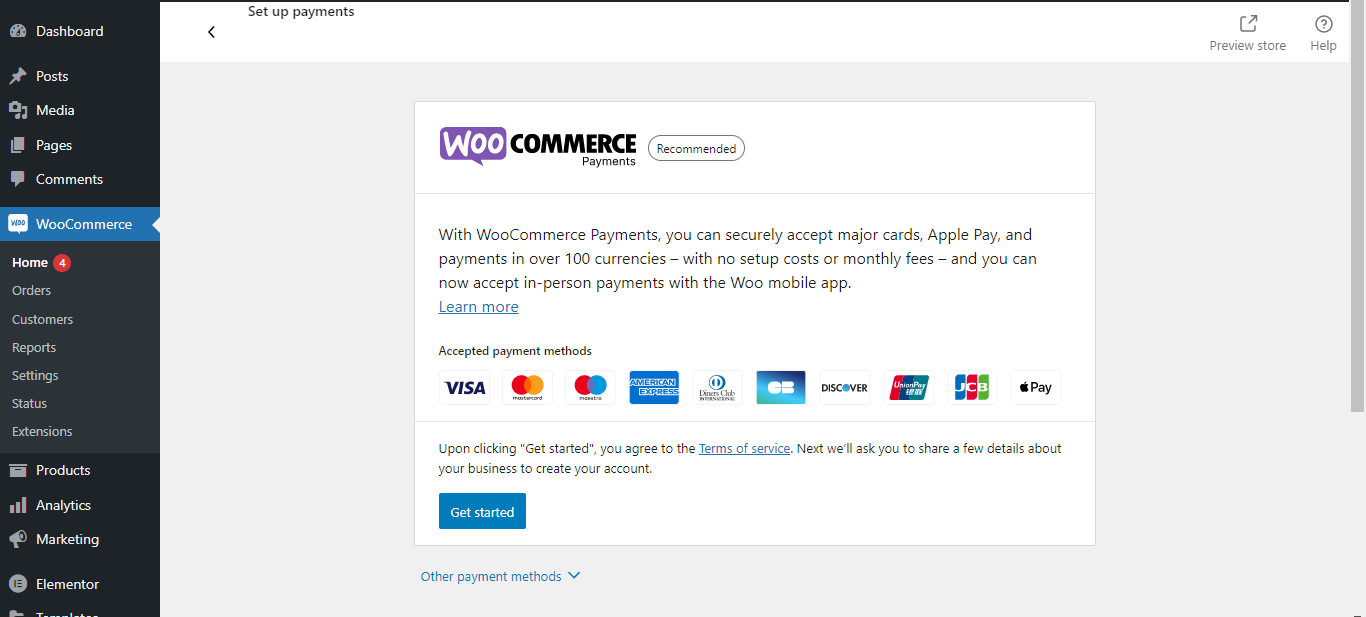
The good thing is that the popular payment gateways have their own plugins to make the integration easy.
Step 8: Review and Publish the Online Store Website
Finally, review the online store you just created. You don’t have to publish the store to check the layout. Select the preview option to check the online store and go through different pages. If you find everything looks good, go live with the online store.
👉 Have a look at how to create an online merch store.
Frequently Asked Questions
you might have some additional queries regarding online store creation. To learn more details, check the following questions and answers.
How much does it cost to build an online store?
The cost of an online store creation depends on the tools you are using and what kind of customization you want. If you do the design part yourself, you will have to just spend on the plugins, theme, domain, hosting, and payment gateway. The cost could start from $500 and go on based on the customization.
Can I create an online store for free?
For any kind of website, domain and hosting are a must. After getting these two things, you can start the design part. If you are planning to create a basic online store, you can do it for free using our ShopEngine WooCommerce builder and Elementor page builder.
Does online store creation require high-end programming knowledge?
The interesting fact about WordPress CMS is, that users don’t need much coding knowledge. Especially, if you are using page builders for the online store design, it won’t require any high-end programming knowledge.
Can I create an online store from scratch myself?
Yes, you can create an online store from scratch all by yourself. It will require the necessary plugins, themes, and the knowledge of user interface. Then follow the entire process I have shared in the above steps.
Final Words
Now you have a complete guideline on how to create an online store with WordPress CMS and how to customize the store. Don’t wait anymore. Take action now and start selling online. Explore some untapped revenue-generating areas and make more profit with business.
Leave a Reply