


How are you planning to plunge the visitors on your webpage?
How do you want to do it? By announcing some offers, discounts, or anything else?
Well, announcing a special offer is compelling enough for the visitors to get hooked. But, your campaign will go in vain unless you have a unique and dedicated landing page.
As Black Friday is knocking on the door, it’s time to make your website ready to go over with this Black Friday vibe. And, publishing a dedicated landing page for Black Friday might be the best thing you should do in this Black Friday season.
In this blog post, I’m going to show you the best aka easiest method of creating an astonishing landing page for your Black Friday offers.
Let’s start!
Things You Must Include on the Black Friday Website Design
Every landing page is unique in the sense of design and purpose. But, the successful landing pages contain a few key points in common. If you are planning to design a highly converting landing page, you must ensure that you’ve included those elements on your landing page.
Well, few common elements of a landing page are –
- An irresistible offer
- Eye-catchy images or videos
- Appropriate content
- CTA button
- Social signal
These simple yet powerful factors play a vital role in converting your visitors into leads, customers, or subscribers. Let’s take a look at all of these factors one by one.
1. Propose your offer
Whenever someone ‘lands’ on your webpage, everyone is unintentionally looking for two answers.
- What are you actually offering?
- How will this offer help to improve his/her life?
To get more clicks, you must answer these inquiries to your visitors. You may choose the most visible portion of your landing page like the hero section to show your offer.
Besides showcasing your offer on the landing page, make sure that you have added a good description too. However, try to keep the description as simple as possible.
But, don’t make the description too short that it fails to demonstrate the offer to the audience. Make sure that you’ve added all of the required information that answers your customers’ inquiries.
2. Add an eye-catchy image
While adopting the digitized lifestyle, people are continuously losing the ability to concentrate. A recent study by Microsoft Corporation says that nowadays people lose their concentration on something just after 8 seconds. Even Goldfishes can keep it for 9 seconds!
Sorry Goldfish!
So, you must do something to hook your visitor’s attention. And, using visually appealing images and videos is the best thing to grab someone’s attention. Using an eye-catchy image will not only keep the visitors hooked but also provide a good concept about your offer.
3. Appropriate content
Though the media files provide an overview of your offer, you should add some text content too. Text content is suitable for describing your offer in a well-detailed manner. Thus, the visitors will get a thorough overview of your offer.
A clear and concise description encourages the visitors to click on your CTA buttons. Thus you can generate more leads from your landing page.
By the way, you have to answer your customer’s inquiries in the description part. A few common customer inquiries are –
- What’s the benefit of your offer or product?
- What are the primary features of your product?
- Why should everyone take this offer?
Try to answer all of these questions in the description part and leave no questions unanswered for your audience.
The primary goal of every landing page is getting your visitors to click on the CTA aka Call To Action buttons. The CTA buttons not only help the owner but also help the visitors.
Here’s a list of a few most popular CTA buttons –
- Learn more
- Sign in
- Claim your free trial
- Get started
- Buy now
- Try for free
- Join the community etc
Use the most appropriate one and start generating more leads every day.
5. Social signal
We all love to do what our friends are doing. And how do you prefer to connect with your friends?
Via social media, right?
Yes, more than 3.6 billion people use social media every day. It’s almost half of the total population of the world. So, being active on popular social media platforms is the best way to grab attention for your offers or products.
An online survey of Bright Local shares that 91% of total consumers trust online recommendations just like personal ones. Thus, you must improve your social media appearance and try to gather your possible consumers in one place.
It will not only increase the social signals but also grab the attention of your customers. If you can integrate the social media platforms on your website, you can improve the overall user experience of your website.
| Pro tips: You can automate the whole social media interaction via using a popular WordPress plugin named Wp Social. |
Things You’ll Need to Design Black Friday Landing Page
Designing a landing page is fun! But, it might turn into a nightmare if you don’t have the appropriate tools. Let’s have a look at the tools you need to design a perfect Black Friday landing page.
- A WordPress-powered website
- Elementor
- ElementsKit
That’s all you’ll need right now. Let’s hop into the main procedure of designing the landing page.
How to Create a Landing Page for Black Friday Offers with ElementsKit
We’ve already discussed everything you’ll need to design a Black Friday website. Now it’s time to take those actions. Let’s have a look at the step by step procedure of creating the best Black Friday website design with ElementsKit.
Let’s get started!
Step#1: Prepare Your Environment
Access the admin panel dashboard of your WordPress website. The default admin panel dashboard link will be like this your-domain.com/wp-admin
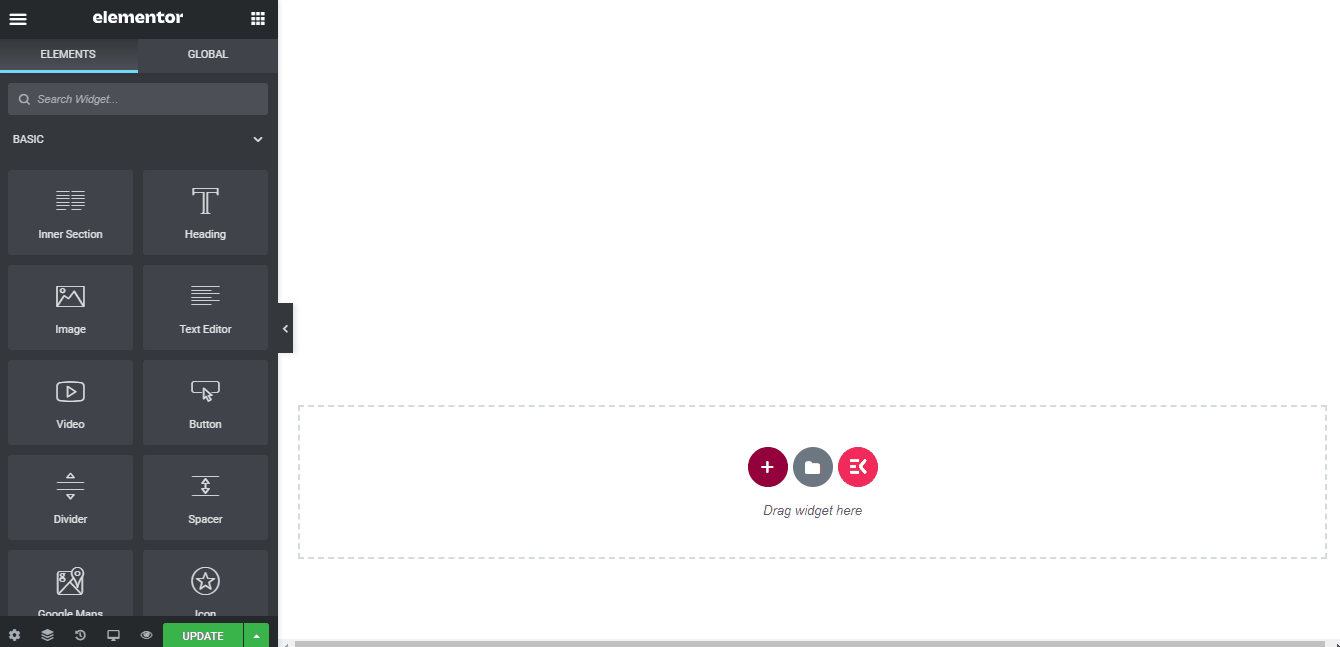
Step #2: Create a New Page
Now proceed to Pages > Add New to create a dedicated new page for your Black Friday landing page.
Adding a new page
To edit this page with Elementor, click on the “Edit with Elementor” button. You will find this button on the upper portion of your blog title.
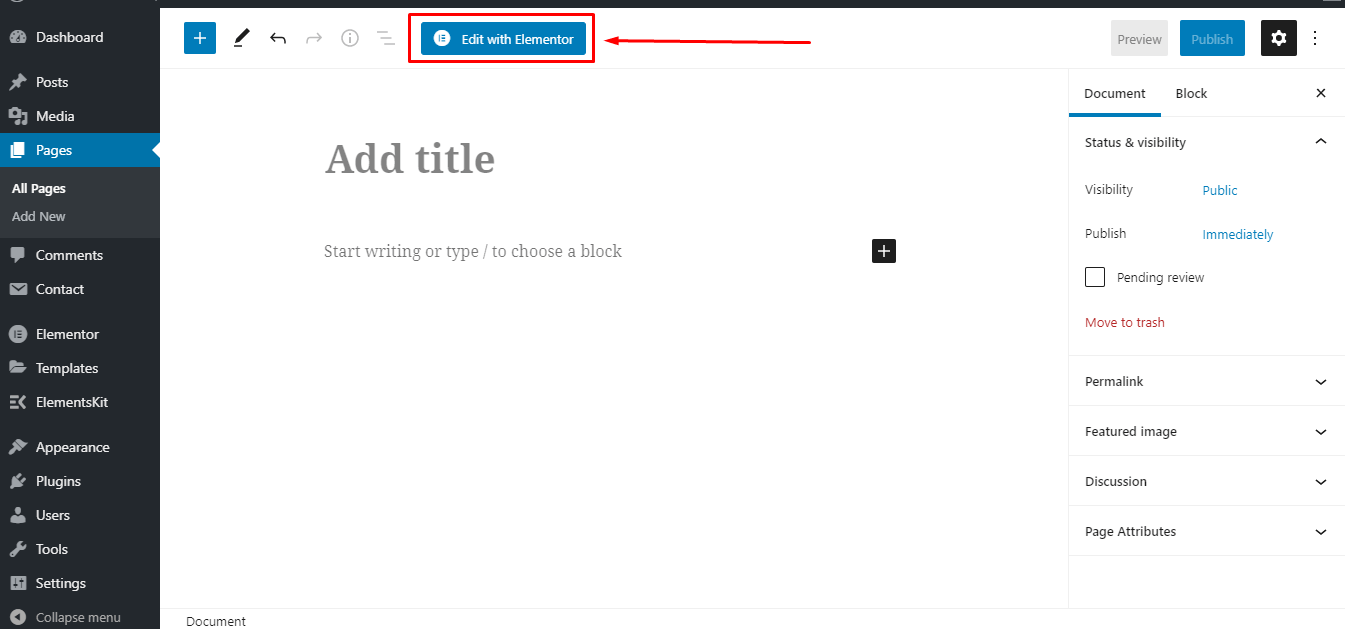
Editing with Elementor
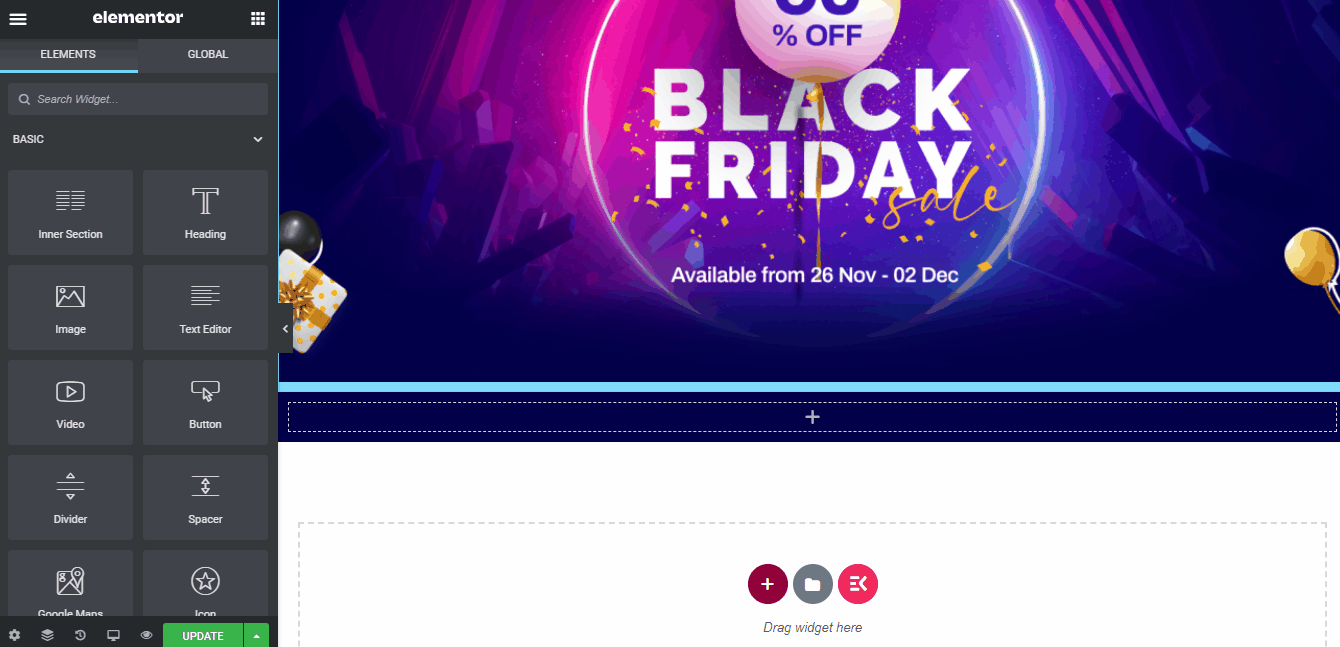
Step #3: Add A Hero Image
We have already discussed the importance of using media files in the previous section. For instance, we will add a hero image on the post. This image should contain an overview of your product or the service you are offering this Black Friday.
To add this hero image, you have to use the ‘Image’ widget of Elementor. Simply, drag and drop the widget on your webpage and customize it.
Adding a hero image
| Note: Try your best to visualize the offer properly on the hero image. If you are offering the service for a limited time, don’t forget to mention the time range too! |
However, you have to do some additional tweaking after adding that background image. Such as –
- Content width – By default, the “Boxed” option will be chosen on the content width section. But, you should change it to “Full width”. Thus, it will cover the entire screen of your device. It beautifies your landing page design.
- Columns gap – Change the columns gap from “Default” to “No Gap”. Otherwise, there will be a slight gap between the hero image and the next block. Even a one-pixel gap between the blocks looks completely odd. Get rid of all gaps.
- Height – Change the height selection from “Default” to “Fit to Screen”. It will fit the image according to your screen size. Thus, your landing page will become responsive to all screens.
Adjusting content height, width, and gap
Step #4: Adding a Menu
There’s a massive controversy about adding a menu on the landing page. Few people love to add the primary menu on all pages, but few others oppose it pretty seriously.
However, I think you should add a transparent menu on your landing page. A recent study shows that 50% of total online users struggle to find relevant information from the internet.
That’s why you must add an easily navigational menu on your Black Friday or Cyber Monday landing page. Check the video below to learn about the process of adding a menu on your landing page with ElementsKit.
By the way, you can also add a transparent sticky header by using ElementsKit. Thus the menu will be visible throughout the whole landing page and make the navigation process smoother for the visitors.
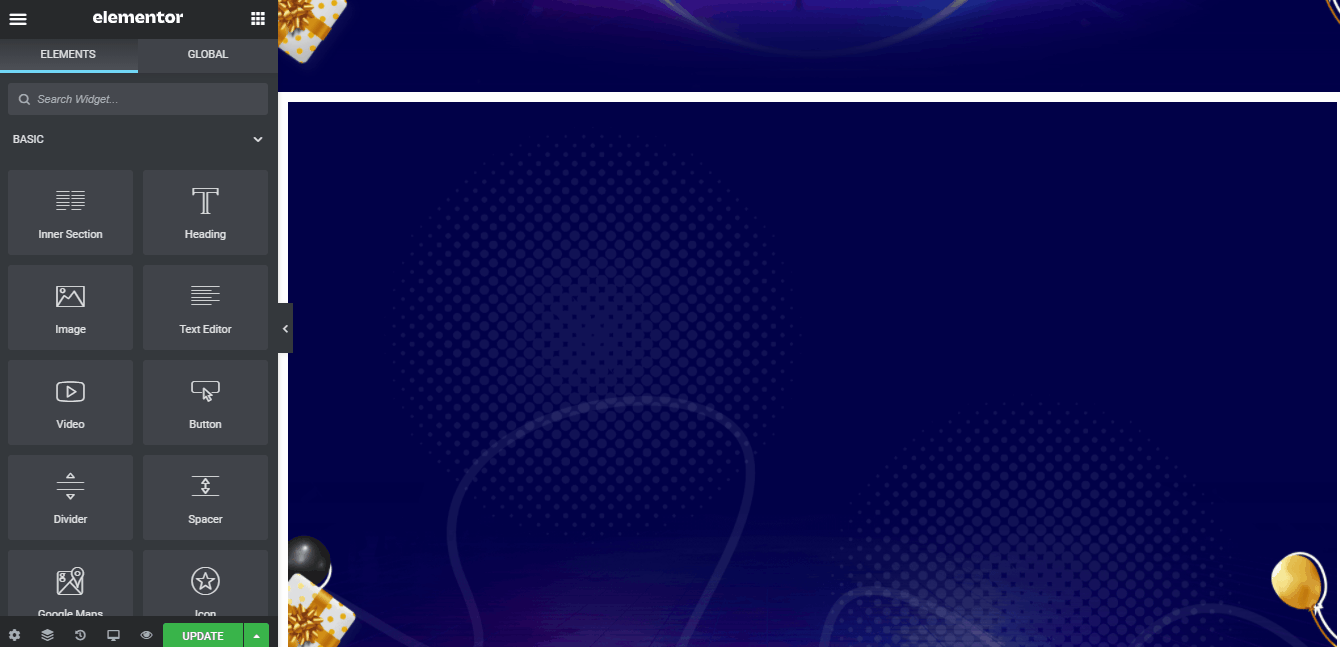
Step #5: Insert a Background Image
To beautify the landing page, you may add a background image on your landing page. Make sure that the background image is identical to the hero image. At least use the similar color and formatting with the hero image.
Thus, it will keep consistency between the hero image and the overall background. It not only provides a good user experience but also represents the professionalism of your landing page.
Here’s the process of adding a background image on landing pages.
Adjusting a background image
By the way, this image might look smaller to you in the first place. But, it actually covers the whole background. You will understand it in the following section.
Step #6: Describe Your Offer or Product
We are almost done with the designing. Now, it’s time to add a description of your products, services, or special offers. You can add these descriptions with images and texts via using the ElementsKit Blog Post widget.
Have a look at the overall process.
Adding product description
Now, delete the default content and add your own products along with the description.
| N.B: Always put a Call to Action button beneath your product description. It generates more sell and reduces the bounce rate. |
Step #7: Add Knowledge Base
The FAQ section or knowledge base is one of the most crucial parts of any website. It allows the customer to know more about your company or the products you’re offering. Thus, you must add a resourceful FAQ section on the bottom portion of your landing page.
Try to leave the jargons and include only the frequently asked questions in this section. It will be better if you mention your contact page on the FAQ section. That’s how users can contact you with ease for further inquiries.

Adding Knowledge Base
We have done everything in the design phase. Now it’s time to perform the finishing touch.
Well, you might already understand that we are talking about adding the footer of our landing page.
Right!
With the most powerful header footer builder of ElementsKit, you can add a gorgeous looking custom footer on your website.
Check our detailed blog post about creating a custom footer and add a footer on your website within a minute.
Try to link your privacy policy, terms and conditions, and similar pages on the footer section. It allows your website visitors to know your company policy better.
Here’s a sample footer for a landing page.

Wpmet footer
How’s the Final Output?
We have completed the landing page design by adding the footer. So, how’s the final outlook of our landing page? Let’s have a look together!
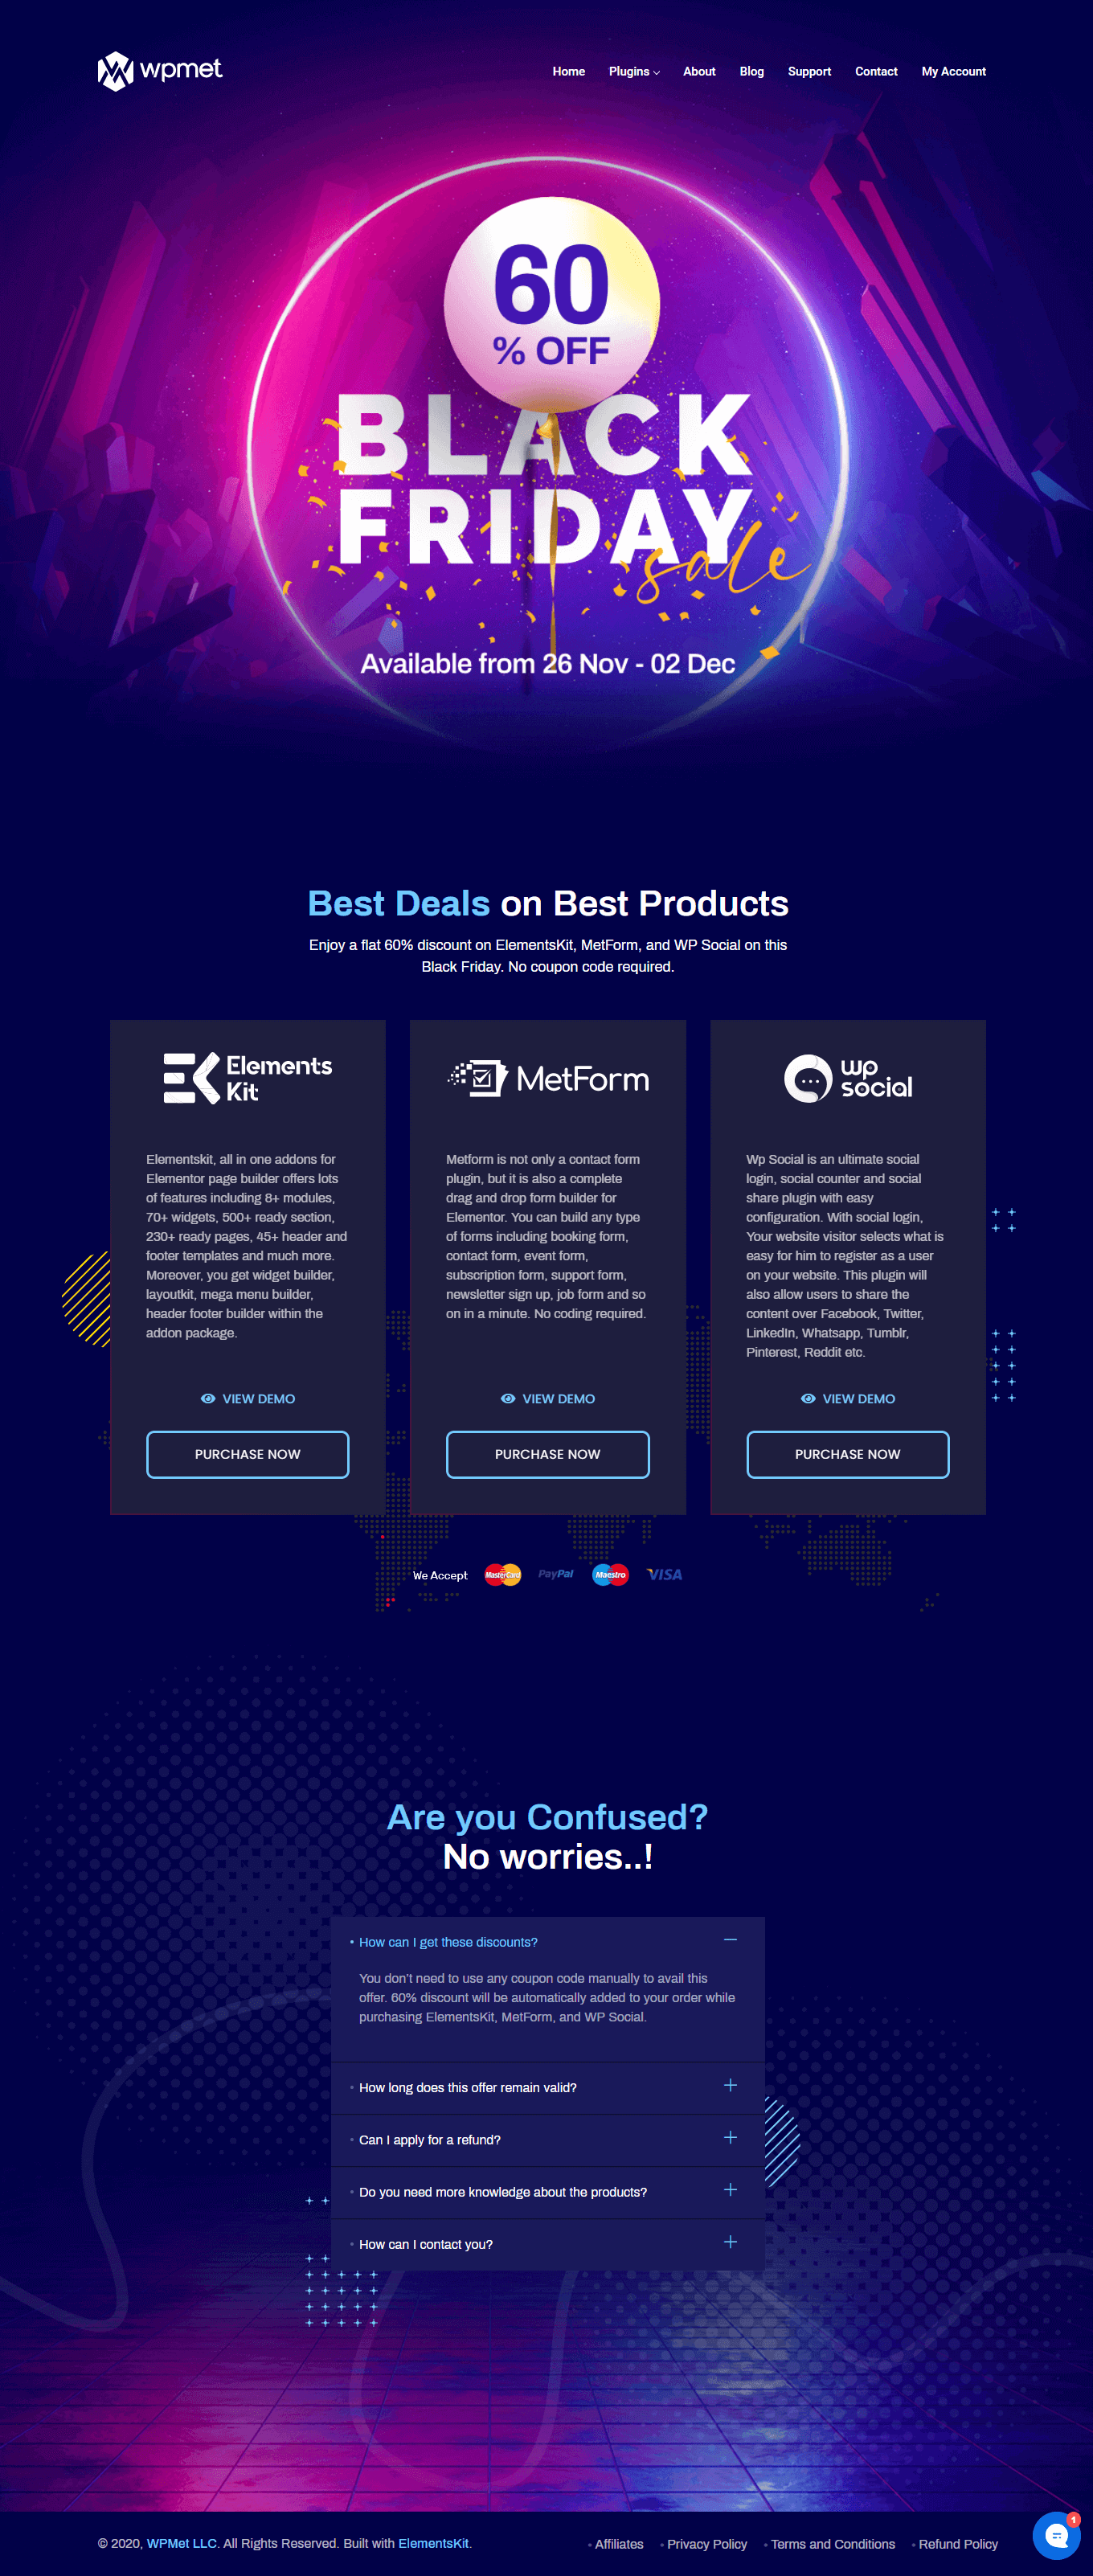
Isn’t it impressive, huh?
Wrapping Up
Landing pages are arguably the best way to capture your customer’s attention. An appropriate landing page helps the audience to move further towards your sales funnel.
You see, we just completed designing a static landing page for your Black Friday offers with ElementsKit. Does it seem like a tough job?
I don’t think so!
Create your own landing page right now and grow your business with ElementsKit.
Until then, ciao!
Leave a Reply