

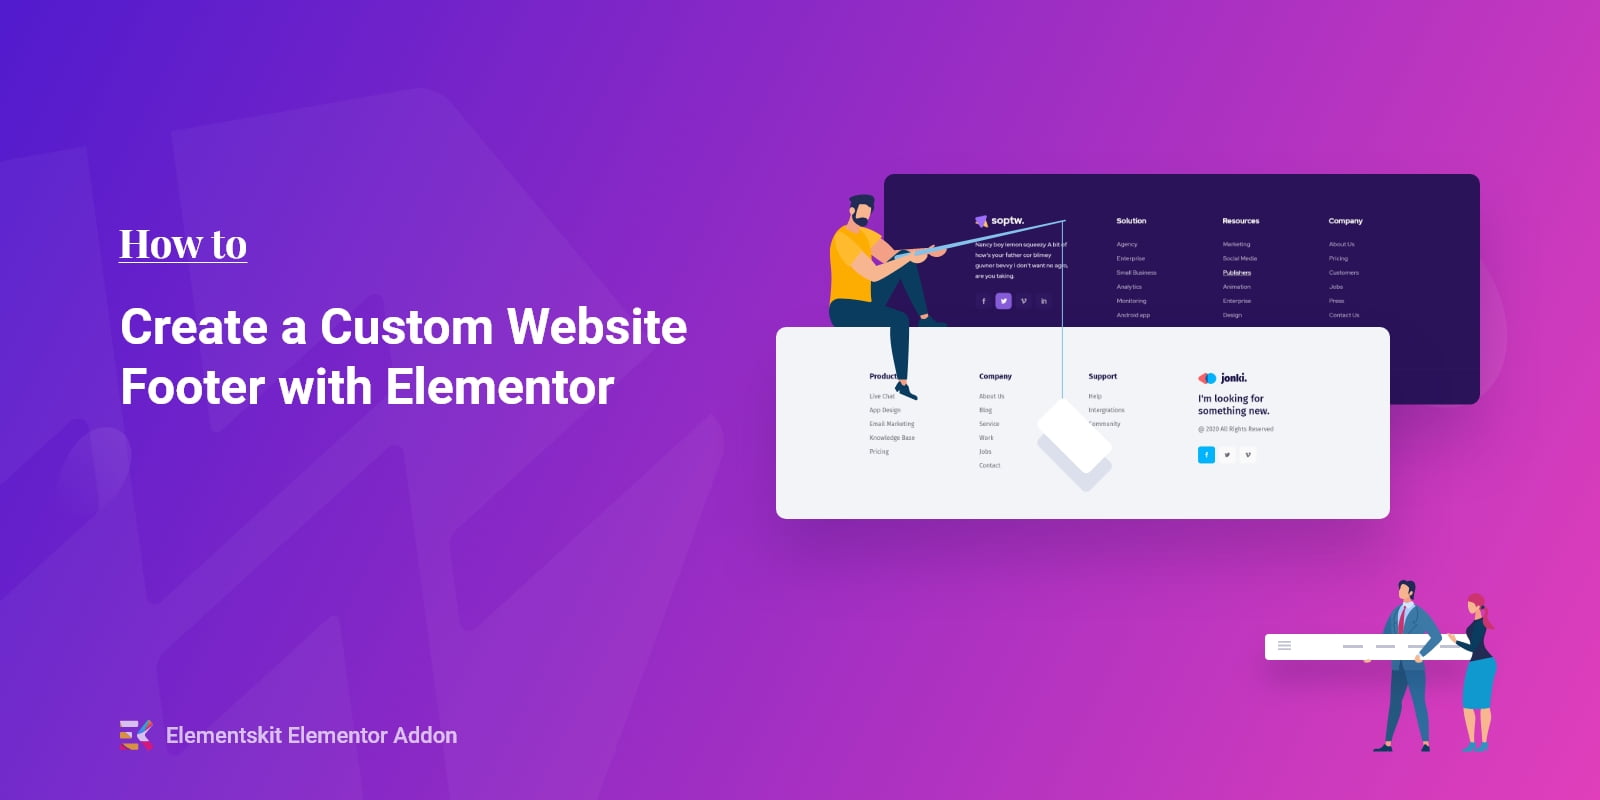
Ever wonder how you can create & customize your own website footer without touching a single line of code?
Sounds like a fairy tale, right? Well…The story becomes reality this time! ✨
With the most popular page builder Elementor, you will get full flexibility to create a prominent footer.
As 66% of web visitors actually roam below the fold, the footer section must be user-interactive. Otherwise, you will lose a huge portion of your customers in the blink of an eye.
But, don’t get paranoid yet! In this article, we’ll show you the effective way to create a fully custom website footer with Elementor for your website! 🙌
So, let’s get into it!
Do you know, you can spike the revenue of your business by about 16% just by adding an easily navigable footer?
Besides that huge user engagement, it’s highly effective for SEO too. It improves the internal linking structure and makes the navigation smoother than ever.
Fortunately, you can enjoy all of these facilities just by adding an eye-catching footer containing the internal links as sitewide links, or boilerplate links.
But, does a footer contain only links? 🤔
Nope…❗
You can add your product demos, subscription buttons, or contact forms too! Thus, your customers can not only surf your website easily but also get a clear concept about your products.
Quite impressive, huh?
Hold on! Here’s another bonus fact especially for you!
Besides adding all of those functions under the fold, don’t forget to add an eye-catching CTA button! Thus the users will be impressed and will convert into your real customers.
It’s a win-win situation for both, right?
Discover how to make the footer section and how it can benefit your brand by improving the experience of your visitors using Elementor.
Here are the main elements of good website footer design. I will try to cover all the sections that you can create and customize on your end.
- Logo
- Company info
- Contact details
- Navigation
- Support
- Copyright, terms of service, privacy policy
- Social media icons
- Call-to-action
| Note: Never overdo your website footer design, try to keep it as simple as possible. |
To follow this tutorial blog, you will need two things–>
And Done!
Why Elementor & ElementsKit?
If you are having trouble designing your web page with lots of code and all that. No worries! Your most powerful page builder Elementor is here!
Enjoy full drag-and-drop control over your website’s footer. Elementor is your best choice if you don’t like how your current footer looks.
Elementor includes useful add-ons to customize your website with ease. ElementsKit is the most popular among them with a powerful footer builder, 85+ widgets & readymade footer layout to improve your design.
Here in this tutorial, you will get to know how to build a beautiful custom Elementor footer with ElementsKit!
So, let’s get started.
In this section, we will show how you can custom or create a user-interactive footer for your website with just a few steps!
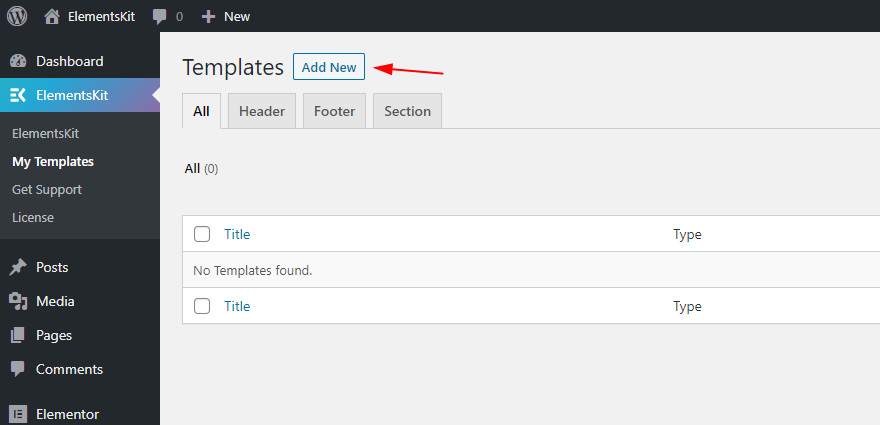
First, to create a fully custom website footer with Elementor, log into your website admin dashboard panel.
- Navigate to ElementsKit → My Templates
- Click Add New.
A popup box will open with options.
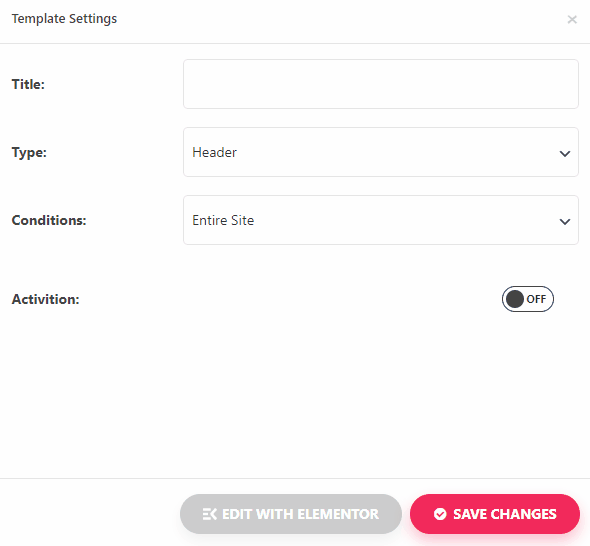
- Then in the popup box type a Title. For Ex: Custom Footer
- Select the Type → Footer
- Select the Conditions → Entire Site
- Toggle the Activation Option
- Click “Edit With Elementor”
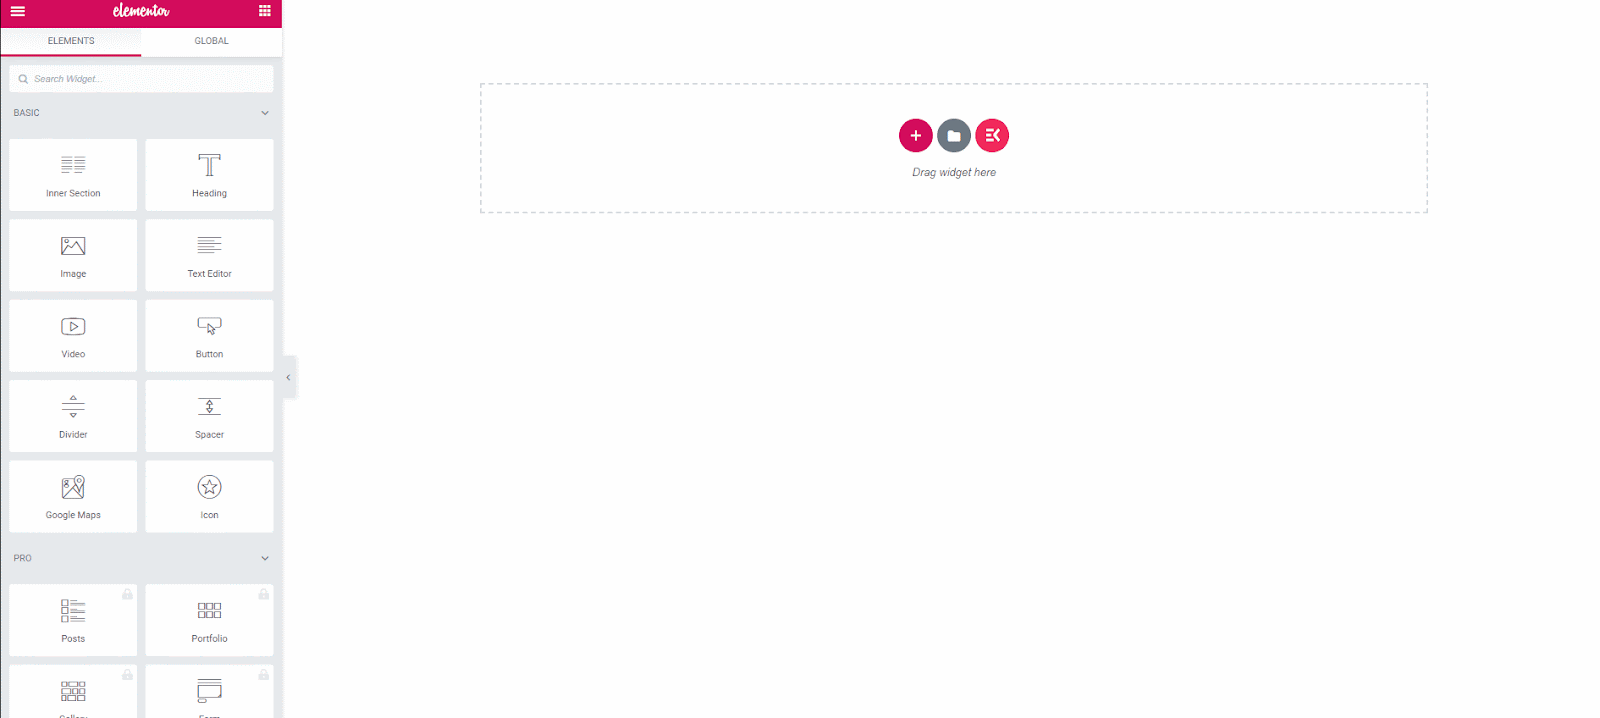
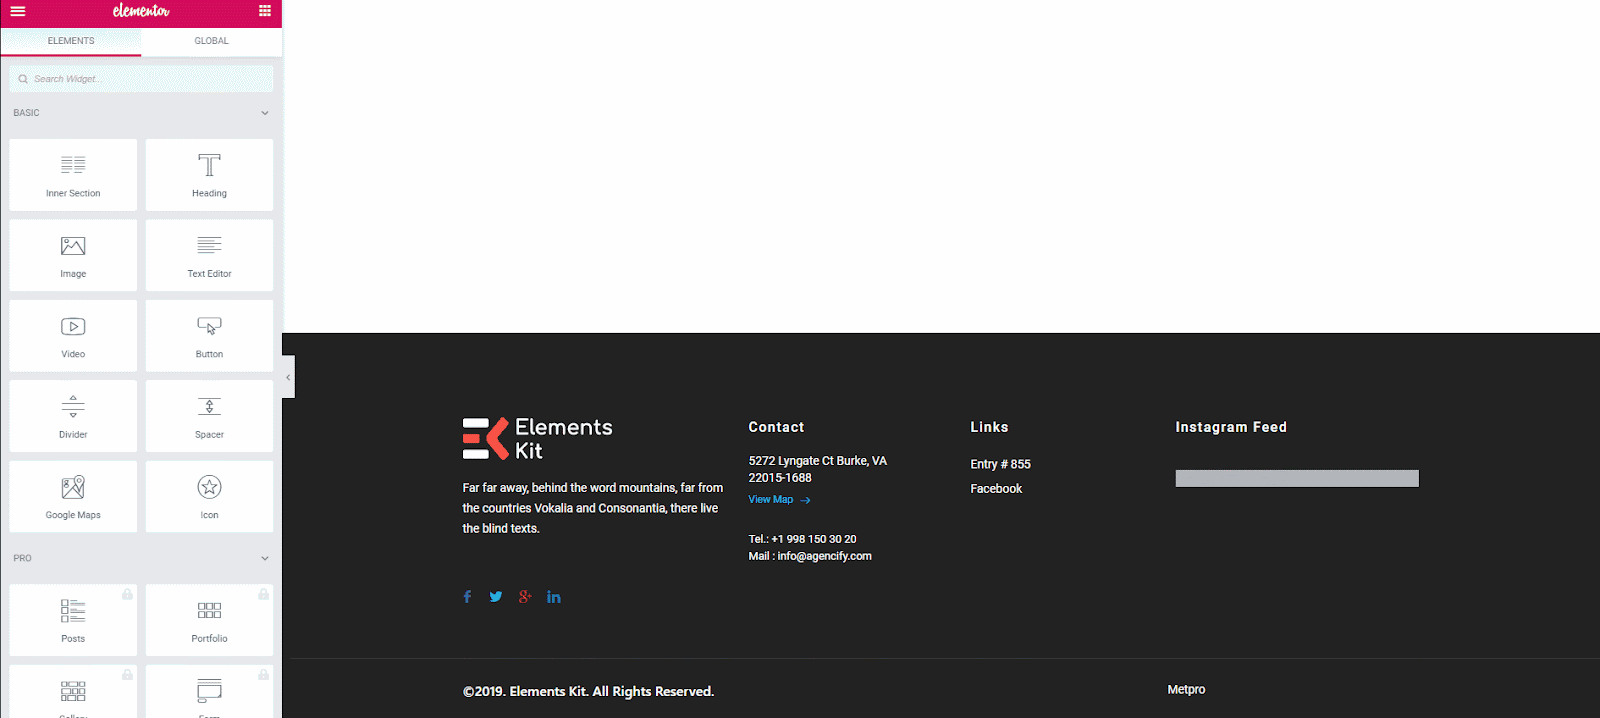
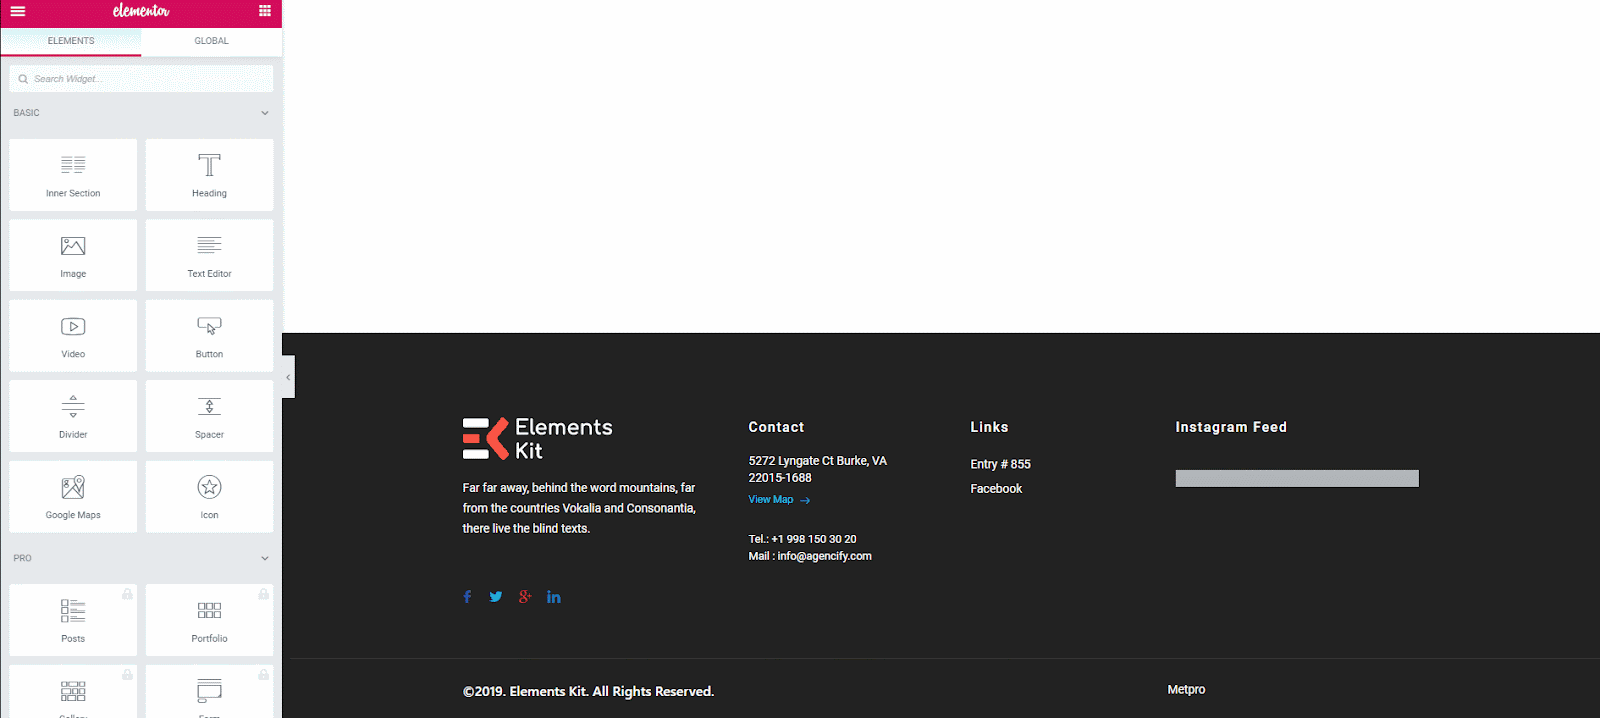
An editor page will open, here you’ll build the look of your Footer Section
You can start building your website footer from scratch or, you can choose one of our previously made footers for a starting point.
- To footer design for a website, you have to click on the Selected Icon-> Go to the Footer Tab
- Just click on the Insert Button to add and you’re Done!
Step->4: Set Up The General Layout
In this setting, choose the type of layout you want to create a custom footer.
- Click on the Main Customization Button: To edit the Layout section in the sidebar of your footer part.
- Enable Stretch section: Stretch the section to the full width of the page using JS.
- Set Content Width: Select the content width boxed or full width from the drop-down. Also, control it by simply dragging.
- Choose Columns Gap: Select Narrow, extend, wide, wider
- Adjust Height: Choose Fit to screen or min-height
- Choose Vertical Align: Select Top, Middle, Bottom, Space Between, Space Around, Space Evenly
- Overflow: Keep it Default or Hidden
- Select HTML Tag: Select from the drop-down

Step->5: Add a Logo
You should link your company in your product website footer to improve search engine visibility. In that case, your company logo will take users back to the home page when you click on it. And, you can add a logo very easily with just a simple step.
- Click on the Logo Image→ Easily upload an image or choose from your media file.
- Easily select the Image Size from the drop-down
- Choose the Alignment left, center, or right
- You can add any type of Image Caption like an Attachment caption or Custom caption
- Choose the Link Type Media File or Custom URL. You can provide any redirect URL.
Step->6: Add or Edit Company Description
Now, your website footer is a place to display important information. You can easily add a short brief about your company
- In this setting, you can Add or Edit any type of text
- Enable Drop-Cap to show a Large letter at the beginning of the content that looks more eye-catching.
Did you know, 72% of websites use social media icons to create a fully custom website footer with Elementor?
Well, adding a widget that displays your latest posts like Twitter, Facebook, or Instagram will help users to stay connected.
To custom social media icons & add the social sharing links to the icons at the bottom. You need to→
- Click on the social widget to edit the Social Icons.
- Choose your style: Icon, Text or Both
- Select Alignment position Left, Center or Right
- Click on the Facebook Content to expand
- Add Icon: Upload Icon From Library
- Add/ Edit Label
- Provide Social Link
- Customize the Icon for both normal and hover
- Add Background color
- Add Border Type: Solid, Doubled, Dotted, Dashed, Groove
- Select Text Shadow: Blur, Horizontal, Vertical
- Select Box Shadow: Horizontal, Vertical, Blur, Spread
- Select Position: Outline or Inset

Step->8: Include Copyright
Your copyright information is a must-have element of any footer. As it is the best way to protect your website from plagiarism.
- Easily add or Edit the Content
- Choose HTML Tag from the Drop-down

Step->8: Customise the Contact Info Heading
According to Web design standards, contact information should be found at the right or center of the footer. However, you can easily customize it with a few steps.
- Add/Edit your Contact Heading text here
- Provide Redirect Link
- Choose Size, HTML Tag from the drop-down
- Choose the Alignment left, center, right, or justified

Step->9: Add Company Location
The location of your company helps intensely with local SEO. Here’s the process of adding your company address→
- Choose the Layout: Default or Inline
- Add or Edit the company location
- Upload any Icon from the icon library with the Redirect Link

Learn more – How to Add Google Maps in WordPress Site (The Easiest Way) 🎉
Step->10: CTA Location Button
A study shows that the best option for putting your Call to Action below the fold on every marketing page. Follow the process to add a CTA button for showing the company location→
- Label: Add or Edit Button Text
- URL: Provide Redirect URL link
- Enable the Add icon to provide a Button Icon
- Upload the Button icon from the Icon library or you can upload it from your own library
- Select Icon Position: Before Text or After Text
- Provide Class Name or ID

Step->11: Customize Telephone no & Email
Adding the contact number to your site helps to improve SEO. Let your contact number be clickable so that visitors can simply tap to call. Now we will modify the telephone & email.
- Choose the layout: Default or Inline
- Add or Edit the company Telephone number and email
- Upload any Icon with Redirect Link

How to Grow Your Email List for Business – Proven Ways 🚀
Step->12: Showcase Page List with Redirect Link
Another common footer component is a link with a page. Add any page list like privacy policy, Terms & Conditions, or others. Simply show page details of the website’s policy, information, Rules & regulations etc. Let’s check out how to do it→
- Select Layout
- Add or Edit Text
- Add or Edit Subtitle
- Enable Toggle to Show Icon
- Upload Icon
- Select Icon Color
- Select Icon Position
- Search for your page where you want to show the Page List
- Enable to Show Label
- Add or Edit Label
- Customize Background Color, Typography, Padding, Alignment, Radius

If you want to create a custom header for your WordPress website, check out this blog – How to Design a Custom Header With Elementor
The website footer can be a perfect section to put in relevant social media feeds, such as Instagram feed. Let’s see what functionality you will get to customize→
- From the Layout Setting=> Select Grid style List, Grid, or Masonry
- Select your Column Grid 1,2,3 or 4 means how many columns you want to choose to display pictures.
- Enable Feed Style to provide Instagram feed effect
- Provide the count value of how many posts you want to display
- Enable Comment Box to showcase the user’s comment and reaction to your post
- Enable Show Caption to display the picture’s attractive caption
- Enable the Follow Button to add a Follow Us Button and provide an Instagram Link of the following page
- Follow Button Text: Customize Button Text
- Follow link: Provide the Follow link
- Alignment: Select the position of the Button where you want to display your Button- Left, Right or Center
| Pro tips: You should not use auto play functionality, as this can turn your visitors off. |

- Here comes the most important part. After designing your footer just click on the “Update Button”
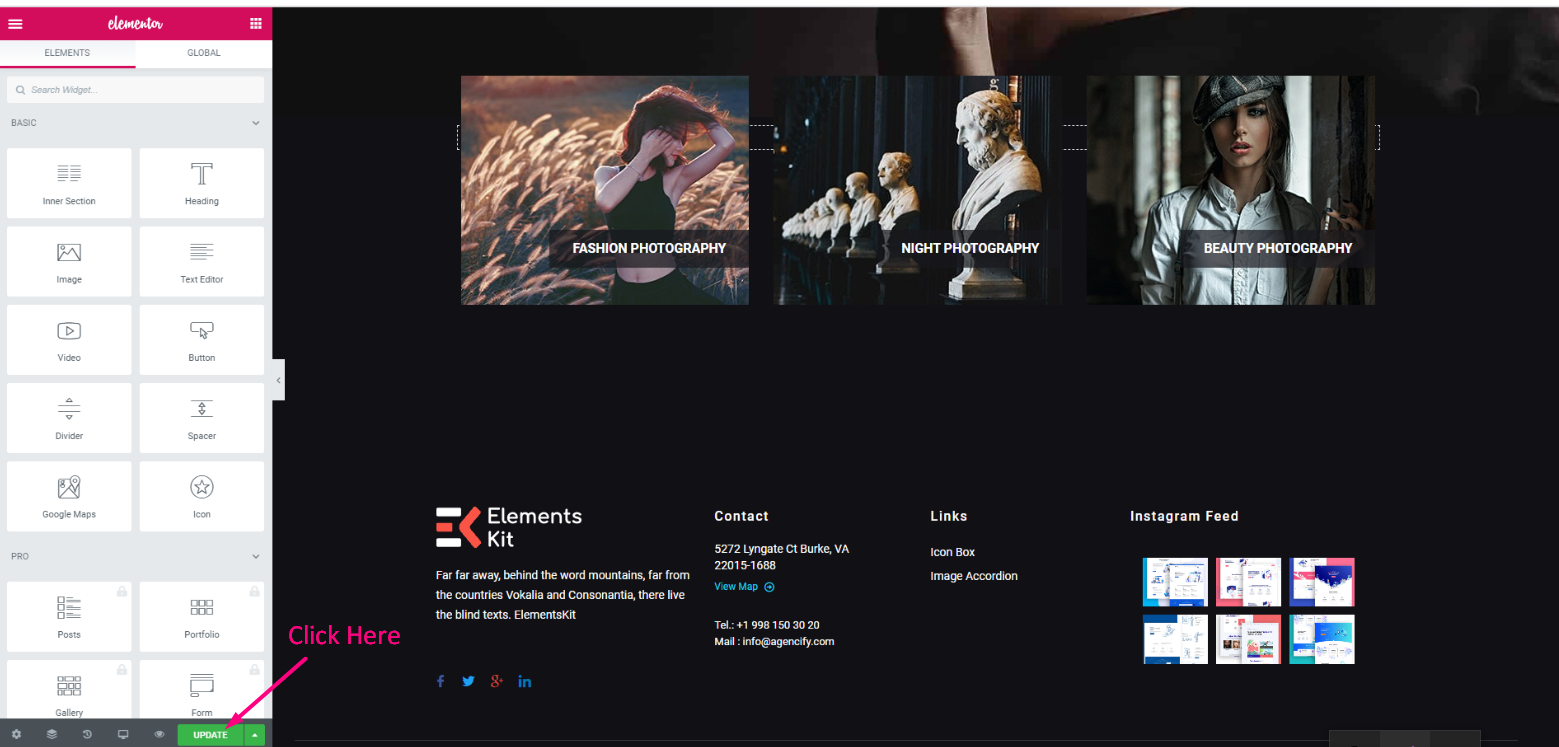
- The basic thing of this section is to click “Preview”. And, that’s it! Finally, your footer part is ready.
Yeeeee!!! 🥳

Wrapping Up
That’s all about the footer!
We believe that in this Elementor tutorial blog, you have learned how to effectively create footers to display using Elementor & the importance of footers on your site.
Hope that you can now easily create a fully custom website footer with the ElementsKit Elementor add-on.
However, if you have any questions to ask feel free to leave a comment below. We would love to help you.

Leave a Reply