Want to make your WordPress pages visually pop? Then, image boxes are the secret element.
You can showcase products, highlight team members, or draw your customer’s attention to key features with the image box in WordPress.
And you guessed it right!
In this write-up, we’ll depict the 3-step guide on how to add an image box in WordPress.
Let’s begin!
What is an Image Box in WordPress?
An image box is a graphical element or container designed to display images within a webpage or post. You can combine text and links with photos to present information in an engaging and visually appealing way.
Why Display Image Box in WordPress?
Image box is helpful to enhance a WordPress website’s overall design and user experience. It also has significant impact on positively driving websites traffic with visual representations. Besides, it allows you to convey brand messages more efficiently to your customers.
Further, image box lets you add the following sections in your web pages to establish brand identity more strongly:
- Highlighting key features or services
- Introducing blog posts or portfolios
- Displaying images and product galleries
- Showcasing team members
- Displaying testimonials and so on
Key Components of WordPress Image Box
- Image: The main visual element, often showcasing a product, service, team member, or related concept.
- Title: A short, descriptive heading that captures the essence of the image and accompanying text.
- Text: A brief description or snippet of information to provide context and details.
- Button/Link: A clickable button or link to direct users to a relevant page, product, or other resources.
How to Add Image Box in WordPress: 3-Step Guide
Image boxes can transform your WordPress pages into visually stunning masterpieces. It also captivates your audience and leaves a lasting impression.
Let’s see how to create an image box in WordPress in just 3 simple steps:
Step 1: Install and Activate the Necessary Plugins
To add an image box to your WordPress site, you can use either liquid code or Elementor plugins. In that case, using plugins is a convenient way to create and add image boxes without even coding knowledge.
Thus, you can go for an all-in-one Elementor add-on — ElementsKit. This amazing WordPress image box plugin offers extensive features and ready templates to add images to your WordPress website. Plus, the image box design and all the elements of the ElementsKit image box are fully customizable.
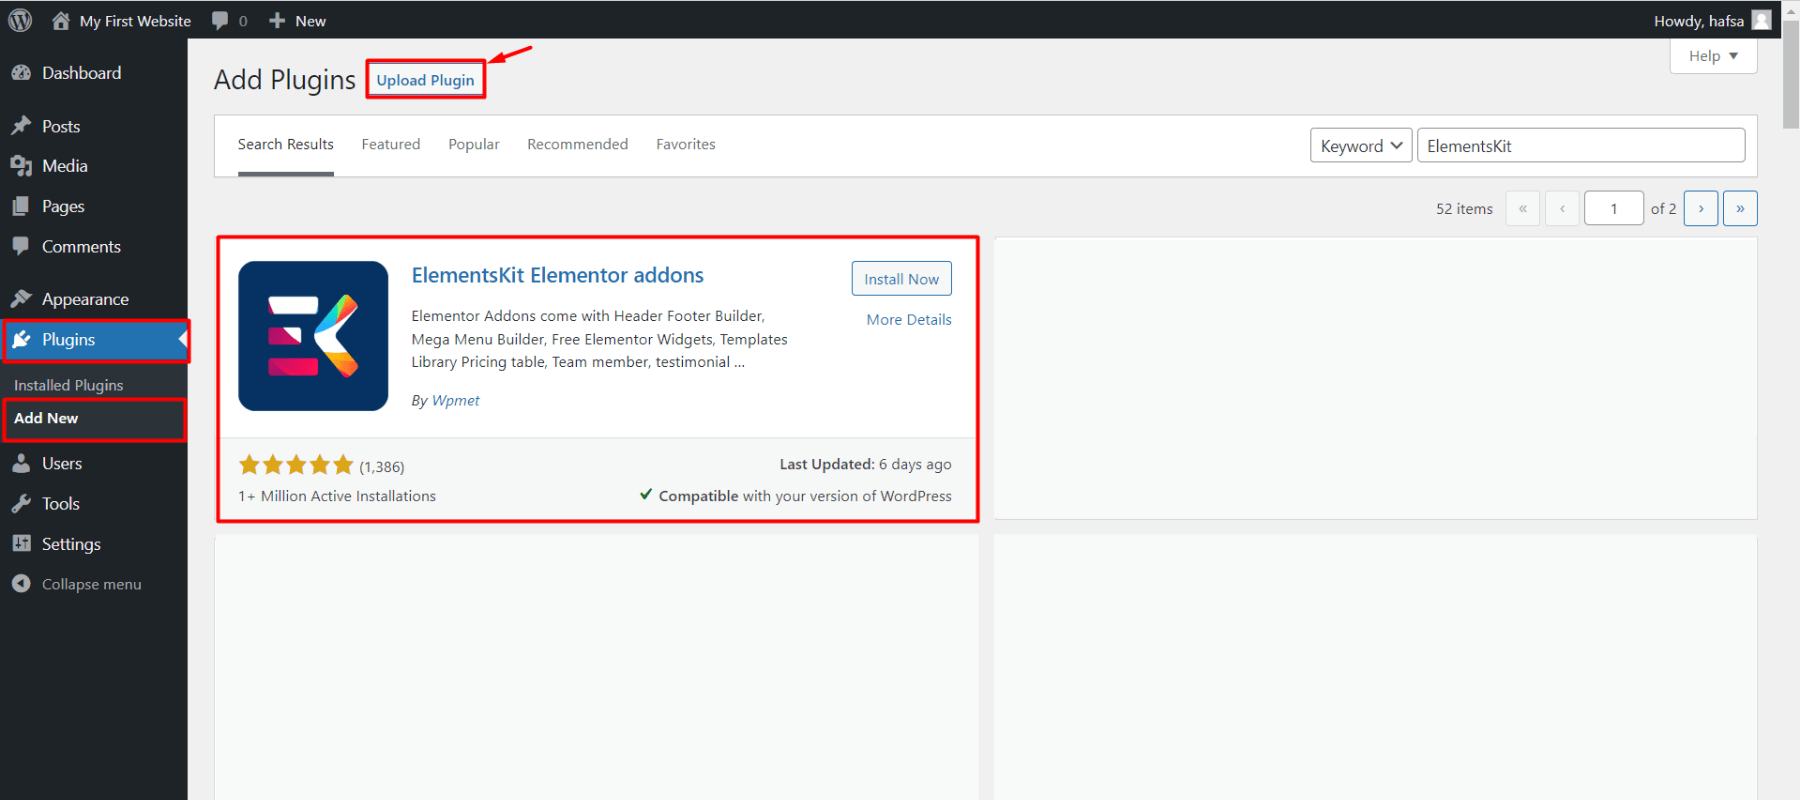
To install the ElementsKit image box plugin, go to your WordPress dashboard.
- Navigate to Plugins ➡ Add New
- Search for “ElementsKit”
- Click on “Install Now”
- Or, download and upload the zip file
- Activate the plugin once it’s installed
Step 2: Add Image Box to Your WordPress Site
After installing and activating the WordPress image box plugin i.e. ElementsKit, you can utilize its pre-designed templates. These templates are easy to use with just one click. Plus, you can add/remove elements based on your requirements.
Let’s see how to add images in wordpress using the ElementsKit image box:
- Create a new page/post or open an existing one
- Open with Elementor
- Click on the “ElementsKit” icon
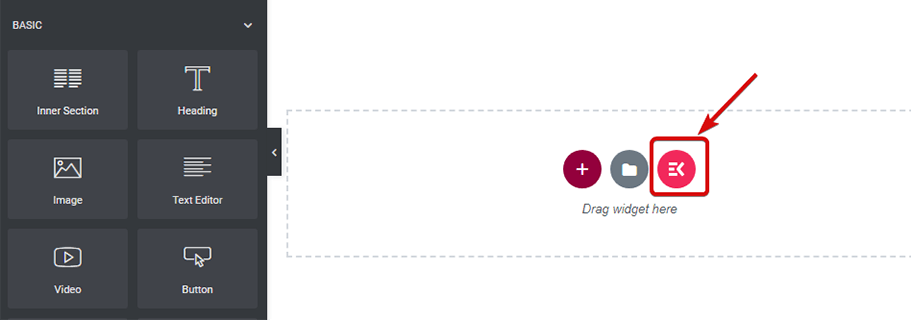
- Next, you need to select the Elementor image box widget from the ElementsKit widgets category
- Click on “Image Box”

- Here, you can access 11 free and, 8 premium design and style variations; a total of 19 different templates to add an image box to the WordPress site
- You can see the previews of all templates to understand the design and elements that match your website
- Click on the plus sign (+) to see the live preview
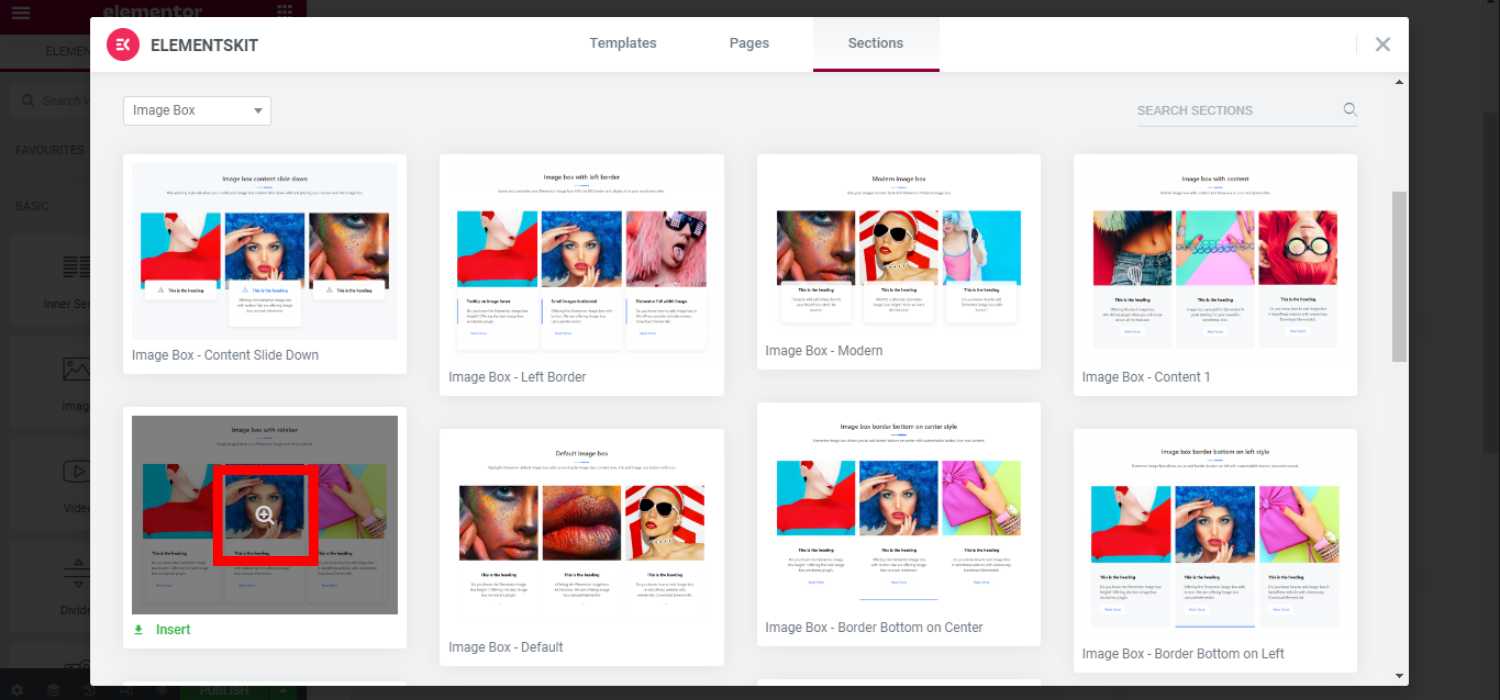
- After finalizing the design, Click on “Insert” to add WordPress image
- It will be added to your page/post
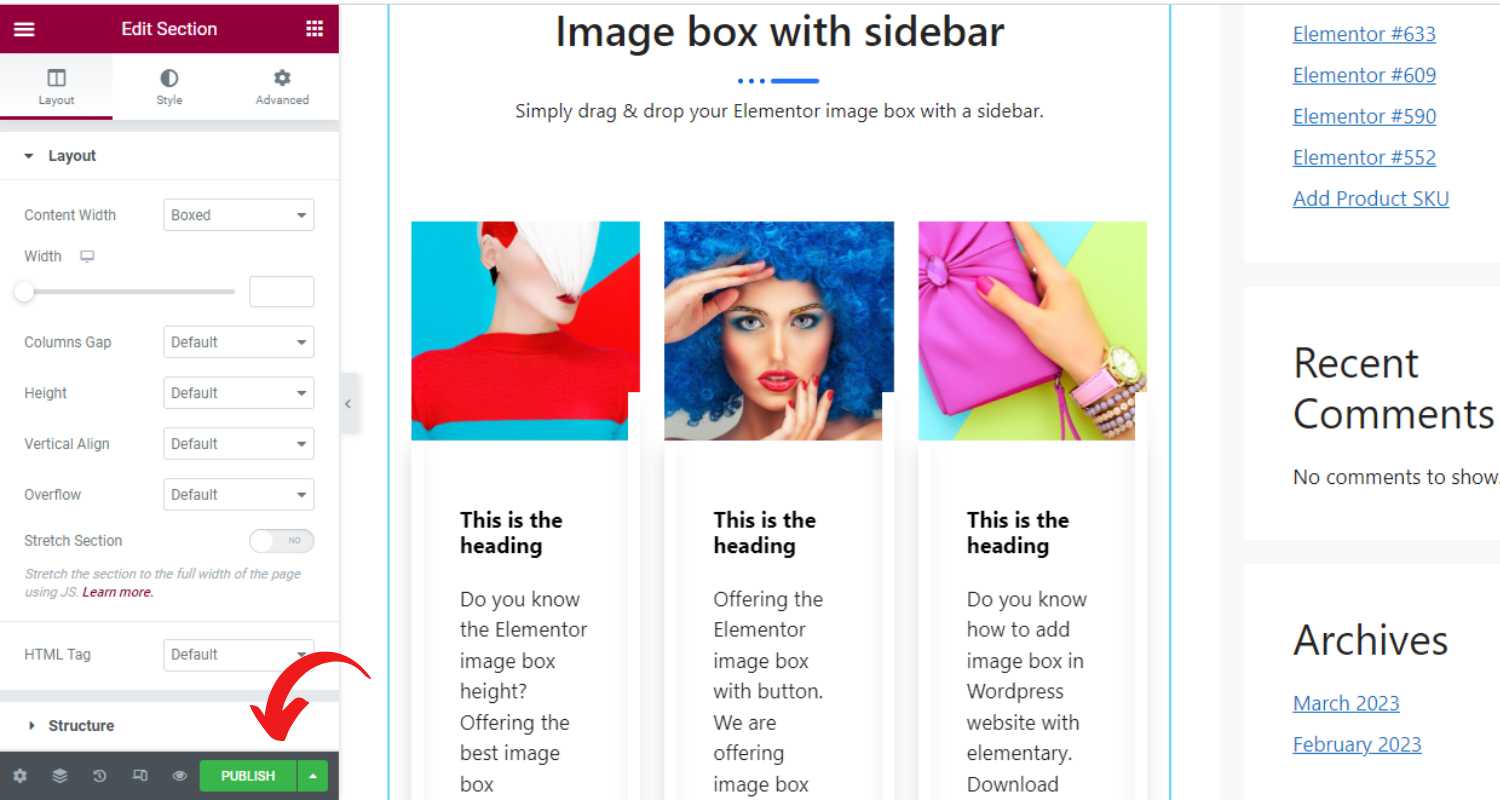
- Now you can add/remove or modify the content, styles, and other properties of the image box
- After all the customization, click on “Publish”. And the image box will be live on your WordPress website
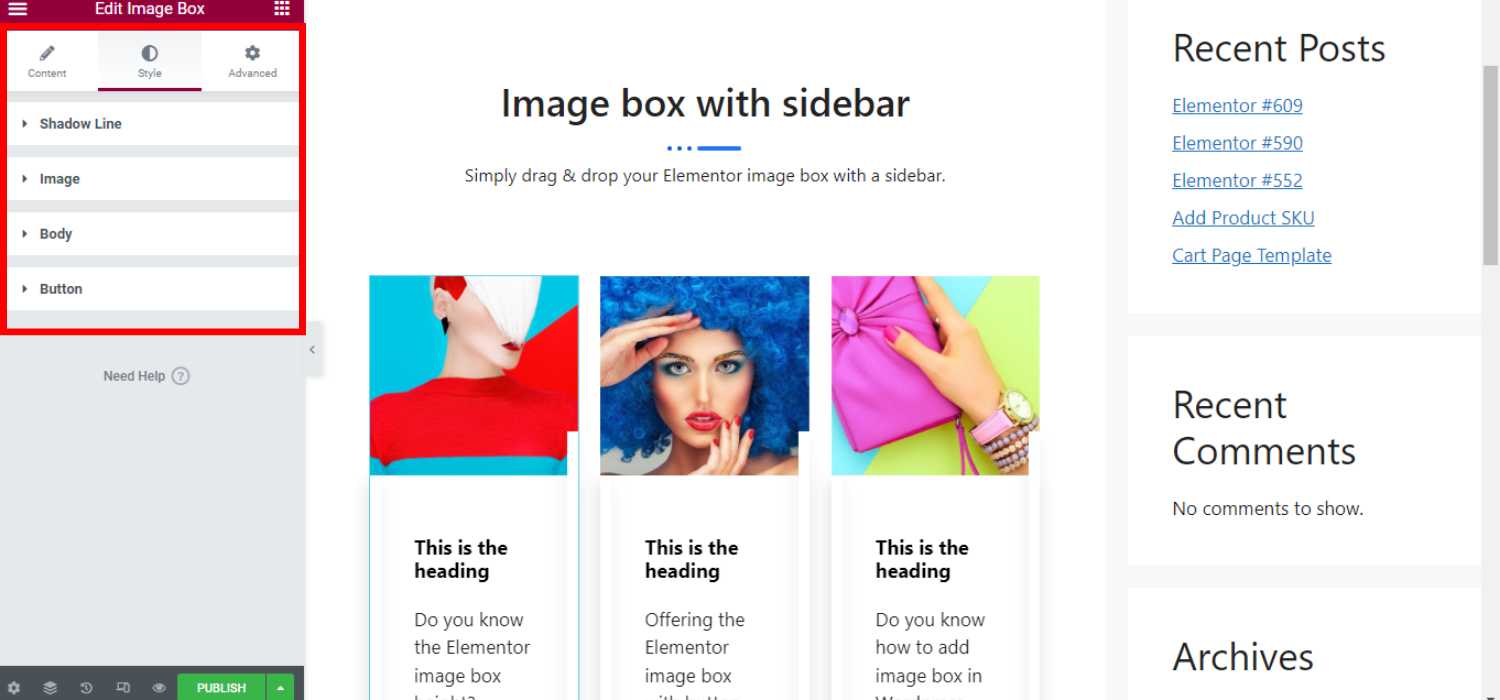
Step 3: Customize the Styles and Settings
ElementsKit, an excellent add-on for Elementor is a fully customizable plugin as users can utilize its 85+ widgets and modules. Like other elements, the image box widget is also personalized as per your needs.
You can edit headlines and the body content. Again, you can change the styles of images and call-to-action buttons. Plus, you can style up the image boxes with numerous effects and formats.
Let’s see how to customize an image box in WordPress:
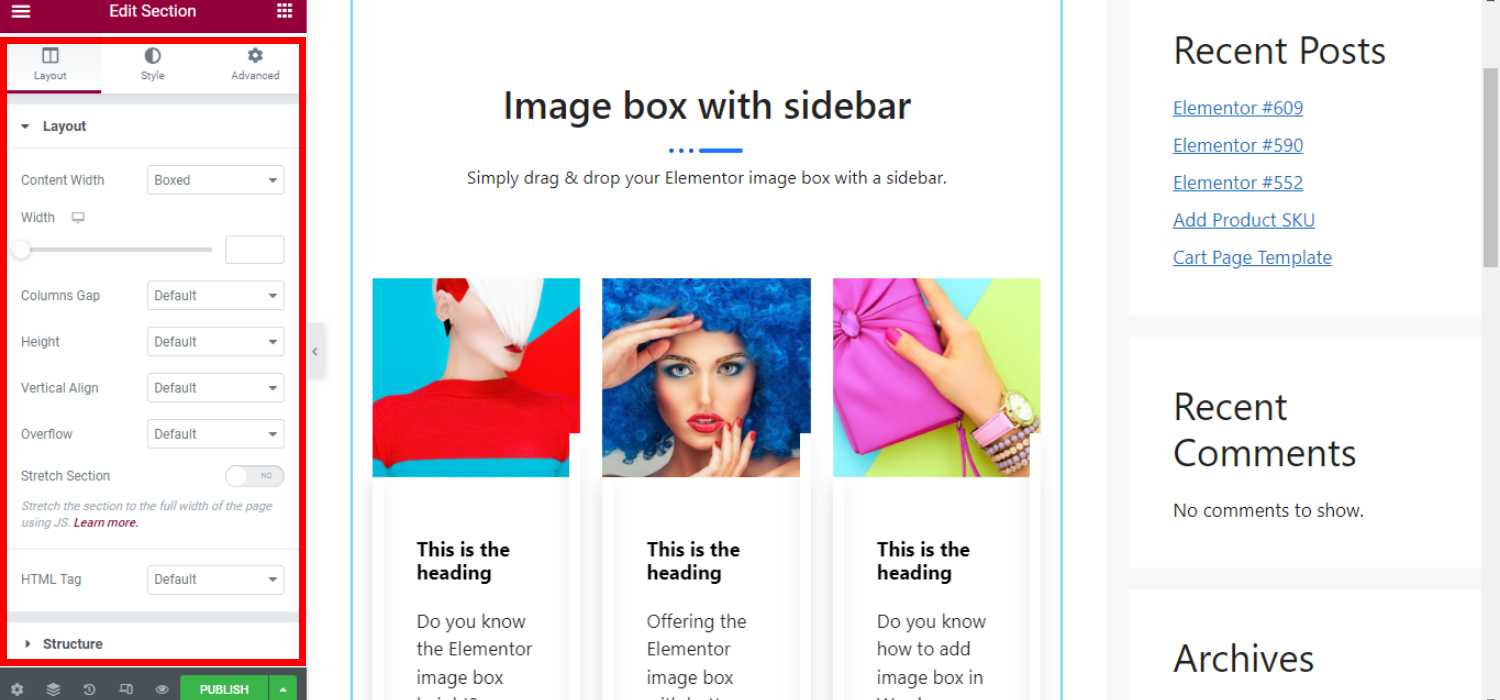
Layout Customization
After inserting ElementsKit’s pre-made image box templates in WordPress, you can adjust its layout.
- Increase or decrease the image box width
- Set columns gap as narrow, extended, wide, custom, or no gap
- Adjust the image box height and alignment to correctly insert WordPress image
- Keep the overflow default or hidden
- Utilize HTML tags e.g. header, footer, main, article, etc.
Content Customization
The Image box in WordPress contains different content for different elements such as headings, images, buttons, etc. You can change the text, and modify their properties.
Let’s see how to customize ElementsKit image box content in WordPress.
✨ Title
- Change headline and subheading titles
- Insert links with the title
- Hide/show border with start/end position
- Add/show or hide title description
- Add separators with various styles and positions
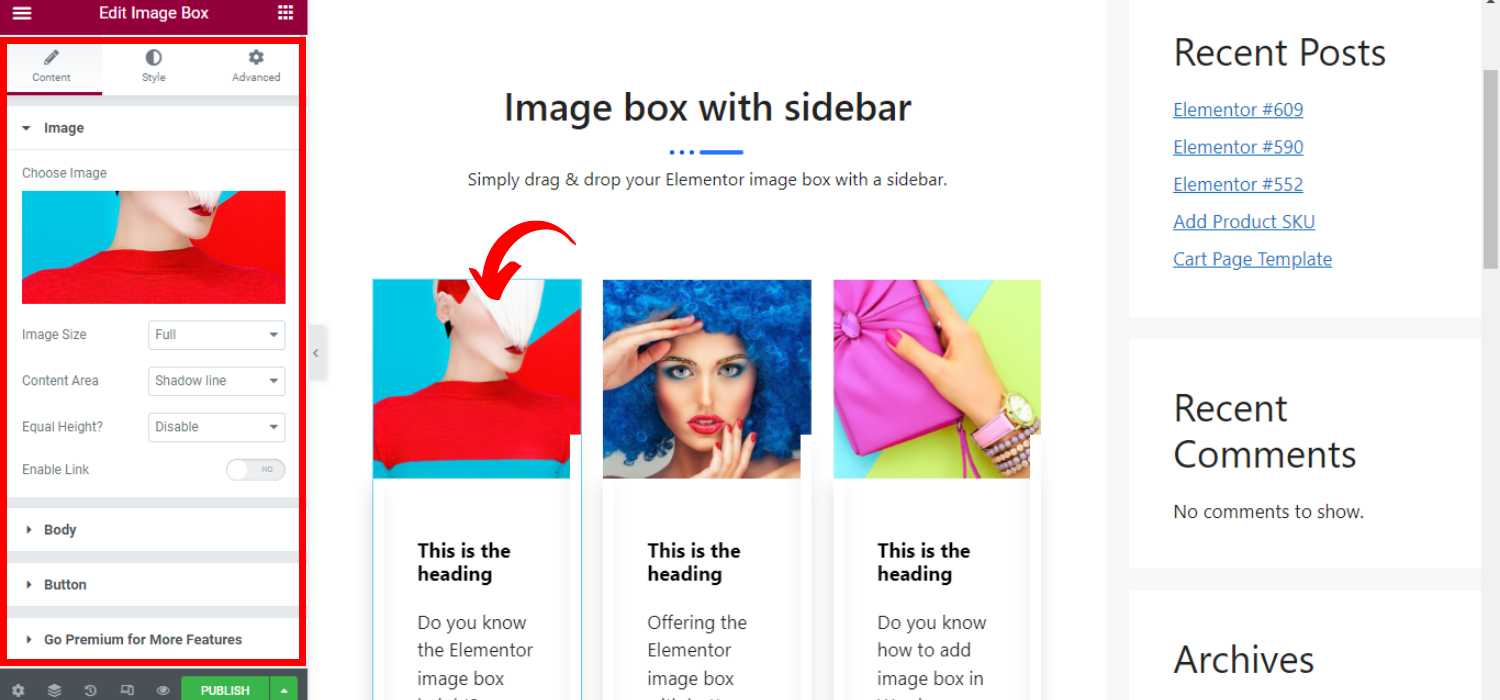
✨ Image
- Change the image or add AI-generated images
- Adjust the image size e.g. full, medium, large, custom, etc
- Set the content area as a simple, classic, shadow line, etc
- Enable/disable equal height
- Insert URL to link another resource
✨ Body
- Add/remove or edit the title text
- Modify the title HTML tag
- Adjust the title alignment to left, right, or center
✨ Button
- Enable or disable the creative button
- Add custom button label text
- Add custom URL
- Add/remove the icon and set the piston
Style Customization
With layout and content, you can change their styles too. As a result, you can create different types of image boxes that suit your WordPress site user interface and other properties.
✨ Shadow Line
- Choose the shadow line for left or right
- Set custom width as per the need
- Customize the shadow background type and color
- Set custom background image
✨ Image
- Add custom border radius and padding
- Adjust the image opacity for normal or hover effect
✨ Body
- Choose the border type with border-radius
- Set custom background image, type, and color
- Adjust box padding and box shadow color
- Adjust title typography, color, and spacing
✨ Button
- Customize padding value and icon font size
- Change the button text and background color
- Set normal or hover properties
- Set border type, border radius, and box-shadow
Advanced Customization
ElementsKit image box is flexible to use advanced customization features. It helps to make your image box more elegant and engaging. You can also integrate various motion effects as well as custom codes to match the image box with the particular web page of your website.
You’ll find the customization options in the advanced settings:
- Modify the image box layout’s padding, margin, width, position, and z-index
- Add motion effects for elements (e.g. fade in, fade out, bounce in, zoom in up, slide in left, etc.)
- Customize the image box responsiveness according to devices such as PC, tab, and mobile
- Set attributes and properties to hide/show in various devices
- Include custom CSS for additional feature modification
Advantages of Adding Image Box in WordPress
- Enhance Visual Appeal: An appealing image box breaks up text-heavy content. Also, it makes pages more visually engaging and easier to scan.
- Highlight Core Information: You can highlight important messages, features, or calls to action.
- Improve User Engagement: Using image box elements in WordPress, you can also create visually compelling experiences. It can keep users interested and exploring your content.
- Boost Click-Through Rates: Image boxes with clear calls-to-action (CTA) can encourage users to click and learn more.
- Structure Information: You can organize content into logical sections and improve readability with navigation.
5 Tips to Add Image Box in WordPress
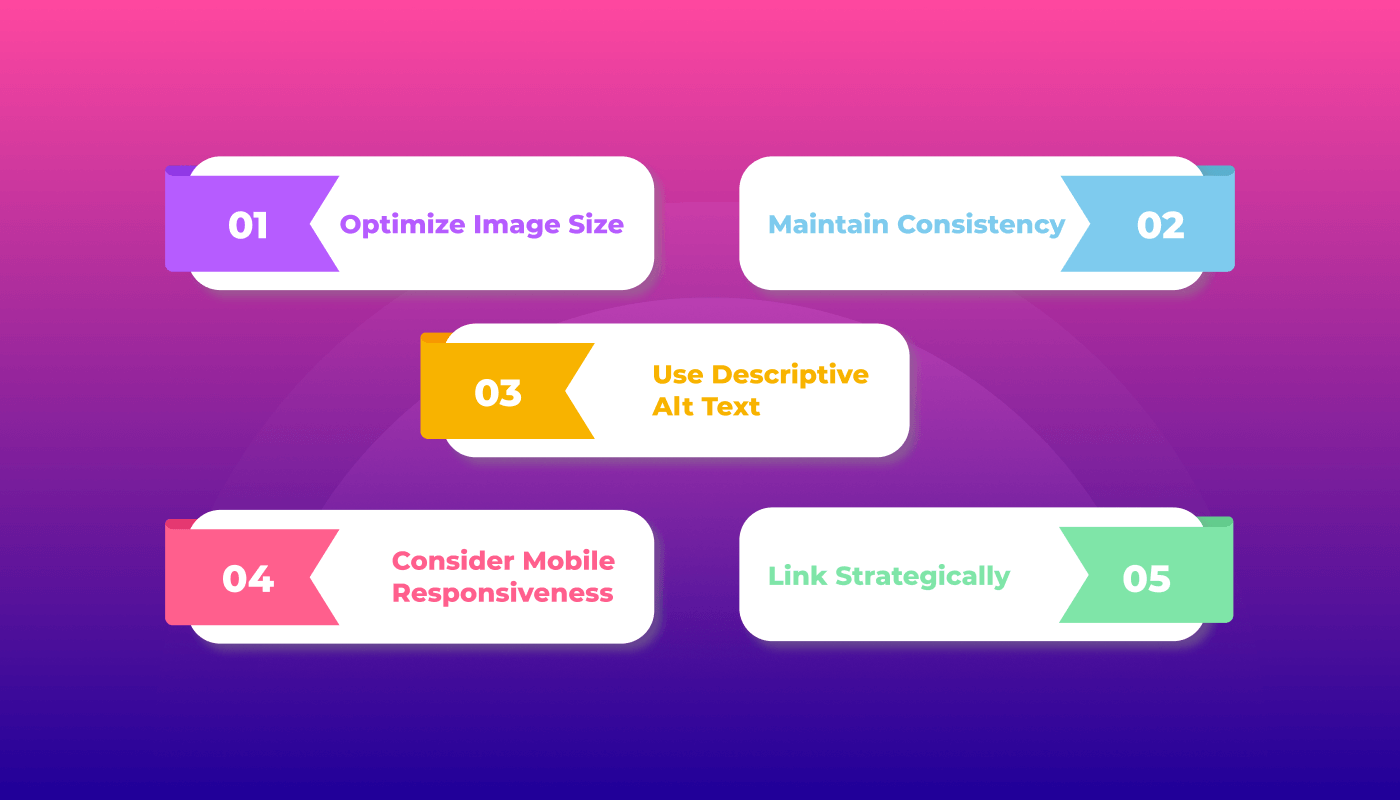
Adding an image box to your WordPress website effectively makes your content more engaging and informative.
Let’s explore 5 tips to make it a more efficient and eye-catching element on your site:
1. Optimize Image Sizes
Use tools like TinyPNG or image optimization plugins to reduce image file sizes without compromising quality. This significantly improves page loading speeds.
2. Maintain Consistency
Use images with a consistent style, color palette, and proportions to create a cohesive visual experience. Also, ensure image boxes align with other elements on the page for a polished look.
3. Use Descriptive Alt Text
Provide descriptive alt text for each image. This helps screen readers describe images for visually impaired users and enhances search engine visibility.
4. Consider Mobile Responsiveness
Check that image boxes display correctly on various screen sizes, especially mobile devices. Use responsive design techniques or plugins to ensure seamless adaptation.
5. Link Strategically (if applicable)
Link image boxes to relevant content or landing pages to guide users and encourage desired actions.
Good to know 👉 How to apply Elementor Image Masking In 4 Easy Steps With ElementsKit
FAQs
Yes, you can add as many image boxes as you like to a single page or post. This allows you to create visually engaging layouts and highlight different pieces of content.
Definitely! You can easily link image boxes to other site pages or external URLs. This is a great way to direct visitors to relevant content or resources.
Not really! If you optimize your images, it will effectively minimize their impact on loading speed. You can use optimized image formats (like JPEG or WebP) and consider compression tools to reduce file sizes.
To optimize images for WordPress SEO, compress them for speed and make them responsive. Use descriptive keywords in filenames and alt text, and add relevant titles and captions. Plus, include images in your XML sitemap for better search engine visibility.
ElementsKit is an excellent choice for adding image boxes to your WordPress site. It offers various pre-designed templates, customization options, and performance optimization features. It’s also user-friendly and compatible with various themes and plugins.
Similar to the image boxes, you can add gallery by using an WordPress plugin. For example, ElementsKit comes with a gallery widget that allows users to add and display beautiful gallery in WordPress.
Wrap it up
To decorate your WordPress websites with images, nothing can be more captivating and informative than the ElementsKit image box.
Here we’ve provided a step-by-step guide on how to add an image box to your WordPress site effortlessly. Also, we’ve shown how to use the ElementsKit Elementor plugin for more impact and experiment with different image box styles and layouts.
So, the power of visuals is at your fingertips now – use it efficiently and make your content truly shine! 🥳

Leave a Reply