
Ever wondered about the popularity of social media nowadays? Most people today consciously or subconsciously are connected to social media. Out of all the social media networks, Facebook, unsurprisingly, sits at the top of the table when it comes to the users’ choice. This tutorial basically will deal with how to add WordPress Facebook feed.
But before that let me share few pieces of stats about Facebook as the topic is related to Facebook. It’s salient to know if it’s worth adding Facebook feed to your WordPress site.
As per the 2022 report of Backlinko, Facebook has 1.9 billion daily active users right now, a 6.89% increase year-over-year.
When it comes to monthly active users, it has 2.9 billion people accessing the platform right now as per the same report, a 7.18% increase year-over-year.
That’s a whopping big, right? What if you can embed Facebook feed to your WordPress site? It sounds thrilling, doesn’t it? By adding a Facebook feed, you can display your Facebook business page or group’s posts to your site visitors. This gives you the chance to grow your audience to a larger extent.
Now, let me walk you through the method to add WordPress Facebook feed to your site. You can do that easily by deploying ElementsKit’s Facebook Feed widget.
Do you know that there are a number of top-rated social media plugins available in the marketplace? But how to identify them? Head over to the blog “10 robust WordPress social media plugins and reduce your effort.”
Why Leverage ElementsKit to Add WordPress Facebook Feed:
ElementsKit is an easy-to-use addon for Elementor. It comes with innumerable features and widgets providing you all the benefits that you look for in a page builder. Among tons of widgets, Facebook feed is one of them. With the Facebook Feed widget, you can add custom Facebook feed to your WordPress site seamlessly.
Before I show you how to add WordPress Facebook feed to your site with ElementsKit, let me dilate upon the reason why you should go for it.
All-in-one Plugin:
ElementsKit isn’t merely a Facebook feed plugin, rather it’s a comprehensive one. Besides giving you the option for adding a Facebook feed, it also provides you with many other features. You can build a header & footer, megamenu, widgets, add parallax effect, conditional content, image accordion, countdown timer, and so on and so forth.
Plenty of Customization Options:
ElementsKit offers countless customization options for your benefit. You can spice up the styles of the feed posts by making necessary tweaks.
Responsiveness and Speed:
Regardless of the device, ElementsKit ensures your site appears highly responsive and super fast. No matter whether it’s a mobile, laptop, desktop, or even tablet, your website will show up flawlessly on all these devices. And that too maintaining blazing fast speed.
Now, let’s dive deep into the process of adding a Facebook feed to your WordPress website with the help of ElementsKit. You can add Facebook feed to WordPress homepage and other pages too.

How to Add Facebook Feed to your WordPress Site:
ElementsKit lets you add WordPress Facebook feed to your website easily and smoothly. In just a few simple steps, you can do the job. Without further ado, let’s take a look at the steps in which you can add WordPress Facebook feed to your site-
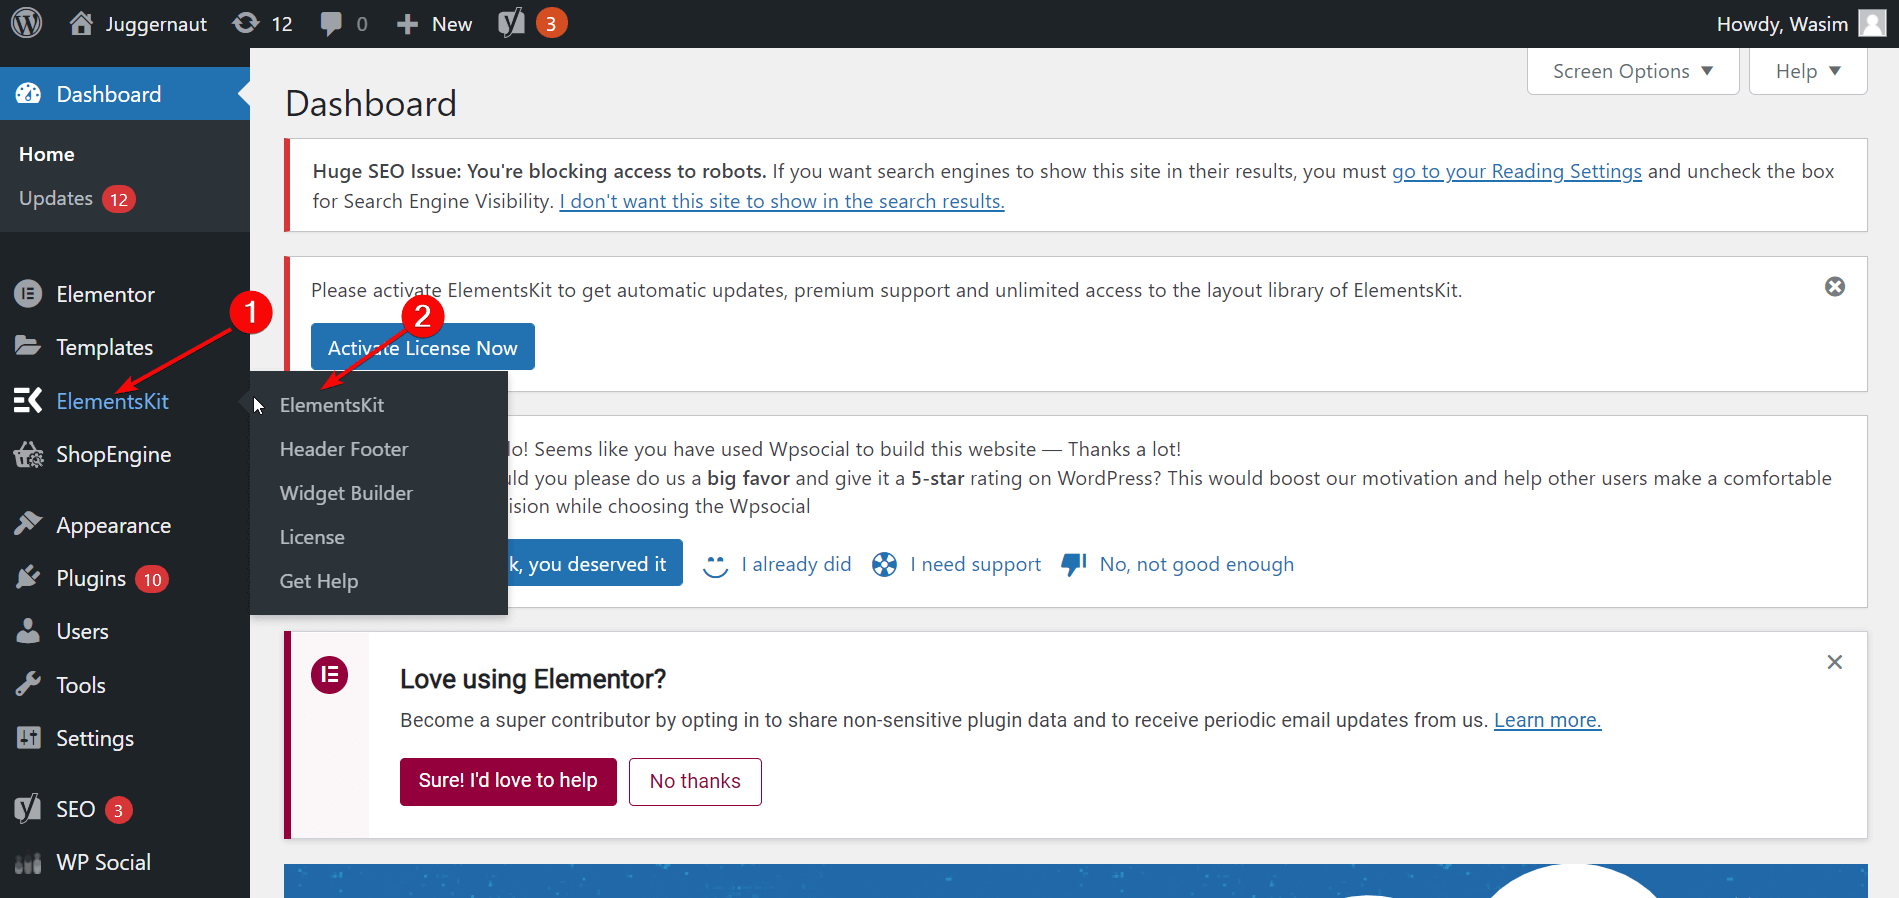
First up, go to your site’s dashboard and navigate to the ElementsKit on the side panel. Click ElementsKit from the menu.
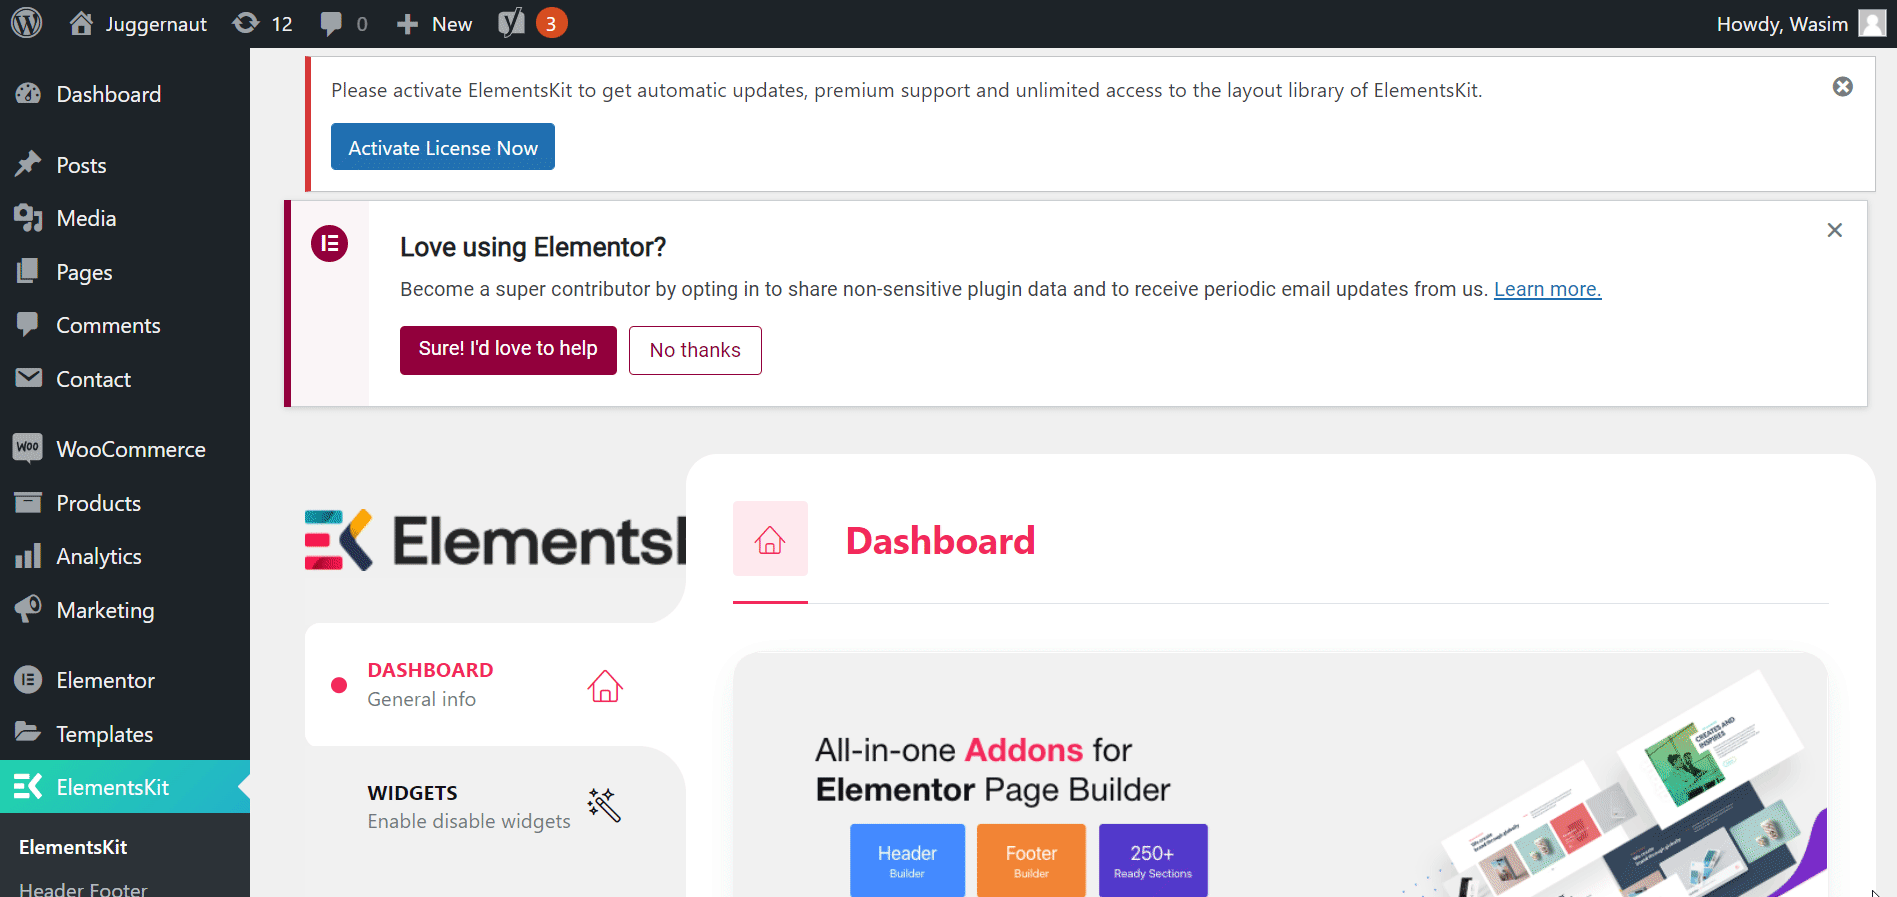
Then, select “Widgets” and with that a list of widgets will show up but you have to go all the way down and find the Facebook Feed widget. Make sure the Facebook Feed widget is enabled. Then, click the “Save Changes” button.
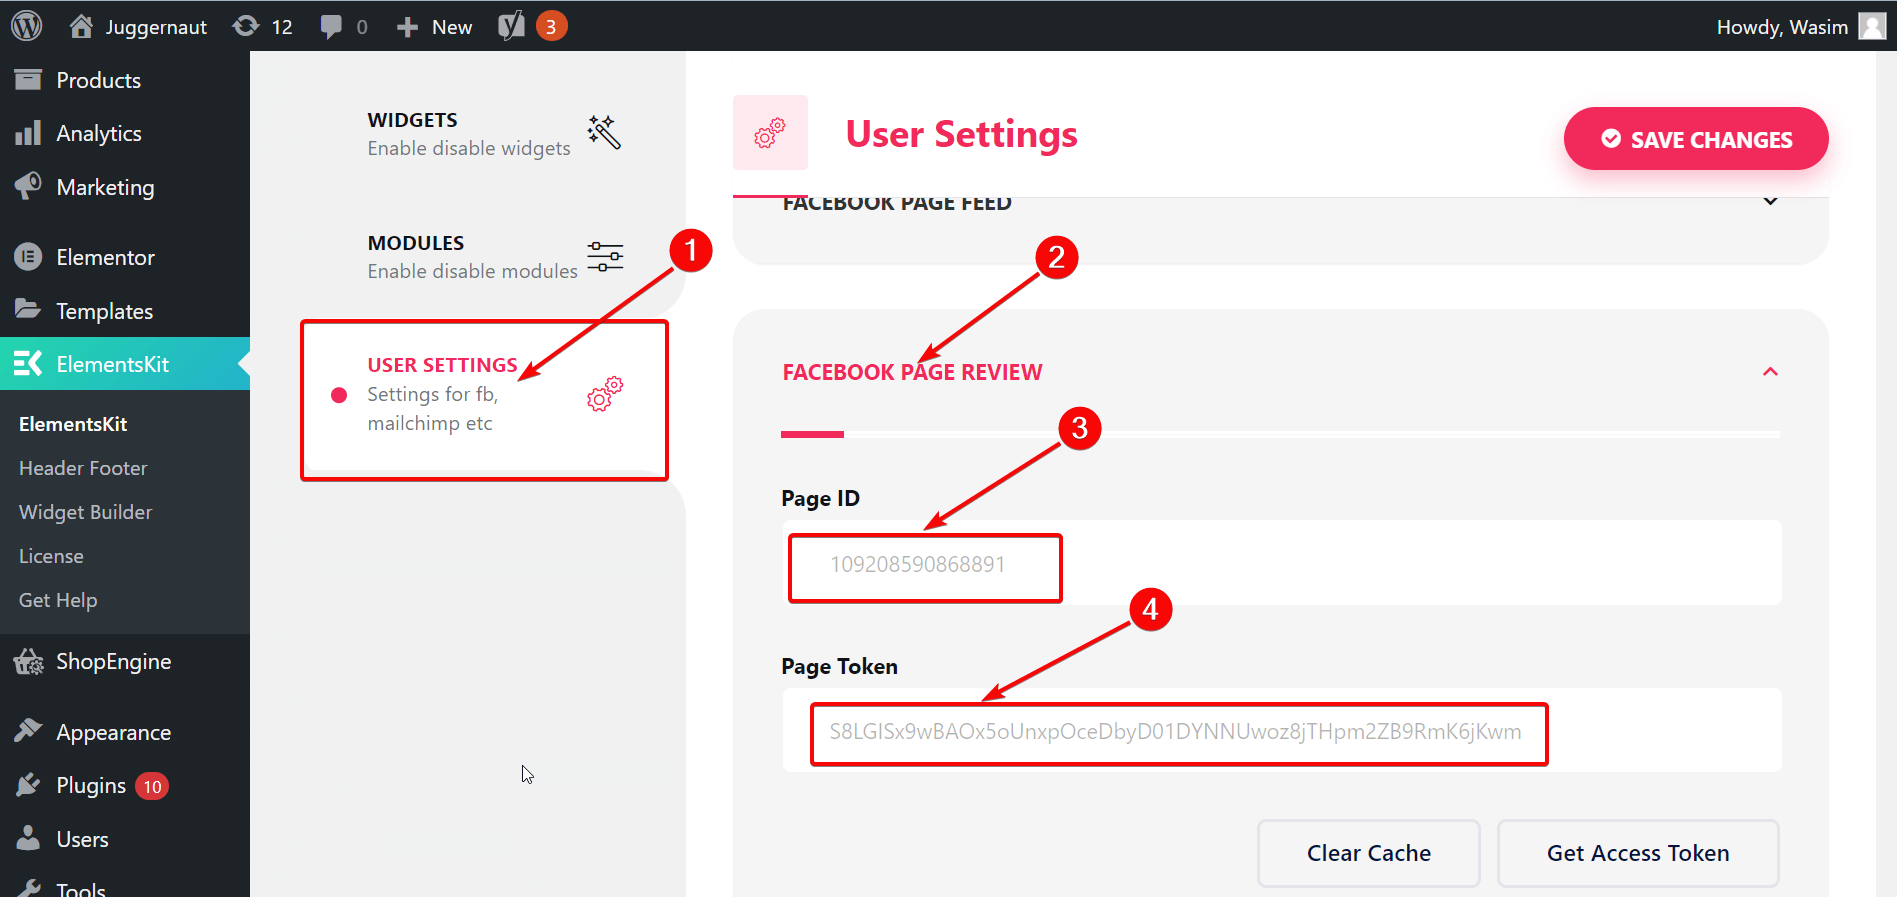
Find Facebook Page Feed Tab:
Now, click the “User Settings” menu items from the sidebar. A number of tabs will appear on the screen. All you have to do is navigate to the Facebook Page Feed tab and click the drop down. This will ask you to put Facebook Page ID and Page Access Token.
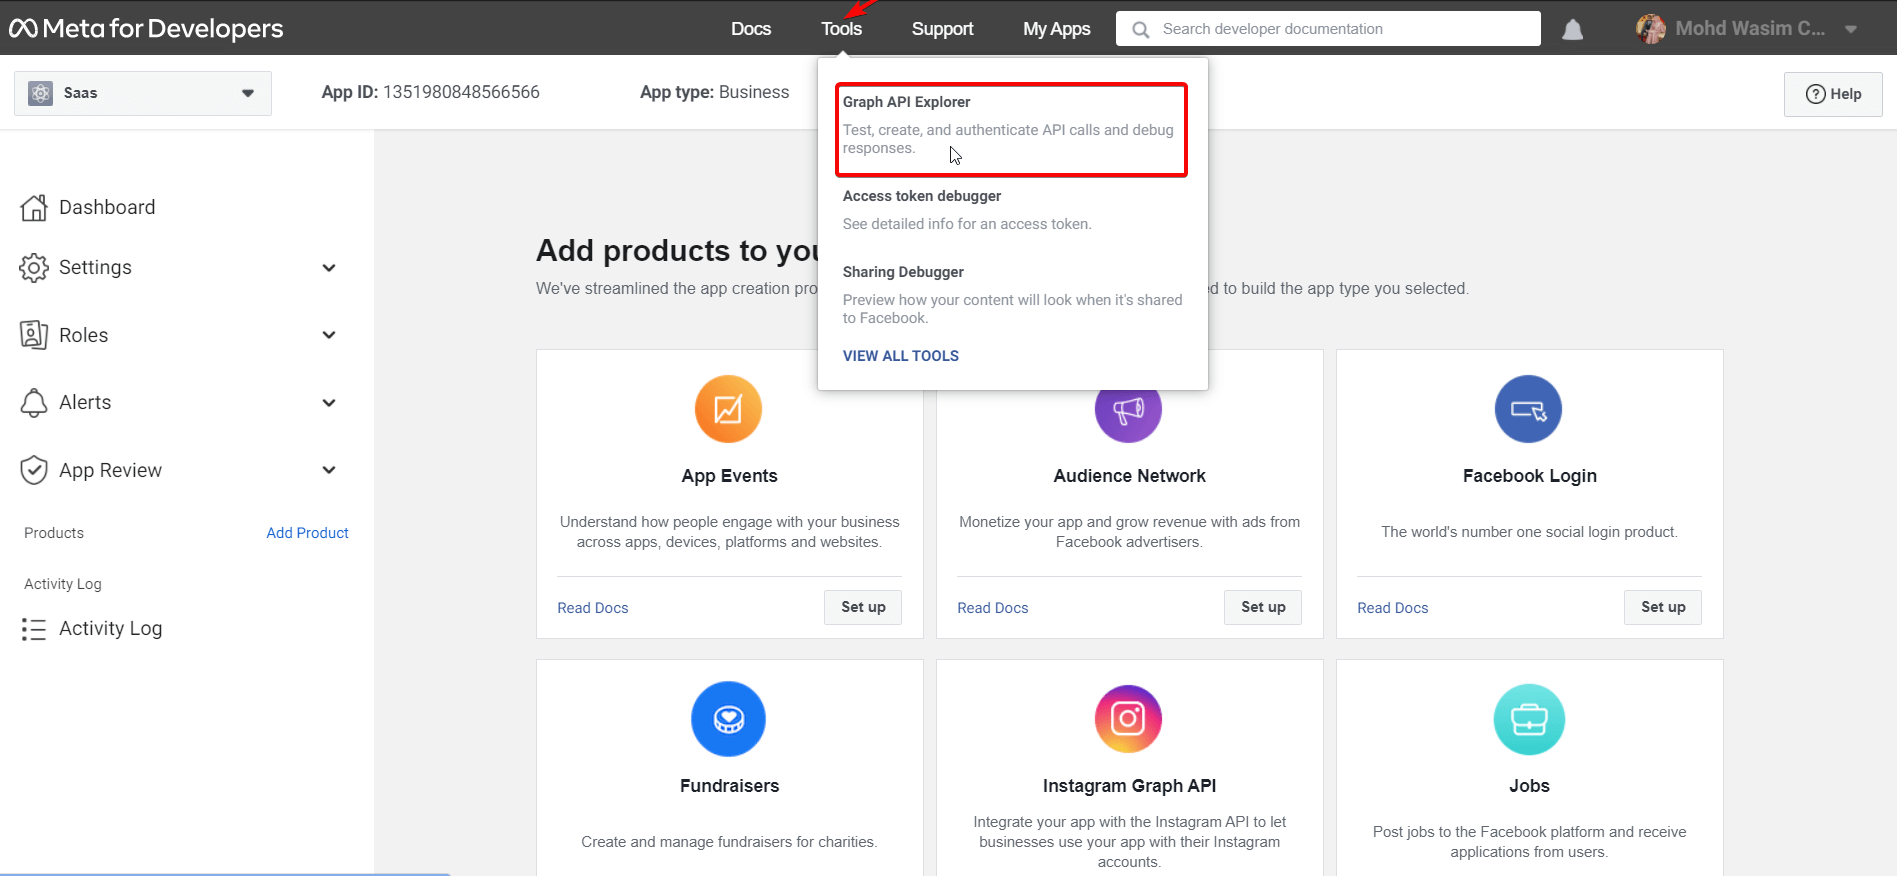
Go to Facebook for Developers Site:
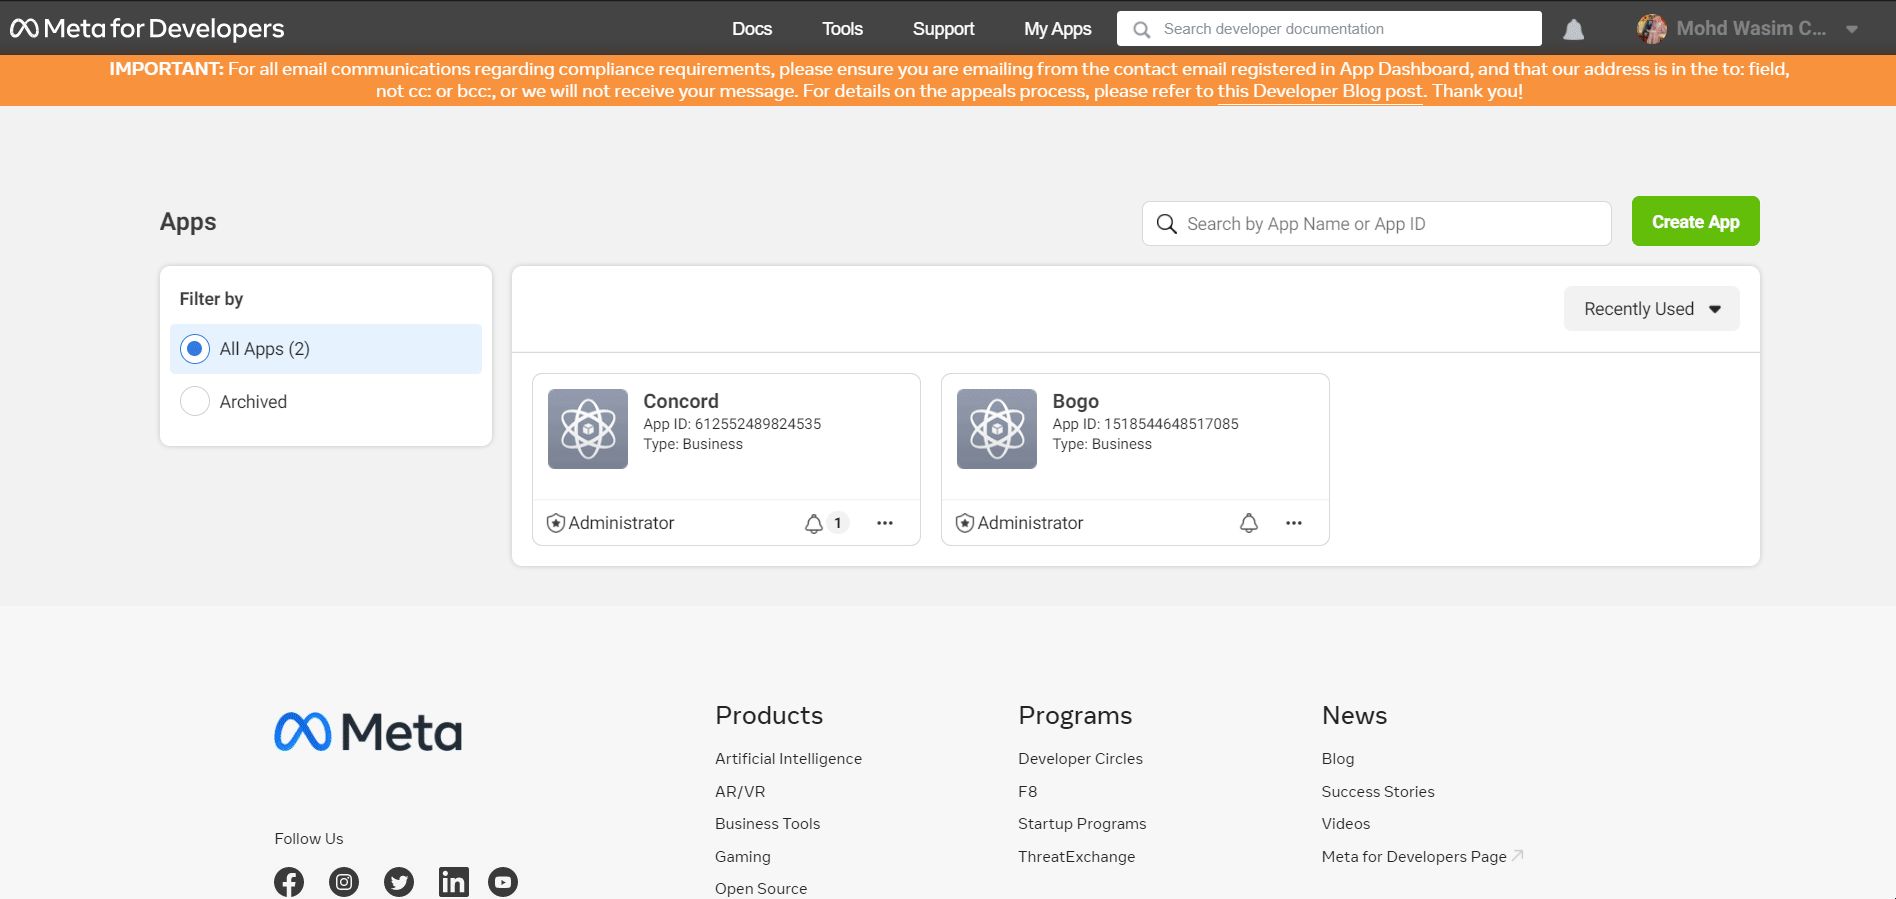
In order to get the Facebook Page ID and Page Access Token, visit developers.facebook.com. On the homepage, log in to the “Facebook for Developers” page and go to “My Apps”.

Create an App:
Now, it’s time to create an app if you haven’t created any app before. Click the “Create App” button. Select an app type and hit the “Next” button. Provide details like display name, contact, email, and business manager account name even though it’s optional.
Hit the “Create App” button afterward. With that, you will be asked to enter your Facebook password for a security check. Finally, click the “Submit” button and you will move on to the product page straightaway.
Make Necessary Selection:
Now, go to Tools and then click “Graph API Explorer”. With that, a number of items will show up on the right side of the screen including Facebook App and User or Page. Select your app from the Facebook App menu and select “Get Page Access Token” from the User or Page menu.
With that, a new window will pop up with your account. Click Continue as “your account” and then select the page on which you want to add the feed on your website. Then, click “Next”, “Done”, and “OK” to finish the process. You can notice 2 permissions have been allowed after that.
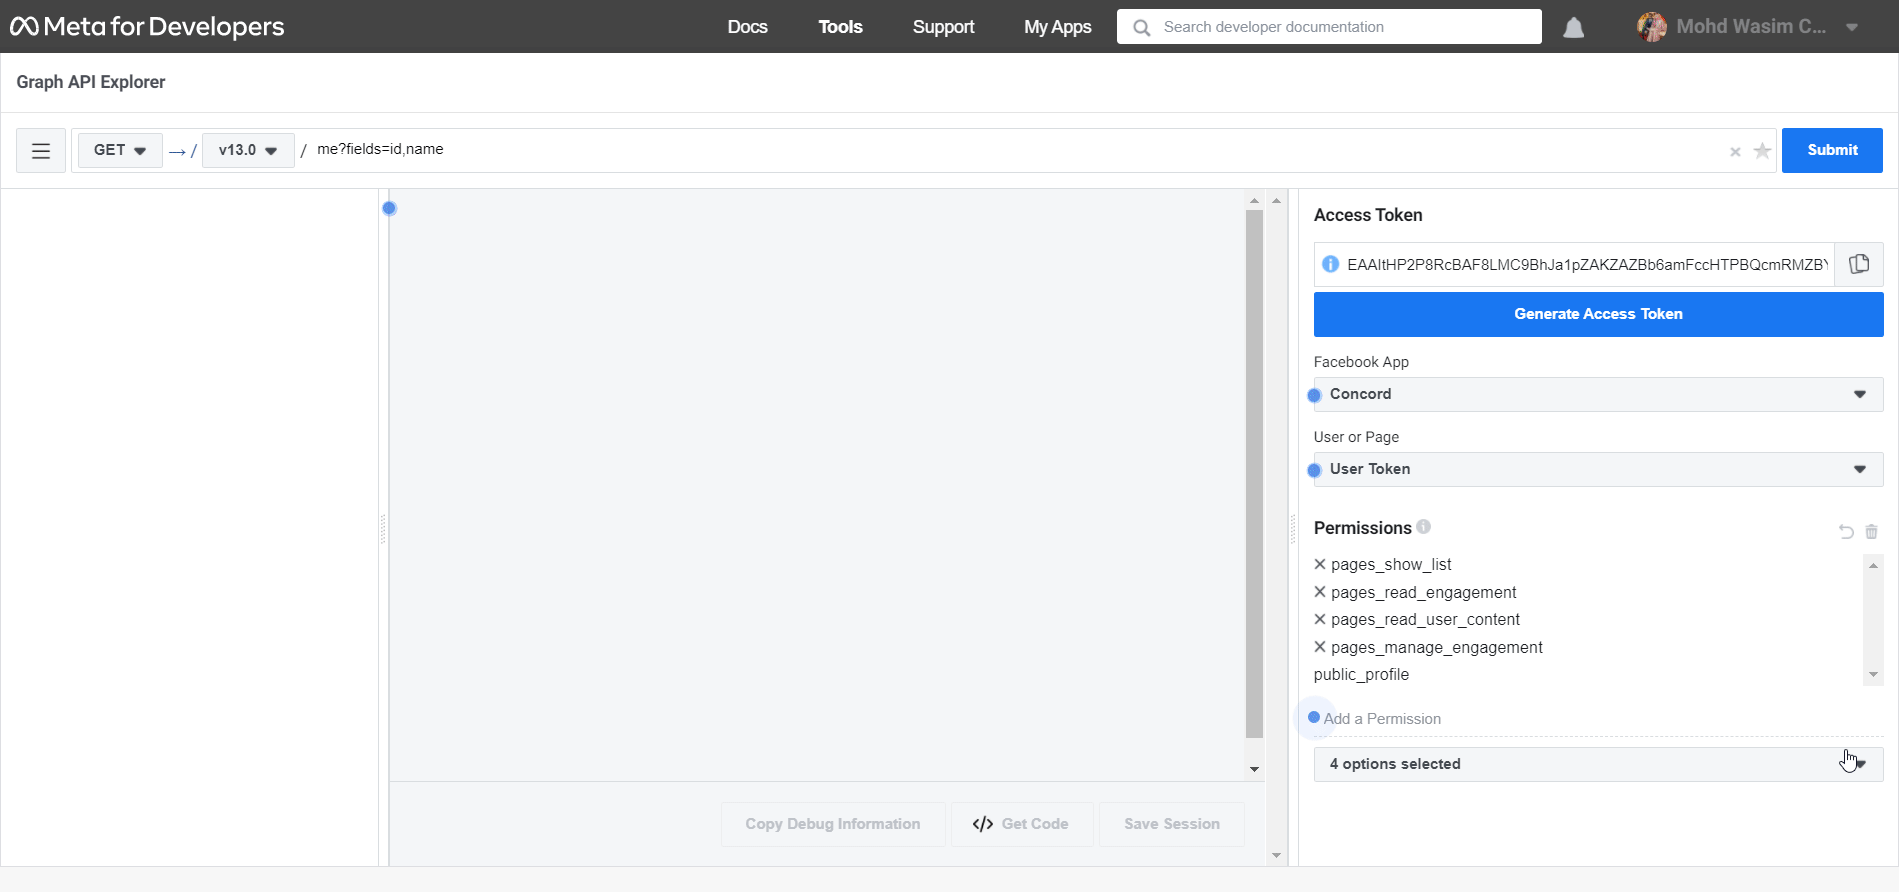
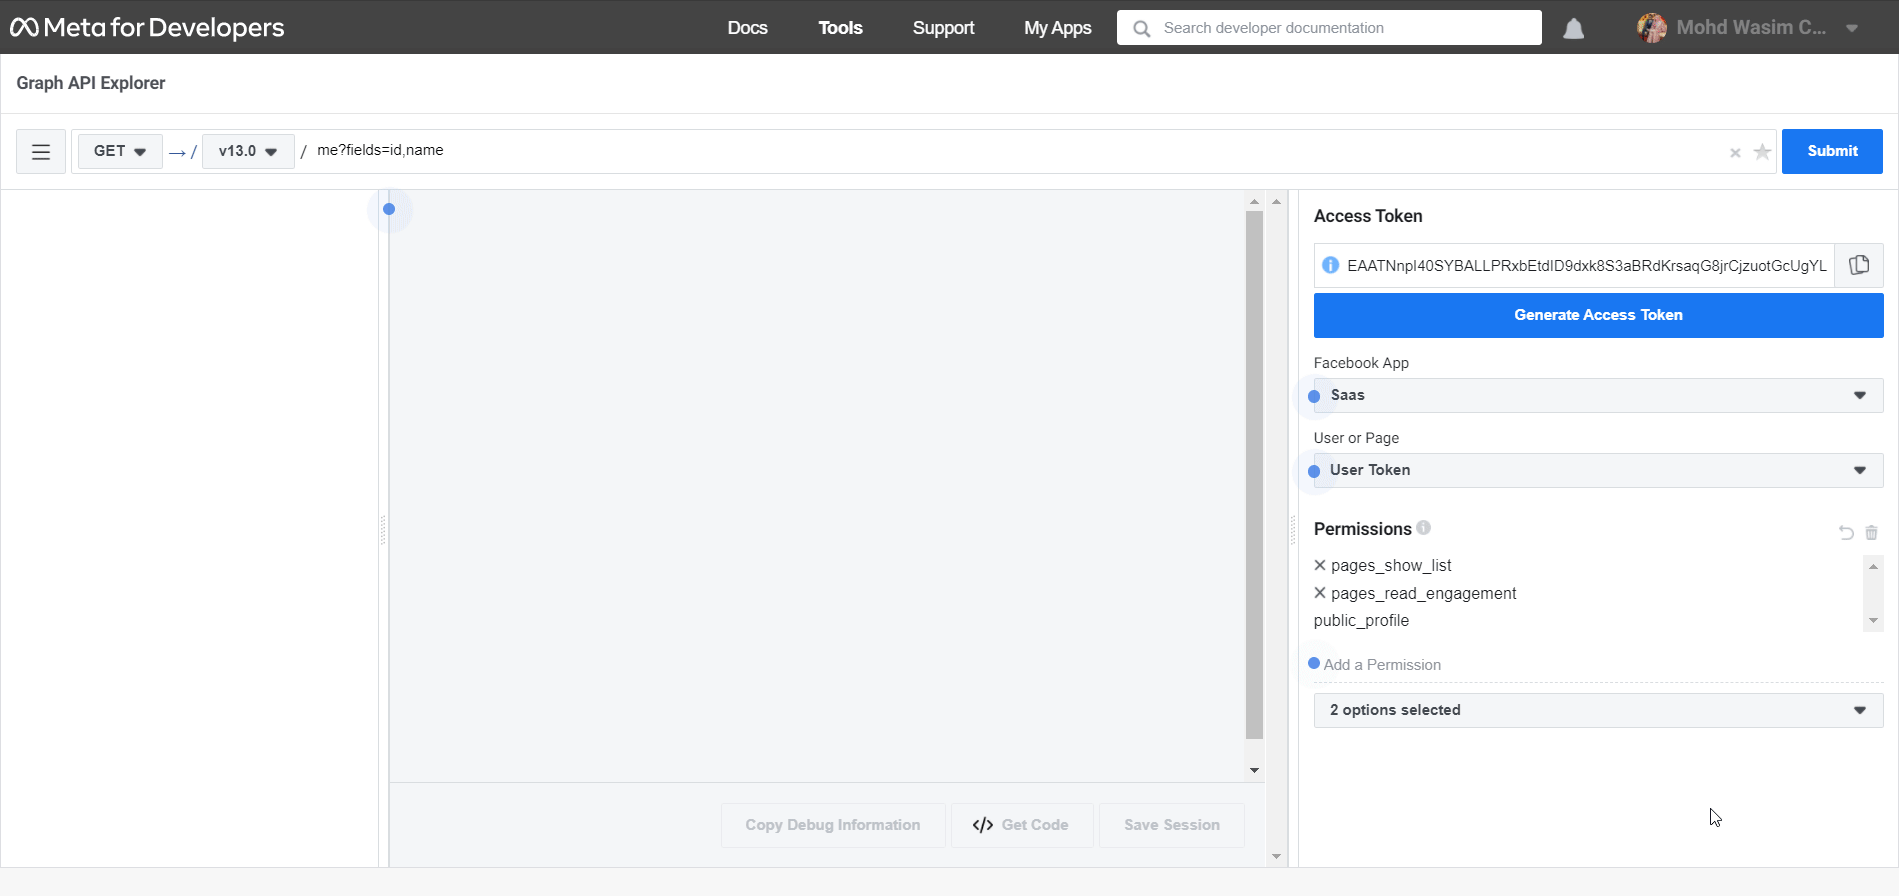
You need to add 2 more permissions, pages_manage_engagement and pages_read_user_content. For that, select both these options from the menu and click “Generate Access Token”. Then, proceed in the above process.
Copy and Paste the Facebook Page ID and Access Token:
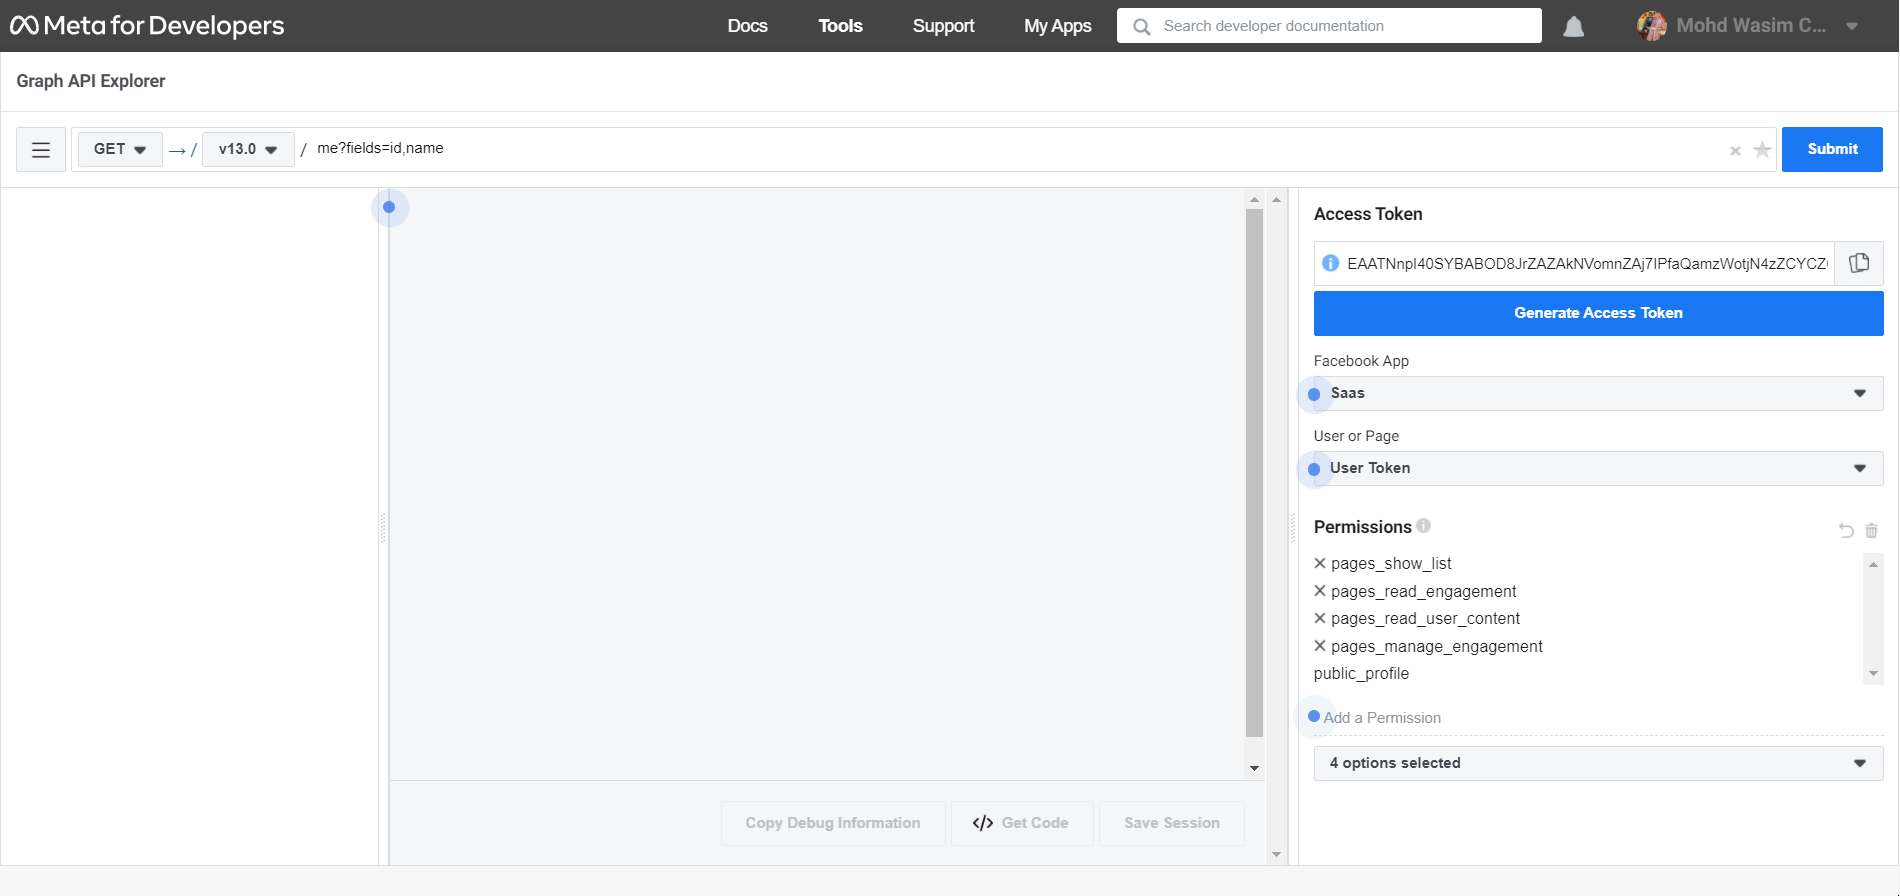
After that, you will notice the added 2 permissions on the Permission section. Now, select your page from the User or Page option. Then, copy the access token and paste it into the ElementsKit.
Next, click Submit, copy the Facebook Page ID, paste it into the ElementsKit’s Facebook Page ID section, and finally save the changes by clicking the “Save Change” button.
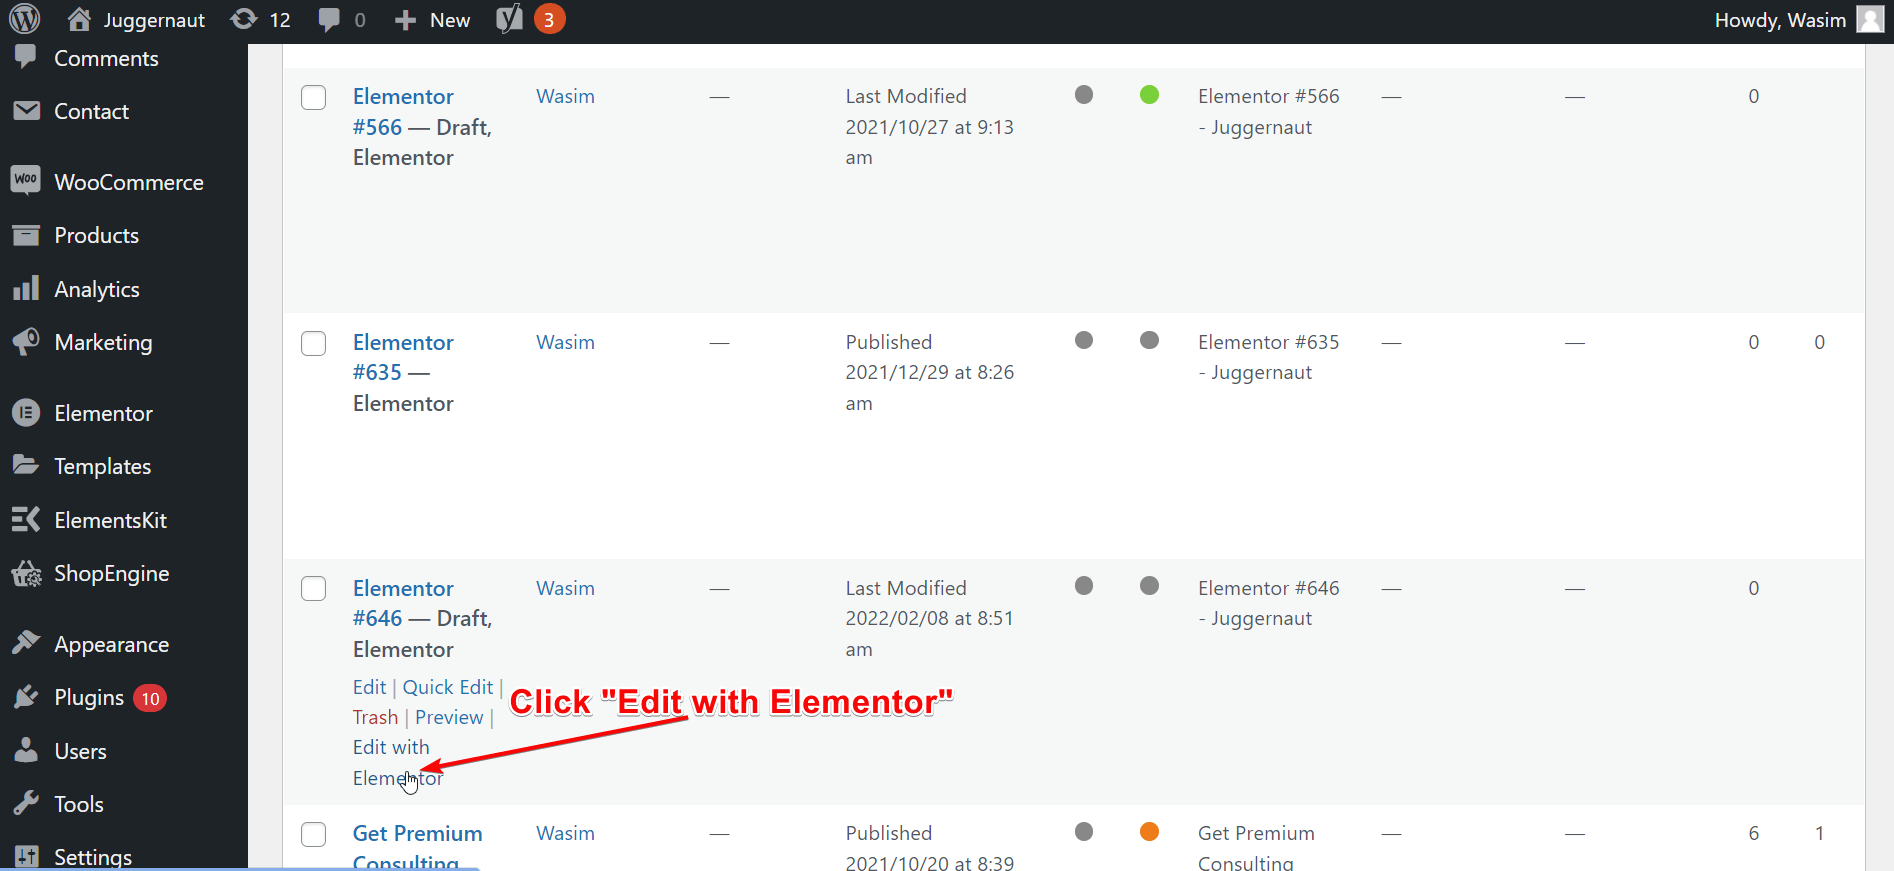
Open a Page with the Elementor Window and Use Facebook Feed:
Now, open any page with the Elementor window. For that, find the page you want to open and click “Edit with Elementor” to switch to the Elementor window.
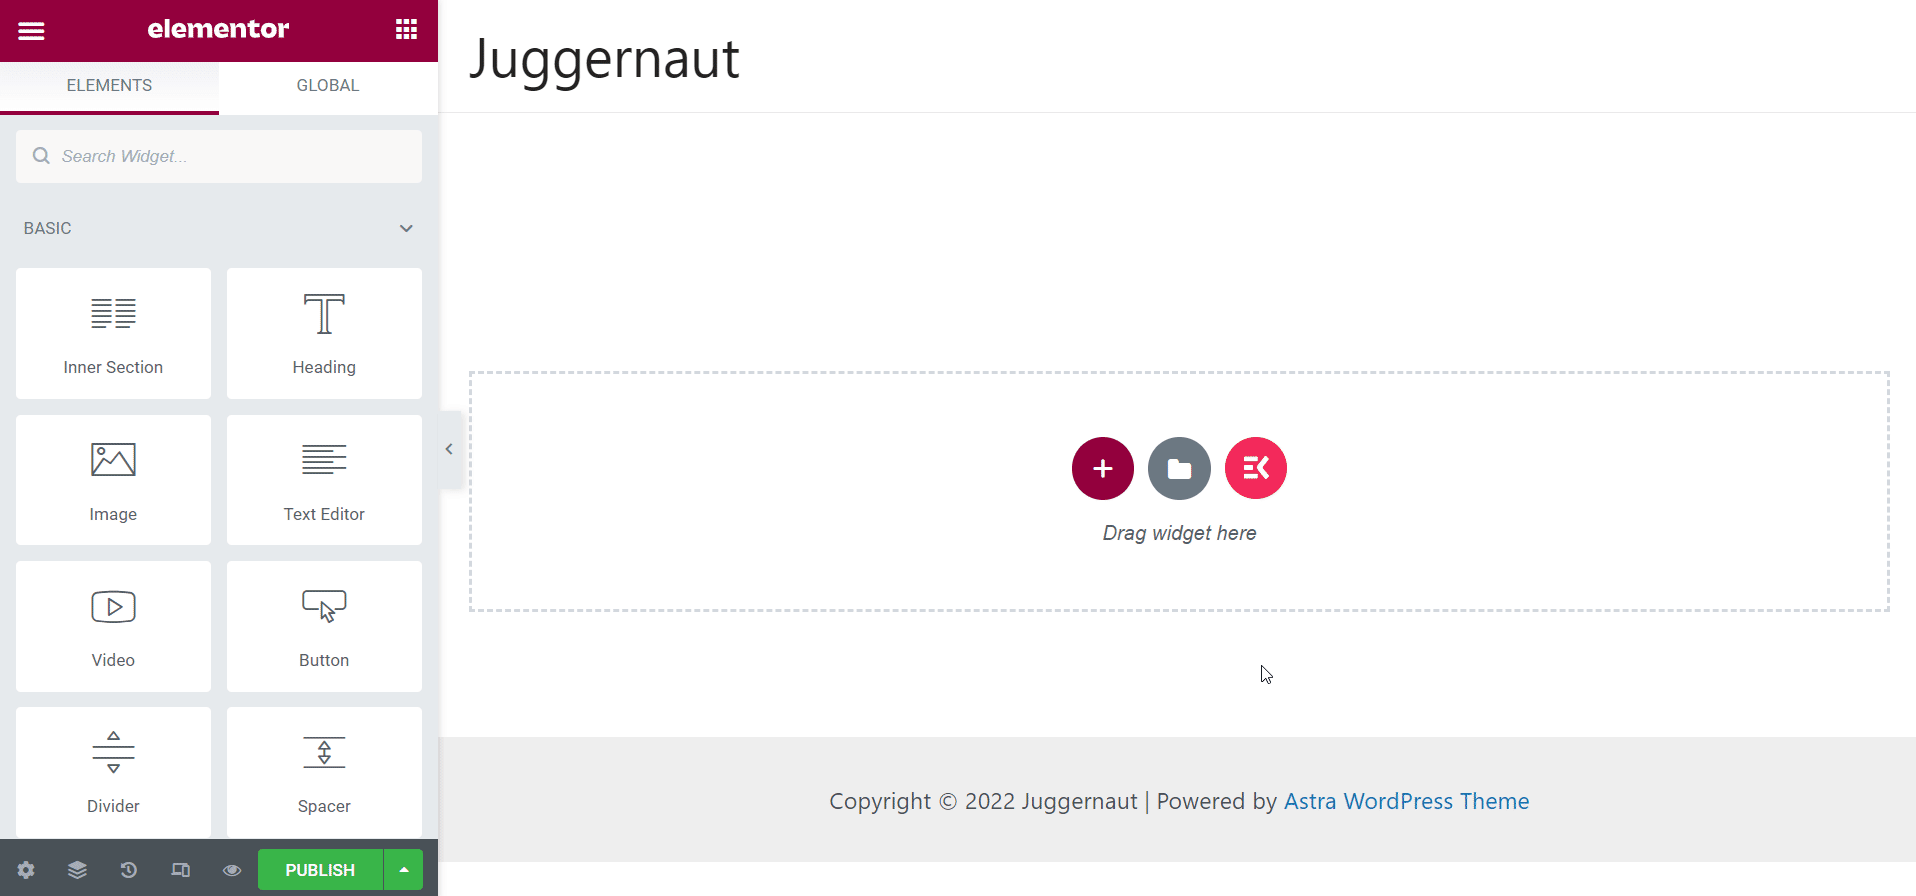
After that, search for the Facebook Feed widget from the search bar. Once you track down the Facebook Feed widget, drag and drop it to the designated area. The Facebook feed of your page will show up immediately.
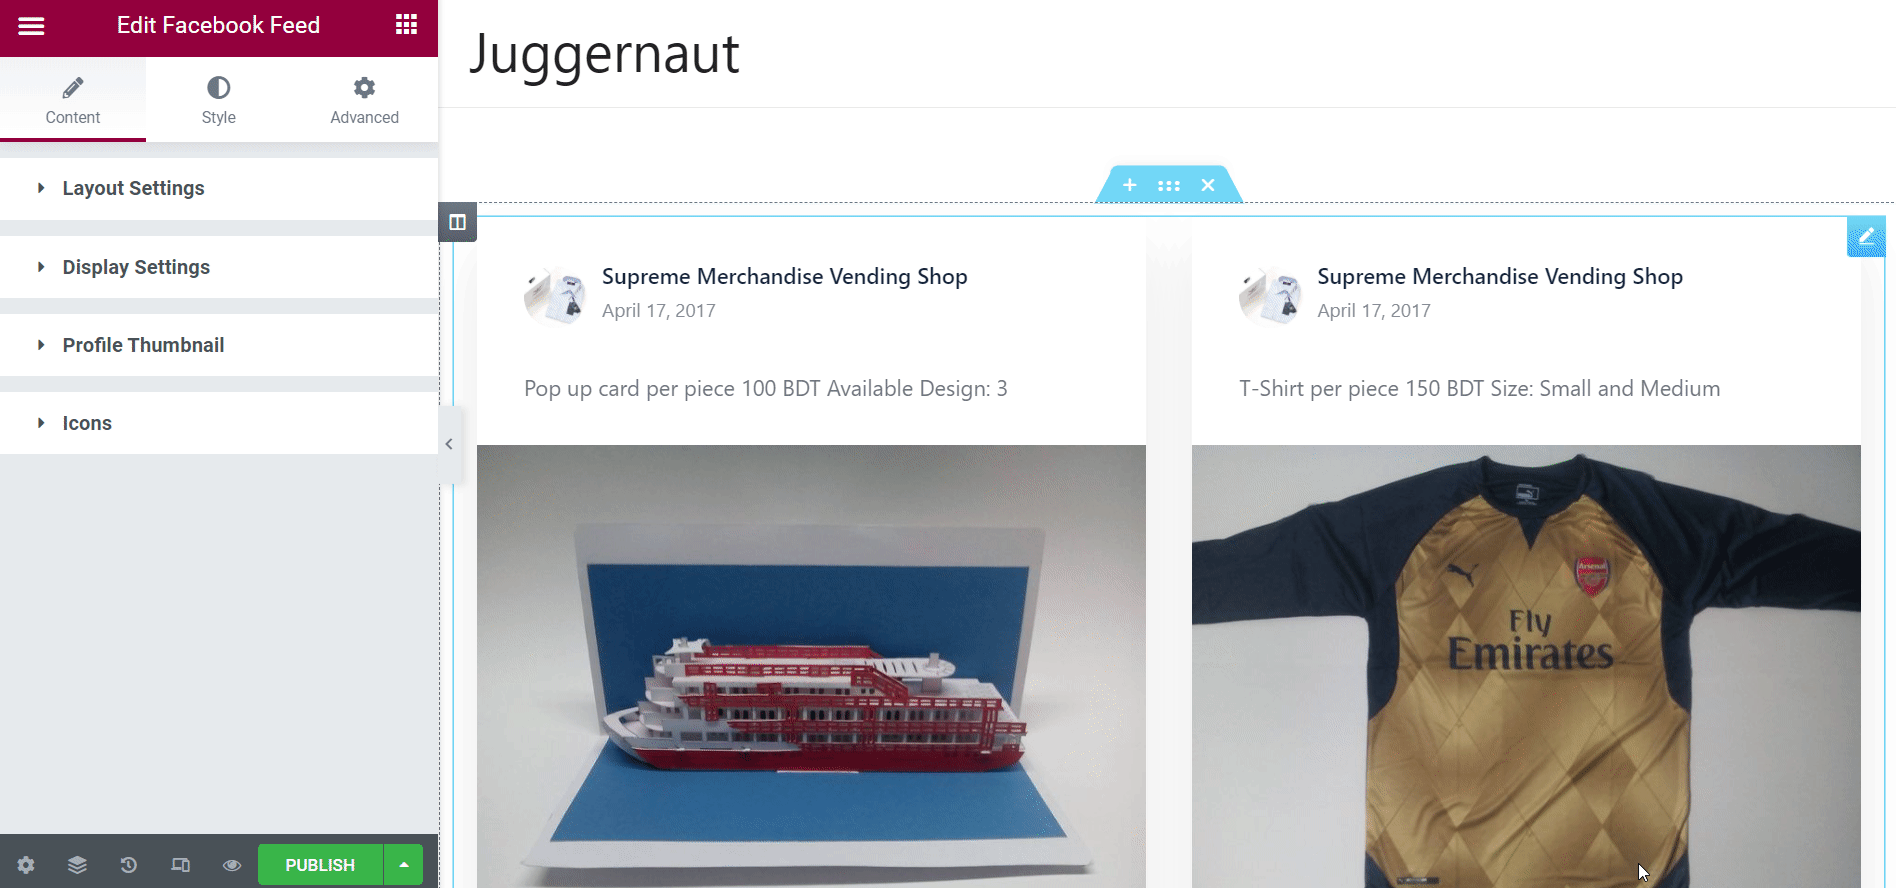
Customize the Content Tab:
On the left side, you can spot a number of options under the Content tab like Layout Settings and Display Settings. From the Layout Settings, you can make changes to the Grid Style, Columns Grid, Feed Style.
And from the Display Settings, you can control parameters like Show Author, Author Style, Show Date, etc.
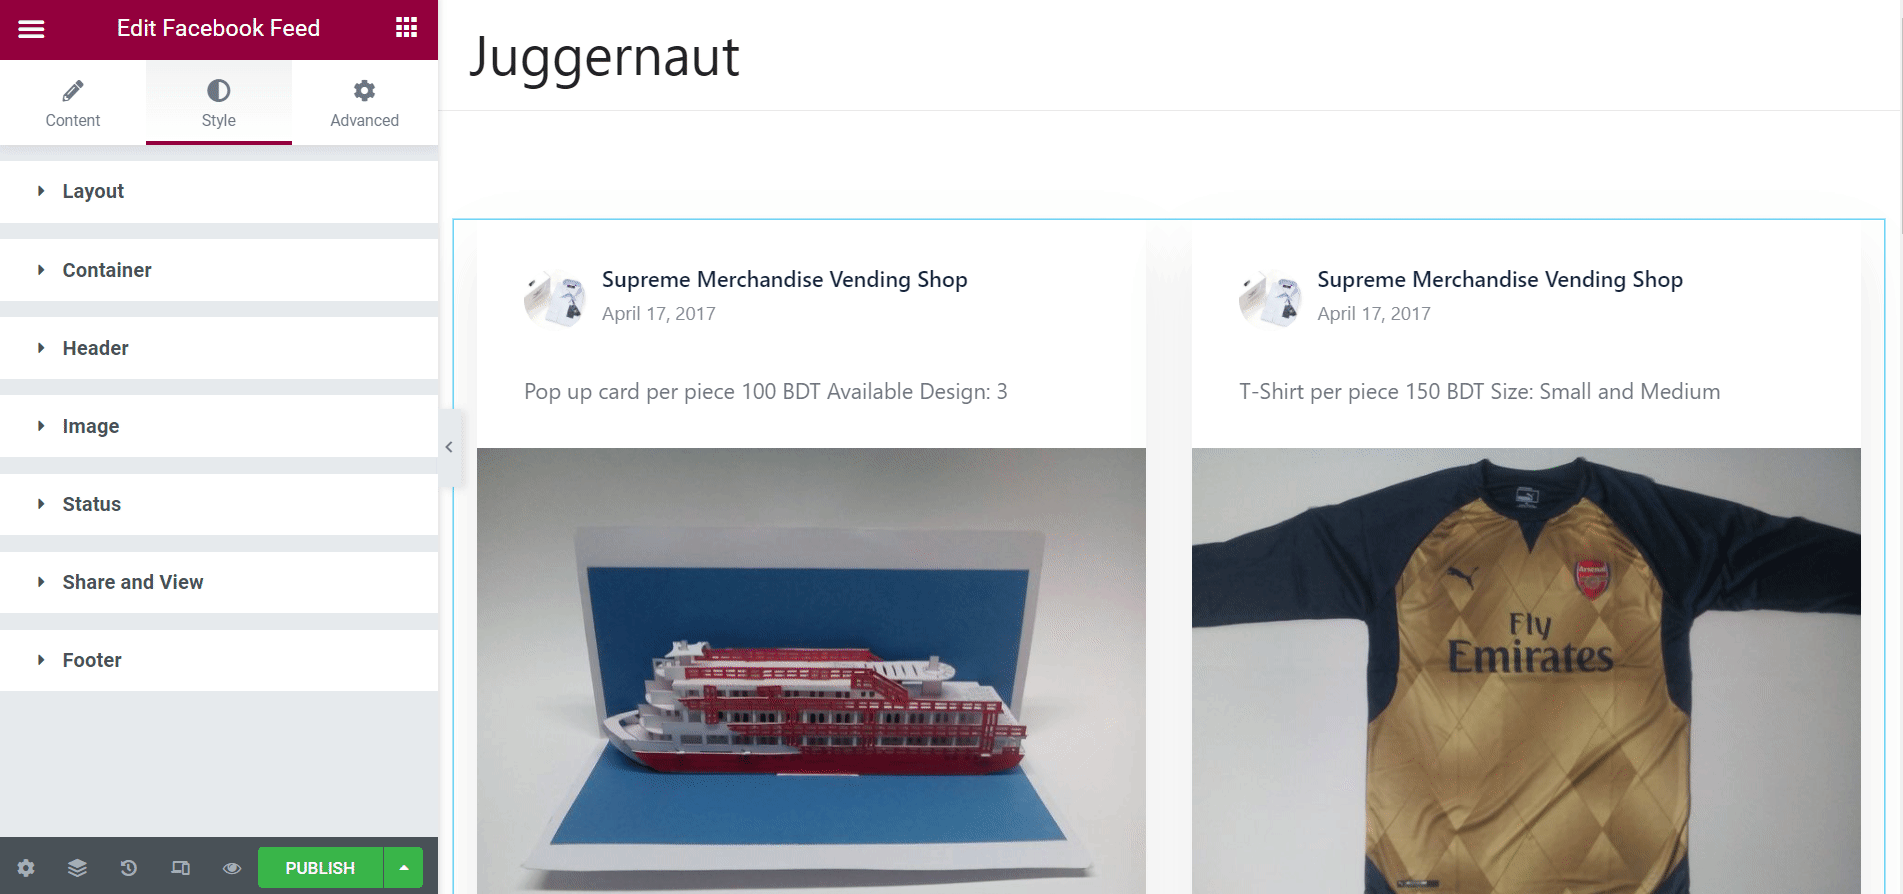
Customize the Style Tab:
From the Style tab, you can control more parameters like Layout, Container, Header, Footer, Media, and Link. Under the Layout section, you will have controls like Gutter and Merge Button that you can adjust with sliders. Likewise, there are other parameters that you adjust as per your requirements.
Ending Remarks:
This is how you can add WordPress Facebook Feed to your site with ElementsKit and promote your business. As a result, you will end up redoubling your conversions and sales.
That’s all I had for you in this comprehensive tutorial. Hopefully, you benefited immensely from this step-by-step guide. Before I bid you goodbye, don’t forget to follow us through our Facebook page.
Curious to know how to run Facebook ad campaign for your business? Click the link below to have a holistic idea about running Facebook ad.
Leave a Reply