

Creating a booking form on a WordPress website often entails complex steps that confuse the website owners. But having a booking form is necessary for your site, especially if your business relates to services as your clients can select their preferred services easily.
In this write-up, I will show you how to create booking form in WordPress website quickly and smoothly with MetForm through which you can let your clients make all sorts of bookings.
From scheduling online appointments and meetings to making reservations, MetForm will allow you to create booking forms for all these types of bookings.
Quick Overview
The process of creating a WordPress booking form takes a few minutes with user-friendly solution. Here we’ll use MetForm’s prebuilt template along with widgets. First, you need to install and active the following tools:
Used plugins: Elementor, MetForm free, and MetForm pro.
After the installation and activation of the above plugins, you need to create a booking form with MetForm’s form template. Also, you will learn to add any field to your booking form by dragging and dropping fully customizable widgets. Along with it, you will get to know the perks of creating WordPress booking form.
Perks of Creating a WordPress Booking Form on Your Website
Adding a booking form to your website can ease the process of communication. Clients, partners, and event participants can reach out to you without any complexity.
The following benefits demand you to add a booking to your WordPress website:
- Free up your employees’ time by automating the booking process
- Create instant push for clients when they are in the buying mood
- Provide clients 24/7 access to book appointments or reservations
- Avoid the bottleneck of the phone booking system and streamline client experience
- Plan your resources tidily and efficiently with booking info on record
- Provide privacy and top-notch customer support
- Chances of no-shows are low as most online booking system sends multiple emails and notifications
- Scale up sales and grow your annual revenues
How to Create Booking Form in WordPress Website with MetForm?
Creating a booking form with MetForm is effortless as you have to follow some simple steps to get the job done. Here, I will walk you through how to create booking form in WordPress website with MetForm easier than ever.
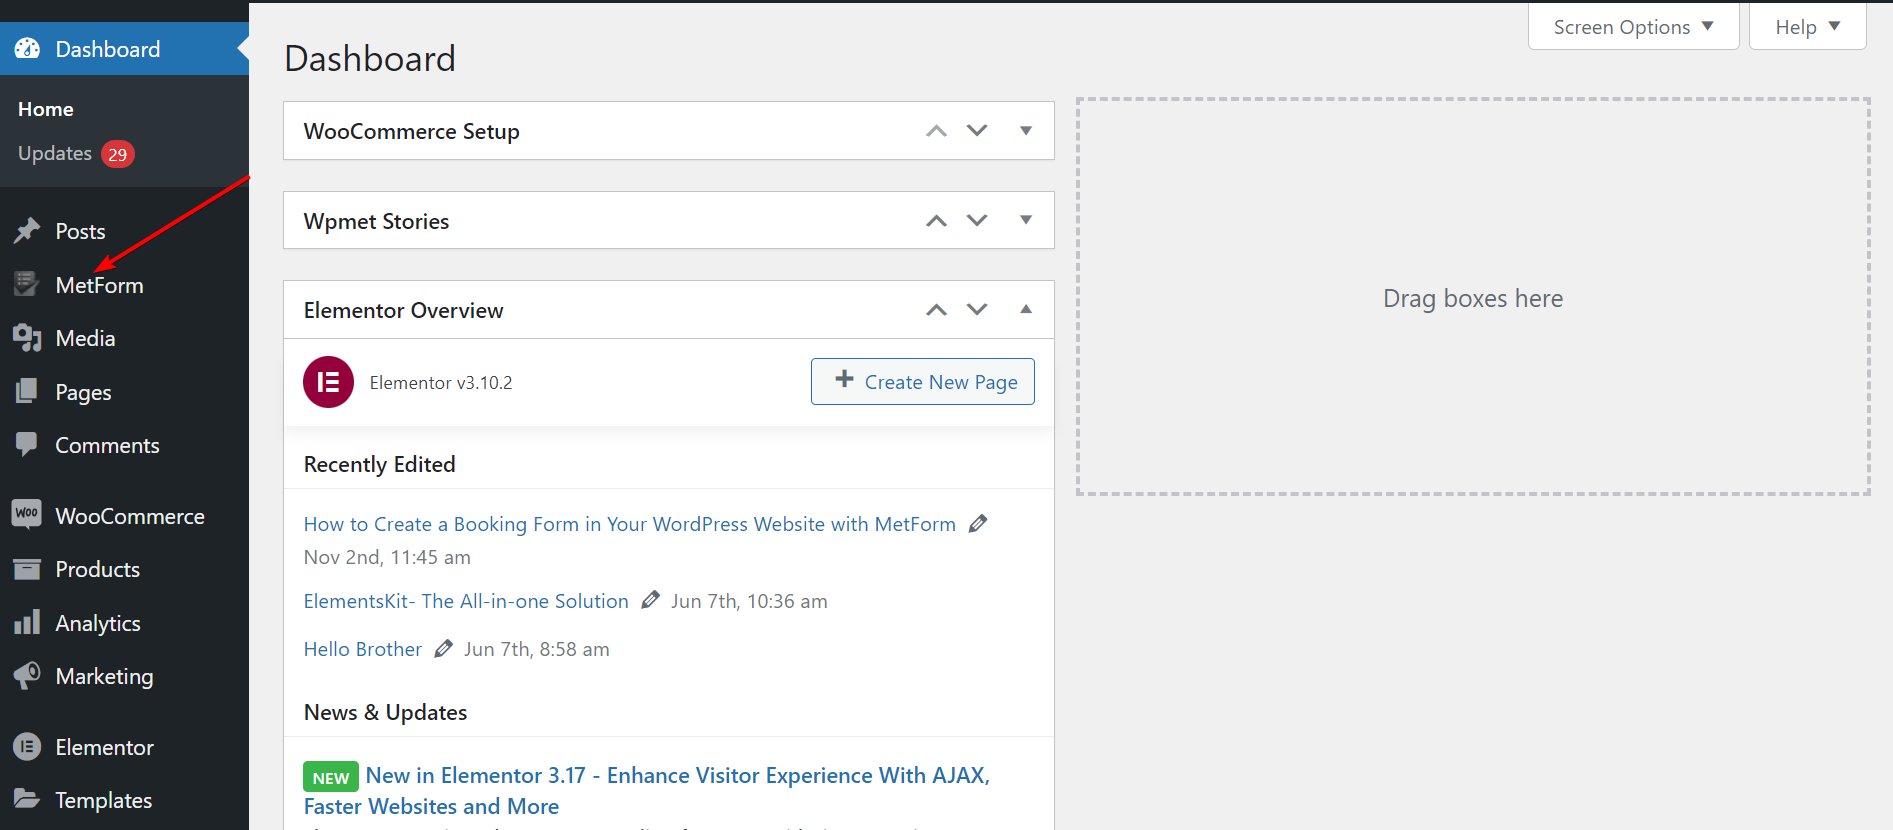
Step 1: Install and Activate MetForm
Right at the outset, visit your WordPress dashboard and proceed to install and activate both MetForm and Elementor. For that, move to “Plugins” on the sidebar and click “Add New“. After that, install Elementor first from the downloaded files or directly from the search bar.
Once Elementor is installed, move forward to install MetForm in the same process. If these plugins are already installed on your website, skip this step and move to the next step.
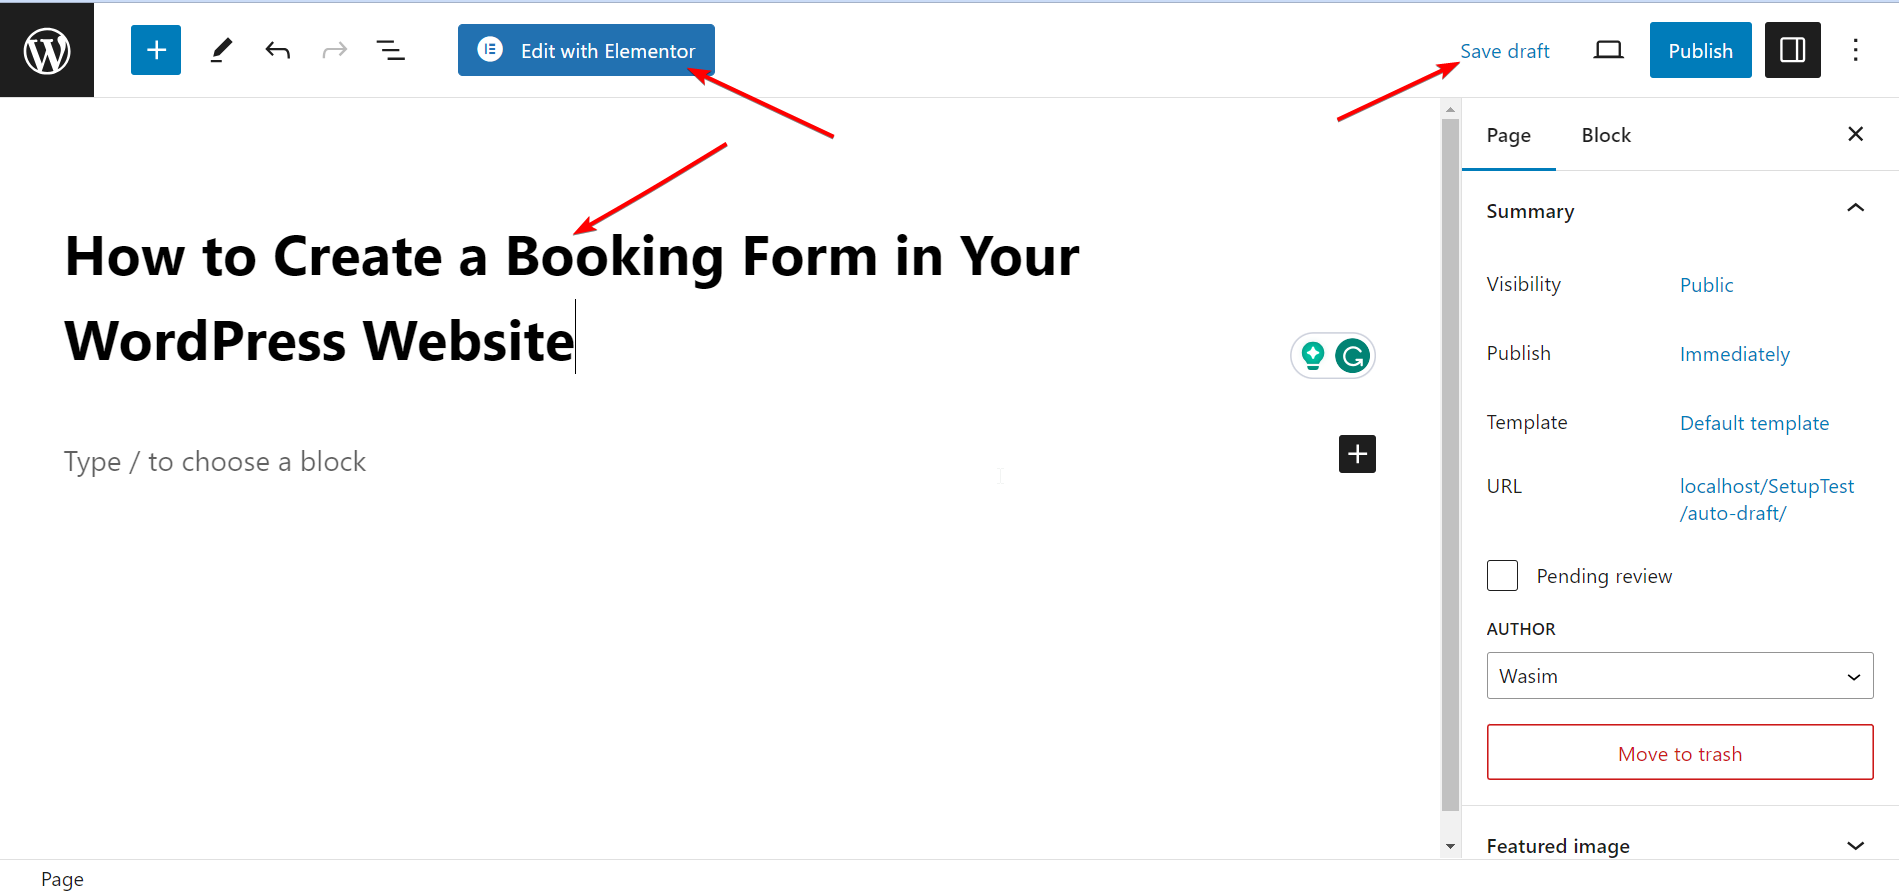
Step 2: Title Your Page and Switch to the Elementor Window
Now, move to “Pages” on the sidebar and select “Add New” to head over to a new page. Then, add a fitting title to the page and click “Edit with Elementor” to switch to the Elementor window.
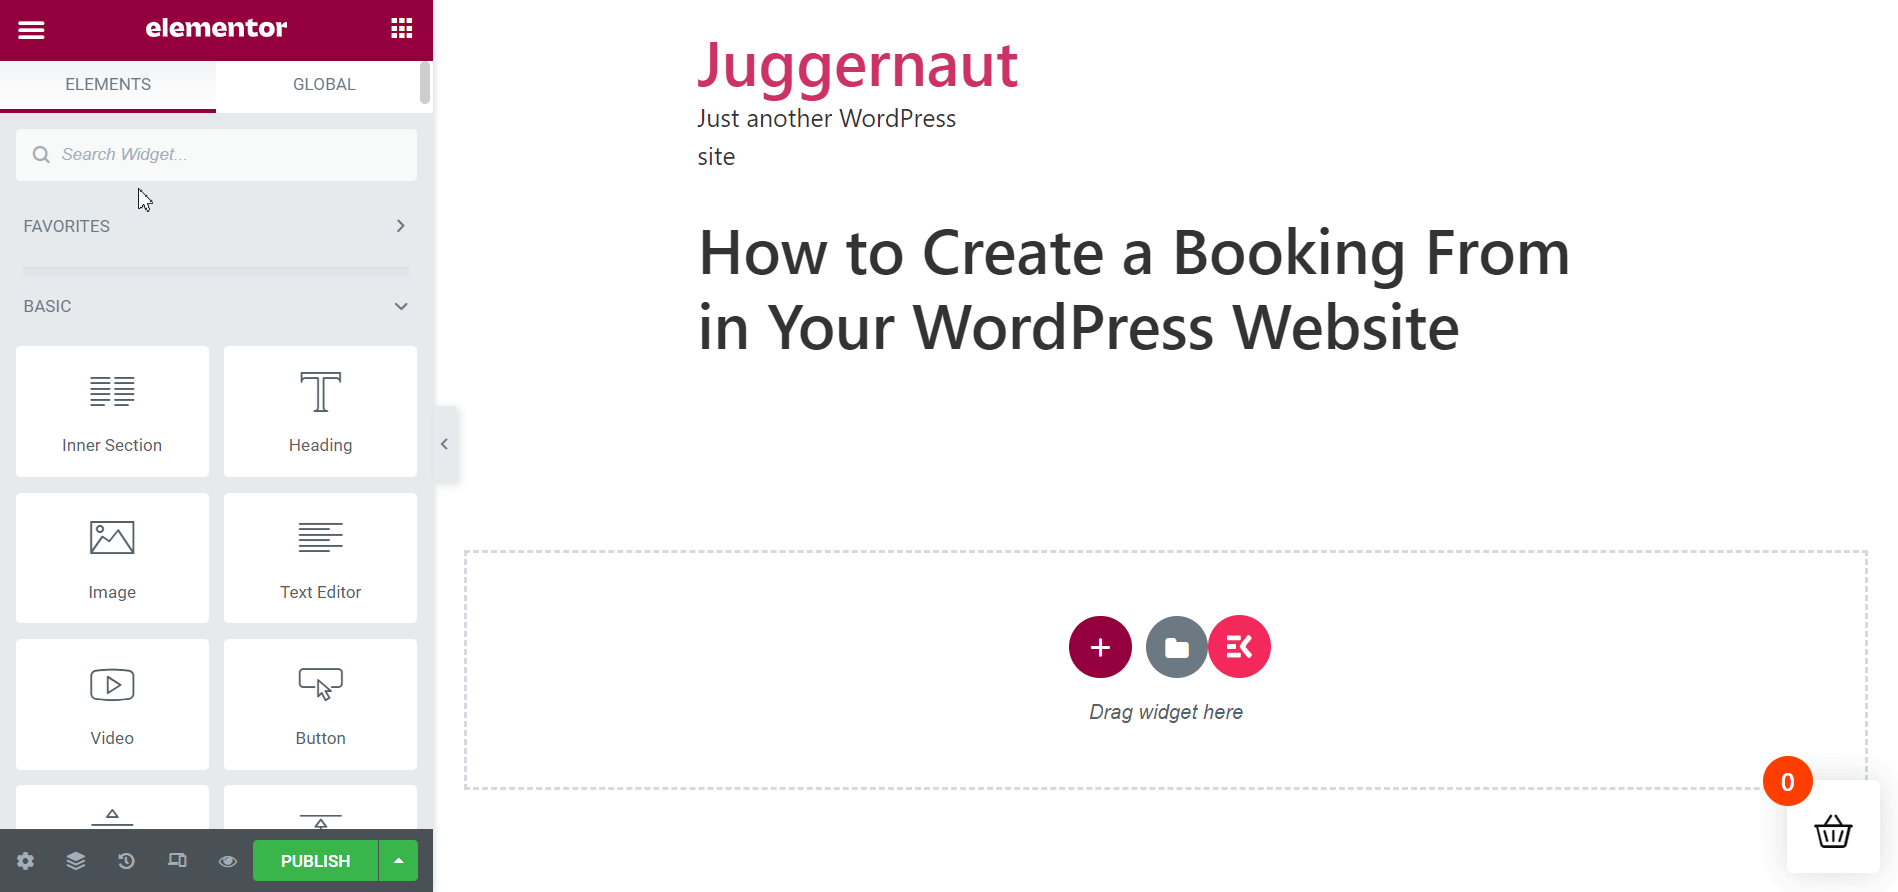
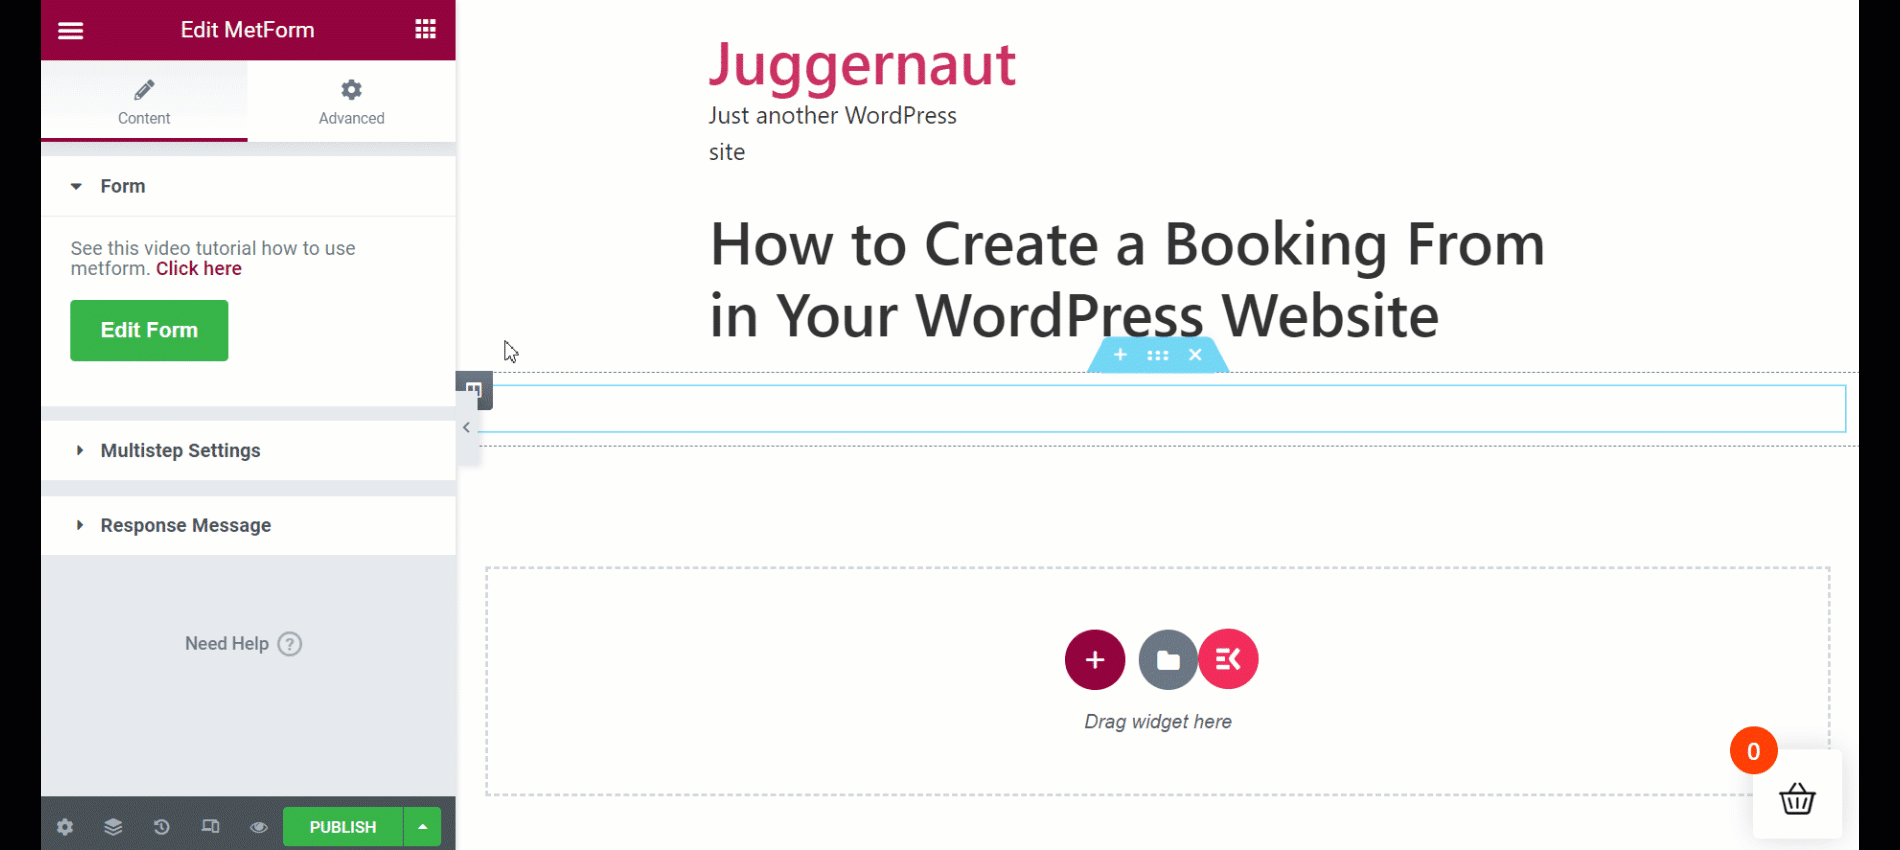
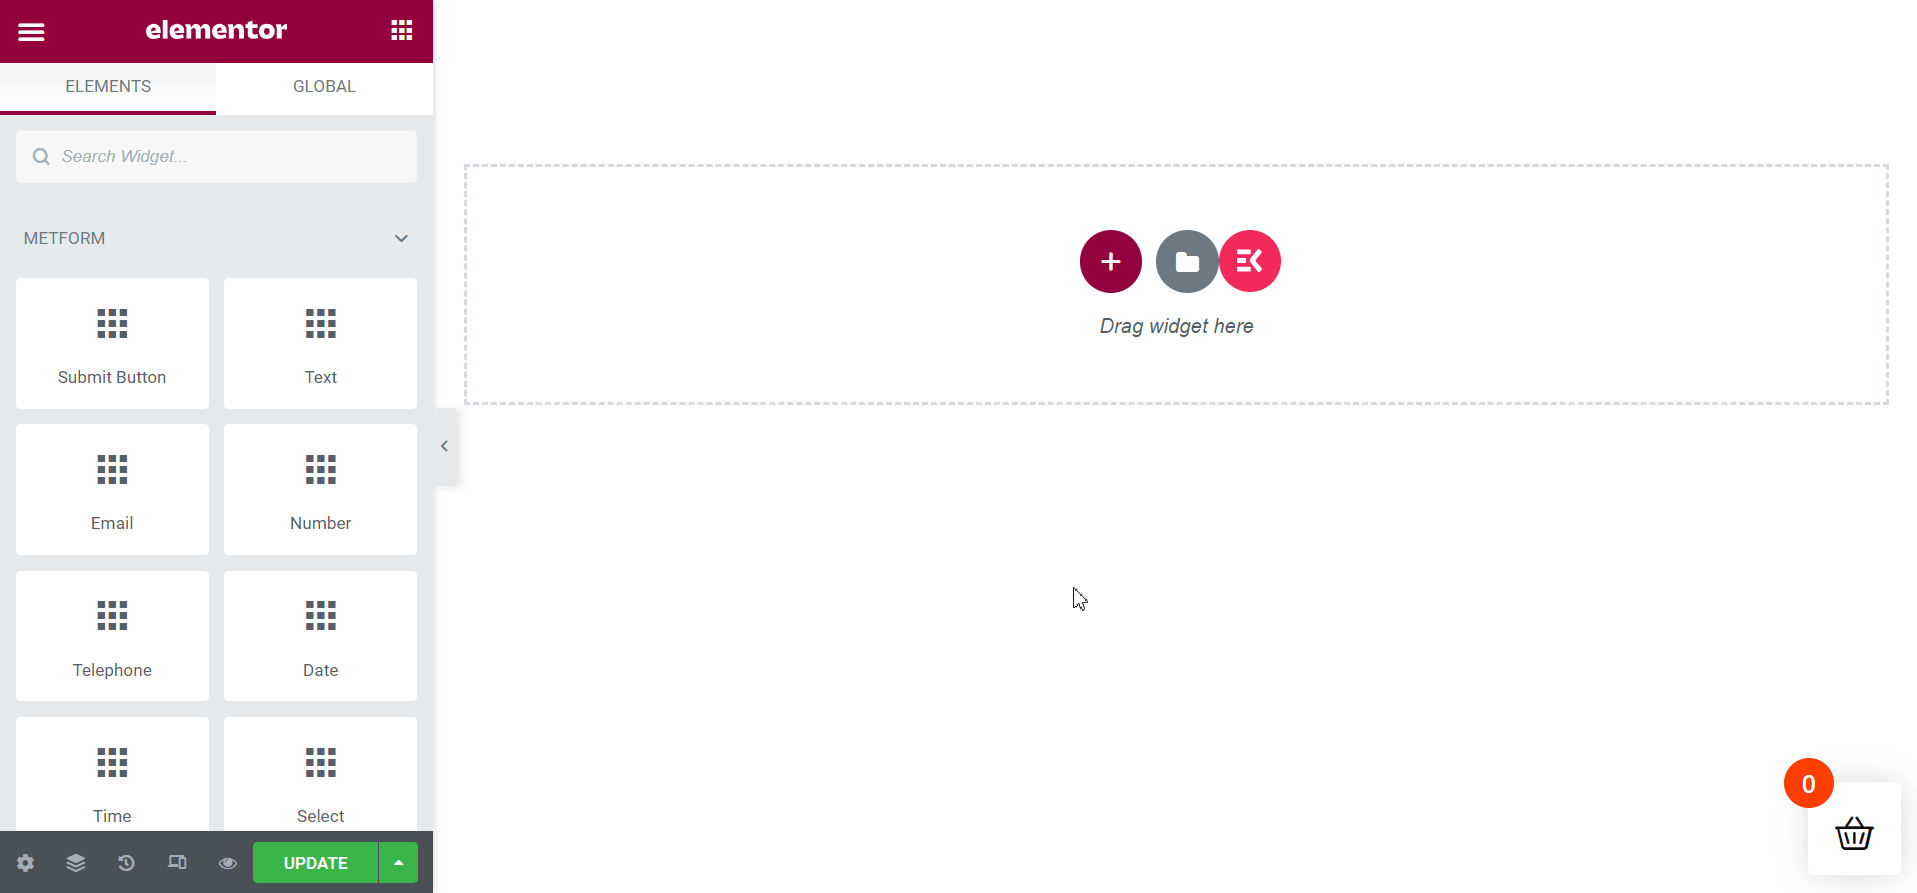
Step 3: Drag and Drop the MetForm Widget
It’s time to use the MetForm widget to create your booking form. Search for the widget on the search box and then drag and drop it into the specified field. No content will show up with the action by default.
Step 4: Select a New Booking Form Template with Elementor
Selecting a new booking form template directly with Elemetor is a breeze.
- Click the “Edit Form” button, leading to the form creation window.
- Hit “New“ and search for the booking form template.
- Name the form template, and hit “Edit Form”.
Edit and Customize the MetForm Booking Form Template
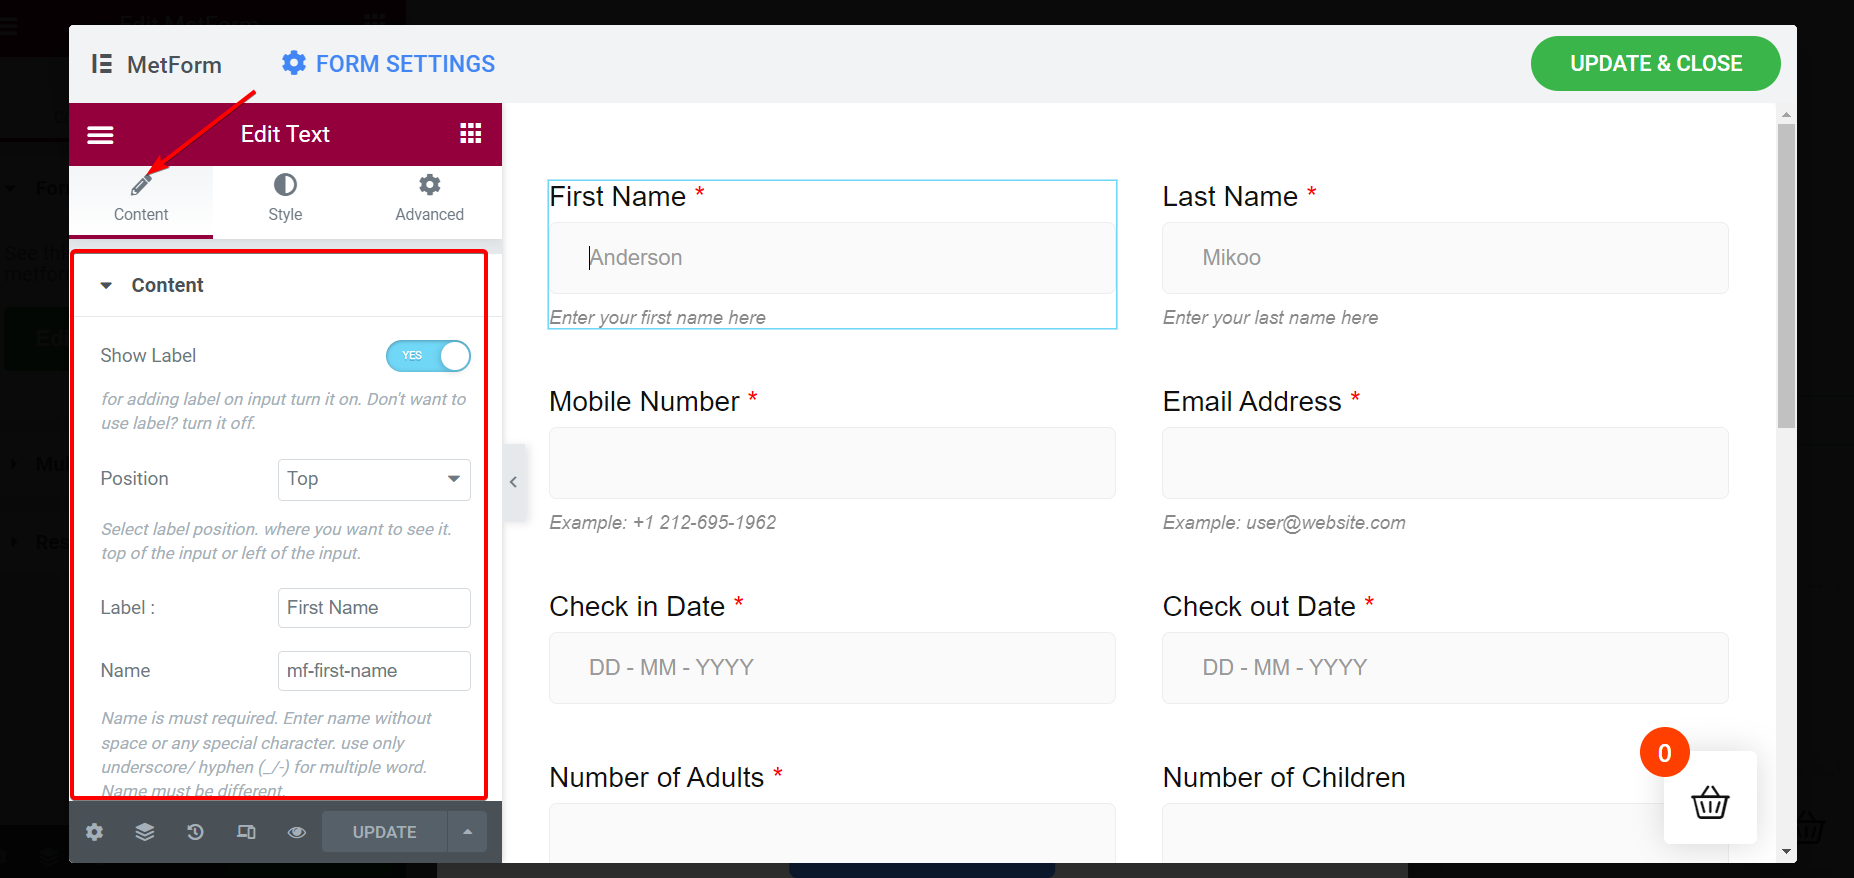
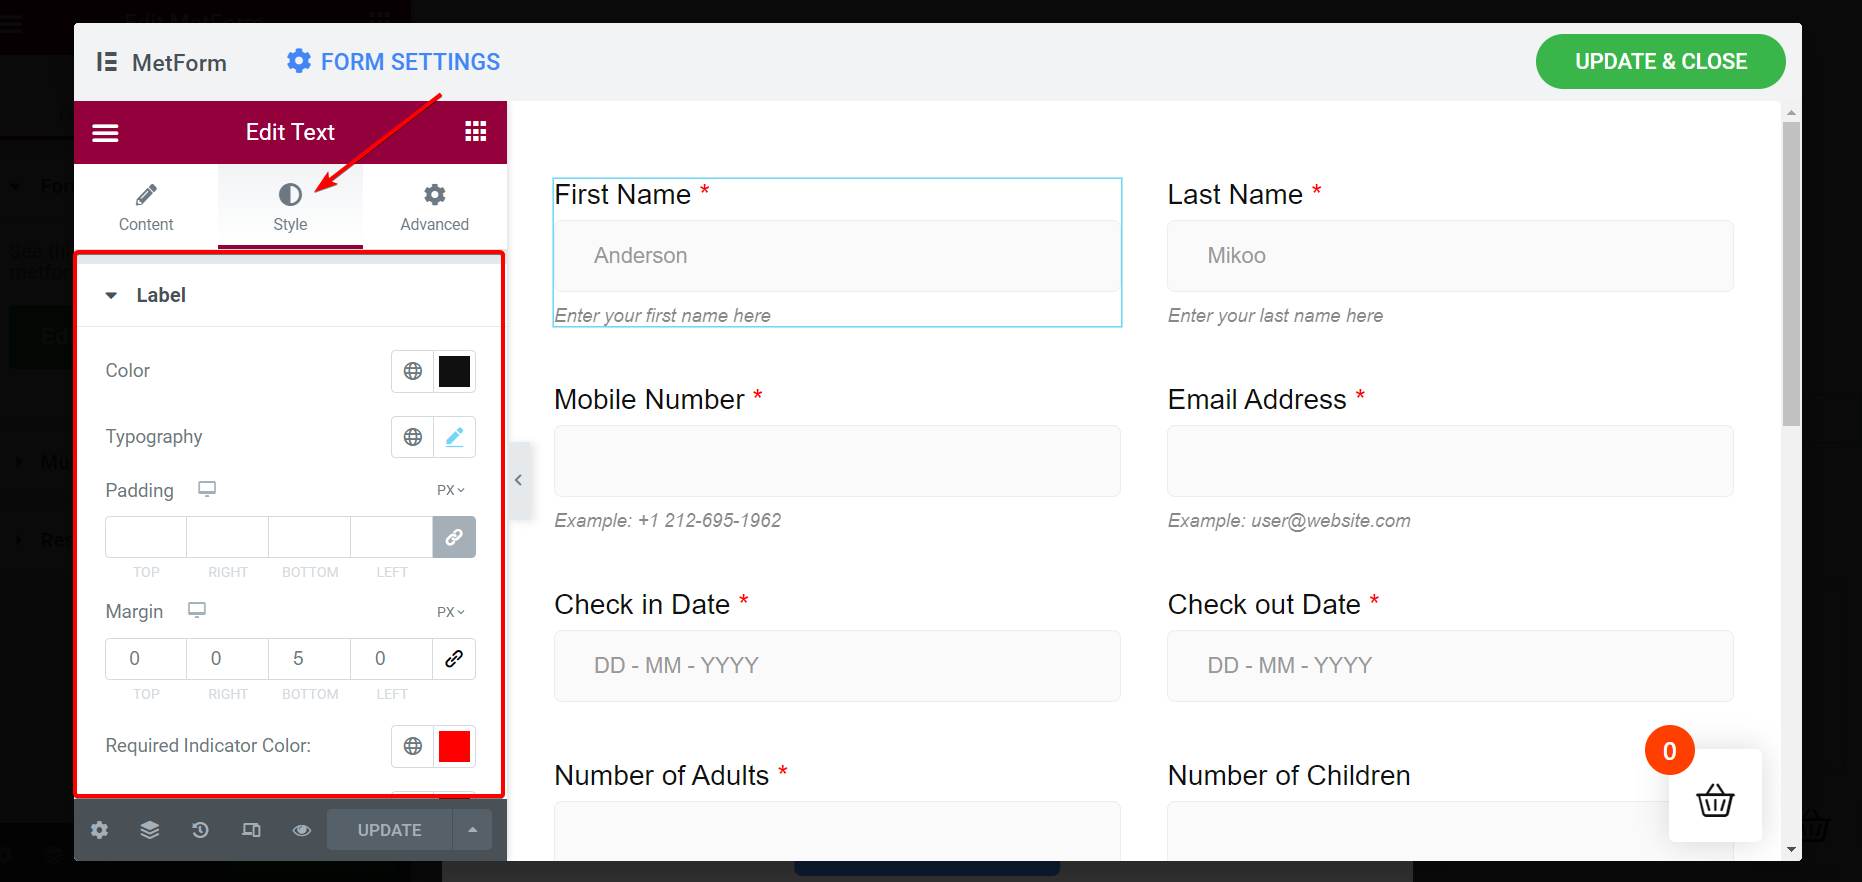
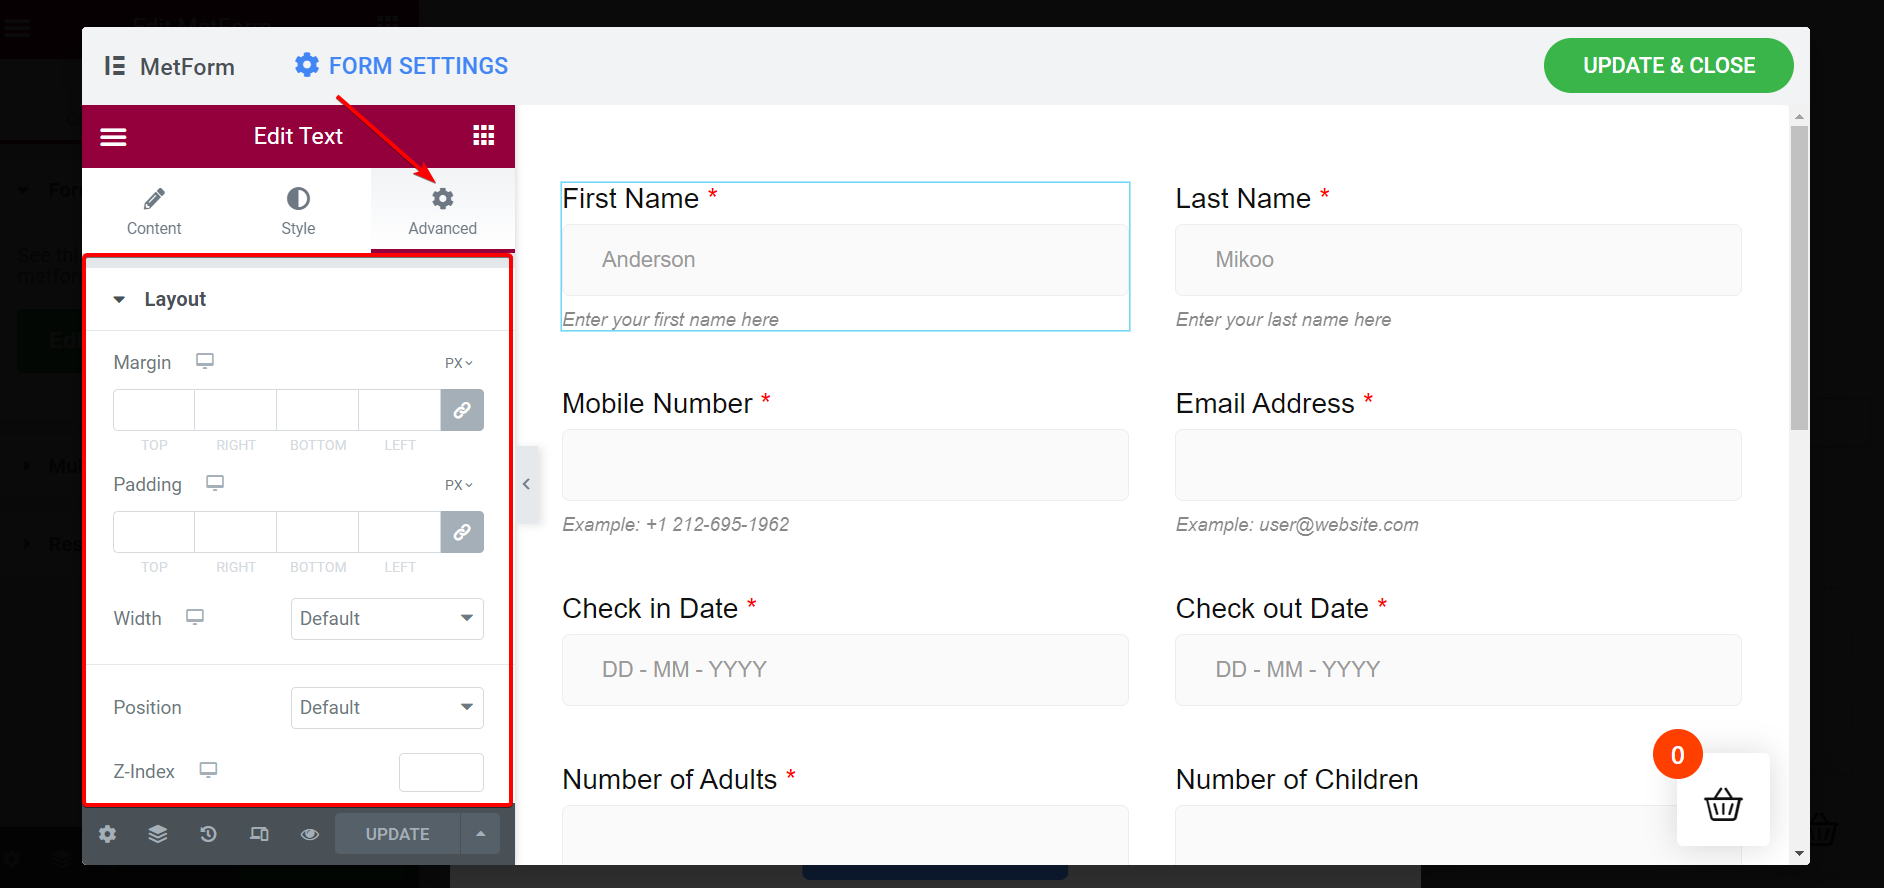
MetForm offers 3 controls to customize the input field, buttons, and the entire layout for all types of forms. Content, Style, and Advanced tabs allow you to do limitless customization to your booking form.
Content Customization
- Hide/show the field label
- Set label position as per your preference
- Modify the placeholder text
- Keep a field optional or required
- Insert a warning message
- Enter your help text
- Set validation type through word length, character length, or expression-based
Style Customization
- Alter the label color, padding, typography, etc.
- Modify the input color, border, width, background type, and so on.
- Tweak the color and typography of your placeholder text.
- Stylize the help text color, typography, and padding.
Advanced Customization
- Set the layout’s margin, width, padding, and position
- Add multiple motion effects for the input fields
- Customize the form background
- Set device responsiveness on the preview and live page
- Transform input fields through actions like rotate, skew, scale, offset, and flip
- Include additional CSS and many more
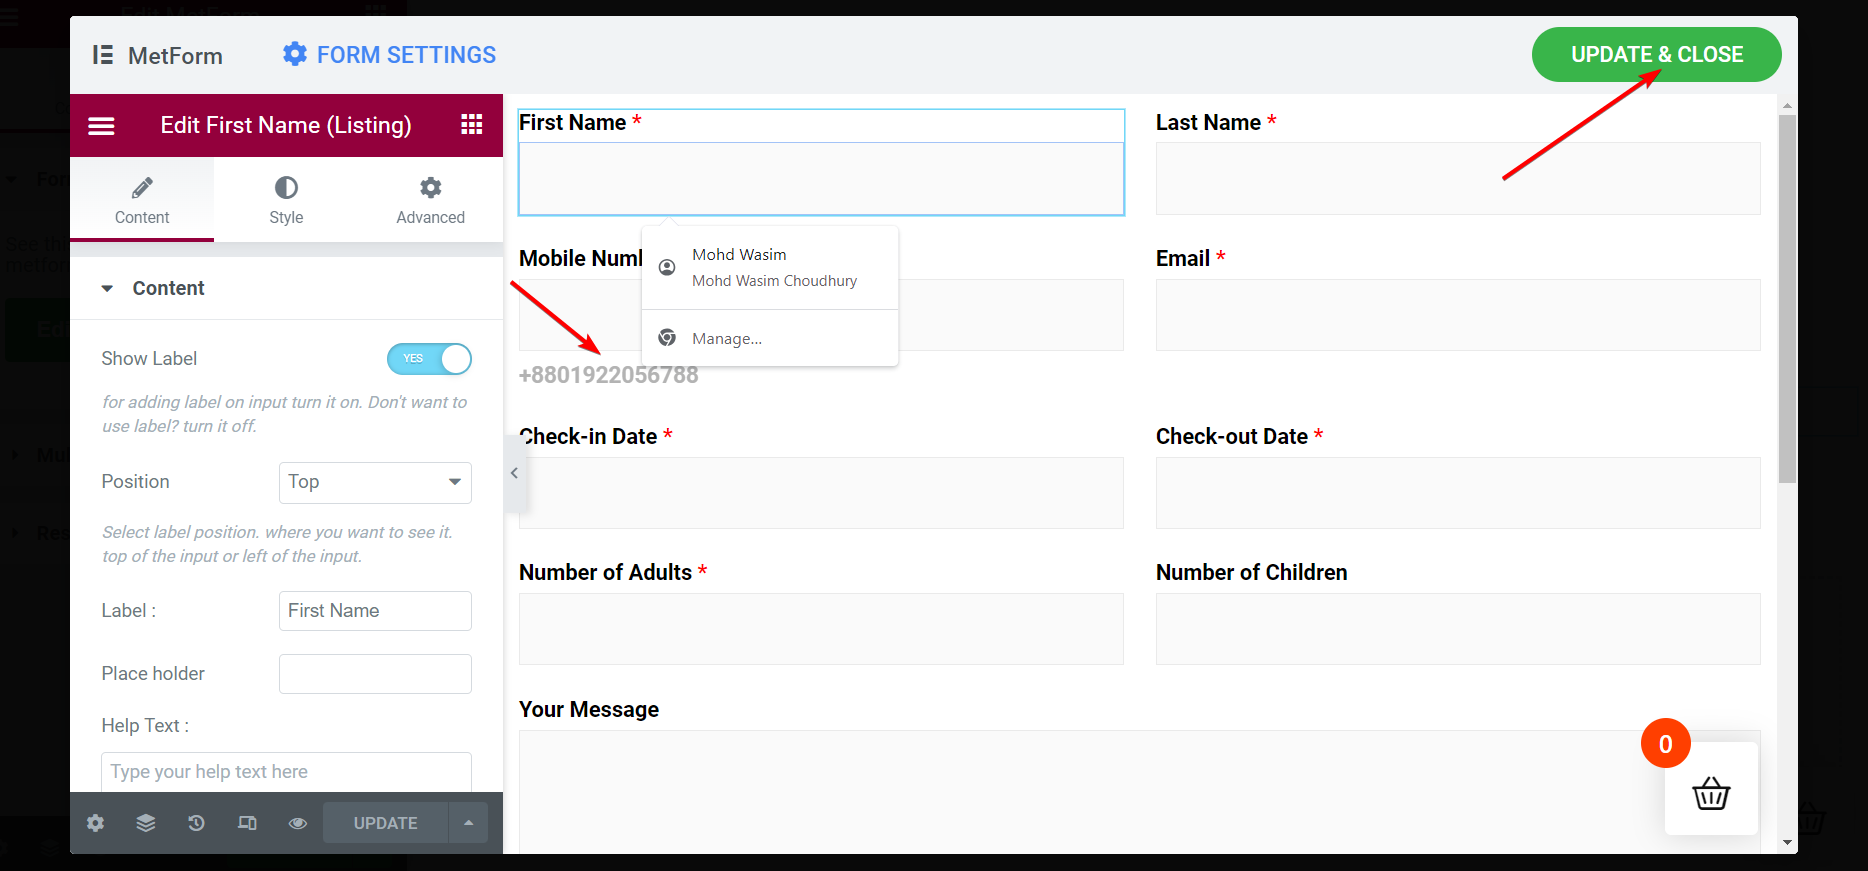
Update and Close the Window and Publish the Page
It’s time to publish the page. For that, you have to update the changes and close the sub-window. Click the button “Update and Close” on the top-right corner and your main window will show up with the created booking form straightaway.
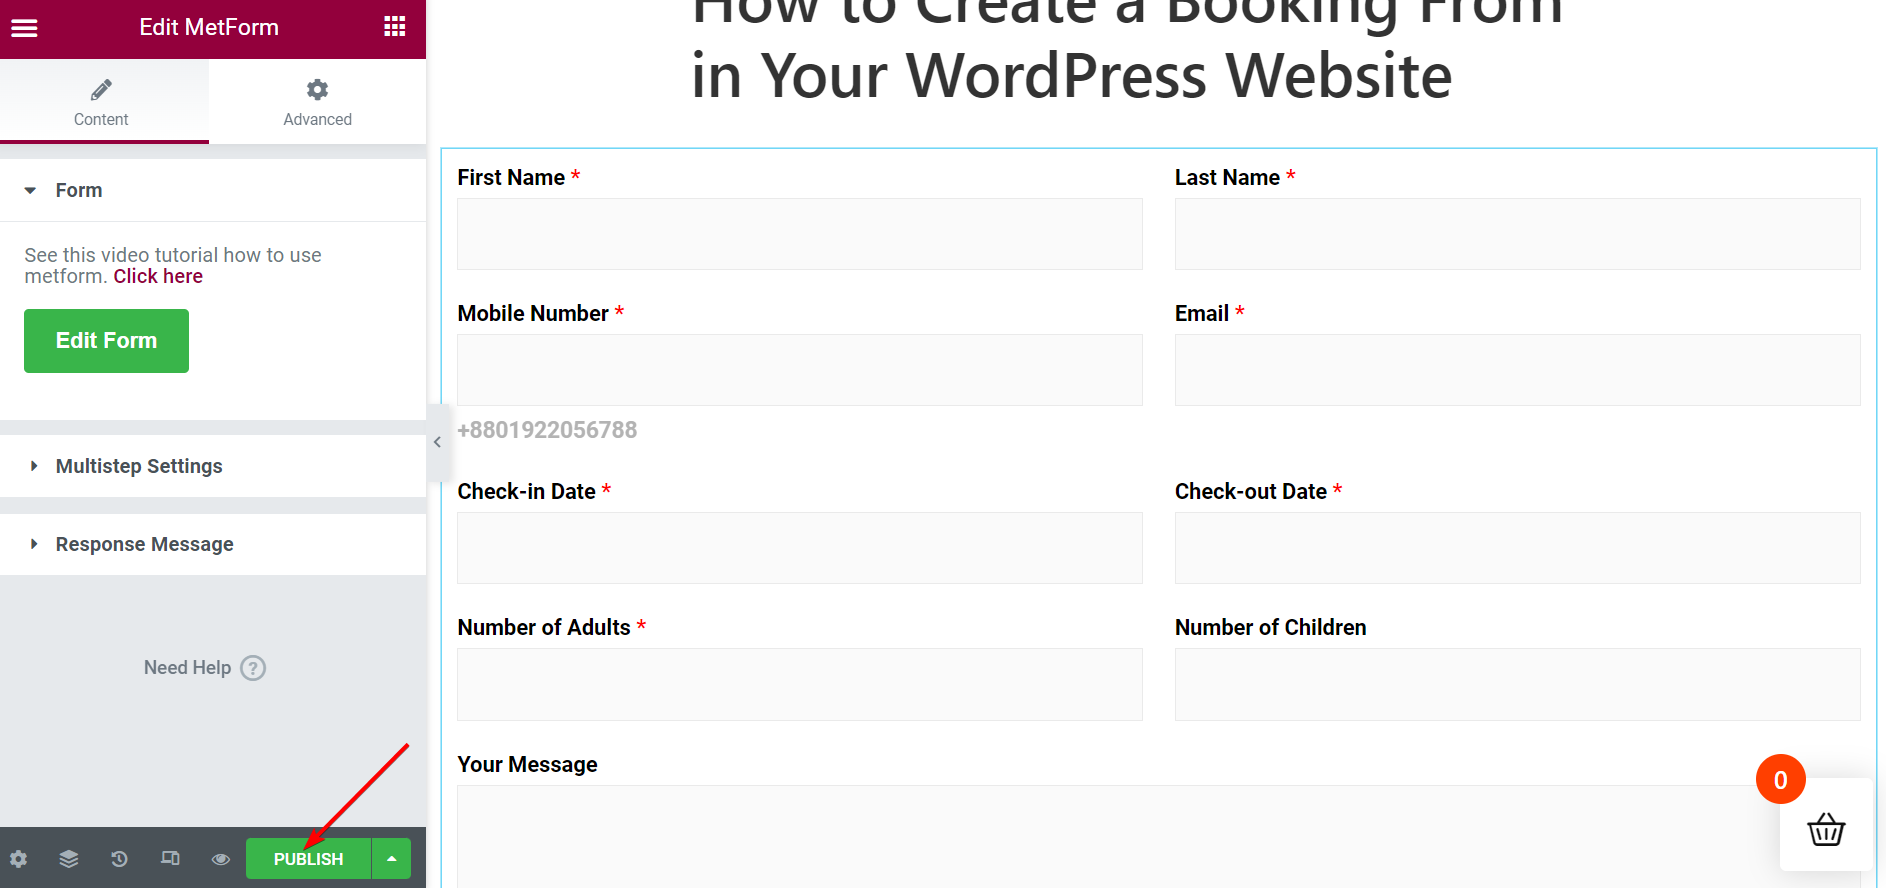
Once you hit the “Update & Close” button, the sub-window will close and the main window will show up. Hit the “Publish” button at the bottom of the sidebar.
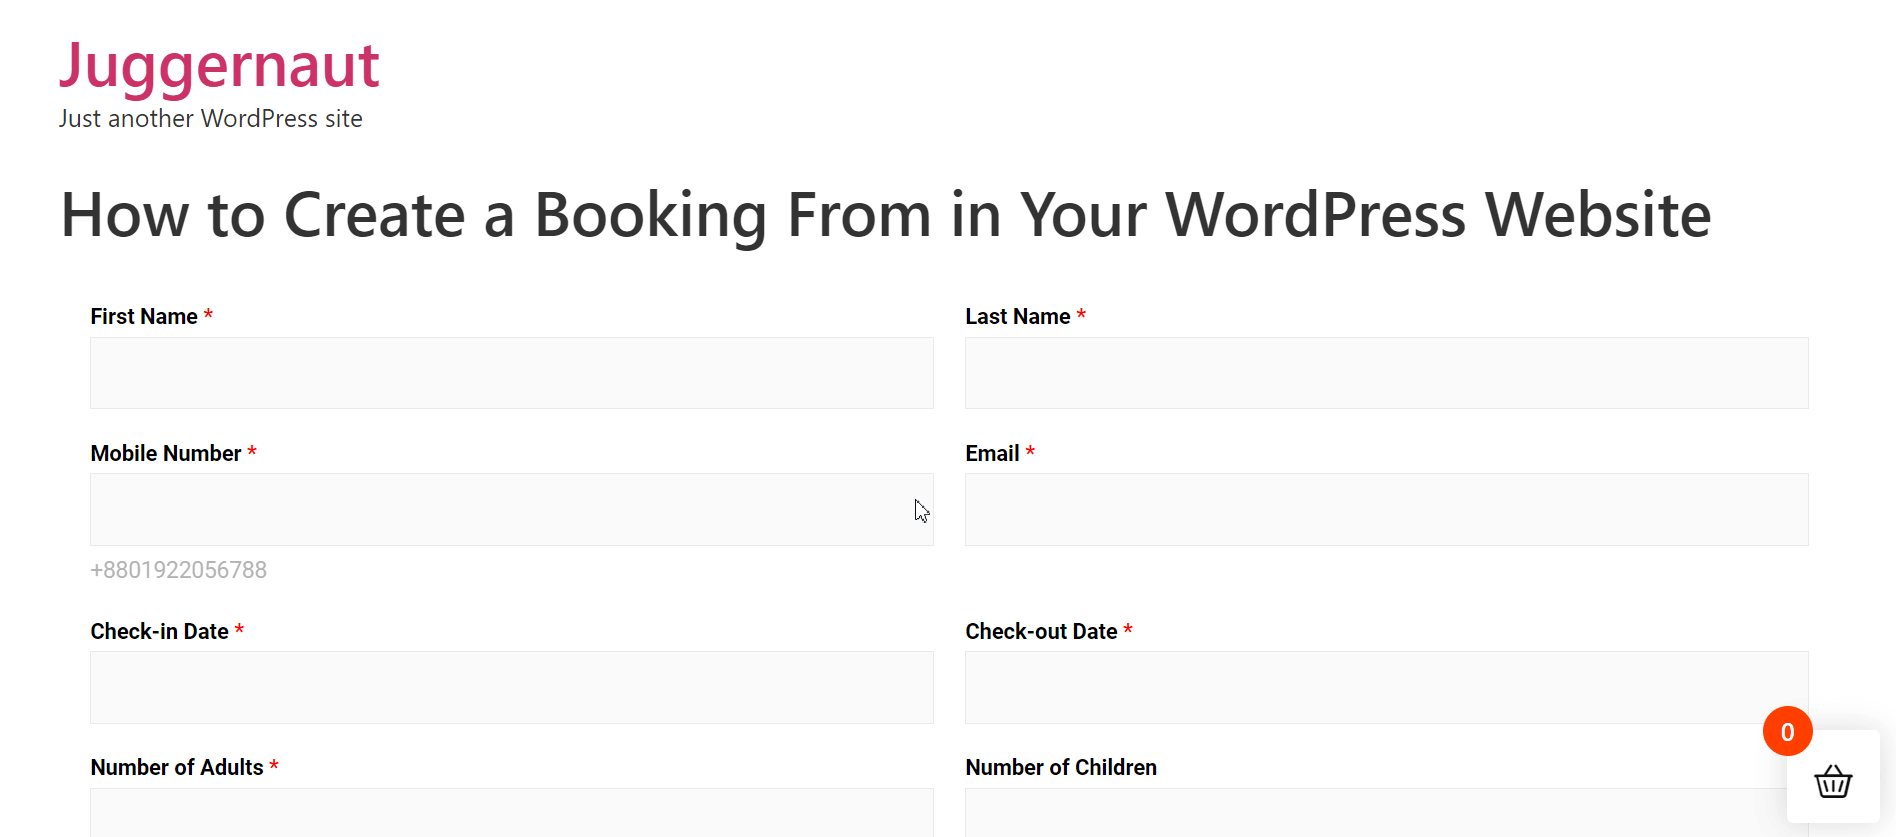
View the Booking Form Live on the Page
Instantly after you publish the page, a “View” message will pop up asking you to view the page. But you can also open the page from the “Pages” list. Find your published page in the list and view the booking form on the page right away.
Choose the Booking Form Template and insert it into the Page/Post (Alternative)
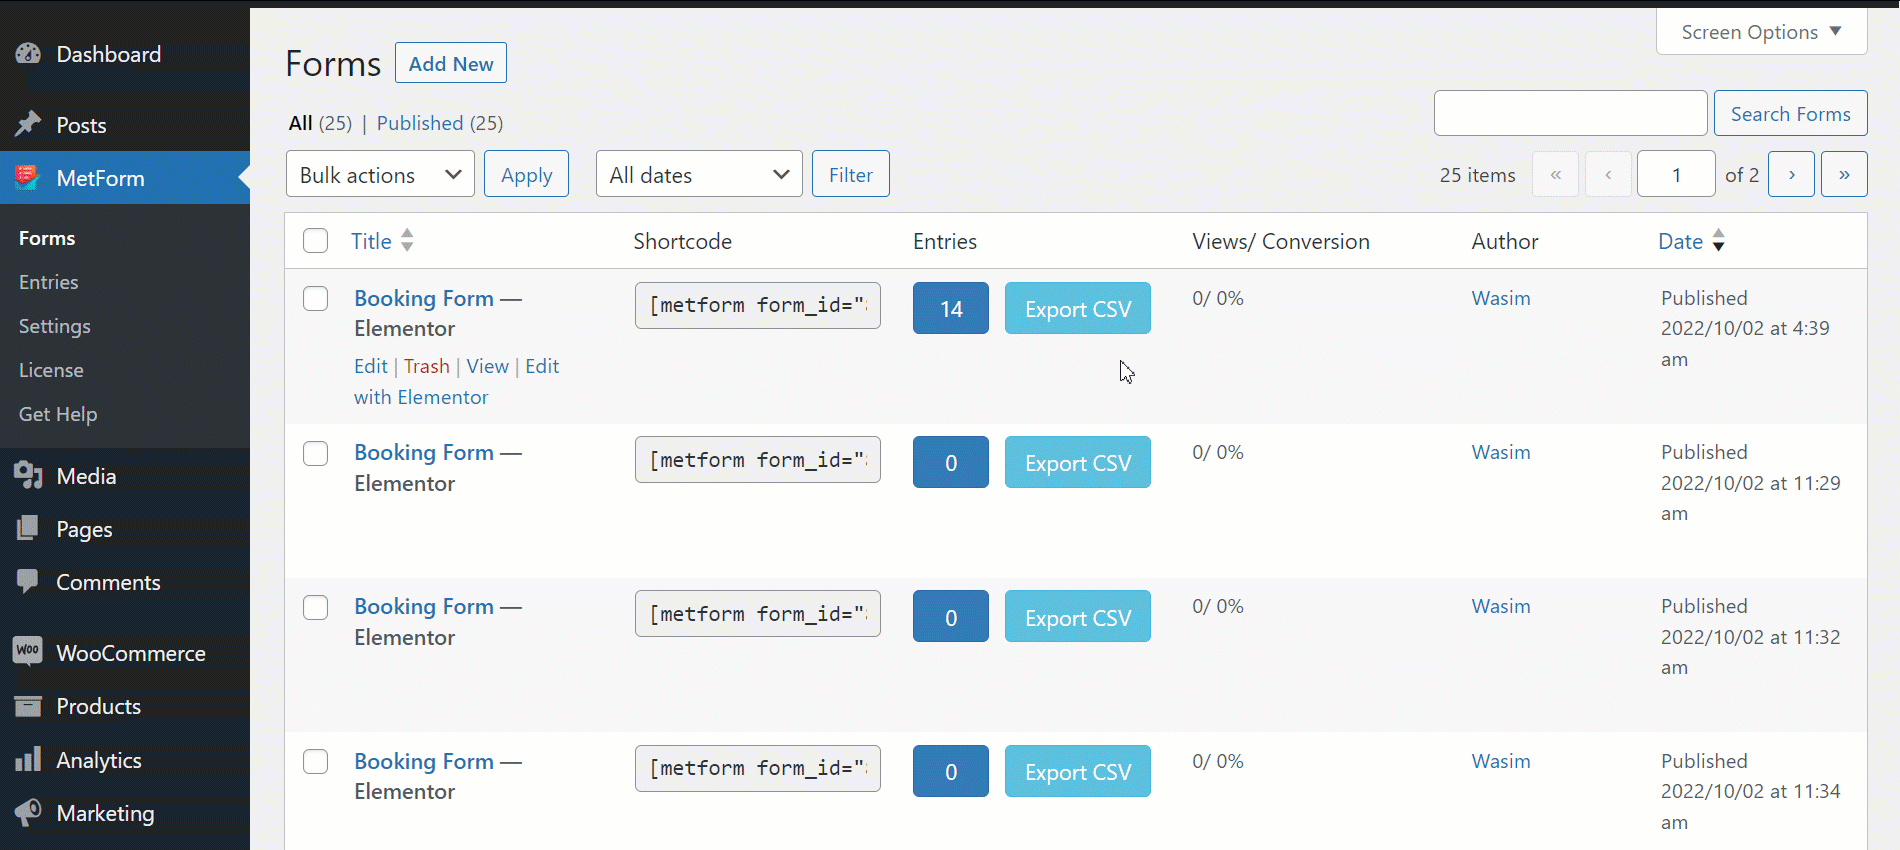
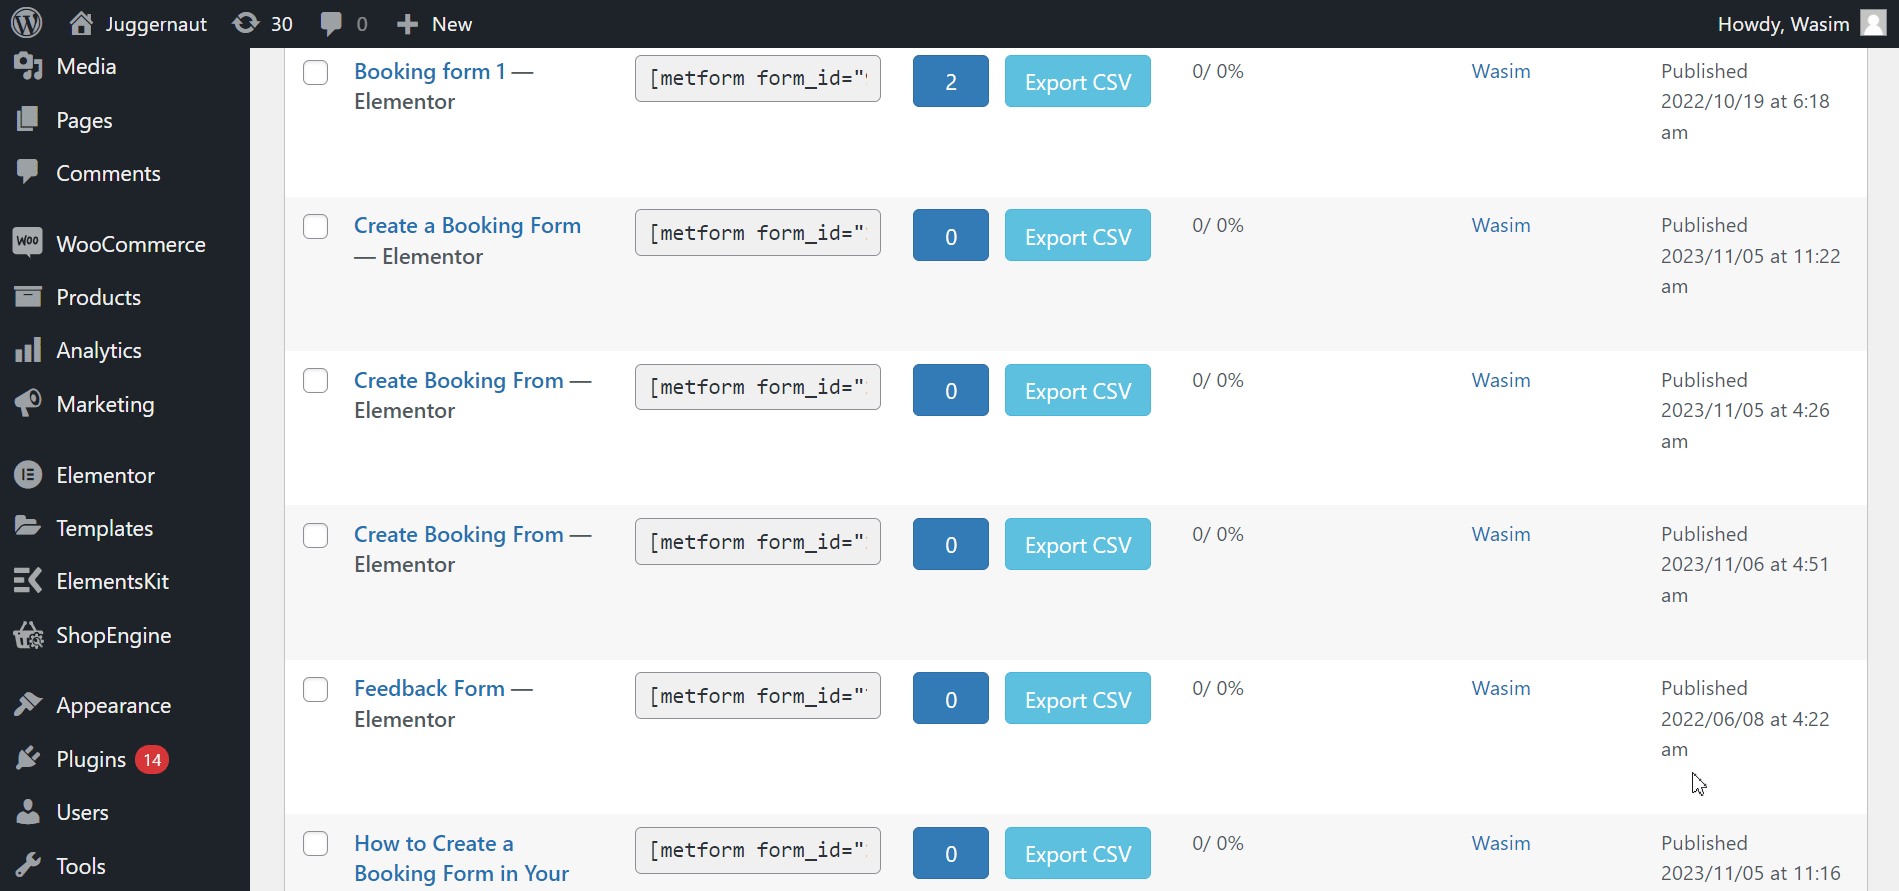
Following a simple way, you can create and insert the booking form. Navigate MetForm first from the sidebar and then select “Forms“.

Step 1: Create a New Booking Form
- Click “Add new”
- Enter a suitable form name
- Adjust settings from the tabs if required
- Click on “Edit Content”
With that, you will be directed to the Elementor window right away. Now, you have to proceed to insert the form template.
Step 2: Insert the WordPress Booking Form Template
Once a new form is created, you can insert the booking form template using Elementor or a shortcode. With the Elementor, I have already shown the process above. For a better understanding, the steps are summarized below:
Insert the Booking Form with Elementor:
- Search for the MetForm widget in the search bar
- Drag and drop the widget into the block
- Click “Edit Form”
- Select the booking form template
- Click on the Update & Close button
- Hit the “Publish” button
Insert the Booking Form with a Shortcode
Now, navigate MetForm > Forms. You can spot a shortcode beside the form name. Copy & paste the shortcode in a block or you can do it with elemotor’s shortcode widget.
Copy and paste the Shortcode:
- Copy your booking form shortcode
- Paste the shortcode in the block you want to insert the form
- Click on “Publish” to view the form
Use Shortcode Widget: To create online booking forms, use this wonderful widget by MetForm 👇
- Copy your booking form shortcode as shown above
- Open the page or post with Elementor
- Search for the Shortcode widget
- Drag and drop it onto the page
- Paste the shortcode in the shortcode field
- Click on “Publish”
It’s Your Turn
I have walked you through how to create booking form in WordPress with Metform in 2 different methods. Both methods follow easy steps that you can pick up effortlessly.
So, gear up to create a booking form with MetForm on your WordPress website and let your clients schedule appointments or participants book for events smoothly.

Leave a Reply